Home>Gardening & Outdoor>Outdoor Structures>How To Make A Cheap She Shed
Outdoor Structures
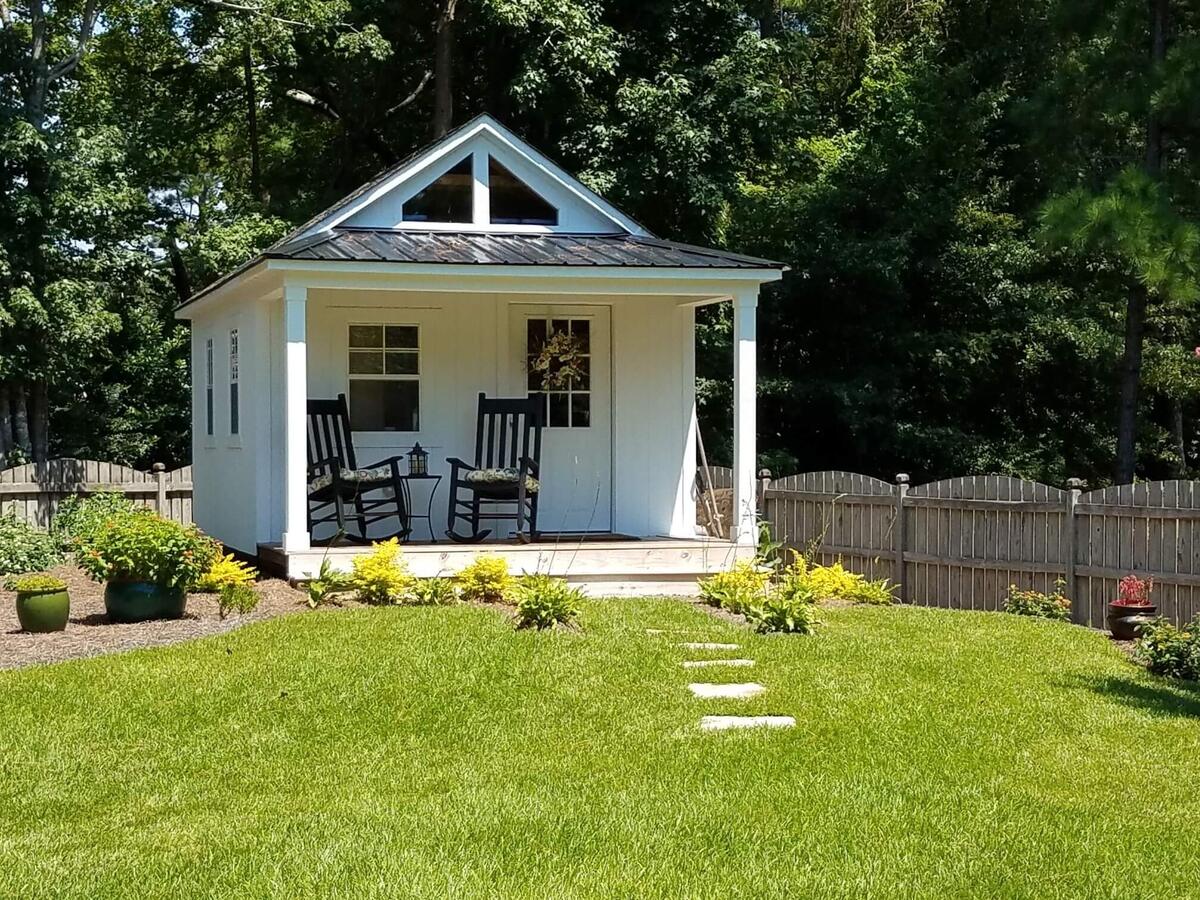
How To Make A Cheap She Shed
Modified: August 27, 2024
Learn how to create a budget-friendly she shed for your outdoor space. Discover affordable DIY ideas for outdoor structures.
(Many of the links in this article redirect to a specific reviewed product. Your purchase of these products through affiliate links helps to generate commission for Storables.com, at no extra cost. Learn more)
Introduction
So, you've been dreaming about having your own space, a place to escape to and call your own. Well, the good news is that you can make that dream a reality without breaking the bank. Enter the "she shed" – a cozy, personalized retreat that offers a perfect sanctuary for relaxation, hobbies, or simply unwinding in solitude.
In this comprehensive guide, we'll walk you through the steps to create your very own she shed without spending a fortune. From choosing the right location to adding those personal touches, we've got you covered. By the end of this journey, you'll have the knowledge and inspiration to craft a budget-friendly she shed that reflects your unique style and provides a haven of tranquility. Let's dive in and bring your she shed vision to life!
Key Takeaways:
- Create your own budget-friendly she shed by choosing a suitable location, gathering cost-effective materials, and adding personal touches for a cozy retreat that reflects your unique style and provides a haven of tranquility.
- Transform your she shed into a captivating and nurturing space by infusing it with personal touches, cozy seating, and versatile lighting, creating a sanctuary of solace and creativity.
Read more: How To Turn A Shed Into A She Shed
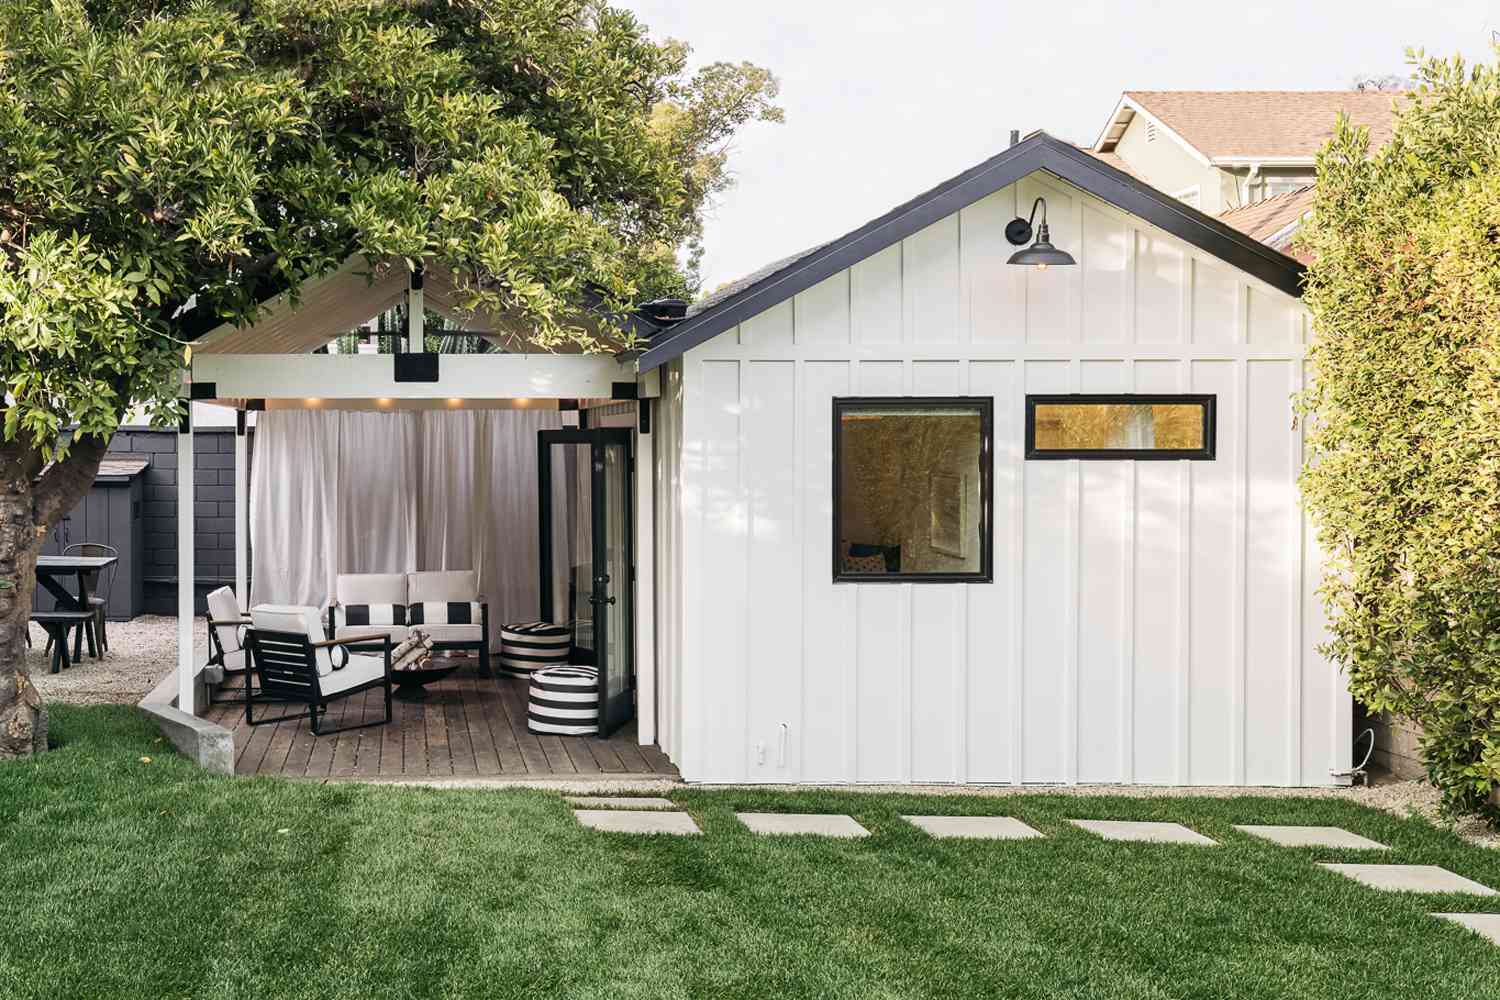
Step 1: Choose a Location
The first step in creating your affordable she shed is finding the perfect spot for it. Consider the layout of your outdoor space and envision where your she shed will fit best. Look for an area that offers a balance of seclusion and convenience, allowing you to feel tucked away while still being easily accessible.
When selecting a location, take into account the natural surroundings. Is there a picturesque view you’d like to capture from your she shed? Do you prefer a spot with ample sunlight or one shaded by trees? Additionally, consider the practical aspects, such as proximity to utilities like electricity and water, as well as any local building regulations or restrictions.
Keep in mind that repurposing an existing structure, such as a neglected garden shed or unused garage, can be a cost-effective option. Alternatively, if you’re starting from scratch, choose a level area of your yard that allows for straightforward construction without the need for extensive groundwork.
Ultimately, the ideal location for your she shed is one that resonates with you – a place where you can retreat and feel a sense of peace and inspiration. Once you’ve identified the perfect spot, you’re ready to move on to the next step in bringing your affordable she shed to life.
Step 2: Gather Materials
With your she shed’s location determined, it’s time to gather the materials needed for construction. The goal here is to keep costs low while ensuring that the materials you choose are durable and suitable for your project.
Start by creating a detailed list of all the materials required, including lumber for framing, roofing materials, insulation, and any additional elements specific to your design, such as windows and doors. Consider salvaging or repurposing materials whenever possible – this not only reduces expenses but also adds character to your she shed. For instance, reclaimed wood can be used for siding or flooring, giving your retreat a unique and eco-friendly touch.
When it comes to purchasing new materials, explore budget-friendly options without compromising on quality. Many home improvement stores offer affordable, yet sturdy, building materials that align with your she shed vision. Additionally, don’t overlook the potential for bargains and discounts, especially on items like windows, doors, and hardware.
Another cost-saving approach is to consider pre-owned or surplus materials. This could include browsing online marketplaces for discounted or second-hand items, or visiting local salvage yards and building material reuse centers. Keep an open mind and be creative in your material sourcing – you may be surprised by the treasures you find that can be repurposed for your she shed.
By being resourceful and strategic in gathering your materials, you’ll not only keep expenses in check but also infuse your she shed with character and charm. With your materials in hand, you’re ready to move on to the next step in the construction process.
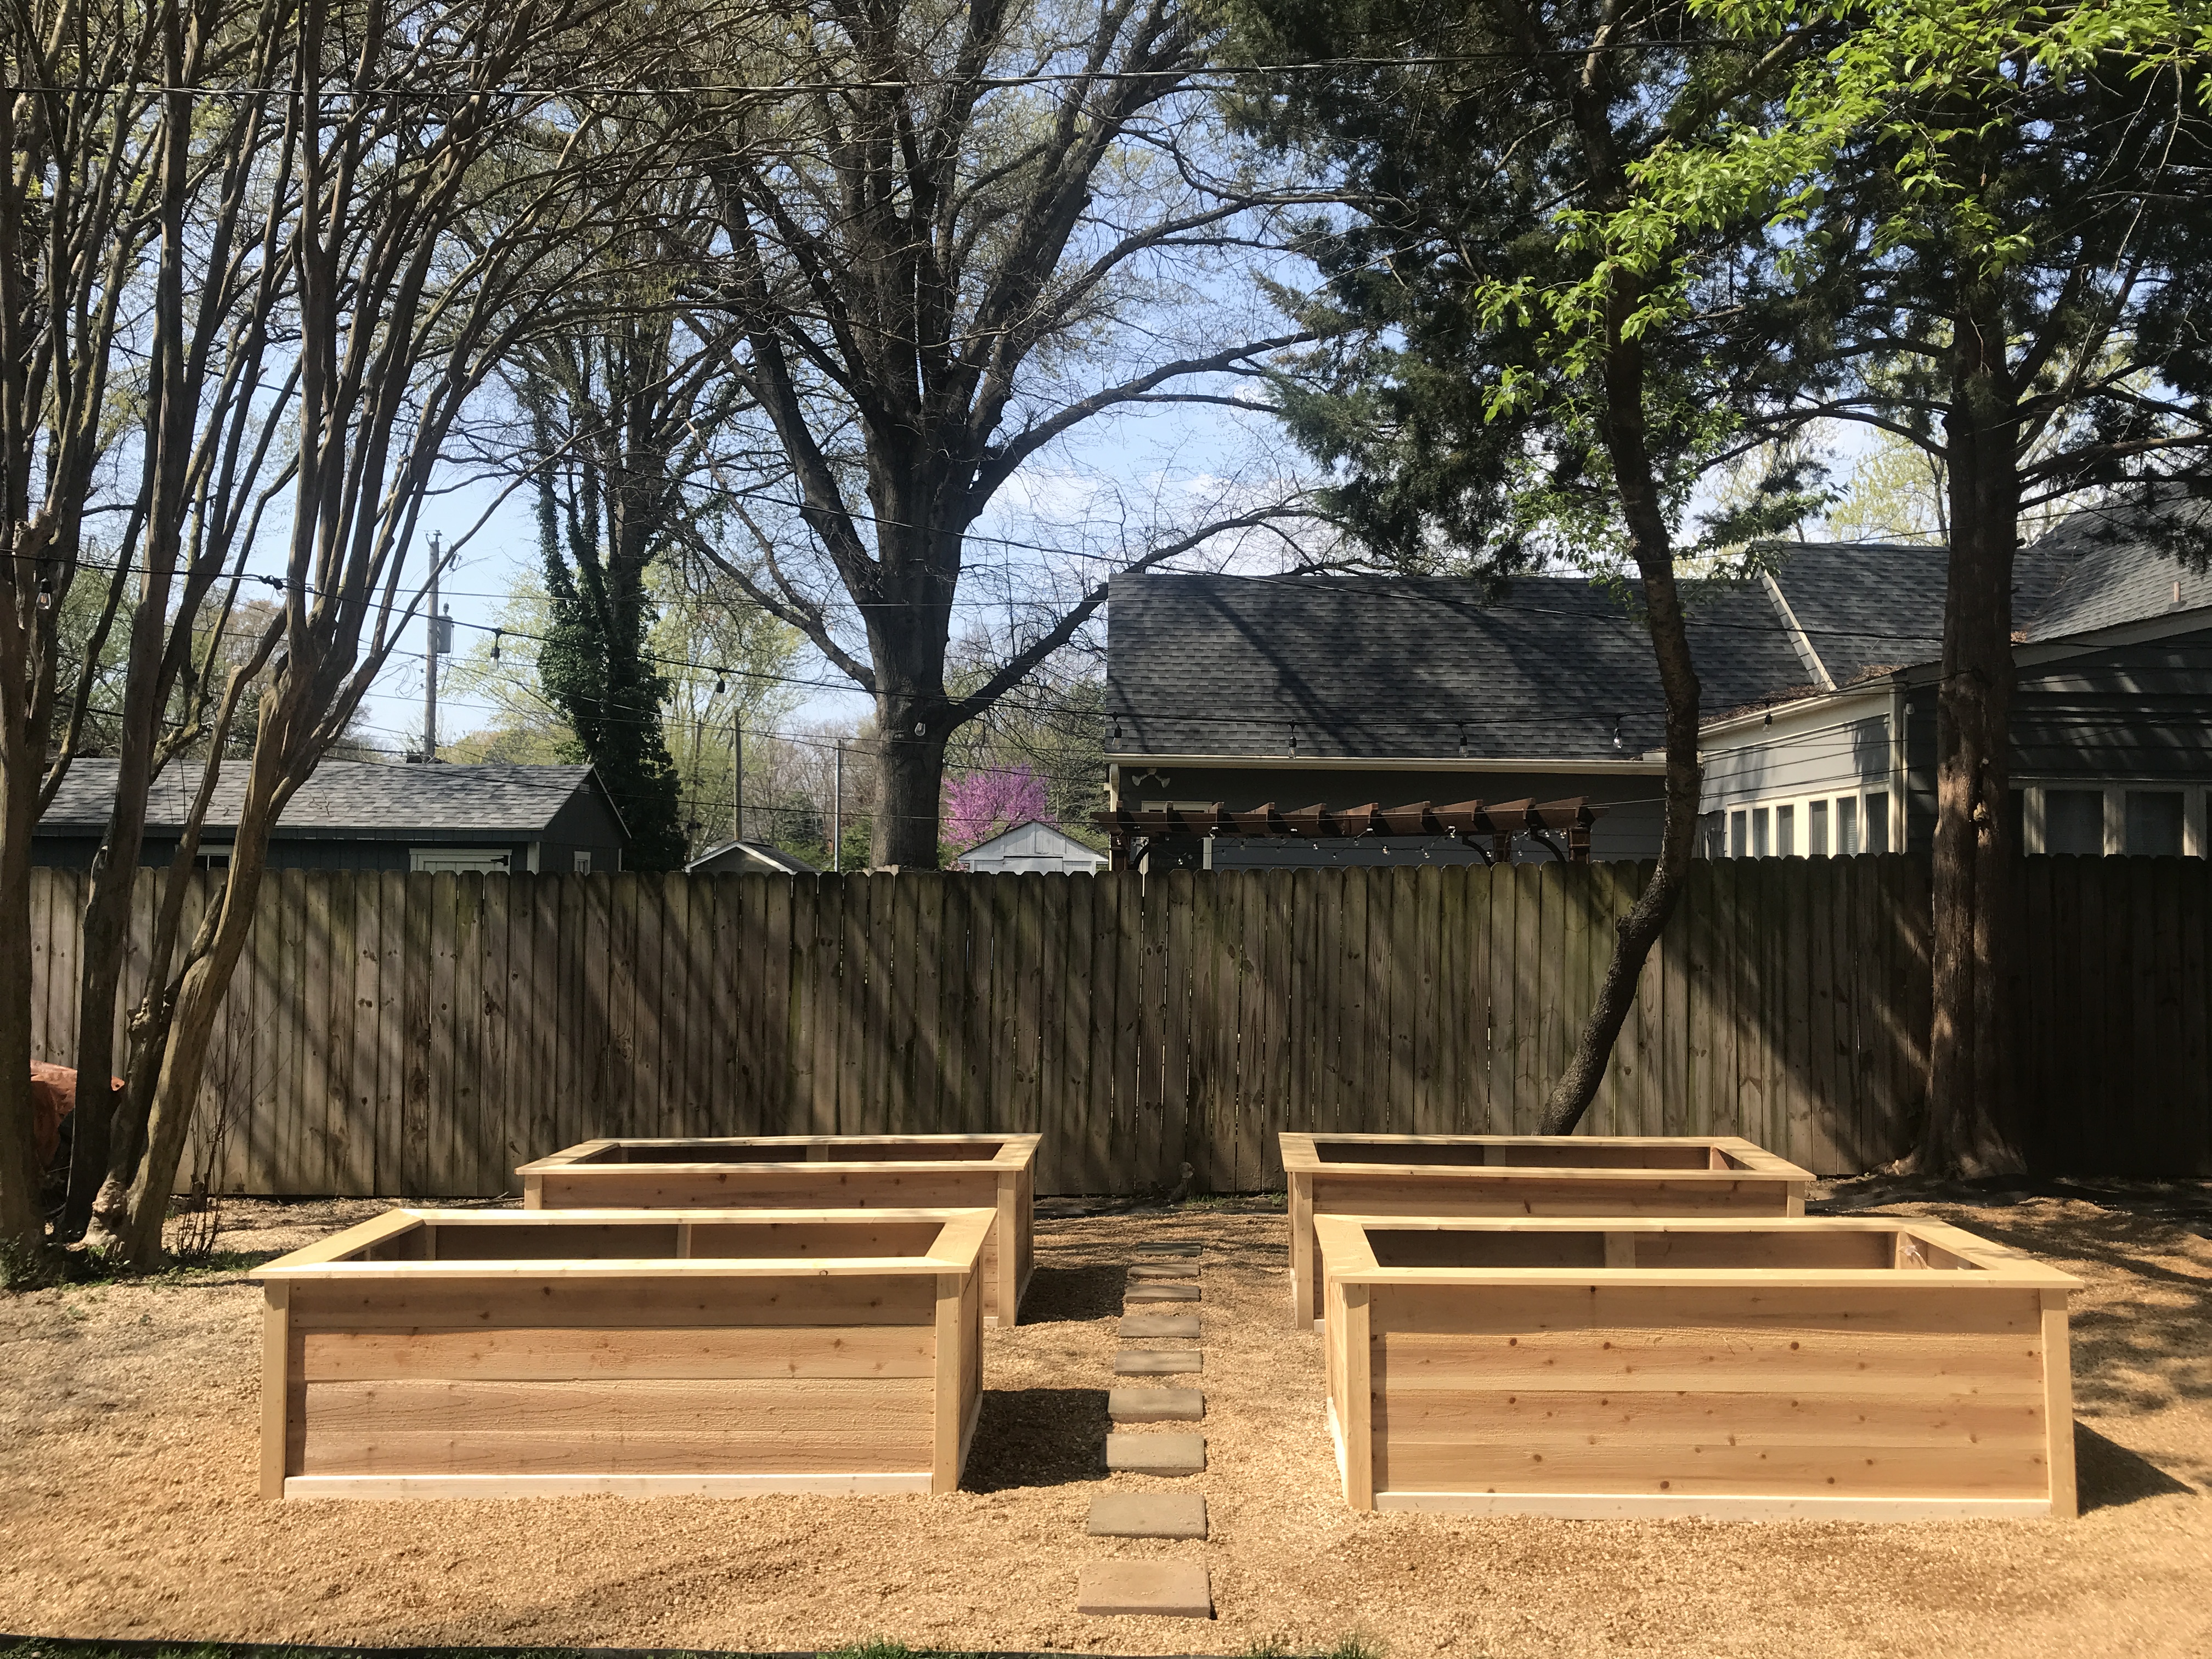
Step 3: Build the Foundation
With the materials at the ready, it’s time to lay the groundwork for your she shed by constructing a solid foundation. The type of foundation you choose will depend on the size of your shed, the local climate, and your budget. For a budget-friendly option, consider a simple yet sturdy foundation, such as concrete blocks or gravel.
If you opt for a concrete block foundation, start by leveling the ground and laying out the perimeter of your she shed. Place the concrete blocks at regular intervals, ensuring they are level and secure. This approach provides a stable base for your shed while minimizing the need for extensive excavation and concrete pouring, keeping costs down.
For those in milder climates or seeking an even more economical foundation, a gravel base can be a practical choice. Clear the area of vegetation and debris, then spread a layer of compacted gravel to create a level surface for your she shed. While this option may require periodic maintenance to ensure proper drainage and stability, it offers an affordable and straightforward foundation solution.
Keep in mind that regardless of the foundation type, it’s essential to ensure proper drainage to prevent water accumulation around your she shed. This can be achieved through grading the surrounding ground away from the shed and incorporating a layer of gravel or drainage tiles where necessary.
By focusing on a cost-effective yet reliable foundation, you’ll establish a solid base for your she shed that sets the stage for the next phases of construction. With the foundation in place, you’re ready to move forward in bringing your affordable she shed to fruition.
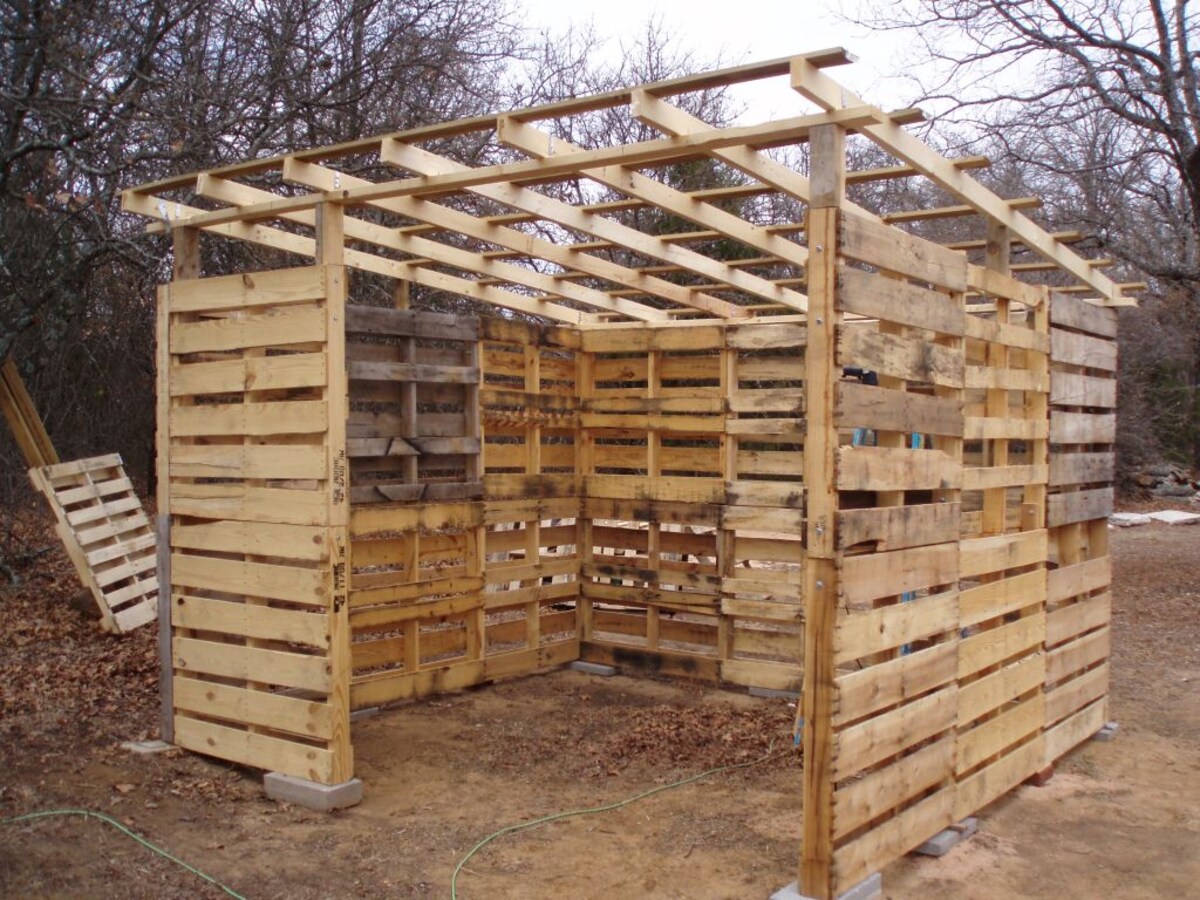
Step 4: Construct the Frame
With the foundation set, it’s time to bring your she shed to life by constructing the frame. This step forms the skeleton of your retreat, providing the structure upon which the rest of the building will take shape. When it comes to framing, cost-effective options can be found without sacrificing strength and durability.
One approach to consider is using dimensional lumber, such as 2x4s, for the frame. This type of lumber is readily available and cost-efficient, making it an ideal choice for creating the framework of your she shed. Be sure to accurately measure and cut the lumber according to your shed’s design plans, ensuring precise assembly and a sturdy frame.
If you’re looking to further reduce costs, consider using salvaged or repurposed lumber for the frame. This not only adds character to your she shed but also minimizes the environmental impact by giving new life to existing materials. Keep an eye out for discarded or surplus lumber that can be repurposed for framing, and embrace the unique aesthetic it brings to your retreat.
When assembling the frame, pay close attention to ensuring square and plumb construction. This involves aligning the frame elements at perfect right angles and ensuring vertical alignment, resulting in a stable and well-built structure. Additionally, consider reinforcing the frame with metal braces or hurricane ties to enhance its resilience, especially in areas prone to high winds or seismic activity.
By focusing on cost-effective framing solutions and meticulous construction, you’ll establish a solid and reliable framework for your she shed. With the frame in place, you’re ready to move on to the next phase of construction, bringing you one step closer to realizing your affordable she shed.
Consider using reclaimed or repurposed materials for your she shed to save money. Look for items like old windows, doors, and lumber at salvage yards or online marketplaces. This can help keep costs down while still creating a unique and charming space.
Read more: What Is A She Shed
Step 5: Install the Roofing
As your she shed takes shape, the next crucial step is to install the roofing, providing protection from the elements and adding character to your retreat. When it comes to roofing materials, there are several cost-effective options that offer durability and visual appeal without breaking the bank.
One budget-friendly choice for roofing is asphalt shingles. Available in an array of colors and styles, asphalt shingles are a popular and economical option for she shed roofing. They are relatively easy to install, providing weather resistance and a traditional aesthetic that complements various architectural designs.
Another affordable roofing option is corrugated metal. This material offers strength, longevity, and a modern industrial look that can enhance the visual appeal of your she shed. Corrugated metal roofing is lightweight, making it easier to handle during installation, and is often made from recycled materials, aligning with sustainable building practices.
If you’re aiming for a more rustic or natural look, consider using thatch or cedar shingles for your she shed roof. While these materials may require more maintenance over time, they impart a charming and timeless quality to your retreat, creating a cozy and inviting atmosphere.
When installing the roofing, pay close attention to proper sealing and flashing to prevent water infiltration and ensure a watertight structure. Additionally, consider incorporating overhangs or gutters to direct water away from the foundation, safeguarding the longevity of your she shed.
By choosing a cost-effective roofing material that aligns with your design preferences and ensuring meticulous installation, you’ll provide your she shed with a secure and visually appealing roof. With the roofing in place, your affordable she shed is one step closer to becoming a cherished sanctuary.
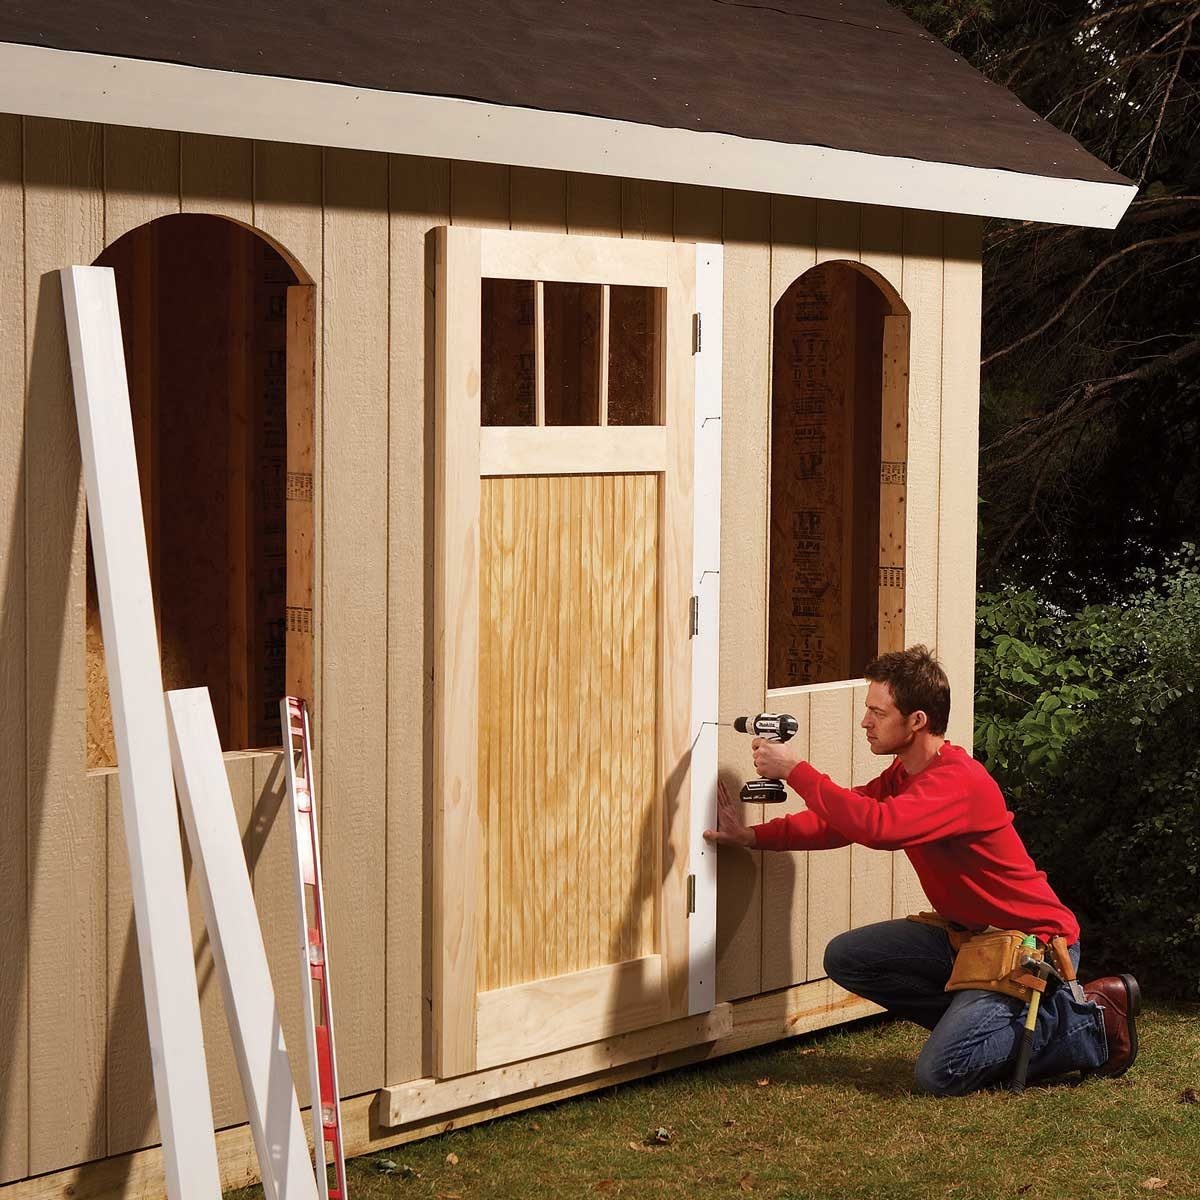
Step 6: Add Walls and Doors
With the roof securely in place, it’s time to enclose your she shed by adding walls and doors, transforming it into a cozy and private retreat. When it comes to constructing the walls, there are several budget-friendly options that offer both functionality and aesthetic appeal.
One cost-effective approach is to use plywood or oriented strand board (OSB) for sheathing the walls. These materials provide structural strength and serve as a solid base for various exterior finishes, such as siding or paint. Opting for T1-11 siding, a type of plywood siding, can offer a charming and economical exterior cladding option, adding a touch of rustic elegance to your she shed.
If you’re seeking a more modern or sleek appearance, consider using fiber cement panels for the walls. These durable and low-maintenance panels come in a variety of textures and colors, allowing you to customize the look of your she shed while keeping costs in check.
When it comes to the doors, explore affordable pre-hung door options that align with your design vision. Whether you prefer a traditional hinged door or a space-saving sliding barn door, there are budget-friendly choices available that provide security, functionality, and style for your she shed entrance.
As you add walls and doors to your she shed, pay attention to proper insulation to ensure year-round comfort and energy efficiency. This can involve installing fiberglass batts or rigid foam insulation within the wall cavities, providing thermal resistance and soundproofing for your retreat.
By selecting cost-effective wall materials and doors that complement your design aesthetic, you’ll enclose your she shed with style and functionality. With the walls and doors in place, your affordable she shed is ready for the final phase of construction, bringing you closer to enjoying your personalized sanctuary.
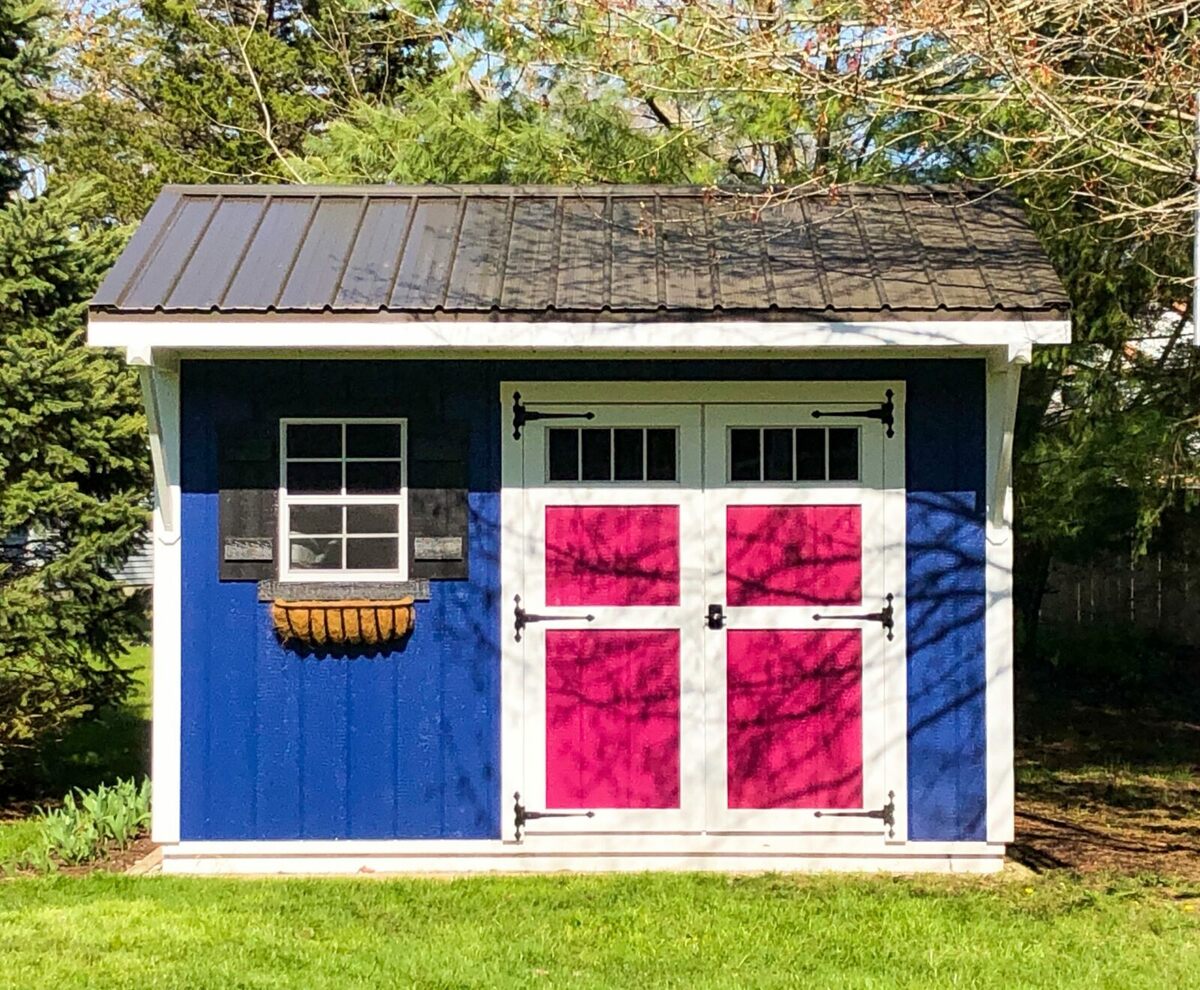
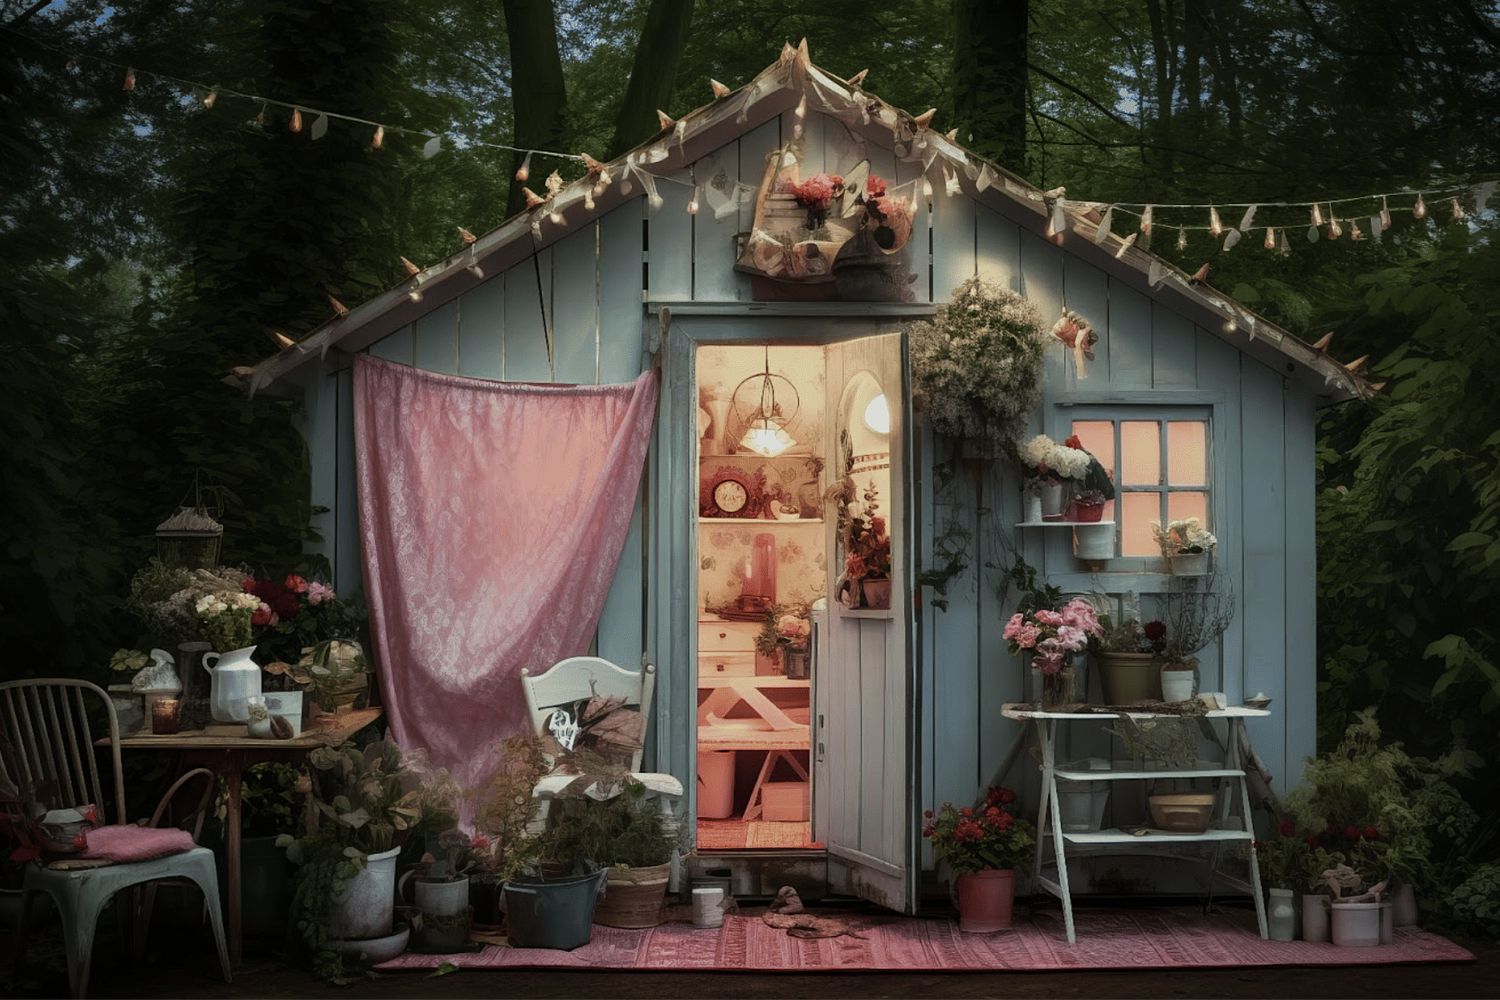
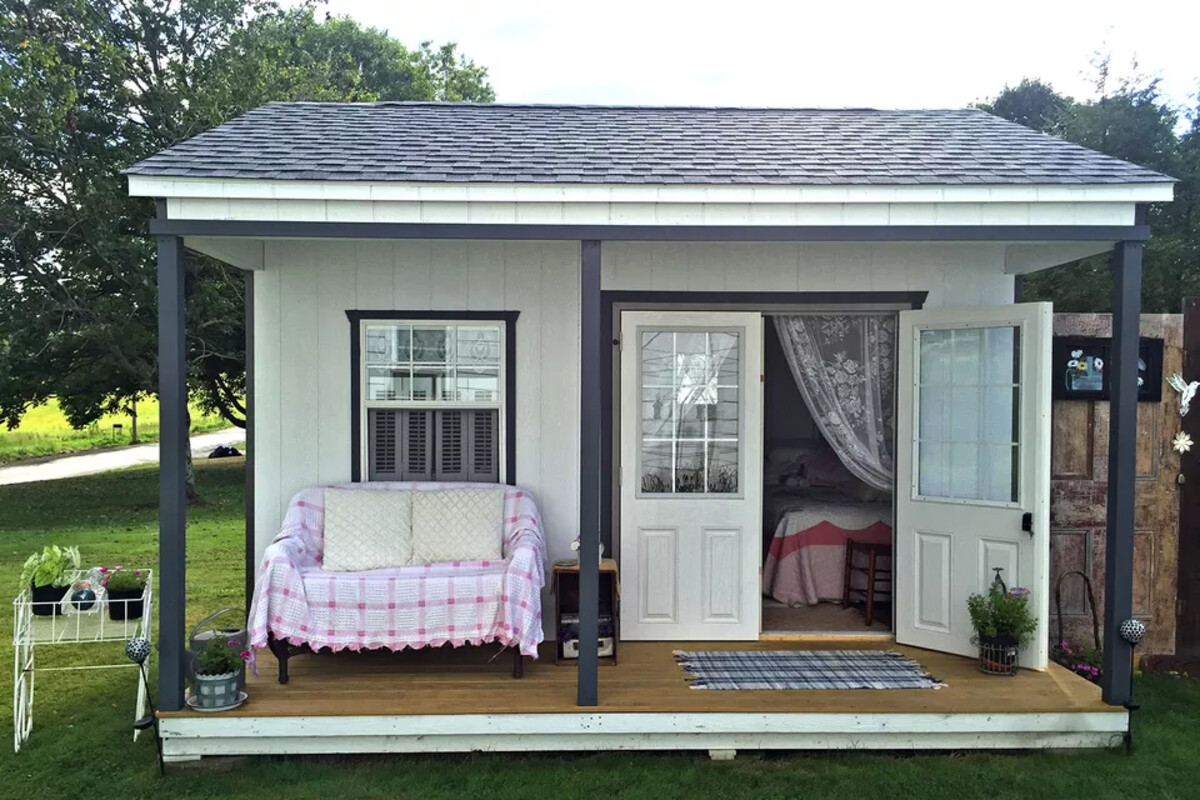
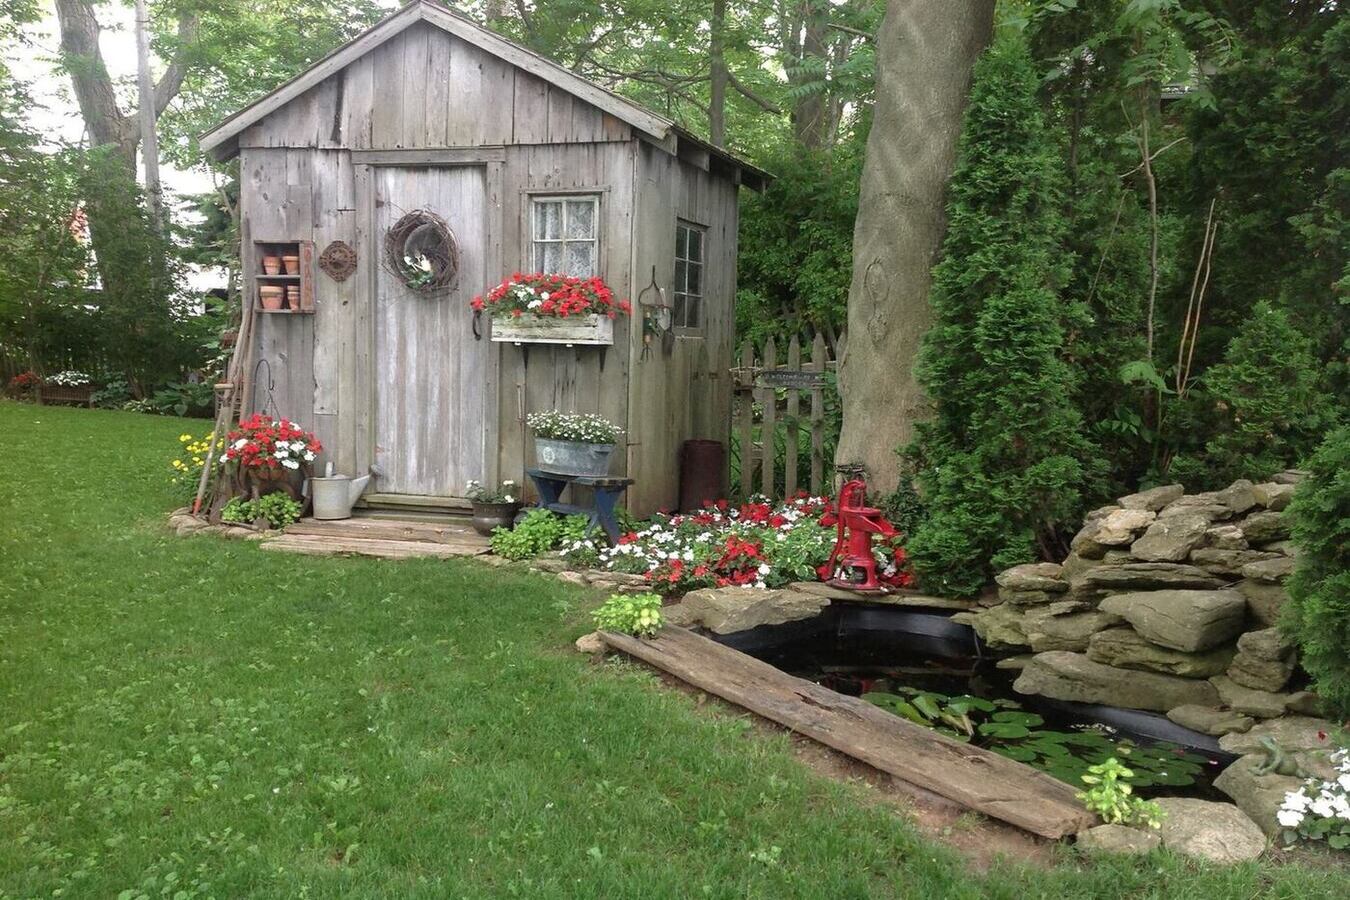
Step 7: Finish with Personal Touches
As your budget-friendly she shed nears completion, it’s time to infuse it with personal touches that reflect your unique style and make it a true haven of comfort and inspiration. This final step allows you to unleash your creativity and transform your she shed into a space that resonates with your passions and preferences.
One of the most impactful ways to personalize your she shed is through interior and exterior décor. Consider adding potted plants, hanging baskets, or window boxes to introduce greenery and a touch of nature to the surroundings. These elements not only enhance the visual appeal but also contribute to a calming and rejuvenating atmosphere.
When it comes to interior design, focus on creating a cozy and inviting ambiance. Incorporate comfortable seating, such as a plush armchair or a cozy loveseat, where you can unwind and relax. Adding soft textiles like throw pillows, rugs, and curtains can further enhance the comfort and warmth of your she shed.
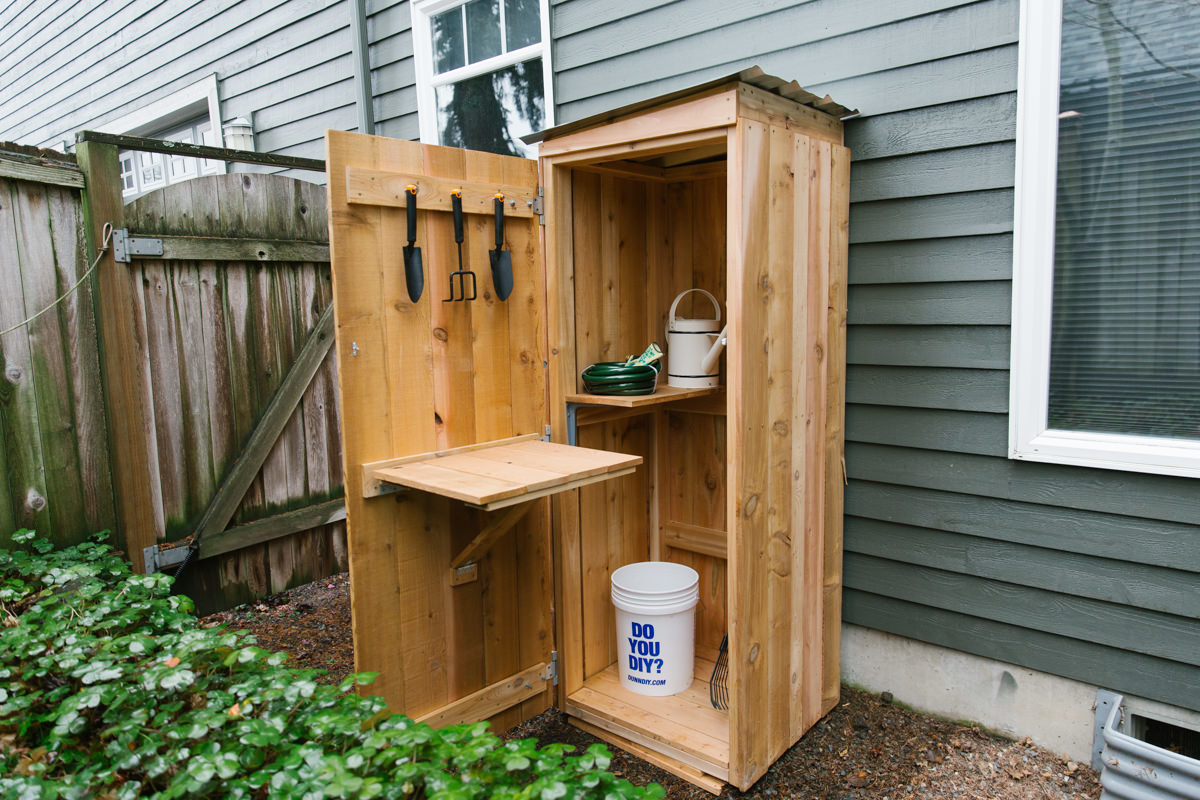
For hobby or work-oriented she sheds, organize the space to accommodate your specific activities. Install shelves, cabinets, or a workbench to keep your tools, supplies, or crafting materials neatly arranged and easily accessible. This ensures that your she shed not only reflects your interests but also supports your creative endeavors.
Lighting plays a pivotal role in setting the mood and functionality of your she shed. Consider incorporating a mix of ambient, task, and accent lighting to create a versatile and inviting environment. Whether it’s a string of twinkling lights, a stylish pendant lamp, or a functional desk lamp, lighting can elevate the atmosphere of your she shed.
Finally, don’t underestimate the power of personal touches. Display artwork, photographs, or mementos that hold special meaning to you, infusing your she shed with sentimental value and a sense of belonging. Whether it’s a cherished heirloom, a favorite quote, or a collection of inspiring books, these personal elements will make your she shed a true reflection of your personality and passions.
By adding these personal touches, you’ll transform your budget-friendly she shed into a captivating and nurturing space that speaks to your individuality. With the finishing touches in place, your she shed is ready to become your cherished retreat, offering a sanctuary of solace and creativity.
Conclusion
Congratulations! You’ve successfully embarked on the journey of creating your very own budget-friendly she shed. Throughout this process, you’ve demonstrated resourcefulness, creativity, and a passion for crafting a personalized retreat without breaking the bank. As you stand back and admire the transformation of your she shed from a vision to reality, it’s clear that your efforts have yielded a space that reflects your unique style and provides a sanctuary of tranquility and inspiration.
By carefully choosing the location, gathering materials thoughtfully, and embracing cost-effective construction methods, you’ve brought your she shed to life while staying within your budget. The strategic use of affordable yet durable materials, coupled with your ingenuity in repurposing and sourcing, has resulted in a retreat that is not only economical but also brimming with character and charm.
As you’ve navigated each step, from building the foundation to adding personal touches, you’ve not only constructed a physical space but also cultivated a haven that resonates with your passions, hobbies, or simply the need for solace. Your she shed stands as a testament to your creativity and determination to carve out a space that is uniquely yours.
Now, as you step inside your completed she shed, you’re greeted by a space that reflects your personality, interests, and aspirations. Whether it’s a place for relaxation, creative pursuits, or quiet contemplation, your she shed is a retreat where you can escape the demands of daily life and immerse yourself in a world of your own making.
As you settle into your she shed, surrounded by the personal touches and thoughtful details that make it uniquely yours, take a moment to savor the accomplishment. Your budget-friendly she shed is not just a structure; it’s a testament to your vision and a reflection of the care and passion you’ve poured into its creation. It’s a space where you can find solace, pursue your hobbies, and simply be yourself.
So, here’s to your budget-friendly she shed – a place where dreams take shape, creativity finds expression, and tranquility reigns. May it be a cherished retreat that brings you joy, inspiration, and a sense of fulfillment for years to come.
Frequently Asked Questions about How To Make A Cheap She Shed
Was this page helpful?
At Storables.com, we guarantee accurate and reliable information. Our content, validated by Expert Board Contributors, is crafted following stringent Editorial Policies. We're committed to providing you with well-researched, expert-backed insights for all your informational needs.

0 thoughts on “How To Make A Cheap She Shed”