Home>Gardening & Outdoor>Outdoor Structures>How To Turn A Shed Into A House
Outdoor Structures
How To Turn A Shed Into A House
Modified: October 18, 2024
Learn how to transform your shed into a cozy and functional living space with our expert tips and ideas for outdoor structures. Discover the possibilities today!
(Many of the links in this article redirect to a specific reviewed product. Your purchase of these products through affiliate links helps to generate commission for Storables.com, at no extra cost. Learn more)
Introduction
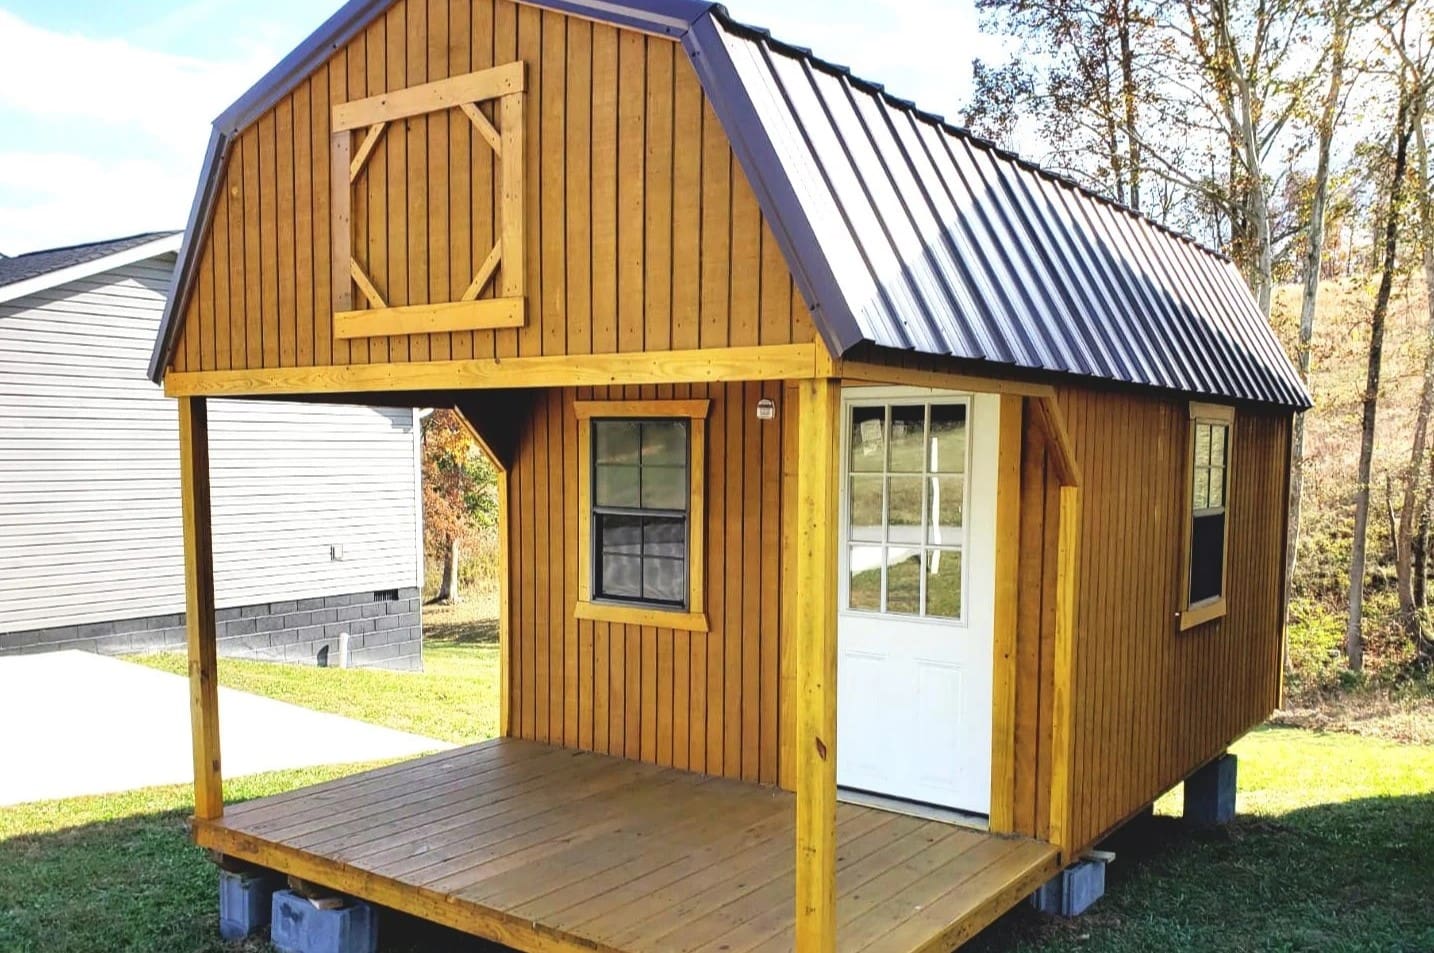
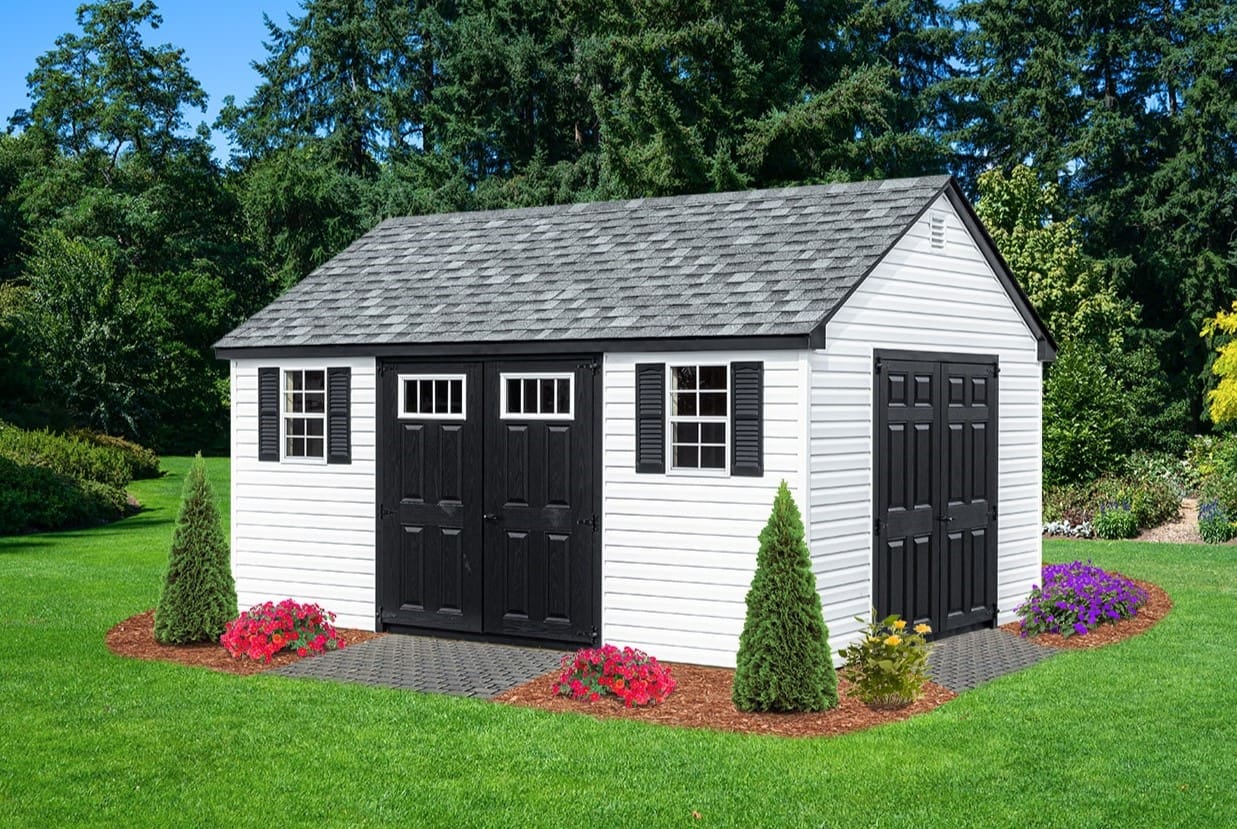
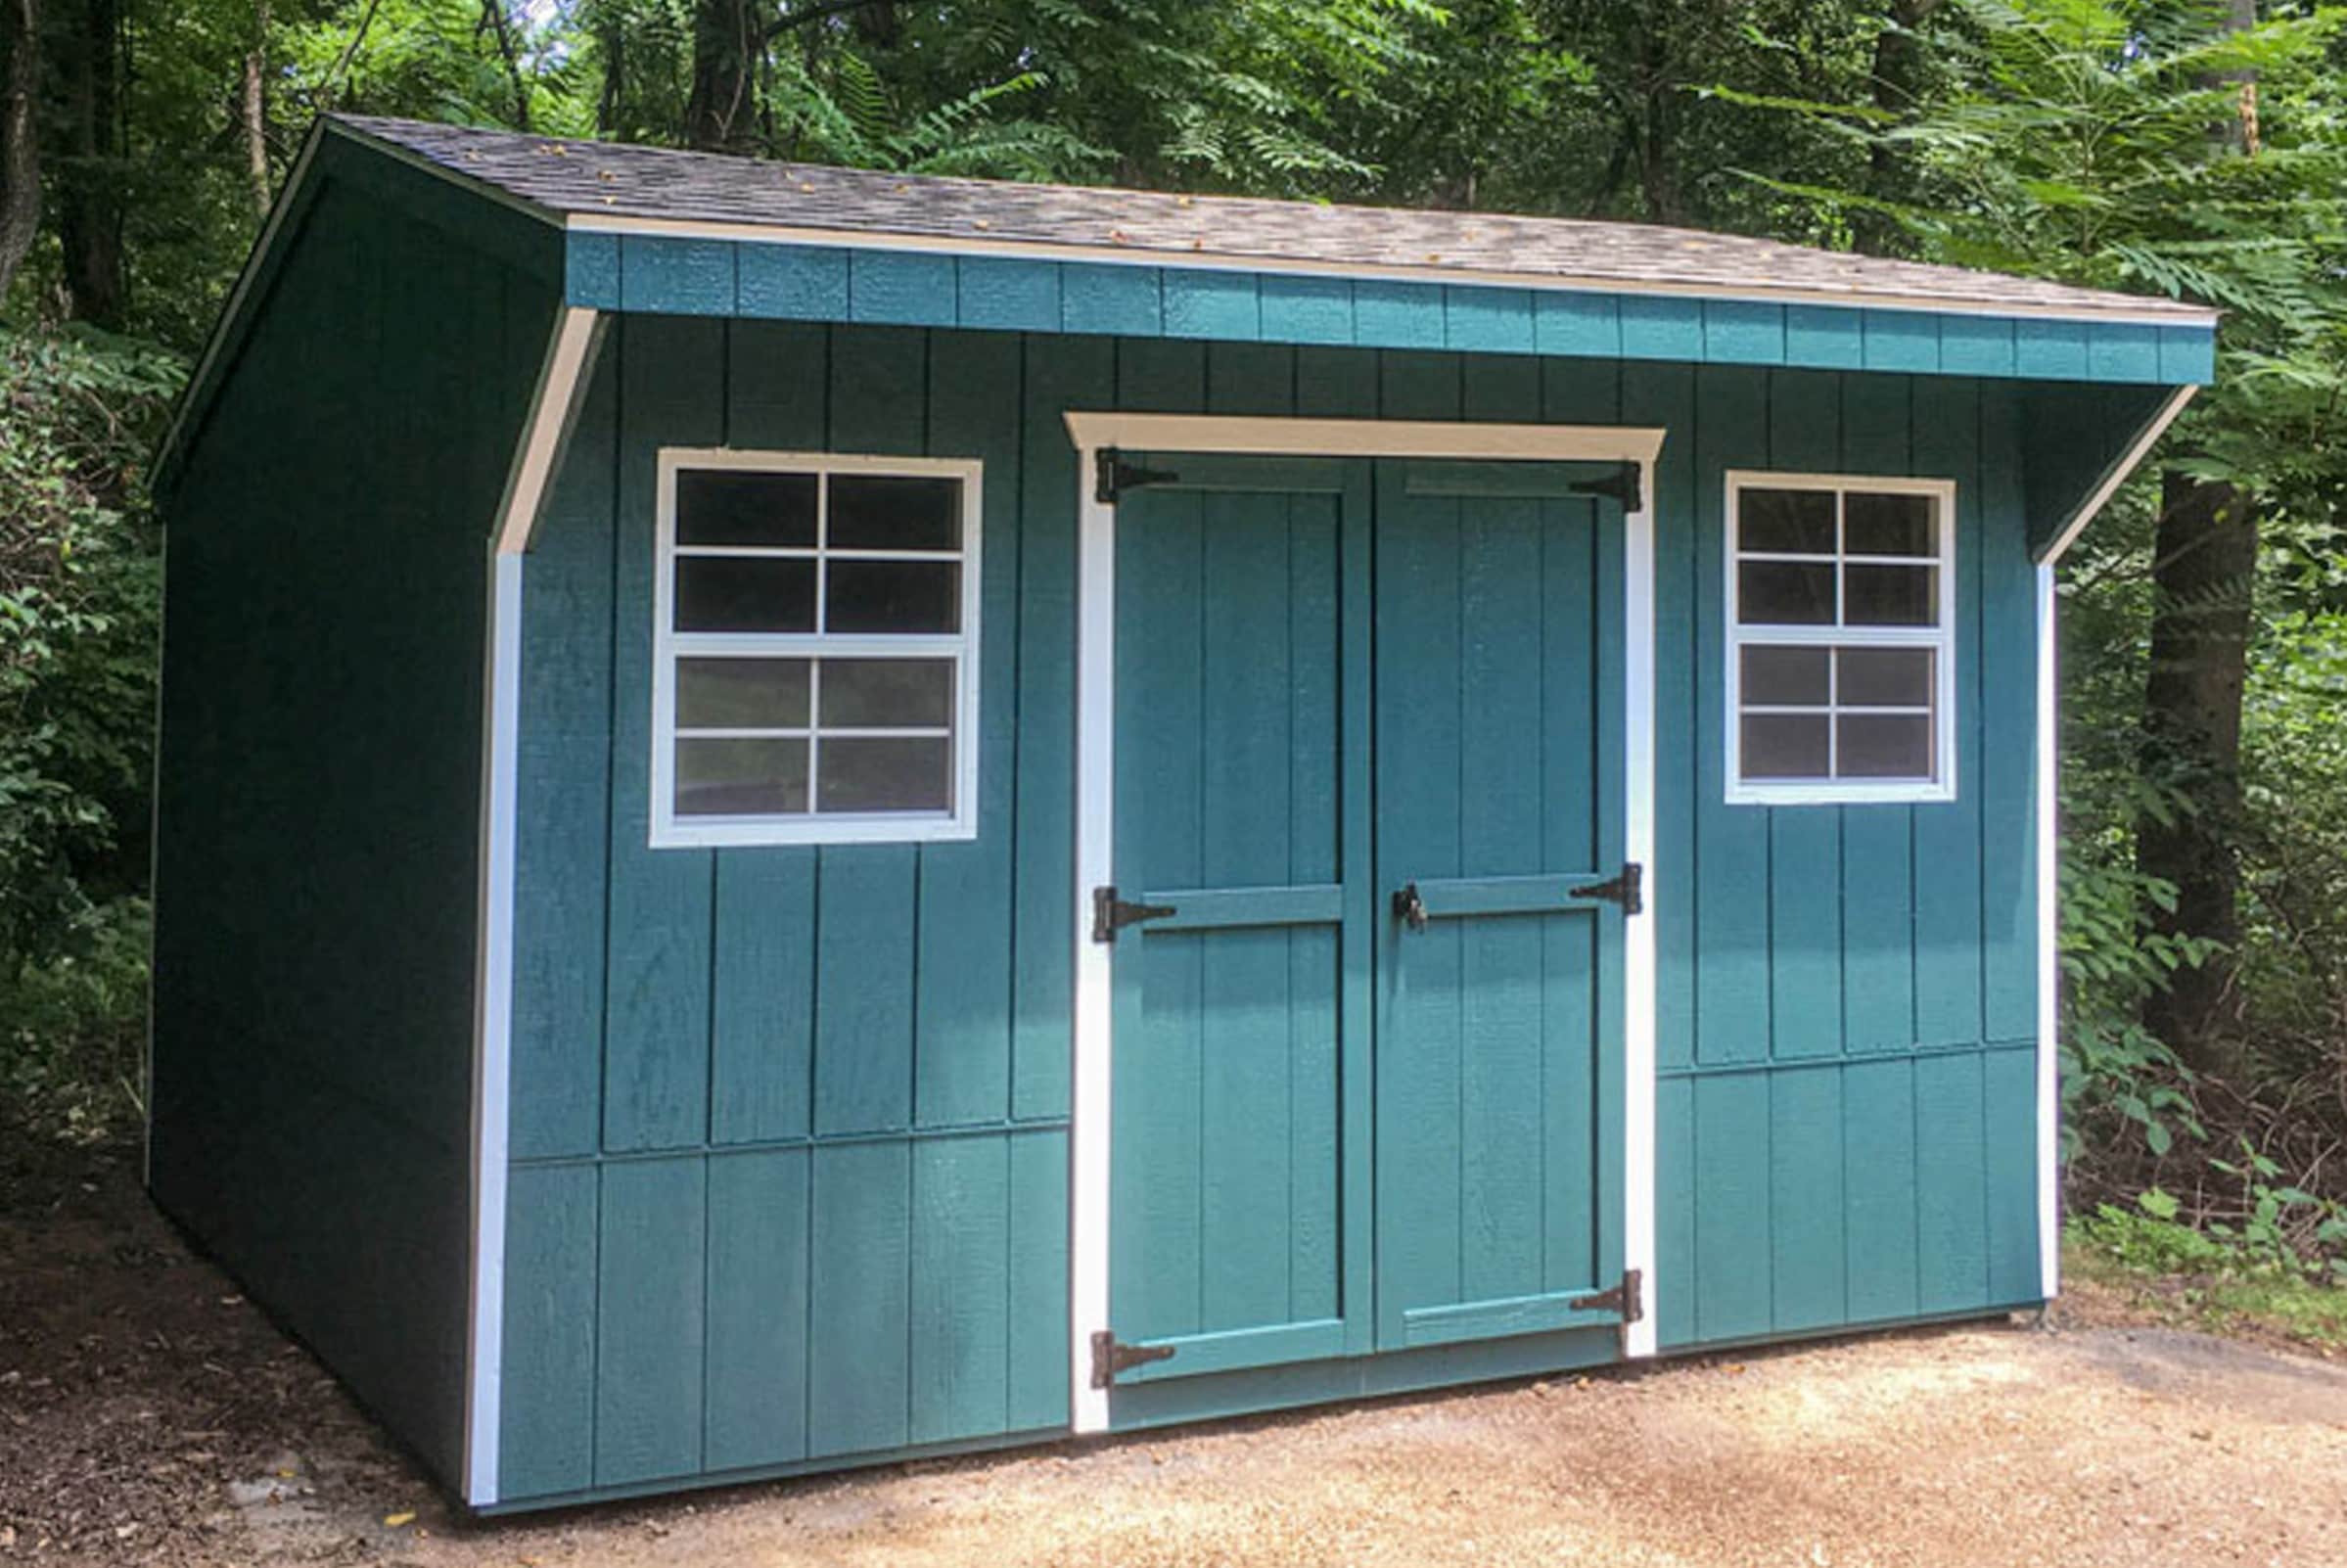
So, you have a shed sitting in your backyard, serving as a storage space for old gardening tools and unused sports equipment. But what if I told you that this humble shed could be transformed into a cozy and functional living space? Yes, you read that right! With a bit of creativity, careful planning, and some elbow grease, you can turn that neglected shed into a comfortable and stylish house.
Converting a shed into a house is a fantastic way to maximize your property's potential and create additional living space without breaking the bank. Whether you're looking to build a guest house, a home office, a studio, or even a tiny home, the possibilities are endless. Not only does this project offer a sustainable and cost-effective housing solution, but it also allows you to unleash your inner designer and tailor the space to suit your specific needs and style.
In this comprehensive guide, we'll walk you through the step-by-step process of transforming a simple shed into a habitable dwelling. From assessing the existing structure to planning the layout, from insulation and weatherproofing to electrical and plumbing installations, and from interior design to furnishing, we've got you covered. So, roll up your sleeves, unleash your creativity, and get ready to embark on an exciting journey of shed conversion. Let's turn that neglected shed into a charming and functional house that you'll be proud to call home!
Key Takeaways:
- Transforming a shed into a house requires vision, planning, and resourcefulness. By repurposing an existing structure and embracing sustainability, you can create a personalized and eco-friendly living space that reflects your unique style and comfort needs.
- Converting a shed into a house is a journey of creativity and determination. From assessing the shed’s condition to designing, preparing, and furnishing the space, each step contributes to the transformation of a simple shed into a charming and functional home.
Read more: How To Turn A Shed Into A She Shed
Assessing the Shed
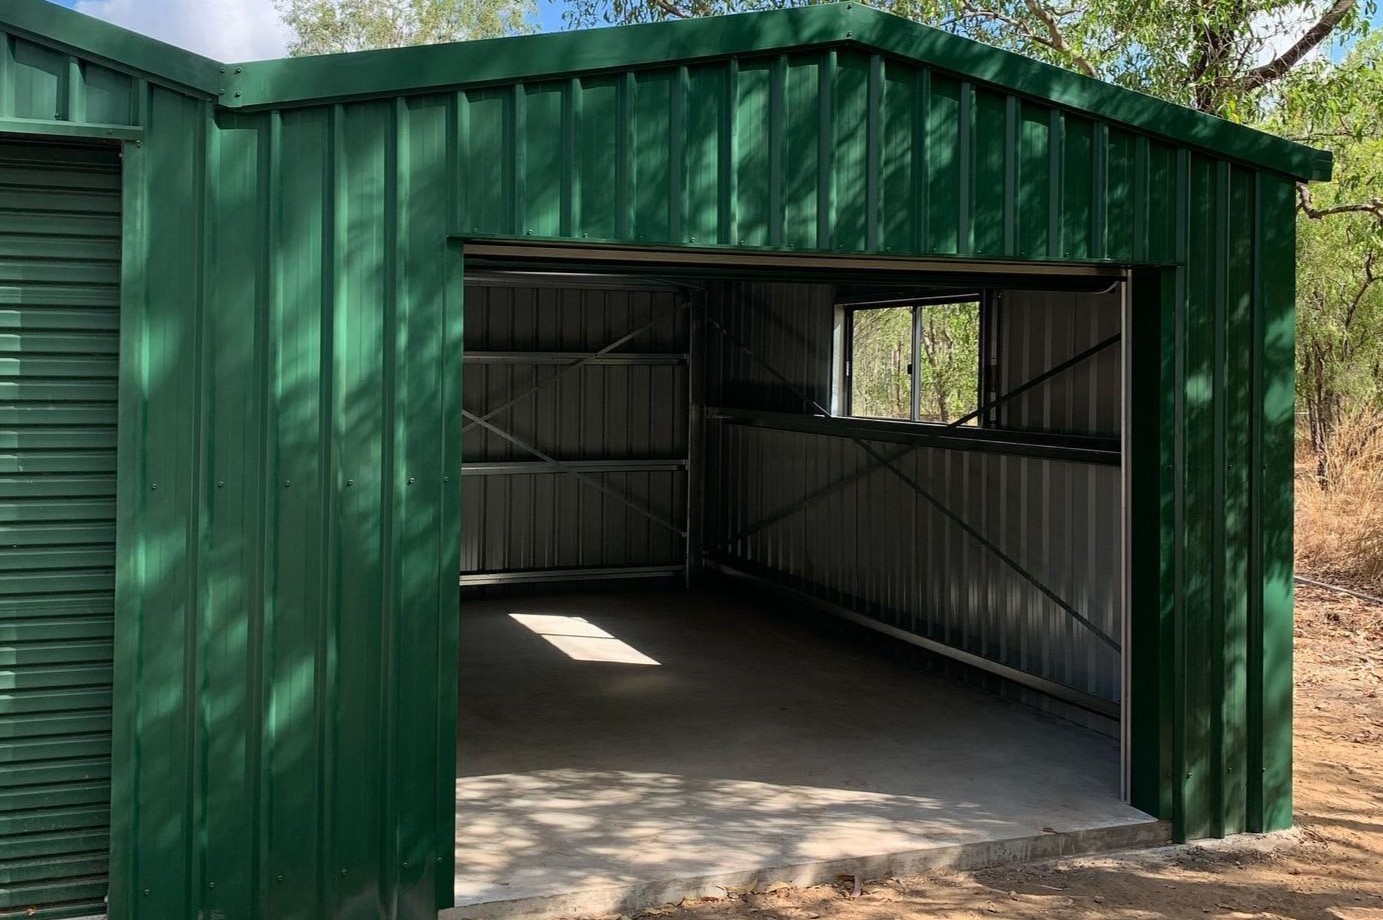
Before diving into the transformation process, it’s crucial to assess the shed’s current condition and structural integrity. Start by examining the exterior and interior of the shed to identify any signs of damage, such as rot, mold, or pest infestations. Check the foundation, walls, roof, and flooring for any structural issues that may need to be addressed before proceeding with the conversion.
Next, consider the size and layout of the shed. Evaluate whether the dimensions and layout are suitable for the intended use of the converted space. Take measurements and create a rough floor plan to visualize how the interior space can be optimized for livability and functionality.
Assess the natural lighting and ventilation options. Determine if there are windows or opportunities to add windows to bring in natural light and fresh air. Adequate natural light and ventilation are essential for creating a comfortable living environment.
Consider the shed’s proximity to the main house and utilities. Assess the feasibility of connecting the converted shed to existing water, electricity, and sewage systems. If the shed is located far from the main house, you may need to plan for additional utility connections or alternative off-grid solutions.
Lastly, check local building codes and zoning regulations. Contact your local building department to inquire about any permits or regulations that may apply to converting a shed into a living space. Understanding the legal and regulatory requirements upfront will help you avoid potential setbacks and ensure that your conversion project complies with the necessary standards.
By thoroughly assessing the shed’s condition, layout, utilities, and regulatory considerations, you’ll gain valuable insights that will inform the planning and design of the conversion. This initial assessment sets the stage for a successful and well-informed transformation of the shed into a habitable house.
Planning and Designing the Conversion
Once you’ve assessed the shed and confirmed its suitability for conversion, the next step is to embark on the planning and design phase. This stage is where your creativity and vision for the transformed space come to life. Consider the following key aspects as you plan and design the conversion:
- Functionality and Layout: Determine the primary function of the converted space. Will it serve as a guest house, a home office, a studio, or a full-time residence? Based on the intended use, create a detailed layout that optimizes the available space for comfort and functionality. Consider zoning distinct areas for living, sleeping, cooking, and bathing, if applicable.
- Aesthetics and Style: Envision the aesthetic appeal and style of the interior and exterior. Decide on a cohesive design theme that reflects your personal taste and complements the overall look of your property. Whether you prefer a rustic, modern, or eclectic style, the design phase is the perfect opportunity to infuse character and charm into the converted space.
- Utility Connections: Plan for the installation of essential utilities such as electricity, plumbing, and heating. Determine the most practical and cost-effective approach for connecting the shed to existing utility lines or explore off-grid options if necessary. Consider the placement of outlets, fixtures, and appliances to ensure convenient access to power and water.
- Storage and Organization: Incorporate smart storage solutions into the design to maximize space efficiency. From built-in shelving and cabinets to creative storage hacks, thoughtful organization will contribute to a clutter-free and inviting living environment.
- Regulatory Compliance: Review local building codes and regulations to ensure that your design plans align with legal requirements. If permits are necessary for the conversion, initiate the application process and seek professional guidance if needed.
Engaging in thorough planning and design work sets the stage for a successful and well-executed shed conversion. By envisioning the functionality, aesthetics, utilities, and compliance aspects, you’ll lay a solid foundation for the transformation process, bringing you one step closer to realizing your dream of turning a shed into a beautiful and functional living space.
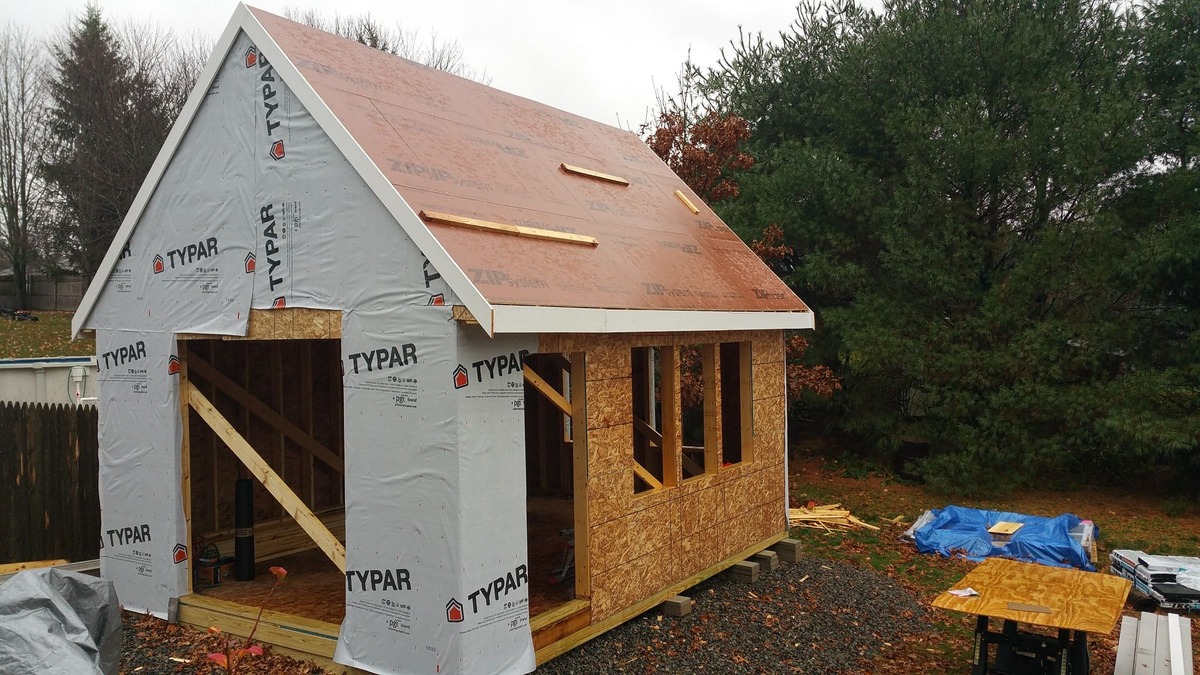
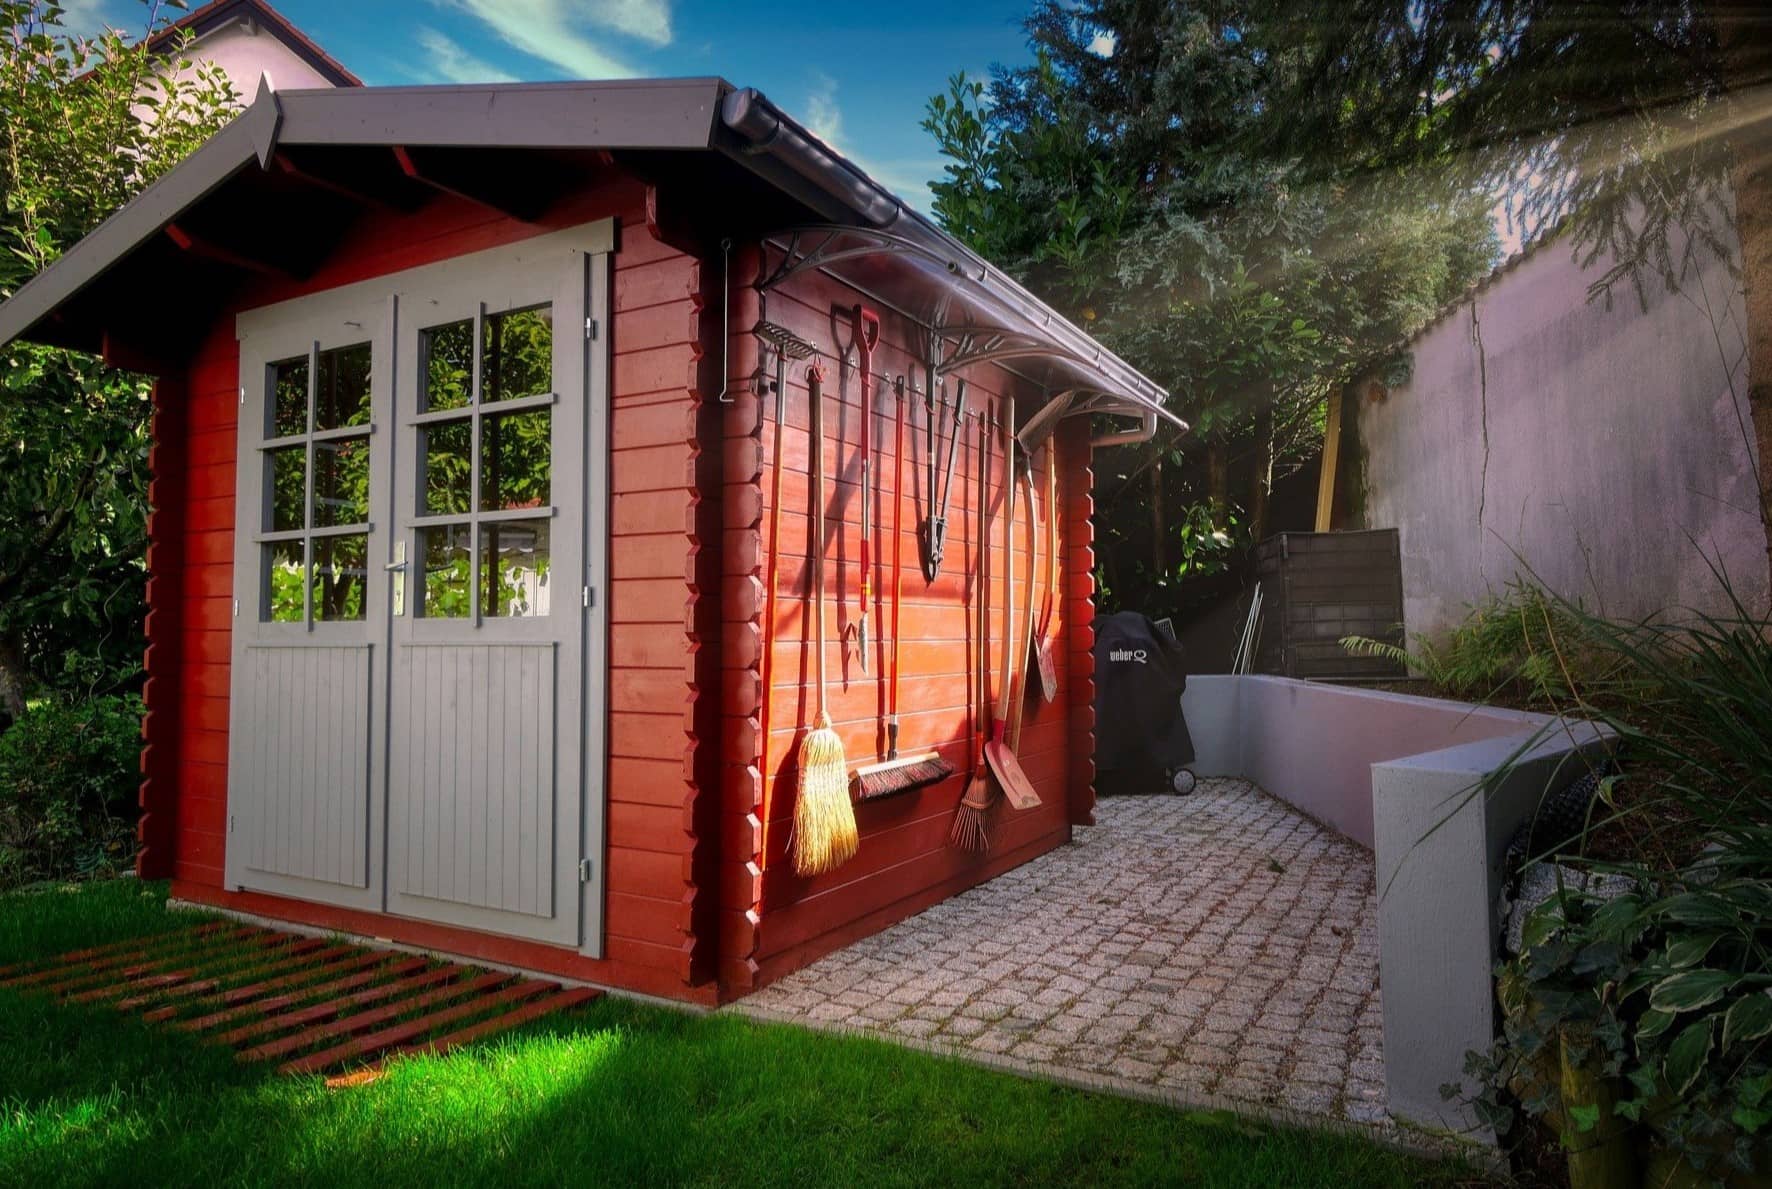
Preparing the Shed
With the planning and design phase complete, it’s time to roll up your sleeves and prepare the shed for its remarkable transformation. This crucial stage involves a series of preparatory tasks that will set the groundwork for the conversion process. Here’s a step-by-step guide to preparing the shed:
- Clearing Out and Cleaning: Start by decluttering the shed and removing all items that won’t be part of the new living space. Dispose of unnecessary items, donate what can be repurposed, and store any belongings that need to be kept. Once the shed is cleared out, thoroughly clean the interior and exterior to create a fresh canvas for the upcoming renovations.
- Repair and Maintenance: Address any structural issues, such as damaged walls, flooring, or roofing. Replace rotted or termite-infested wood, fix leaks, and reinforce the structural integrity of the shed. This step is crucial for ensuring a safe and durable living space.
- Weatherproofing: Enhance the shed’s resilience against the elements by weatherproofing the exterior. Apply weather-resistant coatings, seal gaps and cracks, and install proper drainage systems to protect the interior from moisture and external elements.
- Upgrading the Entryway: Consider upgrading the entry door and adding steps or a small porch if feasible. A welcoming and secure entryway enhances the overall appeal and functionality of the converted space.
- Structural Modifications: If the layout and structure of the shed need to be modified to accommodate the new design, this is the time to make necessary alterations. Whether it involves removing interior walls, adding windows, or adjusting the roofline, these modifications should be carried out with precision and care.
- Utilities Preparation: Plan for the installation of electrical wiring, plumbing, and heating systems as per the design specifications. This may involve hiring professionals for complex installations or obtaining permits for utility work.
By meticulously preparing the shed, you’ll create a solid foundation for the upcoming stages of the conversion process. This preparatory phase sets the stage for a seamless and successful transformation, bringing you one step closer to realizing your vision of a fully functional and inviting living space within the confines of a humble shed.
Before turning a shed into a house, make sure to check local building codes and obtain any necessary permits. It’s important to ensure the shed is structurally sound and has proper insulation, plumbing, and electrical wiring for a comfortable living space.
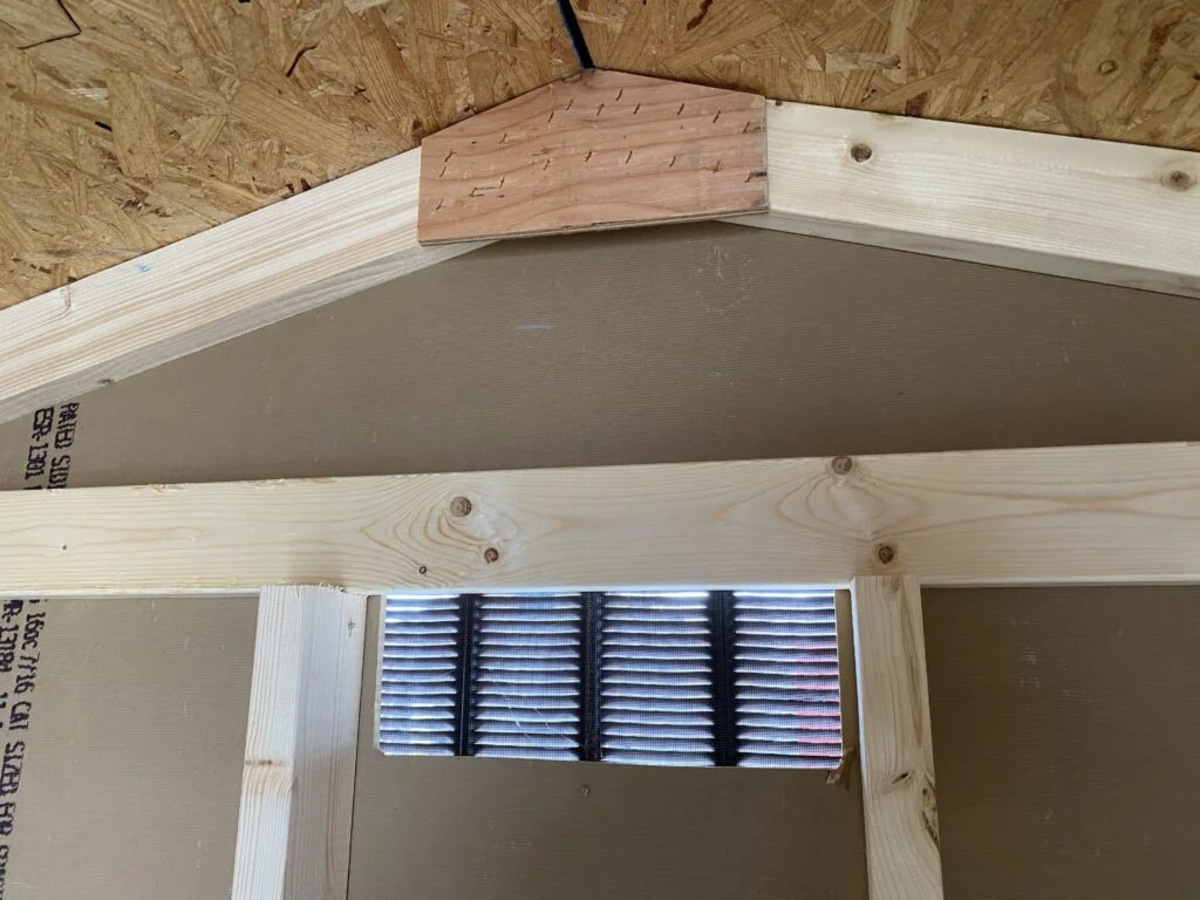
Insulation and Weatherproofing
When converting a shed into a habitable living space, proper insulation and weatherproofing are essential for creating a comfortable and energy-efficient environment. These measures not only regulate indoor temperature but also protect the interior from external elements. Here’s a comprehensive guide to insulating and weatherproofing the shed:
- Insulation Materials: Choose insulation materials suitable for the shed’s construction. Common options include fiberglass batts, foam boards, spray foam, and reflective insulation. Consider the R-value, which indicates the material’s thermal resistance, to ensure effective insulation.
- Wall Insulation: Install insulation between the wall studs, ensuring complete coverage and a snug fit. Seal any gaps or openings to prevent air leaks and maximize the insulation’s efficiency. Additionally, consider adding a vapor barrier to control moisture and enhance insulation performance.
- Roof Insulation: Insulate the underside of the roof to prevent heat loss and minimize temperature fluctuations. Depending on the roof’s structure, options include rigid foam insulation, spray foam, or blown-in insulation. Proper ventilation is also crucial to prevent moisture buildup in the insulated space.
- Floor Insulation: If the shed has a raised floor, insulate the underside to create a thermal barrier against the ground. This helps maintain a comfortable indoor temperature and prevents cold drafts from seeping through the floor.
- Weatherproofing: Seal all exterior openings, including doors, windows, and gaps around utility penetrations, with weather-stripping, caulk, or foam sealant. This prevents drafts, moisture intrusion, and air leakage, enhancing the shed’s overall energy efficiency and comfort.
- Exterior Cladding: Consider adding an additional layer of weather-resistant cladding, such as vinyl siding or fiber cement boards, to further protect the shed from the elements. This not only enhances the exterior aesthetics but also provides an extra barrier against wind, rain, and UV exposure.
By prioritizing insulation and weatherproofing, you’ll create a well-insulated, resilient, and comfortable living space within the converted shed. These measures contribute to energy efficiency, temperature control, and protection against the elements, ensuring that your new dwelling is a cozy and inviting retreat throughout the year.
Read more: How To Turn An Old Shed Into A She Shed
Electrical and Plumbing
Integrating electrical and plumbing systems into the converted shed is a pivotal step in creating a fully functional and livable space. Whether you’re envisioning a guest house, a studio, or a tiny home, ensuring safe and efficient access to power, lighting, and water is essential. Here’s a comprehensive overview of the electrical and plumbing considerations for your shed conversion:
- Electrical Wiring: Plan the placement of outlets, switches, and lighting fixtures to accommodate the interior layout. Hire a licensed electrician to install the wiring, ensuring compliance with local building codes and safety standards. Consider the electrical load requirements for appliances, electronics, and heating/cooling systems.
- Lighting Design: Incorporate a well-thought-out lighting scheme to enhance the functionality and ambiance of the space. Utilize a combination of overhead lighting, task lighting, and decorative fixtures to create a comfortable and inviting atmosphere.
- Heating and Cooling: Evaluate the need for climate control and explore options for heating and cooling the space. This may involve installing a mini-split system, electric baseboard heaters, or portable AC units, depending on the shed’s size and your climate requirements.
- Plumbing Considerations: If your conversion project includes a kitchen, bathroom, or laundry area, plan for the installation of plumbing fixtures. Consult with a plumber to assess the feasibility of connecting the shed to existing water and sewage lines or explore alternative solutions such as composting toilets and off-grid water systems.
- Water Supply: Ensure reliable access to clean water by connecting the shed to a potable water source. If this isn’t feasible, consider installing a dedicated water tank or utilizing rainwater harvesting systems for sustainable water supply.
- Waste Disposal: Address the disposal of wastewater by connecting the shed to a municipal sewage system or incorporating a septic system if required. Comply with local regulations regarding waste disposal and sewage management.
By addressing the electrical and plumbing needs of the converted shed, you’ll create a fully equipped and comfortable living space that meets modern lifestyle requirements. These essential systems provide the convenience, safety, and functionality necessary for a seamless transition from a simple shed to a fully functional and inviting home.
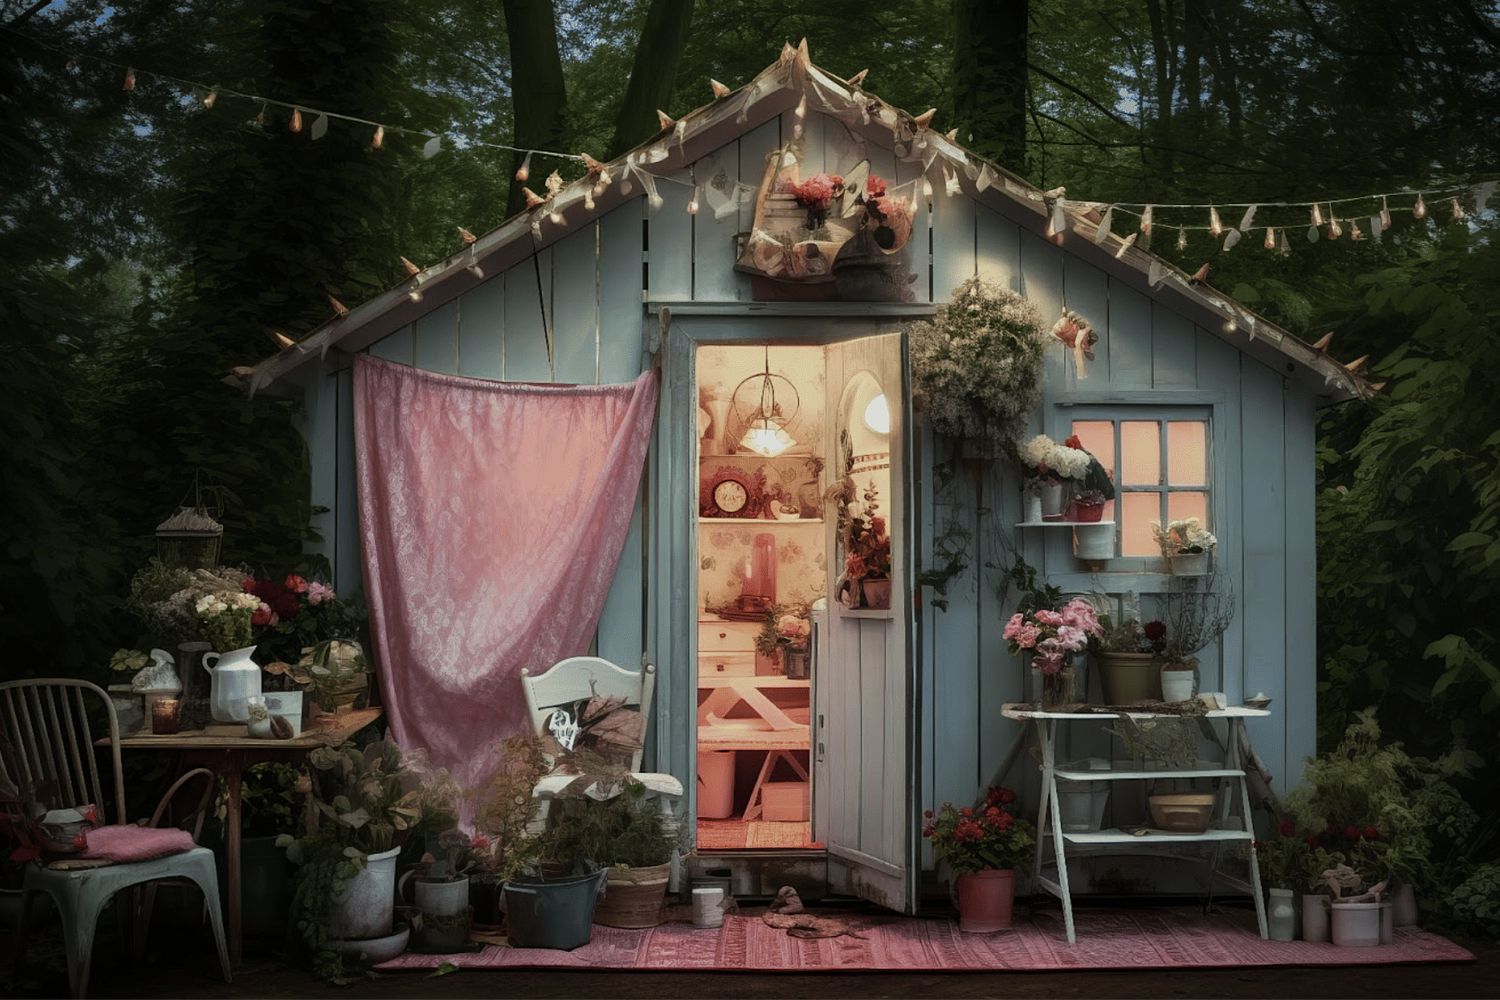
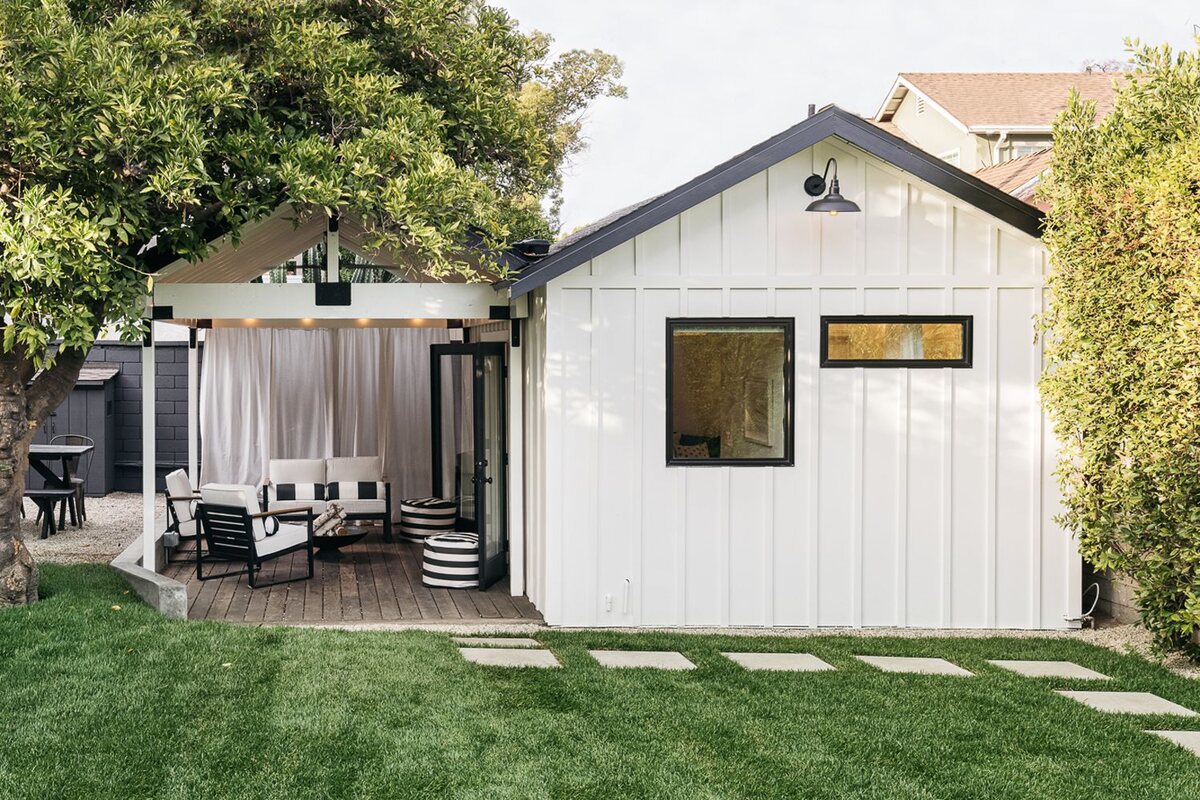
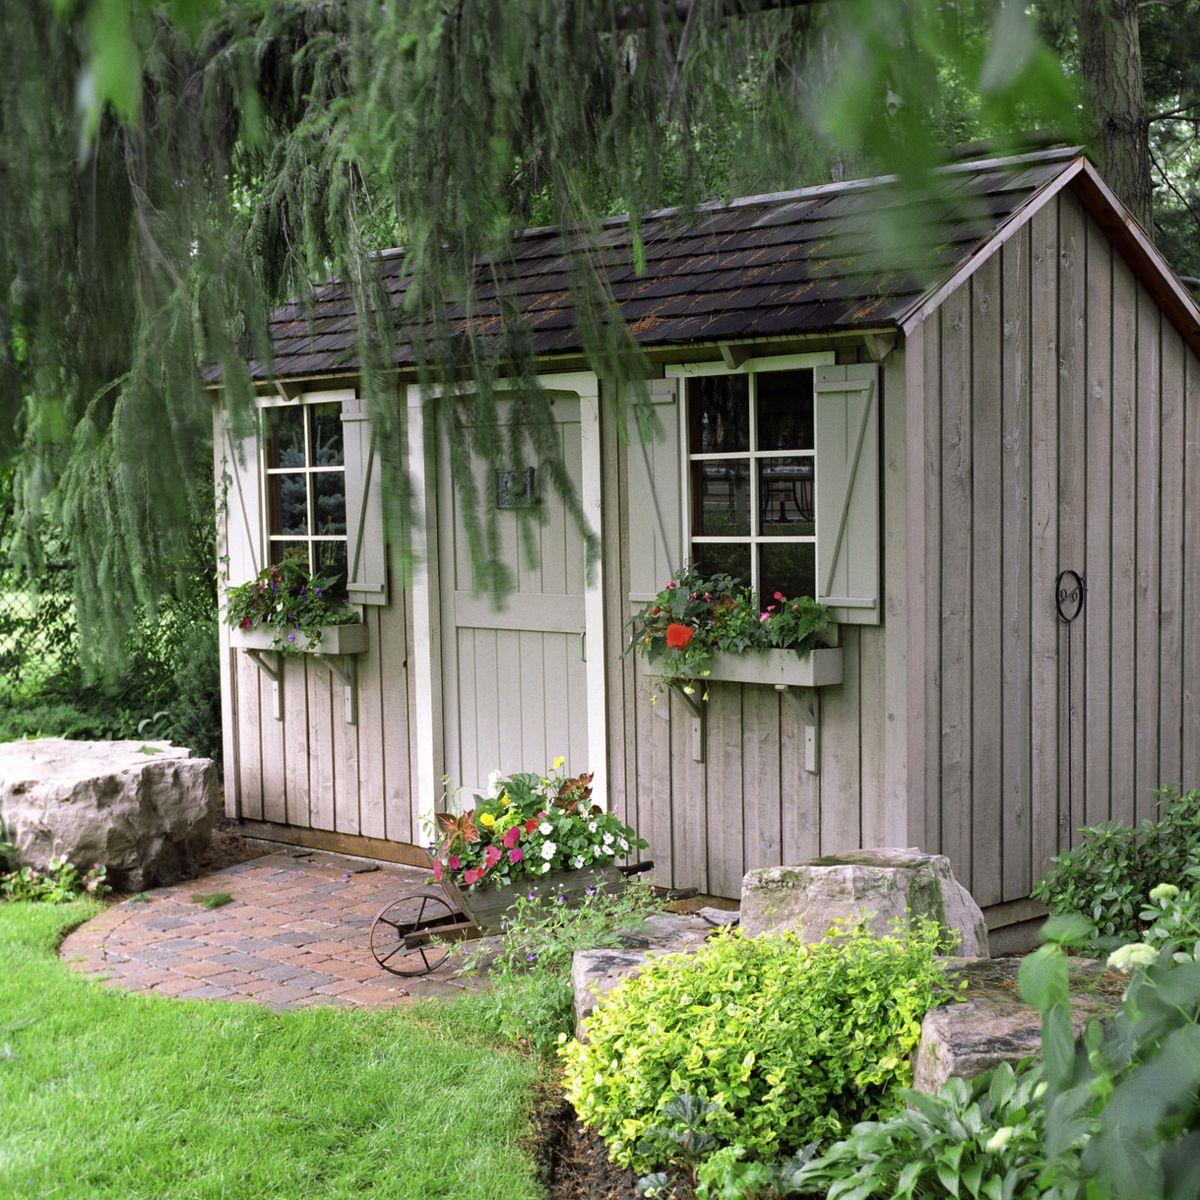
Interior Design and Furnishing
As you embark on the final phase of transforming your shed into a habitable house, the interior design and furnishing stage offers an exciting opportunity to infuse personality and functionality into the space. Whether you’re aiming for a cozy retreat, a stylish studio, or a guest haven, thoughtful interior design and furnishing choices play a pivotal role in creating a comfortable and inviting environment. Here’s a comprehensive guide to interior design and furnishing for your shed conversion:
- Space Optimization: Maximize the functionality of the interior by selecting space-saving furniture and multifunctional fixtures. Consider built-in storage solutions, fold-down tables, and versatile seating options to make the most of the available square footage.
- Color Palette: Choose a cohesive color scheme that reflects your preferred style and creates a harmonious atmosphere. Lighter hues can make the space feel more open and airy, while bold accents can add personality and visual interest.
- Flooring Selection: Explore flooring options that align with your design aesthetic and practical needs. Whether it’s hardwood, laminate, vinyl, or tile, opt for durable and easy-to-maintain flooring that enhances the visual appeal of the interior.
- Furnishing Essentials: Prioritize essential furnishings such as a comfortable bed or sofa, a functional work desk, dining or kitchen seating, and storage units. Choose pieces that fit the scale of the space and serve the intended purpose without overwhelming the room.
- Personal Touches: Infuse the space with personal touches and decorative elements that reflect your individuality. Display artwork, photographs, and decorative accents that resonate with your style, creating a warm and inviting atmosphere.
- Window Treatments: Enhance privacy and light control with suitable window treatments. Consider curtains, blinds, or shades that complement the interior design while providing practical benefits.
- Functional Kitchen and Bath: If your shed conversion includes a kitchen or bathroom area, prioritize functionality and efficient use of space. Choose compact appliances, space-saving fixtures, and smart storage solutions to optimize these essential areas.
By focusing on interior design and furnishing, you’ll transform your shed into a thoughtfully curated and inviting living space that reflects your personal style and meets your practical needs. This final stage of the conversion process brings your vision to life, turning a humble shed into a charming and functional house that’s ready to welcome you home.
Conclusion
Congratulations on reaching the conclusion of your shed-to-house transformation journey! What was once a simple storage space has now evolved into a versatile and inviting living environment, ready to accommodate your needs and lifestyle. As you wrap up this remarkable project, it’s essential to reflect on the transformation process and the newfound potential of your converted shed.
Throughout this journey, you’ve demonstrated creativity, resourcefulness, and a keen eye for design, turning challenges into opportunities and envisioning a new purpose for an underutilized structure. By embracing the following key takeaways, you can fully appreciate the significance of your achievement:
- Vision and Planning: Your ability to envision the shed’s potential as a living space and meticulously plan the conversion process has been instrumental in realizing this transformation. Your thoughtful consideration of functionality, aesthetics, and utility integration has resulted in a space that seamlessly blends practicality with personal style.
- Resourcefulness and Adaptability: Converting a shed into a house has required resourcefulness, adaptability, and a willingness to overcome obstacles. From addressing structural repairs to navigating utility installations, your ability to adapt to the demands of the project has been a testament to your determination and ingenuity.
- Sustainability and Efficiency: By repurposing an existing structure, you’ve embraced sustainability and minimized environmental impact. Your commitment to energy-efficient insulation, weatherproofing, and utility optimization reflects a dedication to creating a responsible and eco-friendly living space.
- Personalization and Comfort: Through thoughtful interior design and furnishing choices, you’ve infused the space with your unique personality and created a comfortable retreat that reflects your individuality. The careful selection of furnishings, color schemes, and personal touches has transformed the shed into a welcoming and personalized home.
As you embark on this new chapter in your shed-converted house, remember that the journey doesn’t end here. Your newfound living space offers endless opportunities for creativity, growth, and enjoyment. Whether it becomes a tranquil retreat, a productive workspace, or a welcoming guest haven, the possibilities are boundless.
Embrace this achievement as a testament to your vision, determination, and dedication to creating a space that truly feels like home. Your shed may have started as a humble structure, but through your creativity and effort, it has blossomed into a remarkable and cherished living space. Here’s to the beginning of a new chapter and the countless memories that await within the walls of your transformed shed-turned-house.
Frequently Asked Questions about How To Turn A Shed Into A House
Was this page helpful?
At Storables.com, we guarantee accurate and reliable information. Our content, validated by Expert Board Contributors, is crafted following stringent Editorial Policies. We're committed to providing you with well-researched, expert-backed insights for all your informational needs.


0 thoughts on “How To Turn A Shed Into A House”