Home>Gardening & Outdoor>Pool & Spa Care>How To Remove A Hot Tub Filter
Pool & Spa Care
How To Remove A Hot Tub Filter
Modified: January 6, 2024
Learn the step-by-step process for removing a hot tub filter for effective pool and spa care. Keep your hot tub in top condition with these expert tips.
(Many of the links in this article redirect to a specific reviewed product. Your purchase of these products through affiliate links helps to generate commission for Storables.com, at no extra cost. Learn more)
Introduction
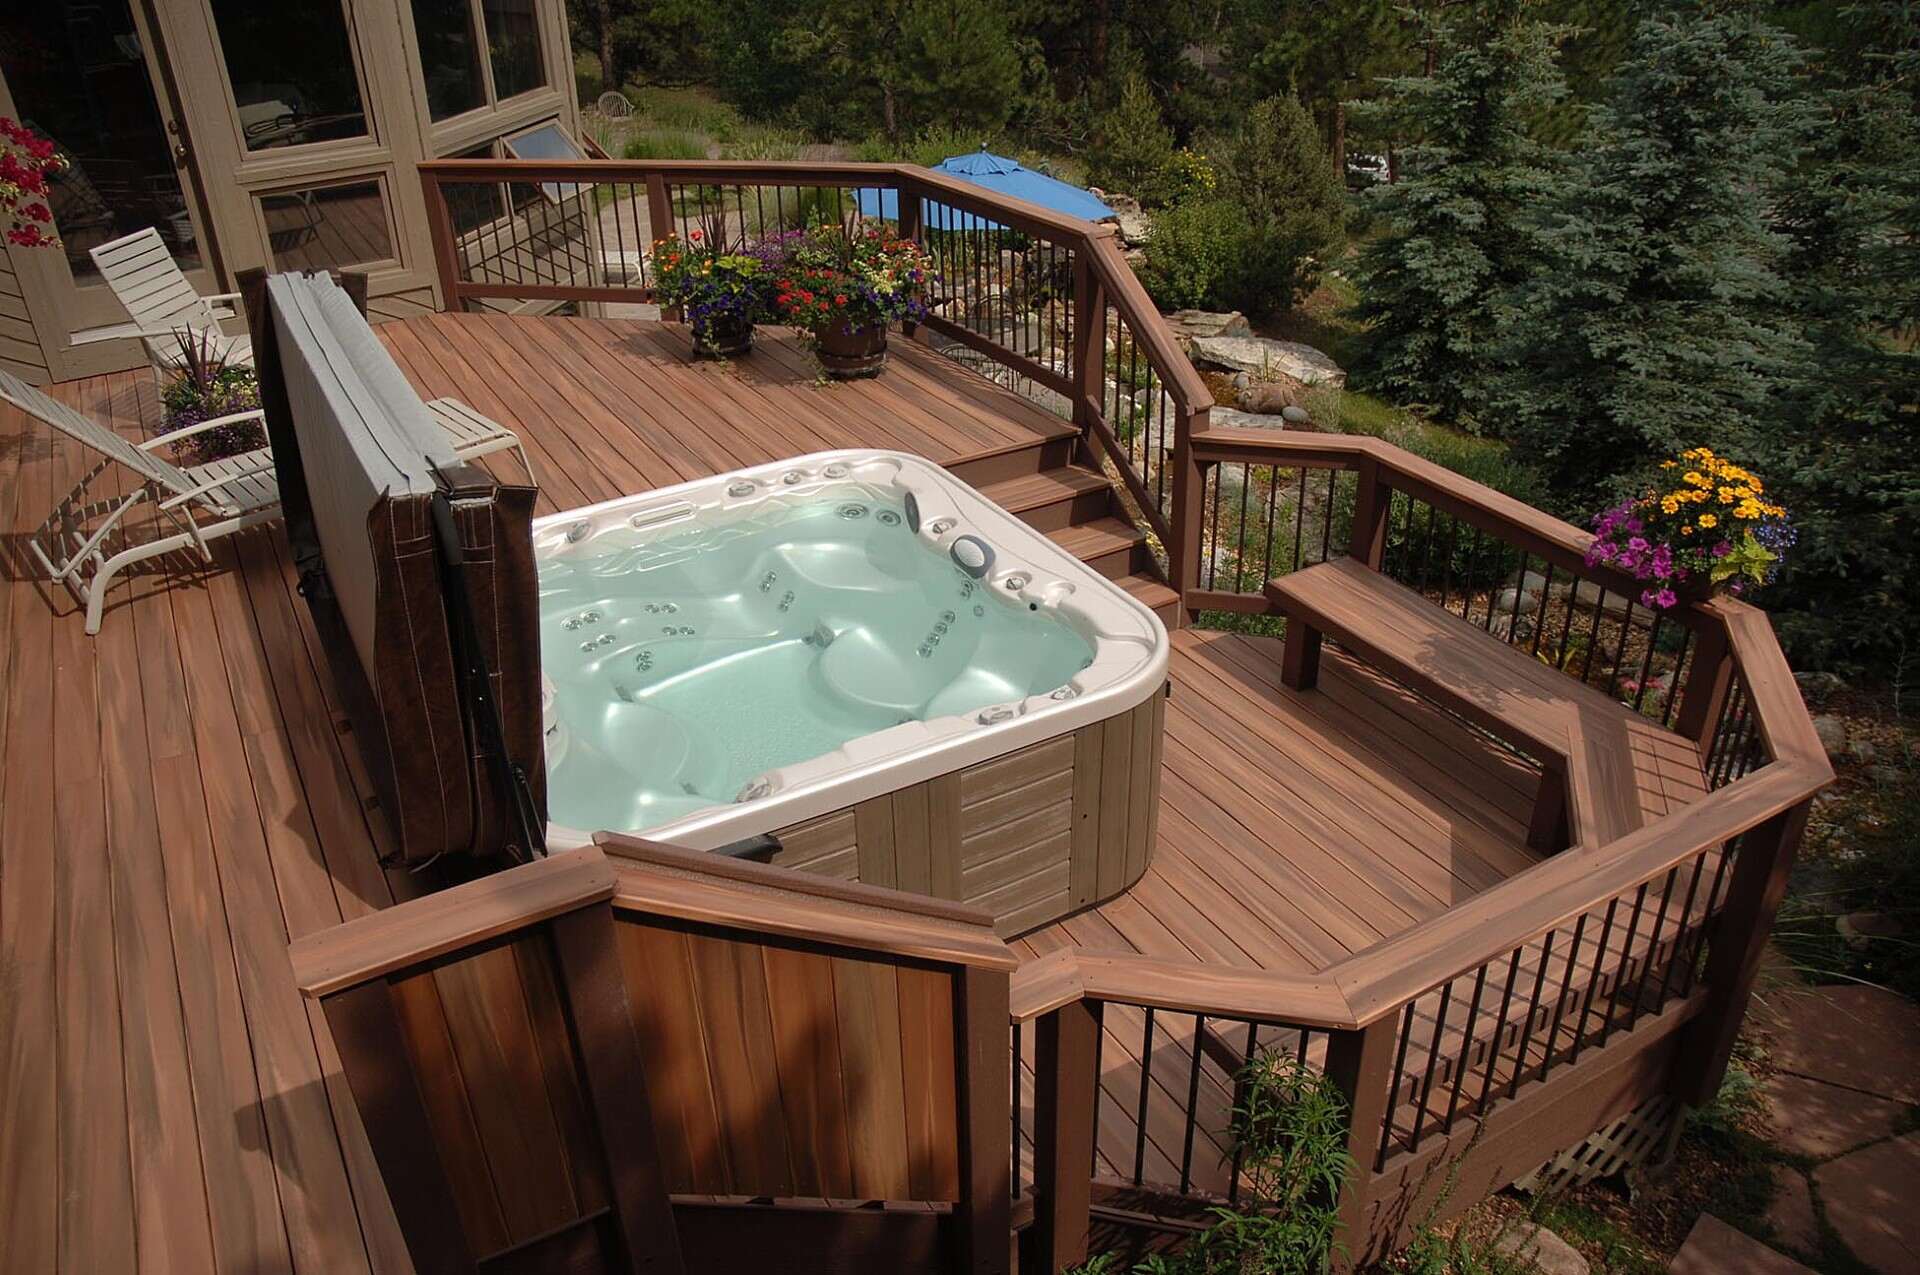
Owning a hot tub is a luxurious and enjoyable experience, providing a soothing retreat from the stresses of everyday life. However, to ensure that your hot tub continues to function optimally, it's essential to maintain its various components, including the filter. The filter plays a crucial role in keeping the water clean and safe for use, as it traps debris, contaminants, and impurities. Over time, the filter becomes clogged and less effective, necessitating its removal and cleaning.
In this comprehensive guide, we will walk you through the step-by-step process of removing a hot tub filter. Whether you're a seasoned hot tub owner or a novice enthusiast, understanding how to properly remove and clean the filter is vital for the longevity and performance of your hot tub. By following these simple yet essential steps, you can ensure that your hot tub remains a source of relaxation and rejuvenation for years to come.
So, let's dive into the process of removing a hot tub filter and discover the key steps to maintaining a pristine and inviting hot tub environment. Whether you're preparing for routine maintenance or addressing a specific issue, mastering this fundamental aspect of hot tub care will empower you to take control of your relaxation oasis.
Key Takeaways:
- Keep your hot tub clean and safe by regularly removing, cleaning, and replacing the filter. This ensures optimal performance and a pristine environment for relaxation.
- Prioritize safety by turning off the hot tub’s power before removing the filter. Access the filter compartment, remove the filter, clean it thoroughly, and then reinstall it for a rejuvenated hot tub experience.
Read more: How To Remove Stuck Hot Tub Filter
Step 1: Turn Off the Hot Tub
Before beginning the process of removing the hot tub filter, it’s crucial to ensure the safety of both yourself and the hot tub system. Start by turning off the power to the hot tub at the main electrical panel. This step is essential to prevent any potential hazards and ensure that the filter removal process is conducted safely.
If your hot tub has an integrated control panel, locate the power switch or button and turn it off. Some hot tubs may also have a dedicated disconnect box nearby, which should be switched off to cut the power supply completely. By deactivating the power source, you eliminate the risk of electrical shock and create a secure environment for working on the filter.
Additionally, if your hot tub is equipped with a circulation pump, ensure that it is turned off to halt the water flow. This will prevent any water from circulating through the filter compartment during the removal process, minimizing the risk of spills and leaks. By taking these precautionary measures, you set the stage for a smooth and hassle-free filter removal procedure.
Remember, safety should always be the top priority when performing maintenance on your hot tub. By following this initial step and cutting off the power supply, you create a secure environment for the subsequent stages of filter removal and maintenance.
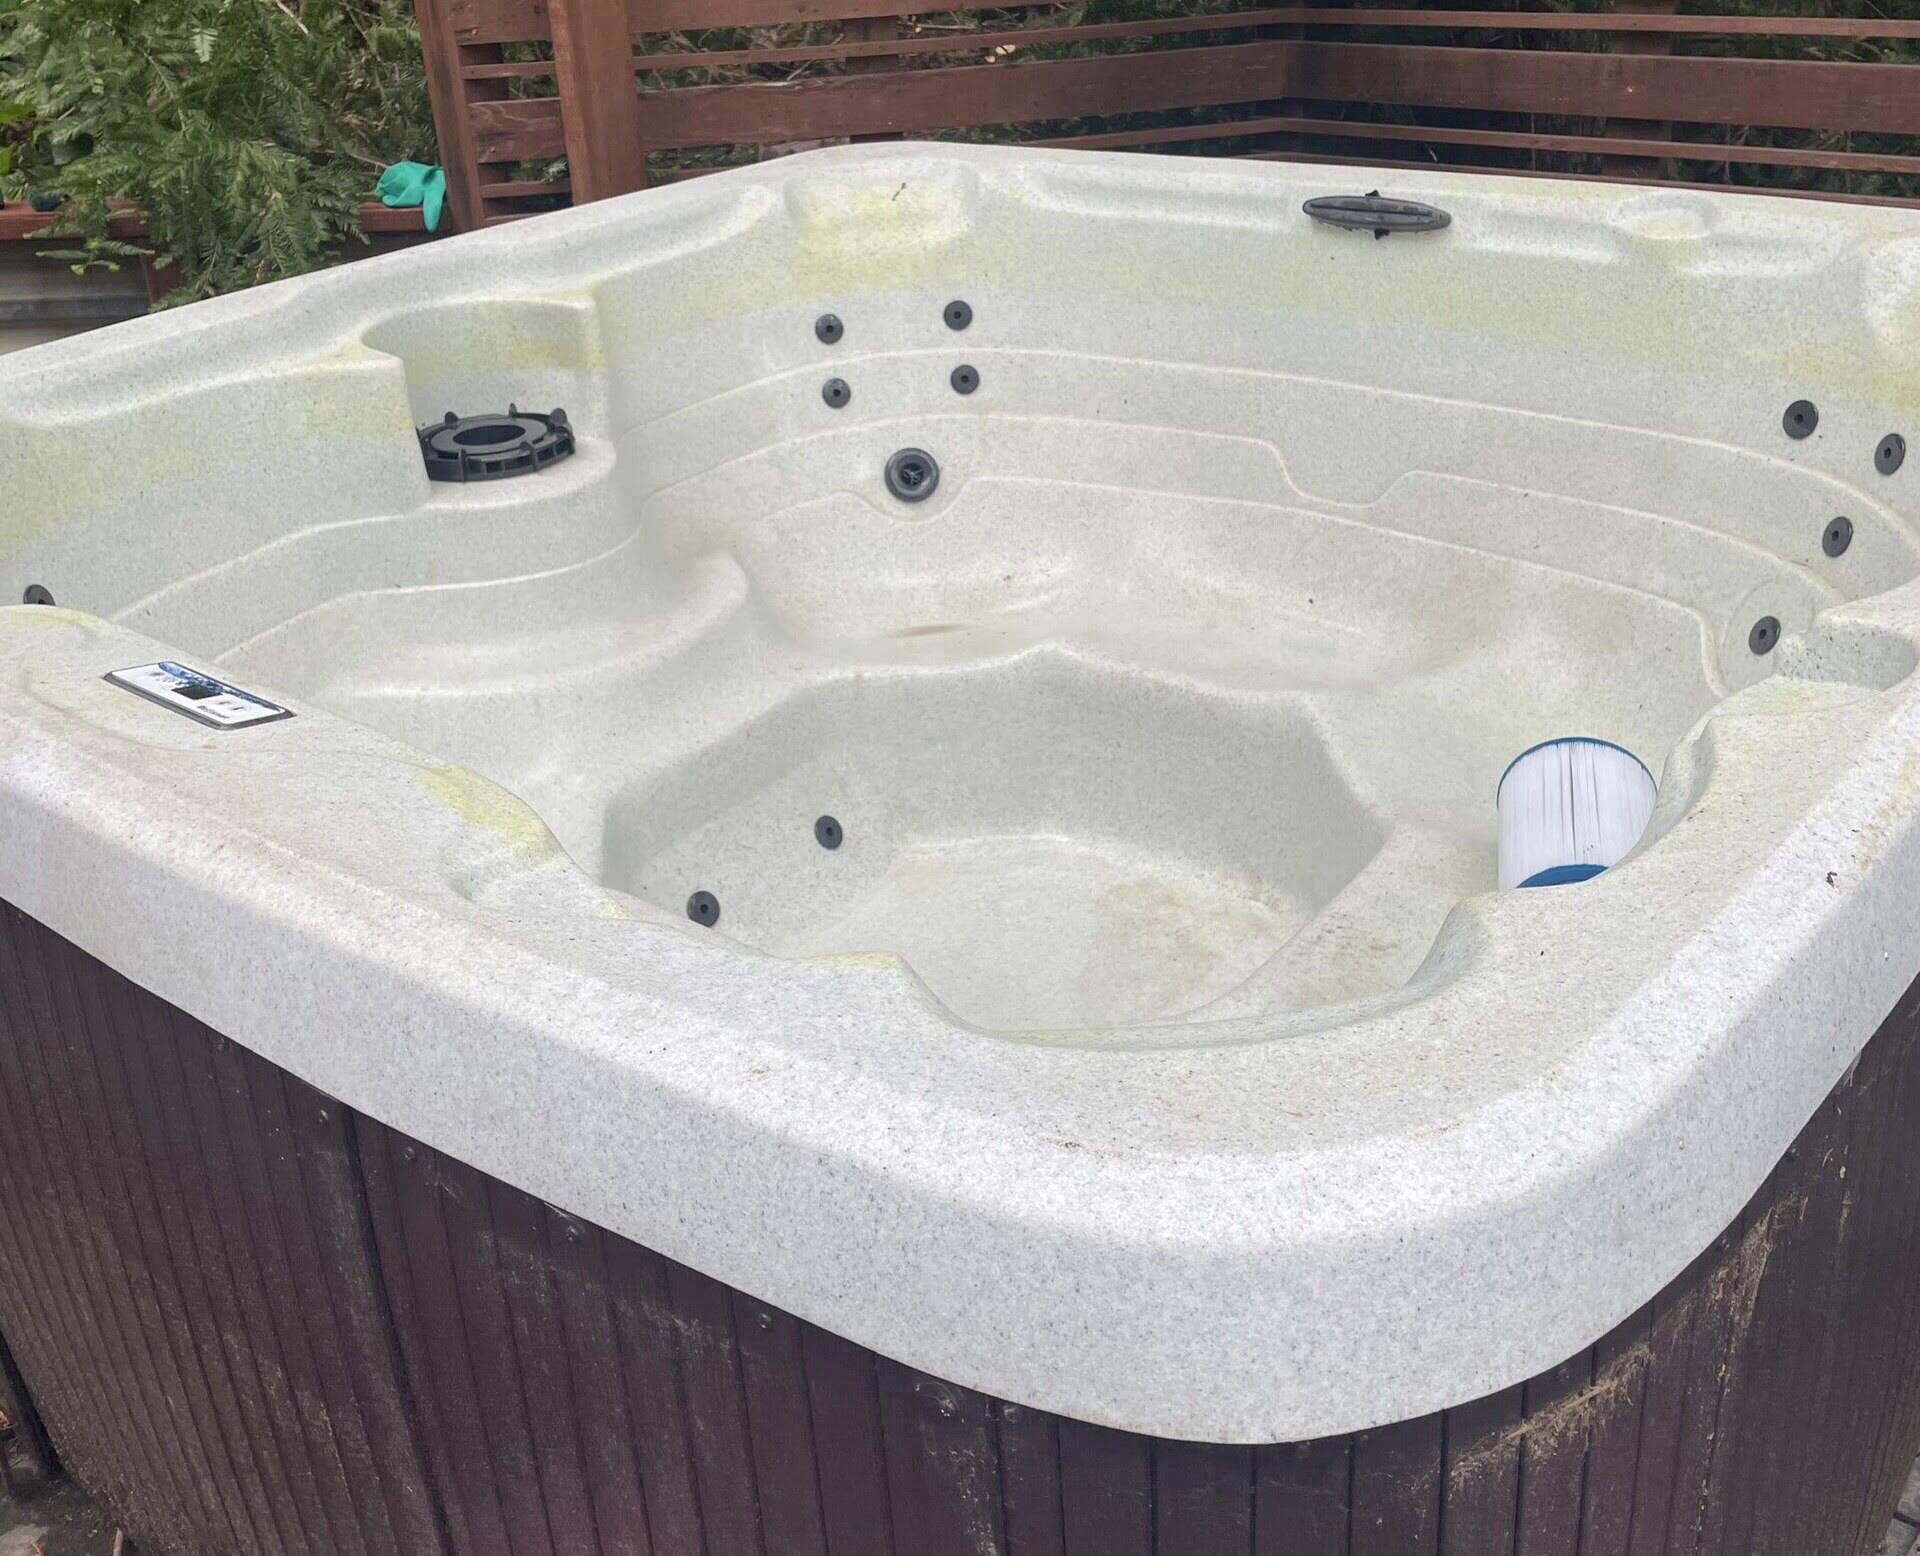
Step 2: Access the Filter Compartment
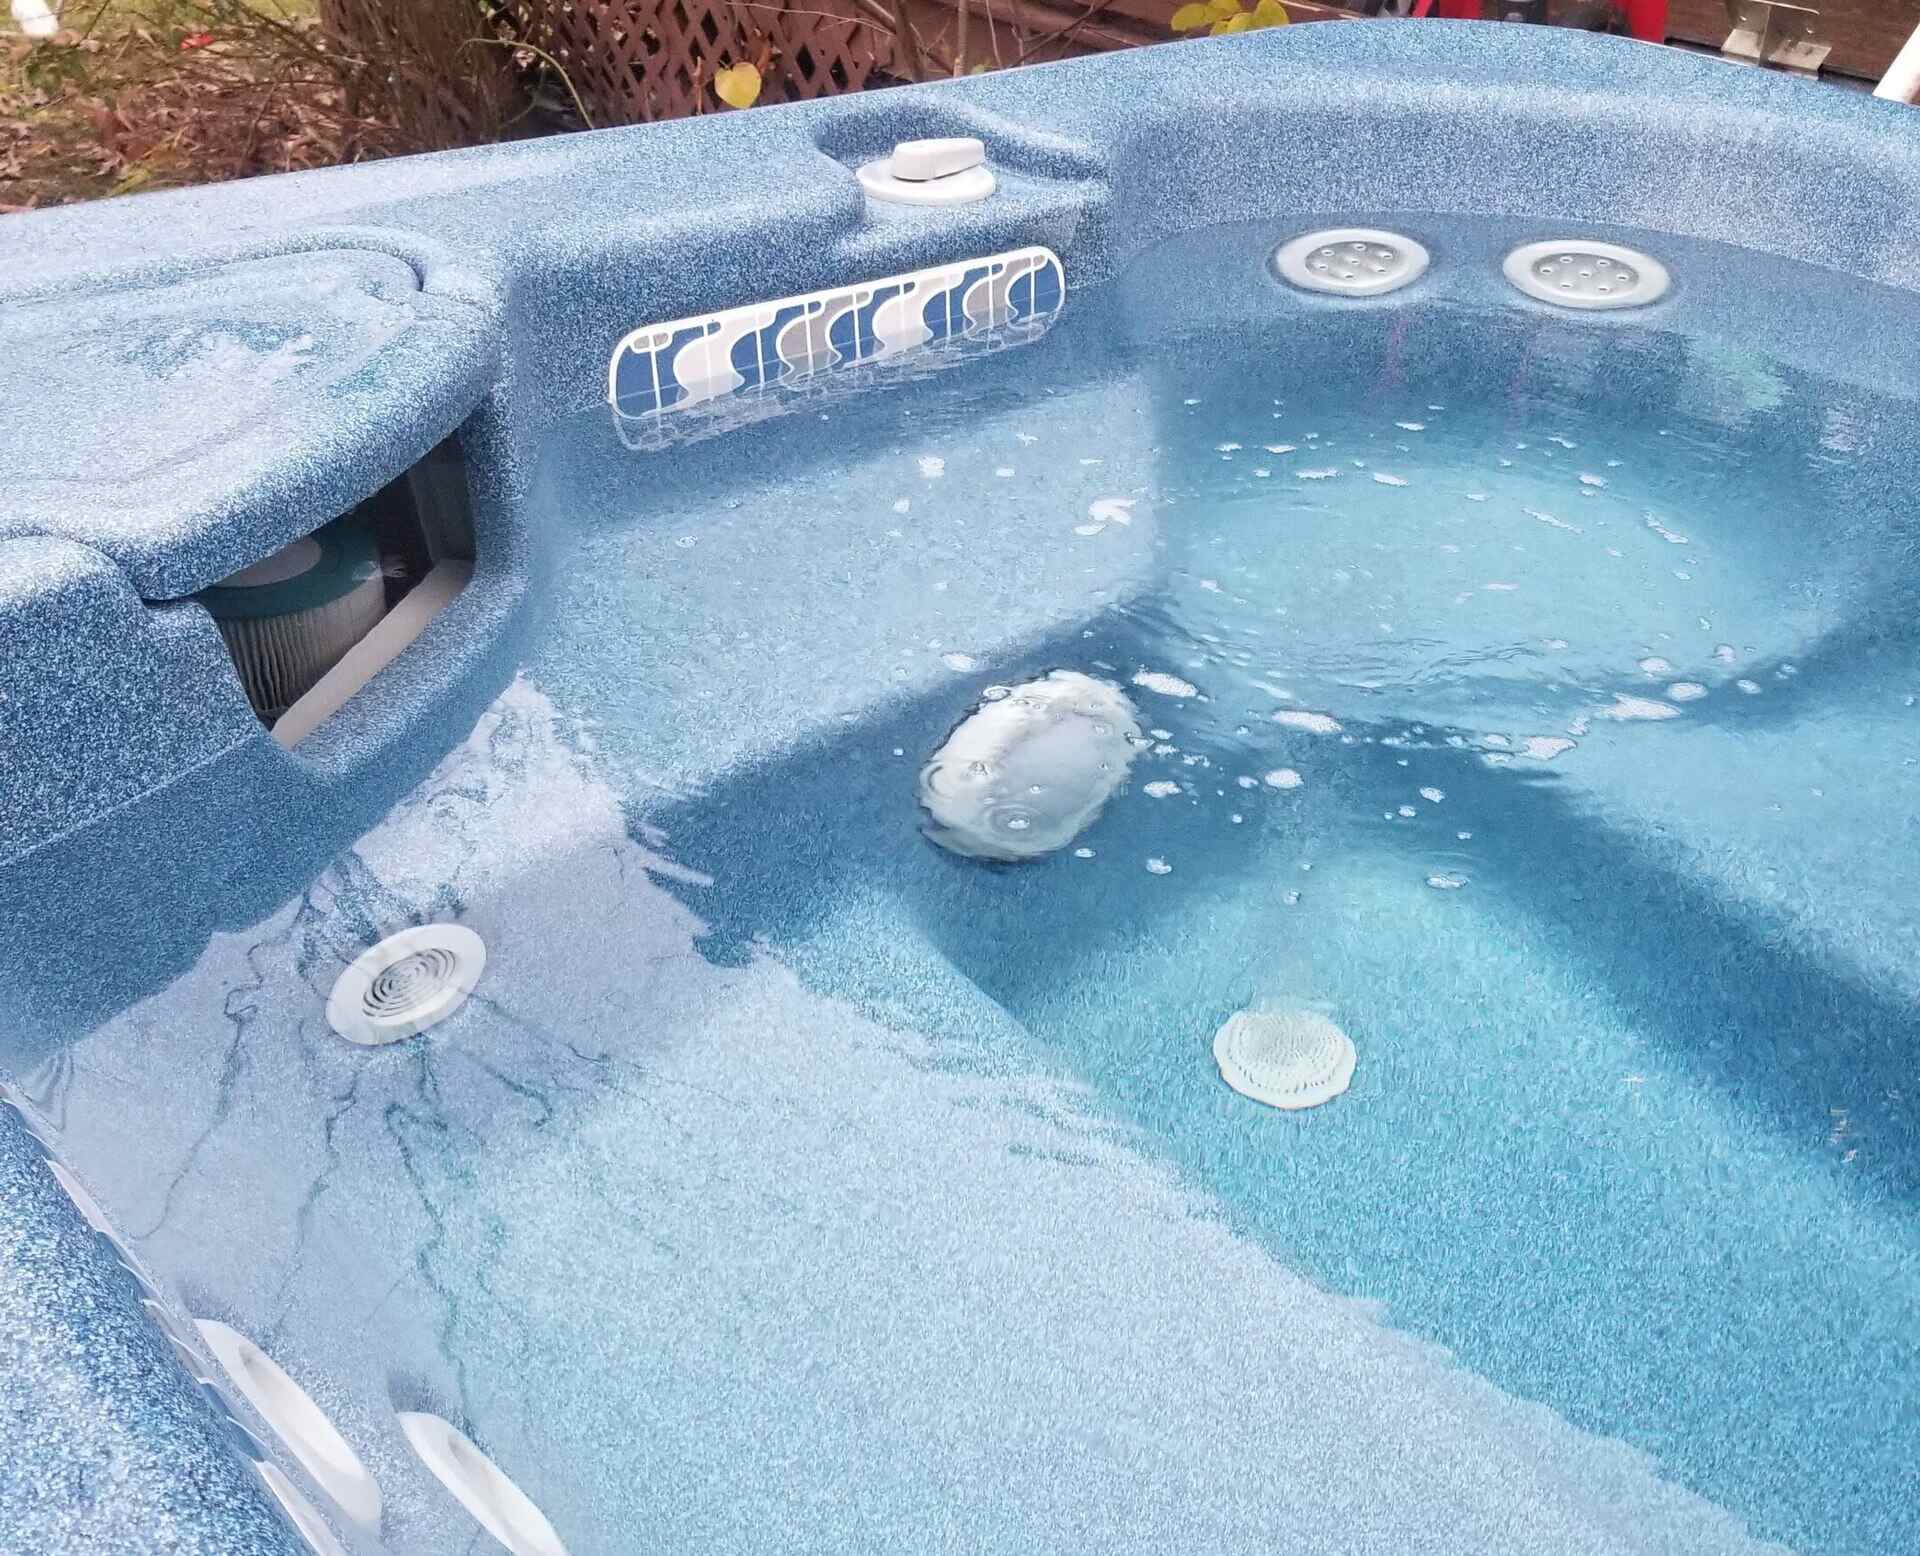
Once the hot tub’s power has been turned off and the safety precautions have been taken, the next step is to access the filter compartment. The location of the filter compartment may vary depending on the specific model and design of your hot tub, so it’s important to refer to the manufacturer’s instructions for guidance.
In most cases, the filter compartment can be accessed by removing a panel or access door on the exterior of the hot tub. Carefully inspect the perimeter of the hot tub to locate the designated panel that covers the filter compartment. This panel is typically secured with latches, screws, or clips, and it may be situated on the side, front, or rear of the hot tub.
Using the appropriate tools, such as a screwdriver or wrench, carefully remove the fasteners securing the panel in place. Take care to set aside the screws or clips in a safe location to prevent misplacement. With the fasteners removed, gently pull or lift the panel to reveal the filter compartment beneath.
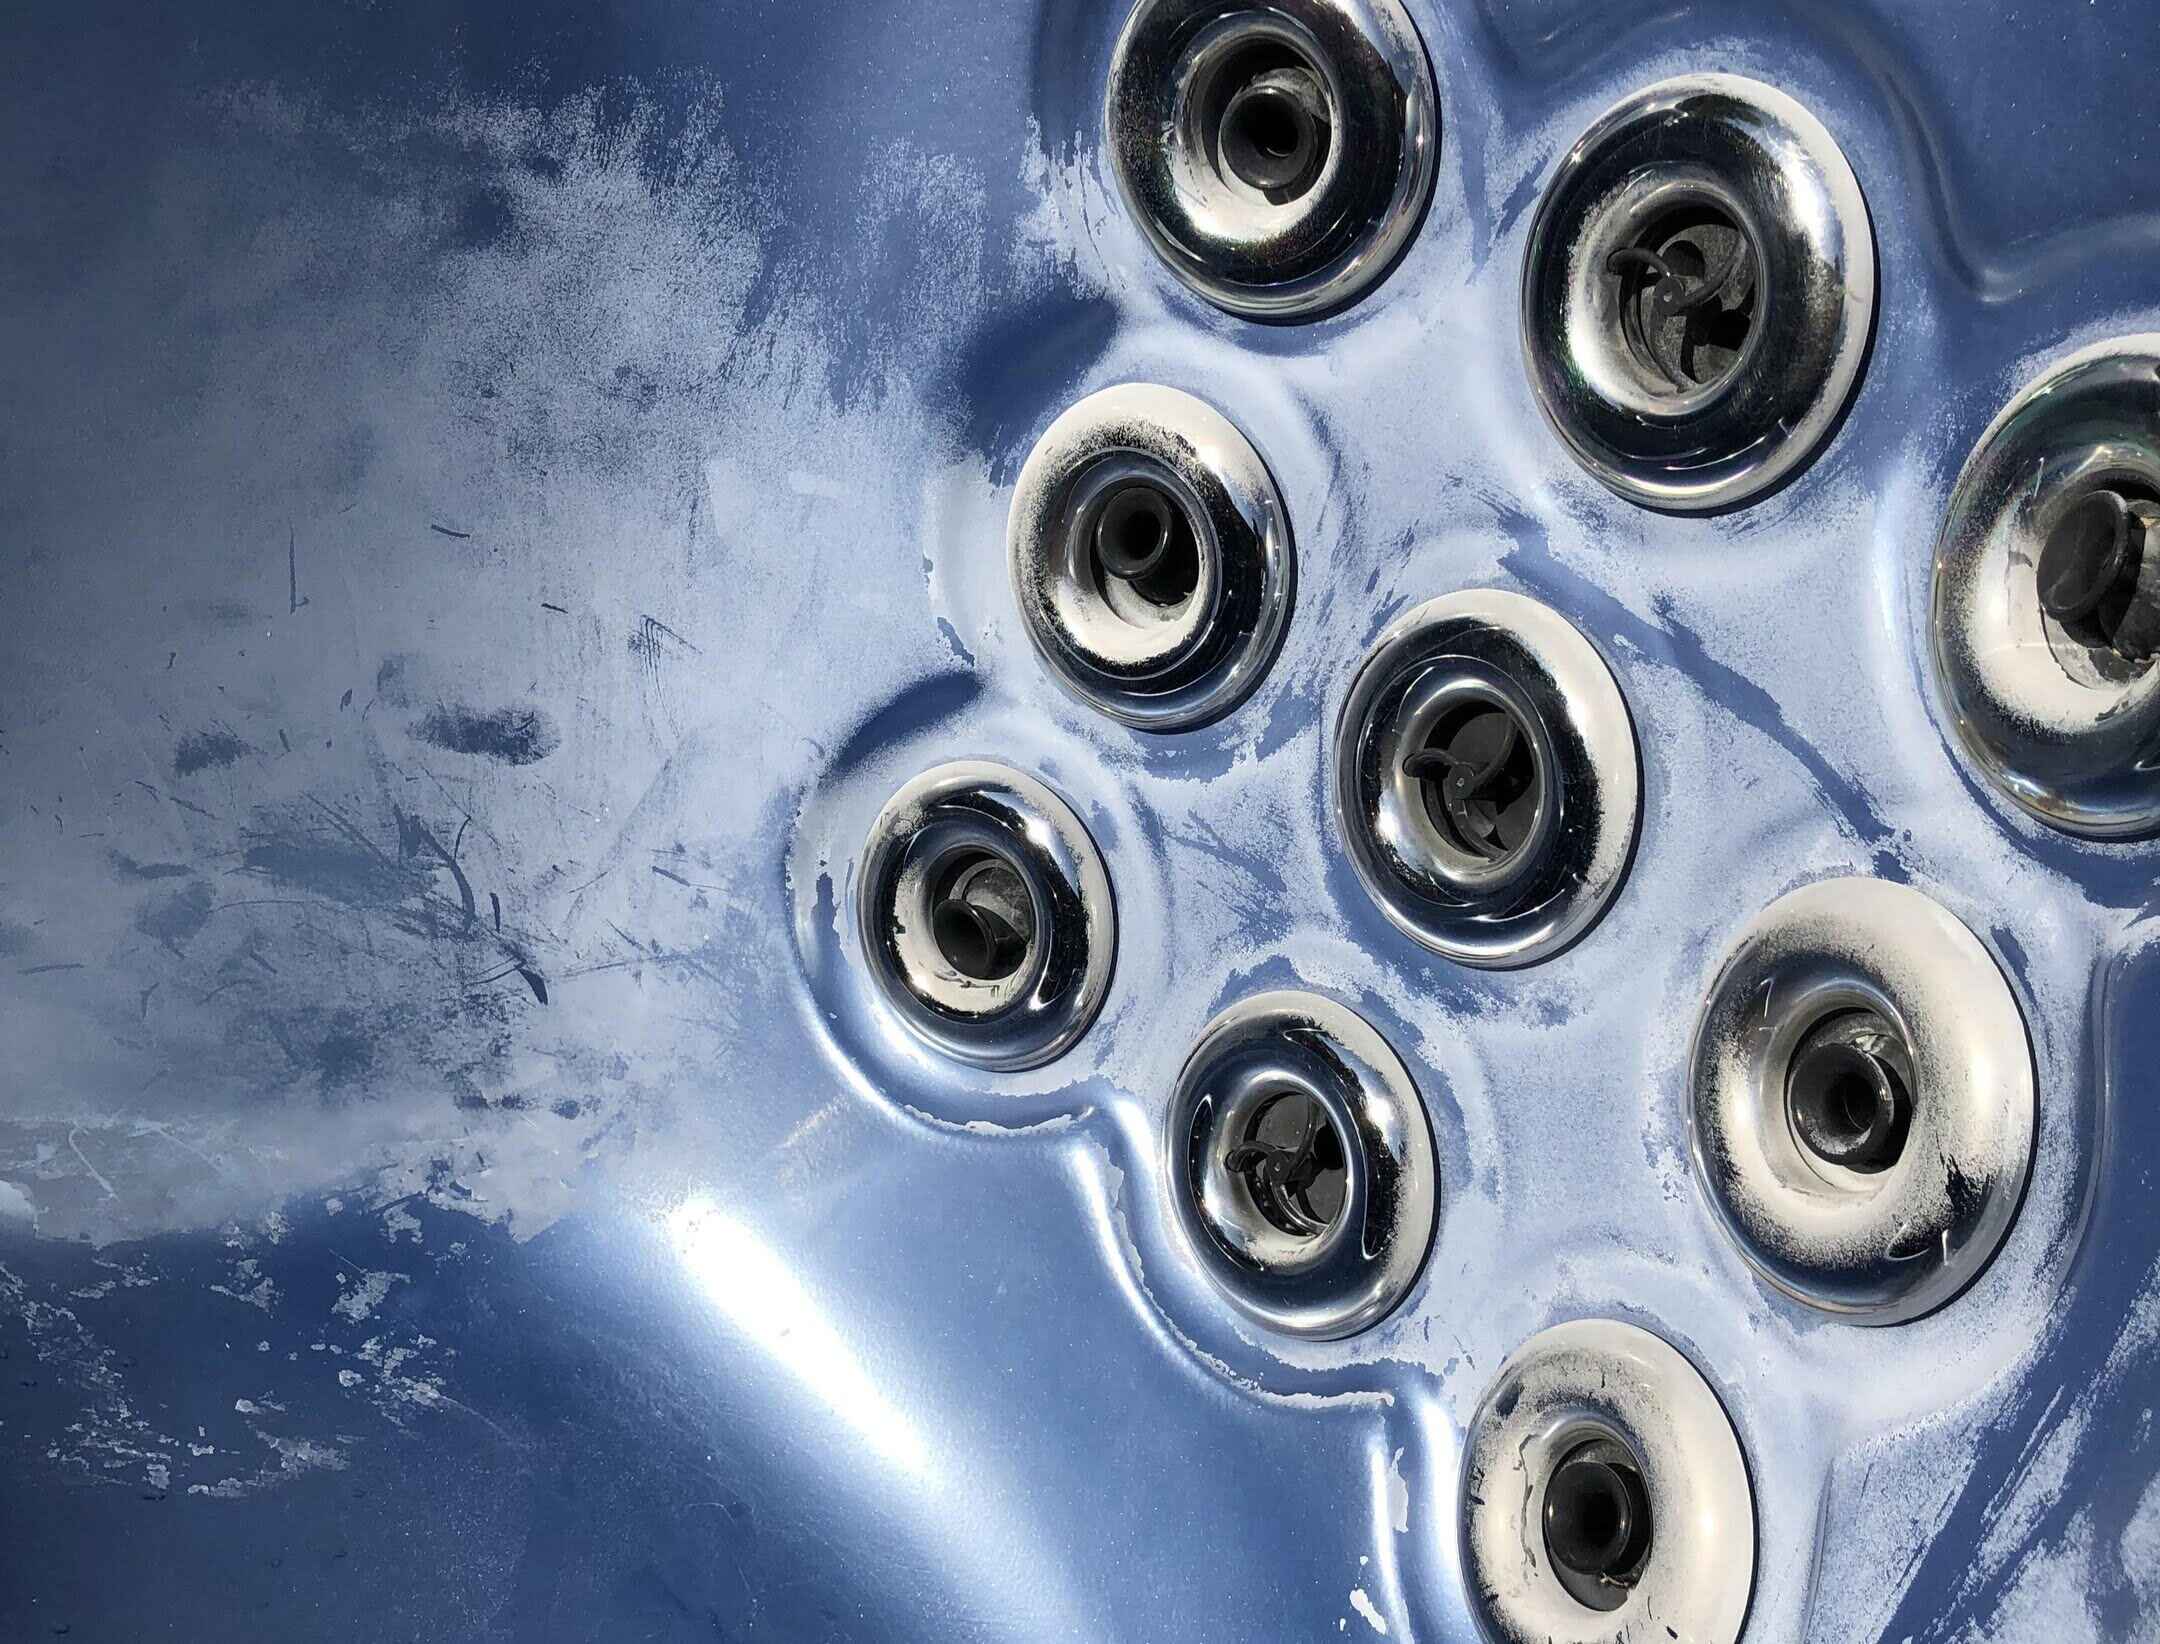
As you access the filter compartment, take note of the layout and positioning of the filter. Familiarize yourself with the orientation of the filter within the compartment, as this will be helpful during the removal and replacement process. Additionally, inspect the area surrounding the filter for any signs of debris or buildup, as this may indicate the need for thorough cleaning and maintenance.
By successfully accessing the filter compartment, you have completed a crucial step in the filter removal process. With the filter compartment now exposed, you are ready to proceed to the next stage of removing the filter from your hot tub.
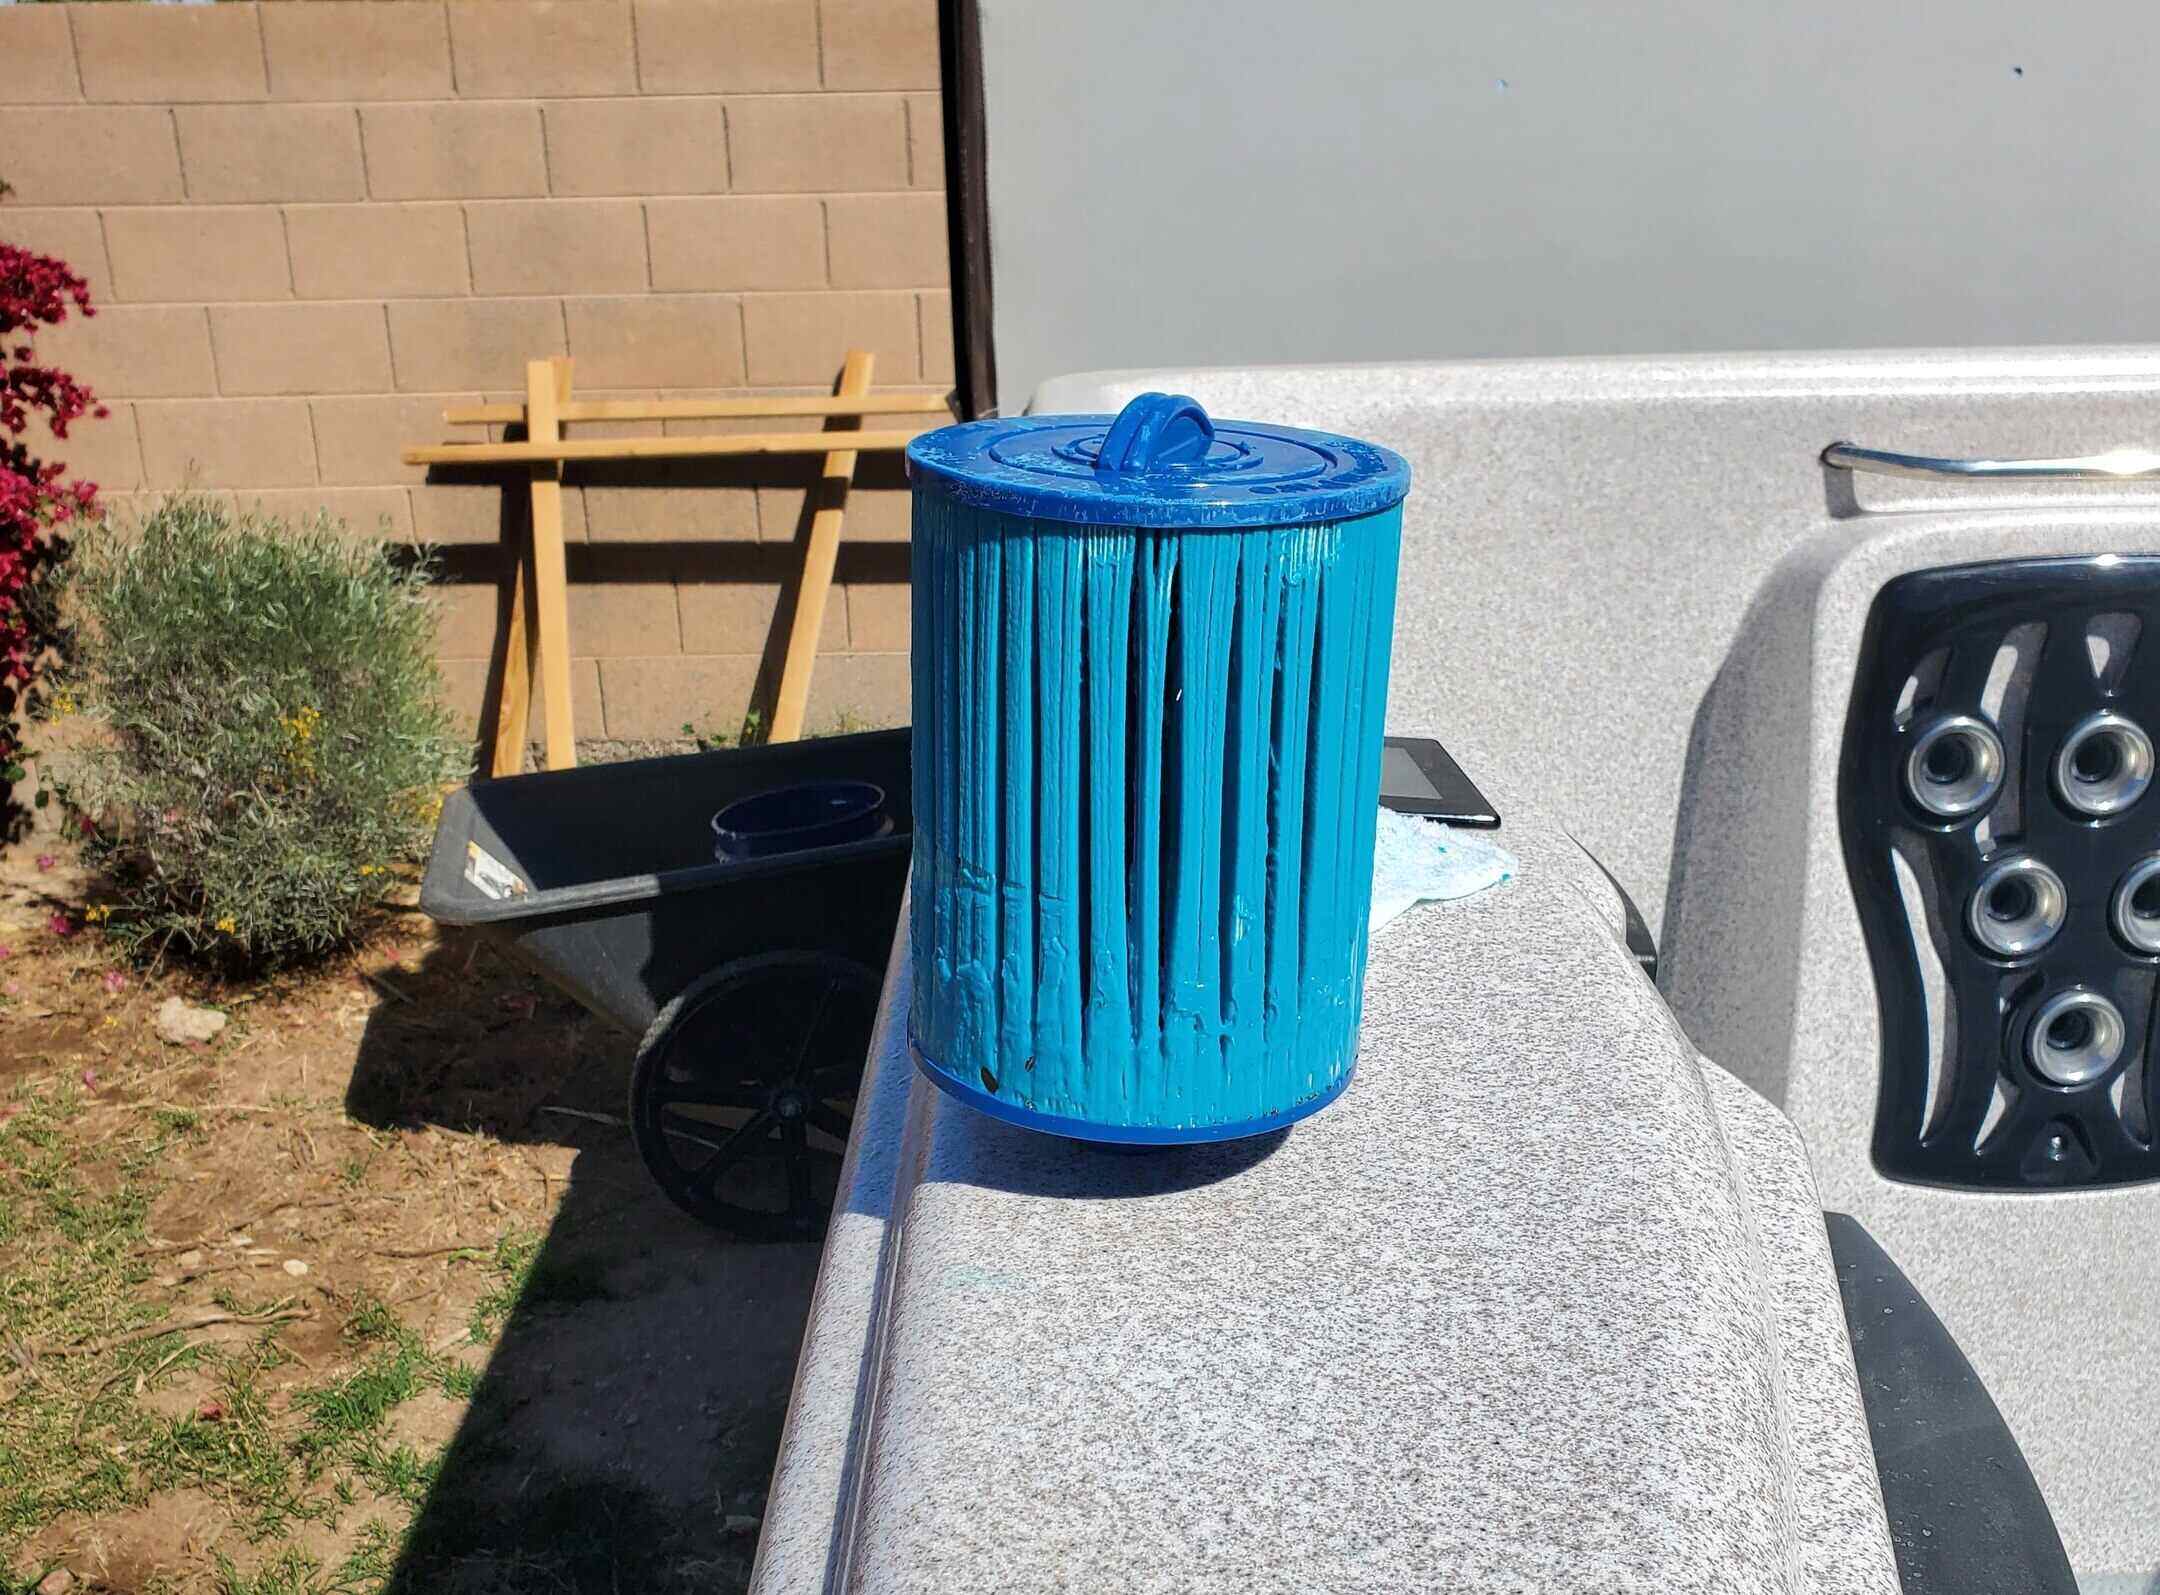
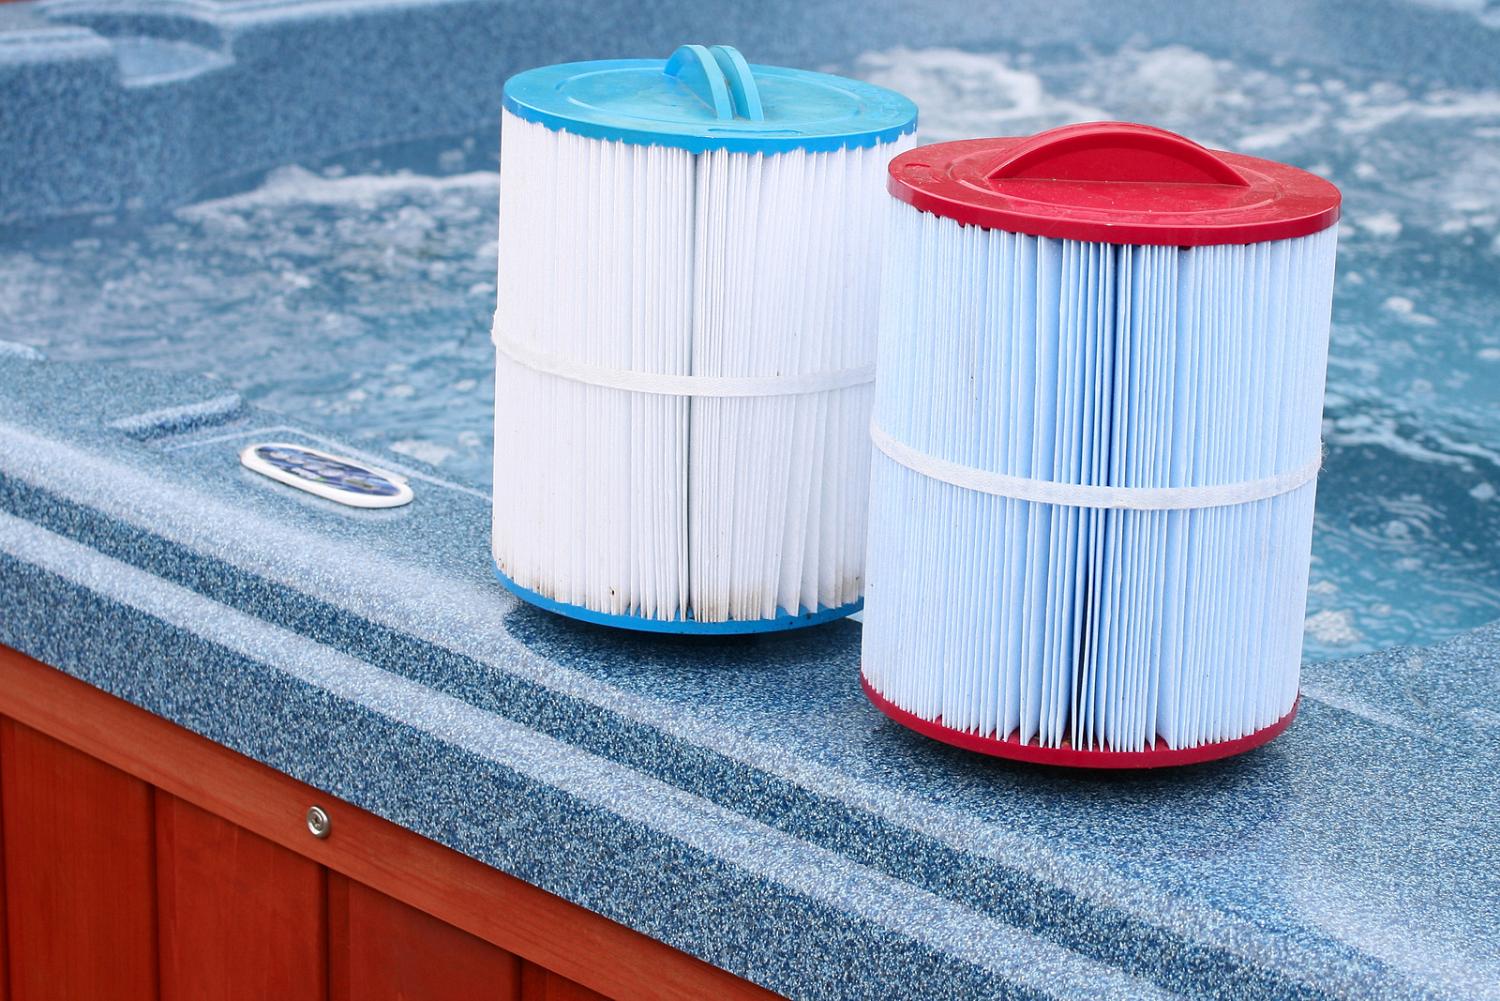
Step 3: Remove the Filter
With the filter compartment accessible, you are now ready to remove the filter from your hot tub. Before proceeding, take a moment to visually inspect the filter and its positioning within the compartment. This observation will provide valuable insight into the best approach for removing the filter without causing any damage to the surrounding components.
Most hot tub filters are designed to be easily removed without the need for complex tools or equipment. Begin by identifying the handle or grip attached to the filter. This handle is specifically designed to facilitate the removal process, allowing you to grasp and extract the filter from its housing with ease.
Gently but firmly grip the handle of the filter, ensuring that you have a secure hold on the entire filter assembly. Slowly and steadily, begin to pull the filter upward and out of the compartment. It’s essential to maintain a steady and controlled motion to prevent any jarring or sudden movements that could potentially dislodge other components or cause water spillage.
As you carefully remove the filter, be mindful of its size and any potential obstructions that may impede its extraction. In some cases, the filter may be situated in a tight or confined space within the compartment. If you encounter resistance during the removal process, assess the situation and adjust your approach to ensure a smooth and seamless extraction.
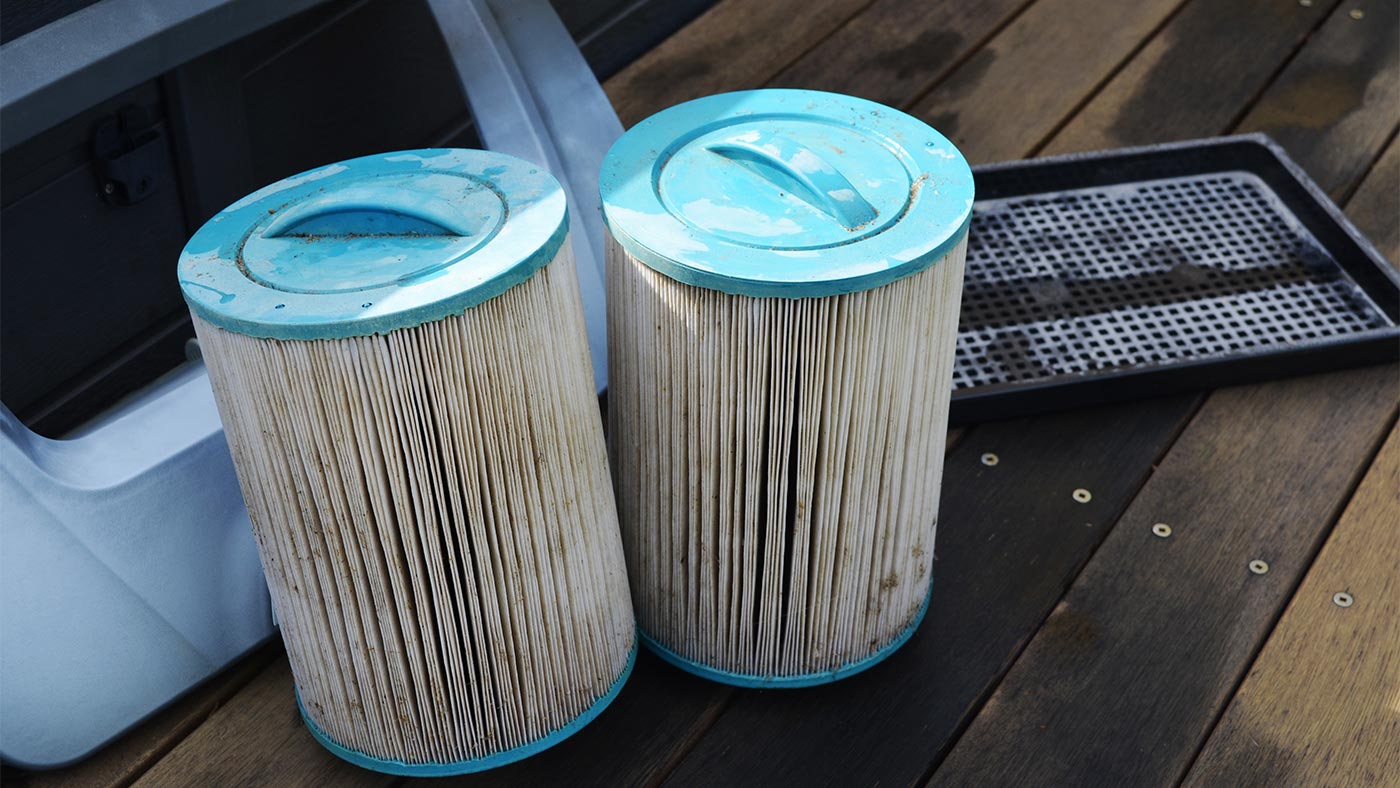
Once the filter has been successfully removed from the compartment, take a moment to inspect it for any visible signs of wear, damage, or excessive debris accumulation. This visual assessment will inform the next crucial step in the maintenance process: cleaning the filter to restore its optimal functionality.
By successfully removing the filter from your hot tub, you have completed a pivotal stage in the maintenance process. With the filter in hand, you are now prepared to proceed to the next step: cleaning the filter to rejuvenate its performance and efficiency.
To remove a hot tub filter, first turn off the power to the hot tub. Then, locate the filter housing and twist it counterclockwise to remove the filter. Be sure to follow the manufacturer’s instructions for your specific hot tub model.
Step 4: Clean the Filter
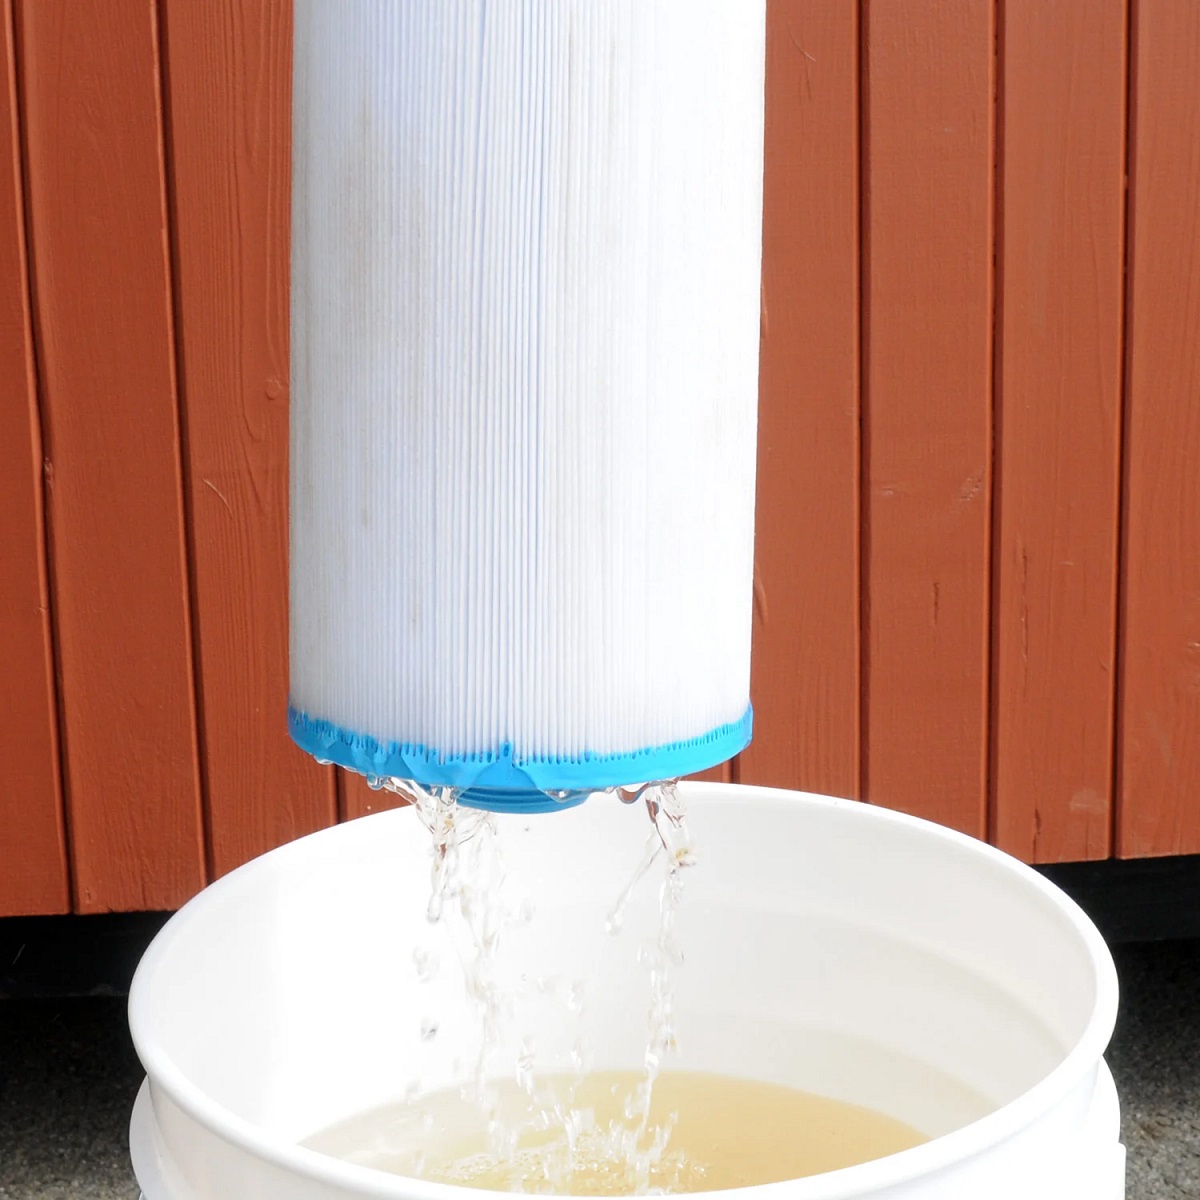
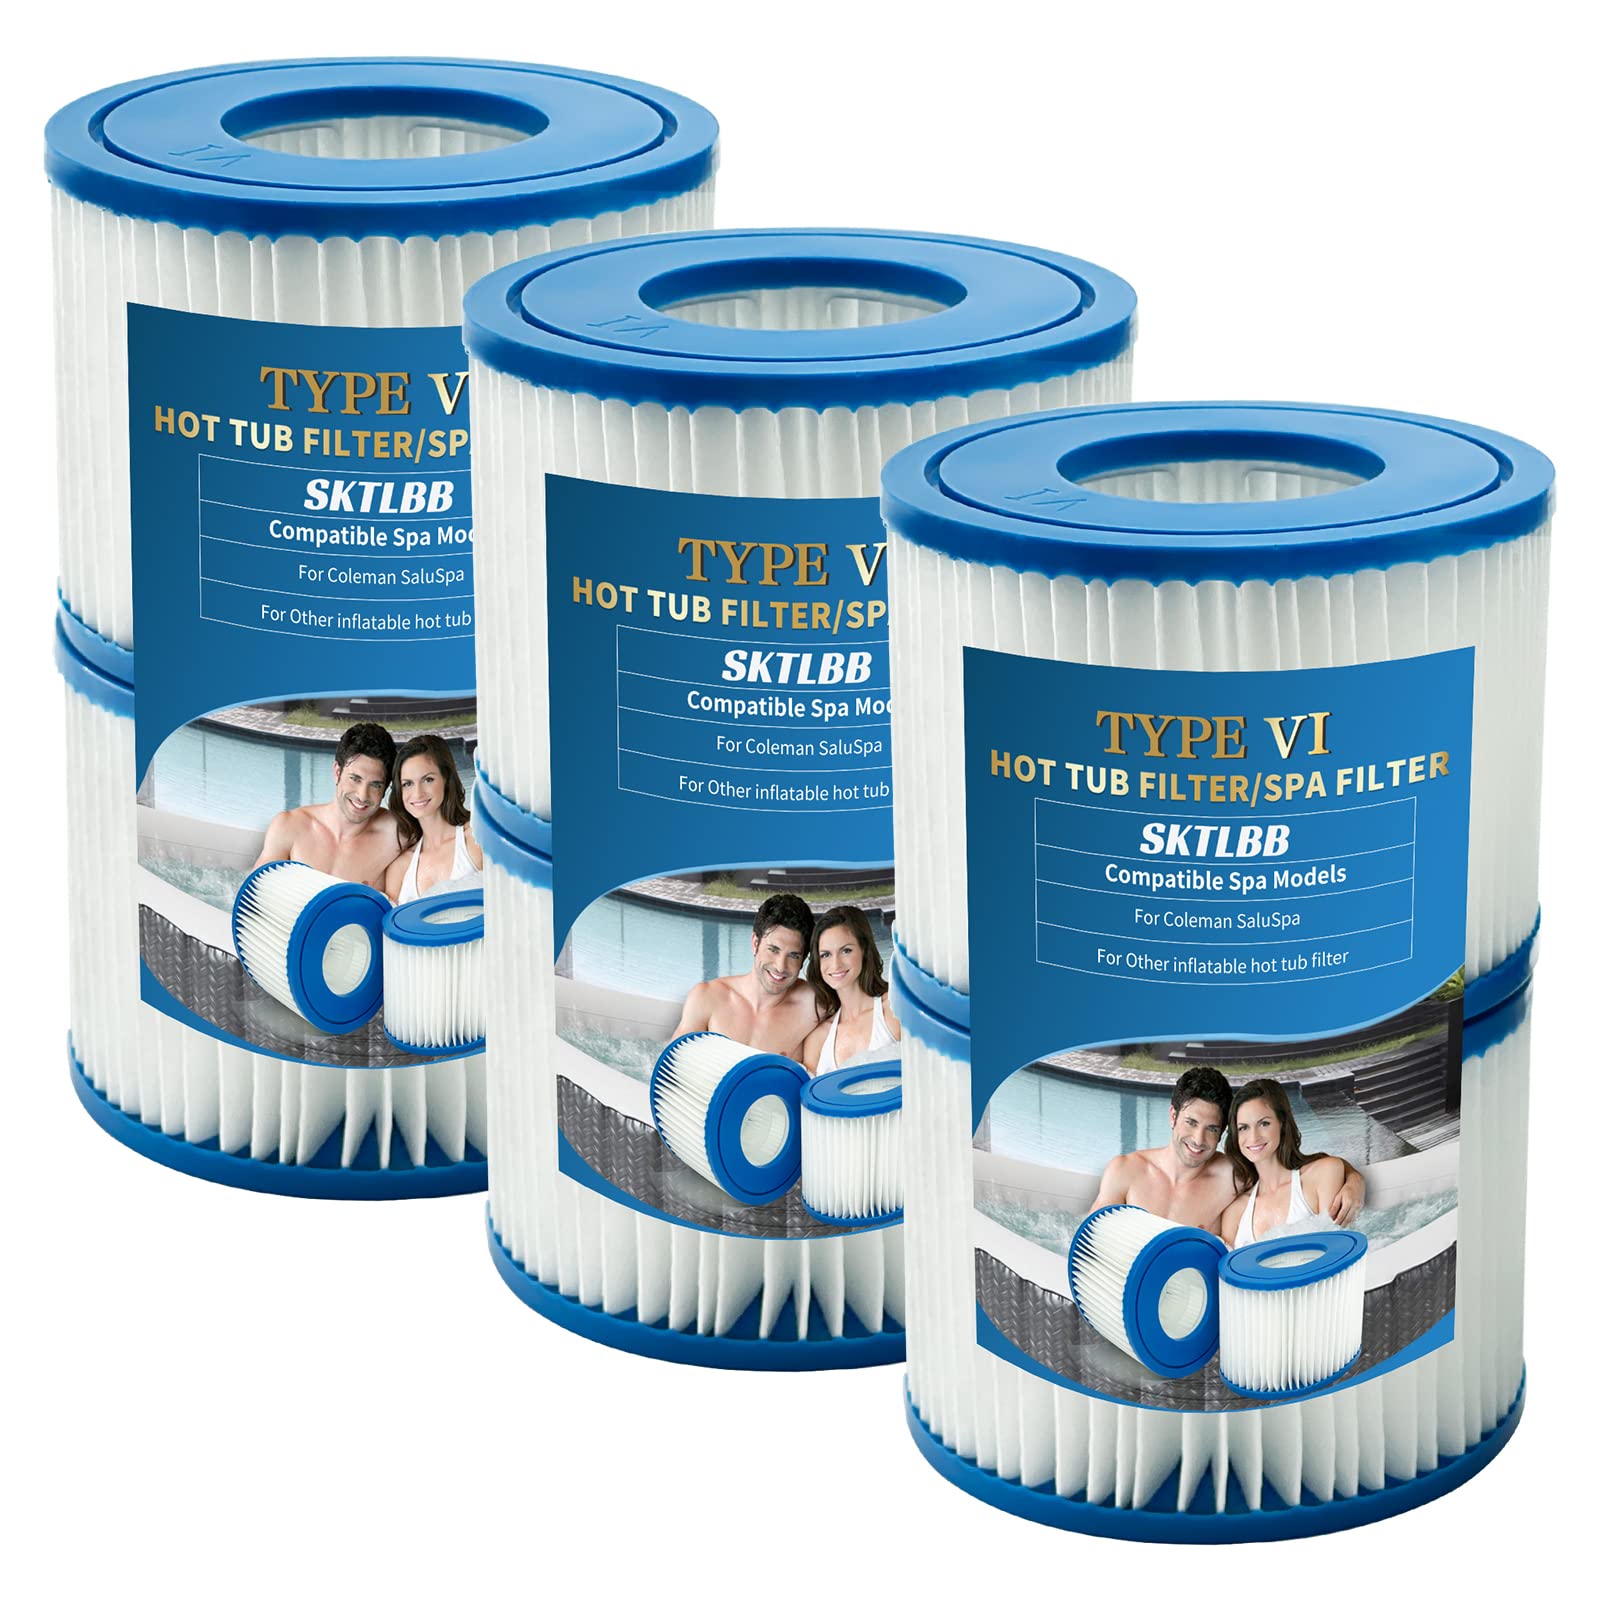
After removing the filter from the hot tub, the next essential step is to thoroughly clean it to restore its effectiveness in trapping debris and maintaining water clarity. Over time, the filter accumulates various forms of dirt, oils, and contaminants, which can hinder its performance and compromise the overall water quality in the hot tub. By following the proper cleaning procedure, you can ensure that the filter operates at its optimal capacity, promoting a clean and inviting hot tub environment.
Begin the cleaning process by rinsing the filter with a powerful stream of water to dislodge loose debris and contaminants. A garden hose with a spray attachment is ideal for this task, as it provides sufficient water pressure to effectively cleanse the filter pleats and rid them of surface-level impurities.
Once the initial rinse is complete, prepare a cleaning solution specifically formulated for hot tub filter maintenance. These solutions are designed to break down and remove stubborn residues, oils, and organic matter that may have adhered to the filter fabric. Follow the manufacturer’s instructions for the proper dilution and application of the cleaning solution.
Immerse the filter in the cleaning solution, ensuring that it is fully submerged to allow the solution to penetrate the pleats and thoroughly cleanse the filter material. Allow the filter to soak for the recommended duration, typically between one to two hours, to ensure that the cleaning solution effectively dissolves and dislodges any embedded contaminants.
After the soaking period, thoroughly rinse the filter once again with a strong stream of water to flush out the loosened debris and residual cleaning solution. Take care to rinse between each pleat to ensure that all traces of dirt and contaminants are removed, leaving the filter fresh and revitalized.
Once the filter has been rinsed clean, allow it to air dry completely before reinstalling it in the hot tub. Avoid using compressed air or excessive force to hasten the drying process, as these methods can potentially damage the delicate filter material.
By meticulously cleaning the filter, you ensure that it functions at its peak performance, effectively capturing impurities and maintaining pristine water quality in your hot tub. With the filter now rejuvenated, you are ready to proceed to the final step: reinstalling the filter to complete the maintenance process.
Read more: How To Clean Hot Tub Filters
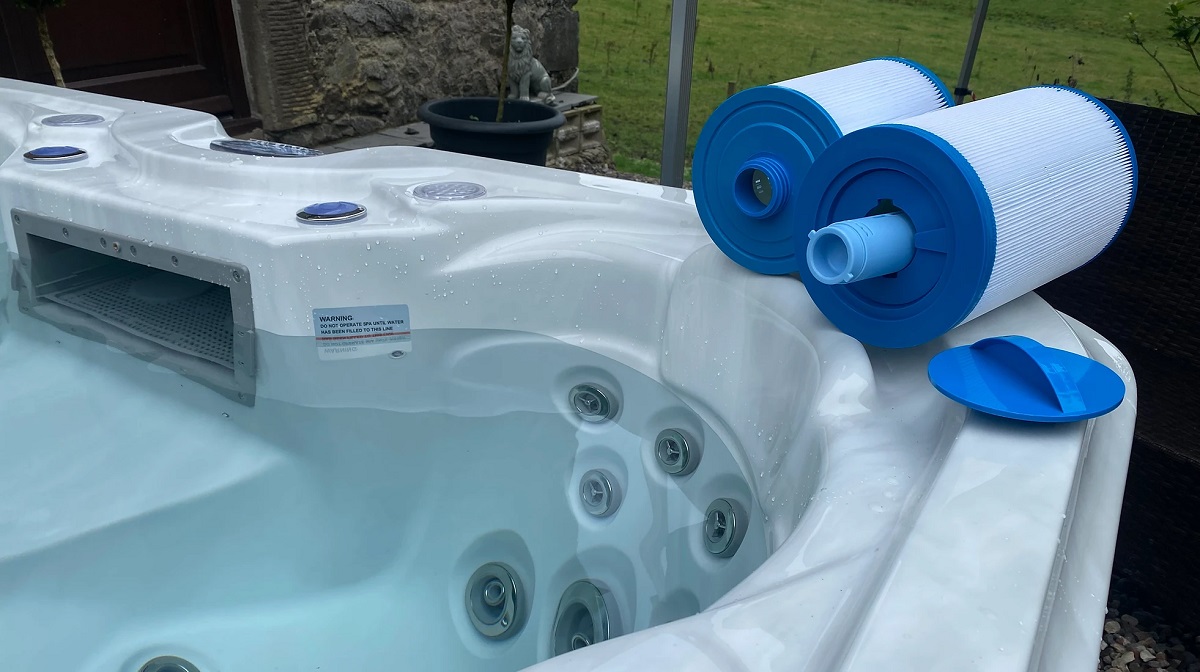
Step 5: Replace the Filter
After the filter has been thoroughly cleaned and allowed to air dry, the final step in the maintenance process is to reinstall it in the hot tub. Properly replacing the filter is essential to ensure that the hot tub’s filtration system operates effectively, maintaining clean and clear water for your enjoyment.
Begin by carefully examining the filter compartment to verify that it is free of any debris, dirt, or obstructions. Use a clean cloth or towel to wipe down the interior of the compartment, removing any residual moisture or contaminants that may have accumulated during the filter removal and cleaning process.
With the filter compartment prepared, hold the clean and dry filter in the correct orientation for installation. Align the filter with the designated housing within the compartment, ensuring that it fits securely and snugly without any gaps or misalignment.
Gently guide the filter into the compartment, taking care to maintain a steady and controlled motion to prevent any damage to the filter or the surrounding components. Once the filter is positioned correctly, press it down firmly to ensure that it is seated securely in place.
If your hot tub’s filter compartment features a locking mechanism or securing device, engage it according to the manufacturer’s instructions to ensure that the filter remains firmly in position during operation. This additional step helps prevent any potential displacement of the filter due to water flow or pressure within the hot tub system.
After replacing the filter, take a moment to double-check the surrounding area for any signs of water leaks, loose components, or irregularities. This thorough inspection ensures that the filter is properly installed and that the filter compartment is sealed and secure.
With the filter successfully replaced and the compartment inspected, you have completed the final step in the maintenance process. Your hot tub is now equipped with a clean and rejuvenated filter, ready to deliver optimal filtration performance and maintain a pristine and inviting environment for relaxation and enjoyment.
Conclusion
Caring for your hot tub’s filter is a fundamental aspect of maintaining a clean and hygienic environment for relaxation and rejuvenation. By following the step-by-step process of removing, cleaning, and replacing the filter, you have taken proactive measures to ensure that your hot tub operates at its optimal capacity, providing crystal-clear water and a refreshing experience.
Regular maintenance of the hot tub filter is essential to preserve water quality, prevent the accumulation of debris, and extend the lifespan of the filtration system. By dedicating time to clean and rejuvenate the filter, you contribute to the overall efficiency and performance of your hot tub, creating a welcoming oasis for relaxation and unwinding.
Remember to adhere to the manufacturer’s guidelines and recommendations for filter maintenance, as different hot tub models may have specific requirements and considerations. By staying informed and proactive in filter care, you can enjoy the long-term benefits of a well-maintained hot tub system.
As you immerse yourself in the soothing waters of your hot tub, take pride in knowing that your diligent maintenance efforts have contributed to a clean, inviting, and rejuvenating environment. With a clear understanding of how to remove, clean, and replace the hot tub filter, you are empowered to uphold the integrity and performance of your hot tub for years to come.
So, sit back, relax, and revel in the tranquil oasis of your meticulously maintained hot tub, knowing that you have mastered the essential art of filter care and maintenance.
Frequently Asked Questions about How To Remove A Hot Tub Filter
Was this page helpful?
At Storables.com, we guarantee accurate and reliable information. Our content, validated by Expert Board Contributors, is crafted following stringent Editorial Policies. We're committed to providing you with well-researched, expert-backed insights for all your informational needs.


0 thoughts on “How To Remove A Hot Tub Filter”