Home>Health & Lifestyle>Air Quality & Filtration>Brita Water Filtration Pitcher: How To Use
Air Quality & Filtration
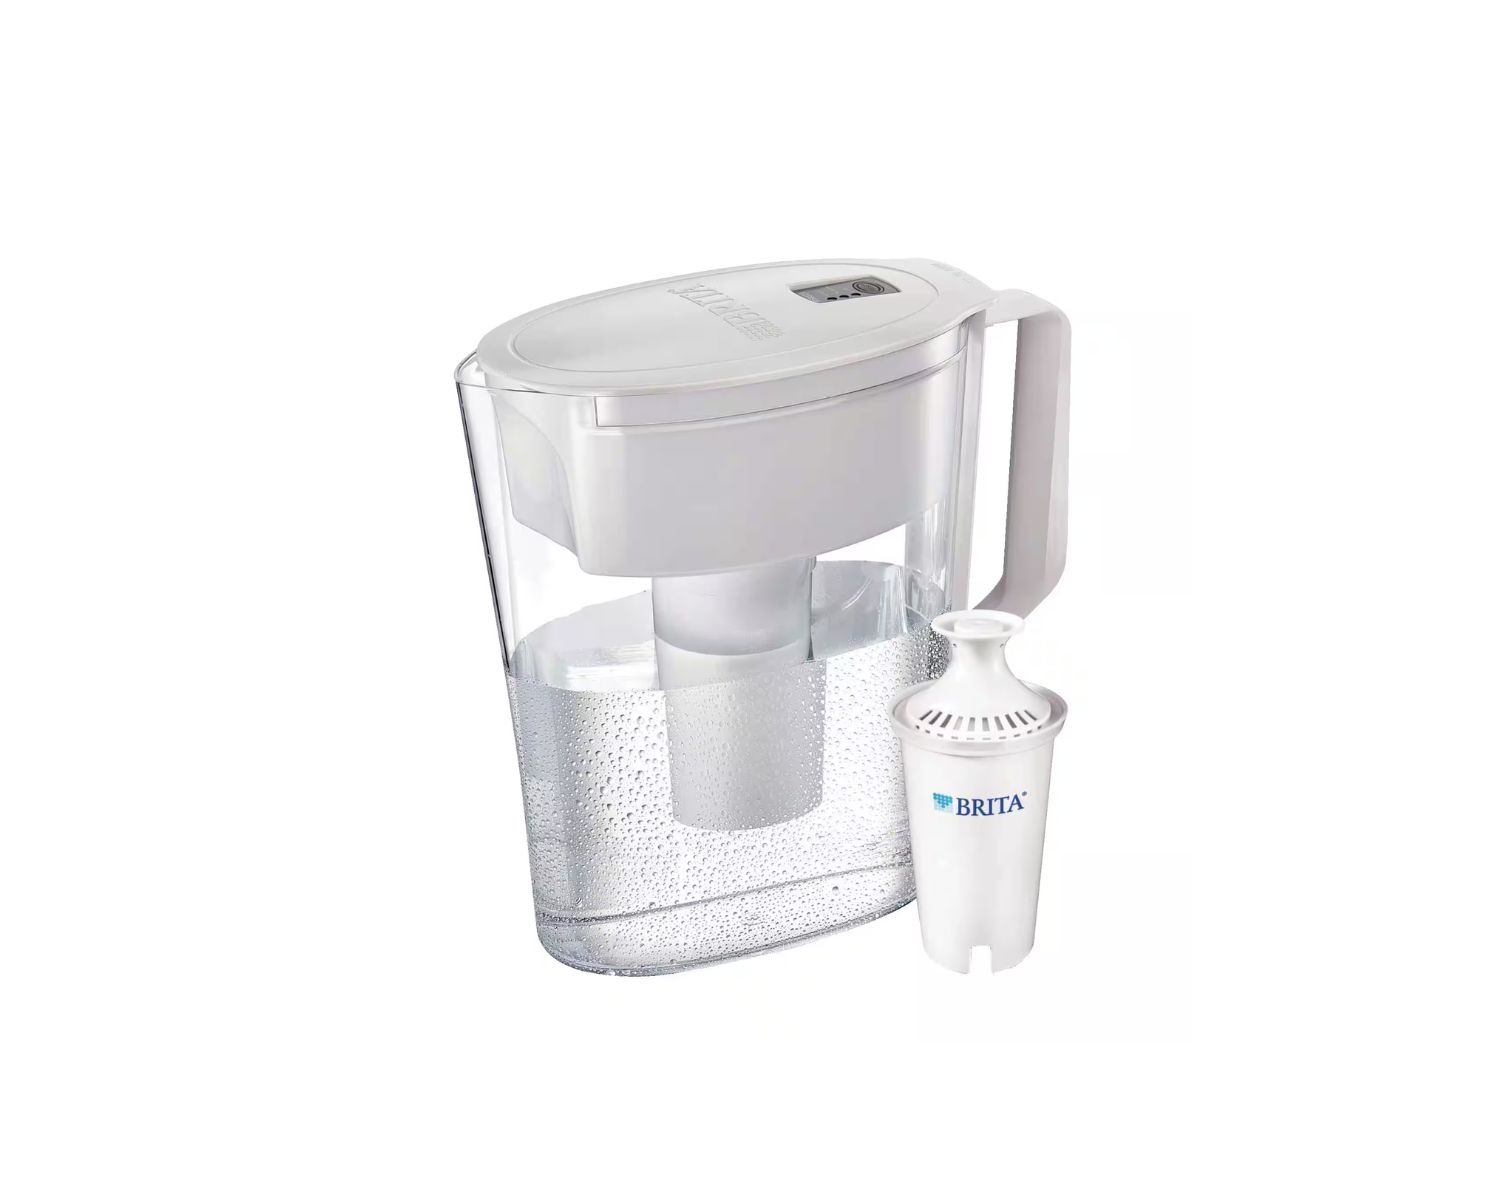
Brita Water Filtration Pitcher: How To Use
Modified: August 25, 2024
Learn how to use Brita water filtration pitcher to improve air quality and filtration. Discover the best practices for maintaining and maximizing its effectiveness.
(Many of the links in this article redirect to a specific reviewed product. Your purchase of these products through affiliate links helps to generate commission for Storables.com, at no extra cost. Learn more)
Introduction
Welcome to the world of clean and refreshing water with the Brita Water Filtration Pitcher! In today's fast-paced world, it's essential to stay hydrated, and what better way to do so than with filtered water that is not only free from impurities but also tastes great. The Brita Water Filtration Pitcher is a convenient and cost-effective solution for ensuring that you and your family have access to clean, healthy water at all times.
In this guide, we will walk you through the simple and straightforward process of using the Brita Water Filtration Pitcher. From assembling the pitcher to enjoying your freshly filtered water, we'll cover everything you need to know to make the most of this fantastic water filtration system. Whether you're a first-time user or looking to refresh your knowledge, this step-by-step guide will ensure that you get the most out of your Brita Water Filtration Pitcher.
So, let's dive in and discover how easy and rewarding it is to use the Brita Water Filtration Pitcher to enjoy clean, great-tasting water whenever you need it.
Key Takeaways:
- Enjoy clean, great-tasting water with the Brita Water Filtration Pitcher by following simple steps from assembly to maintenance. Elevate your hydration and culinary experiences effortlessly.
- Keep your Brita Water Filtration Pitcher in top condition by regularly replacing the filter and maintaining its components. Enjoy ongoing access to clean, refreshing water for your daily needs.
Read more: What Is The Best Water Filtration Pitcher
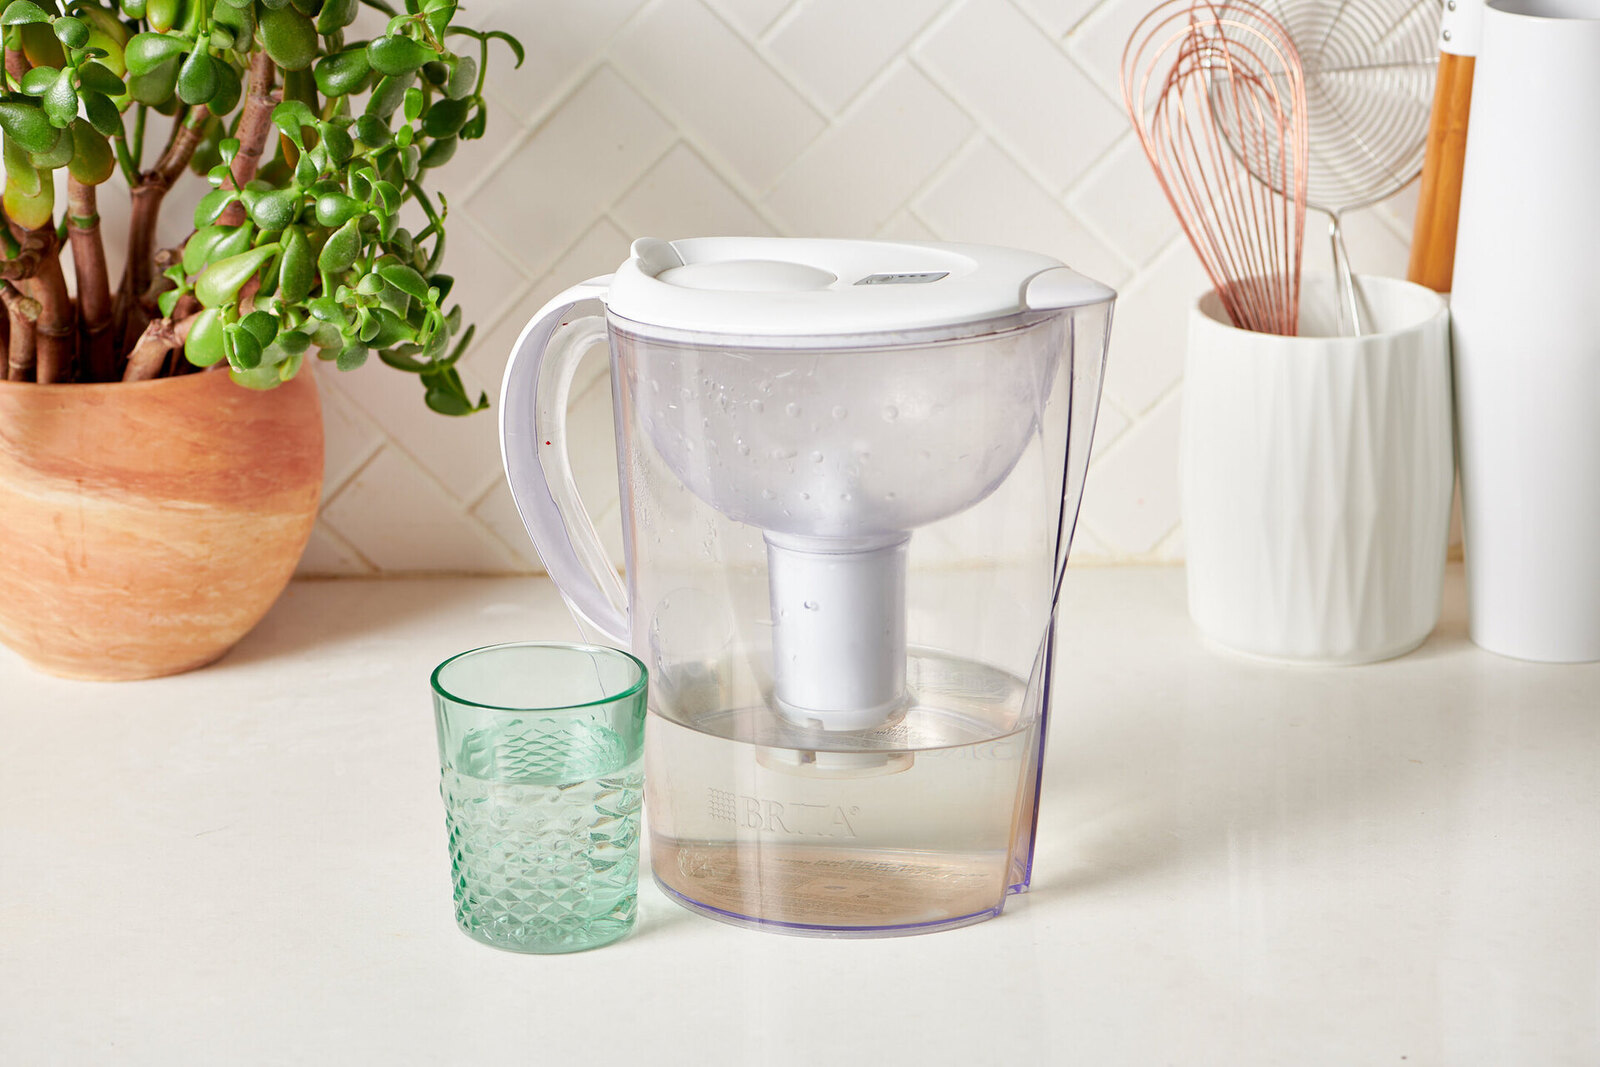
Step 1: Assemble the Pitcher
Assembling the Brita Water Filtration Pitcher is a breeze, and it sets the stage for the efficient filtration of your drinking water. Follow these simple steps to put the pitcher together:
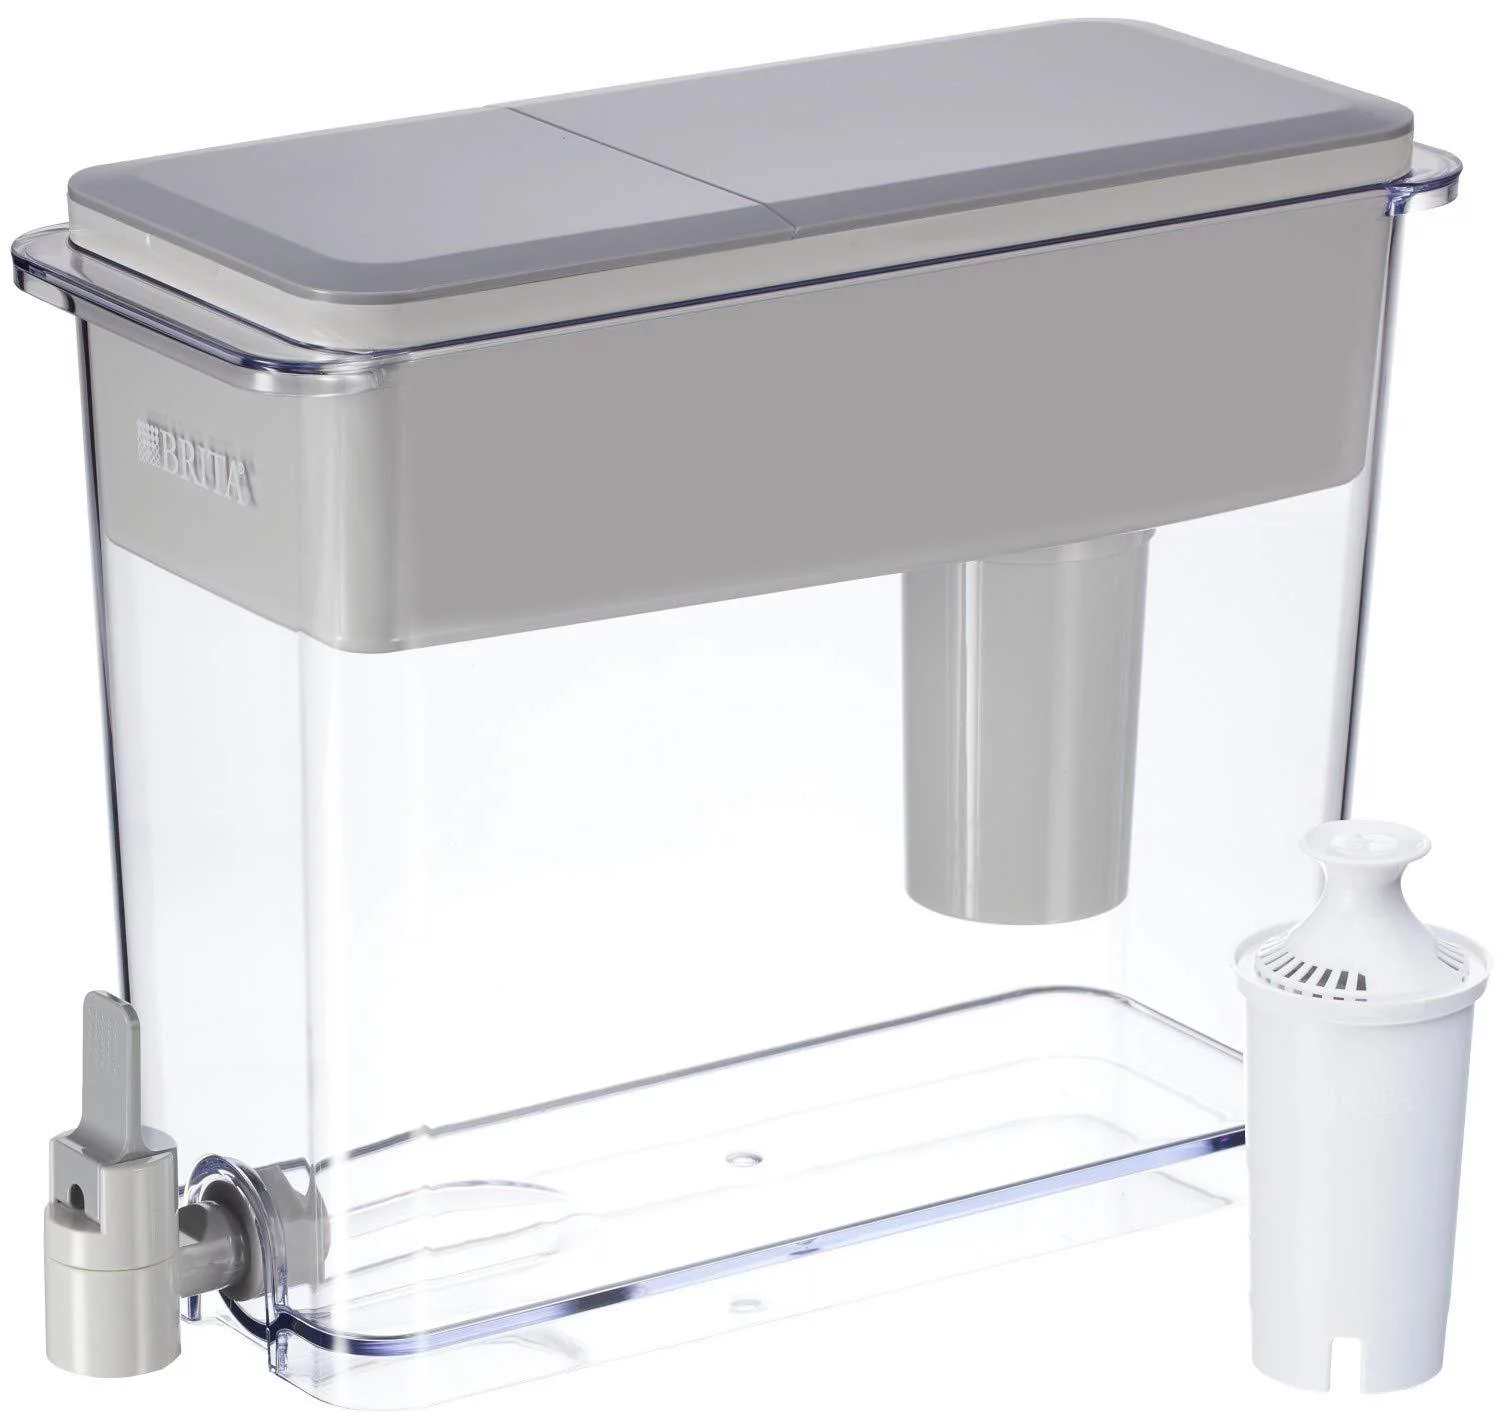
- Remove the Pitcher and Components from the Packaging: Carefully unpack the pitcher and its components, including the reservoir, lid, and filter. Ensure that all parts are present and undamaged.
- Wash the Components: Before use, it’s essential to wash the pitcher, reservoir, lid, and filter with mild detergent and water. Rinse them thoroughly to remove any potential manufacturing residues.
- Assemble the Pitcher: Once the components are clean and dry, assemble the pitcher by placing the reservoir into the pitcher. Ensure that the reservoir fits snugly and securely in place.
- Attach the Lid: With the reservoir in place, attach the lid securely to the pitcher. The lid should fit tightly to prevent any water from bypassing the filter during the filtration process.
With these simple steps, your Brita Water Filtration Pitcher will be assembled and ready to start providing you with clean, filtered water. Now that the pitcher is assembled, it’s time to move on to the next step: inserting the filter.
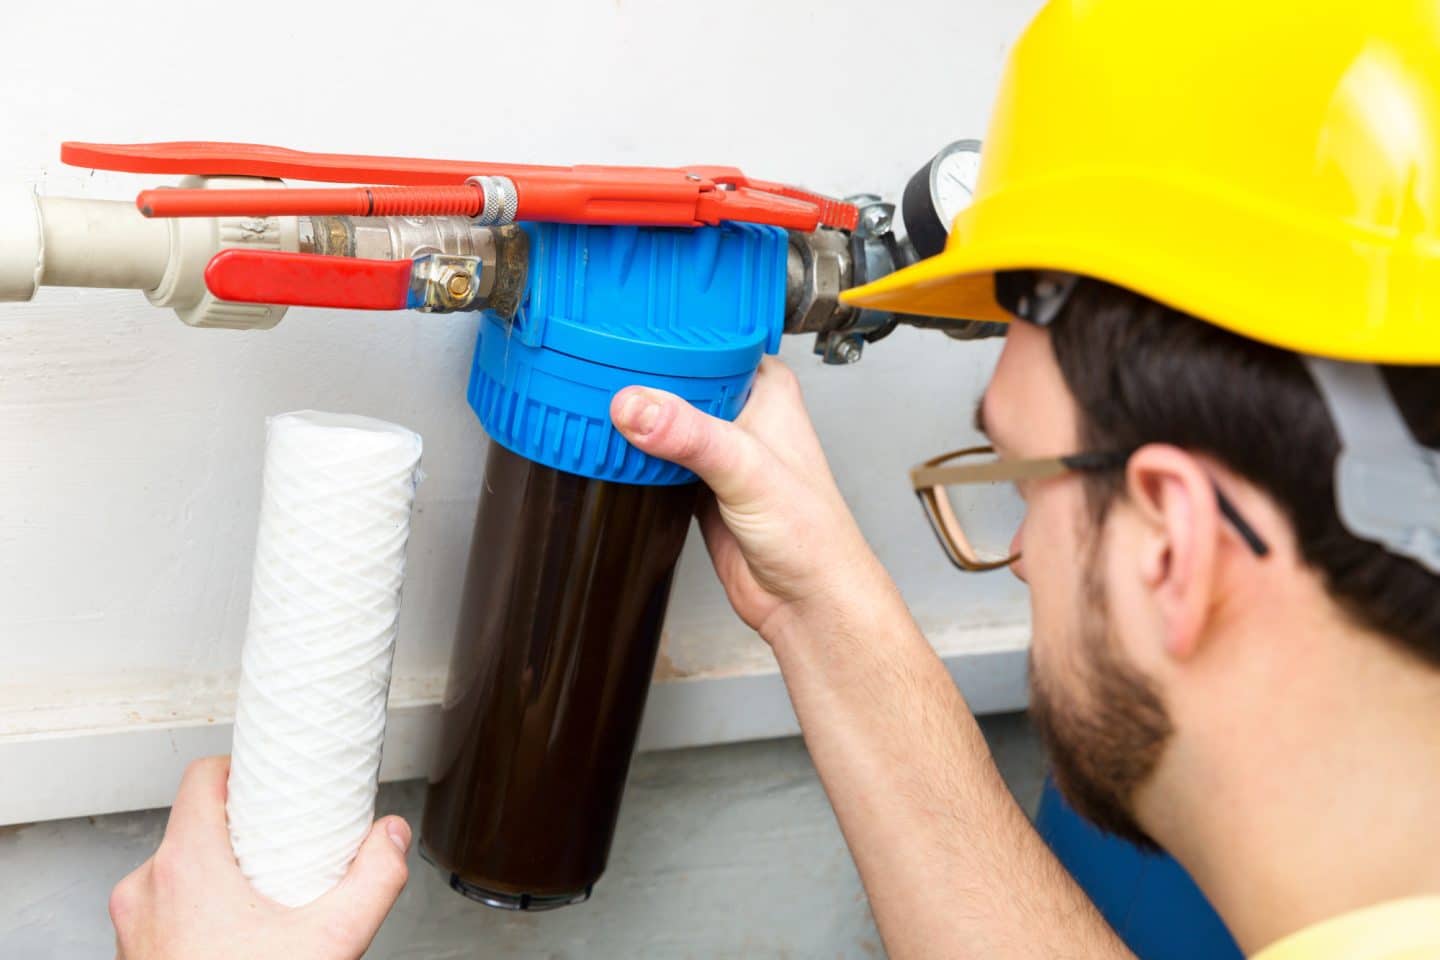
Step 2: Insert the Filter
Inserting the filter into your Brita Water Filtration Pitcher is a crucial step in ensuring that your drinking water is free from impurities and has a crisp, clean taste. Here’s how to properly insert the filter:
- Prepare the Filter: Before inserting the filter, it’s recommended to soak it in cold water for approximately 15 minutes. This soaking process helps activate the filter and ensures optimal filtration performance.
- Remove the Reservoir Lid: To access the filter compartment, carefully remove the reservoir lid from the pitcher. Set it aside in a safe place to prevent misplacement.
- Insert the Filter: With the reservoir lid removed, insert the soaked filter into the designated compartment at the top of the pitcher. The filter should fit snugly and securely in place, ensuring that all incoming water passes through it for effective filtration.
- Secure the Reservoir Lid: Once the filter is in place, securely reattach the reservoir lid to the pitcher, ensuring a tight seal. This step is crucial to maintaining the integrity of the filtration process and preventing unfiltered water from entering the pitcher.
With the filter securely inserted and the reservoir lid in place, your Brita Water Filtration Pitcher is now ready to start filtering your tap water, providing you with refreshing, clean water for drinking, cooking, and more. Next, we’ll move on to the essential step of filling the pitcher with water.
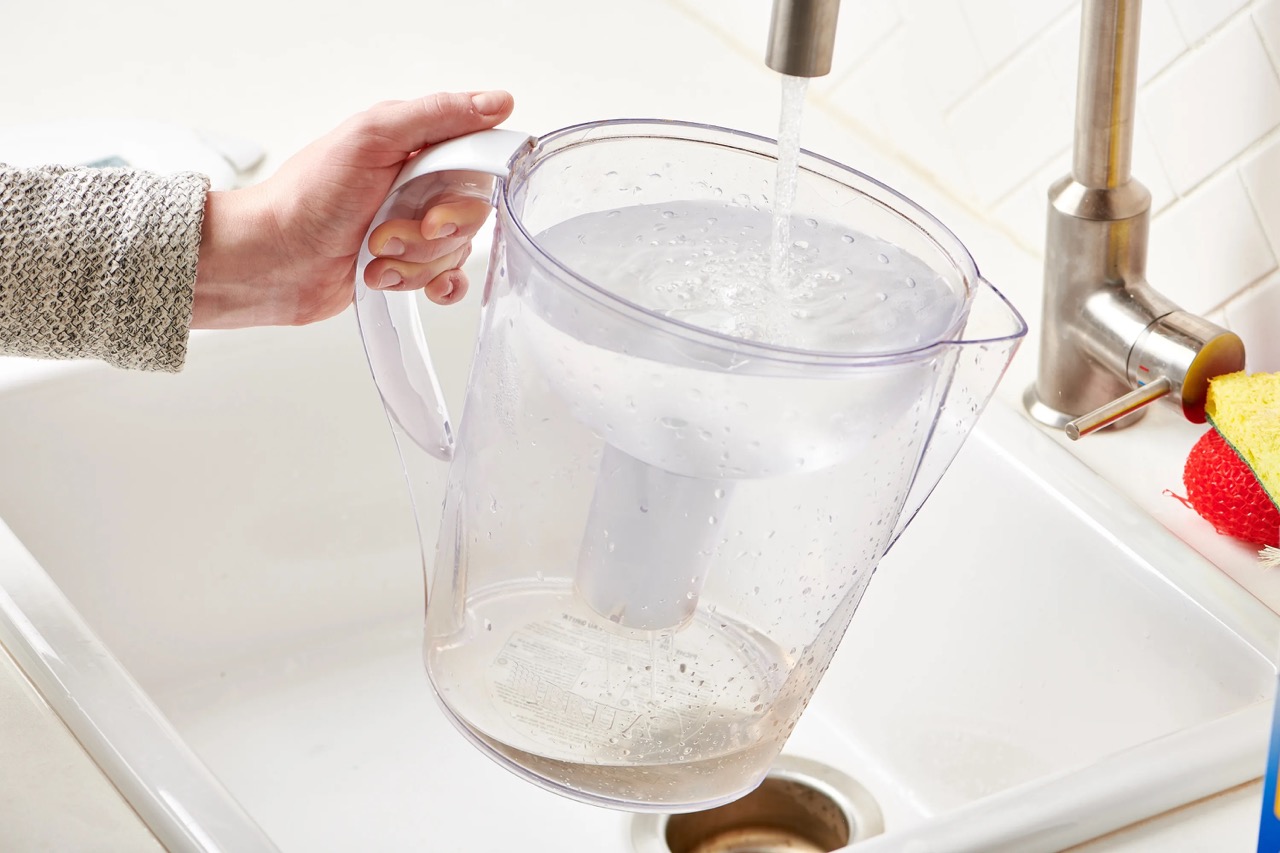
Step 3: Fill the Pitcher with Water
Now that your Brita Water Filtration Pitcher is assembled and the filter is securely in place, it’s time to fill the pitcher with tap water, which will undergo the filtration process to deliver clean, great-tasting water. Follow these simple steps to fill the pitcher with water:
- Remove the Reservoir Lid: Carefully remove the reservoir lid from the pitcher to access the water reservoir. Set the lid aside in a safe place to prevent misplacement.
- Fill the Reservoir: With the reservoir lid removed, fill the reservoir with cold tap water. Ensure that you fill it to the maximum fill line, which is typically indicated on the side of the reservoir. Avoid overfilling to prevent water spillage when reattaching the lid.
- Reattach the Reservoir Lid: Once the reservoir is filled to the appropriate level, securely reattach the reservoir lid to the pitcher. Ensure that the lid fits tightly to maintain the integrity of the filtration process.
With the pitcher filled to the proper level and the reservoir lid securely in place, your Brita Water Filtration Pitcher is ready to begin the filtration process, removing impurities and enhancing the taste of your tap water. Now, let’s move on to the next step: waiting for the water to filter.
Make sure to properly wash the Brita pitcher and filter before use. Fill the reservoir with cold tap water and let it filter through before pouring. Replace the filter every 40 gallons or 2 months.
Step 4: Wait for the Water to Filter
After filling the Brita Water Filtration Pitcher with tap water, it’s time to allow the filtration process to work its magic, ensuring that your drinking water is free from impurities and has a refreshing taste. Here’s what you need to do while waiting for the water to filter:
- Place the Pitcher in the Refrigerator (Optional): If you prefer chilled, filtered water, consider placing the filled pitcher in the refrigerator. This allows the water to chill while undergoing the filtration process, providing you with cold, refreshing water when it’s time to pour a glass.
- Let the Filter Work: Allow the water to pass through the filter, removing contaminants and enhancing its taste as it flows into the pitcher’s main chamber. The filter is designed to efficiently remove impurities, such as chlorine, mercury, and cadmium, to deliver clean, great-tasting water.
- Observe the Filtration Progress: While the water filters, you may notice bubbles rising to the surface or a slight change in the water’s appearance. This is a sign that the filtration system is actively working to purify the water, ensuring that it meets Brita’s high standards for clean, healthy drinking water.
By allowing the water to filter through the Brita pitcher, you are taking a proactive step towards ensuring that your drinking water is of the highest quality. Once the filtration process is complete, you’ll be ready to pour yourself a refreshing glass of clean, filtered water. Next, we’ll explore the final steps of pouring and enjoying the filtered water.
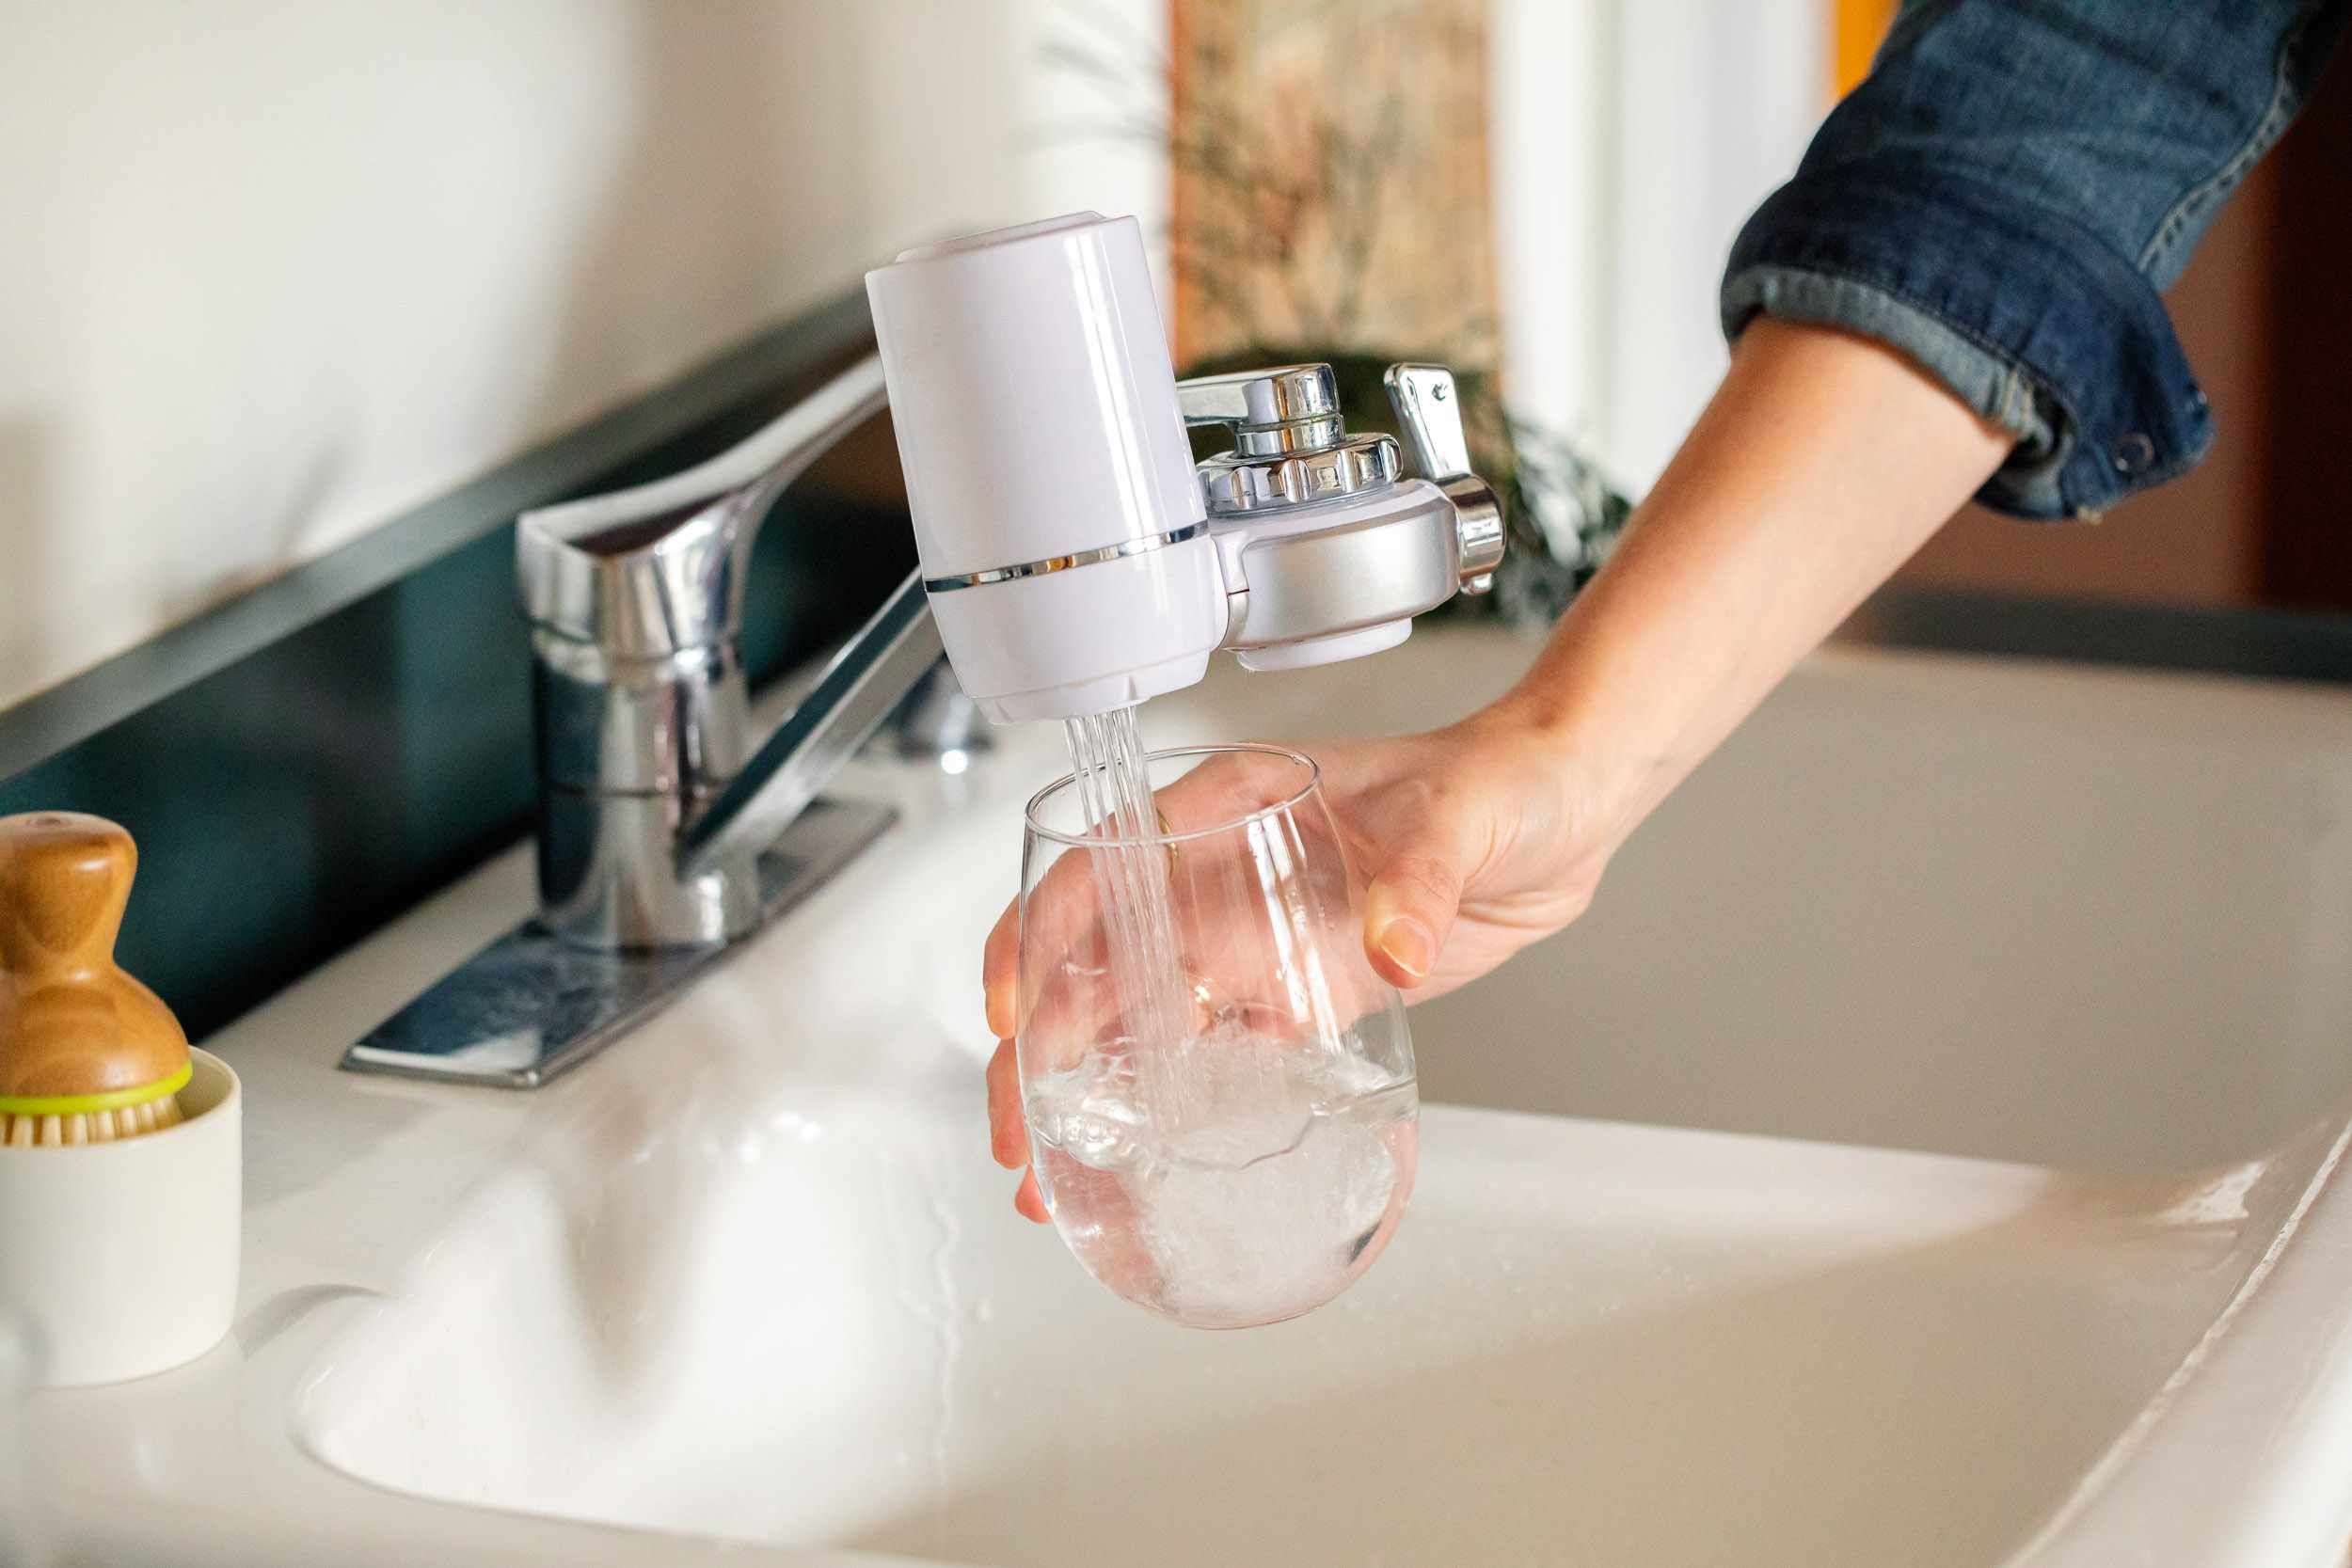
Step 5: Pour and Enjoy
With the filtration process complete, it’s time to reap the rewards of your Brita Water Filtration Pitcher’s exceptional performance by pouring yourself a glass of clean, refreshing water. Here’s how to pour and enjoy the freshly filtered water:
- Remove the Reservoir Lid: Carefully remove the reservoir lid from the pitcher to access the freshly filtered water. Set the lid aside in a safe place to prevent misplacement.
- Hold the Pitcher Securely: Grasp the pitcher securely with one hand, ensuring a firm grip to prevent any accidental spills while pouring the water.
- Pour the Filtered Water: Tilt the pitcher slightly and pour the freshly filtered water into your glass. The filtered water will flow smoothly, providing you with a satisfying and refreshing pour.
- Enjoy Your Refreshing Drink: Take a moment to savor the clean, crisp taste of the filtered water. Whether you’re hydrating, cooking, or making a refreshing beverage, the filtered water from your Brita pitcher is sure to enhance the experience.
By following these simple steps, you can easily pour and enjoy the benefits of clean, filtered water provided by your Brita Water Filtration Pitcher. With each refreshing sip, you’ll appreciate the convenience and quality that this exceptional filtration system brings to your daily routine. Now, let’s move on to the final step: maintenance and cleaning to ensure the ongoing performance of your Brita pitcher.
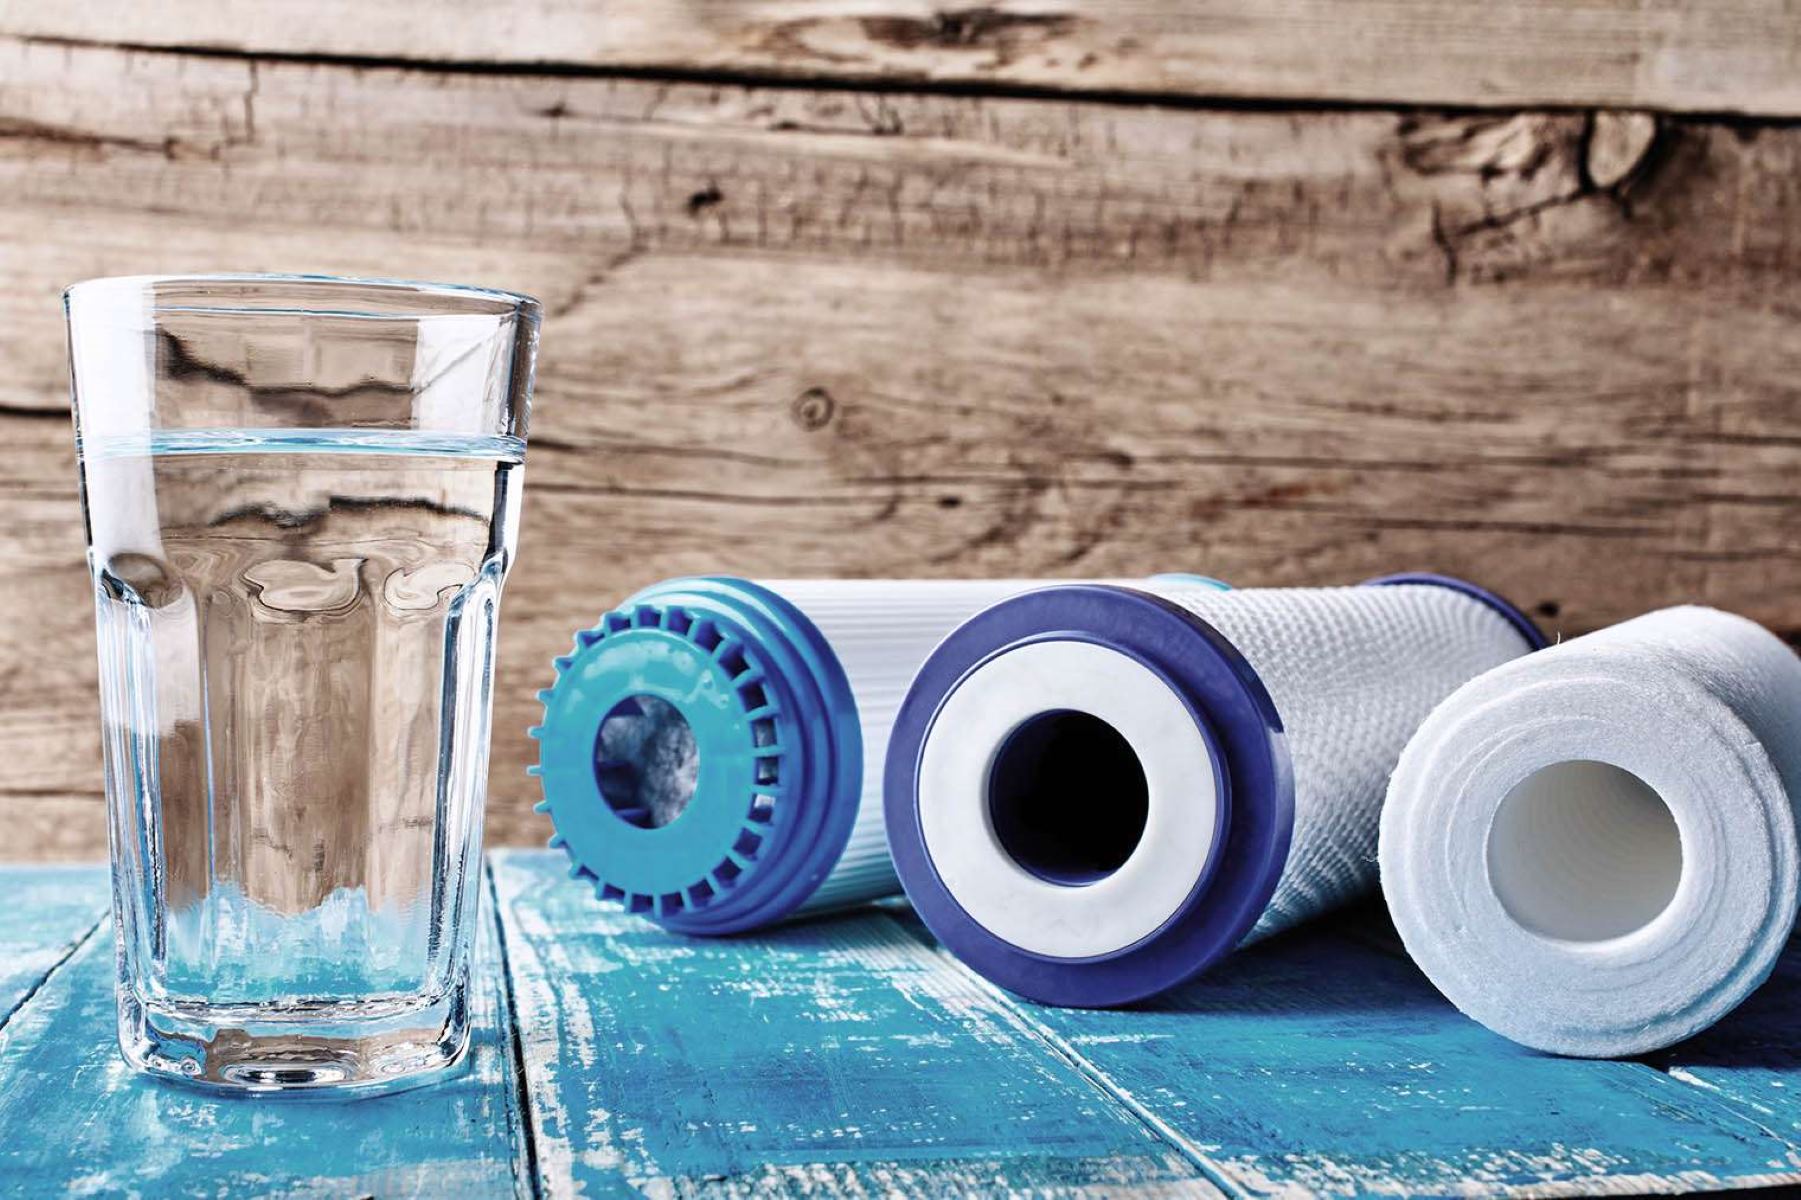
Step 6: Maintenance and Cleaning
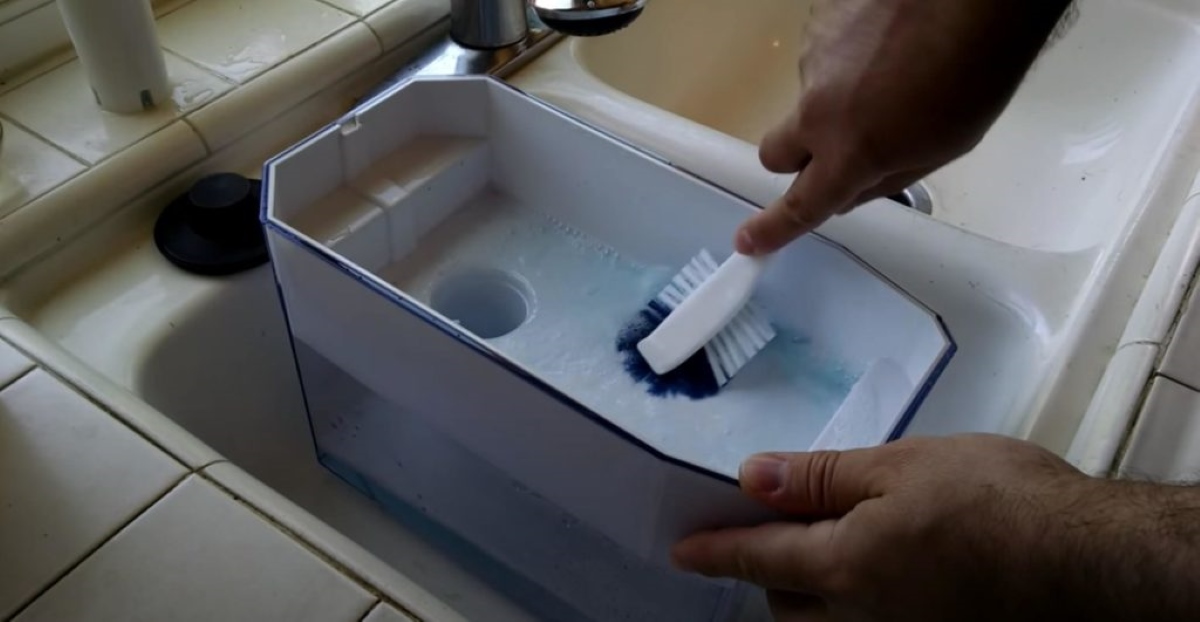
Maintaining and cleaning your Brita Water Filtration Pitcher is essential to ensure that it continues to provide you with clean, great-tasting water. Follow these simple steps to maintain and clean your pitcher:
- Replace the Filter Regularly: The filter in your Brita pitcher requires regular replacement to maintain optimal filtration performance. Refer to the manufacturer’s guidelines to determine the recommended filter replacement schedule based on your usage and water quality.
- Clean the Pitcher and Components: Periodically clean the pitcher, reservoir, lid, and filter compartment with mild detergent and water. Rinse them thoroughly to remove any residue and ensure that the components remain in top condition.
- Sanitize the Pitcher: To sanitize the pitcher, create a solution of water and a small amount of bleach. Fill the pitcher with the solution, let it stand for a few minutes, and then rinse thoroughly to remove any residual bleach before using the pitcher again.
- Inspect for Wear and Tear: Regularly inspect the pitcher and its components for any signs of wear, such as cracks or damage. If any issues are identified, consider replacing the affected parts to maintain the pitcher’s performance.
By following these maintenance and cleaning steps, you can ensure that your Brita Water Filtration Pitcher remains in optimal condition, providing you with clean, refreshing water for your everyday needs. With proper care and attention, your Brita pitcher will continue to be a reliable and effective solution for enhancing the quality of your drinking water.
Now that you’re familiar with the essential maintenance and cleaning steps, you can confidently enjoy the ongoing benefits of your Brita Water Filtration Pitcher. With regular upkeep, your pitcher will continue to deliver clean, great-tasting water, enriching your daily hydration and culinary experiences.
Conclusion
Congratulations! You’ve successfully navigated the process of using the Brita Water Filtration Pitcher, unlocking the potential to enjoy clean, refreshing water at your convenience. By following the simple steps outlined in this guide, you’ve gained the knowledge and confidence to make the most of your Brita pitcher and elevate your hydration and culinary experiences.
With the Brita Water Filtration Pitcher, you have a reliable ally in your quest for clean, great-tasting water. From assembling the pitcher to pouring and enjoying the freshly filtered water, each step is designed to be straightforward and rewarding, ensuring that you have access to high-quality water for drinking, cooking, and more.
Remember, the maintenance and cleaning of your Brita pitcher are essential to its ongoing performance. By following the recommended maintenance guidelines and replacing the filter as needed, you can continue to enjoy the benefits of clean, filtered water that enhances your well-being and everyday activities.
As you savor each refreshing sip of filtered water, take pride in knowing that your Brita Water Filtration Pitcher is a testament to your commitment to quality, convenience, and wellness. With its reliable filtration system, you can trust that your drinking water is free from impurities and has a crisp, clean taste that elevates your daily routine.
Thank you for embarking on this journey to discover the simplicity and effectiveness of the Brita Water Filtration Pitcher. May your experiences with this exceptional filtration system continue to bring refreshment and satisfaction to your life, one glass of clean, great-tasting water at a time.
Frequently Asked Questions about Brita Water Filtration Pitcher: How To Use
Was this page helpful?
At Storables.com, we guarantee accurate and reliable information. Our content, validated by Expert Board Contributors, is crafted following stringent Editorial Policies. We're committed to providing you with well-researched, expert-backed insights for all your informational needs.

0 thoughts on “Brita Water Filtration Pitcher: How To Use”