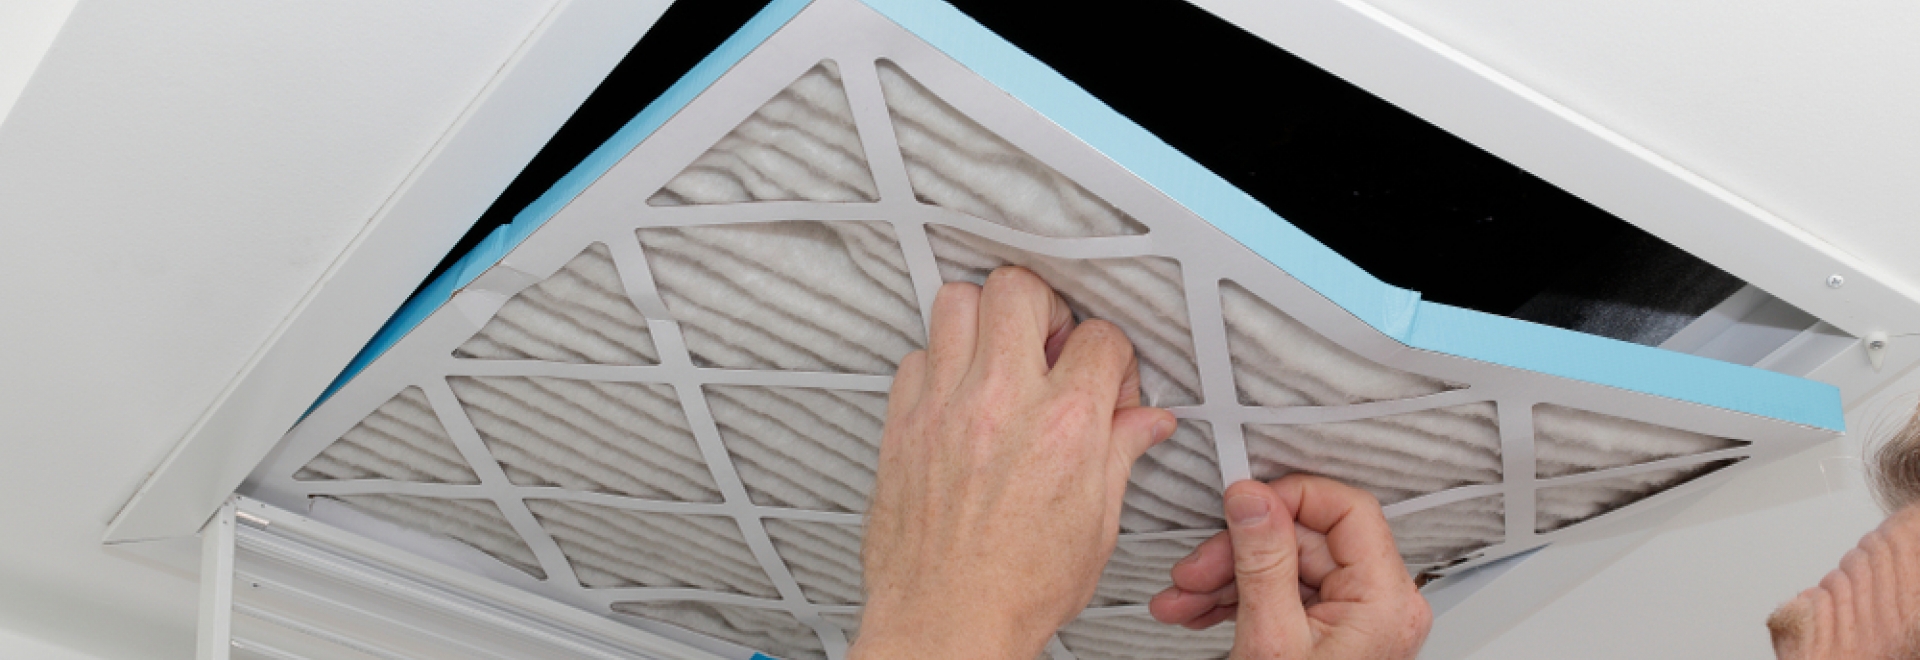
Home>Health & Lifestyle>Air Quality & Filtration>How To Change A Filter In A Water Filtration System
Air Quality & Filtration
How To Change A Filter In A Water Filtration System
Modified: January 4, 2024
Learn how to change the filter in your water filtration system to maintain optimal air quality and filtration. Follow our step-by-step guide for a healthier home.
(Many of the links in this article redirect to a specific reviewed product. Your purchase of these products through affiliate links helps to generate commission for Storables.com, at no extra cost. Learn more)
Introduction
Welcome to the comprehensive guide on how to change a filter in a water filtration system. Whether you are a new homeowner or a seasoned DIY enthusiast, understanding the importance of maintaining your water filtration system is crucial for ensuring the quality of the water in your home. Over time, the filters in these systems become clogged with impurities, reducing their effectiveness and potentially compromising the cleanliness of your water supply. By learning how to properly change the filters, you can uphold the efficiency of your water filtration system and safeguard the health of your household.
In the following sections, we will delve into the essential steps for replacing the filter in your water filtration system. From understanding the different types of filters to gathering the necessary tools and materials, each step is designed to equip you with the knowledge and confidence to perform this maintenance task effectively. By following these instructions, you can ensure that your water remains clean, safe, and free from harmful contaminants. Let's embark on this journey to enhance the performance of your water filtration system and secure the well-being of your loved ones.
Key Takeaways:
- Regularly changing the filter in your water filtration system ensures clean, safe water for your family’s needs. Understand your system, gather tools, and follow the steps to maintain optimal performance.
- By identifying, replacing, and testing your water filtration system’s filter, you’re actively safeguarding your family’s health and well-being. Take pride in providing clean, high-quality water for your loved ones.
Read more: How To Change Water Filter Ge Refrigerator
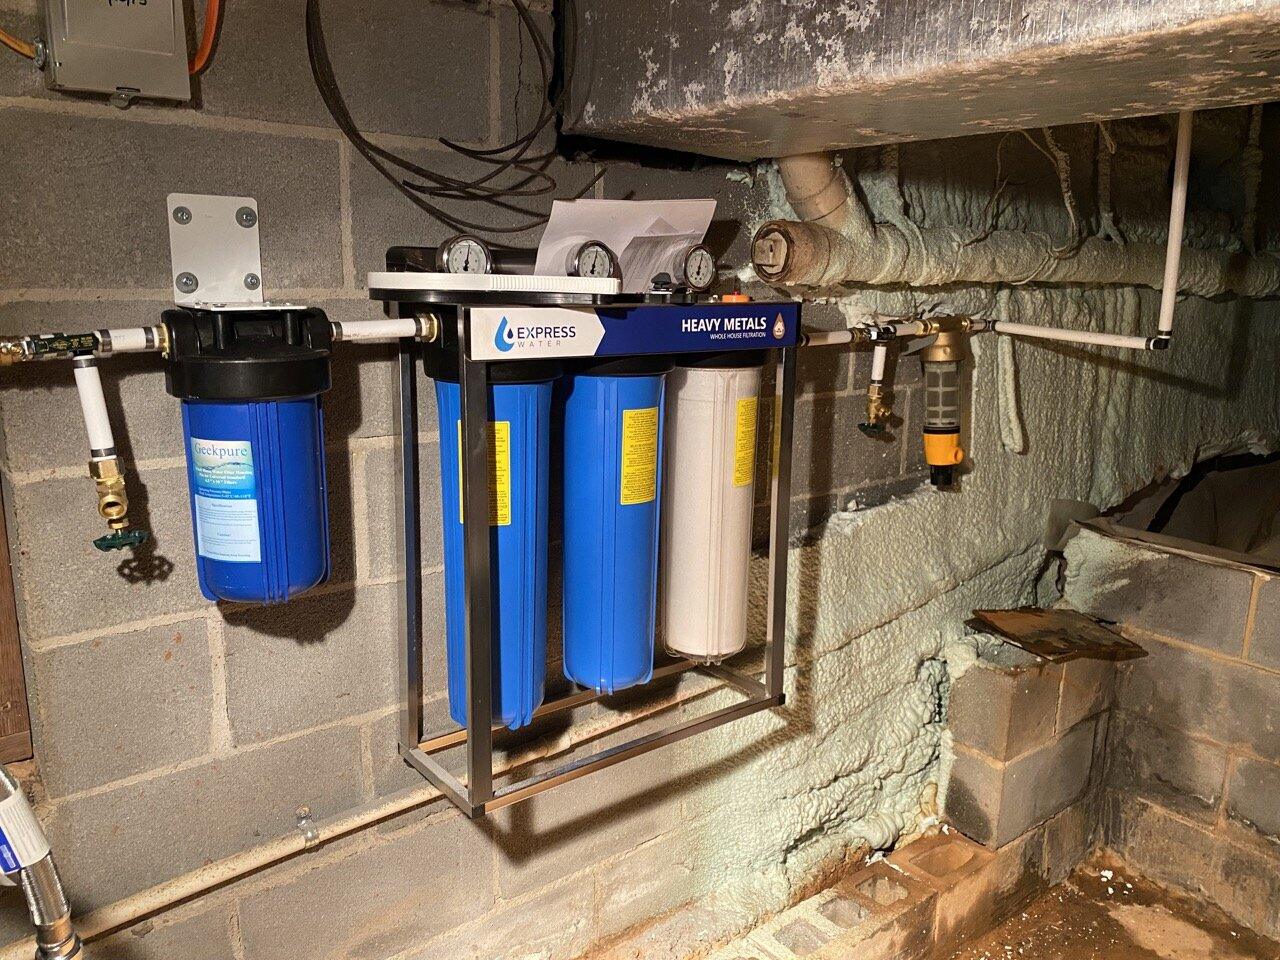
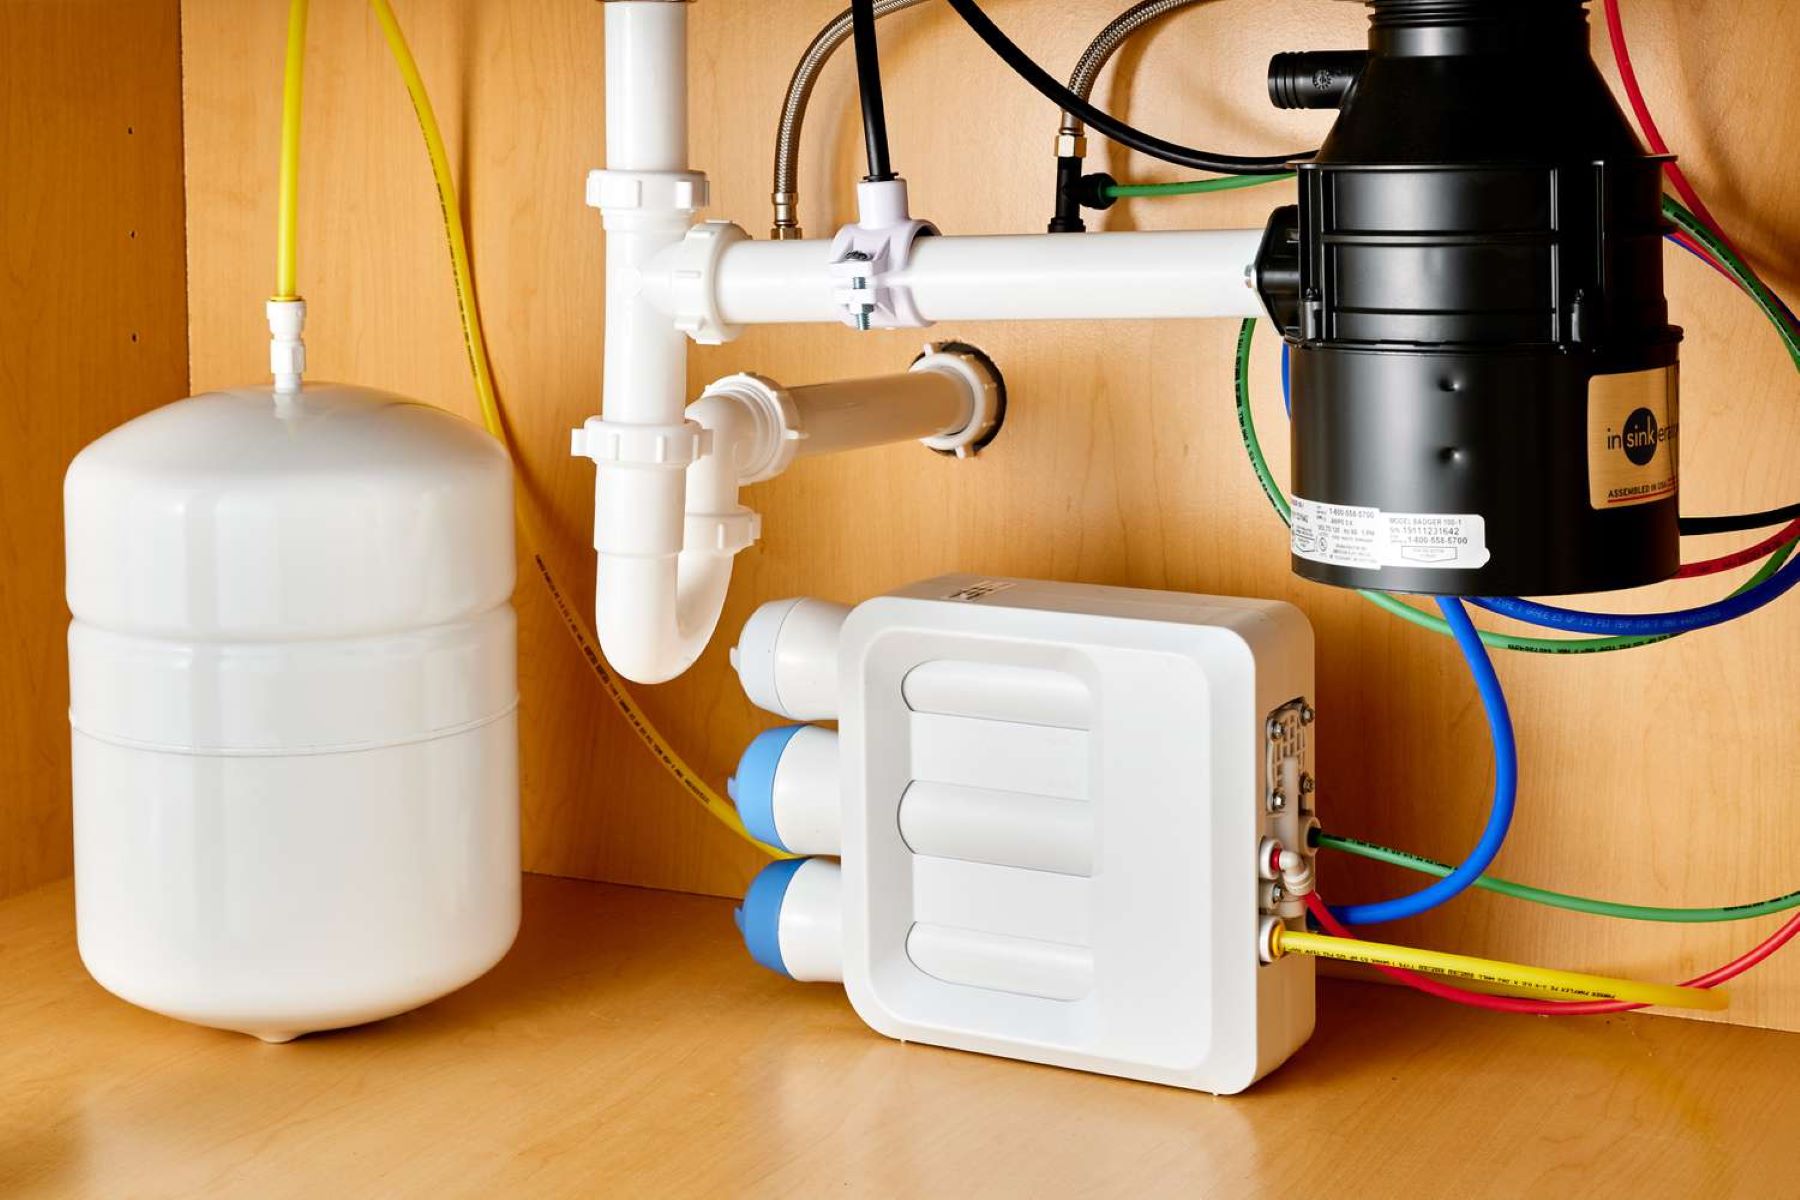
Understanding the Water Filtration System
Before delving into the process of changing the filter in a water filtration system, it’s essential to grasp the fundamental workings of this vital household appliance. A water filtration system is designed to remove impurities and contaminants from your water supply, ensuring that the water flowing through your taps is safe for consumption and daily use. These systems typically employ a combination of physical and chemical filtration processes to eliminate particles, sediment, chlorine, and other unwanted substances from the water.
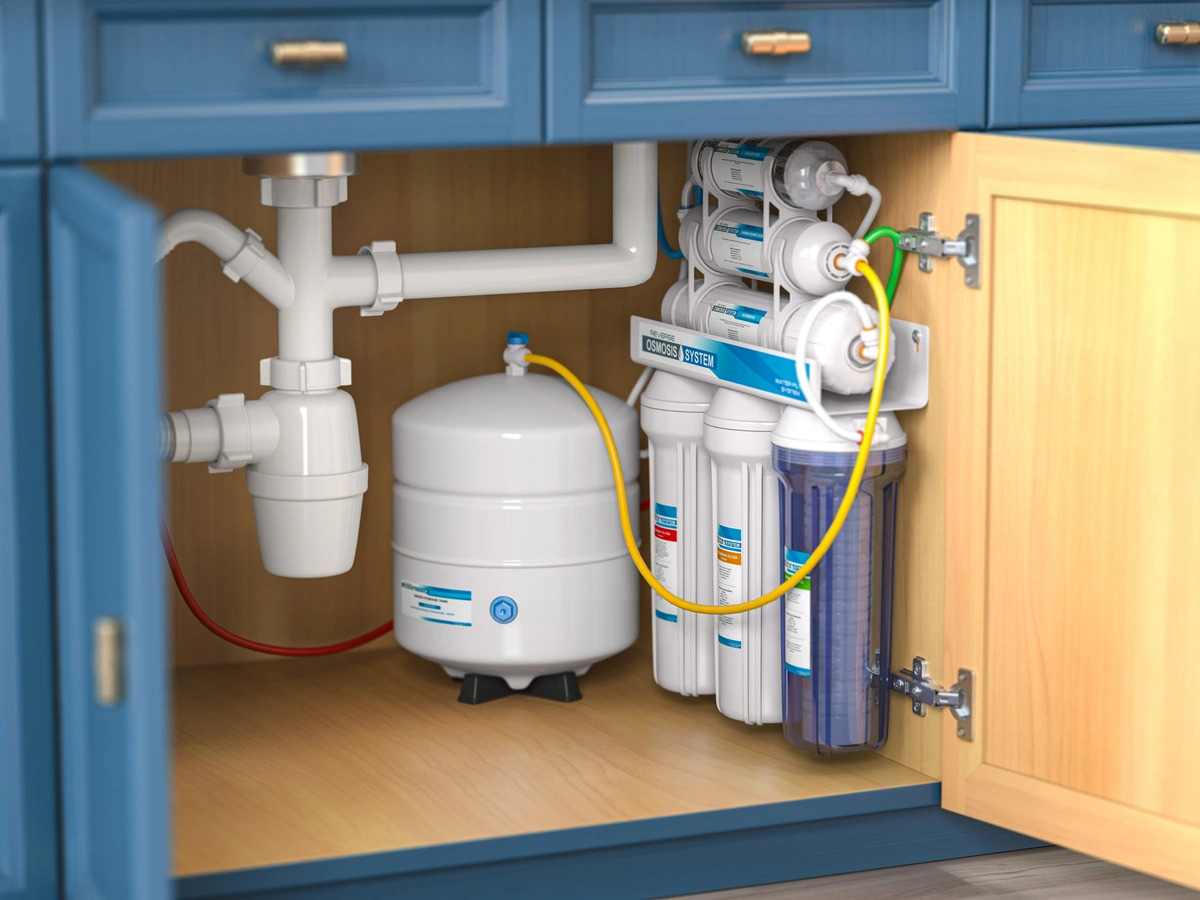
Water filtration systems come in various types, including under-the-sink filters, whole-house filtration systems, and countertop filters. Each type serves a specific purpose and is tailored to address distinct water quality concerns. Under-the-sink filters are commonly installed in kitchen cabinets and are ideal for purifying drinking and cooking water, while whole-house filtration systems are connected to the main water line, providing filtered water to every water outlet in the house.
Additionally, water filters are categorized based on their filtration mechanisms, such as activated carbon filters, reverse osmosis filters, and sediment filters. Activated carbon filters are effective in removing chlorine, volatile organic compounds (VOCs), and unpleasant odors from the water, while reverse osmosis filters employ a semipermeable membrane to eliminate a wide range of contaminants, including heavy metals and dissolved solids. Sediment filters, on the other hand, are designed to trap large particles and sediments, preventing them from entering the plumbing system.
Understanding the specific type of water filtration system and filter installed in your home is crucial for determining the appropriate replacement procedure. By familiarizing yourself with the intricacies of your water filtration system, you can make informed decisions when selecting replacement filters and ensure that the system continues to deliver clean, healthy water to your household.
Identifying the Type of Filter
Before initiating the process of replacing the filter in your water filtration system, it is imperative to accurately identify the type of filter installed. This step is essential as it determines the specific replacement filter required and ensures compatibility with your system. To identify the type of filter, you can refer to the system’s user manual, examine the existing filter, or consult the manufacturer’s website for detailed information.
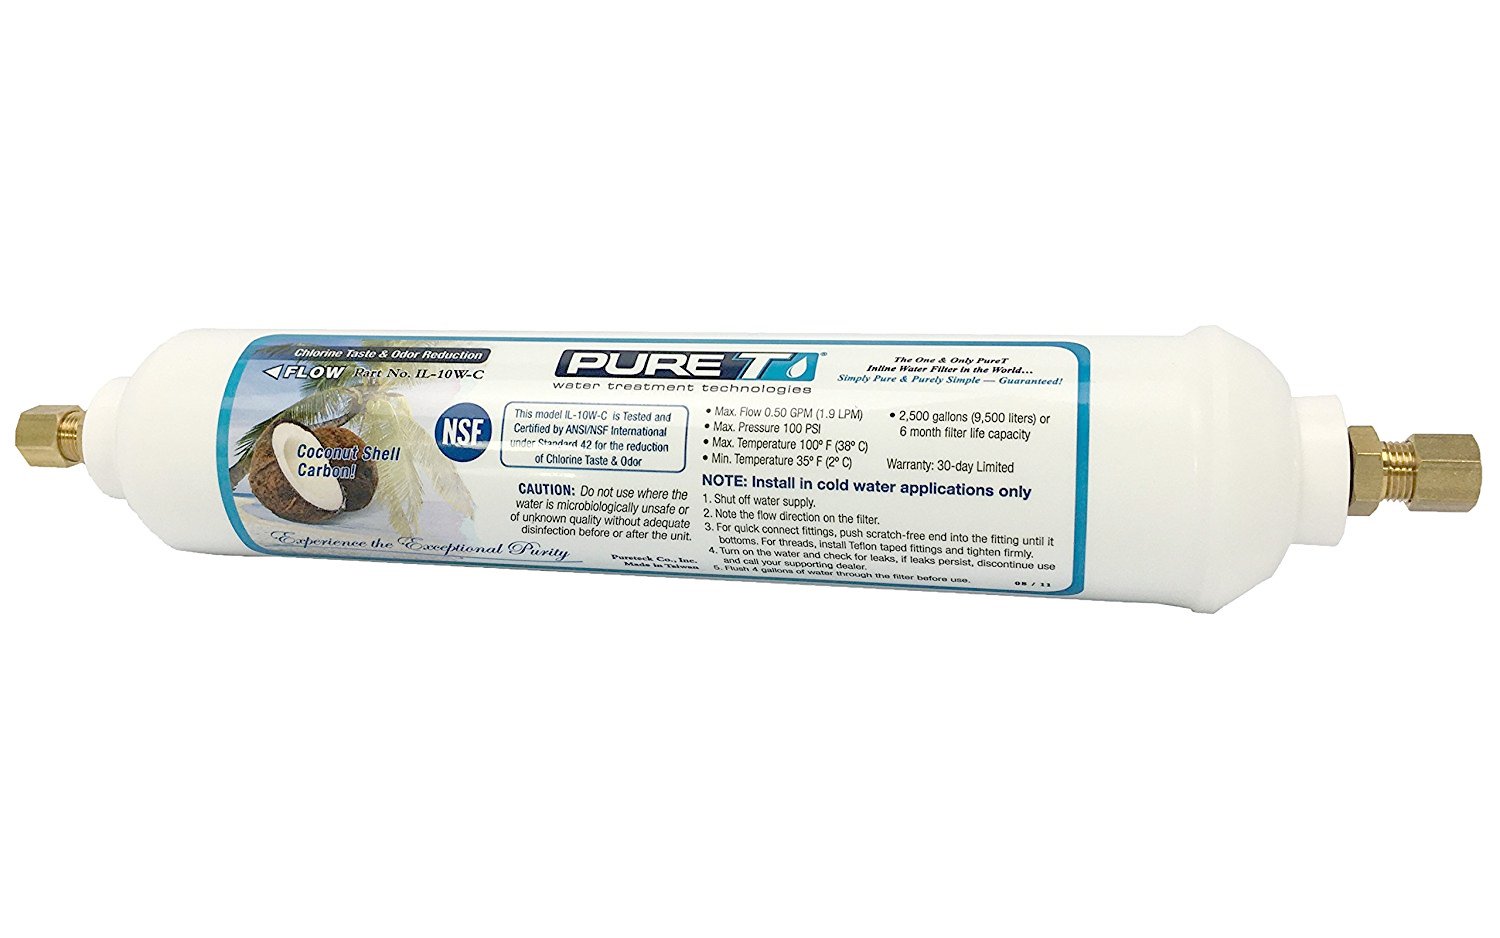
Common types of filters used in water filtration systems include activated carbon filters, sediment filters, reverse osmosis filters, and UV filters. Activated carbon filters are adept at removing chlorine, volatile organic compounds (VOCs), and unpleasant tastes and odors from the water, making them suitable for enhancing the taste and quality of drinking water. Sediment filters are designed to capture larger particles and sediments, preventing them from entering the plumbing system and causing potential damage to appliances and fixtures.
Reverse osmosis filters utilize a semipermeable membrane to effectively remove a broad spectrum of contaminants, including heavy metals, dissolved solids, and microorganisms, providing comprehensive purification of the water supply. UV filters employ ultraviolet light to disinfect water by deactivating bacteria, viruses, and other microorganisms, ensuring that the water is free from harmful pathogens.
By identifying the specific type of filter in your water filtration system, you can proceed to procure the appropriate replacement filter with confidence, knowing that it aligns with the system’s filtration requirements. This meticulous approach not only streamlines the replacement process but also guarantees that your water filtration system continues to function optimally, delivering clean and safe water for your household’s needs.
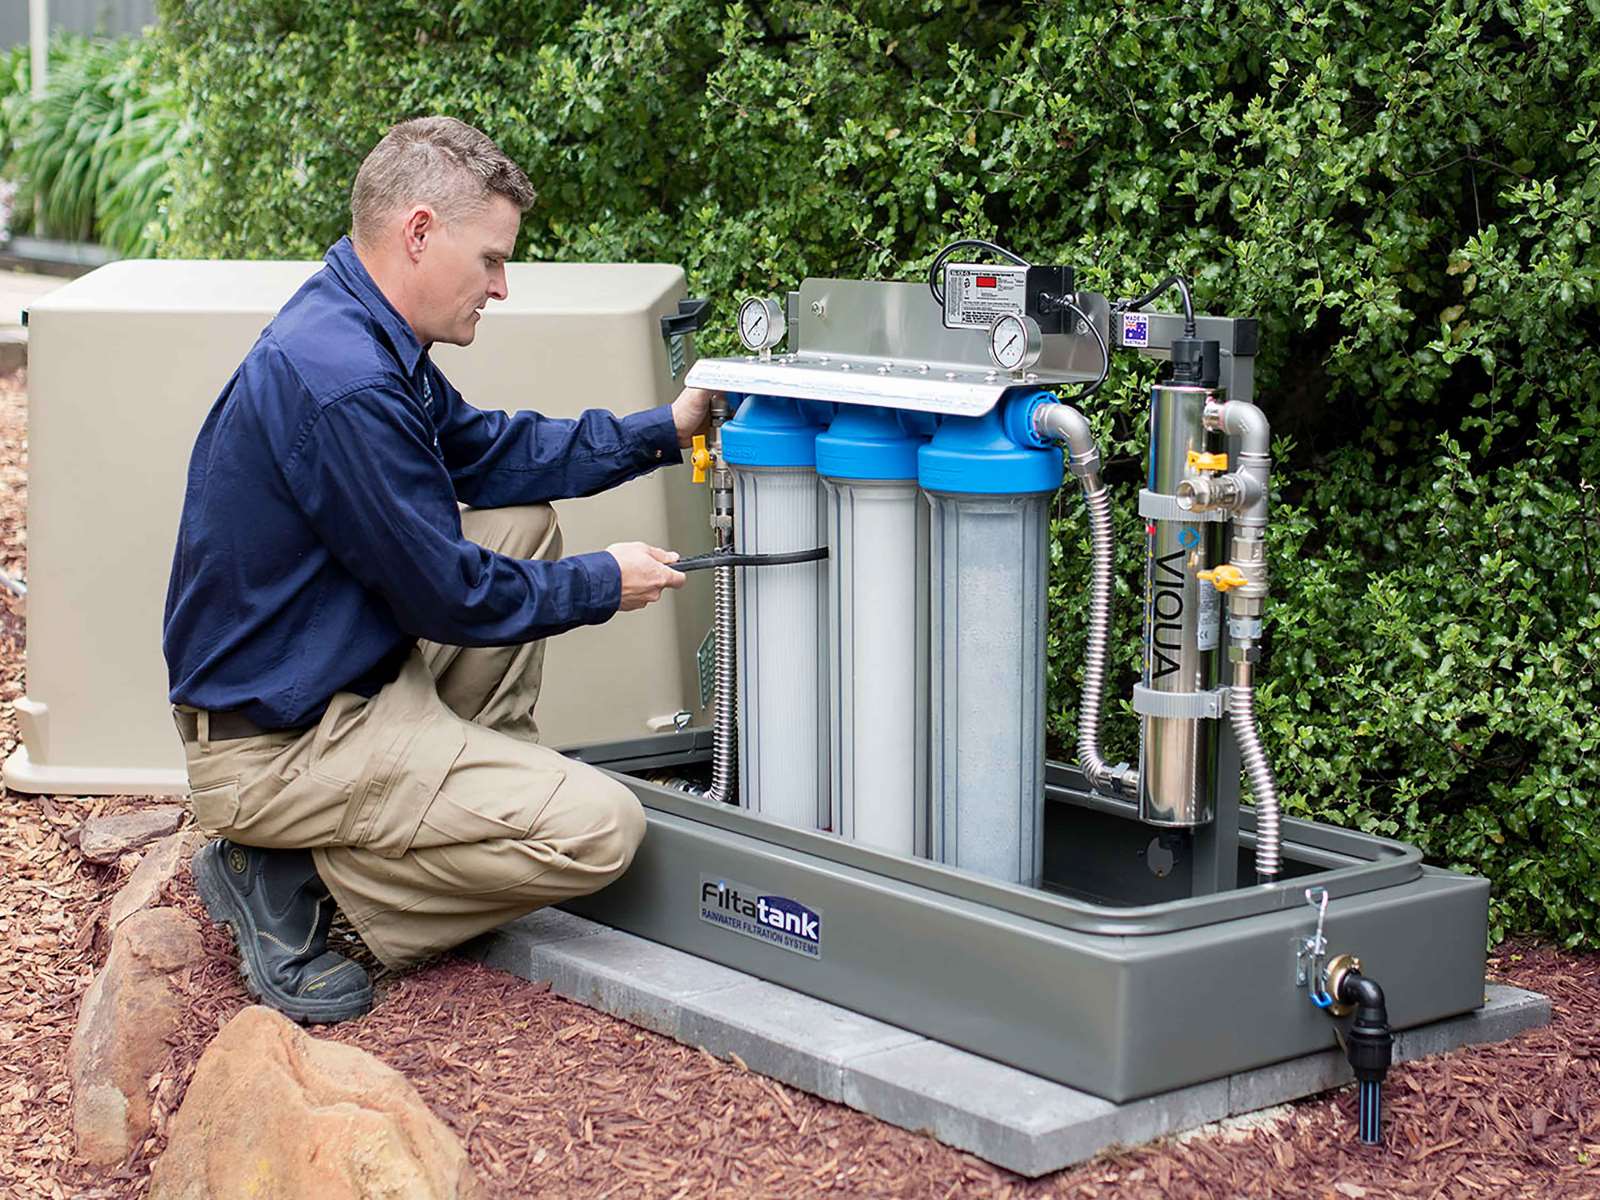
Gathering Necessary Tools and Materials
Before embarking on the task of replacing the filter in your water filtration system, it is essential to gather the requisite tools and materials to facilitate a smooth and efficient process. By ensuring that you have all the necessary items at your disposal, you can minimize interruptions and complete the filter replacement with confidence and precision.
The specific tools and materials required may vary based on the type of water filtration system and filter being replaced. However, some common items that are often needed for filter replacement include:
- Replacement Filter: Acquire the correct replacement filter based on the type and model of your water filtration system. Ensure that the replacement filter is compatible with your specific system to maintain optimal filtration performance.
- Adjustable Wrench or Filter Wrench: Depending on the design of your water filtration system, an adjustable wrench or specialized filter wrench may be necessary to loosen and remove the filter housing.
- Cloth or Towel: Having a cloth or towel on hand can be helpful for wiping any residual water or moisture around the filter housing, ensuring a clean working environment.
- Bucket or Container: Place a bucket or container beneath the filter housing to catch any water that may spill during the removal process, preventing potential mess and water damage.
- User Manual: Refer to the user manual provided with your water filtration system for specific instructions and guidelines related to filter replacement. The manual can offer valuable insights and precautions tailored to your system’s model.
By gathering these essential tools and materials before commencing the filter replacement, you can approach the task methodically and mitigate the risk of encountering unforeseen challenges. This proactive approach not only enhances the efficiency of the replacement process but also promotes a seamless transition to a new, clean filter, ensuring the continued delivery of high-quality, filtered water throughout your home.
Shutting Off the Water Supply
Prior to replacing the filter in your water filtration system, it is crucial to shut off the water supply to the system to prevent water from flowing during the replacement process. This step is essential for minimizing the risk of leaks, reducing water wastage, and ensuring a safe working environment as you attend to the filter.
The method for shutting off the water supply may vary based on the type of water filtration system installed in your home. Here are the general steps to follow when shutting off the water supply:
- Locate the Main Water Shut-Off Valve: Identify the main water shut-off valve that controls the flow of water to your water filtration system. This valve is typically located near the water meter or where the main water line enters your home.
- Turn Off the Main Water Valve: Using a valve key or wrench, turn the main water shut-off valve clockwise to close it completely. This action will stop the flow of water to the entire house, including the water filtration system.
- Drain Excess Water: After shutting off the main water valve, open a faucet or two in your home to allow any remaining water in the pipes to drain out. This step helps release pressure in the system and minimize the amount of water that may spill during the filter replacement.
By diligently shutting off the water supply to your water filtration system, you can create a controlled environment for replacing the filter, reducing the likelihood of water-related mishaps and ensuring a seamless transition to a new filter. This proactive measure underscores the importance of safety and precision in maintaining your water filtration system, ultimately contributing to the sustained delivery of clean, filtered water throughout your household.
Read more: Which Water Filtration System Is Best
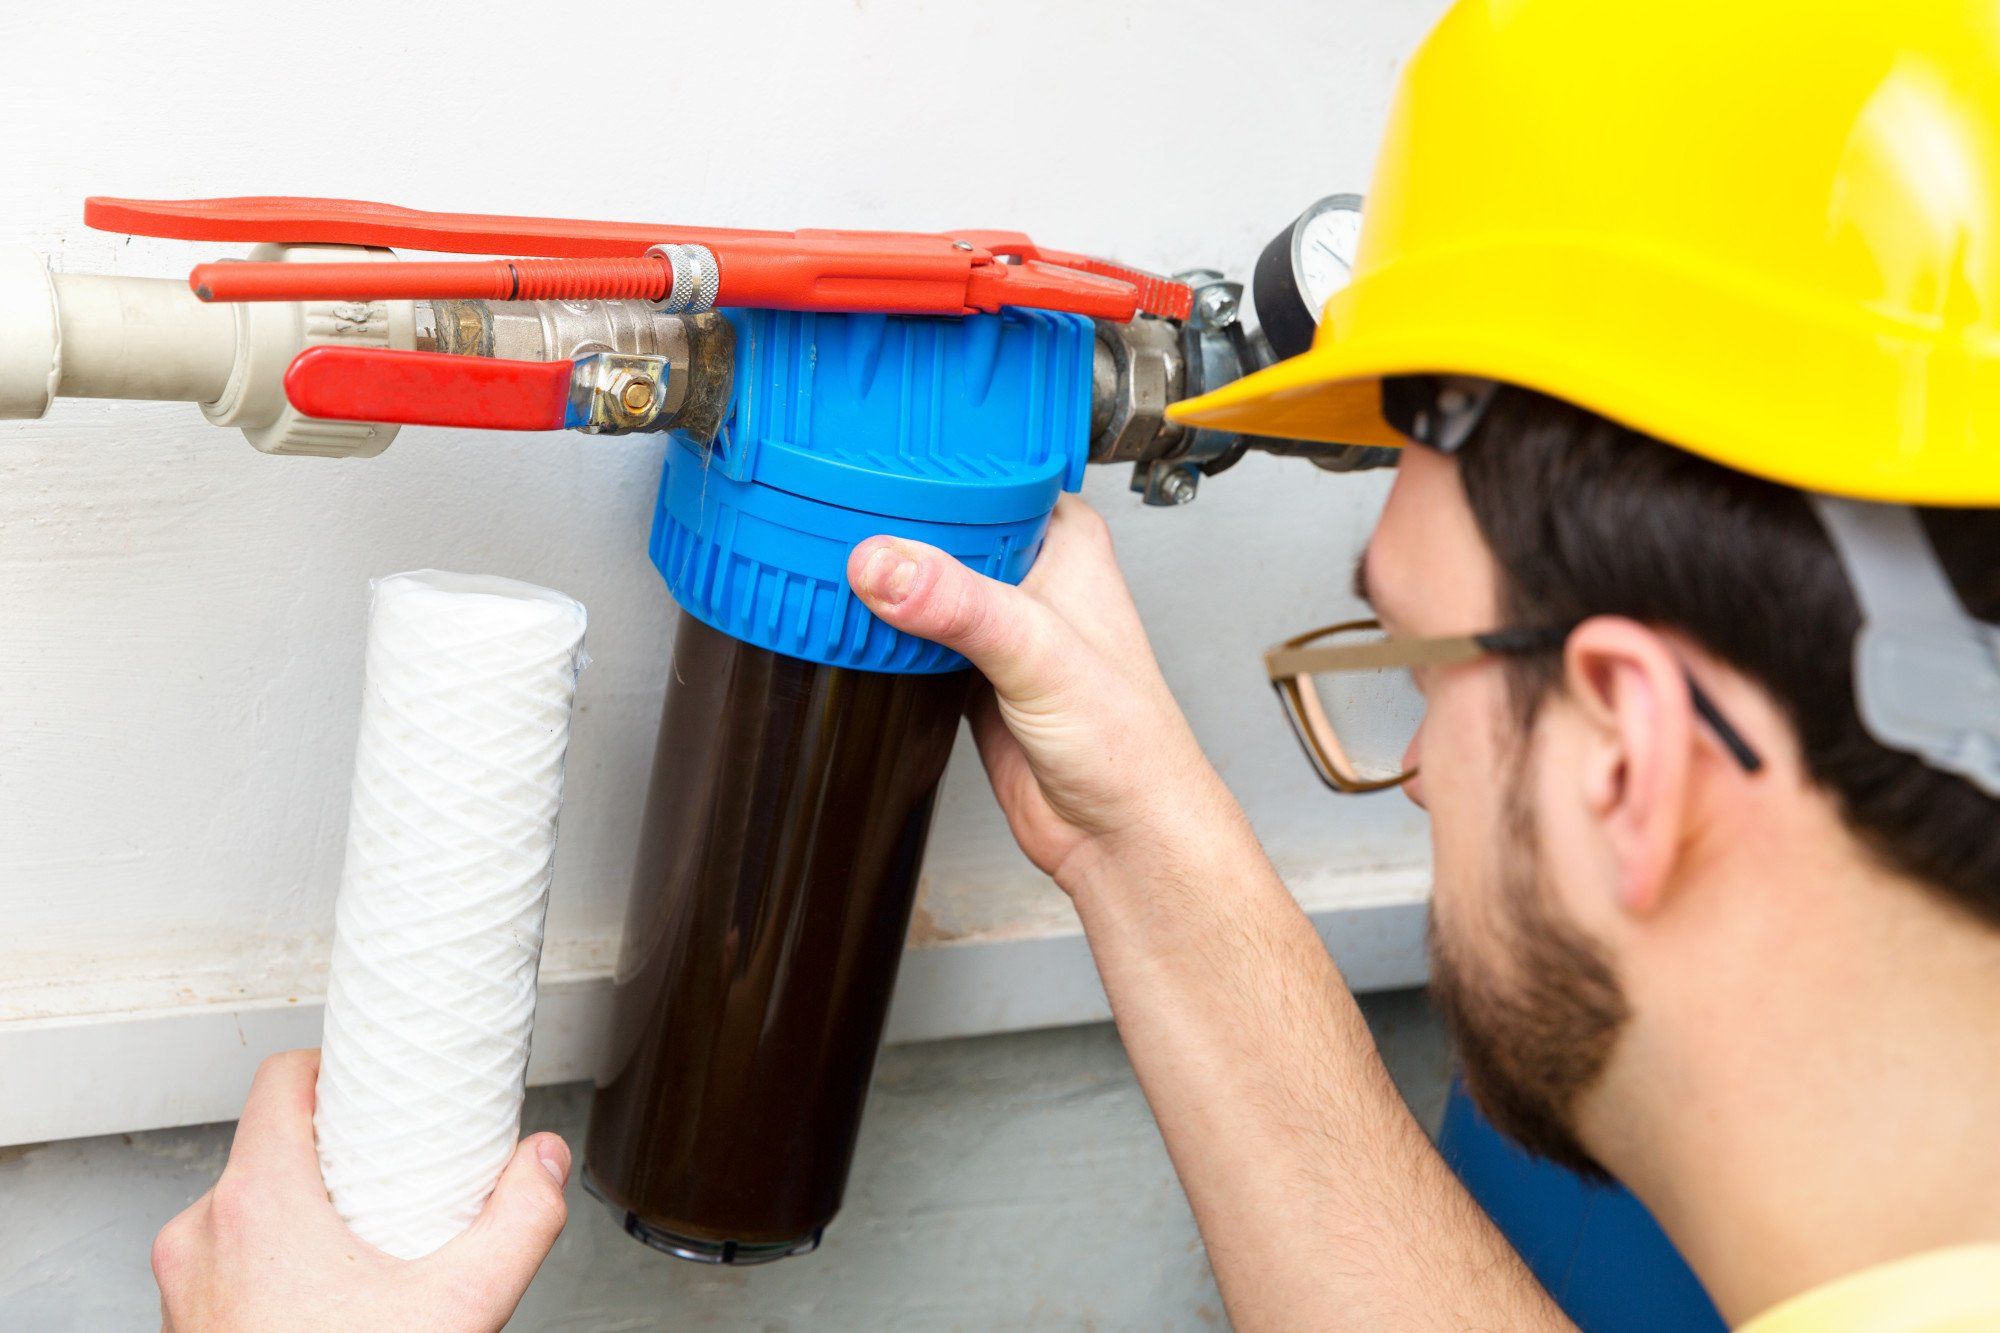
Removing the Old Filter
With the water supply to the filtration system safely shut off, you can now proceed to remove the old filter from the system. This step is crucial for preparing the system to receive the new filter and involves careful handling to prevent any residual water or contaminants from escaping into the surrounding area. The following steps outline the process of removing the old filter from your water filtration system:
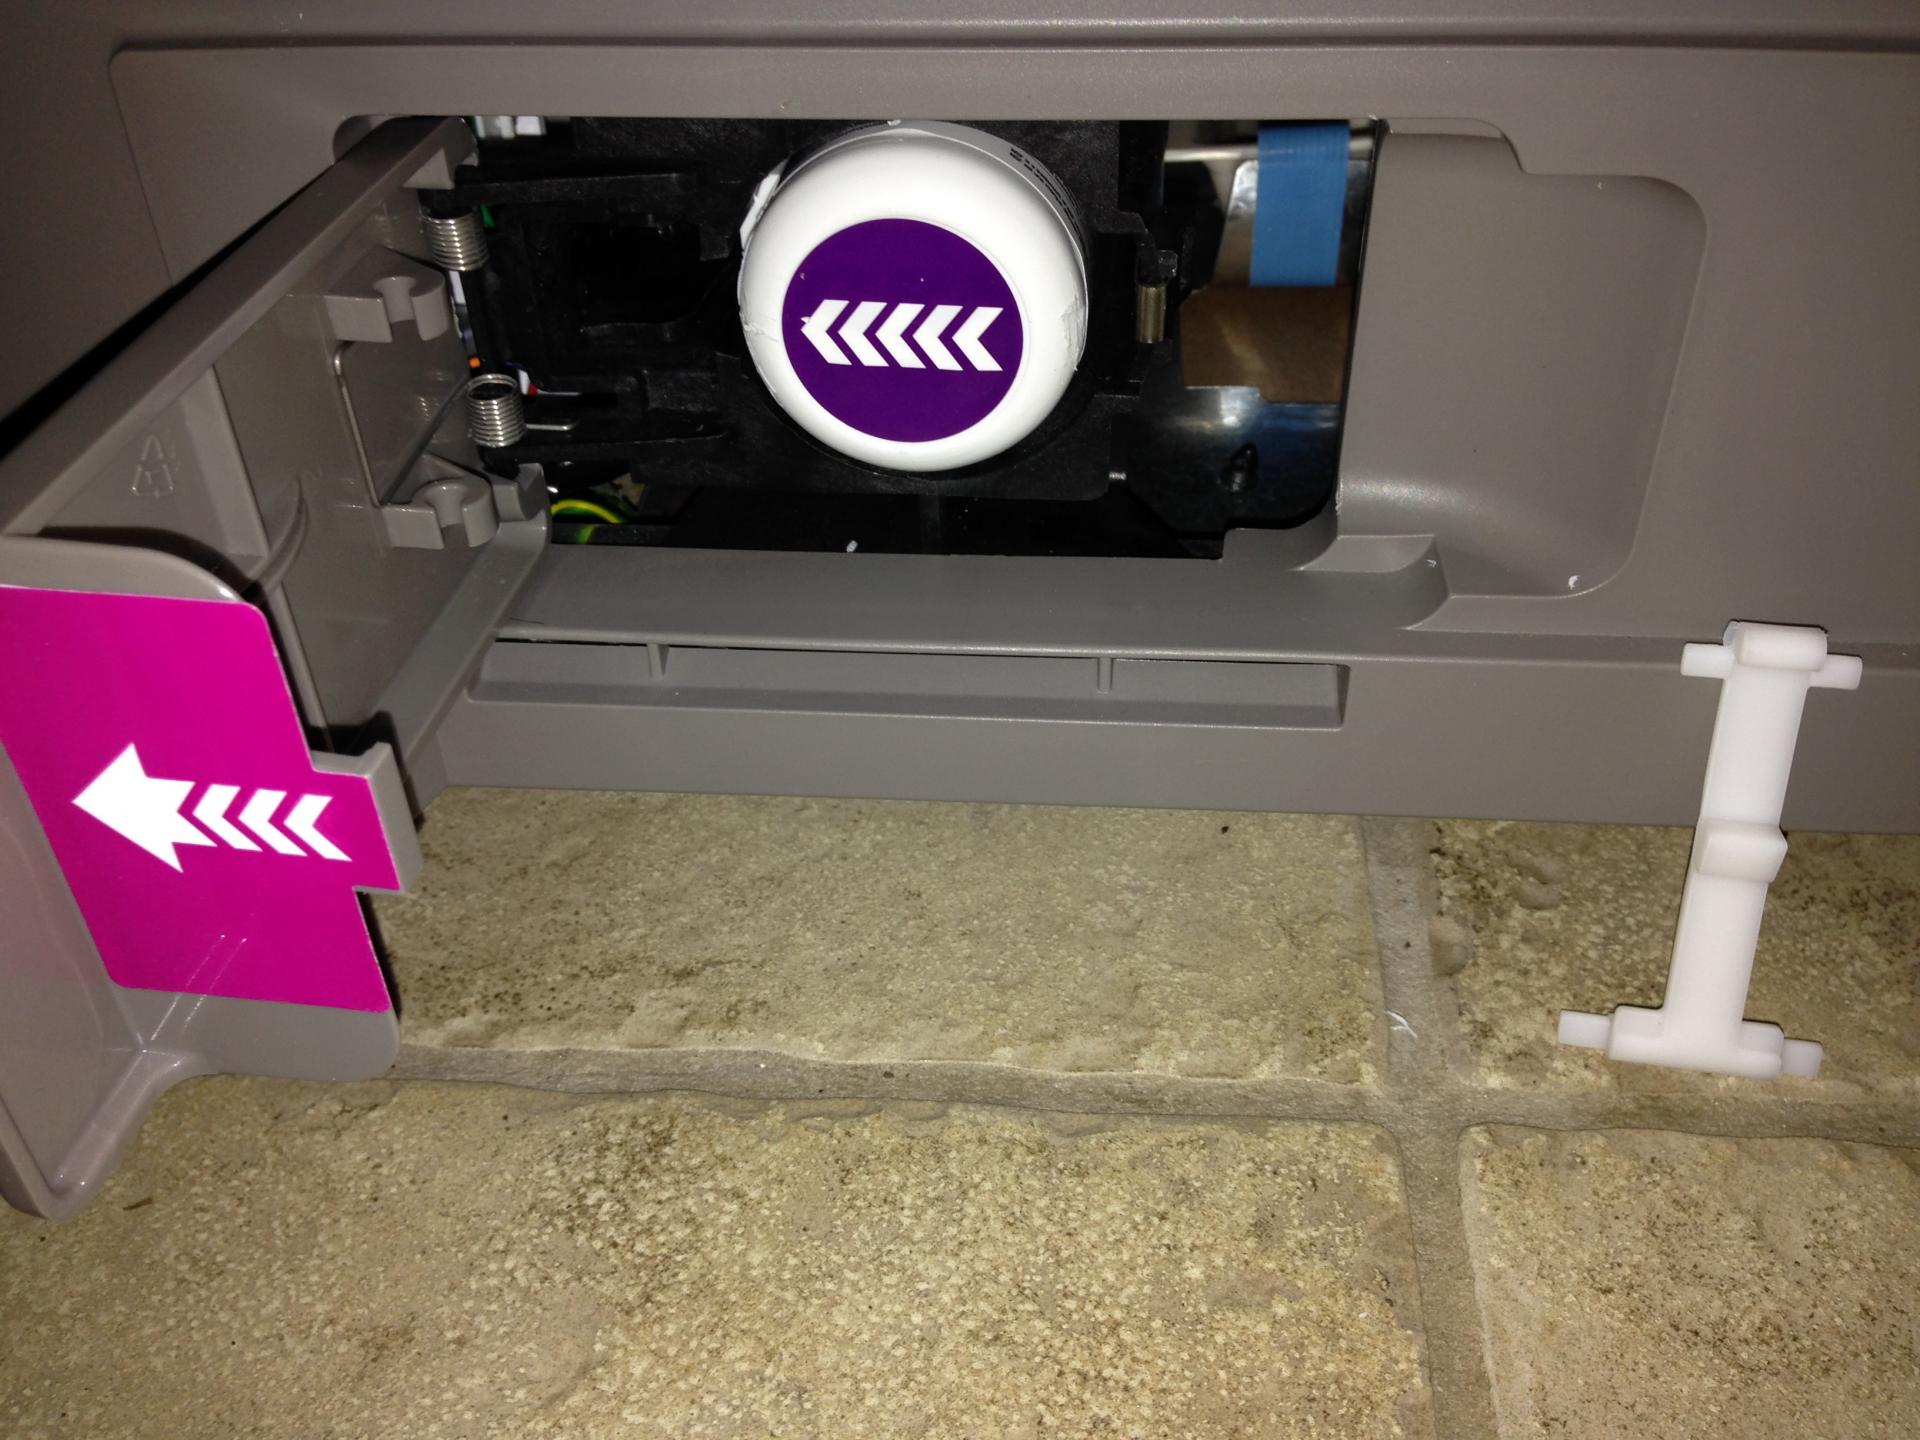
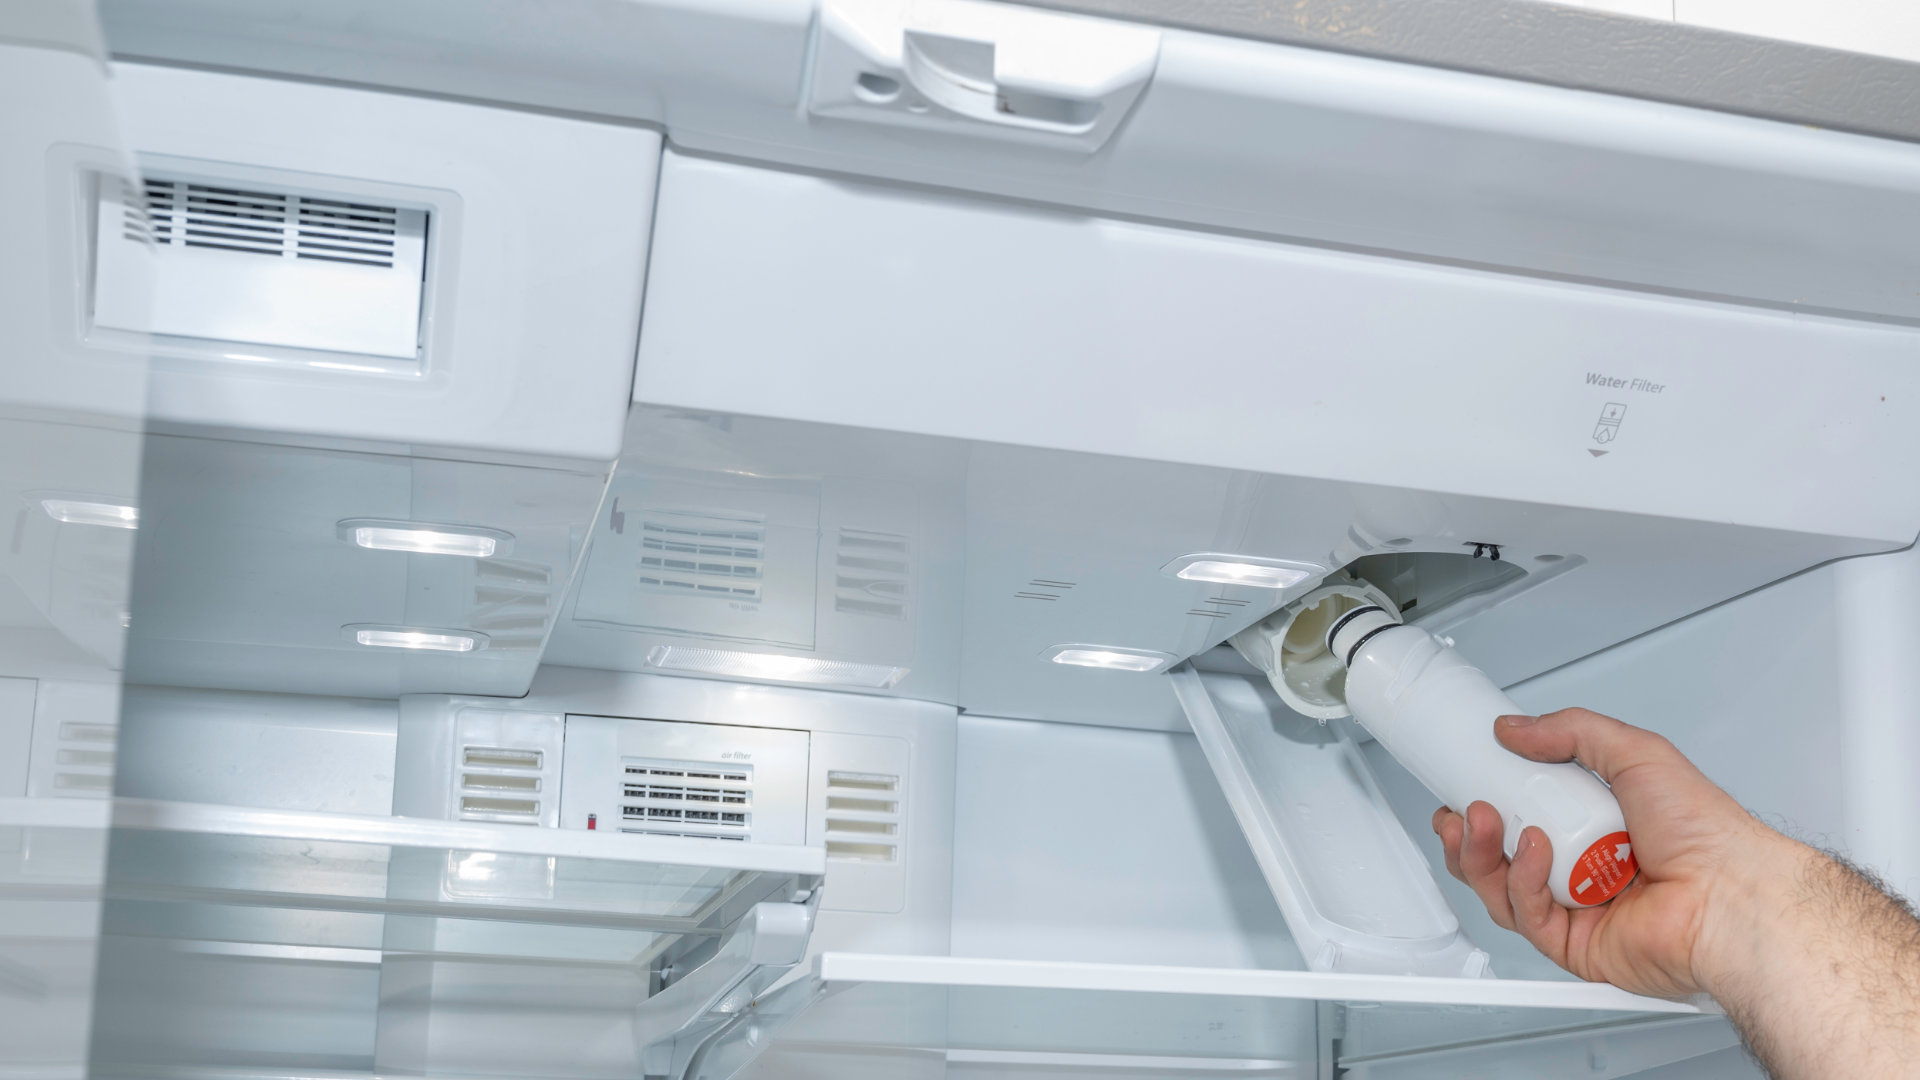
- Locate the Filter Housing: Identify the housing or compartment that encases the existing filter. Depending on the type of water filtration system you have, the filter housing may be situated under the sink, within a dedicated filtration unit, or integrated into the main water line.
- Prepare for Residual Water: Place a bucket or container beneath the filter housing to catch any water that may spill out when the filter is removed. This precaution helps prevent water from causing a mess and facilitates easy cleanup.
- Use the Appropriate Tool: Depending on the design of the filter housing, use an adjustable wrench or a specialized filter wrench to loosen the housing and access the old filter. Apply gentle and steady pressure to avoid damaging the housing or associated components.
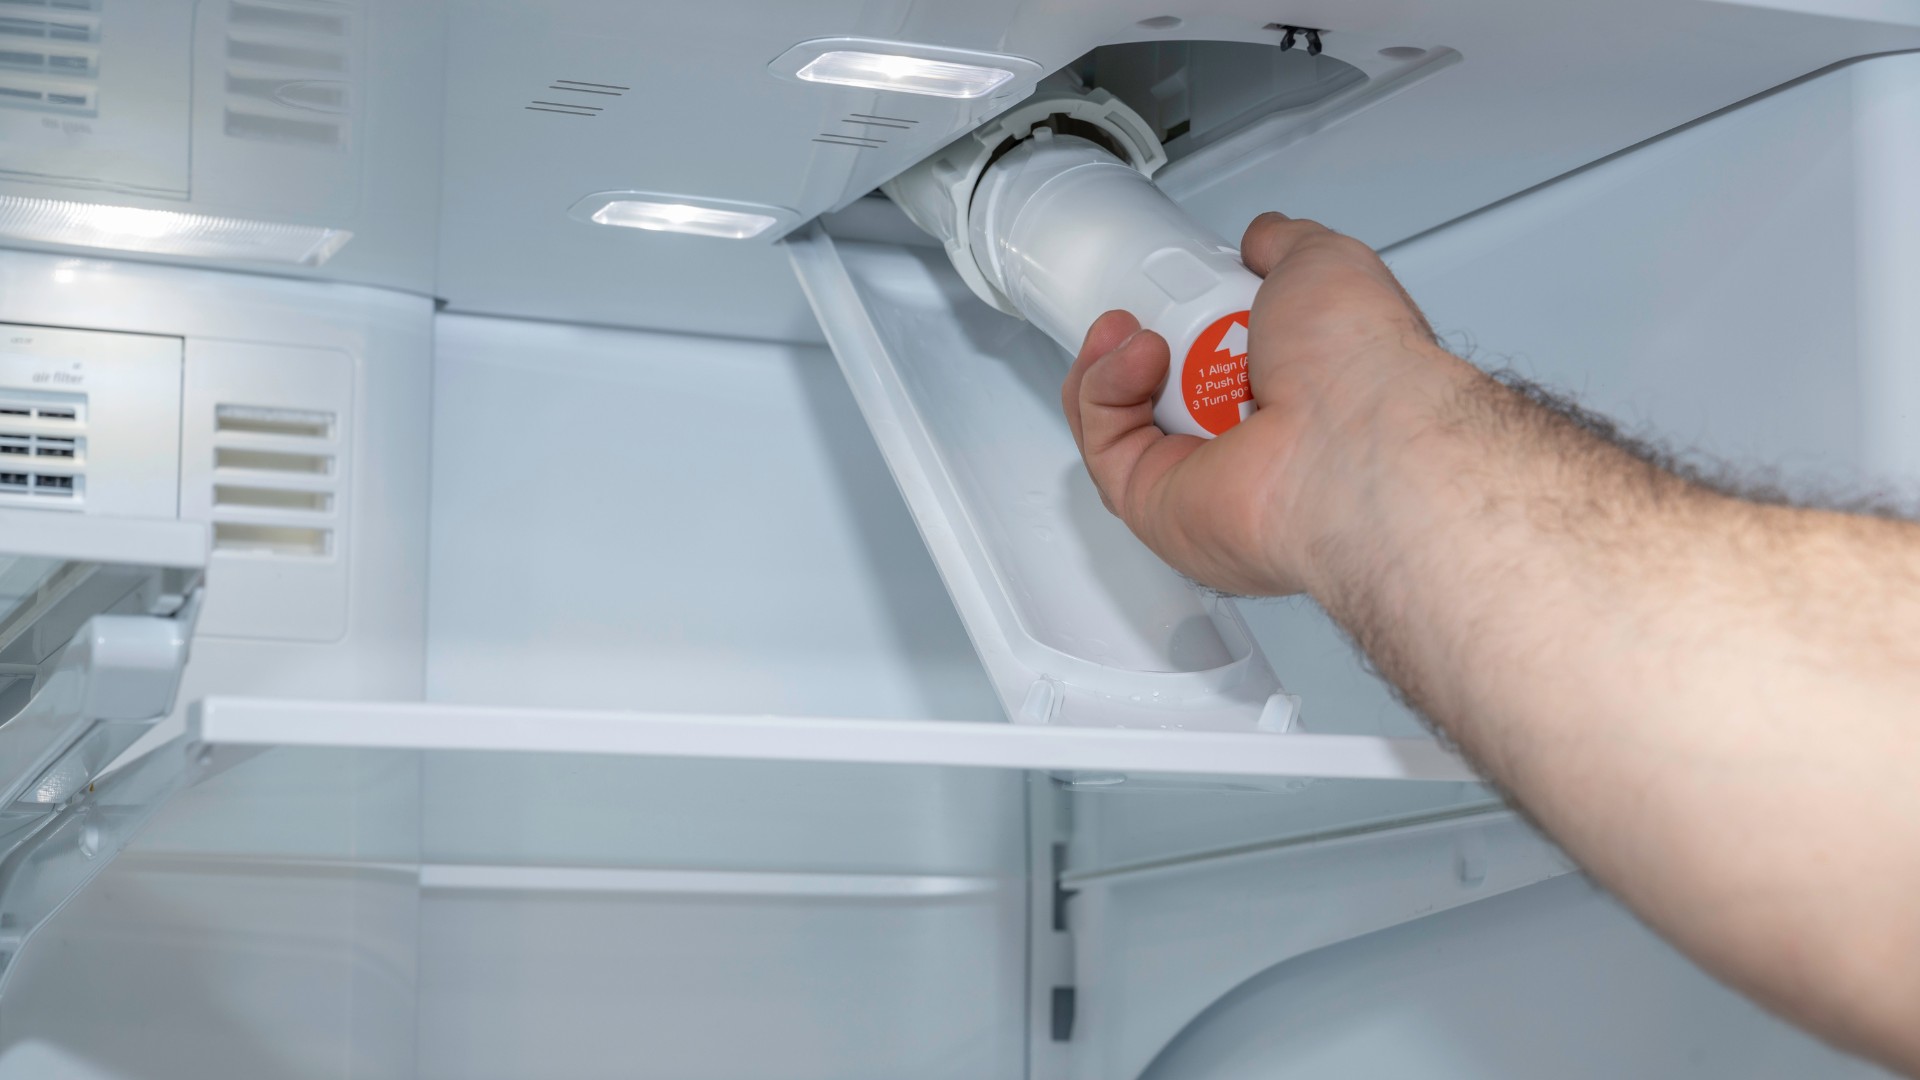
- Remove the Old Filter: Carefully unscrew the filter housing to reveal the old filter inside. Extract the old filter from the housing, taking note of its orientation and position for reference when installing the new filter.
- Dispose of the Old Filter: Properly dispose of the old filter according to local regulations and guidelines. Some filters may contain contaminants that require specific disposal methods to prevent environmental harm.
By meticulously following these steps, you can safely and effectively remove the old filter from your water filtration system, paving the way for the installation of a new, clean filter. This process plays a pivotal role in maintaining the system’s efficiency and ensuring the continued delivery of high-quality, filtered water to meet your household’s needs.
When changing the filter in a water filtration system, make sure to turn off the water supply and release any built-up pressure before removing the old filter. This will prevent any water from leaking and make the process safer and easier.
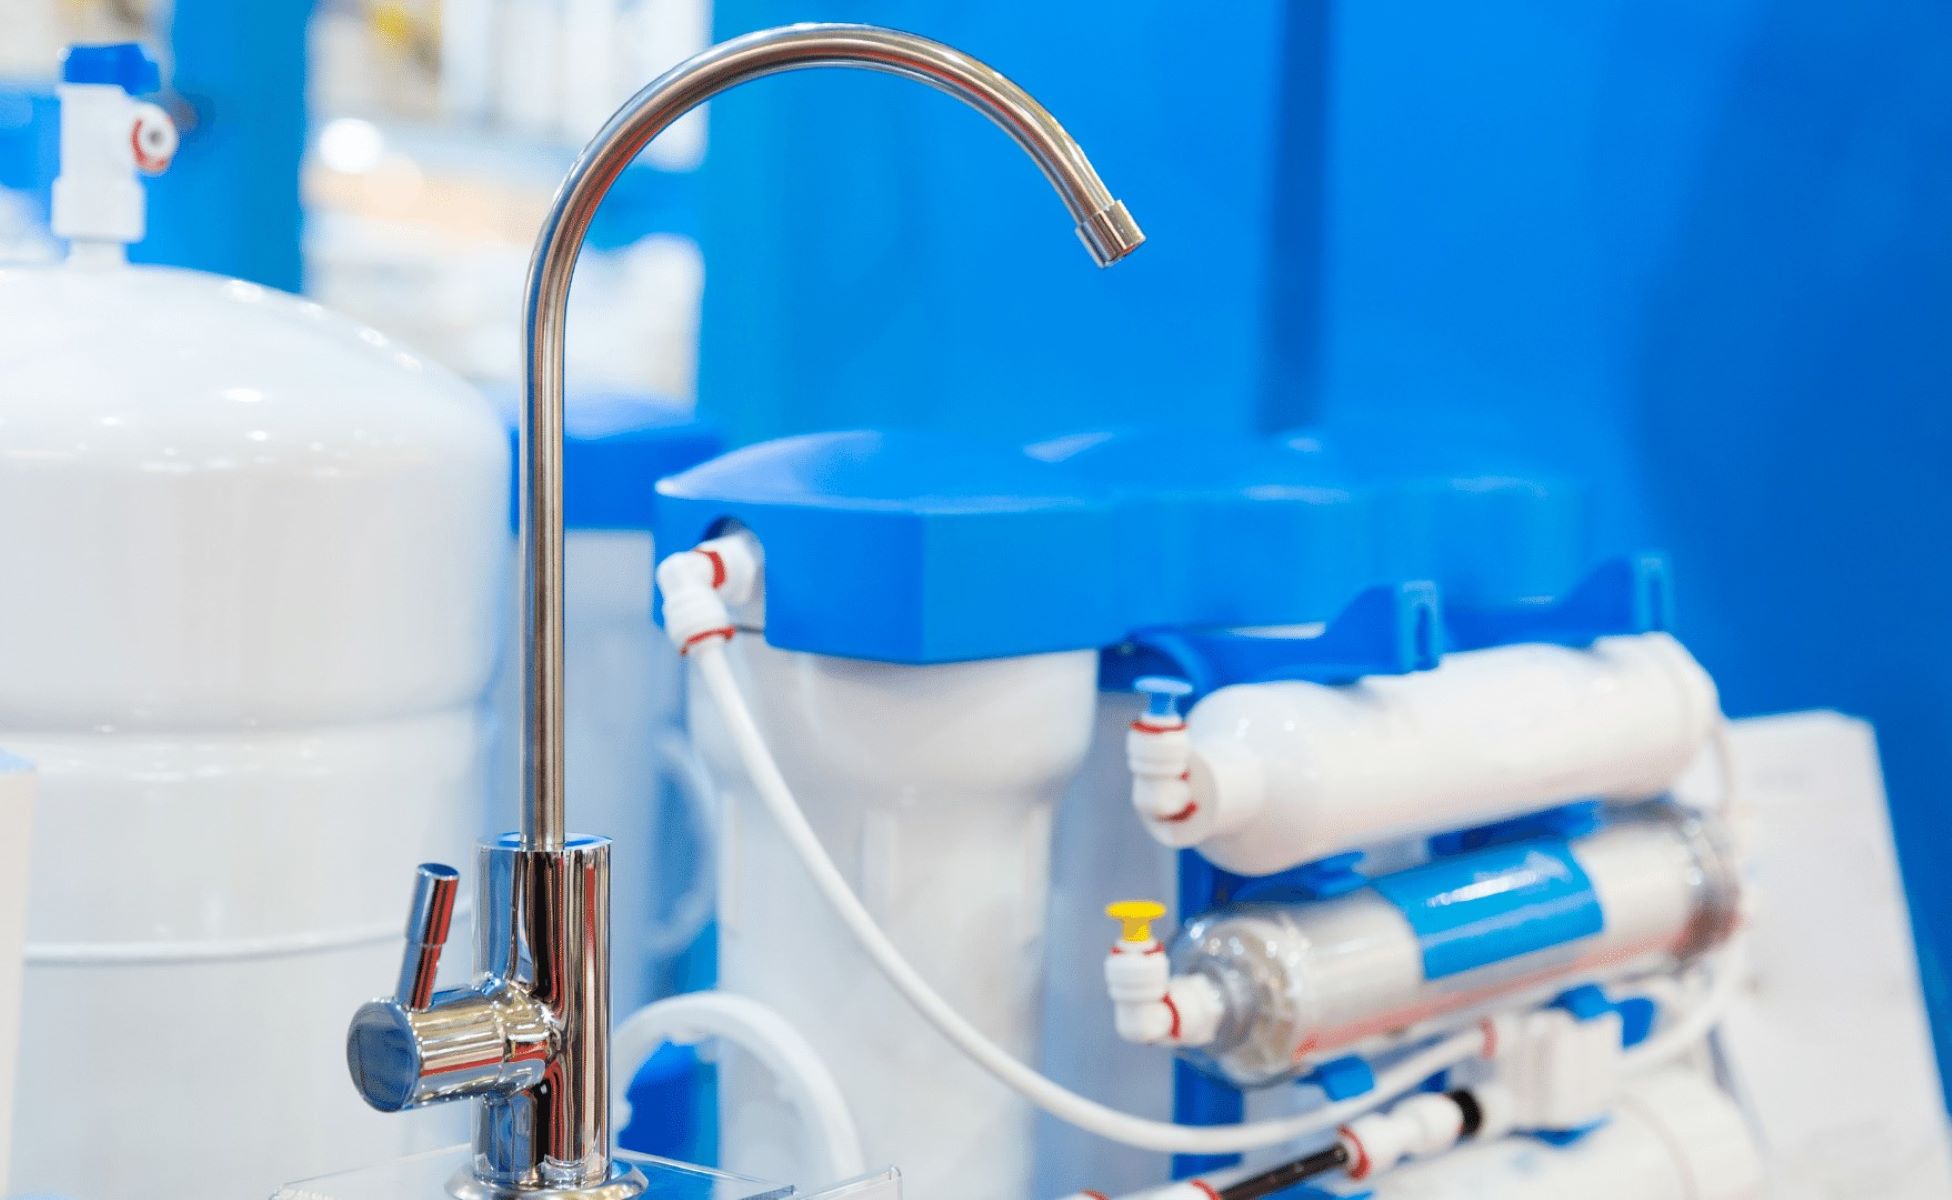
Installing the New Filter
With the old filter successfully removed, you are now ready to proceed with the installation of a new filter in your water filtration system. This pivotal step is instrumental in revitalizing the system’s filtration capabilities and ensuring the consistent delivery of clean, high-quality water throughout your home. The following guidelines outline the process of installing the new filter:
- Inspect the Filter Housing: Before installing the new filter, inspect the filter housing for any signs of damage, wear, or debris. Wipe the interior of the housing with a clean cloth to remove any accumulated residue or particles, ensuring a clean and optimal environment for the new filter.
- Prepare the New Filter: Unpack the new filter from its packaging and examine it for any defects or irregularities. Confirm that the new filter is compatible with your water filtration system and aligns with the manufacturer’s specifications.
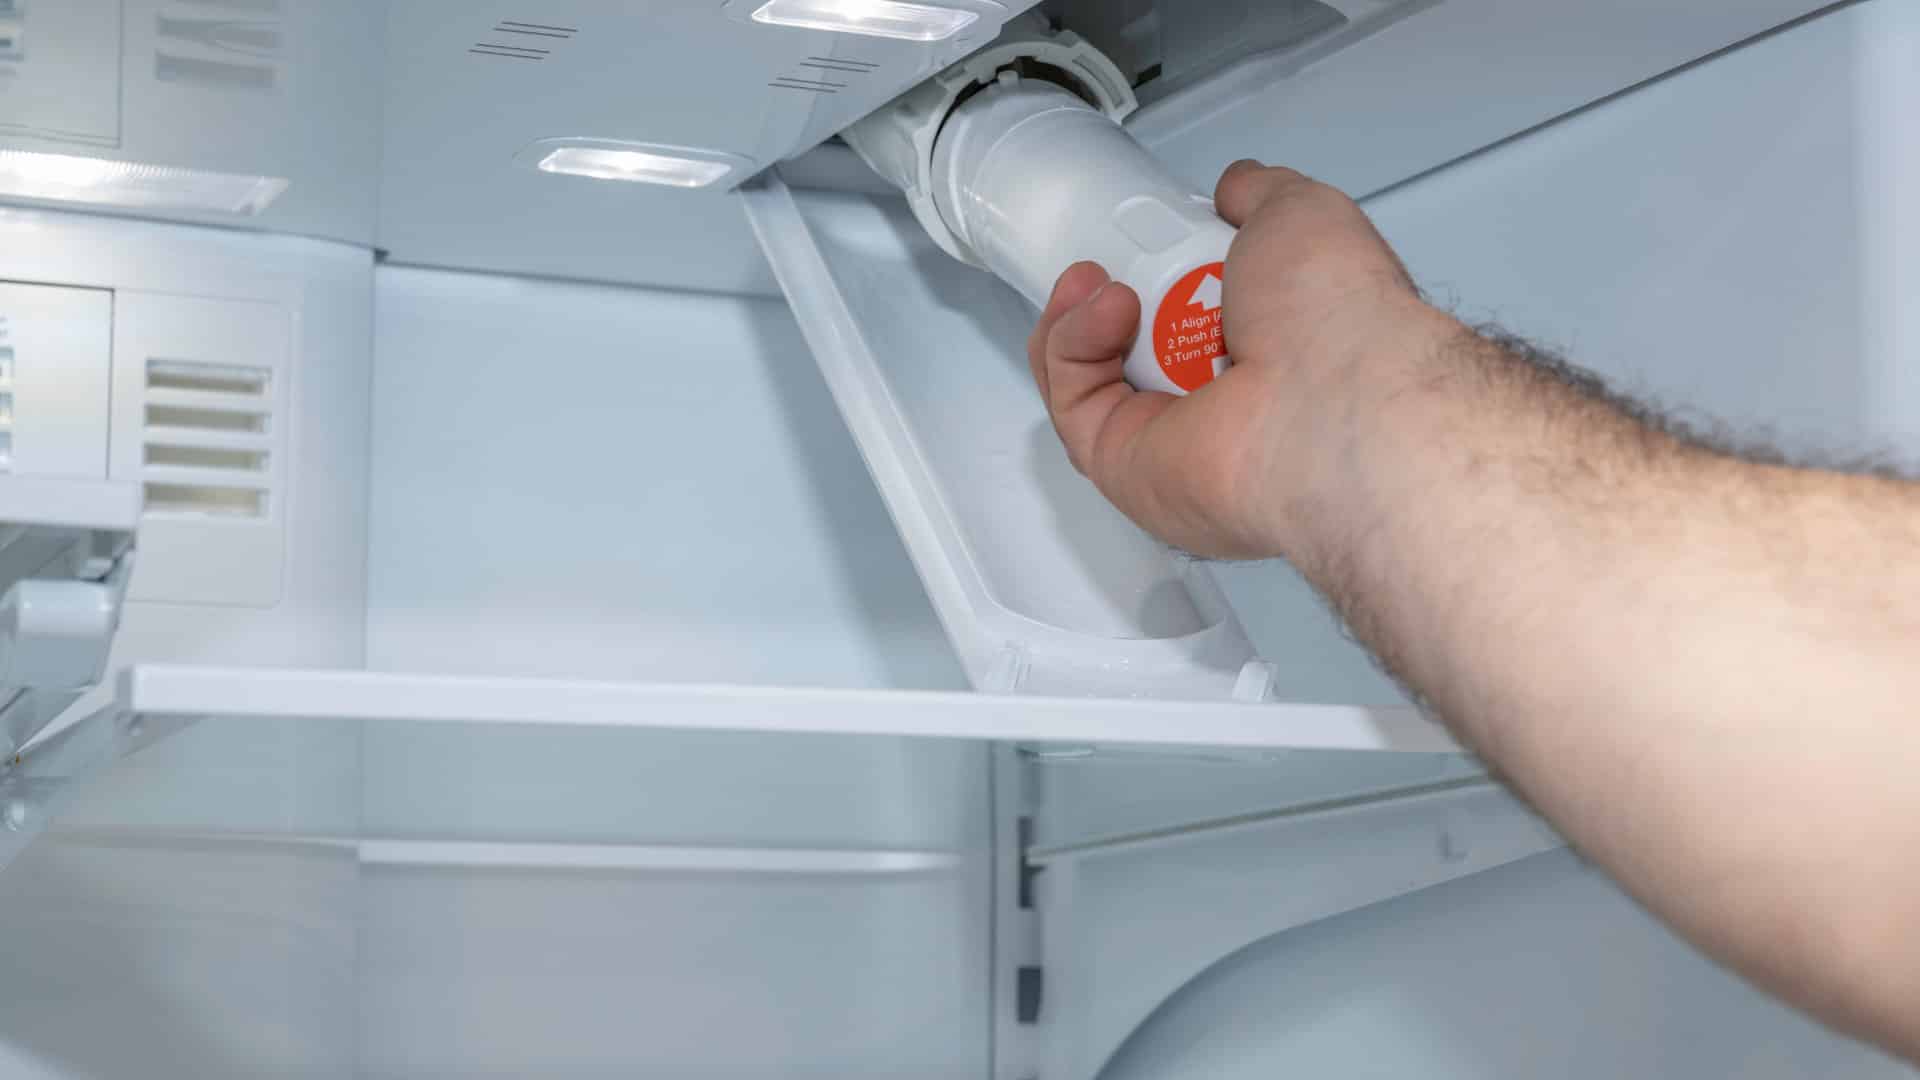
- Position the New Filter: Insert the new filter into the filter housing, ensuring that it is oriented correctly and securely seated in place. Follow any specific installation instructions provided with the new filter to guarantee proper alignment and functionality.
- Tighten the Filter Housing: Using an adjustable wrench or the appropriate tool, carefully tighten the filter housing to secure the new filter in position. Apply gentle pressure to ensure a snug fit without over-tightening, which could potentially damage the housing or the filter.
- Check for Leaks: After installing the new filter, visually inspect the filter housing and surrounding connections for any signs of leaks or drips. Address any leaks promptly by adjusting the housing or connections as needed to prevent water wastage and maintain the integrity of the system.
By meticulously following these steps, you can effectively install a new filter in your water filtration system, revitalizing its filtration capabilities and ensuring the sustained delivery of clean, healthy water throughout your household. This proactive approach underscores the significance of regular maintenance and care in upholding the performance and reliability of your water filtration system.
Turning On the Water Supply
After successfully installing the new filter in your water filtration system, the next crucial step is to restore the water supply to the system, enabling the newly installed filter to commence its vital role in purifying the water. By carefully turning on the water supply, you can ensure that the system operates efficiently and that clean, filtered water is readily available for your household’s needs. The following steps outline the process of turning on the water supply to your water filtration system:
- Locate the Main Water Shut-Off Valve: Return to the main water shut-off valve that controls the flow of water to your water filtration system. This valve is typically located near the water meter or where the main water line enters your home.
- Turn On the Main Water Valve: Using a valve key or wrench, carefully turn the main water shut-off valve counterclockwise to gradually open it. This action restores the flow of water to the entire house, including the water filtration system.
- Check for System Pressurization: As the water supply is restored, listen for any sounds of water flowing and observe the pressure gauge or pressure indicator on the filtration system, if applicable. This step helps confirm that the system is pressurizing correctly.
- Run the Water: Open a faucet or two in your home to allow the water to flow freely for a few minutes. This process helps purge any air from the system and ensures that the water is running smoothly without any air pockets or disruptions.
By diligently following these steps, you can safely and effectively restore the water supply to your water filtration system, allowing the new filter to function optimally and deliver clean, filtered water throughout your household. This pivotal step marks the culmination of the filter replacement process and underscores the importance of meticulous attention to detail in maintaining the performance and reliability of your water filtration system.
Checking for Leaks
Following the restoration of the water supply to your water filtration system, it is imperative to conduct a thorough inspection to check for any potential leaks or irregularities. This critical step ensures the integrity of the system, minimizes water wastage, and safeguards your home from potential water damage. By meticulously examining the system for leaks, you can address any issues promptly and maintain the optimal functionality of your water filtration system. The following steps outline the process of checking for leaks after turning on the water supply:
- Inspect the Filter Housing: Carefully examine the filter housing and its connections for any signs of leaks, drips, or moisture accumulation. Pay close attention to the areas where the filter housing interfaces with the system’s plumbing and ensure a secure, watertight seal.
- Observe the Surrounding Area: Check the area around the filter housing and the water filtration system for any indications of water accumulation, dampness, or discoloration. Vigilantly assess the immediate surroundings to detect any potential leaks that may have developed during the restoration of the water supply.
- Monitor the System: Keep a watchful eye on the system for several minutes, observing any components, connections, or fittings for emerging leaks or irregular water flow. This proactive monitoring allows you to identify and address any leaks before they escalate into larger issues.
- Addressing Leaks: If you detect any leaks or drips during the inspection, promptly tighten the affected connections or adjust the filter housing as needed to eliminate the leaks. Ensure that all components are properly secured and that the system operates without any signs of leakage.
By meticulously following these steps and conducting a comprehensive inspection, you can effectively check for leaks in your water filtration system, ensuring the system’s integrity and the sustained delivery of clean, filtered water throughout your household. This proactive approach underscores the significance of vigilance and care in maintaining the optimal performance and reliability of your water filtration system.
Read more: How Does A Water Filtration System Work
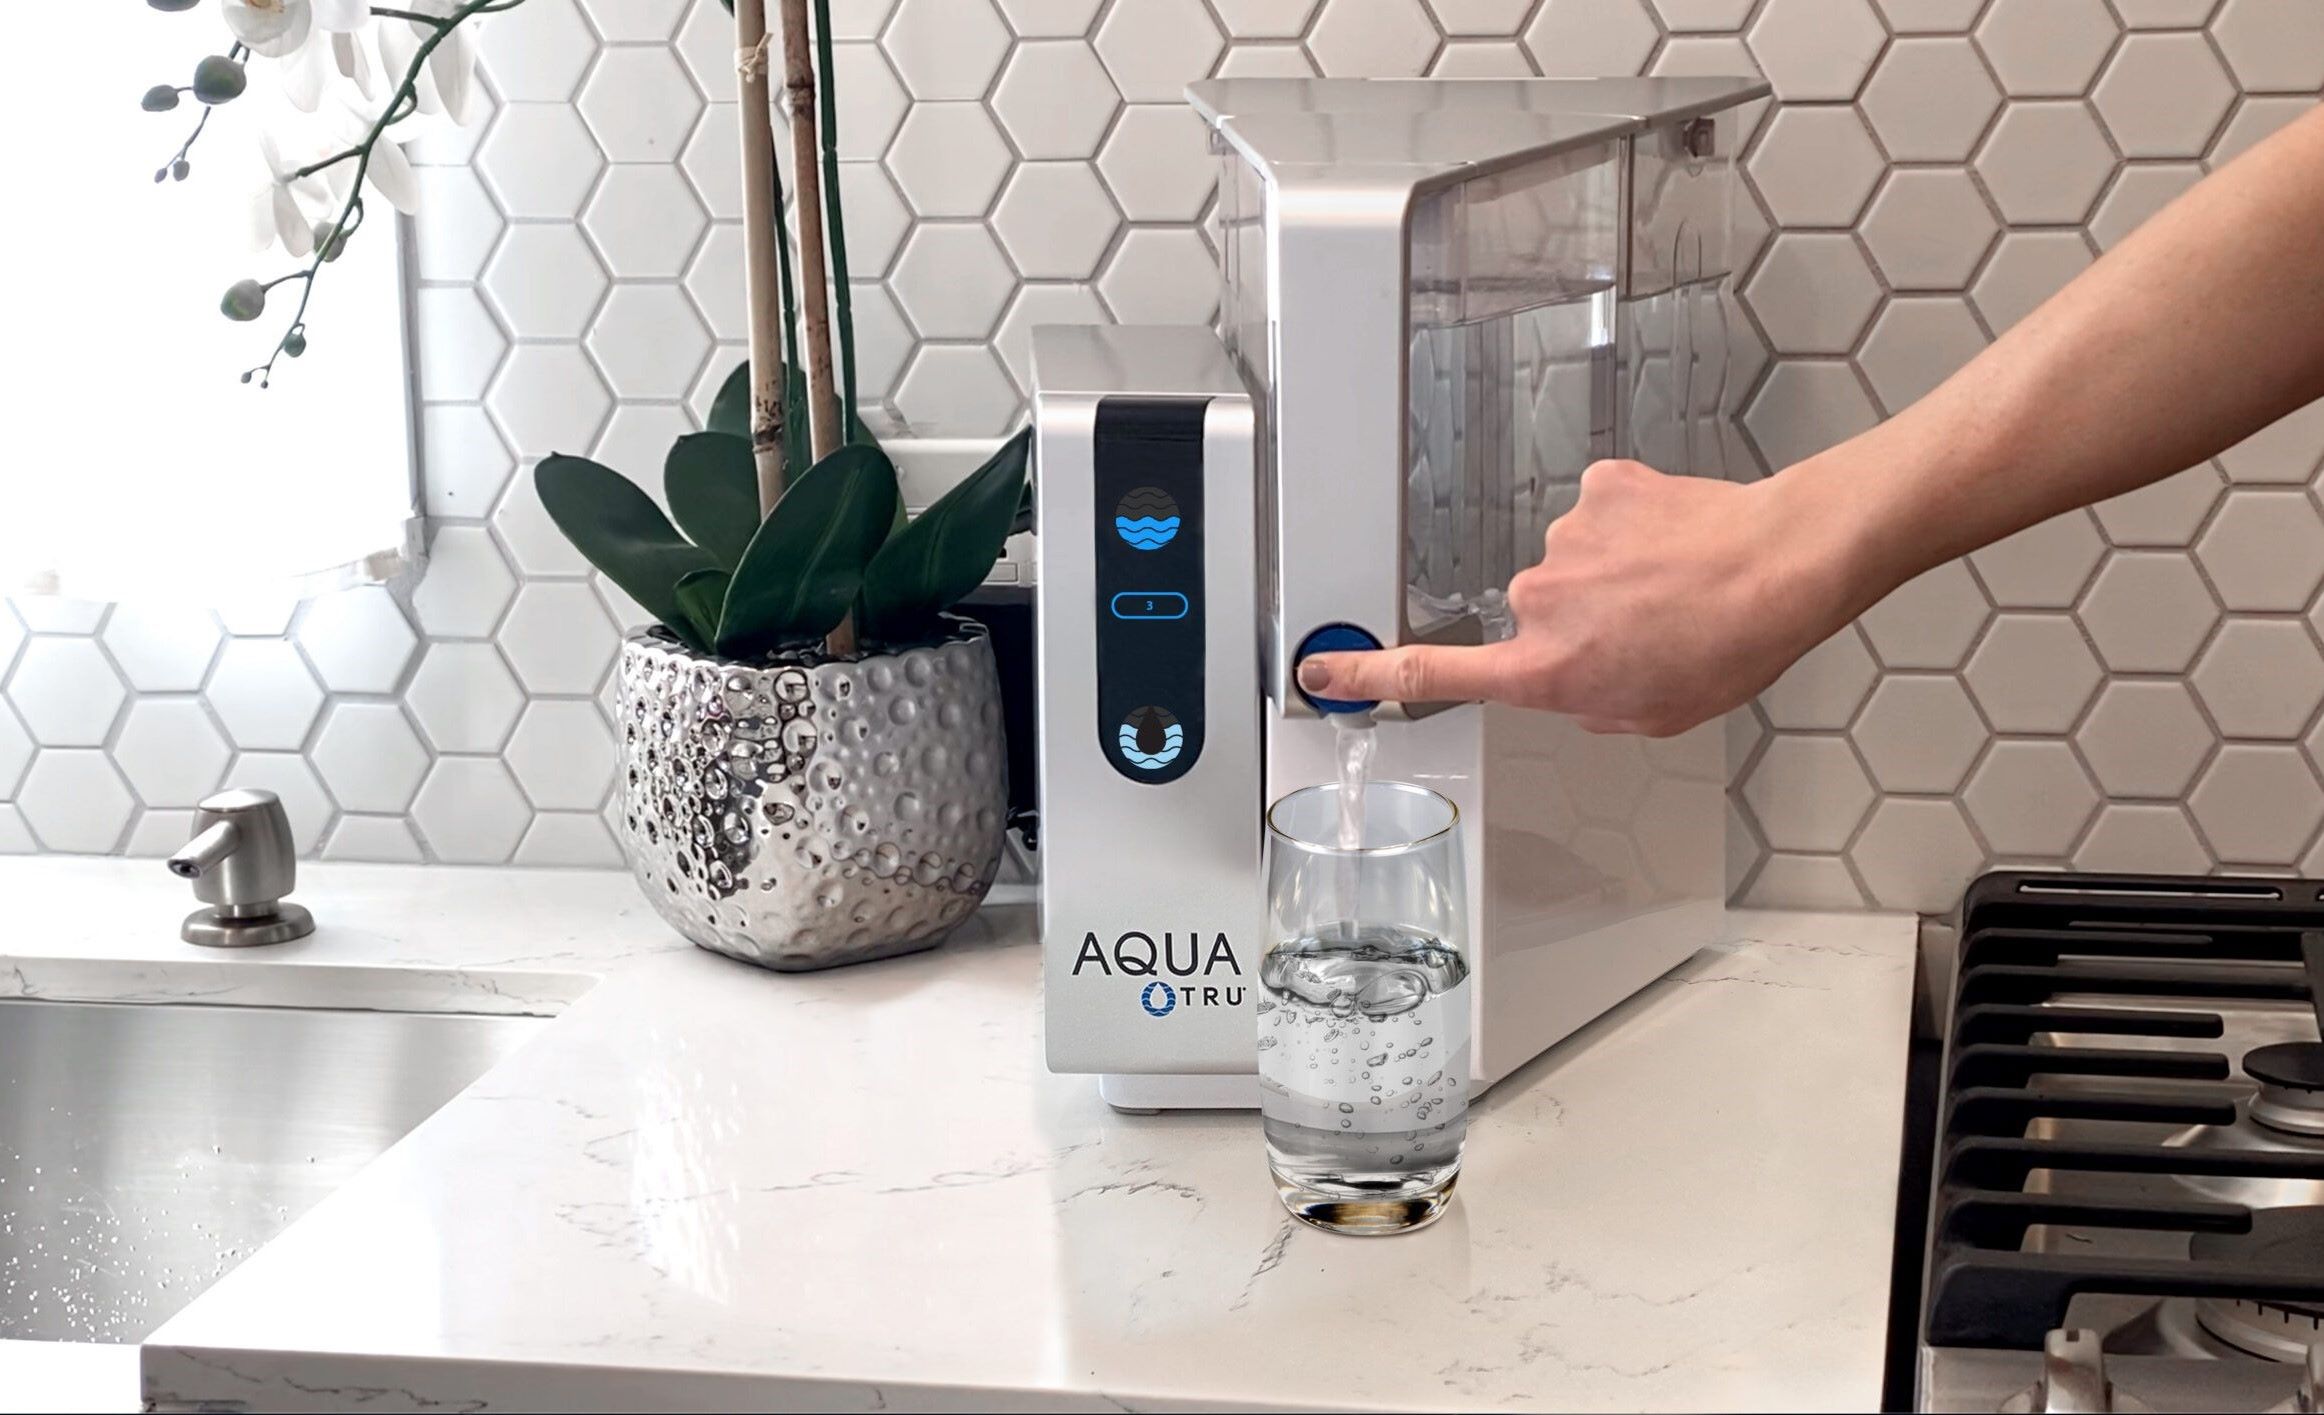
Testing the Water Filtration System
After completing the essential steps of replacing the filter and ensuring the integrity of your water filtration system, it is imperative to conduct a comprehensive test to validate the system’s functionality and the quality of the filtered water. By performing a systematic test, you can confirm that the newly installed filter is operating effectively and that the system is delivering clean, high-quality water for your household’s needs. The following guidelines outline the process of testing the water filtration system:
- Run the Faucets: Open several faucets throughout your home to allow the water to flow for a few minutes. This process helps flush out any residual air and ensures that the water is running smoothly from all outlets, including the kitchen, bathrooms, and any connected appliances.
- Observe the Water Quality: Fill a clean, transparent container with water from different faucets and carefully inspect the water for clarity, odor, and taste. The filtered water should exhibit a clear appearance, free from any unusual odors or flavors, indicating the successful removal of impurities by the new filter.
- Check for Pressure and Flow: Assess the water pressure and flow from the faucets to confirm that the system is providing consistent water pressure and a steady flow. Any noticeable changes in pressure or flow may indicate potential issues that require further investigation.
- Verify the System’s Operation: Refer to the user manual or system indicators to verify that the water filtration system is operating within the specified parameters. Check for any system alerts, error codes, or abnormal behavior that may warrant attention or adjustments.
By meticulously conducting these tests, you can effectively evaluate the performance of your water filtration system and confirm that the newly installed filter is functioning optimally. This proactive approach underscores the significance of ensuring the consistent delivery of clean, high-quality water throughout your household, contributing to the well-being and satisfaction of your family.
Conclusion
Congratulations on successfully completing the process of changing the filter in your water filtration system. By meticulously following each step, from understanding the system to testing its functionality, you have demonstrated a proactive commitment to maintaining the quality and reliability of your home’s water supply. The diligence and care invested in this maintenance task underscore your dedication to safeguarding the well-being of your household and ensuring access to clean, filtered water for various daily needs.
Regular maintenance and filter replacements are integral to upholding the efficiency and longevity of your water filtration system, ensuring that it continues to deliver clean, safe water for years to come. By familiarizing yourself with the intricacies of your system, identifying the type of filter, and diligently following the replacement process, you have empowered yourself to take proactive measures in preserving the performance and integrity of your water filtration system.
As you enjoy the benefits of a revitalized water filtration system, take pride in your commitment to maintaining a healthy and sustainable living environment for your family. The clean, filtered water flowing through your taps is a testament to your proactive approach to home maintenance and your dedication to providing the best for your loved ones.
Remember to note the date of the filter replacement and adhere to the manufacturer’s recommendations for future replacements, ensuring that your water filtration system remains in optimal condition. By prioritizing regular maintenance and care, you can continue to enjoy the peace of mind that comes with knowing that your water filtration system is consistently delivering clean, high-quality water for your household’s needs.
Thank you for embarking on this journey to enhance the performance of your water filtration system and secure the well-being of your loved ones. Your proactive approach and commitment to maintaining a healthy home environment are commendable, and they serve as a testament to your dedication to providing the best for your family.
Frequently Asked Questions about How To Change A Filter In A Water Filtration System
Was this page helpful?
At Storables.com, we guarantee accurate and reliable information. Our content, validated by Expert Board Contributors, is crafted following stringent Editorial Policies. We're committed to providing you with well-researched, expert-backed insights for all your informational needs.
0 thoughts on “How To Change A Filter In A Water Filtration System”