Home>Storage Ideas>Kitchen Storage>How To Clean A Water Pitcher Filter: For Twice The Use
Kitchen Storage
How To Clean A Water Pitcher Filter: For Twice The Use
Modified: August 19, 2024
Discover effective kitchen storage ideas and learn how to clean a water pitcher filter for twice the use. Enhance your kitchen organization and enjoy fresh, filtered water effortlessly.
(Many of the links in this article redirect to a specific reviewed product. Your purchase of these products through affiliate links helps to generate commission for Storables.com, at no extra cost. Learn more)
Introduction
Welcome to our guide on how to clean a water pitcher filter for twice the use! Water pitcher filters are a popular and convenient way to improve the quality and taste of tap water. These filters are designed to remove impurities, such as chlorine, lead, and sediment, providing you with cleaner and healthier drinking water.
Over time, however, these filters can become clogged and less effective, which is why it’s important to clean them regularly. By properly maintaining and cleaning your water pitcher filter, you can ensure its longevity and optimize its filtration capabilities.
In this article, we will walk you through the step-by-step process of cleaning your water pitcher filter. With just a few simple steps, you can extend the life of your filter and enjoy fresh, clean water for longer.
Key Takeaways:
- Keep your water pitcher filter clean for longer use by following these simple steps: remove, clean, soak in vinegar, rinse, and reinstall. Enjoy fresh, purified water with optimized filtration capabilities.
- Regularly cleaning and maintaining your water pitcher filter not only ensures clean and refreshing water but also extends the filter’s lifespan. Follow the steps and enjoy great-tasting water for longer!
Read more: Brita Water Filtration Pitcher: How To Use
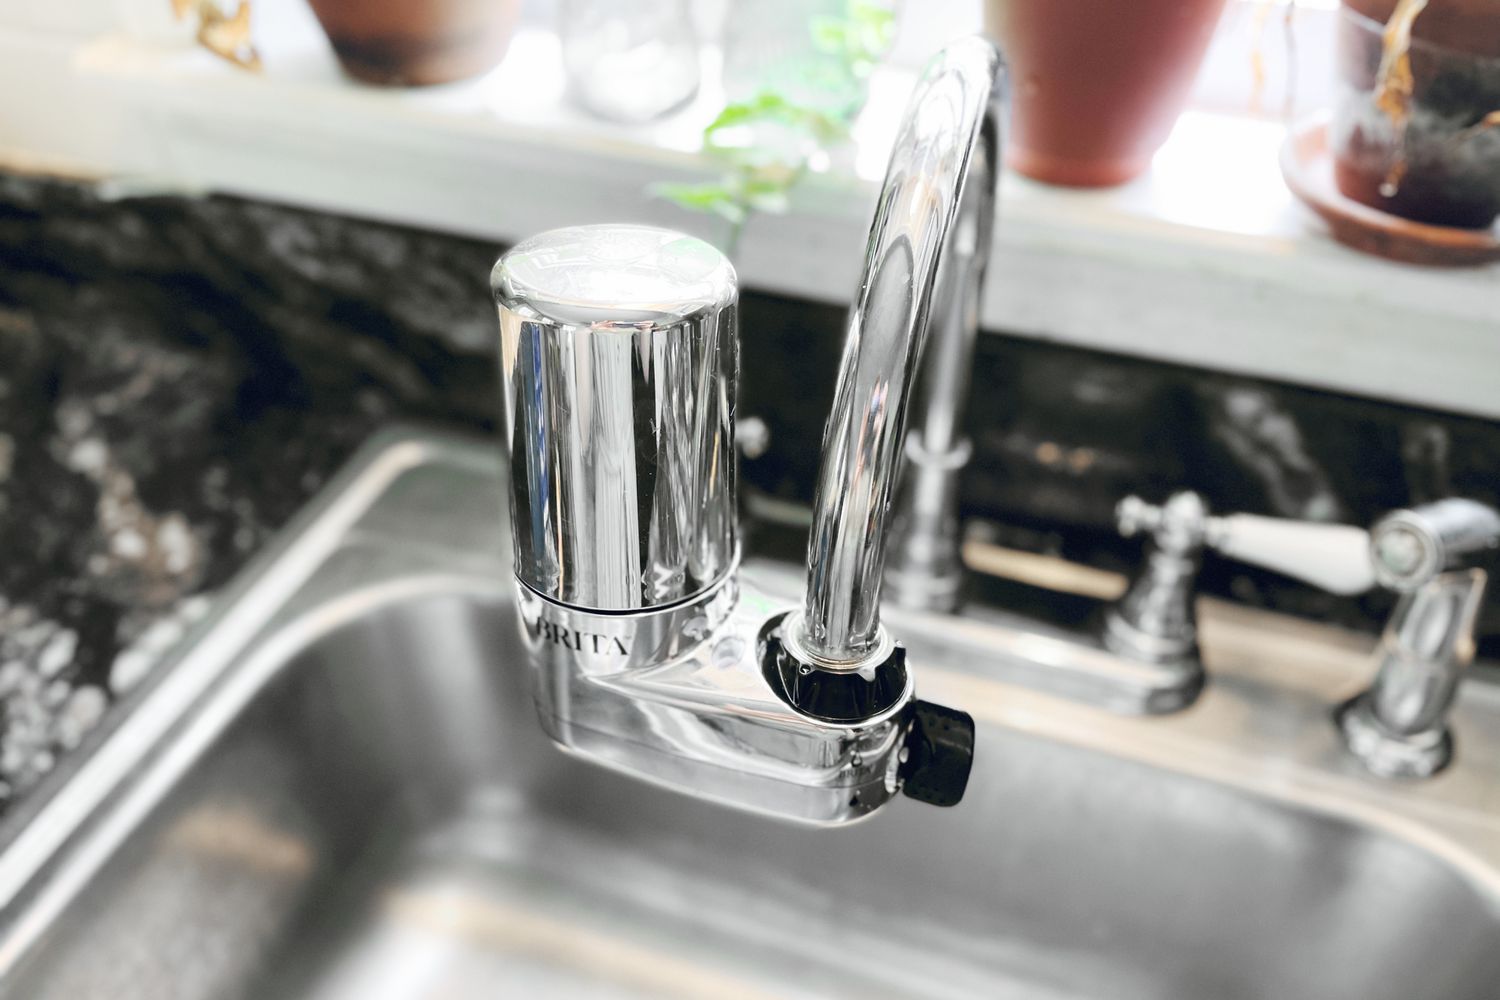
Understanding the Water Pitcher Filter
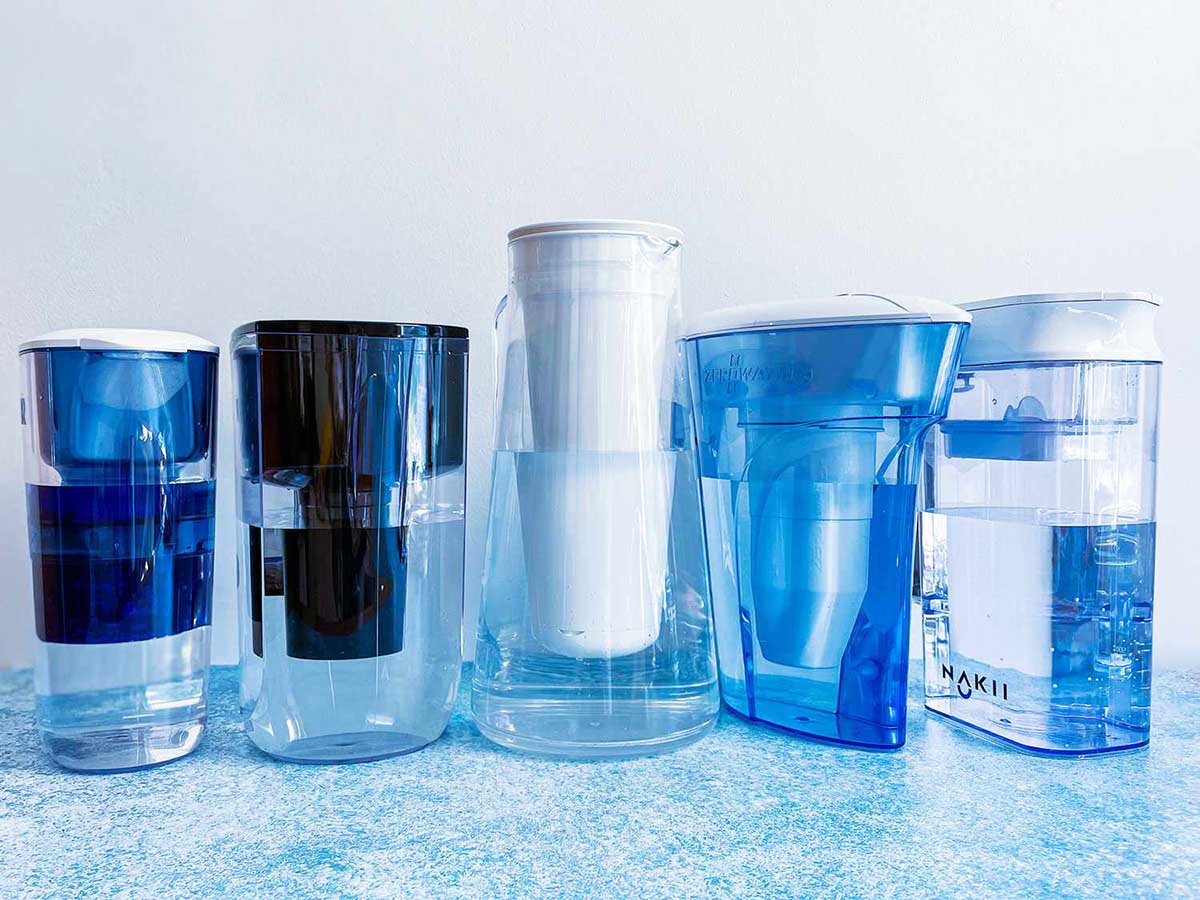
Before we dive into the cleaning process, let’s take a moment to understand how the water pitcher filter works. Water pitcher filters typically consist of two main components: the pitcher itself and the filter cartridge.
The pitcher serves as the container for holding and dispensing water, while the filter cartridge is responsible for removing impurities from the water as it flows through. The cartridge is usually made up of activated carbon or a combination of different filtering materials.
Activated carbon is highly effective in absorbing contaminants and improving the taste and odor of water. As water passes through the filter, impurities such as chlorine, heavy metals, and organic compounds are trapped in the activated carbon, leaving you with cleaner and better-tasting water.
Over time, the filter cartridge becomes saturated with impurities, reducing its effectiveness. Regular cleaning helps to remove these trapped impurities and maintain the filter’s optimal performance.
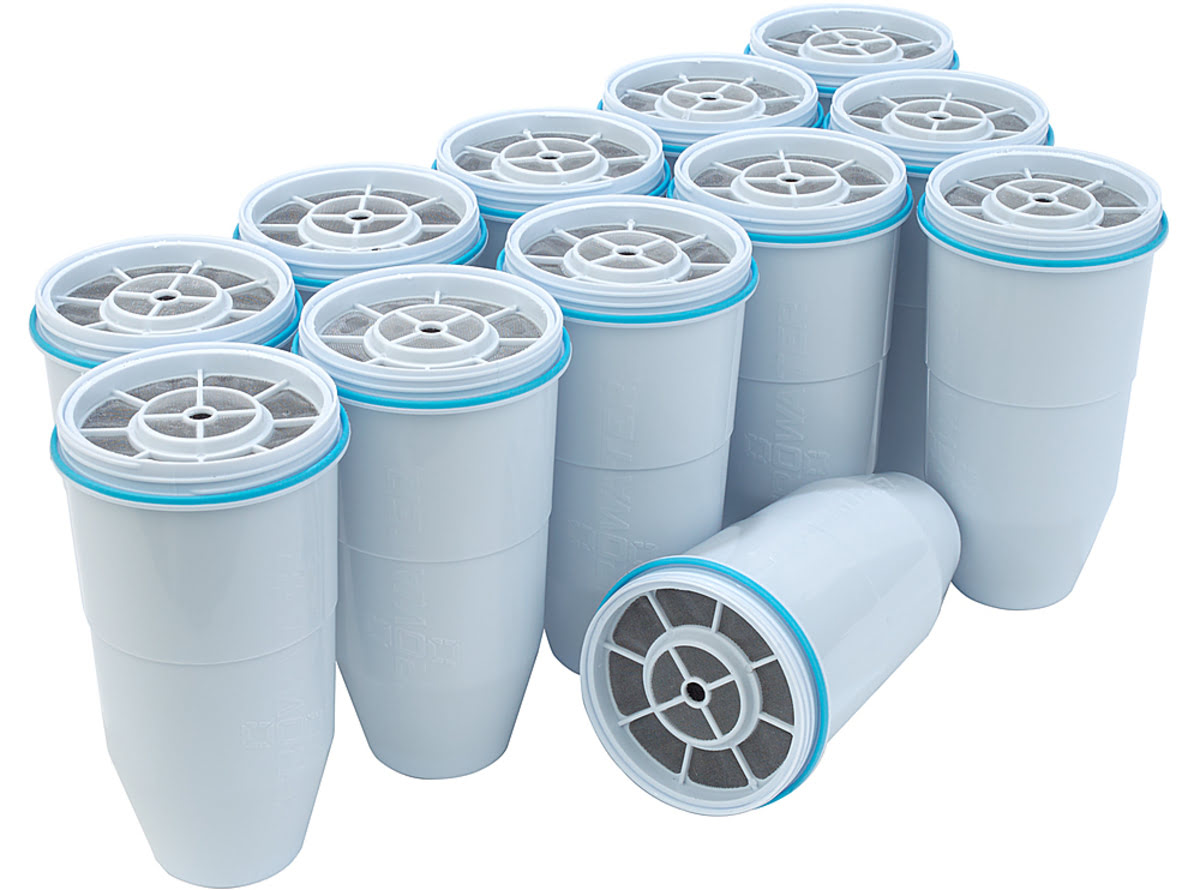
It is important to note that not all water pitcher filters are the same. Different brands and models may have specific instructions for cleaning and maintenance, so it’s always a good idea to consult the manufacturer’s guidelines. However, the general cleaning process outlined in this guide can be applied to most water pitcher filters.
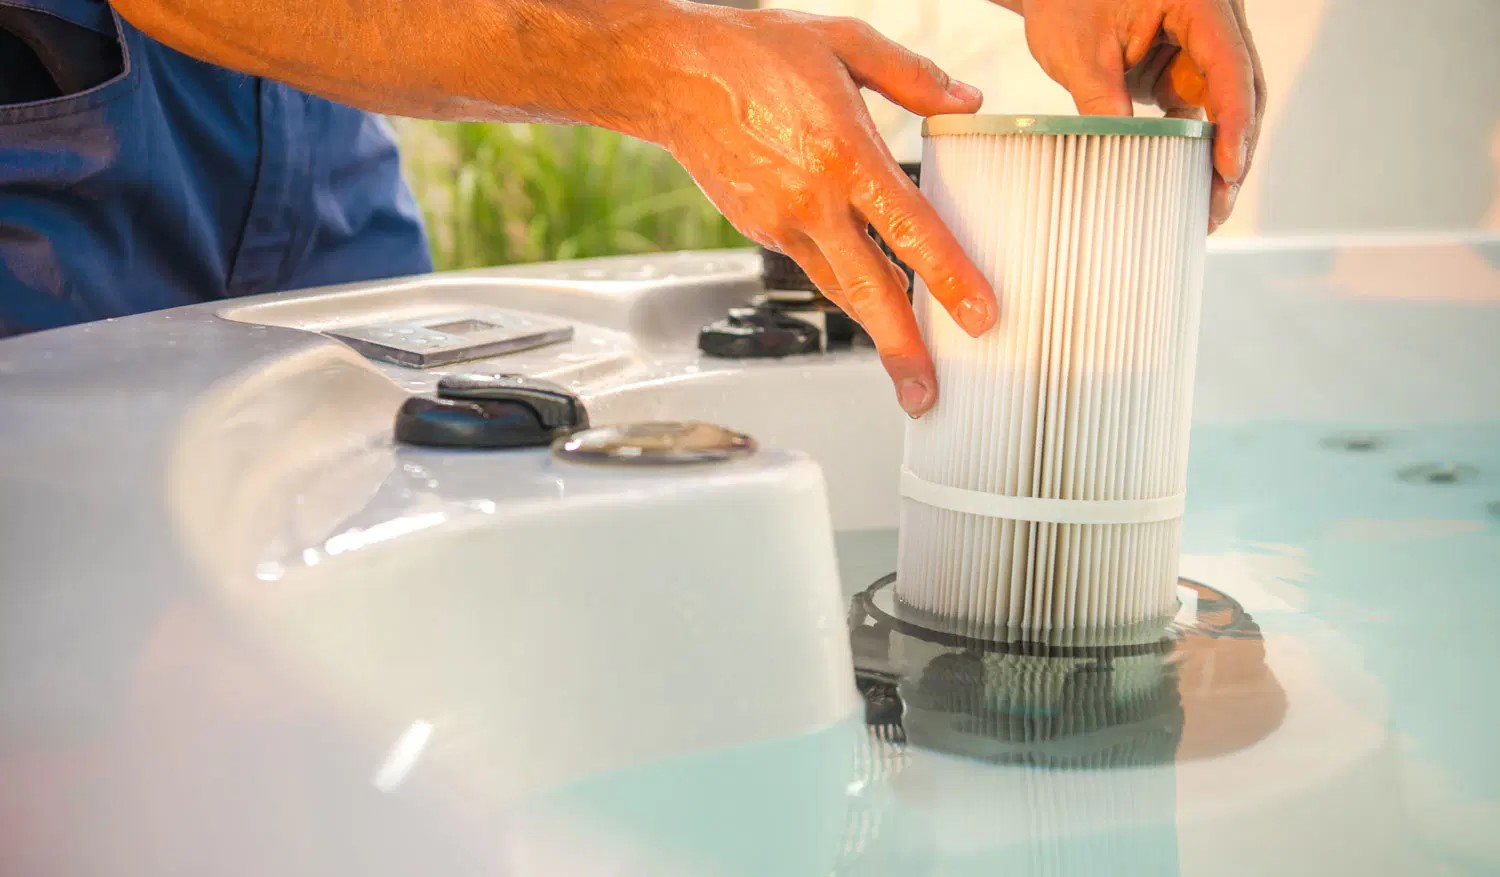
Step 1: Removing the Filter from the Pitcher
The first step in cleaning your water pitcher filter is to remove the filter from the pitcher. This may vary depending on the brand and model of your pitcher, so refer to the manufacturer’s instructions if needed. Here’s a general guideline:
- Make sure the pitcher is empty. Pour out any water that may be inside.
- Locate the filter’s housing within the pitcher. This is usually at the top or bottom of the pitcher, depending on the design.
- Some pitchers have a filter indicator that shows when it’s time to replace the filter. Take note of this indicator for future reference.
- Once you’ve located the filter, carefully remove it from the pitcher. This may involve twisting, unscrewing, or simply pulling it out, depending on the design.
- Set the filter aside, and prepare to clean it.
It’s essential to handle the filter with care during this process. Avoid squeezing or pressing too hard, as this can damage the filter and reduce its effectiveness.
By removing the filter from the pitcher, you can now proceed to the next step: cleaning the filter and restoring its filtration capabilities.
Step 2: Cleaning the Filter
Cleaning the filter is a crucial step in maintaining its performance and prolonging its lifespan. Follow the steps below to clean your water pitcher filter:
- Fill a clean bowl or container with cold water. Ensure that the container is big enough to submerge the filter completely.
- Take the filter that you removed from the pitcher and gently rinse it under running water to remove any loose debris.
- Submerge the filter in the bowl of cold water. Let it soak for about 15 to 30 minutes. This soaking process helps to loosen and dislodge any particles or impurities trapped in the filter.
- Using a soft brush or sponge, gently scrub the surfaces of the filter. Pay special attention to any areas with visible buildup or discoloration. This will help to remove stubborn residue and restore the filter’s efficiency.
- Rinse the filter thoroughly under running water to remove any remaining debris or cleaning solution. Ensure that all the soap or cleaning agents are washed away.
- Inspect the filter for any signs of damage or wear. If you notice any cracks, tears, or deterioration, it may be time to replace the filter with a new one.
- Pat the filter dry with a clean towel or cloth. Allow it to air dry completely before moving on to the next step.
By cleaning the filter, you are removing the accumulated impurities and debris that can hinder its filtration capabilities. This step prepares the filter for the deep cleaning process in the next step.
After using the water pitcher filter once, remove it and gently scrub the surface with a soft brush under running water. This will help to remove any trapped particles and extend the life of the filter.
Step 3: Soaking the Filter in Vinegar Solution
After cleaning the filter, the next step is to soak it in a vinegar solution. Vinegar is a natural cleaning agent that helps to remove stubborn stains, mineral deposits, and bacteria from the filter. Here’s how to do it:
- Prepare a solution of diluted white vinegar and water. Mix equal parts vinegar and water in a clean bowl or container. The amount of solution you need will depend on the size of your filter.
- Place the cleaned filter in the vinegar solution, ensuring that it is fully submerged. Allow it to soak for at least 1 hour. This soaking process helps to break down any remaining deposits and sanitize the filter.
- During the soaking period, gently agitate the filter every now and then by swirling it around in the solution. This will help to dislodge any remaining debris and ensure thorough cleaning.
- After the soaking time is up, remove the filter from the vinegar solution and rinse it thoroughly under running water. Make sure to remove any residual vinegar smell.
- Inspect the filter again for any visible signs of residue or discoloration. If necessary, repeat the soaking process or focus on specific areas that need extra attention.
- Once you are satisfied with the cleaning, pat the filter dry with a clean towel or cloth. Leave it to air dry completely before moving on to the next step.
Soaking the filter in a vinegar solution helps to remove any remaining impurities and restore its optimal filtration capabilities. The acidic nature of vinegar effectively dissolves mineral deposits and disinfects the filter, ensuring clean and safe drinking water.
Read more: How To Clean Water Pump Filter
Step 4: Rinsing the Filter
The next step in cleaning your water pitcher filter is to thoroughly rinse it to remove any residual vinegar or cleaning solution. Rinsing is essential to ensure that the filter is ready for use and to remove any unpleasant tastes or odors. Here’s how to do it:
- Hold the filter under running water to rinse off any vinegar or cleaning solution on the surface.
- Ensure that water flows through all parts of the filter, including the inlet and outlet openings. This will help to flush out any remaining residue or particles.
- Continue rinsing the filter until the water runs clear without any traces of vinegar or cleaning solution.
- While rinsing, gently tap the filter against your hand or the sink to dislodge any trapped debris or sediments. This will help to ensure that the filter is clean and ready for use.
- Inspect the filter again for any signs of residue or discoloration. If you notice any remaining particles, repeat the rinsing process until the filter is completely clean.
- Once the filter is thoroughly rinsed, pat it dry with a clean towel or cloth. Allow it to air dry completely before reassembling it in the pitcher.
Rinsing the filter is an important step to remove any remnants of cleaning solution and ensure that your drinking water remains fresh and free from any unwanted tastes or odors. Proper rinsing will ensure the filter is ready for use and maintain its effectiveness.
Step 5: Reinstalling the Filter in the Pitcher
Now that you have cleaned and rinsed the filter, it’s time to reassemble and reinstall it in your water pitcher. Follow these steps to ensure proper installation:
- Inspect the pitcher for any dirt or residue. Give it a quick rinse and wipe it dry with a clean towel.
- Take the dry filter and carefully align it with the designated slot or housing in the pitcher. It should fit snugly and securely.
- If your filter has a specific orientation, make sure to align it correctly. Follow any arrows or markings that indicate the correct direction of insertion.
- Gently push or twist the filter into place until you feel it lock into position. It should be tightly secured and not wobble or move loosely.
- If your pitcher has a filter indicator, reset it according to the manufacturer’s instructions. This will help you keep track of when it’s time to replace the filter in the future.
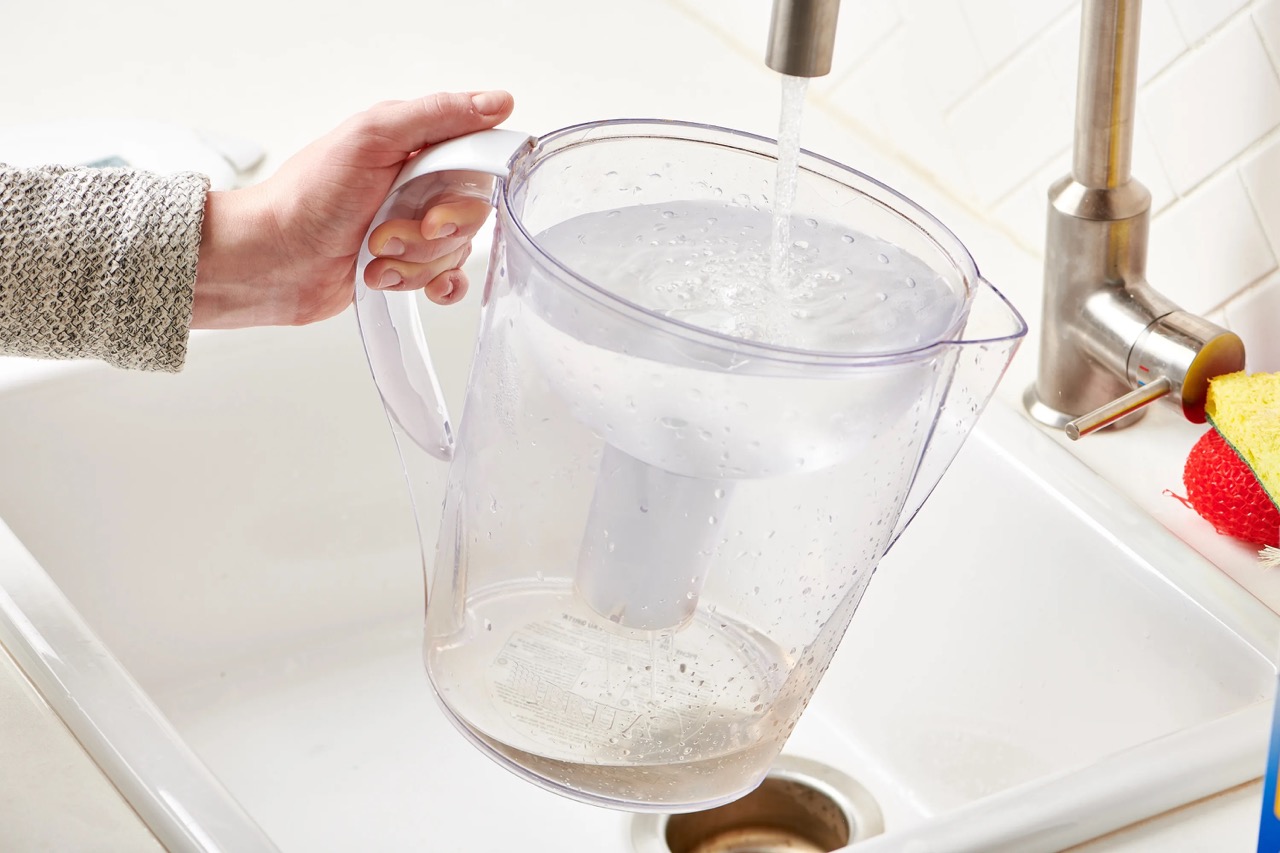
- Once the filter is properly installed, fill the pitcher with cold tap water. Allow the water to flow through the filter for a minute or two to flush out any air pockets or loose particles.
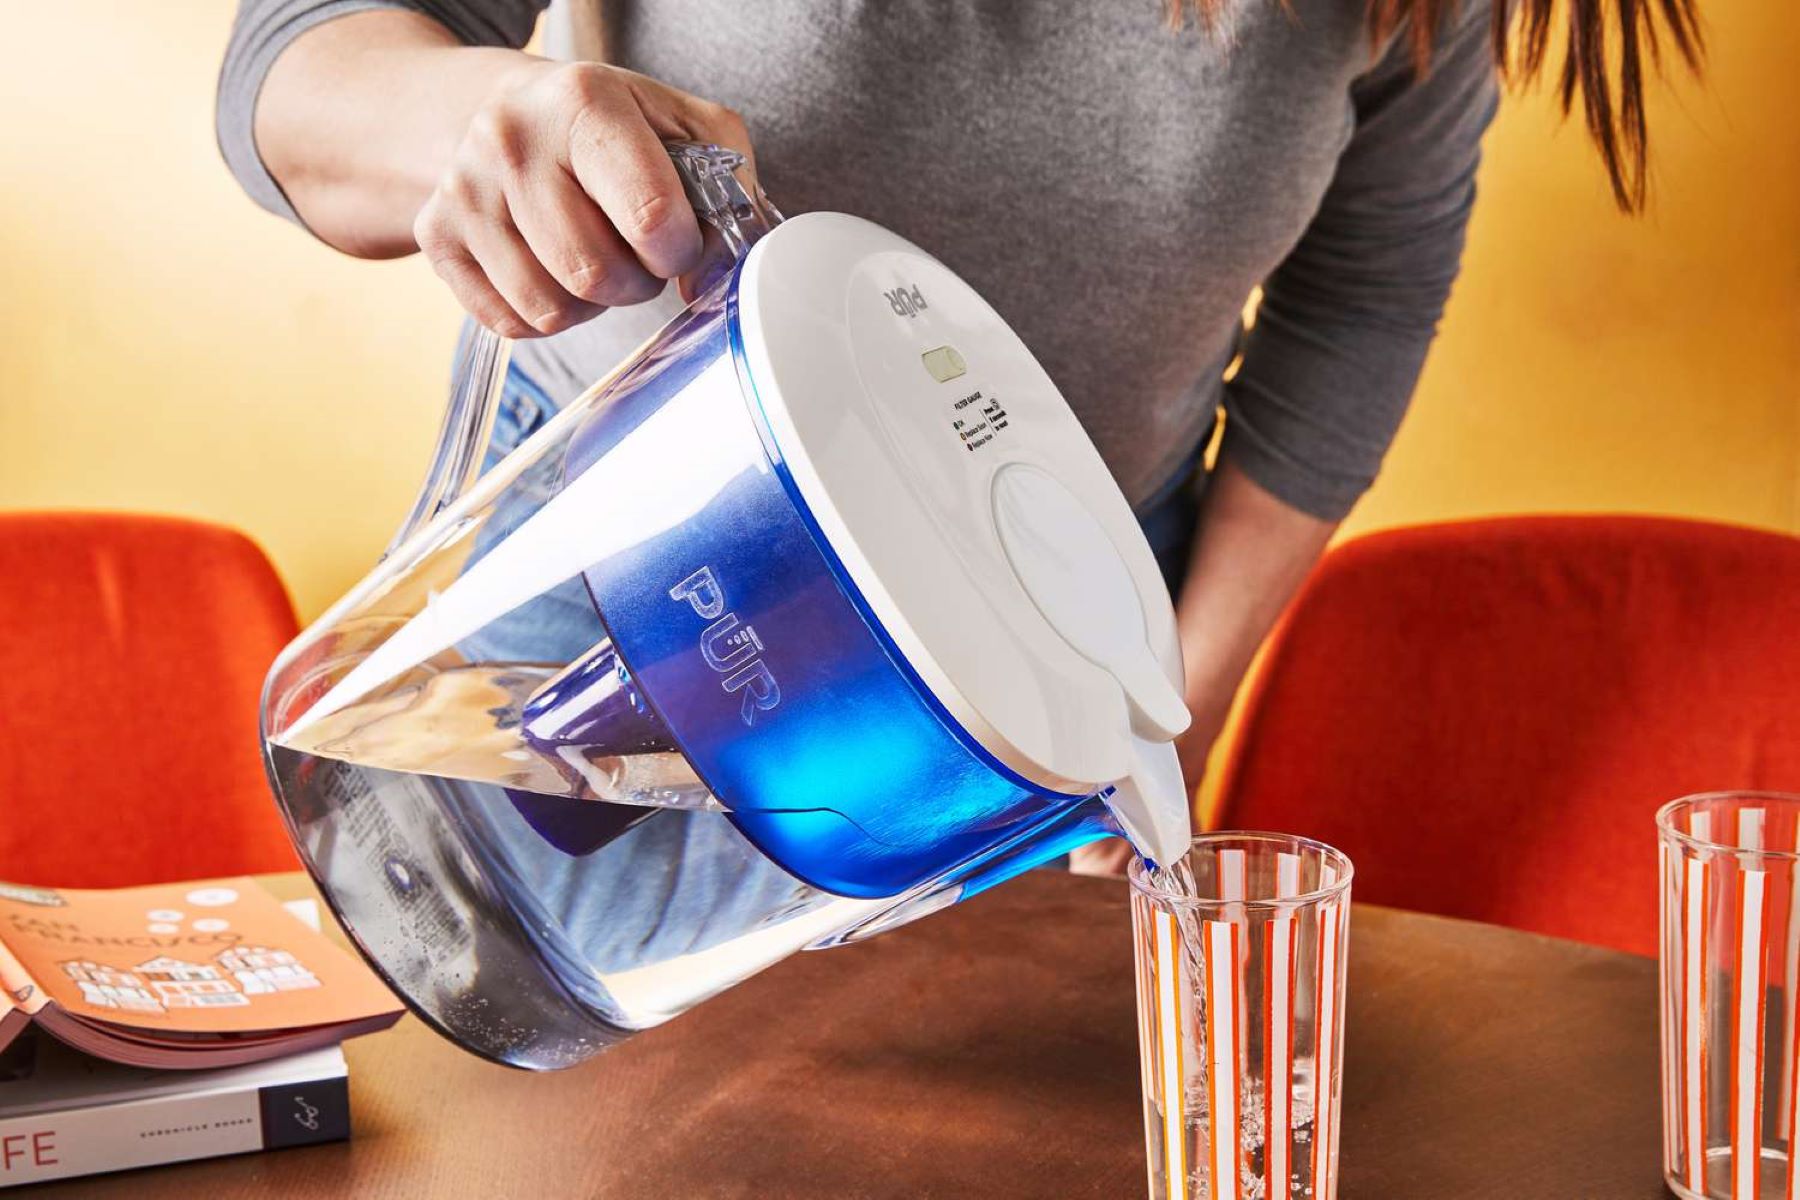
- Dispose of the initial filtered water. Refill the pitcher and your water filter is ready to use, providing you with clean and refreshing water.
With the filter reinstalled in your water pitcher, you can now enjoy the benefits of clean and purified water. Remember to regularly clean and maintain your filter to ensure optimal performance and prolong its lifespan.
Conclusion
Cleaning your water pitcher filter is a simple yet important task that helps to maintain its performance and ensure clean and healthy drinking water. By following the step-by-step process outlined in this guide, you can easily clean and maintain your filter for twice the use.
Understanding how the water pitcher filter works and the importance of regular cleaning allows you to optimize its filtration capabilities. Removing the filter from the pitcher, cleaning it, soaking it in a vinegar solution, rinsing it thoroughly, and reinstalling it in the pitcher are the key steps to follow.
Regularly cleaning your water pitcher filter not only ensures that you have access to clean and refreshing water but also extends the lifespan of the filter. Proper maintenance and care will help the filter continue to remove impurities and provide you with great-tasting water for a longer period.
Remember to consult the manufacturer’s instructions for specific cleaning guidelines for your water pitcher filter model. Additionally, be sure to replace the filter as recommended by the manufacturer to maintain its optimal performance.
So go ahead, follow these steps, and enjoy the benefits of clean and healthy drinking water with a well-maintained water pitcher filter!
Frequently Asked Questions about How To Clean A Water Pitcher Filter: For Twice The Use
Was this page helpful?
At Storables.com, we guarantee accurate and reliable information. Our content, validated by Expert Board Contributors, is crafted following stringent Editorial Policies. We're committed to providing you with well-researched, expert-backed insights for all your informational needs.
0 thoughts on “How To Clean A Water Pitcher Filter: For Twice The Use”