Articles
How To Set Up Brita Water Dispenser
Modified: May 6, 2024
Looking for step-by-step guidance on setting up your Brita water dispenser? Check out our informative articles covering everything you need to know.
(Many of the links in this article redirect to a specific reviewed product. Your purchase of these products through affiliate links helps to generate commission for Storables.com, at no extra cost. Learn more)
Introduction
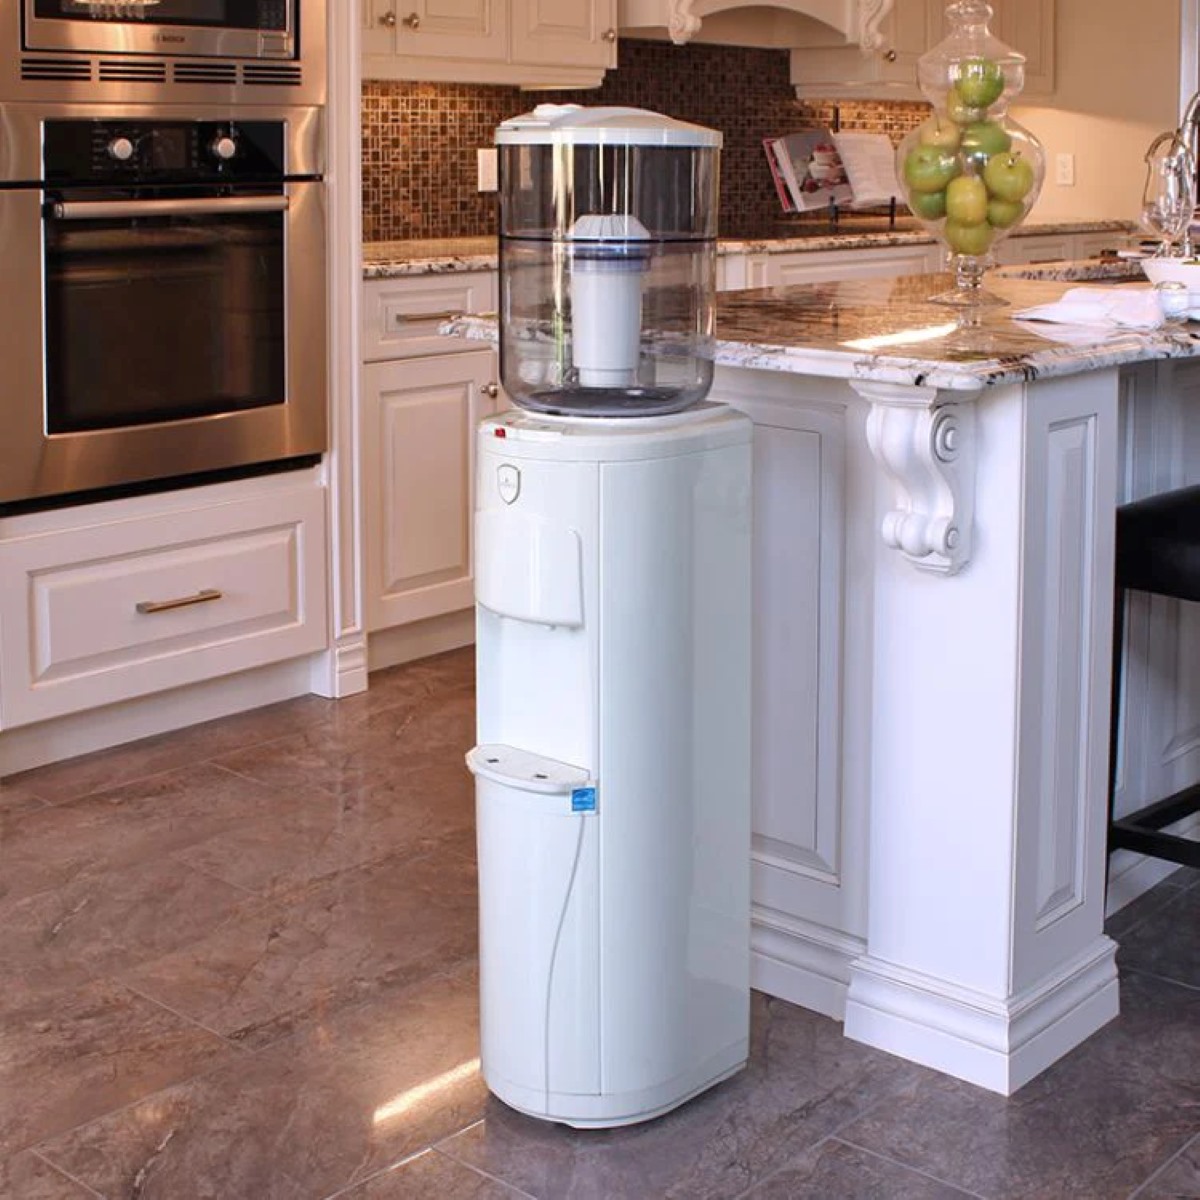
Welcome to this comprehensive guide on how to set up your Brita water dispenser. If you’re looking for a convenient and cost-effective way to enjoy clean and filtered water, a Brita water dispenser is the perfect solution. With its easy-to-use design and reliable filtration system, you can say goodbye to bottled water and enjoy the benefits of fresh, filtered water right from your own tap.
In this article, we will take you through the step-by-step process of unboxing, assembling, and setting up your Brita water dispenser. We will also provide helpful tips on maintenance and troubleshooting common issues. So, let’s dive in and get started!
Key Takeaways:
- Enjoy clean, filtered water conveniently with a Brita water dispenser. Follow simple steps for setup, maintenance, and troubleshooting to ensure optimal performance and great-tasting water every time.
- Say goodbye to single-use plastic bottles and hello to eco-friendly, refreshing water. With a Brita water dispenser, you can easily access clean, filtered water while reducing plastic waste and enjoying the convenience of a reliable filtration system.
Read more: How To Clean A Brita Water Dispenser
Step 1: Unboxing the Brita Water Dispenser
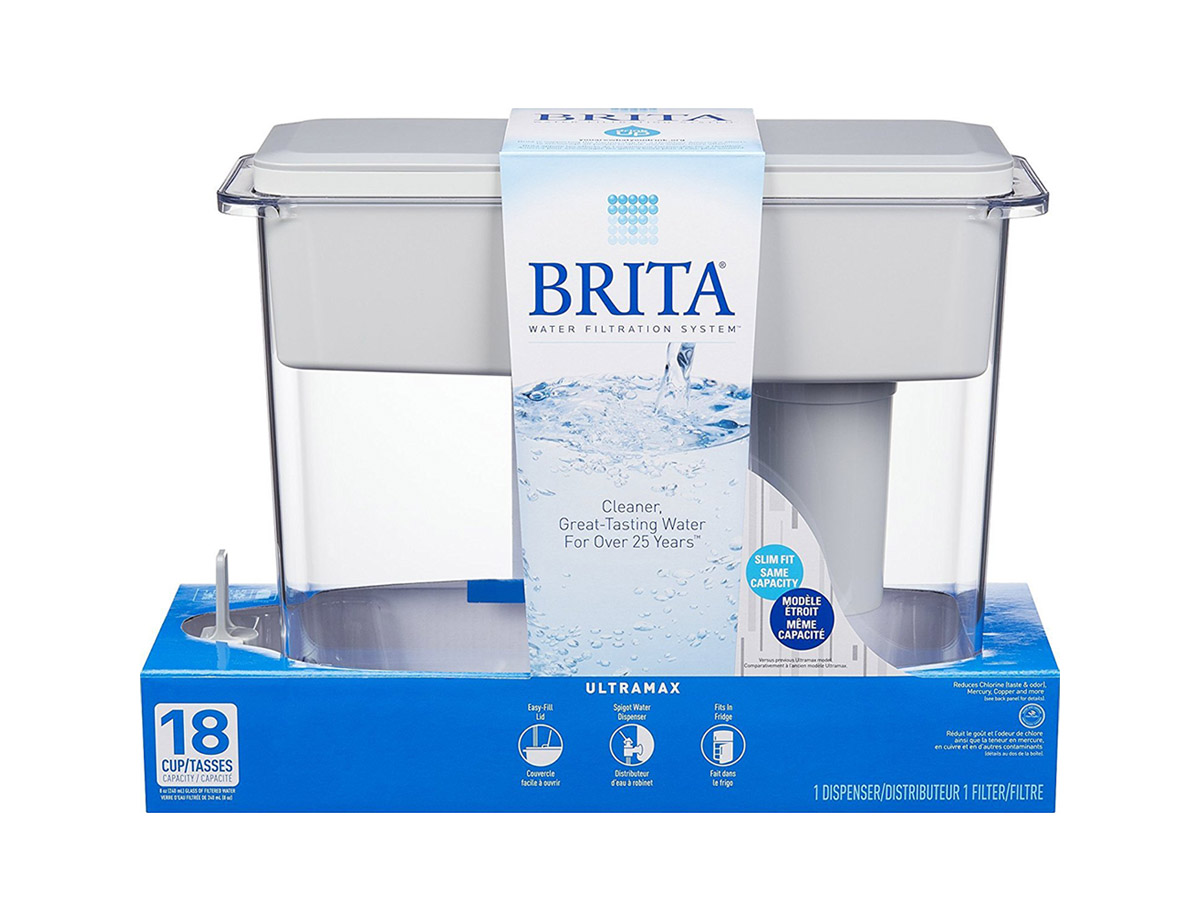
The first step in setting up your Brita water dispenser is to unbox it. Carefully remove the packaging and make sure you have all the necessary components. Typically, the box should contain the water dispenser unit, filter cartridge, and any additional accessories or instruction manuals.
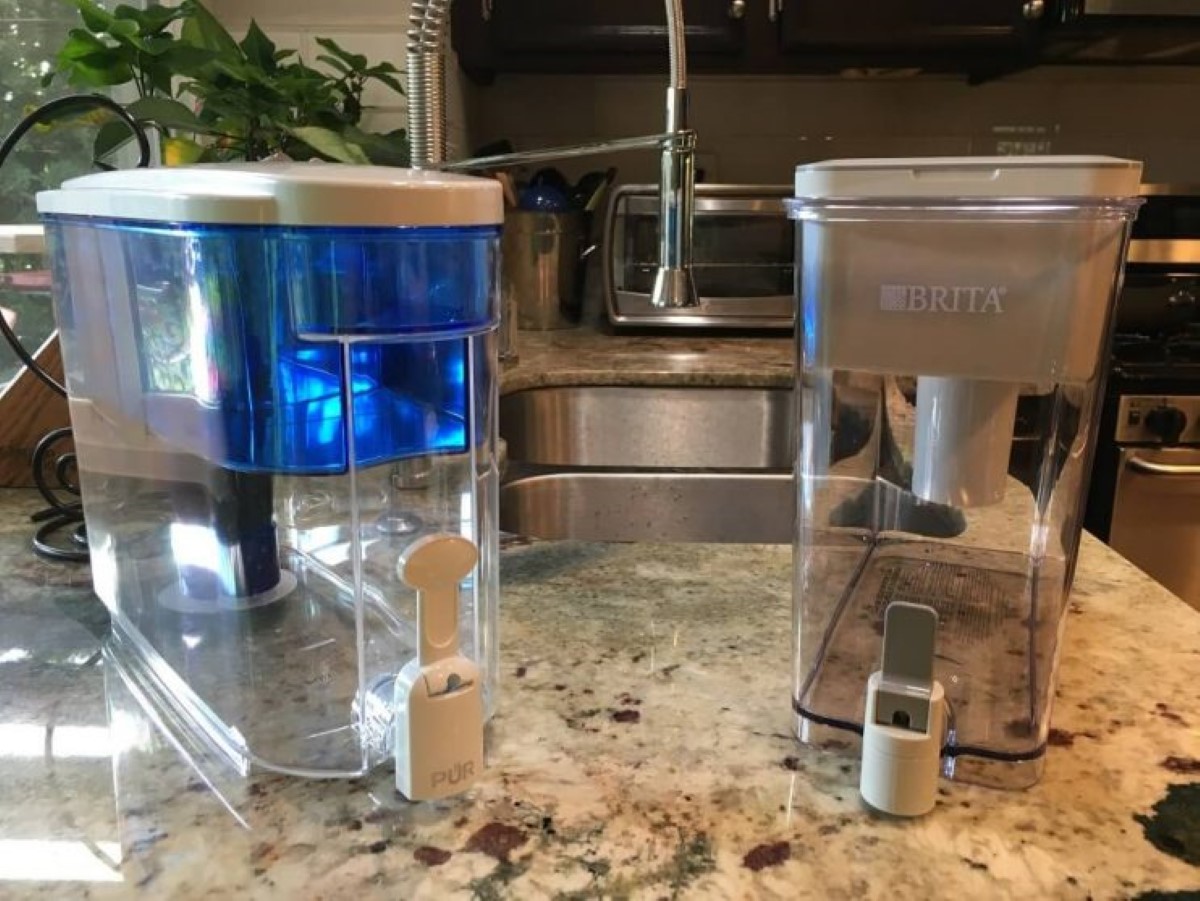
Once you have everything laid out, take a moment to familiarize yourself with the different parts of the water dispenser. The dispenser usually consists of a water chamber, a spout or tap for dispensing water, a lid or cover, and a base or stand to hold the dispenser in place.
Make sure to inspect the dispenser for any visible damages. If you notice any cracks or leaks, it’s advisable to contact the manufacturer for a replacement.
After ensuring that everything is in good condition, you’re ready to move on to the next step: assembling the Brita water dispenser.
Step 2: Assembling the Brita Water Dispenser
Now that you have unboxed the Brita water dispenser, it is time to assemble it. The process is usually straightforward, and you’ll be enjoying clean, filtered water in no time.
Start by placing the base or stand on a stable surface, such as your countertop or table. Make sure it is level and secure to avoid any accidents or spills. Next, take the water chamber and carefully insert it into the base. It should fit snugly and securely.
Once the water chamber is in place, attach the spout or tap. The spout may come pre-attached or may need to be screwed on, depending on the model. Follow the manufacturer’s instructions to ensure it is properly secured.
Now, take the lid or cover and place it on top of the water chamber. Again, it should fit securely and snugly. Some lids may have a locking mechanism or tabs to ensure a tight seal. Make sure to engage these features if present.
With the Brita water dispenser properly assembled, you’re one step closer to enjoying clean, filtered water. But before you begin using it, there are a few more steps to follow to prepare the dispenser for first-time use. Let’s move on to the next step.
Step 3: Preparing the Dispenser for First-Time Use
Before you start using your Brita water dispenser, it is important to prepare it for first-time use. This process will help ensure optimal performance and the best-tasting filtered water.
First, remove the lid or cover from the water chamber. Fill the chamber with cold tap water up to the maximum fill line indicated. It is essential to use cold water as hot water can damage the filter and affect its efficiency.
Next, let the dispenser sit for approximately 15 minutes. This resting period allows the filter to activate and removes any air bubbles that may have formed during shipping or handling.
After the 15-minute waiting period, discard the water in the chamber. This initial discard helps flush out any carbon particles or impurities that may have loosened during activation. It is normal for the first few pitchers of water to have a slightly carbon-like taste. This will improve with subsequent uses.
Finally, rinse the water chamber and the lid thoroughly with cold tap water. This step ensures that any remaining carbon particles or residue are removed, providing you with clean and refreshing filtered water.
Now that your Brita water dispenser is prepared, it’s time to move on to the next step: installing the filter cartridge.
Step 4: Installing the Filter Cartridge
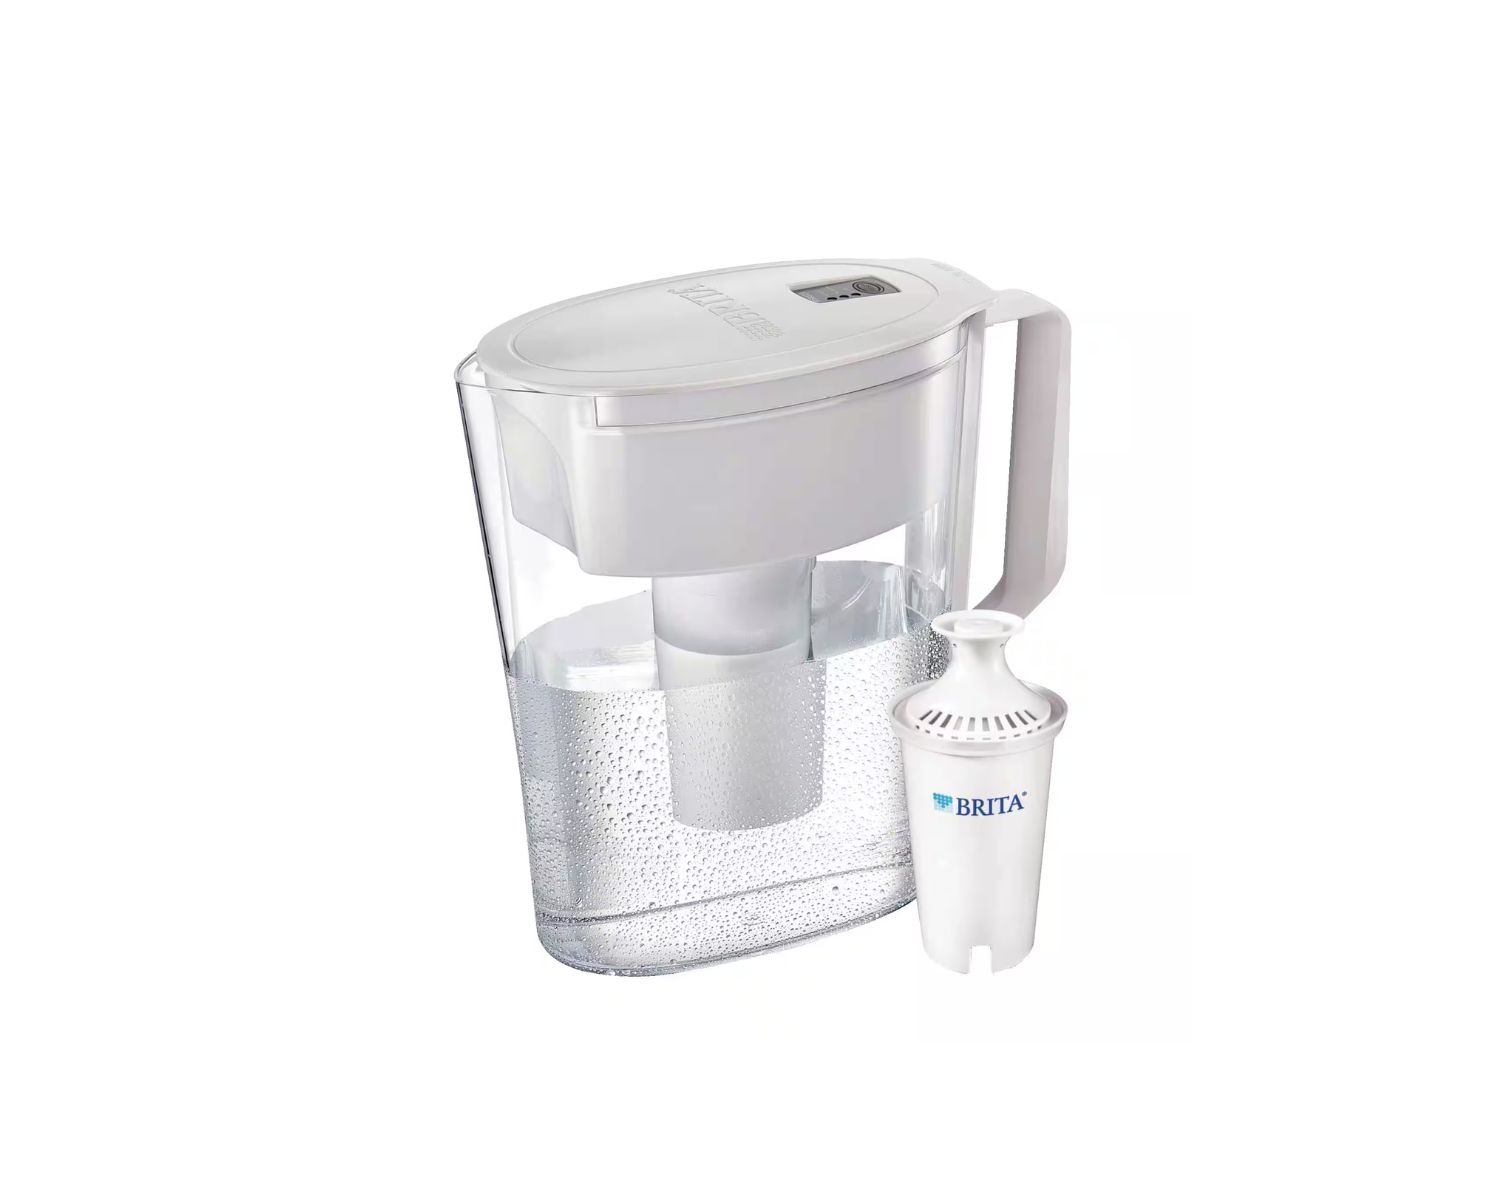
Installing the filter cartridge is a crucial step in setting up your Brita water dispenser. The filter cartridge is responsible for removing impurities, such as chlorine, heavy metals, and sediment, from the water, ensuring you have clean and great-tasting water every time.
Start by locating the filter cartridge slot on the water dispenser. This slot is usually located near the top or bottom of the water chamber. Once you’ve identified the slot, remove the cartridge from its packaging. It is essential to handle the cartridge with clean hands to avoid contaminating it.
Before inserting the filter cartridge, you need to prepare it. Start by soaking the cartridge in cold water for about 15 minutes. This soaking process helps activate the carbon granules inside the cartridge, improving its filtering capabilities. Meanwhile, rinse the cartridge under cold running water to remove any loose carbon particles.
After soaking and rinsing, insert the filter cartridge into the designated slot. Make sure it fits snugly and securely. Some cartridges may require slight twisting or pushing to properly lock into place. Refer to the manufacturer’s instructions for specific guidance on your particular model.
Once the cartridge is securely installed, you’re ready to move on to the next step: filling the Brita water dispenser and enjoying clean, filtered water.
When setting up a Brita water dispenser, make sure to thoroughly wash the dispenser and filter before use to remove any manufacturing residues. This will ensure clean and fresh-tasting water.
Read also: 9 Best Brita Water Dispenser for 2024
Step 5: Filling the Brita Water Dispenser
Now that the filter cartridge is installed, it’s time to fill your Brita water dispenser with fresh, cold tap water. Filling the dispenser is a simple process that will provide you with clean and filtered water on demand.
Start by removing the lid or cover from the water chamber. Place the water chamber under your tap and slowly turn on the cold water. Fill the chamber up to the maximum fill line indicated on the container. Be careful not to overfill it as this can cause water to spill when the dispenser is in use.
After filling the water chamber, place the lid or cover back on securely. Ensure that it is properly aligned and sealed to prevent any contaminants from entering the water. This step helps maintain the cleanliness and quality of the filtered water.
Once the dispenser is filled, give it a gentle shake or swirl to activate the filter cartridge. This helps ensure that the water comes into contact with the activated carbon granules, maximizing the filtration process.
Now, your Brita water dispenser is ready to provide you with clean and filtered water. Simply push the dispenser tap or spout to start enjoying crisp and refreshing water anytime you desire.
Remember to refill the water chamber as needed to ensure a continuous supply of filtered water. Regularly refilling the dispenser will also help maintain the optimal performance of the filter cartridge.
With the dispenser filled and ready to go, let’s move on to the next step: using the dispenser for clean, filtered water.
Step 6: Using the Dispenser for Clean, Filtered Water
Now that your Brita water dispenser is filled with clean, filtered water, it’s time to start enjoying the benefits of fresh and great-tasting water right from your tap. Using the dispenser is incredibly simple and convenient, making it a perfect addition to your kitchen or any other space where you’d like to have easy access to filtered water.
To dispense water from the Brita water dispenser, simply press the tap or spout to release the water. The water will flow out smoothly, allowing you to fill up glasses, bottles, or pitchers as needed.
One of the advantages of using a Brita water dispenser is its large capacity, which means you can enjoy multiple servings of filtered water before needing to refill the chamber. This is especially beneficial when hosting guests or during family gatherings.
While the water dispenser is convenient for everyday use, it’s important to keep in mind that the filter cartridge has a lifespan. The lifespan of the cartridge may vary depending on the model and water quality in your area. It’s recommended to follow the manufacturer’s guidelines and replace the filter cartridge as needed to ensure optimal filtration and the best-tasting water.
With the Brita water dispenser, you can say goodbye to the inconvenience and waste generated by single-use plastic bottles. Instead, you can enjoy eco-friendly, filtered water without compromising on taste or quality.
So, sit back, relax, and enjoy the convenience and benefits of using your Brita water dispenser for clean and refreshing filtered water.
Now that you know how to use the dispenser, let’s proceed to the next step: maintenance and cleaning tips to keep your Brita water dispenser in top shape.
Step 7: Maintenance and Cleaning Tips
Proper maintenance and regular cleaning of your Brita water dispenser are important for ensuring its longevity and continued performance. By following these maintenance and cleaning tips, you can keep your dispenser in excellent condition and ensure the water you drink is always clean and fresh.
First, it is essential to replace the filter cartridge regularly as recommended by the manufacturer. Over time, the filter cartridge becomes less effective at removing impurities, and it may even become a breeding ground for bacteria. The replacement frequency will depend on the model and water quality, so be sure to follow the guidelines provided.
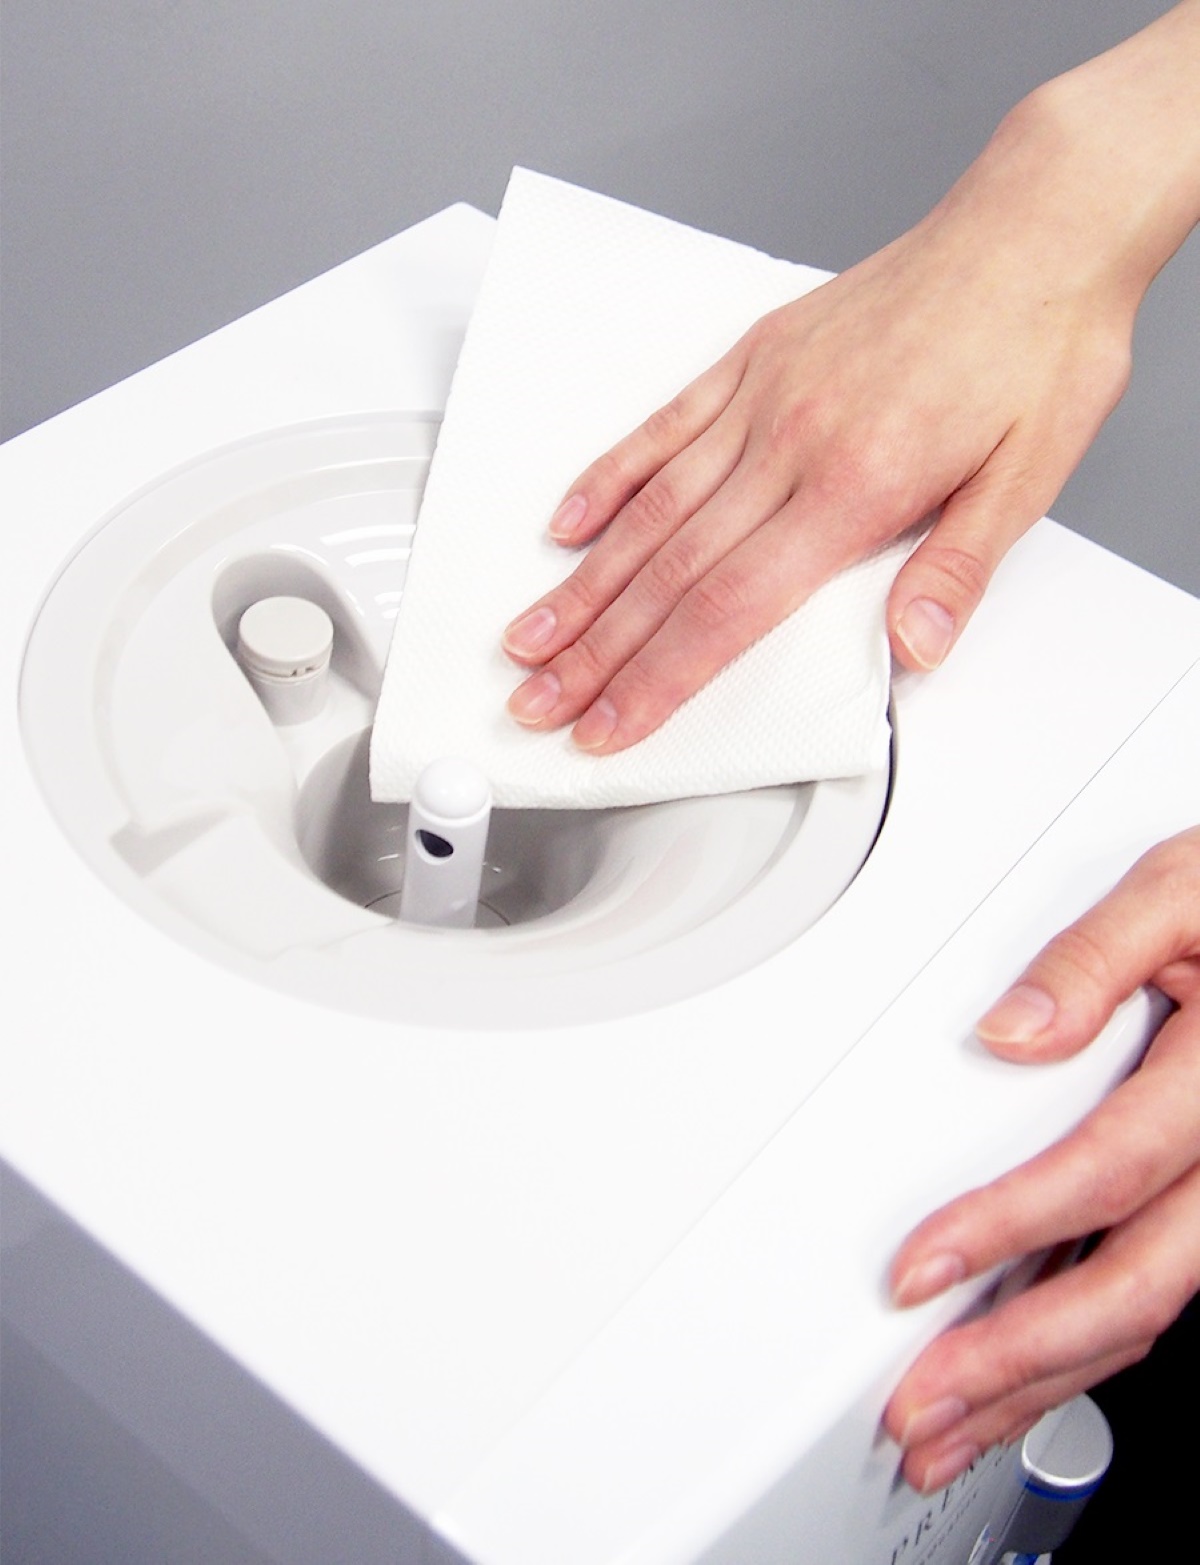
Additionally, you should clean the dispenser regularly to prevent any buildup of dirt, grime, or bacteria. Start by thoroughly rinsing the water chamber, lid, and tap with cold running water. If there are any stubborn stains or residue on the parts, use a mild soap and water solution to gently scrub them away. Avoid using abrasive cleaners or scrub brushes that may damage the surfaces.
It is also important to regularly clean and disinfect the water dispensing tap or spout. You can do this by filling a bowl or basin with a mixture of water and food-grade hydrogen peroxide or vinegar. Submerge the tap or spout in the solution for a few minutes, then rinse it thoroughly with cold water.
Another crucial aspect of maintenance is keeping the water dispenser in a clean and hygienic environment. Make sure the surrounding area is free from dust, dirt, and other contaminants that can find their way into the dispenser. Regularly wipe down the exterior of the dispenser with a clean cloth to keep it looking and functioning its best.
Lastly, if you are not using your Brita water dispenser for an extended period, it’s advisable to empty and thoroughly dry the water chamber and parts. This helps prevent the growth of mold or bacteria and ensures a fresh start when you’re ready to use it again.
By following these maintenance and cleaning tips, you can enjoy clean and filtered water from your Brita water dispenser for years to come.
Now that you’re equipped with the knowledge to properly maintain and clean your Brita water dispenser, let’s move on to the final step: troubleshooting common issues that may arise.
Step 8: Troubleshooting Common Issues
While Brita water dispensers are known for their reliability and performance, occasionally, you may encounter some common issues. Here are some troubleshooting tips to help you address and resolve these issues:
1. Slow Dispensing: If you find that the water flow from your dispenser is slow, it may indicate a clogged filter cartridge. Try removing the cartridge and soaking it in cold water for a few minutes. Rinse it thoroughly before reinstalling it. If the problem persists, it may be time to replace the filter cartridge.
2. Leaking Dispenser: If you notice water leaking from the dispenser, check for any loose or improperly installed parts. The most common culprit is a loose tap or spout. Ensure that it is securely tightened and aligned with the dispenser. Additionally, inspect the water chamber for any cracks or damage that may cause leaks. If necessary, contact the manufacturer for further assistance or a replacement.
3. Foul Odor or Taste: If you experience an unpleasant odor or taste in the filtered water, it may indicate a need for a thorough cleaning of the dispenser. Follow the cleaning tips mentioned earlier to remove any accumulated debris or residue. Also, consider replacing the filter cartridge as a stale or expired cartridge can impact the taste and smell of the water.
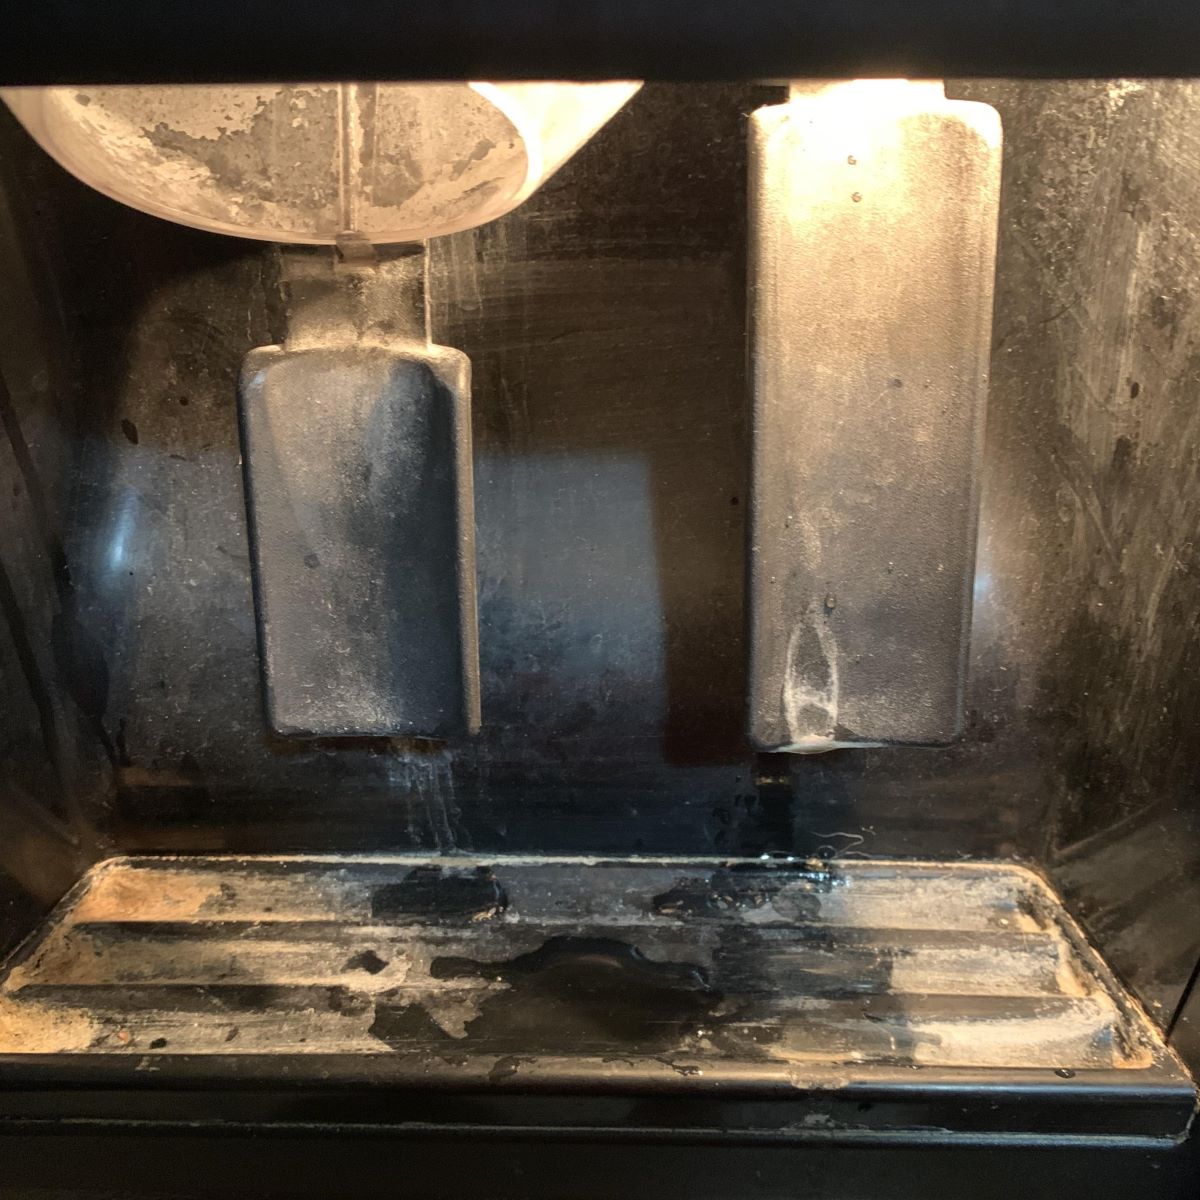
4. Mold or Mildew Growth: In humid environments, mold or mildew may develop in the water chamber or other parts of the dispenser. Regular cleaning and proper drying after each use can help prevent this issue. If mold or mildew is present, thoroughly clean the affected area with a mild bleach solution, rinse well, and dry completely before using again.
5. No Water Flow: If the dispenser is not dispensing any water, check if the water chamber is properly filled and if the tap or spout is fully engaged. Ensure that the cartridge is correctly installed, and there are no blockages or obstructions in the dispenser’s internal parts. If the issue persists, contact Brita customer support for further assistance.
Remember, it’s always a good idea to consult the manufacturer’s instructions or reach out to their customer support for specific troubleshooting steps if you encounter any persistent issues with your Brita water dispenser.
With these troubleshooting tips in mind, you can address and resolve common issues, ensuring that your Brita water dispenser continues to provide you with clean and refreshing filtered water.
After troubleshooting, if the issue still remains unresolved, it may be advisable to contact Brita’s customer support for further assistance and guidance.
Congratulations! You have now successfully set up and learned how to use your Brita water dispenser. By following the steps outlined in this guide and implementing proper maintenance, you can enjoy clean, filtered water conveniently and cost-effectively.
Remember, regular filter cartridge replacement and periodic cleaning are crucial to ensuring optimal performance and the best-tasting water. So, sit back, relax, and stay hydrated with the confidence that your Brita water dispenser is providing you with clean and refreshing water.
Read more: How To Set Up Brio Water Dispenser
Conclusion
Setting up and using a Brita water dispenser is a simple and effective way to enjoy clean and filtered water right from your tap. With its convenient design and reliable filtration system, you can eliminate the need for single-use plastic bottles and have access to fresh, great-tasting water anytime you need it.
In this comprehensive guide, we have walked you through the step-by-step process of unboxing, assembling, and setting up your Brita water dispenser. We have also provided maintenance tips, cleaning guidelines, and troubleshooting advice to ensure optimal performance and longevity for your dispenser.
By following these instructions and recommendations, you can confidently enjoy clean and refreshing water every day. With the convenience and quality that a Brita water dispenser offers, you can make a positive impact on the environment by reducing plastic waste and enjoying the benefits of filtered water.
Remember to periodically replace the filter cartridge and clean your dispenser to ensure continued performance and the best-tasting water. By incorporating these practices into your routine, you can enjoy the benefits of a Brita water dispenser for years to come.
We hope this guide has provided you with valuable insights and guidance on how to set up and optimize your Brita water dispenser. So, go ahead, take that step towards cleaner, better-tasting water, and enjoy the convenience and benefits of your Brita water dispenser!
Now that you've got your Brita water dispenser up and running, why stop there? Keep exploring the realm of water quality with our insightful guides. If setting up your dispenser piqued your interest, delve further into the best water filtration systems available. They're sure to keep your hydration clean and safe. Alternatively, if you're curious about more thorough cleansing methods, our comprehensive review on water purification techniques is perfect for enhancing your knowledge and health.
Frequently Asked Questions about How To Set Up Brita Water Dispenser
Was this page helpful?
At Storables.com, we guarantee accurate and reliable information. Our content, validated by Expert Board Contributors, is crafted following stringent Editorial Policies. We're committed to providing you with well-researched, expert-backed insights for all your informational needs.
0 thoughts on “How To Set Up Brita Water Dispenser”