Home>Home Appliances>Cleaning Appliances>How To Store A Mop
Cleaning Appliances
How To Store A Mop
Modified: November 1, 2024
Learn the best practices for storing a mop to keep your cleaning appliances organized and in top condition. Discover effective tips for maintaining your mop's longevity.
(Many of the links in this article redirect to a specific reviewed product. Your purchase of these products through affiliate links helps to generate commission for Storables.com, at no extra cost. Learn more)
Introduction
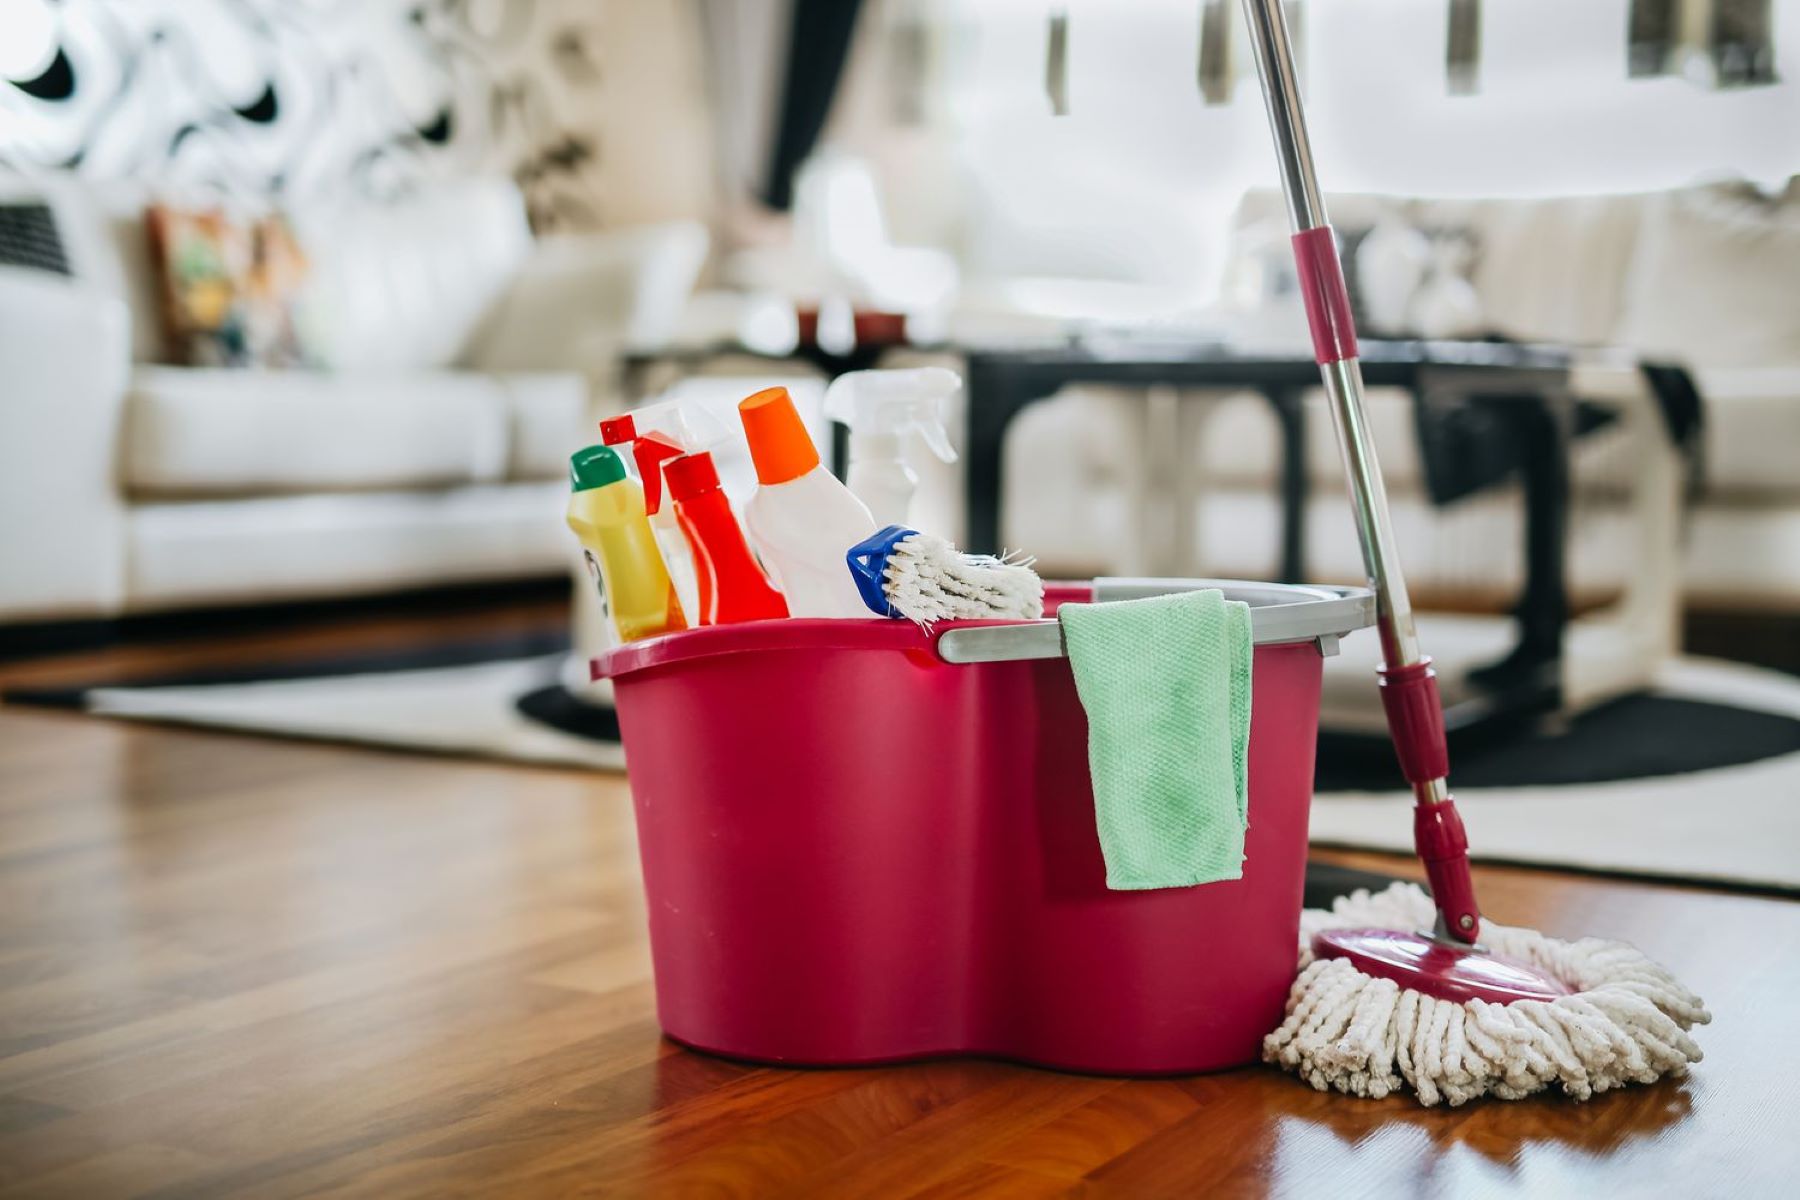
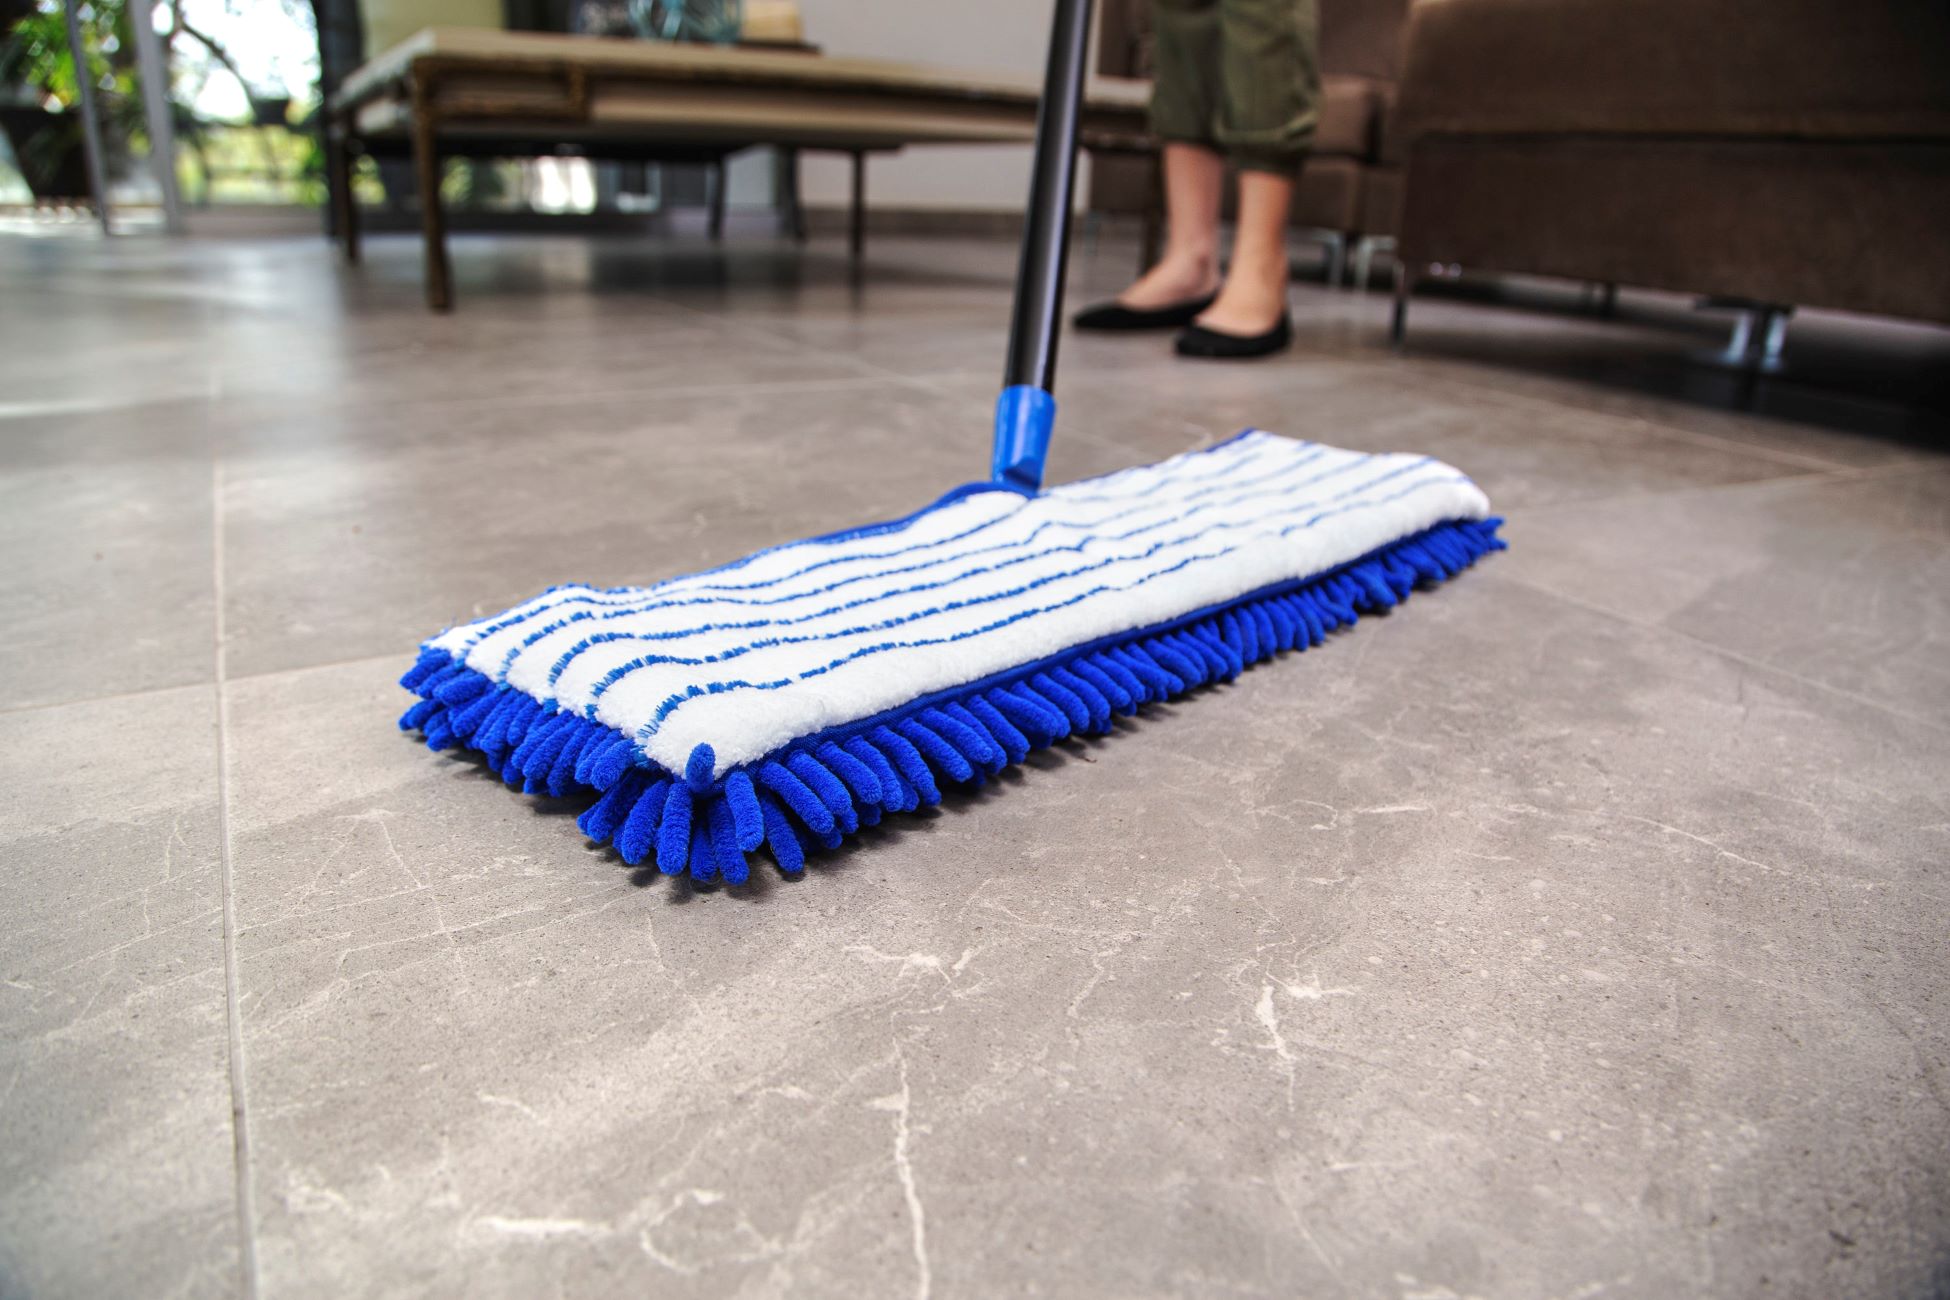
When it comes to keeping your home clean and tidy, having the right cleaning tools is essential. A mop is a versatile and effective tool for keeping your floors spotless, whether you have hardwood, tile, or laminate flooring. However, proper maintenance and storage of your mop are crucial to ensure its longevity and effectiveness.
In this comprehensive guide, we will walk you through the essential steps to properly store your mop. From cleaning and drying to storage techniques, you will learn the best practices to keep your mop in top condition for the long haul.
So, if you're ready to elevate your cleaning game and make the most out of your trusty mop, let's dive into the details of how to store a mop effectively.
Key Takeaways:
- Keep your mop clean and dry by rinsing, using a cleaning solution, and air-drying to prevent mold and bacteria growth. Proper storage in a well-ventilated area ensures its longevity and effectiveness.
- Choose a dry, well-ventilated storage spot away from contaminants, hang the mop securely, and regularly inspect the area to maintain a clean and ready-to-use mop.
Read more: Where To Store Broom And Mop
Step 1: Clean the Mop
Before stashing your mop away, it’s crucial to ensure that it is thoroughly clean. Over time, mops can accumulate dirt, grime, and bacteria, making it essential to clean them after each use. Follow these simple steps to clean your mop effectively:
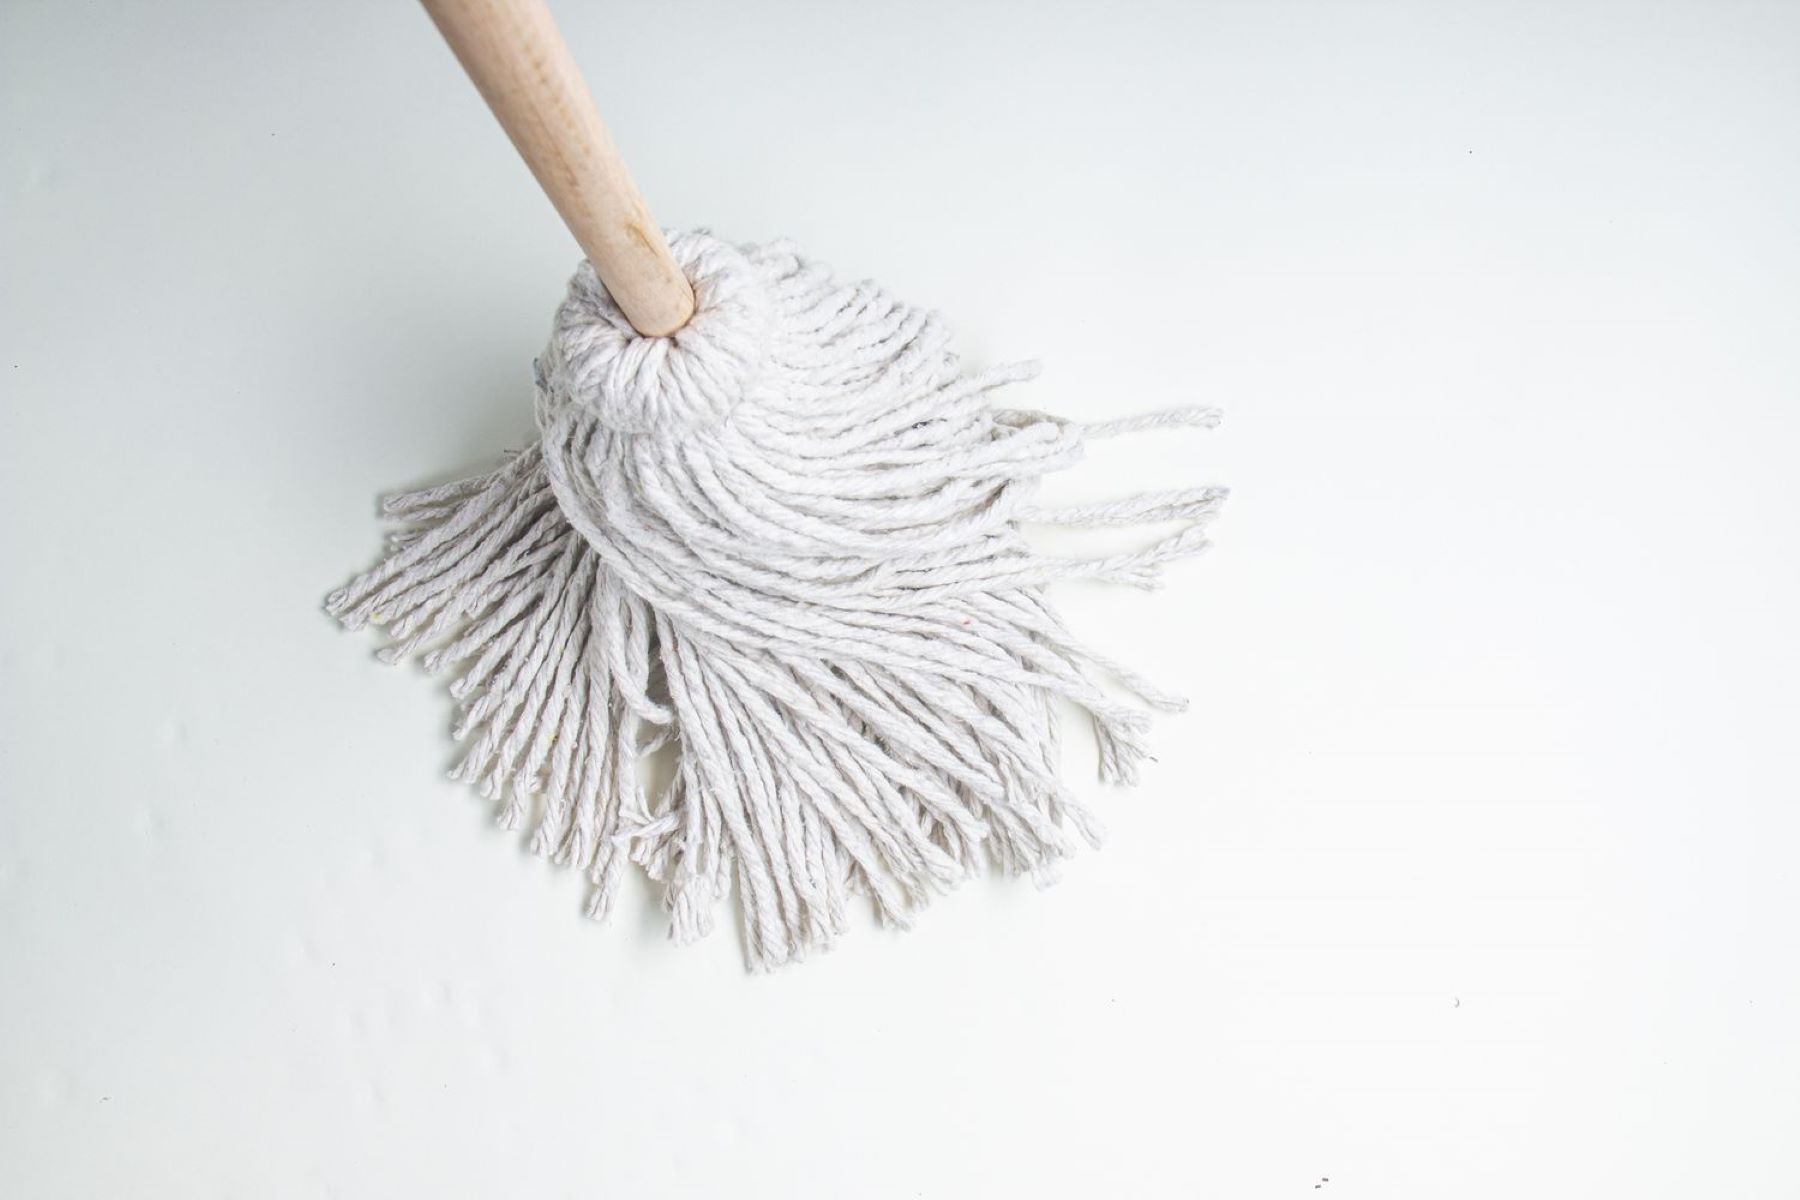
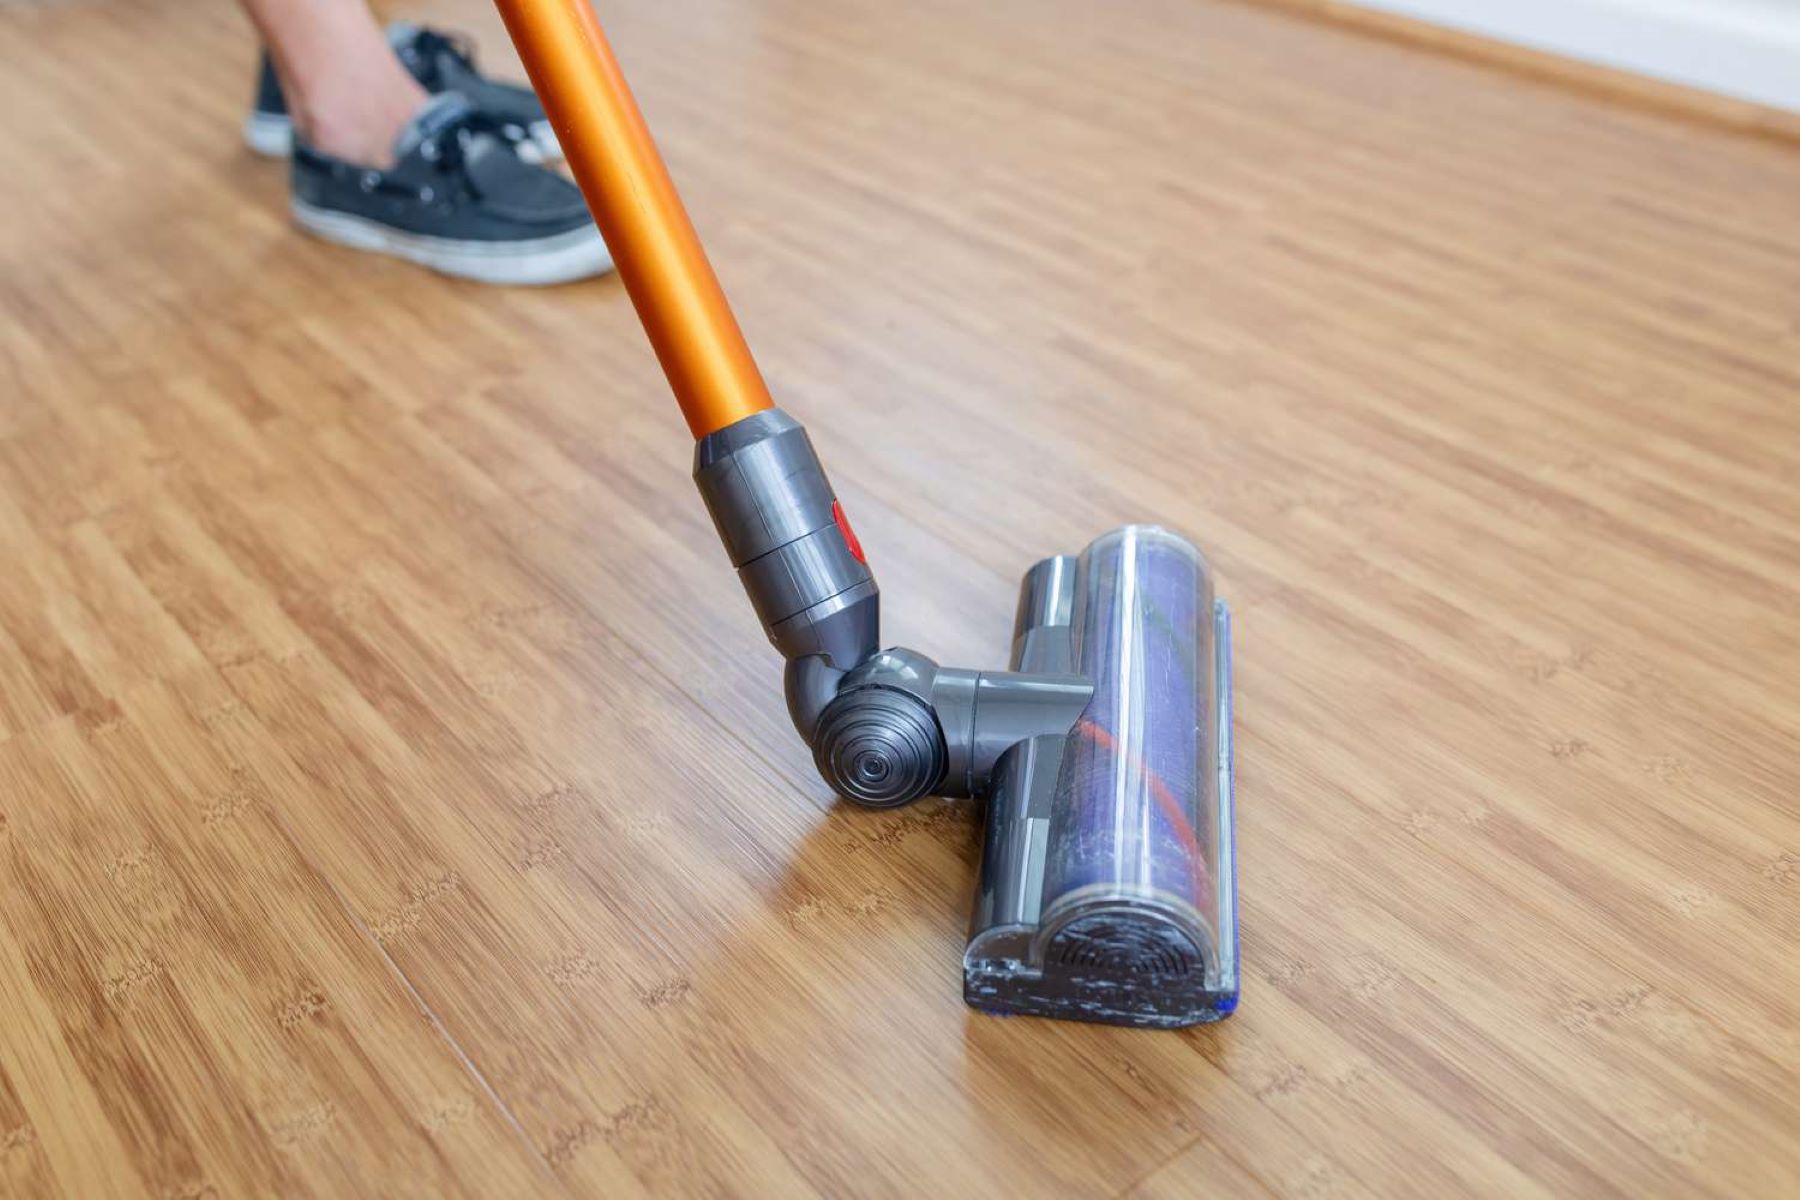
- Remove Excess Debris: Start by removing any large debris or hair from the mop head. You can use a pair of gloves to pull off the debris or a handheld vacuum for a quick cleanup.
- Rinse the Mop: After removing the larger debris, rinse the mop head under running water to dislodge any remaining dirt and residue. Squeeze and wring out the excess water thoroughly.
- Use a Cleaning Solution: Depending on the type of flooring and the level of grime on your mop, you can use a suitable cleaning solution. For example, a mixture of mild detergent and warm water works well for most mops. Submerge the mop head in the cleaning solution and agitate it to ensure thorough cleaning.
- Rinse Again: Once the mop has been soaked in the cleaning solution, rinse it again under running water to remove any soapy residue. Ensure that the water runs clear, indicating that the mop is clean.
- Allow to Air Dry: After cleaning, hang the mop in a well-ventilated area to air dry completely. Avoid storing a damp mop, as this can lead to mold and mildew growth.
By following these steps, you can ensure that your mop is free from dirt and bacteria, ready to be stored in optimal condition until its next use.
Step 2: Dry the Mop
Once you’ve thoroughly cleaned your mop, the next crucial step is to ensure that it is completely dry before storing it. Proper drying not only prevents the growth of mold and mildew but also helps maintain the mop’s effectiveness. Here’s how to effectively dry your mop:
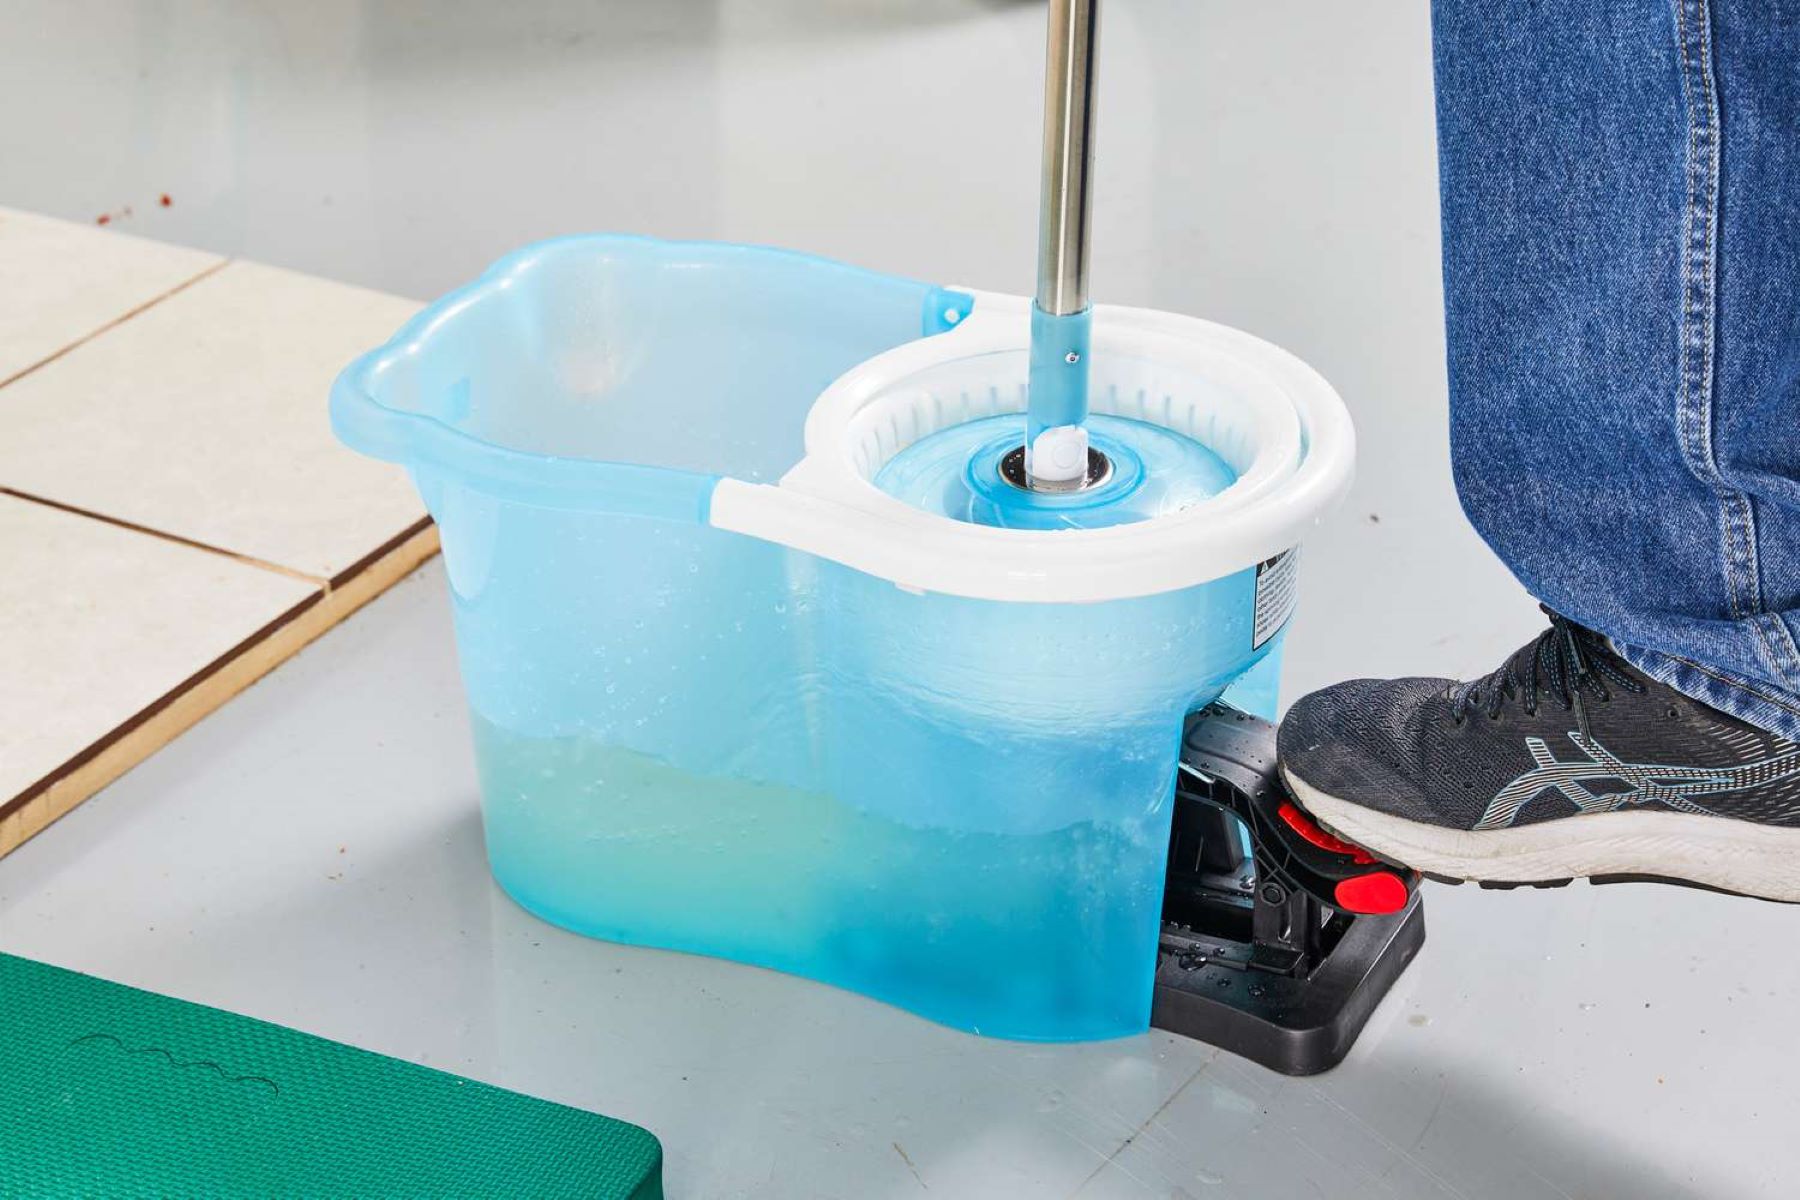
- Squeeze Out Excess Water: After cleaning, firmly squeeze and wring out the excess water from the mop head. This step is essential to expedite the drying process.
- Hang in a Well-Ventilated Area: Find a well-ventilated area, such as a laundry room or outdoor space, to hang the mop. Ideally, the mop should be hung in a way that allows air to circulate around the entire mop head, aiding in thorough drying.
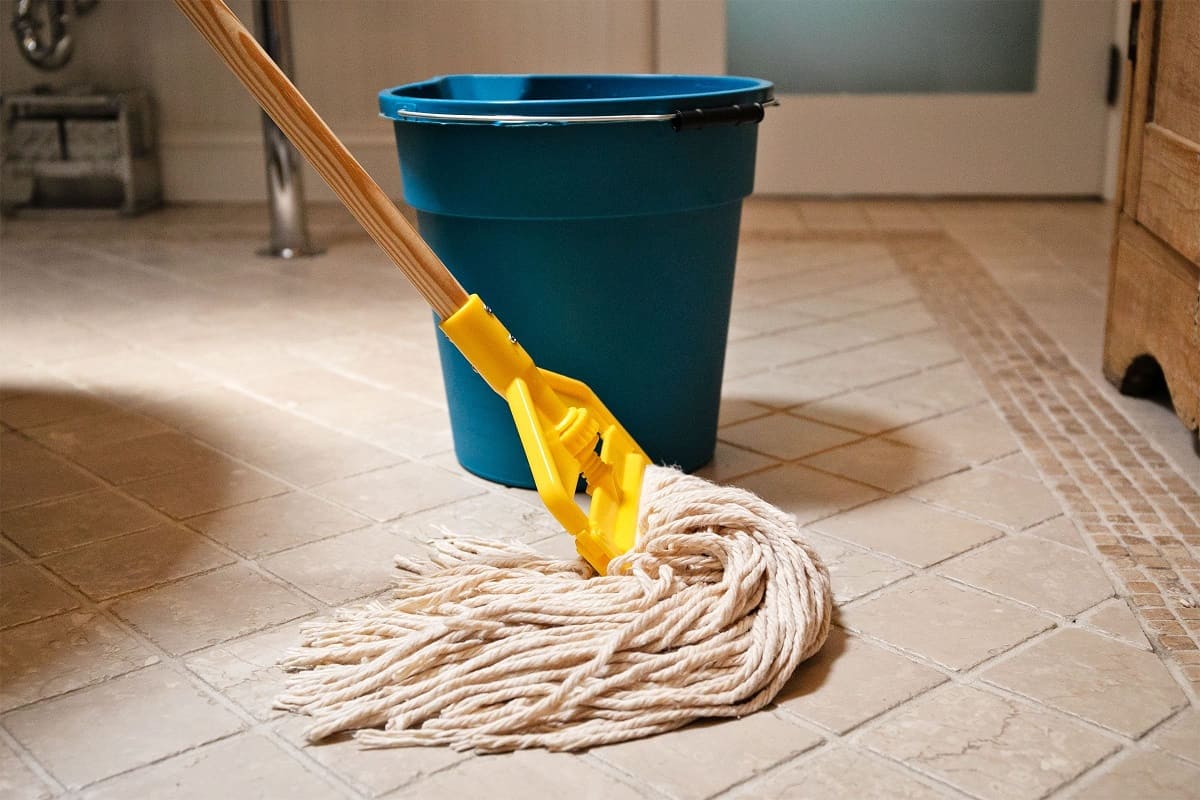
- Avoid Damp or Enclosed Spaces: It’s crucial to avoid storing the mop in a damp or enclosed space, such as a closet or a bucket. Damp environments can promote the growth of mold and mildew, which can compromise the cleanliness of the mop.
- Utilize a Mop Holder or Rack: Consider investing in a mop holder or rack that allows you to hang the mop securely. This not only facilitates proper drying but also keeps the mop off the floor, preventing potential contamination.
- Check for Complete Dryness: Before storing the mop, ensure that it is completely dry. Running your hand over the mop head can help you determine if any residual moisture remains.
By following these steps, you can ensure that your mop is thoroughly dried and ready to be stored properly, maintaining its cleanliness and effectiveness for future use.
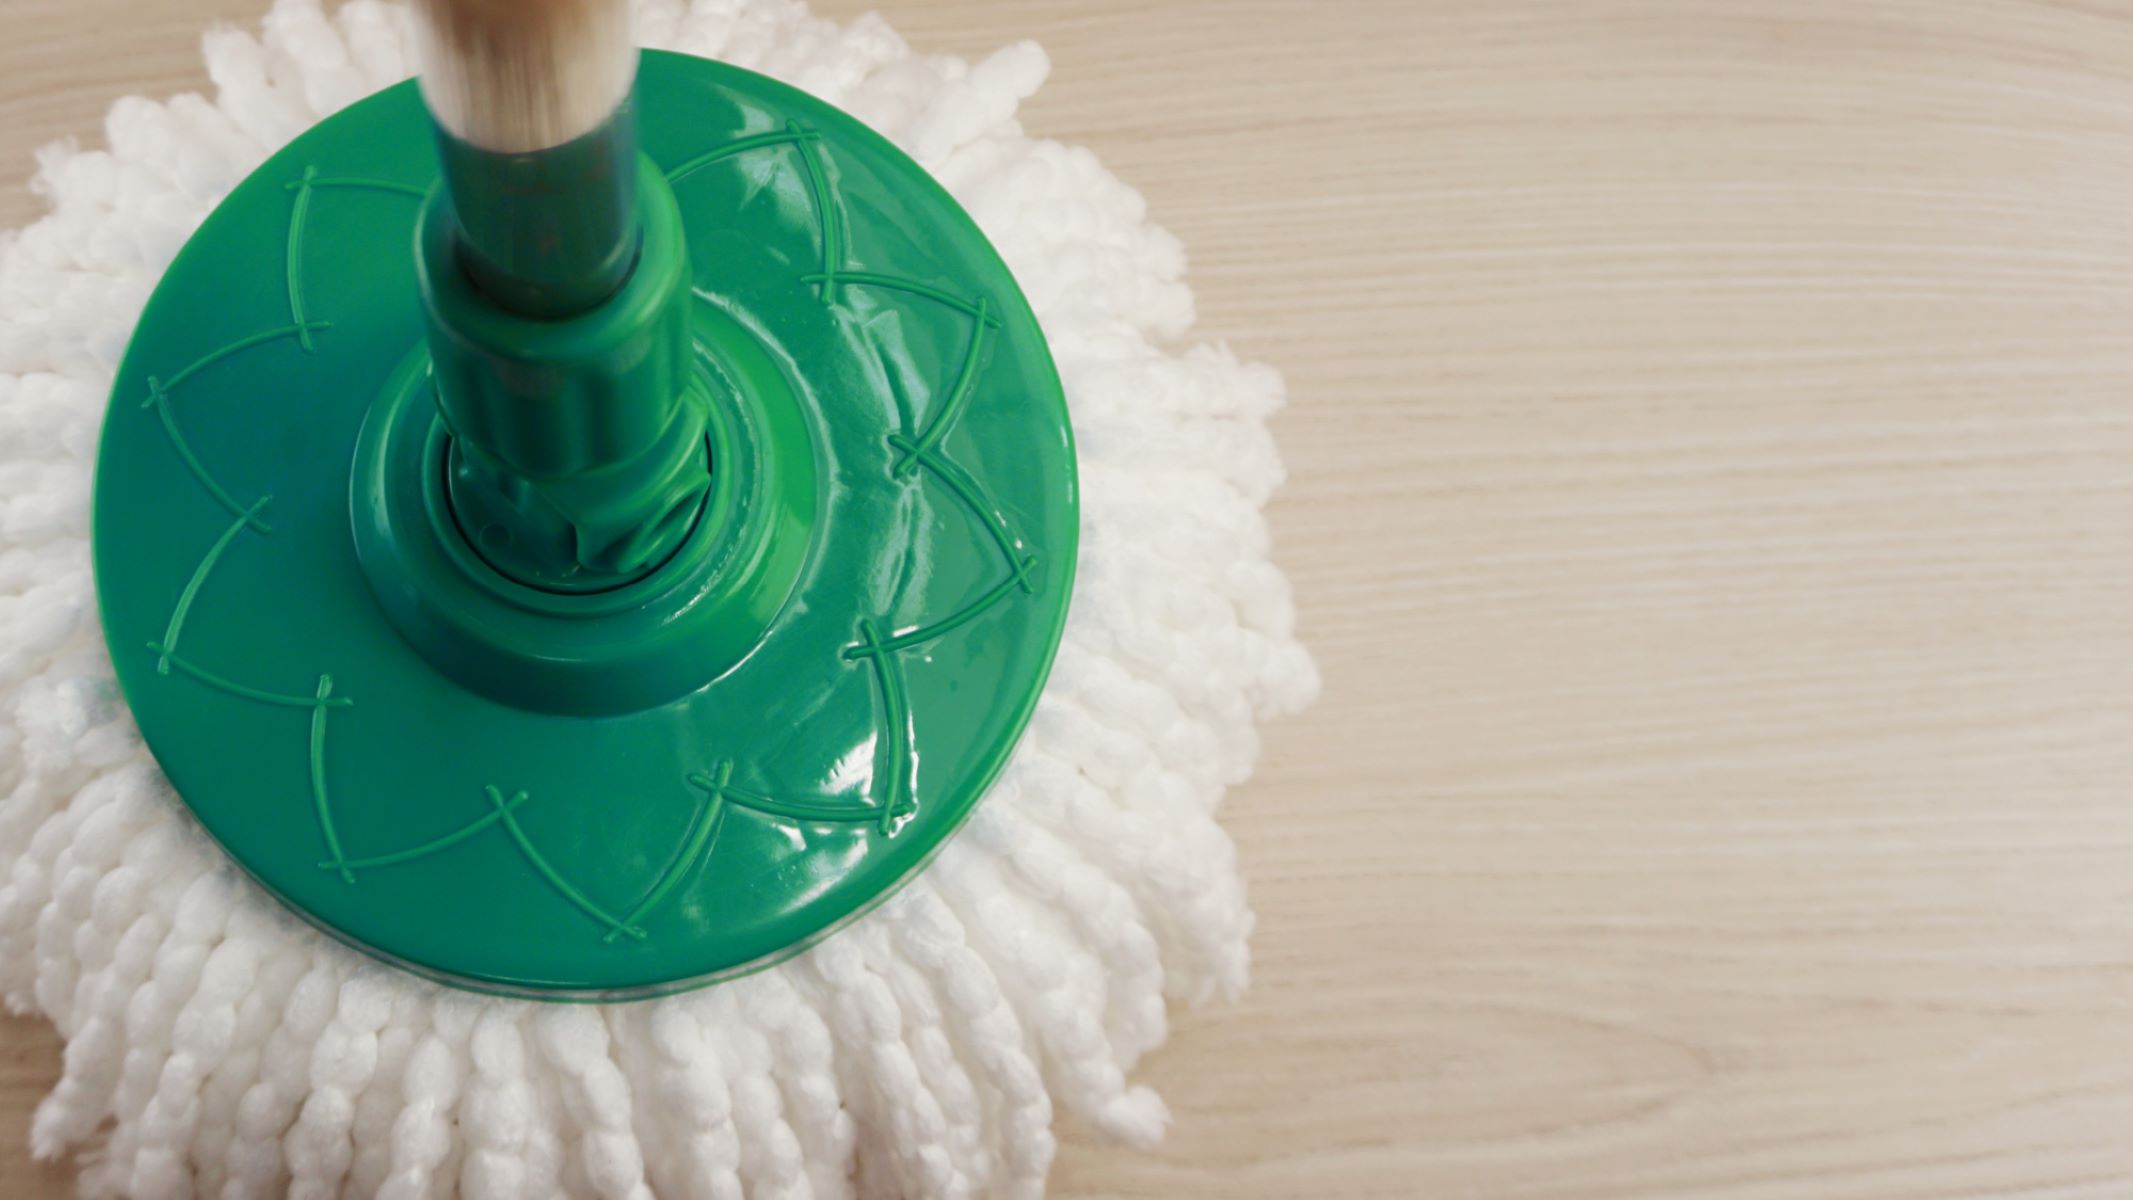
After using a mop, rinse it thoroughly and hang it to dry in a well-ventilated area to prevent mold and mildew growth. Store it upright to maintain its shape and keep the bristles from bending.
Step 3: Store the Mop
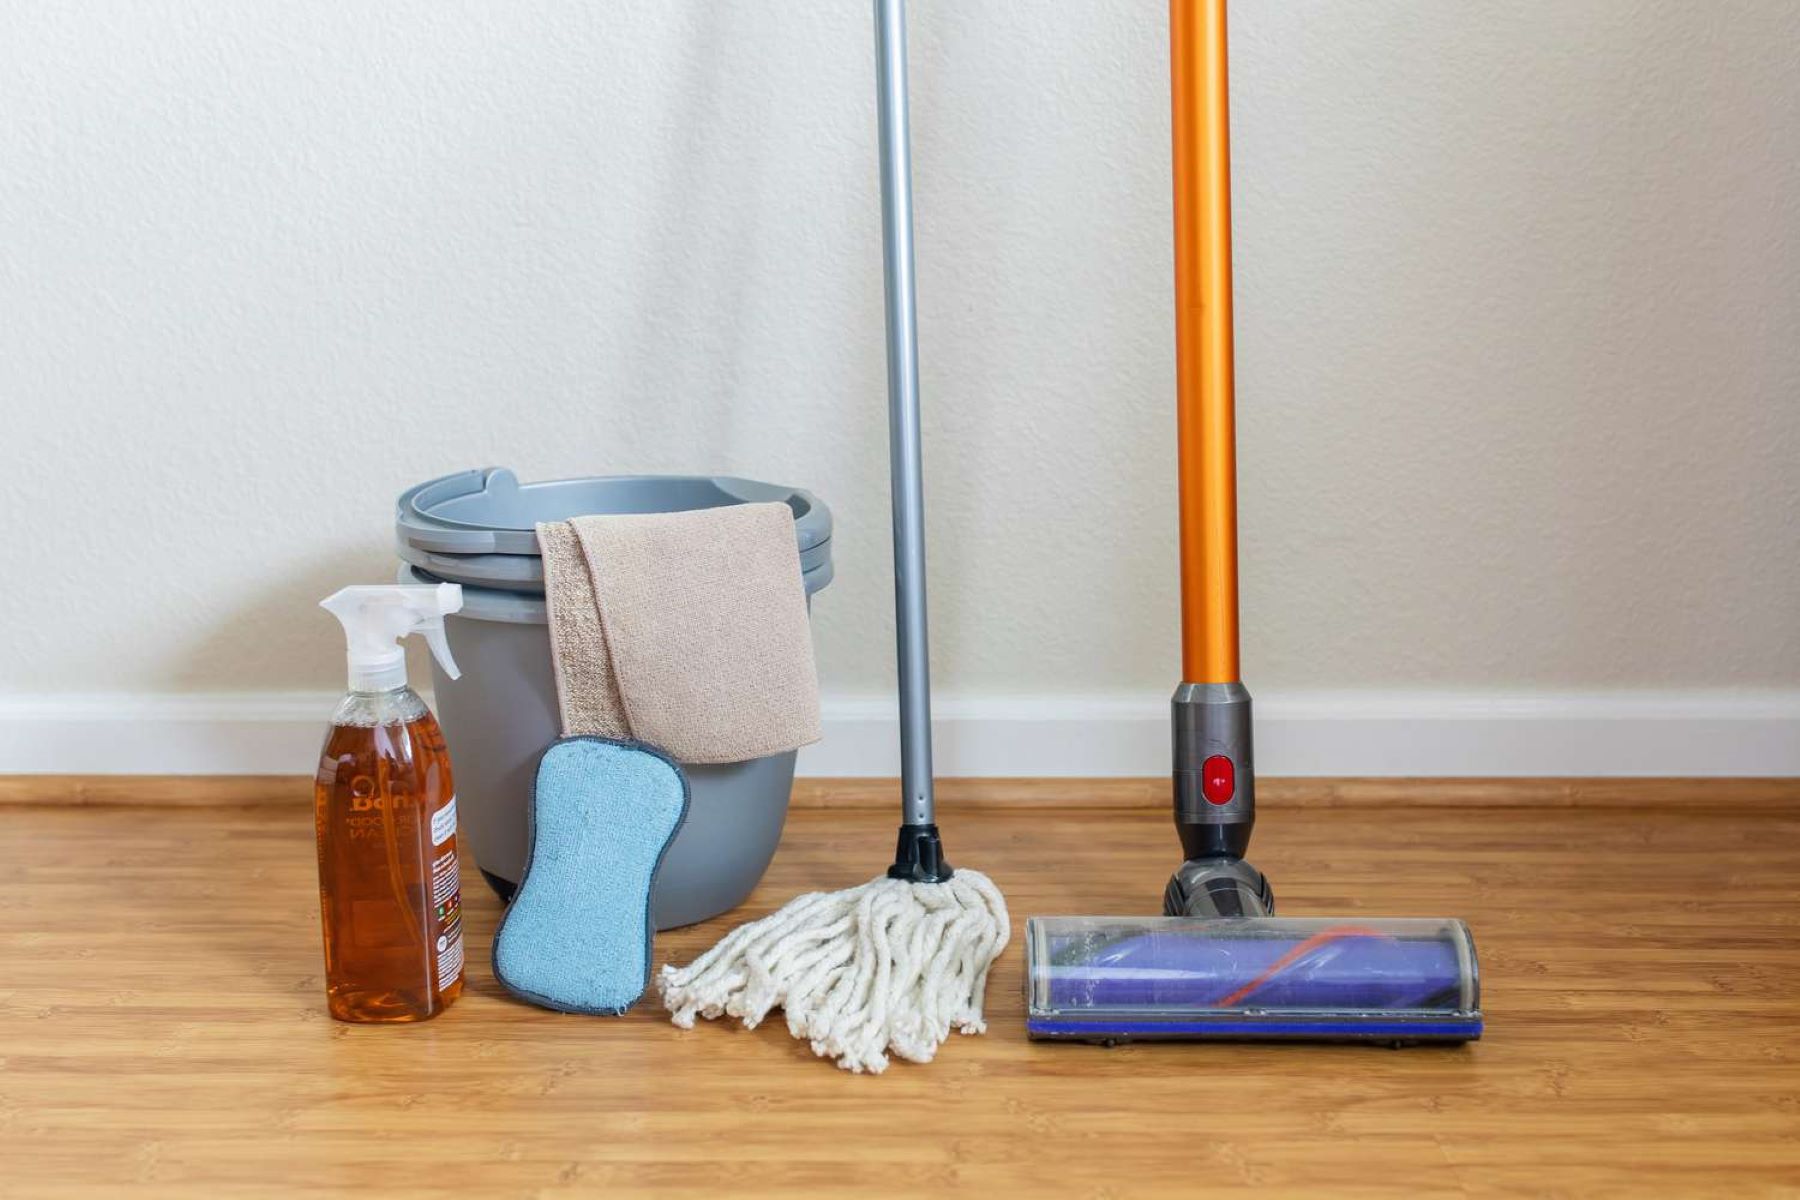
Proper storage of your mop is essential to maintain its cleanliness and prolong its lifespan. By implementing the following storage techniques, you can ensure that your mop remains in optimal condition between uses:
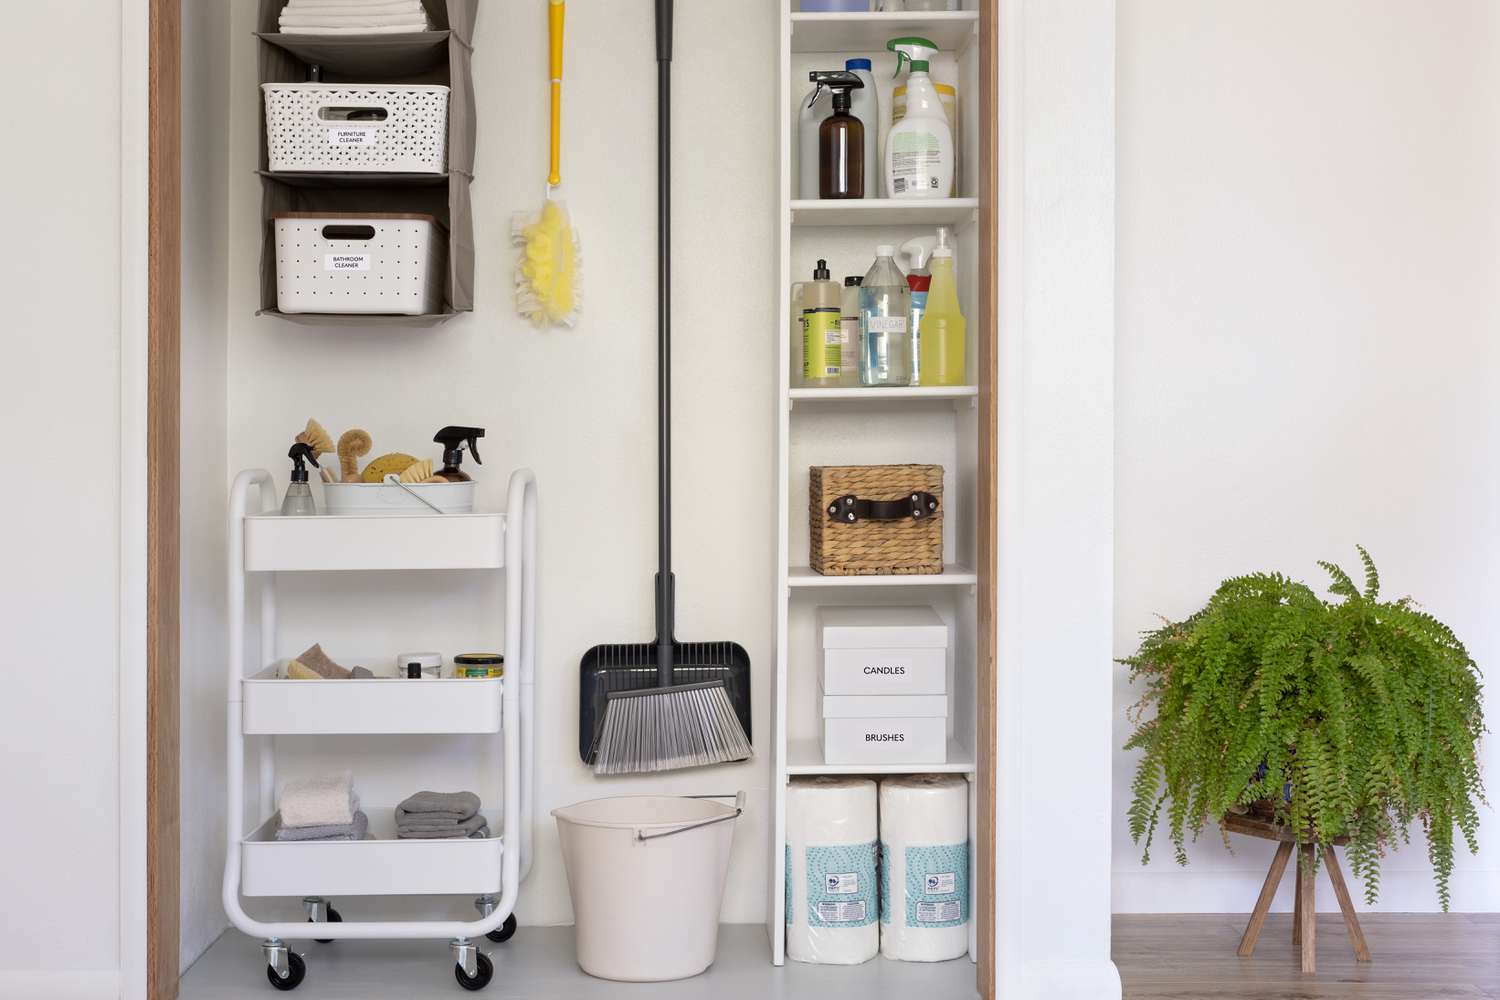
- Choose a Suitable Location: Select a storage location that is dry, well-ventilated, and away from direct sunlight. Ideally, the chosen spot should be free from excessive humidity, as damp conditions can promote the growth of mold and mildew on the mop.
- Hang the Mop: Utilize a mop holder, wall-mounted hooks, or a designated mop rack to hang the mop securely. Hanging the mop allows for proper air circulation around the entire mop head, preventing moisture buildup and maintaining cleanliness.
- Keep it Away from Contaminants: When storing the mop, ensure that it is kept away from potential contaminants such as cleaning chemicals, pet areas, or other soiled cleaning tools. This helps maintain the cleanliness of the mop between uses.
- Store in an Upright Position: If possible, store the mop in an upright position to prevent the mop head from coming into contact with the floor or other surfaces. This reduces the risk of picking up additional dirt or germs when not in use.
- Regularly Inspect and Clean the Storage Area: Periodically inspect the storage area for any signs of moisture, dirt, or pests. Keeping the storage area clean and well-maintained contributes to the overall cleanliness of the stored mop.
By following these storage practices, you can ensure that your mop remains clean, dry, and ready for use whenever the next cleaning task arises. Proper storage not only maintains the hygiene of the mop but also contributes to a more effective cleaning experience.
Conclusion
Storing your mop properly is a fundamental aspect of maintaining a clean and hygienic home environment. By following the essential steps outlined in this guide, you can ensure that your mop remains in optimal condition, ready to tackle dirt and grime effectively. From thorough cleaning and proper drying to strategic storage, each step plays a vital role in preserving the cleanliness and longevity of your mop.
Remember, a clean and dry mop not only enhances its performance but also contributes to a healthier living space for you and your family. By incorporating these storage practices into your cleaning routine, you can elevate the effectiveness of your mop and ensure that it continues to serve as a reliable cleaning companion for the long term.
So, the next time you complete a mopping task, take the extra time to clean, dry, and store your mop with care. Your diligence will be rewarded with a pristine mop ready for action whenever the need arises, ensuring that your floors remain sparkling clean with each use.
With these simple yet effective storage techniques, you can bid farewell to musty, ineffective mops and welcome a consistently efficient and reliable cleaning tool into your home.
Frequently Asked Questions about How To Store A Mop
Was this page helpful?
At Storables.com, we guarantee accurate and reliable information. Our content, validated by Expert Board Contributors, is crafted following stringent Editorial Policies. We're committed to providing you with well-researched, expert-backed insights for all your informational needs.

0 thoughts on “How To Store A Mop”