Home>Home Appliances>Cleaning Appliances>How To Fix Shark Steam Mop

Cleaning Appliances
How To Fix Shark Steam Mop
Modified: January 4, 2024
Learn how to fix your Shark steam mop with our expert tips and troubleshooting guide. Keep your cleaning appliances in top condition for sparkling clean floors.
(Many of the links in this article redirect to a specific reviewed product. Your purchase of these products through affiliate links helps to generate commission for Storables.com, at no extra cost. Learn more)
Introduction
Welcome to the world of efficient and eco-friendly cleaning with the Shark Steam Mop. This revolutionary cleaning appliance harnesses the power of steam to sanitize and refresh your floors without the need for harsh chemicals. Whether you're tackling hardwood, tile, laminate, or vinyl, the Shark Steam Mop is designed to deliver exceptional results while promoting a healthier living environment for you and your loved ones.
In this comprehensive guide, we'll delve into the ins and outs of the Shark Steam Mop, exploring its functionality, common issues that users may encounter, troubleshooting steps, as well as essential cleaning and maintenance tips to keep your appliance in prime condition. By the end of this journey, you'll be equipped with the knowledge and expertise to ensure that your Shark Steam Mop continues to be a reliable and effective companion in your cleaning arsenal.
So, let's embark on this enlightening exploration of the Shark Steam Mop, uncovering the secrets to its optimal performance and longevity. Whether you're a seasoned user or a newcomer to the world of steam mopping, this guide is tailored to enhance your understanding and proficiency in maintaining a pristine living space with the help of this innovative appliance. Let's dive in and discover the wonders of the Shark Steam Mop together!
Key Takeaways:
- Embrace the power of steam with the Shark Steam Mop for eco-friendly and effective floor cleaning without harsh chemicals. Troubleshoot common issues and maintain the appliance for long-lasting performance and a healthier living space.
- Keep your Shark Steam Mop in prime condition by addressing common issues like inadequate steam production and water leakage. Regular cleaning and maintenance practices ensure optimal performance and a reliable cleaning companion.
Read more: Shark’s Steam Mop Is On Sale On Amazon
Understanding the Shark Steam Mop
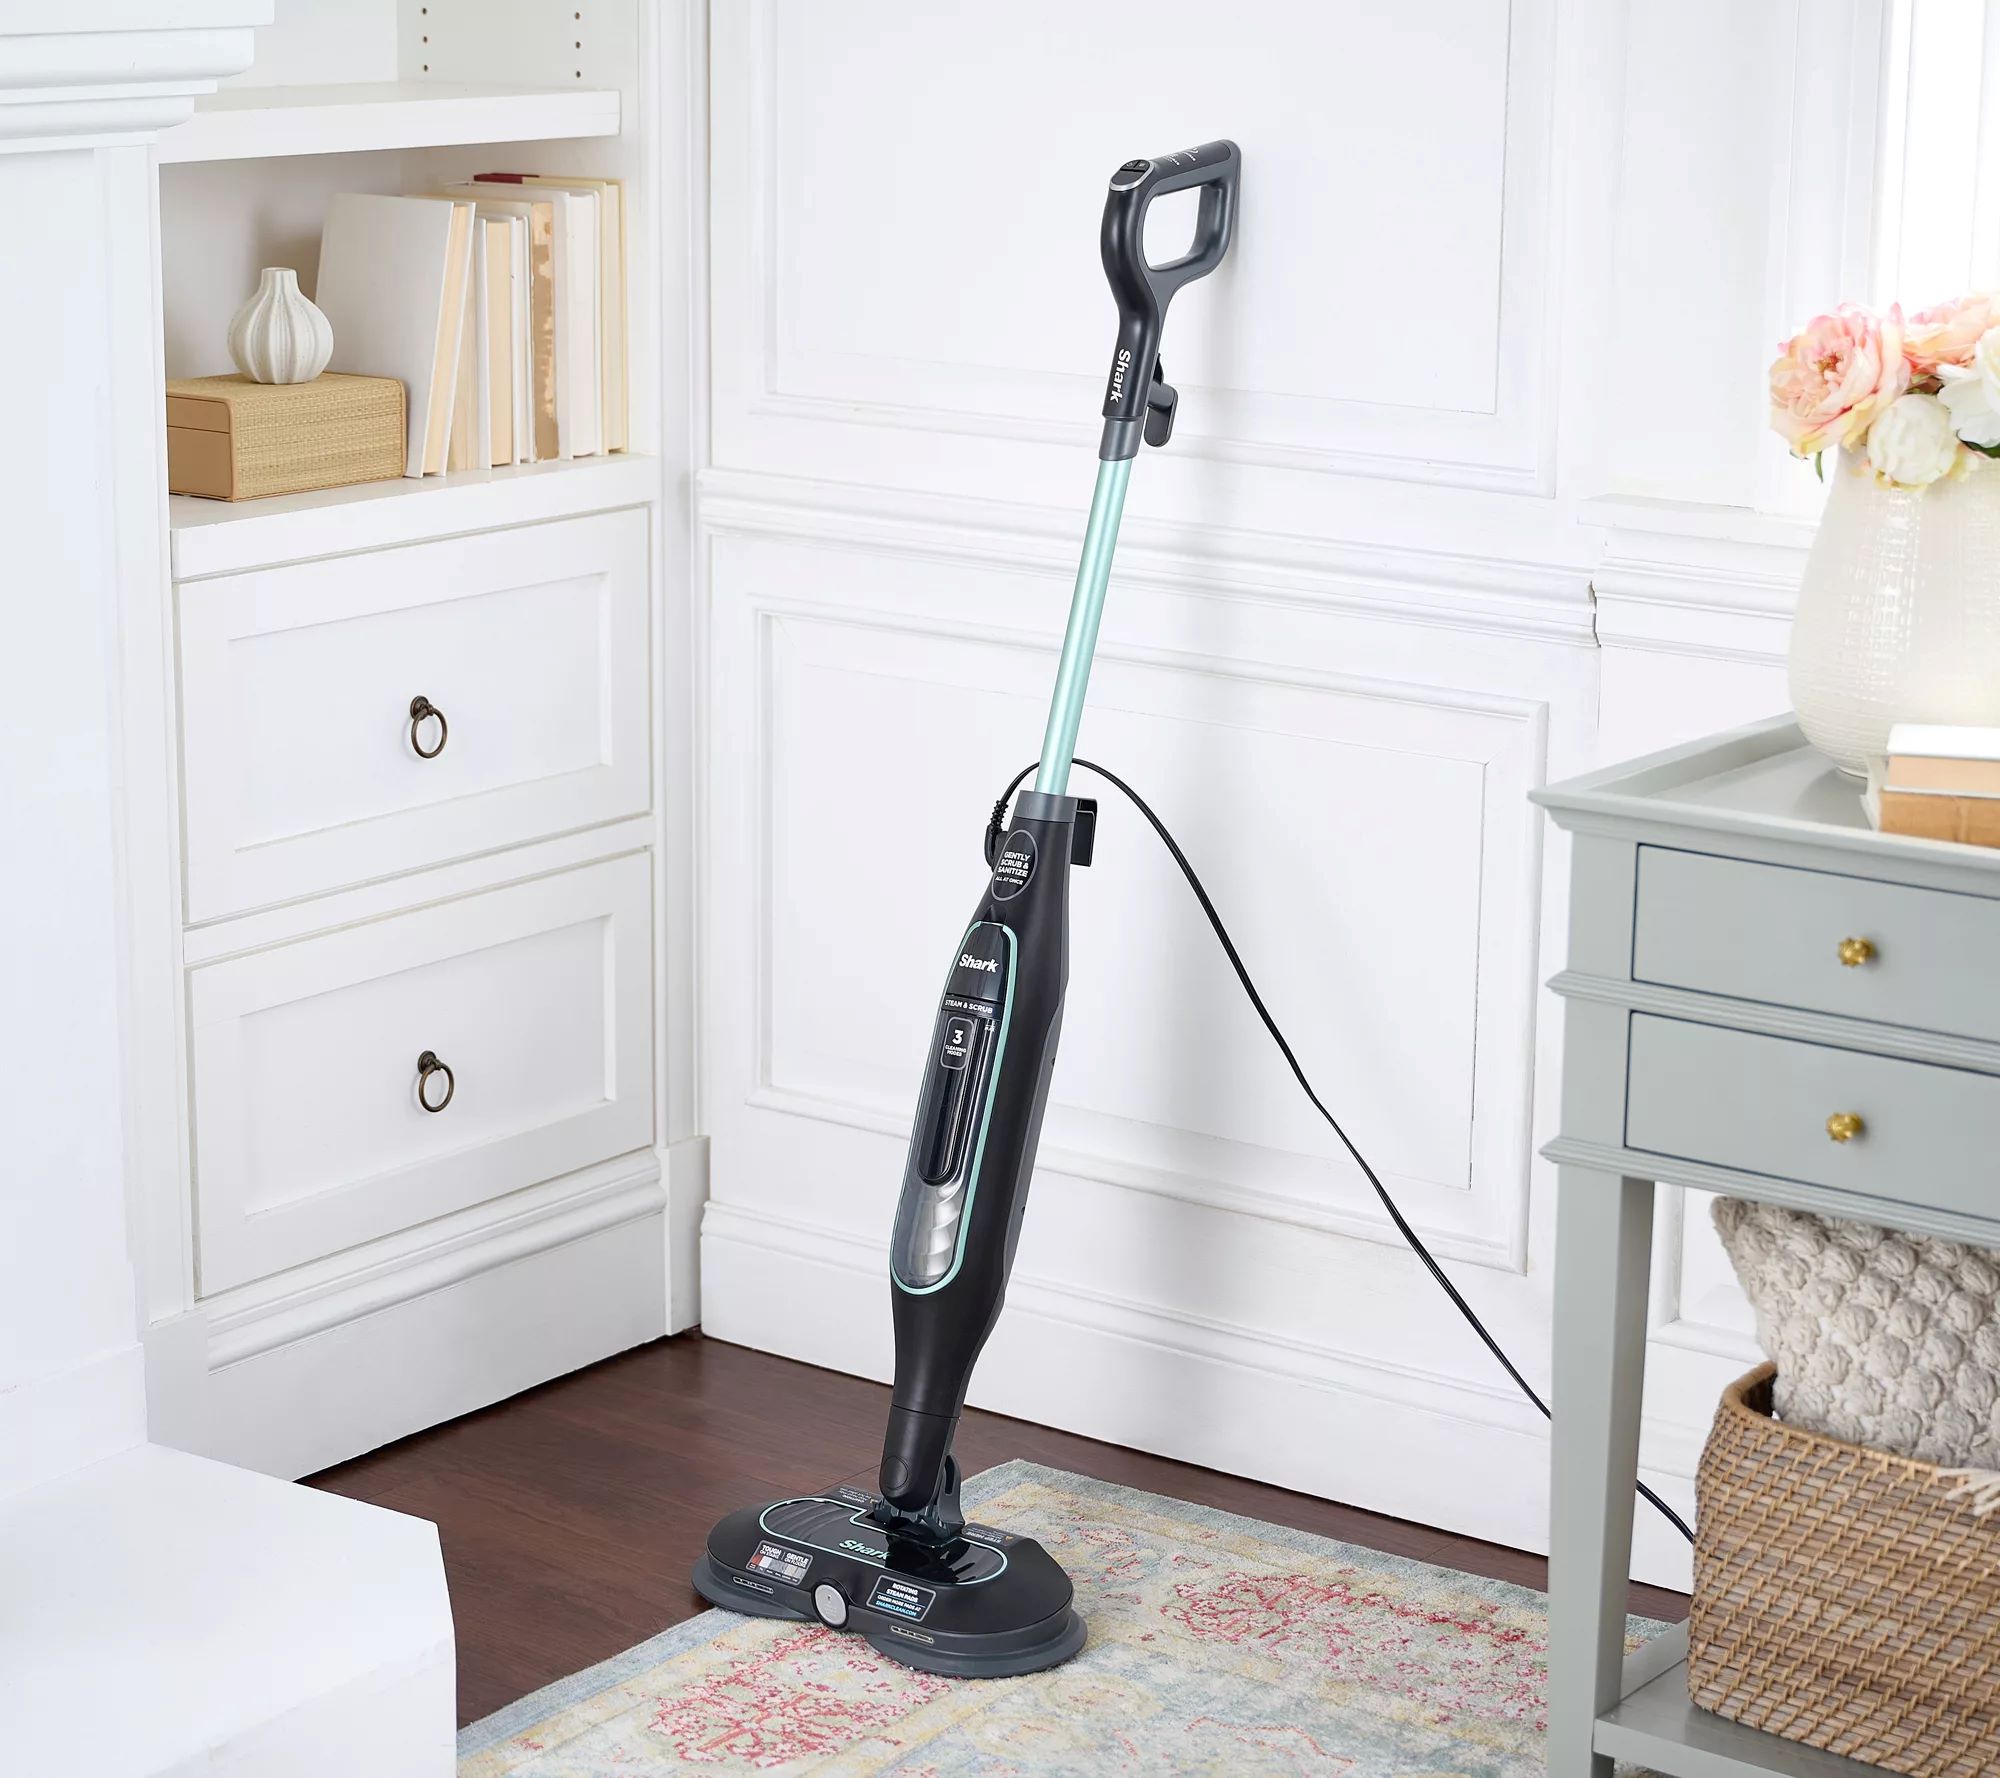
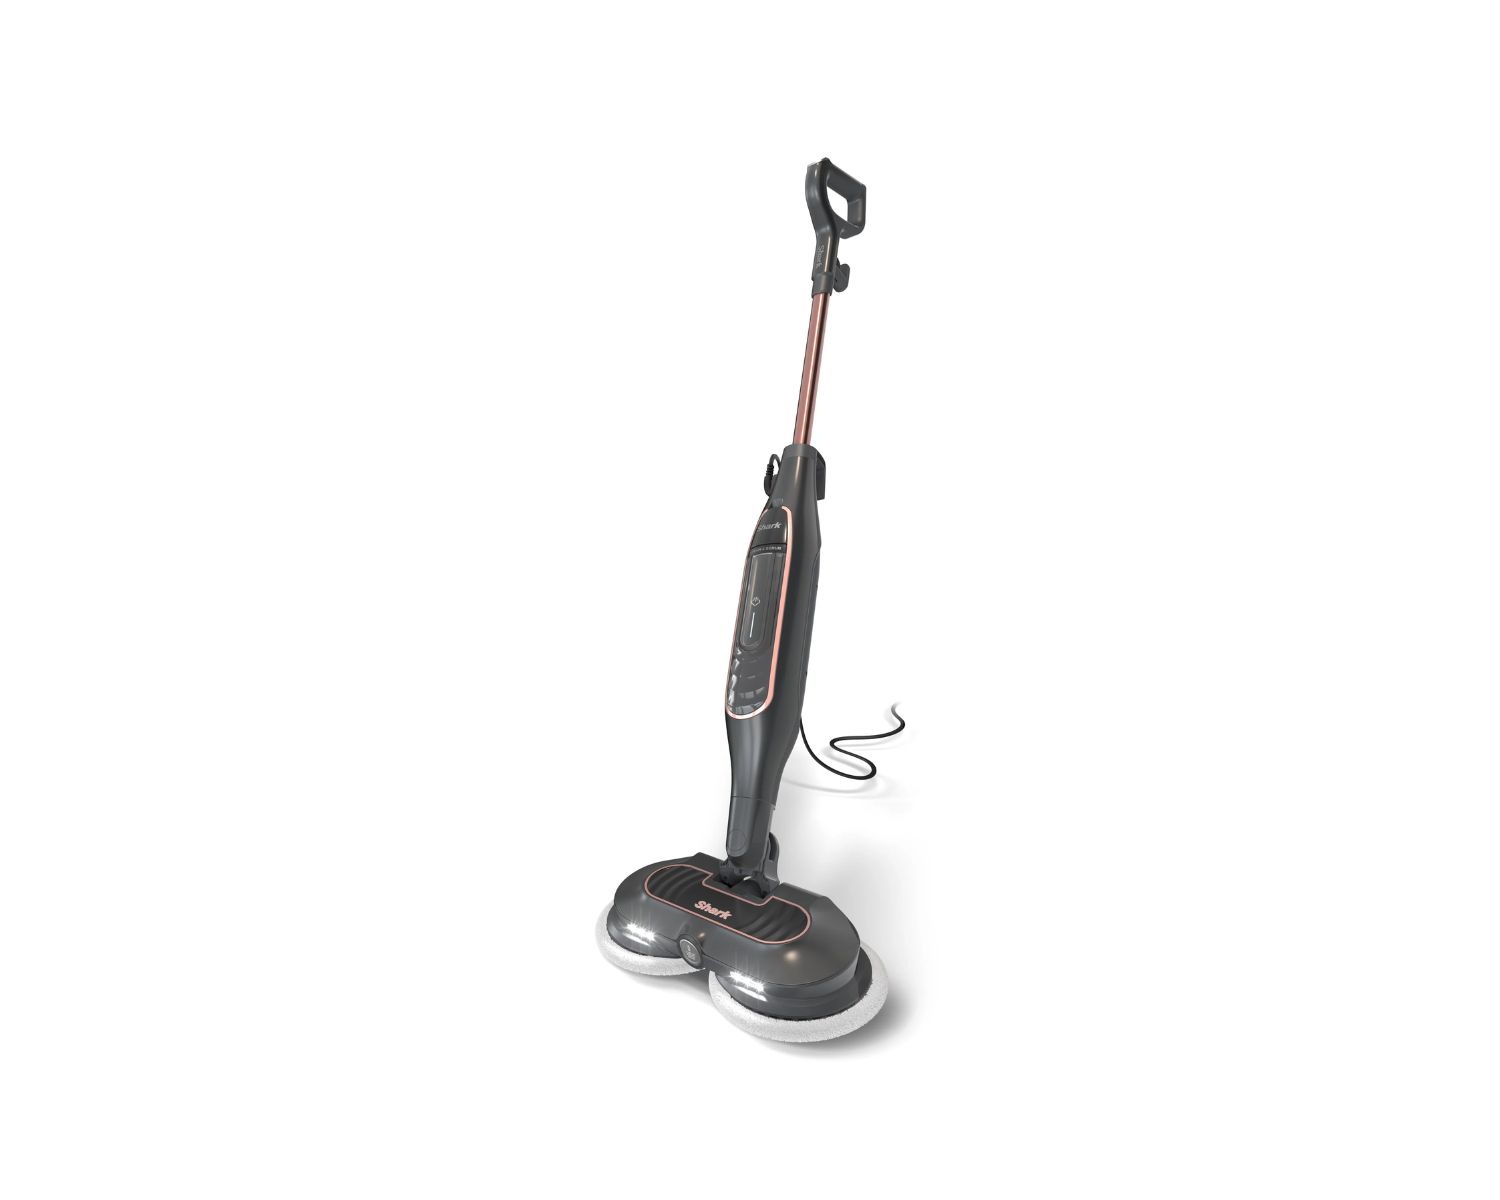
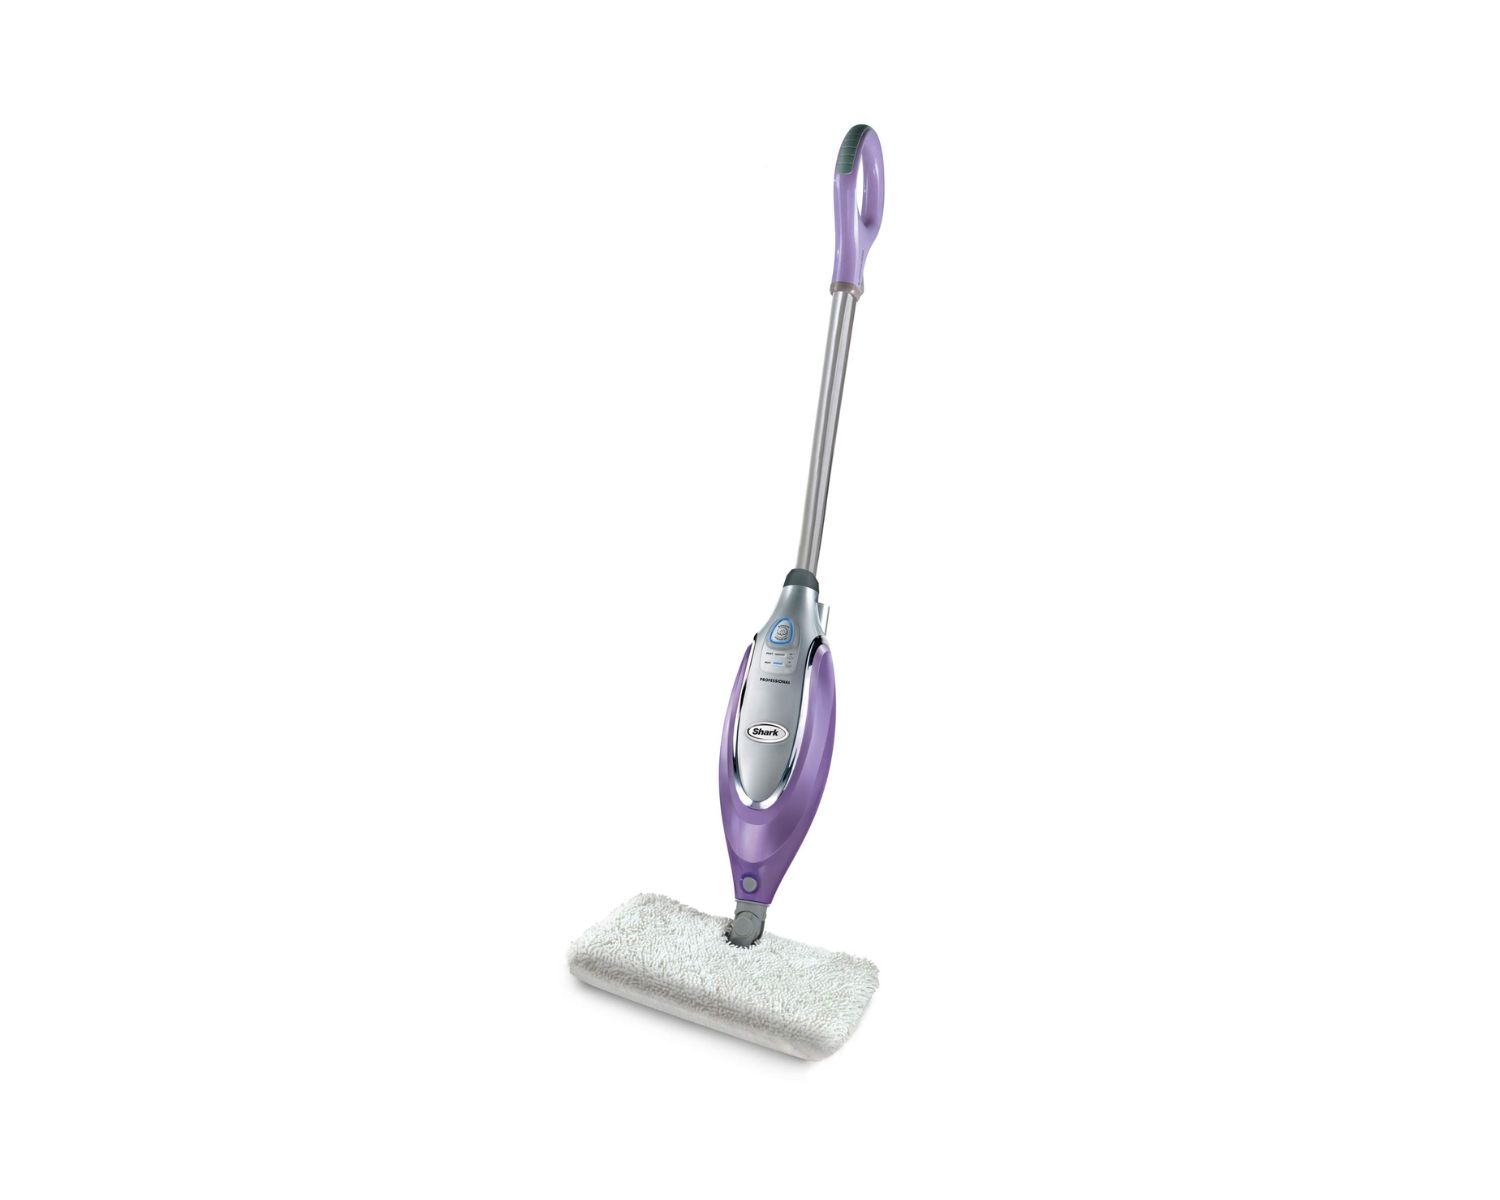
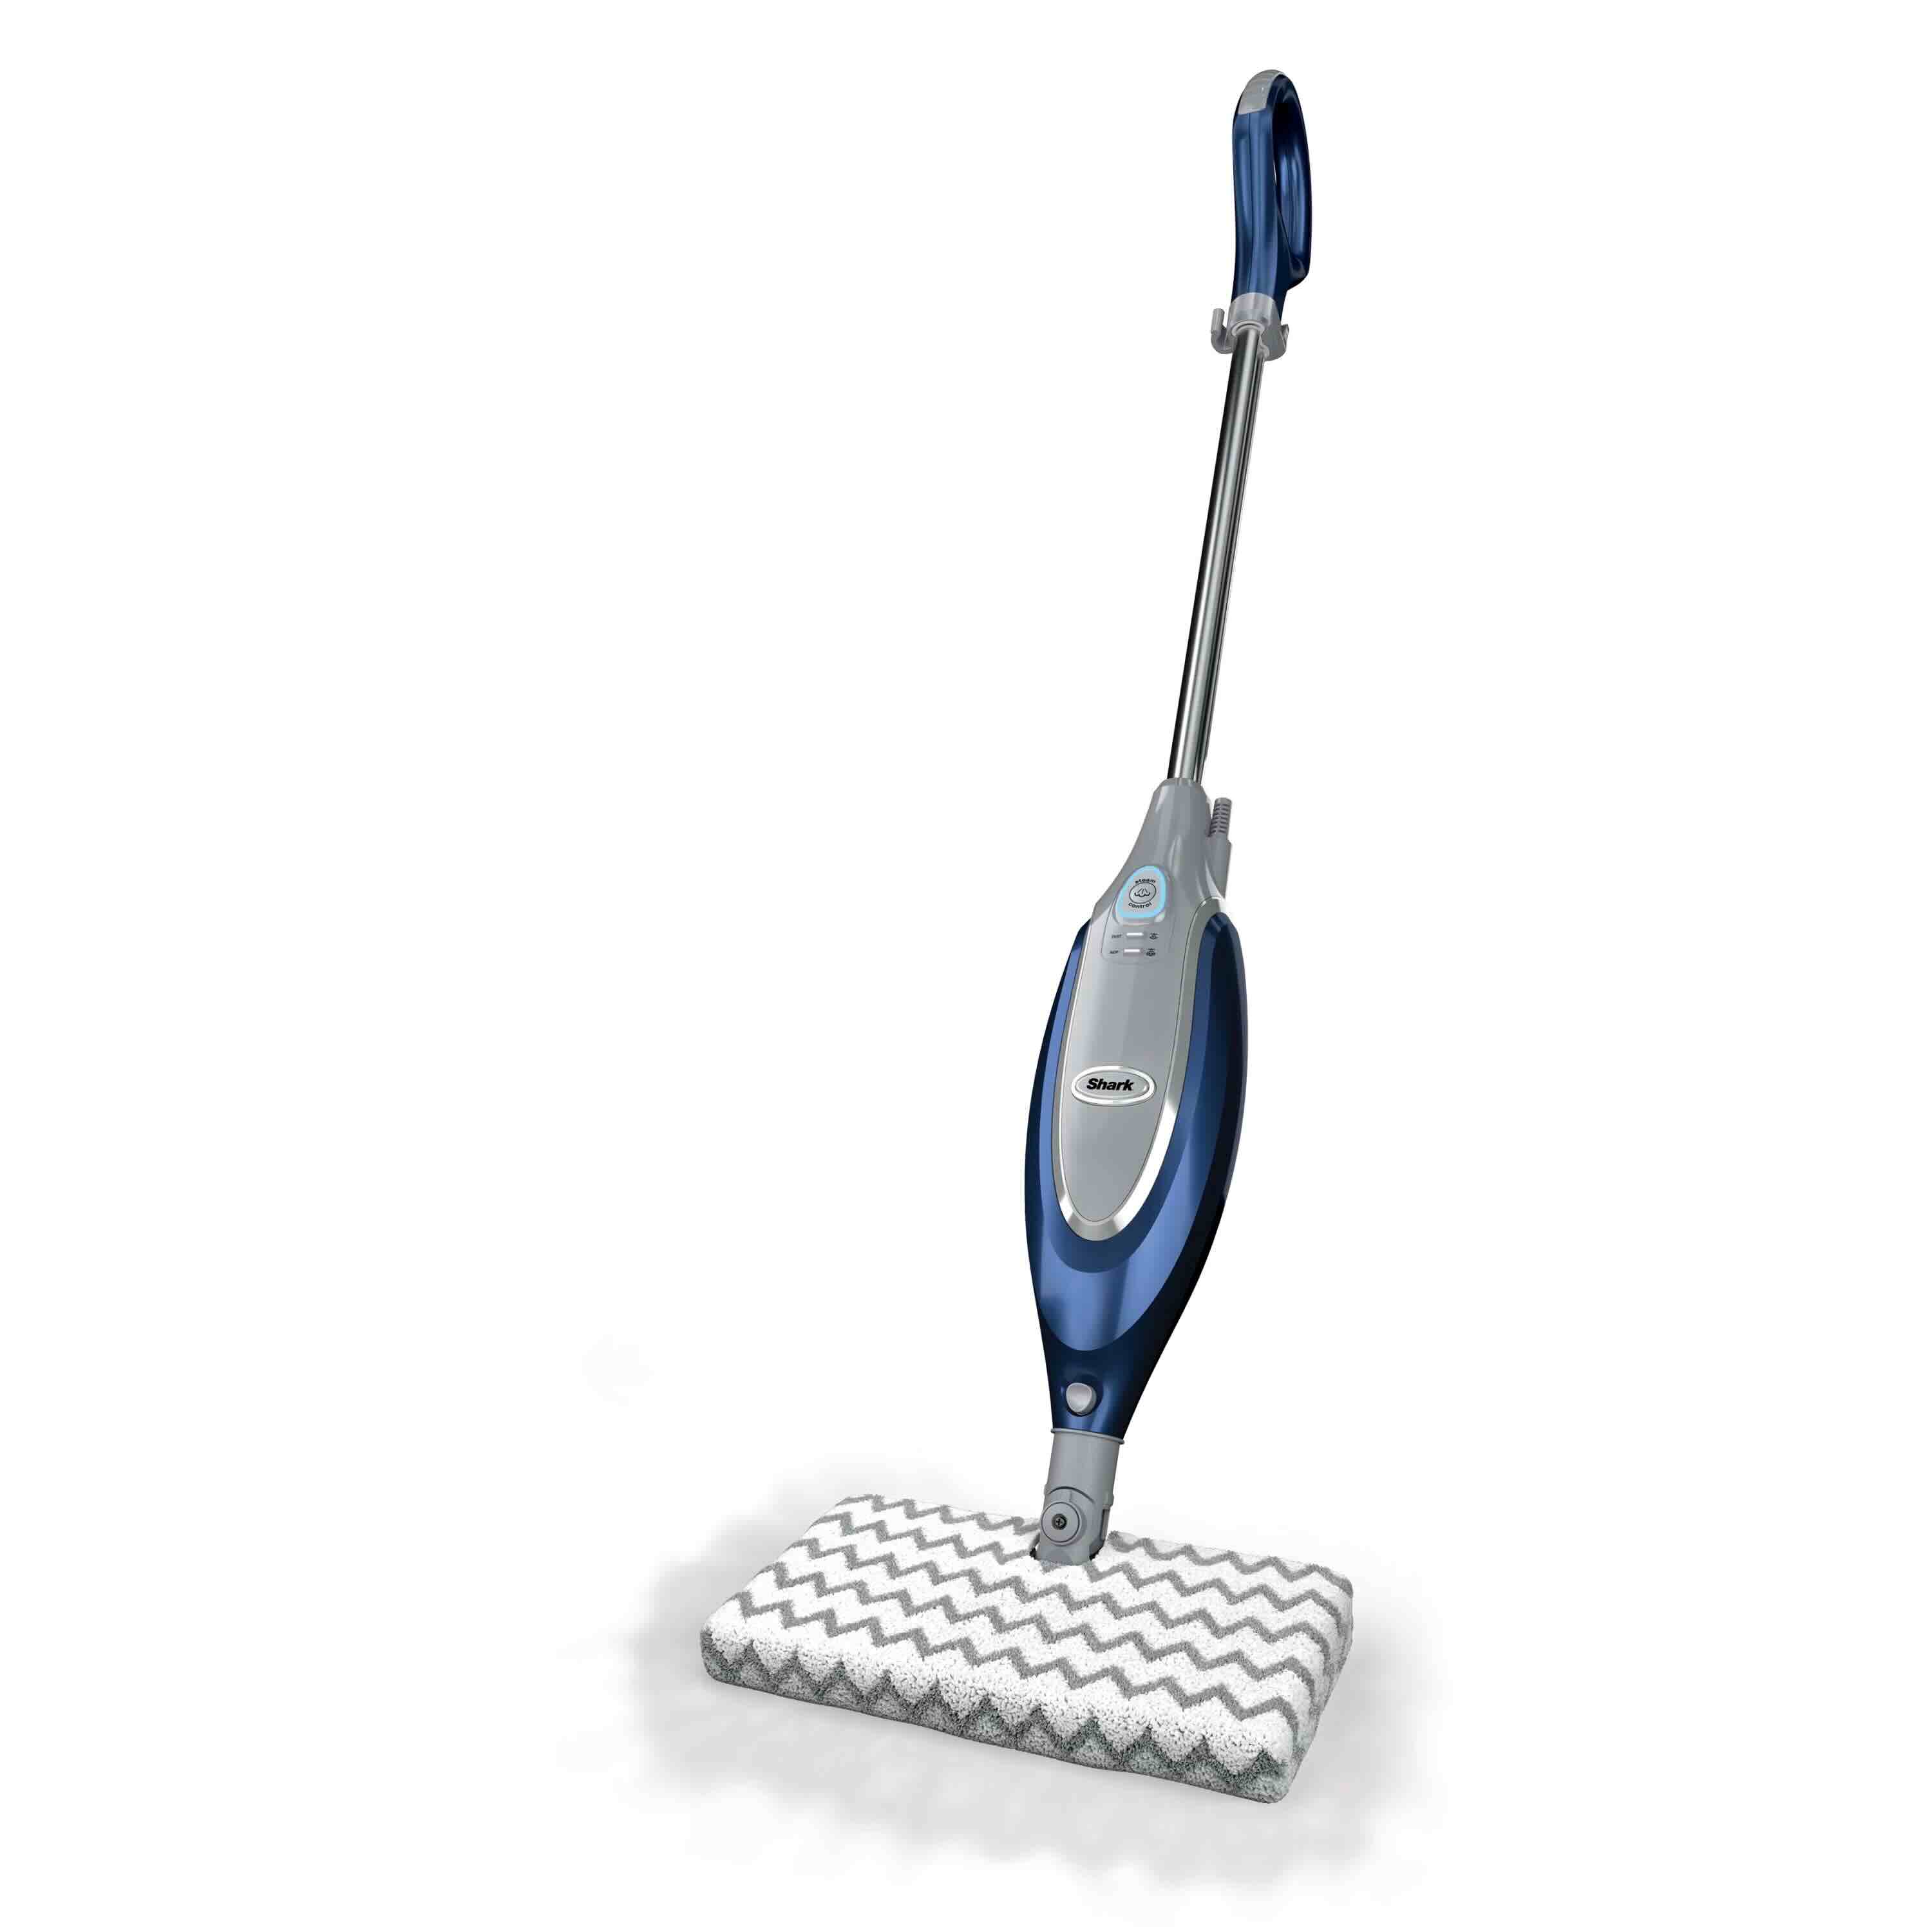
The Shark Steam Mop is a cutting-edge cleaning device that harnesses the natural cleaning power of steam to effectively sanitize and deodorize various types of flooring surfaces. With its sleek and ergonomic design, this innovative appliance is engineered to simplify the often labor-intensive task of mopping, offering a convenient and eco-friendly solution for maintaining spotless floors.
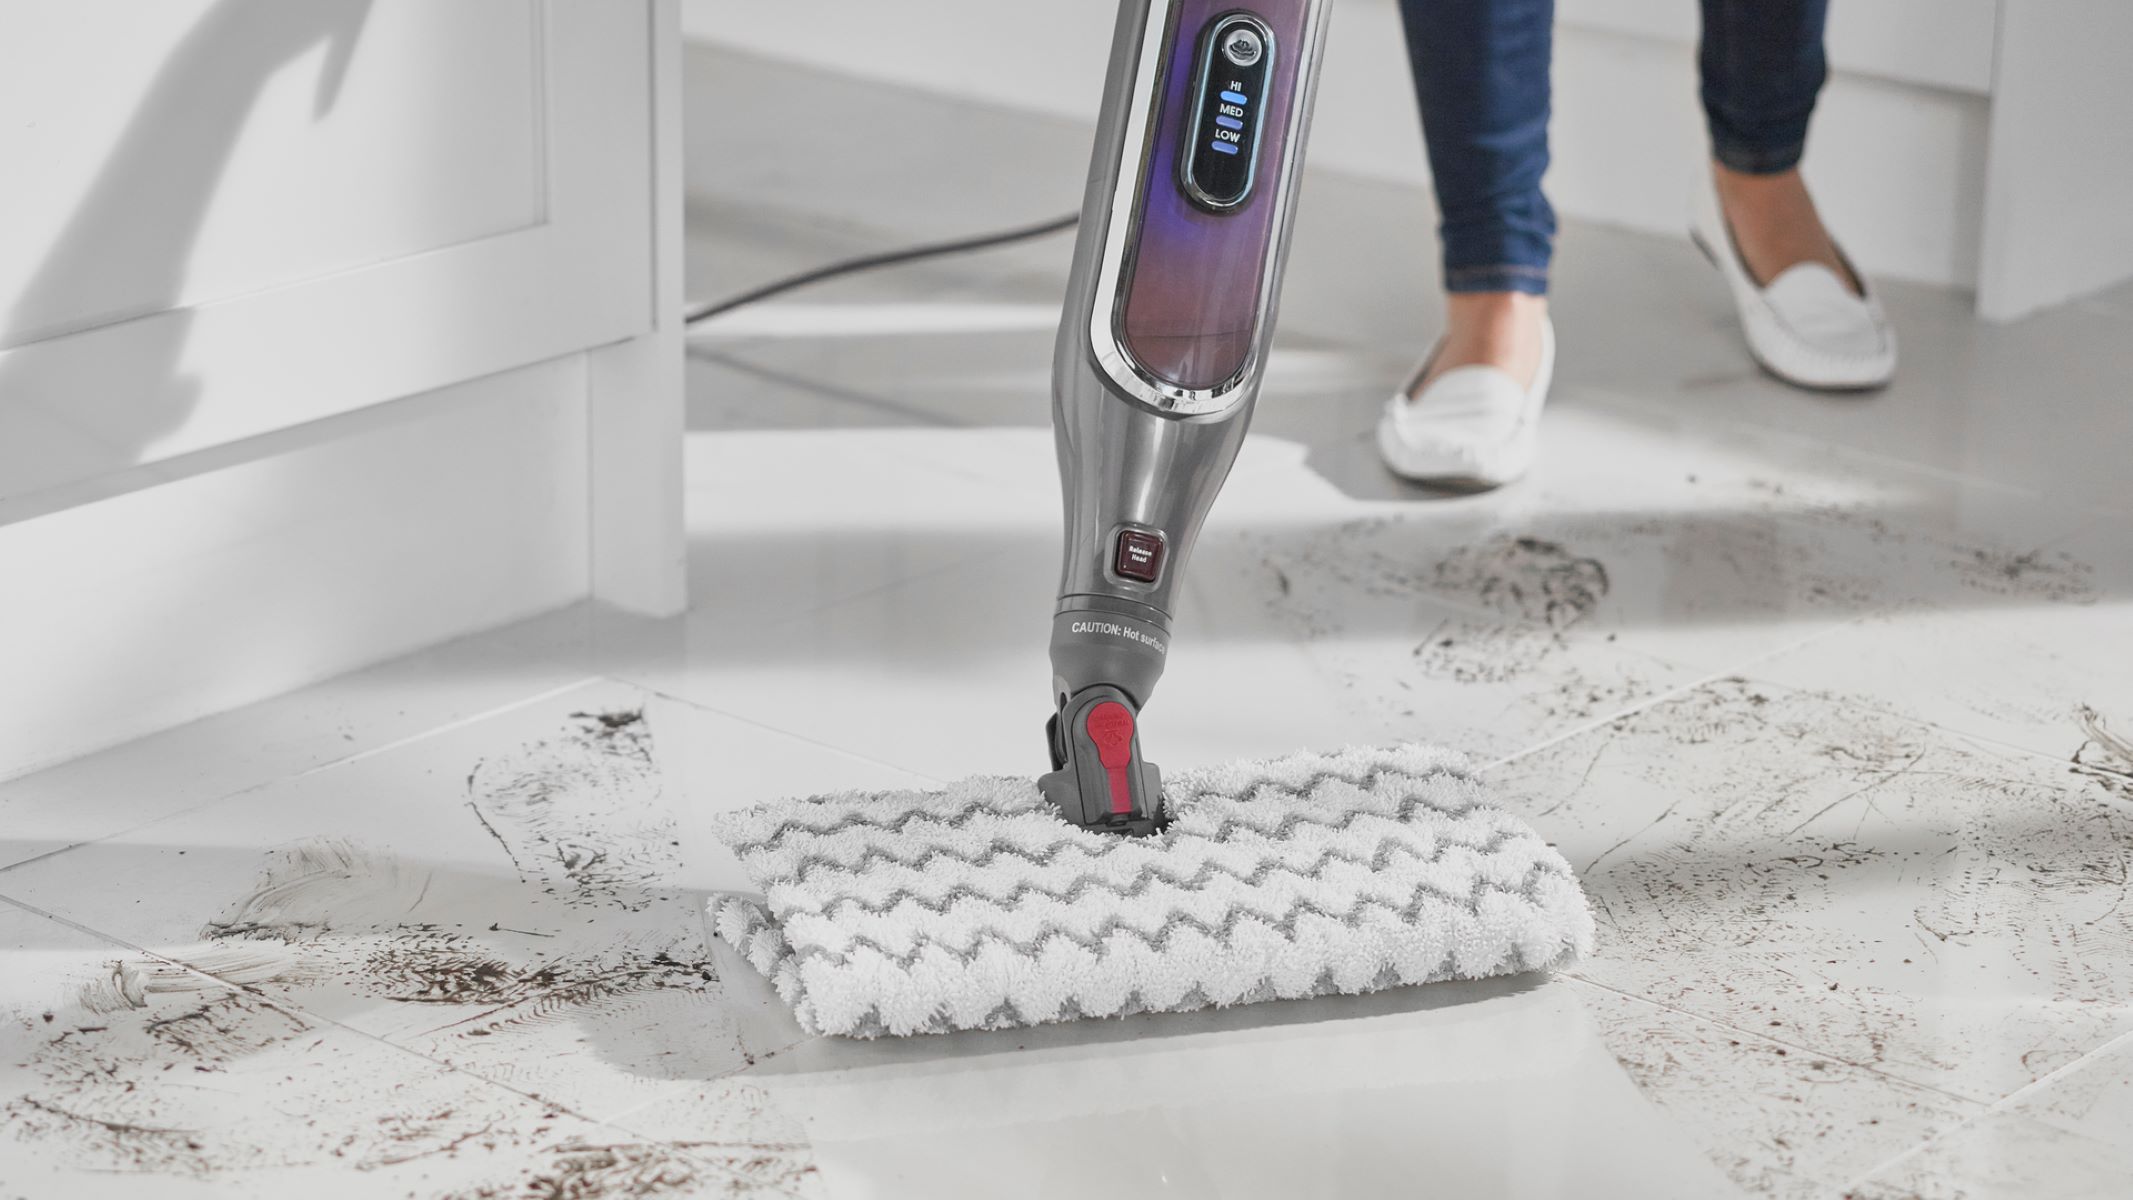
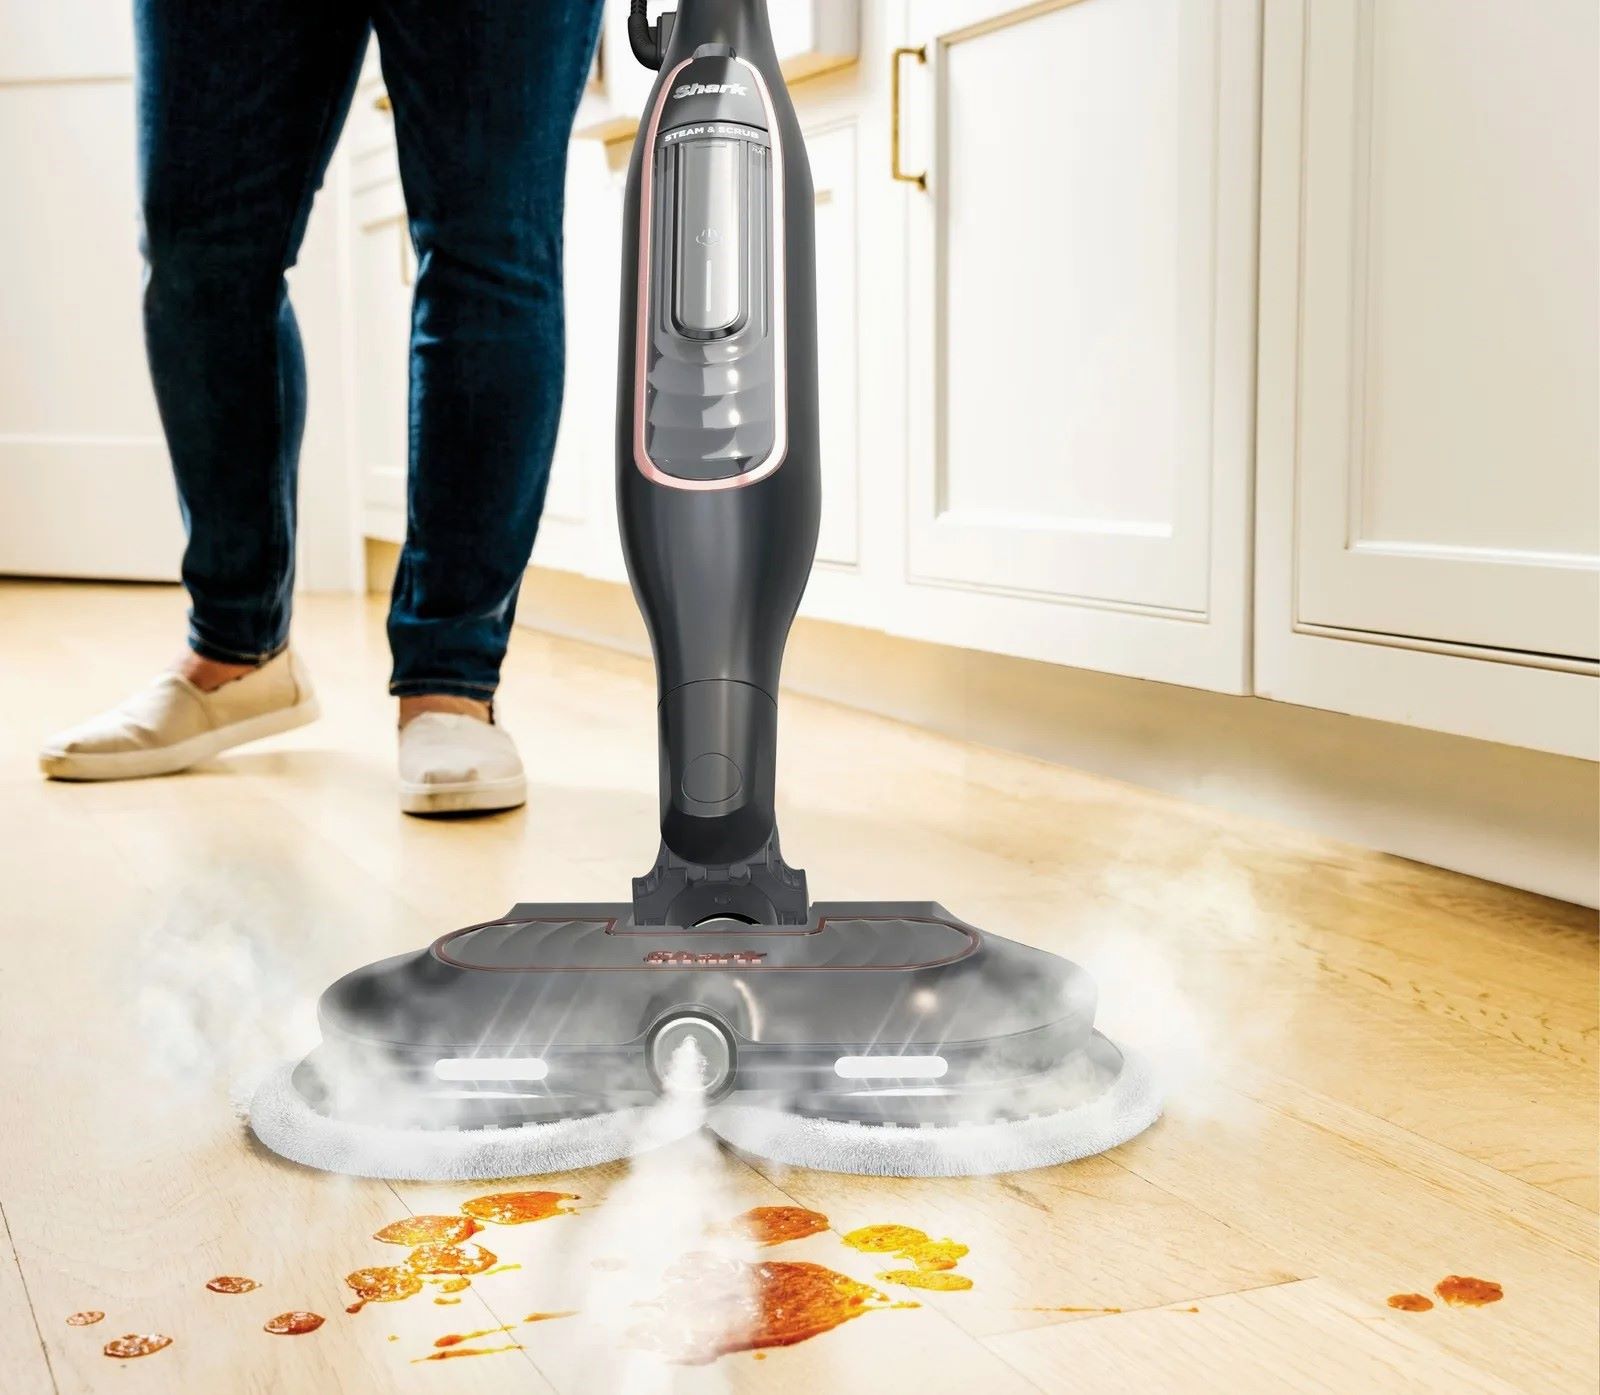
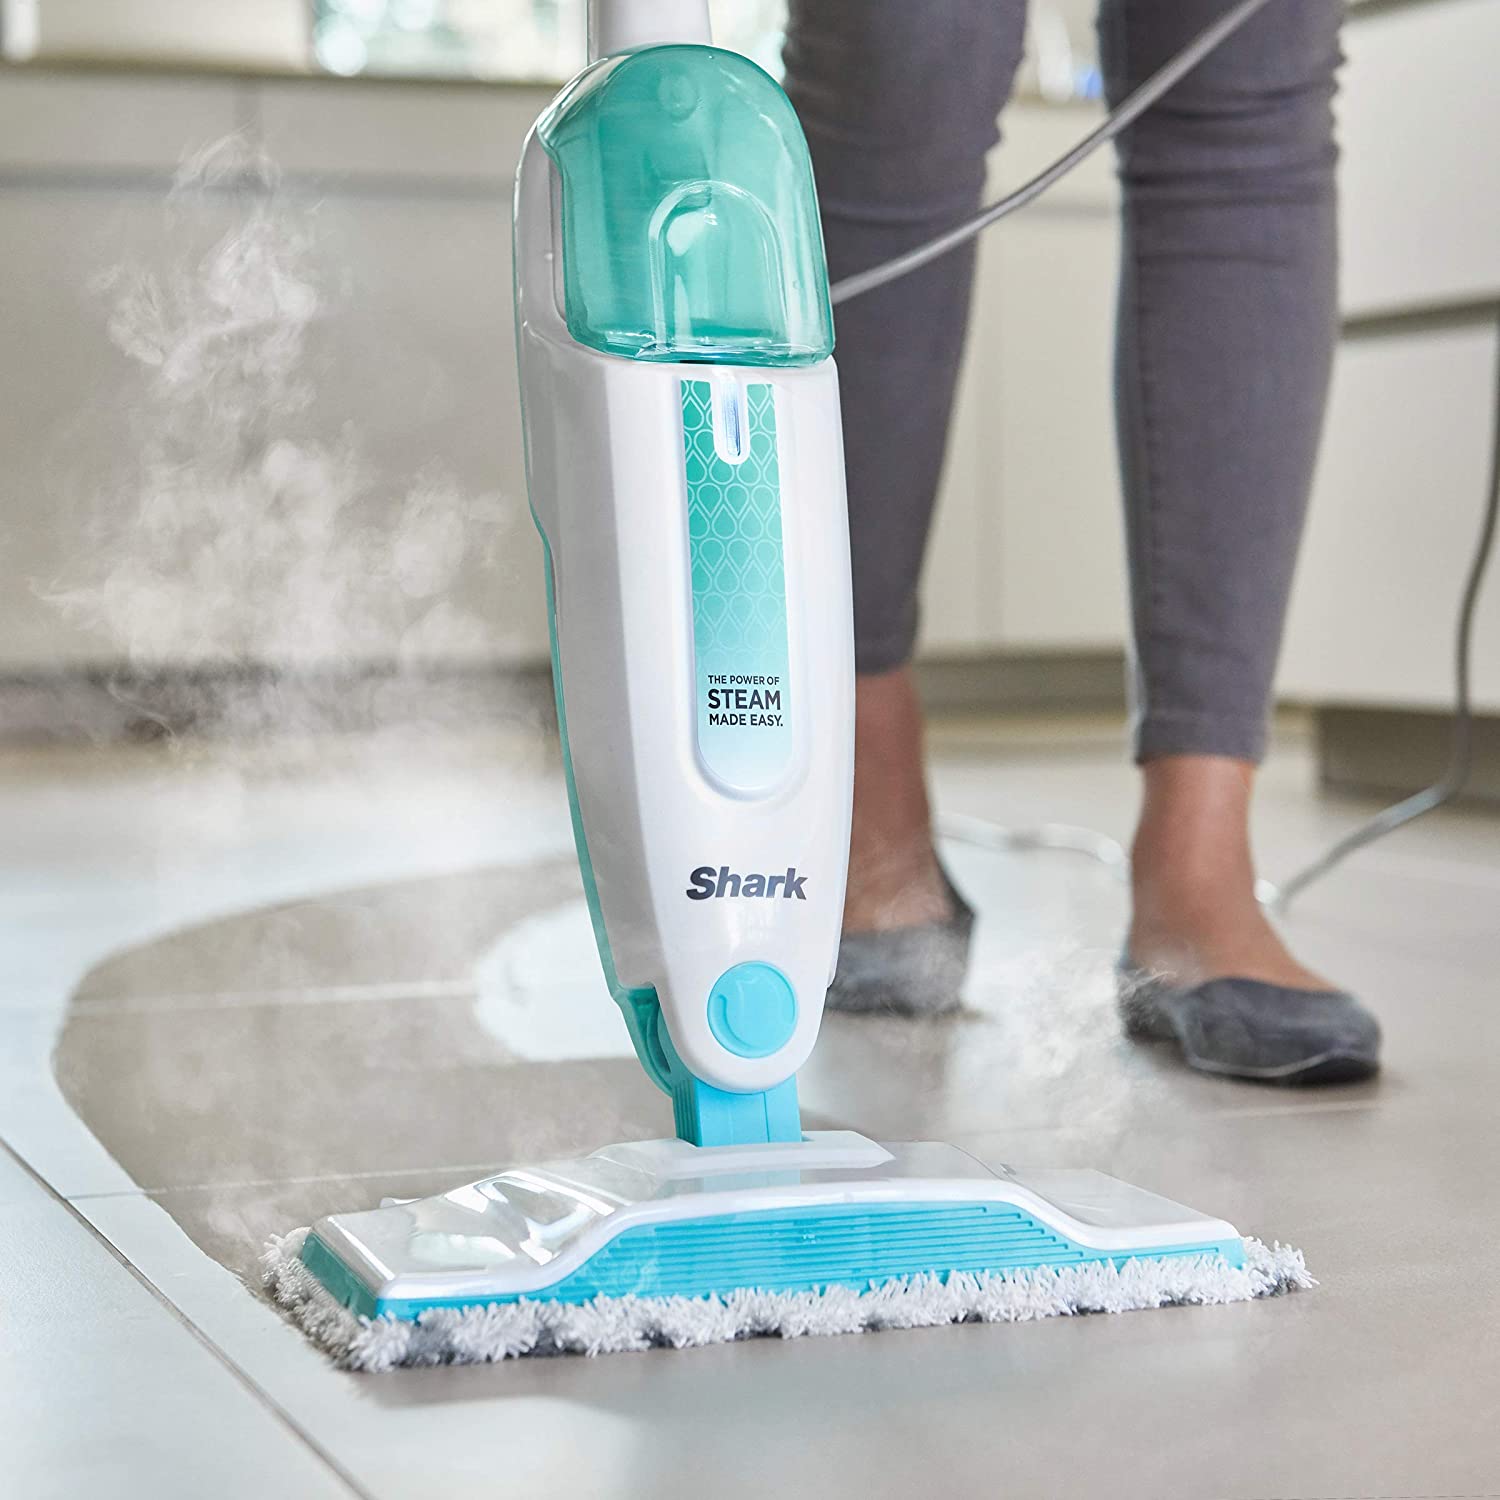
Equipped with a water tank and a heating element, the Shark Steam Mop efficiently converts water into steam, which is then dispensed onto the floor through a microfiber pad. The high temperature of the steam not only loosens and lifts stubborn dirt and grime but also eliminates harmful germs and bacteria, providing a thorough and hygienic clean without the need for chemical-laden cleaning agents.
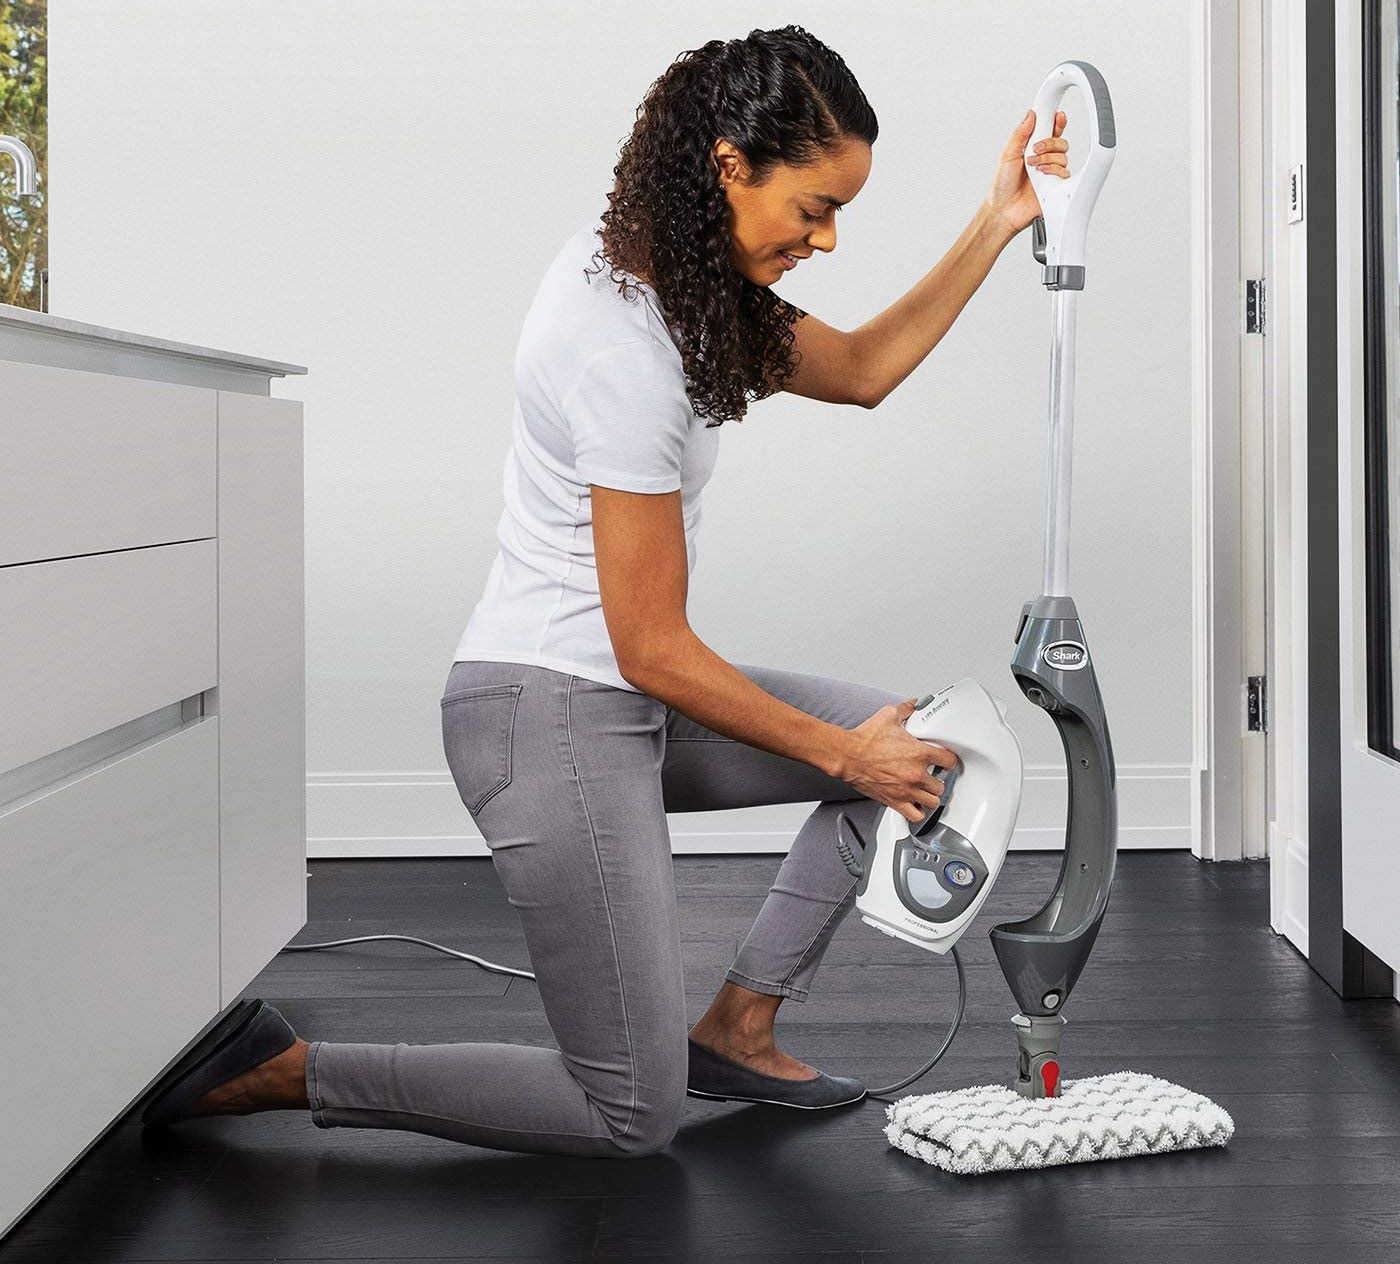
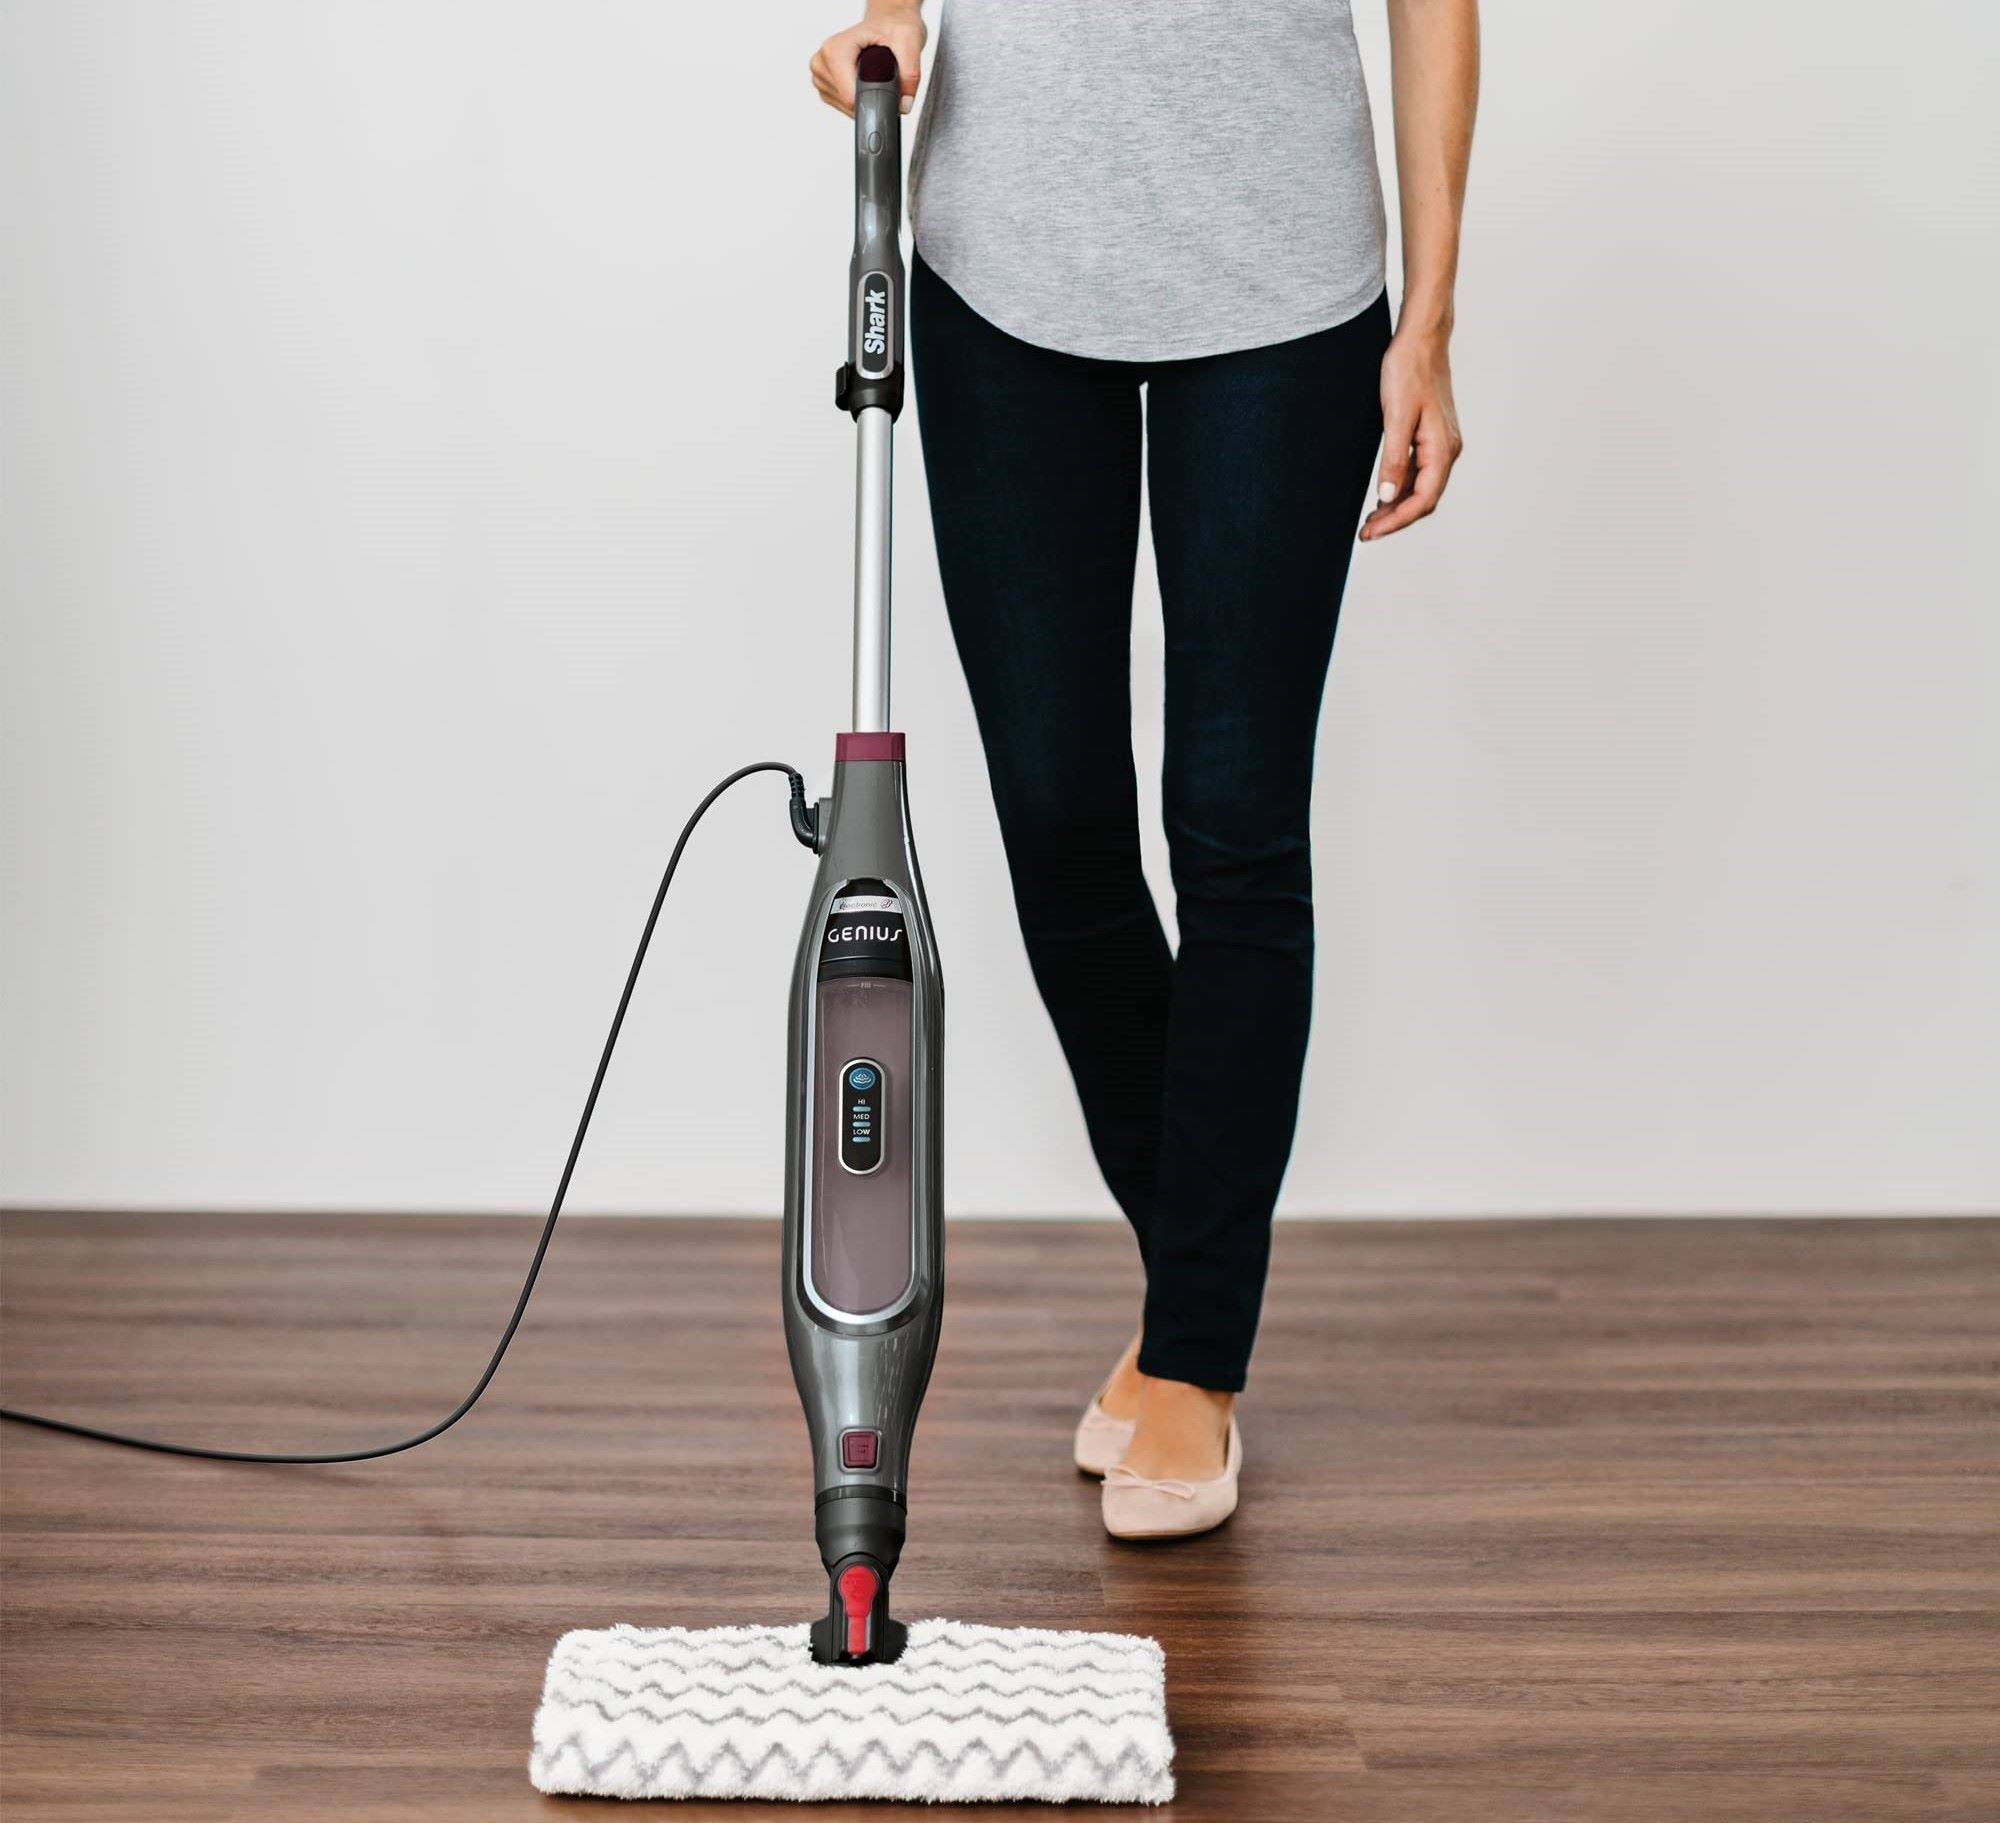
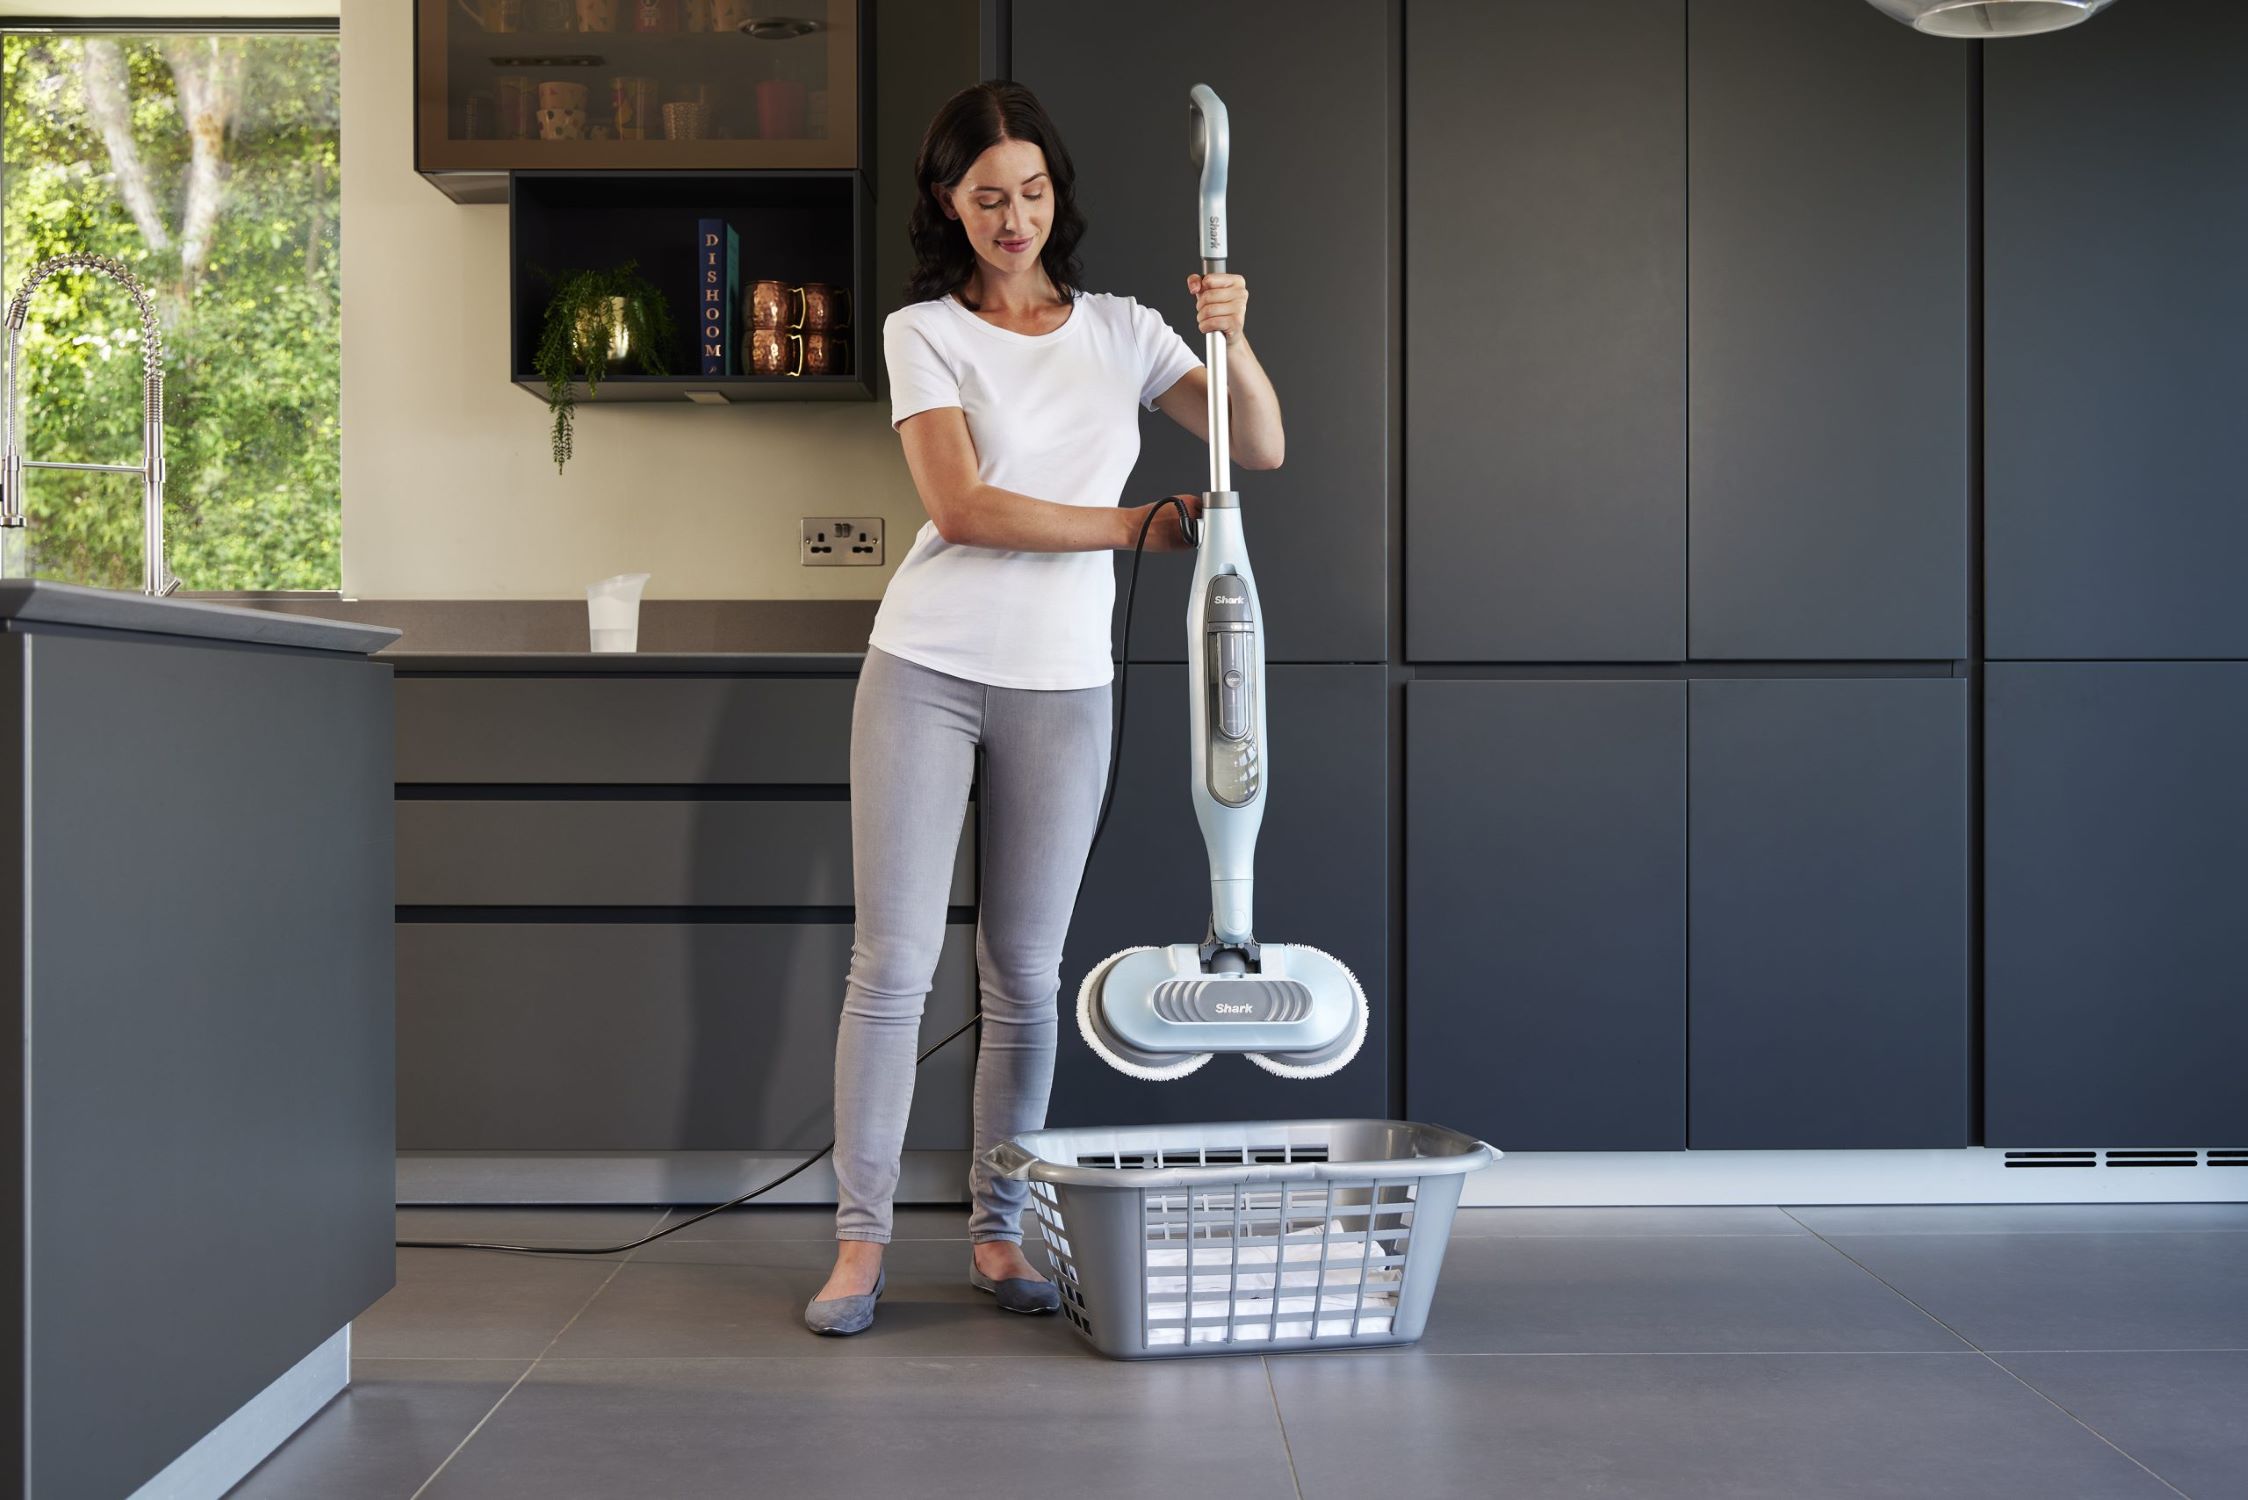
One of the key features of the Shark Steam Mop is its quick heat-up time, allowing users to start cleaning within seconds of filling the water tank. Additionally, the swivel steering mechanism enables effortless maneuverability, ensuring that every nook and cranny of your floors can be effectively cleansed with ease.
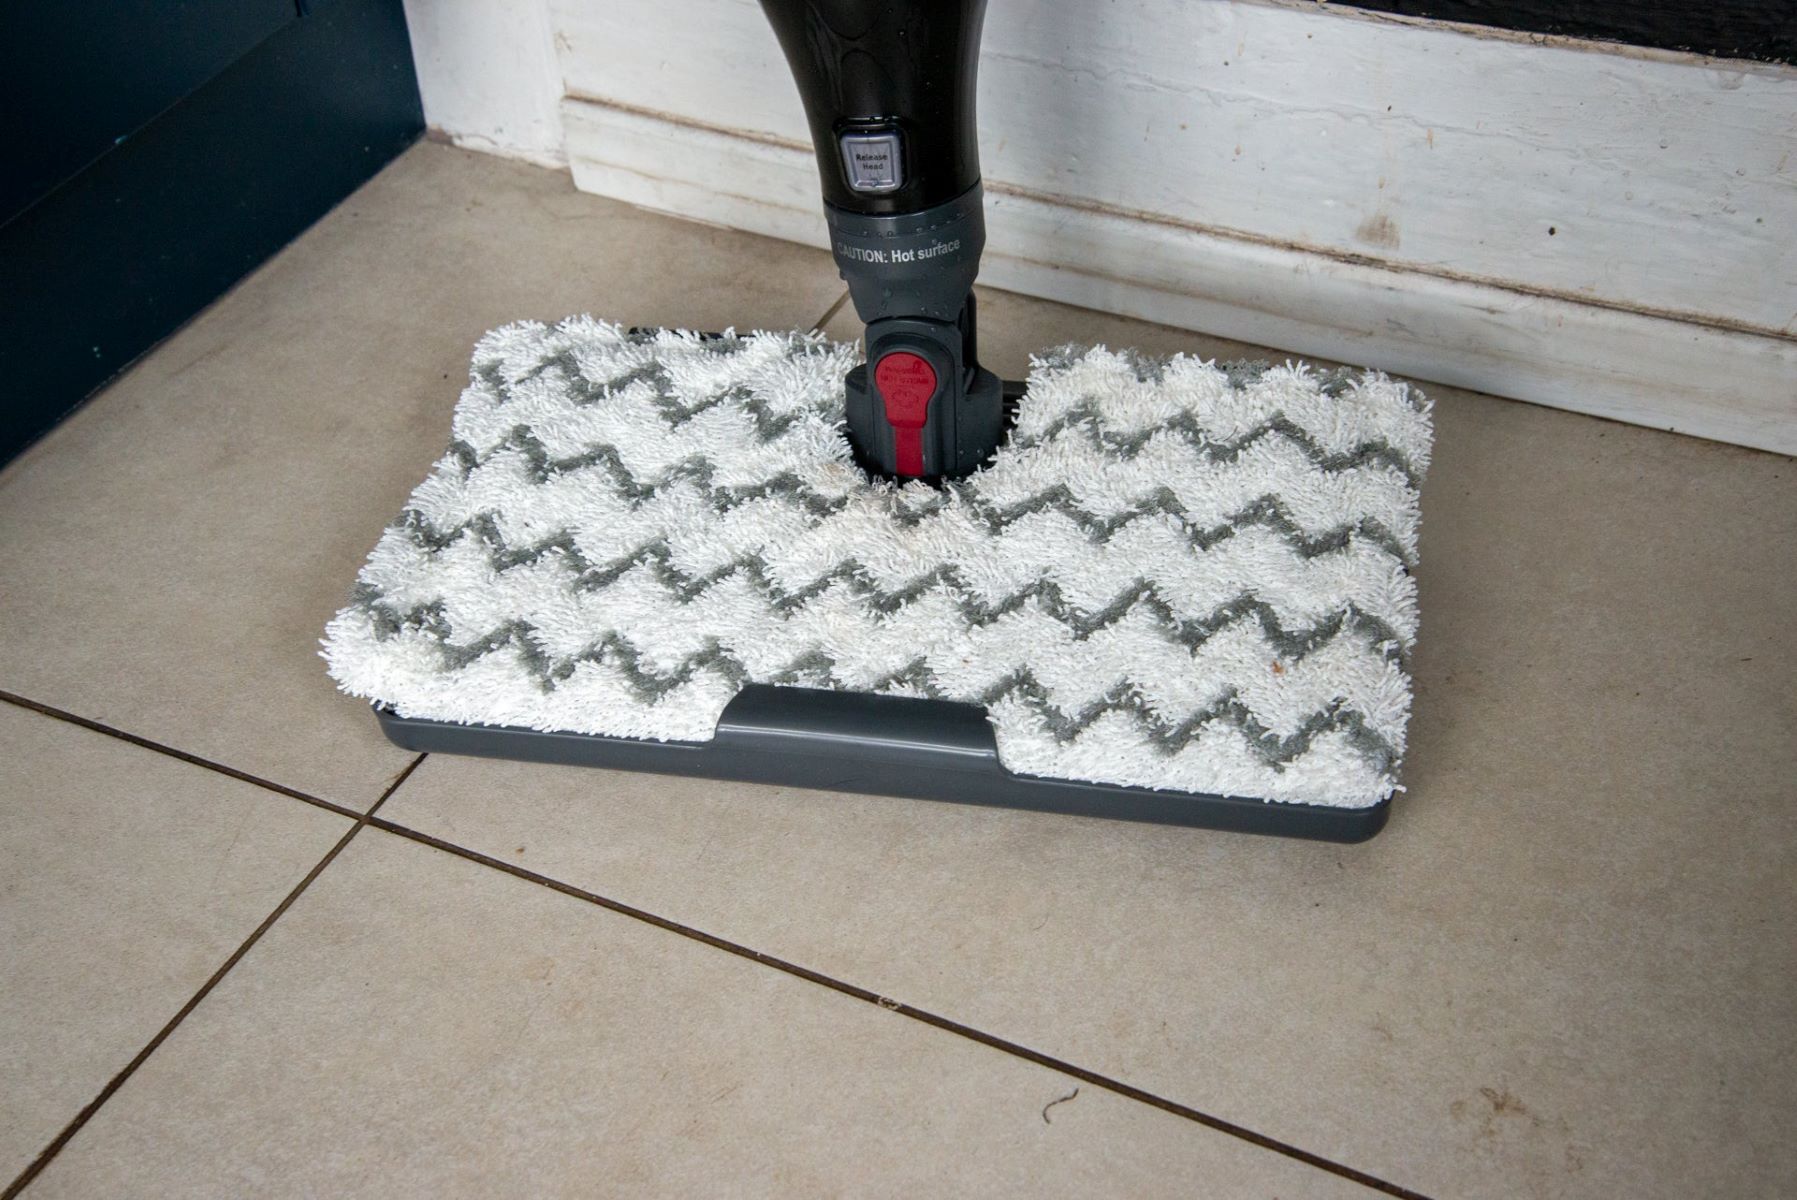
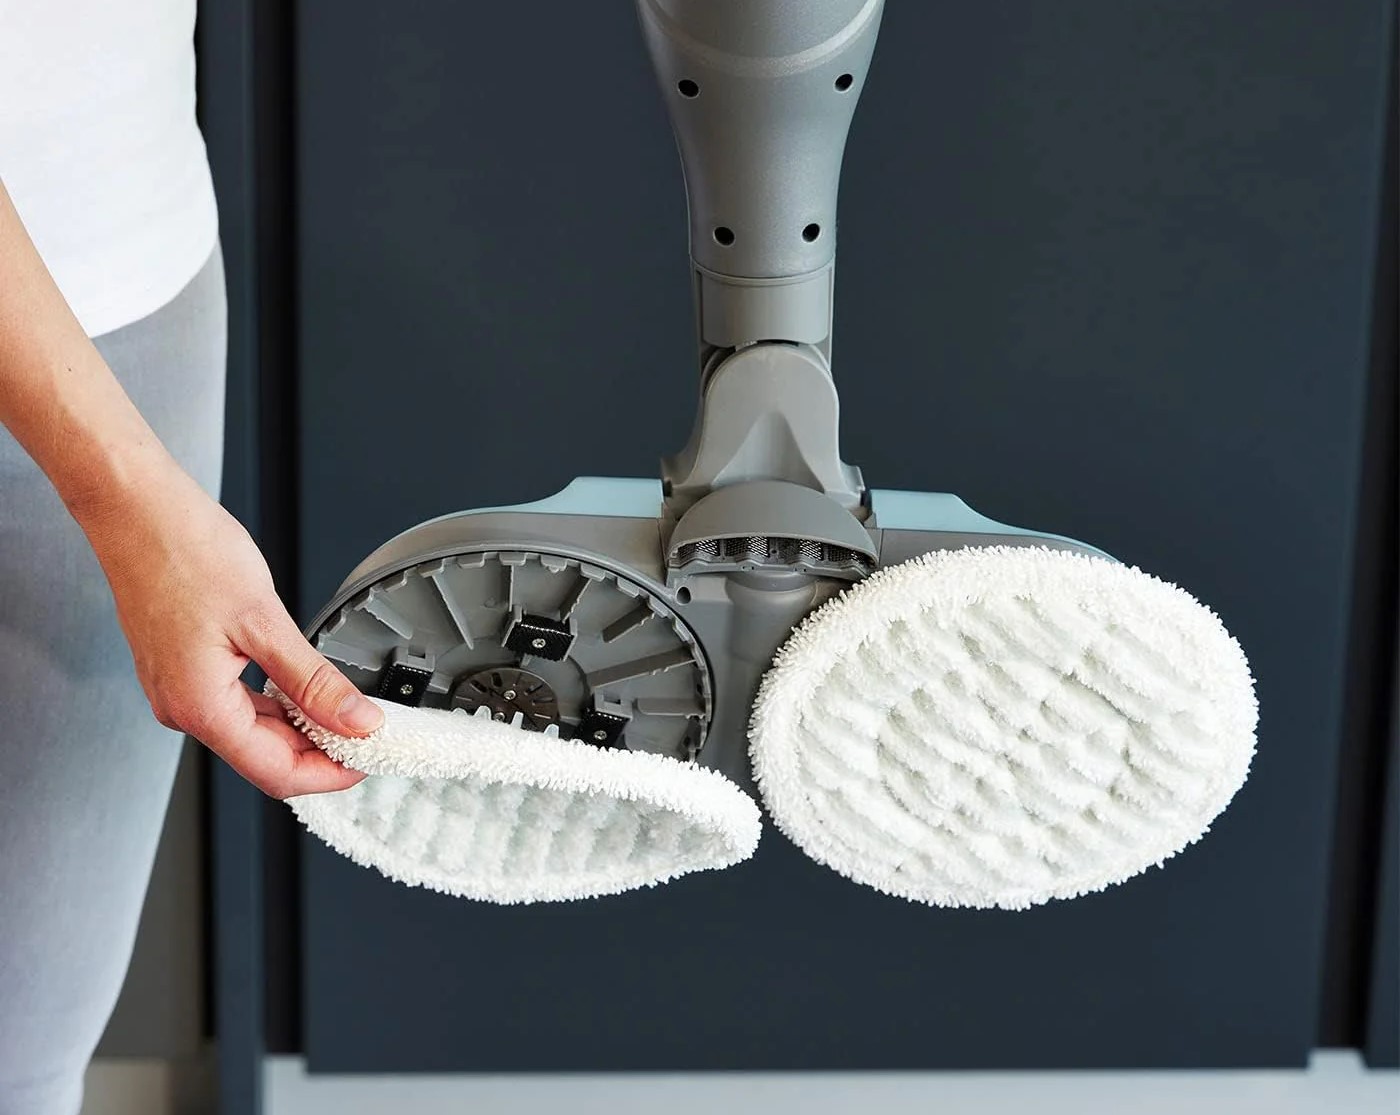
Furthermore, the microfiber pad plays a crucial role in the cleaning process, as it traps and locks in the loosened dirt and residue, preventing them from being spread across the floor. This not only contributes to a more thorough clean but also minimizes the need for excessive rinsing and wringing of the cleaning pad during use.
By understanding the fundamental principles behind the Shark Steam Mop's operation, users can fully appreciate its efficiency and eco-friendly approach to floor cleaning. With its intuitive design and emphasis on steam power, the Shark Steam Mop stands as a testament to the advancement of cleaning technology, offering a compelling alternative to traditional mopping methods.
Common Issues with Shark Steam Mop
While the Shark Steam Mop is renowned for its exceptional performance and user-friendly design, like any appliance, it may encounter occasional issues that can hinder its effectiveness. Understanding these common problems and their potential causes is essential for maintaining the optimal functionality of your Shark Steam Mop. Let’s explore some of the typical issues that users may encounter:
- Inadequate Steam Production: One of the frequent issues reported by users is the inadequate production of steam by the mop. This can lead to unsatisfactory cleaning results and frustration during use.
- Water Leakage: Some users have experienced water leakage from their Shark Steam Mop, which can result in wet patches on the floor and potential damage to the appliance.
- Steam Mop Not Heating Up: If the mop fails to heat up properly, it can impede the generation of steam, rendering the appliance ineffective for cleaning.
- Difficulty with Maneuverability: While the Shark Steam Mop is designed for ease of use, some users may encounter challenges in maneuvering the mop across the floor, impacting the overall cleaning experience.
These issues, while concerning, can often be addressed with the right troubleshooting steps and maintenance practices. By identifying the root causes of these common problems, users can take proactive measures to rectify the issues and restore their Shark Steam Mop to its optimal performance.
Now that we’ve identified some of the common issues associated with the Shark Steam Mop, it’s time to delve into effective troubleshooting steps to address these concerns and ensure a seamless cleaning experience.
To fix a Shark Steam Mop, try cleaning the water tank and nozzle to remove any blockages. Also, check the power cord and switch for any damage. If the issue persists, contact Shark customer support for further assistance.
Troubleshooting Steps
Encountering issues with your Shark Steam Mop can be frustrating, but with the right troubleshooting steps, you can effectively address common problems and restore your appliance to its full functionality. Let’s explore some practical troubleshooting measures for resolving common issues:
- Inadequate Steam Production: If you notice a decrease in steam production, ensure that the water tank is adequately filled. Additionally, check for mineral buildup in the mop’s heating element, as this can obstruct steam generation. Running a vinegar solution through the mop can help dissolve mineral deposits and restore steam production.
- Water Leakage: To address water leakage, inspect the water tank and its components for any damage or misalignment. Tighten the cap securely to prevent leaks, and ensure that the water tank is inserted correctly into the mop. If leakage persists, consider replacing the water tank or relevant components.
- Steam Mop Not Heating Up: If your mop fails to heat up, verify that it is plugged into a functional power outlet. Check the power cord for any damage, and ensure that the mop’s power switch is in the “on” position. If the issue persists, consult the user manual for further troubleshooting or contact customer support for assistance.
- Difficulty with Maneuverability: If you’re experiencing challenges in maneuvering the mop, inspect the swivel mechanism for any obstructions or debris. Ensure that the microfiber pad is securely attached and free from excessive dirt buildup, as this can impede smooth movement. Additionally, check the mop’s wheels for debris or damage that may hinder its mobility.
By implementing these troubleshooting steps, users can effectively address common issues with their Shark Steam Mop and restore its optimal performance. Regular maintenance and attentive troubleshooting are key to ensuring that your cleaning appliance continues to deliver exceptional results, making your cleaning routine a breeze.
Now that we’ve covered essential troubleshooting steps, let’s explore crucial cleaning and maintenance tips to prolong the longevity of your Shark Steam Mop and optimize its performance.
Cleaning and Maintenance Tips
Proper cleaning and maintenance are vital for preserving the functionality and longevity of your Shark Steam Mop. By incorporating these essential tips into your cleaning routine, you can ensure that your appliance remains in prime condition, delivering exceptional results with every use.
- Regular Water Tank Cleaning: To prevent mineral buildup and maintain optimal steam production, it’s crucial to regularly clean the water tank. Use a vinegar solution to remove mineral deposits and residue that may hinder the performance of the mop.
- Microfiber Pad Care: After each use, remove the microfiber pad and wash it according to the manufacturer’s instructions. Regularly replacing the pad when signs of wear and tear become evident will ensure efficient dirt trapping and prevent streaking on the floor.
- Inspecting and Cleaning the Mop Head: Periodically inspect the mop head for debris or residue that may impede its effectiveness. Remove any obstructions and ensure that the mop head is free from dirt and grime to maintain optimal cleaning performance.
- Storage and Drying: After use, allow the Shark Steam Mop to cool down before storing it. Ensure that the appliance is completely dry to prevent the growth of mold or mildew, and store it in a clean, dry area to maintain its integrity.
- Regular Maintenance Checks: Routinely inspect the power cord, plug, and other components for any signs of damage. Address any issues promptly to prevent safety hazards and maintain the appliance’s functionality.
By integrating these cleaning and maintenance tips into your routine, you can uphold the performance and longevity of your Shark Steam Mop, ensuring that it continues to be a reliable and effective cleaning companion for years to come.
With these comprehensive cleaning and maintenance practices at your disposal, you’re well-equipped to optimize the performance and lifespan of your Shark Steam Mop, elevating the cleanliness and hygiene of your living space with confidence.
Read more: How To Turn On Shark Steam Mop
Conclusion
Congratulations on embarking on this enlightening journey through the world of the Shark Steam Mop. By gaining a deeper understanding of this innovative cleaning appliance, along with the common issues it may encounter, troubleshooting steps, and essential cleaning and maintenance tips, you’ve equipped yourself with the knowledge and expertise to ensure the optimal performance and longevity of your Shark Steam Mop.
As we’ve explored the transformative power of steam in sanitizing and refreshing various flooring surfaces, it’s evident that the Shark Steam Mop represents a remarkable fusion of cutting-edge technology and eco-friendly cleaning practices. Its ability to harness the natural cleansing properties of steam without the need for harsh chemicals underscores its commitment to promoting a healthier living environment for users.
By recognizing and addressing common issues such as inadequate steam production, water leakage, and maneuverability challenges, you’re well-prepared to troubleshoot and overcome these obstacles, allowing your Shark Steam Mop to continue delivering exceptional cleaning results with ease and efficiency.
Furthermore, by embracing essential cleaning and maintenance practices, such as regular water tank cleaning, microfiber pad care, and diligent storage habits, you’re actively contributing to the longevity and effectiveness of your appliance. These proactive measures ensure that your Shark Steam Mop remains a steadfast ally in your cleaning endeavors, consistently upholding the cleanliness and hygiene of your living space.
Armed with this comprehensive knowledge, you’re now empowered to make the most of your Shark Steam Mop, elevating your cleaning routine to new heights of effectiveness and convenience. With a commitment to regular maintenance and attentive troubleshooting, you can enjoy the enduring benefits of a pristine living environment, courtesy of the remarkable capabilities of the Shark Steam Mop.
Thank you for accompanying us on this insightful exploration of the Shark Steam Mop. May your cleaning experiences be imbued with efficiency, effectiveness, and the refreshing power of steam, as you continue to foster a pristine and inviting living space with the assistance of this exceptional cleaning appliance.
Frequently Asked Questions about How To Fix Shark Steam Mop
Was this page helpful?
At Storables.com, we guarantee accurate and reliable information. Our content, validated by Expert Board Contributors, is crafted following stringent Editorial Policies. We're committed to providing you with well-researched, expert-backed insights for all your informational needs.

0 thoughts on “How To Fix Shark Steam Mop”