Home>Home Appliances>Cleaning Appliances>How To Clean A Mop
Cleaning Appliances
How To Clean A Mop
Modified: October 21, 2024
Learn the best techniques for cleaning a mop and keeping your cleaning appliances in top condition. Discover effective tips for maintaining a clean and hygienic home.
(Many of the links in this article redirect to a specific reviewed product. Your purchase of these products through affiliate links helps to generate commission for Storables.com, at no extra cost. Learn more)
Introduction
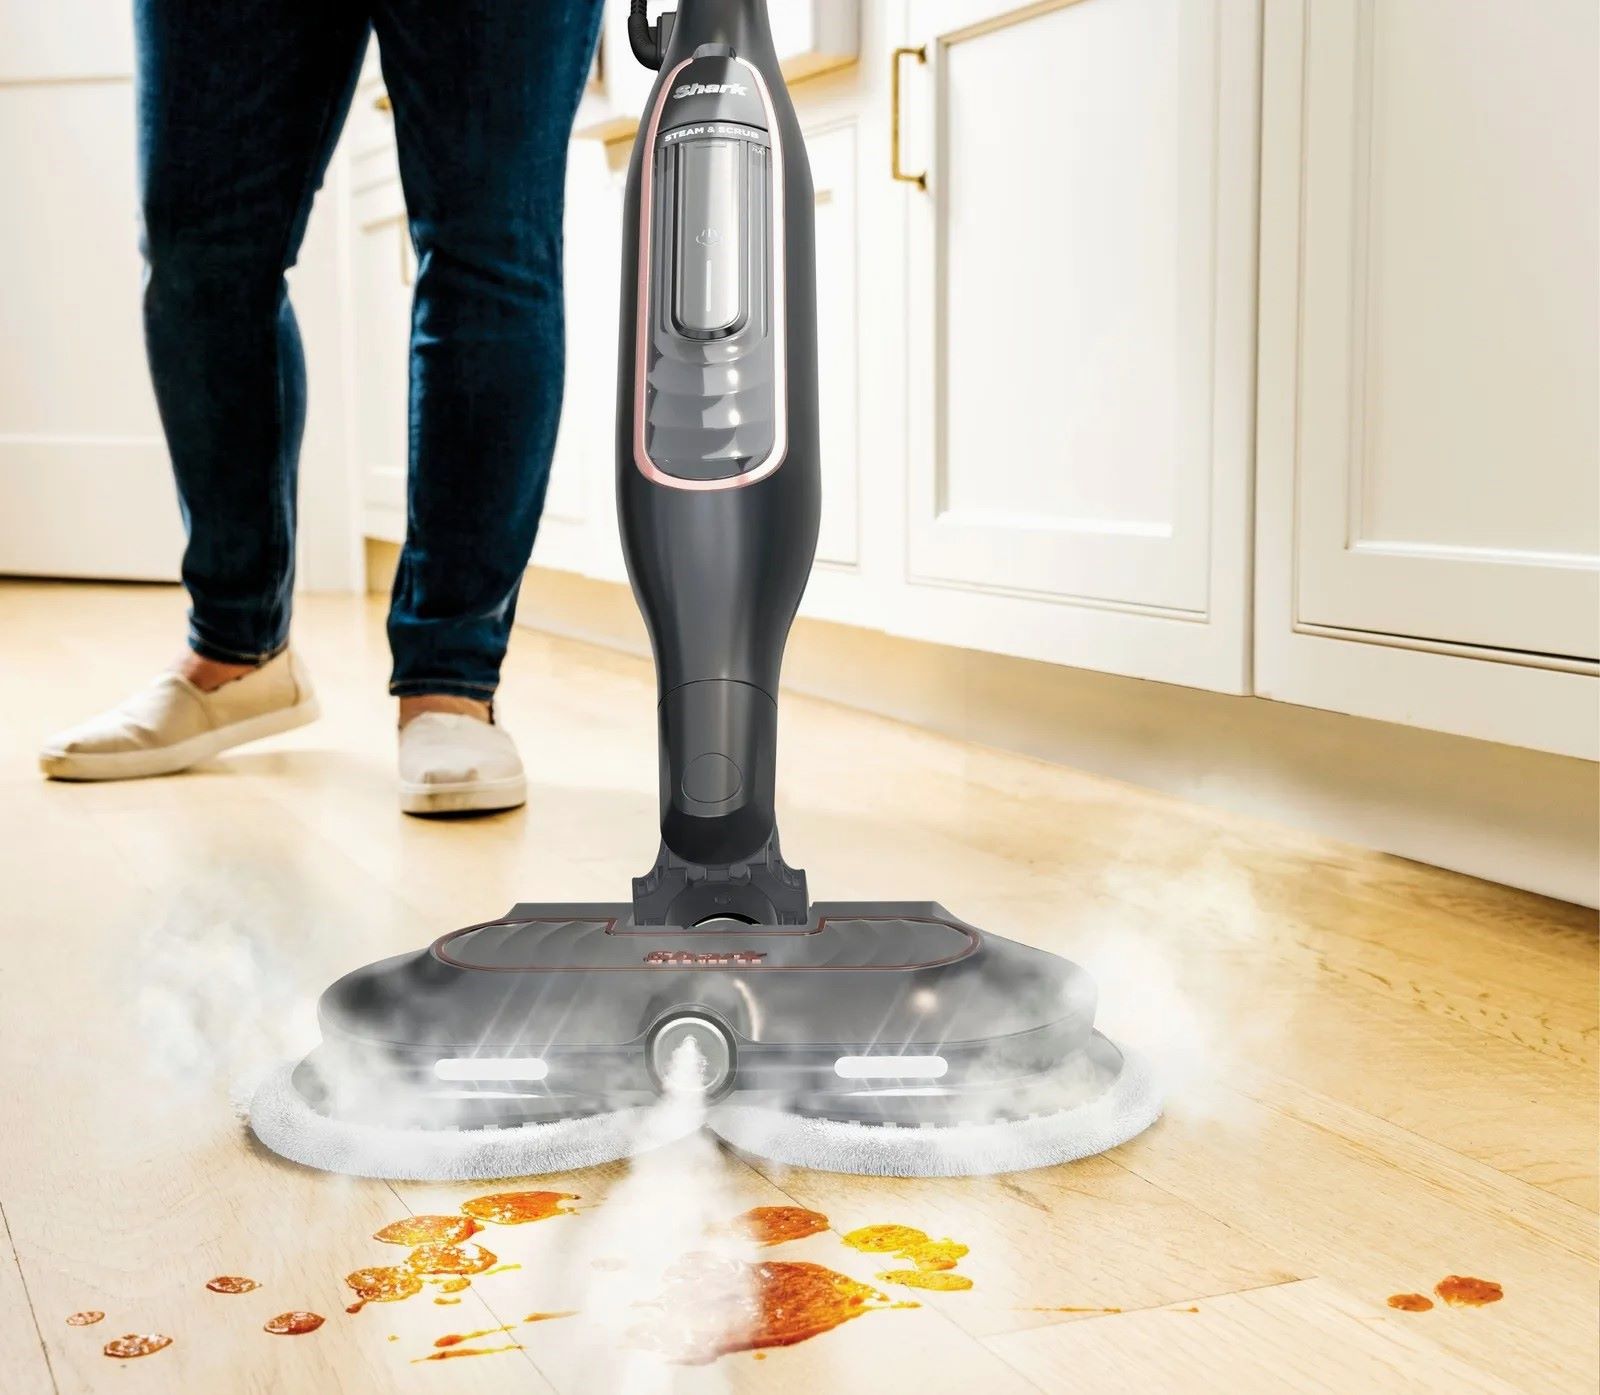
Cleaning a mop may not be the most glamorous task, but it is an essential part of maintaining a clean and healthy home. Over time, mops can accumulate dirt, grime, and bacteria, making them less effective at their job. By regularly cleaning your mop, you can ensure that it continues to efficiently remove dirt and germs from your floors.
In this comprehensive guide, we will walk you through the step-by-step process of cleaning a mop, providing you with valuable tips and insights to make the task as effortless as possible. Whether you have a traditional cotton mop or a modern microfiber model, the techniques outlined in this article will help you keep your cleaning tool in top condition.
By following these simple yet effective cleaning methods, you can prolong the lifespan of your mop and maintain a higher level of cleanliness in your home. So, let's roll up our sleeves and delve into the world of mop maintenance!
Key Takeaways:
- Regularly clean your mop by removing debris, rinsing, soaking in a cleaning solution, and air drying to maintain its effectiveness and keep your home clean and hygienic.
- Implement maintenance tips like sanitization, proper storage, and inspecting handles to extend your mop’s lifespan and ensure efficient cleaning for a healthier living environment.
Read more: How To Clean Carpet With A Mop
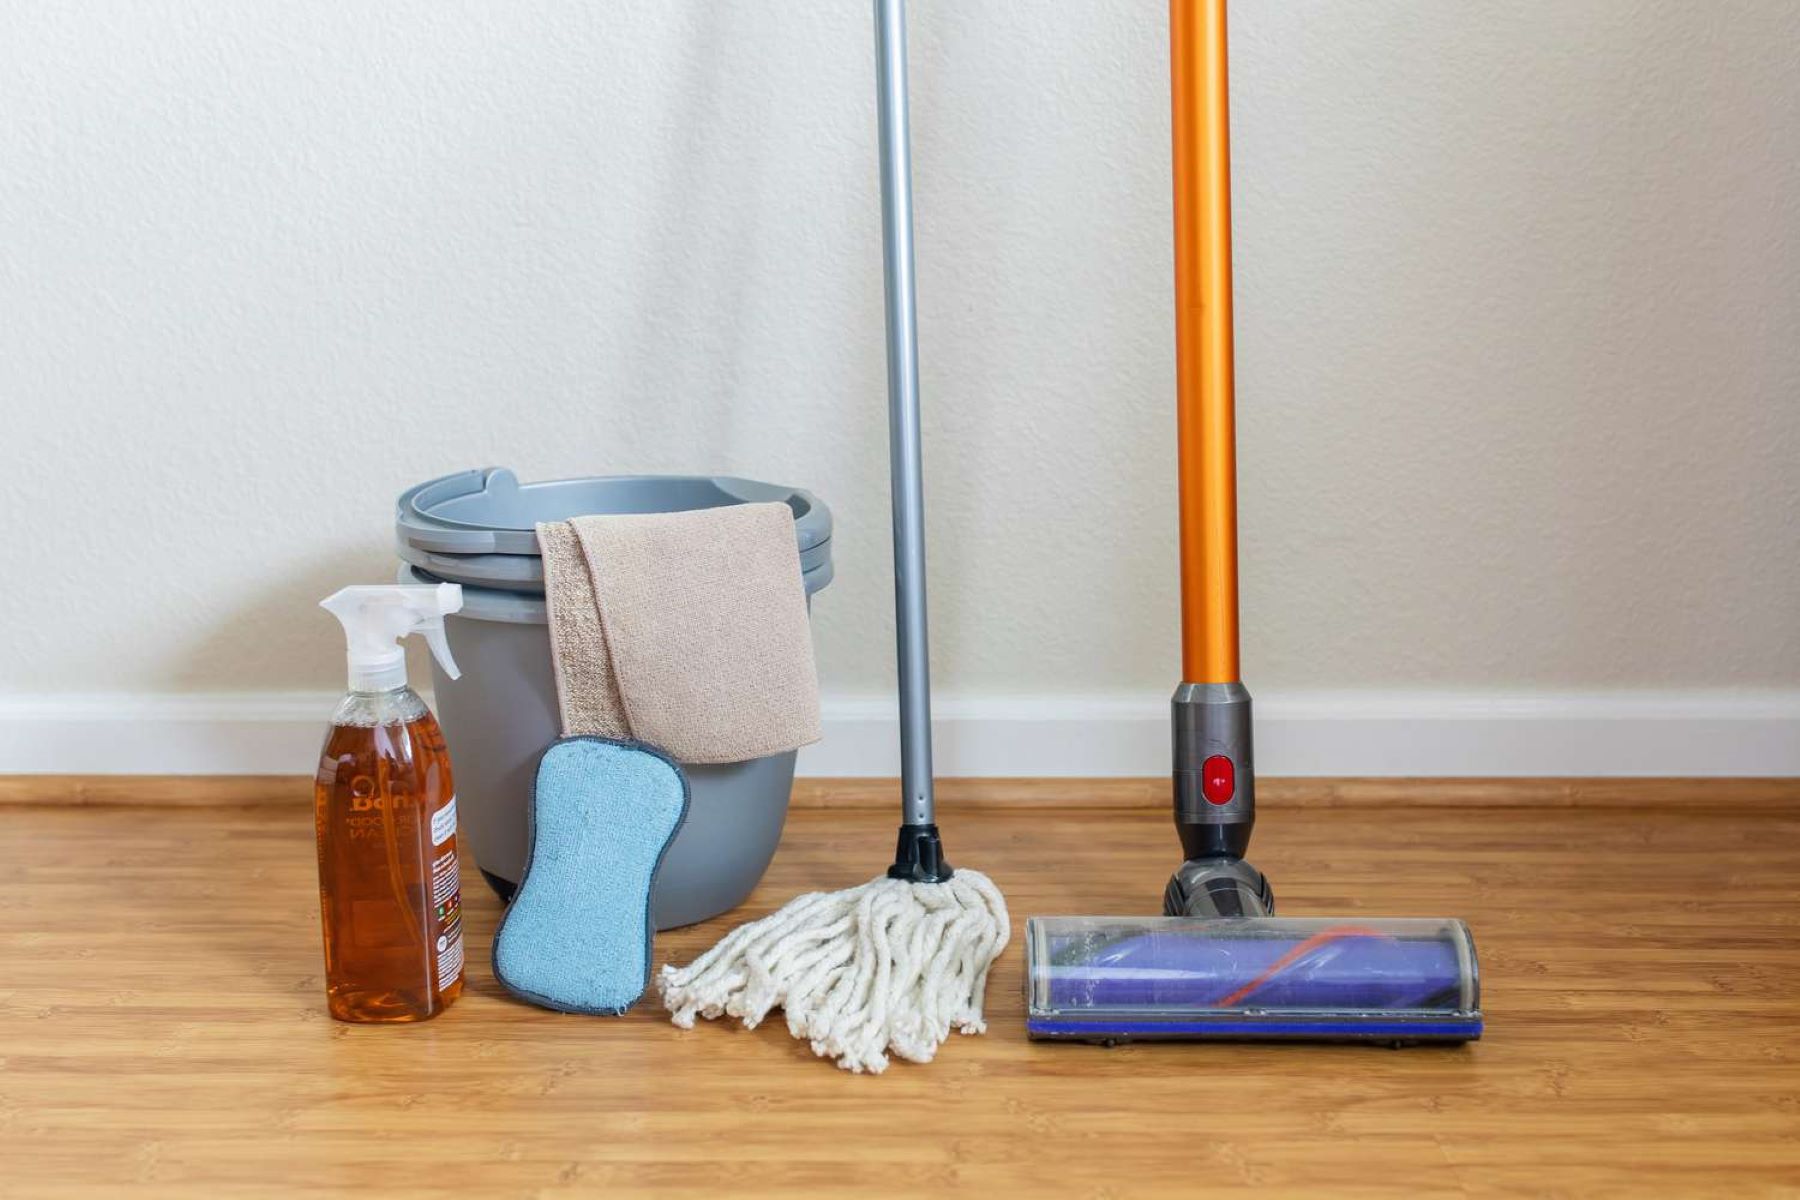
Materials Needed
Before embarking on the journey of cleaning your mop, it’s important to gather the necessary materials. Having the right supplies at hand will streamline the process and ensure that you can tackle the task with ease. Here’s what you’ll need:
- A sink or bucket
- Hot water
- Mild detergent or cleaning solution
- Vinegar (optional)
- Gloves
- A sturdy scrub brush
- A well-ventilated area for drying
These basic yet essential items will equip you to effectively clean your mop and restore its cleaning power. With these materials in hand, you’re ready to proceed to the next steps and revitalize your trusty cleaning companion.
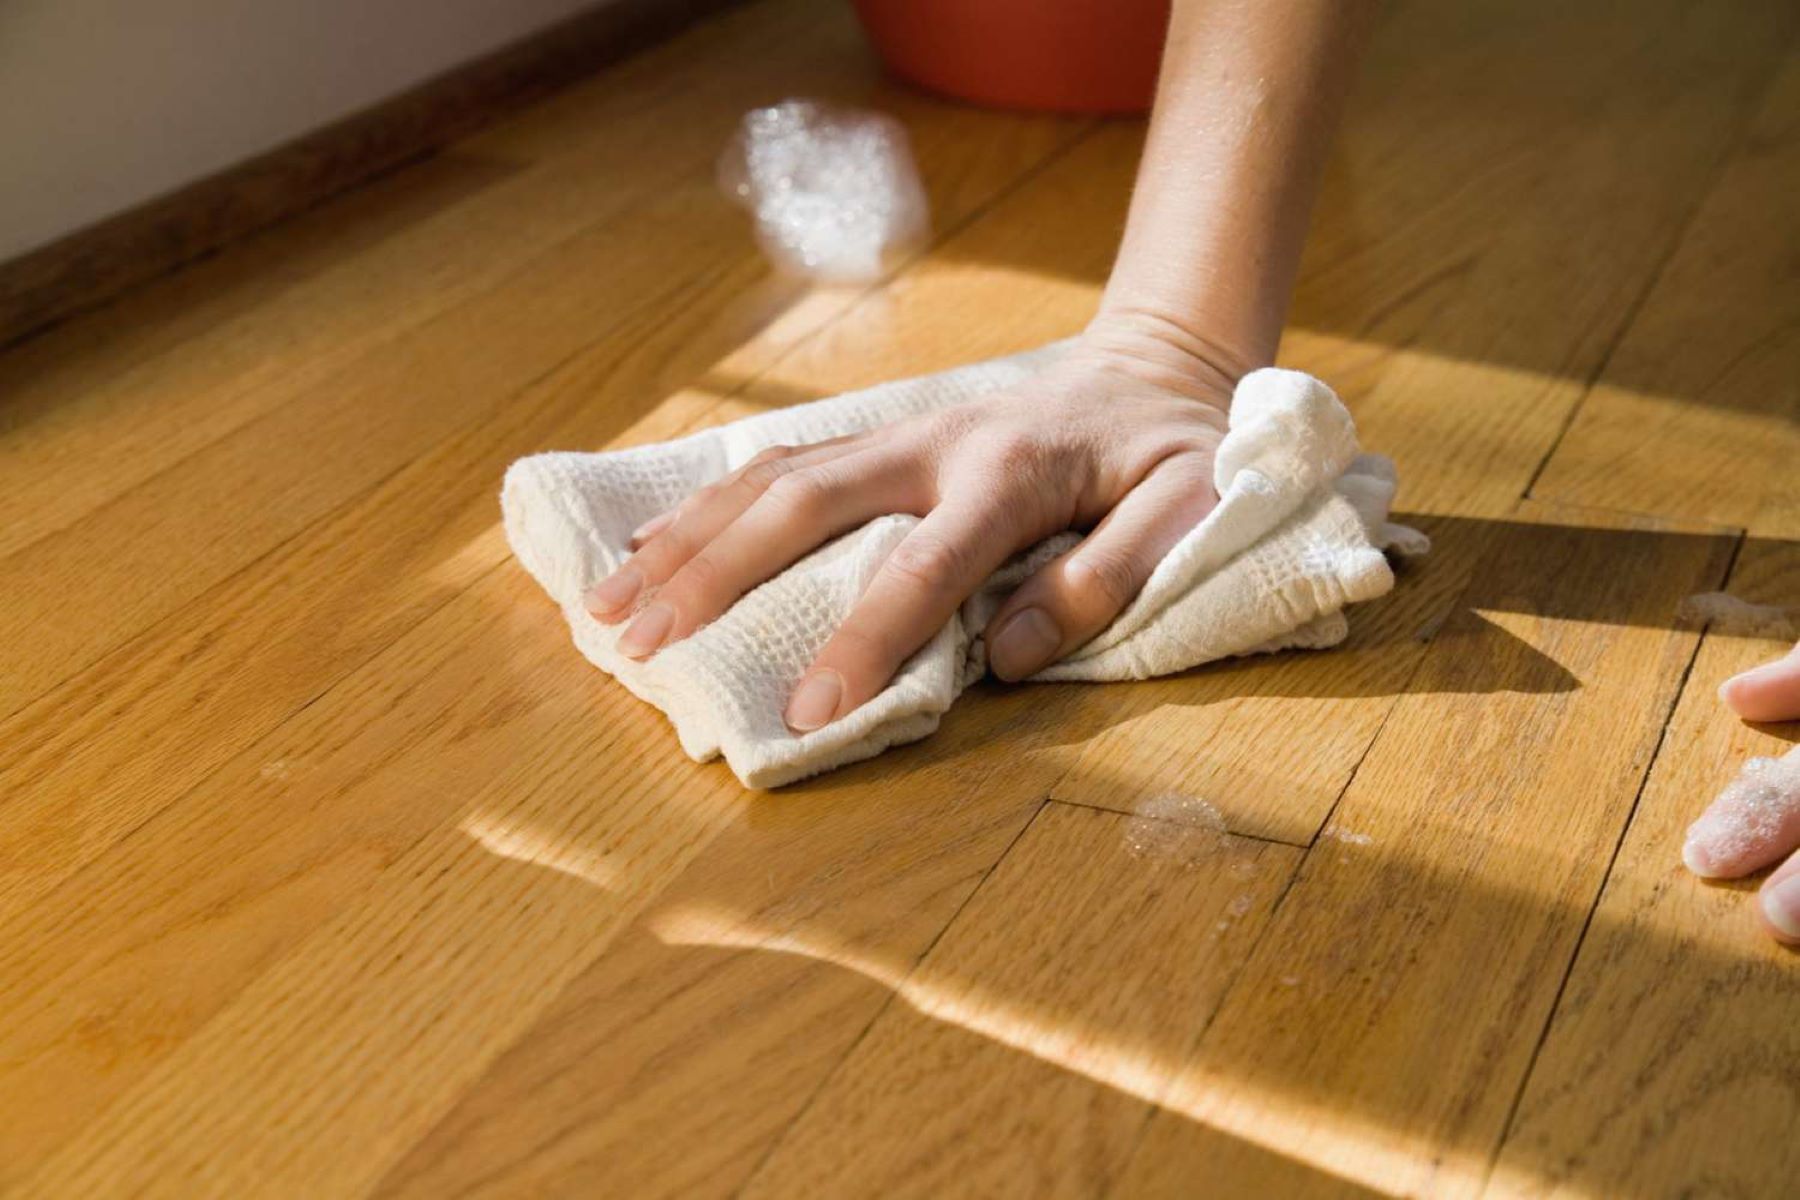
Step 1: Remove Excess Debris
Before delving into the deeper cleaning process, it’s crucial to remove any excess debris from the mop. Start by taking the mop outside or to a well-ventilated area to prevent the spread of dust and dirt indoors. Shake the mop vigorously to dislodge loose dirt, hair, and other particles that may have accumulated during use.
Next, use your hands or a pair of gloves to manually pick off any stubborn debris that remains tangled in the mop fibers. For particularly stubborn spots, a pair of scissors can be used to carefully snip away the debris without damaging the mop itself. By thoroughly removing the excess debris, you’ll pave the way for a more effective and thorough cleaning process in the subsequent steps.
Remember, the goal at this stage is to eliminate as much loose dirt and debris as possible, ensuring that the cleaning solution can penetrate the mop fibers without obstruction. Once you’ve completed this step, you’re ready to move on to the next phase of the cleaning process, bringing your mop one step closer to its former glory.
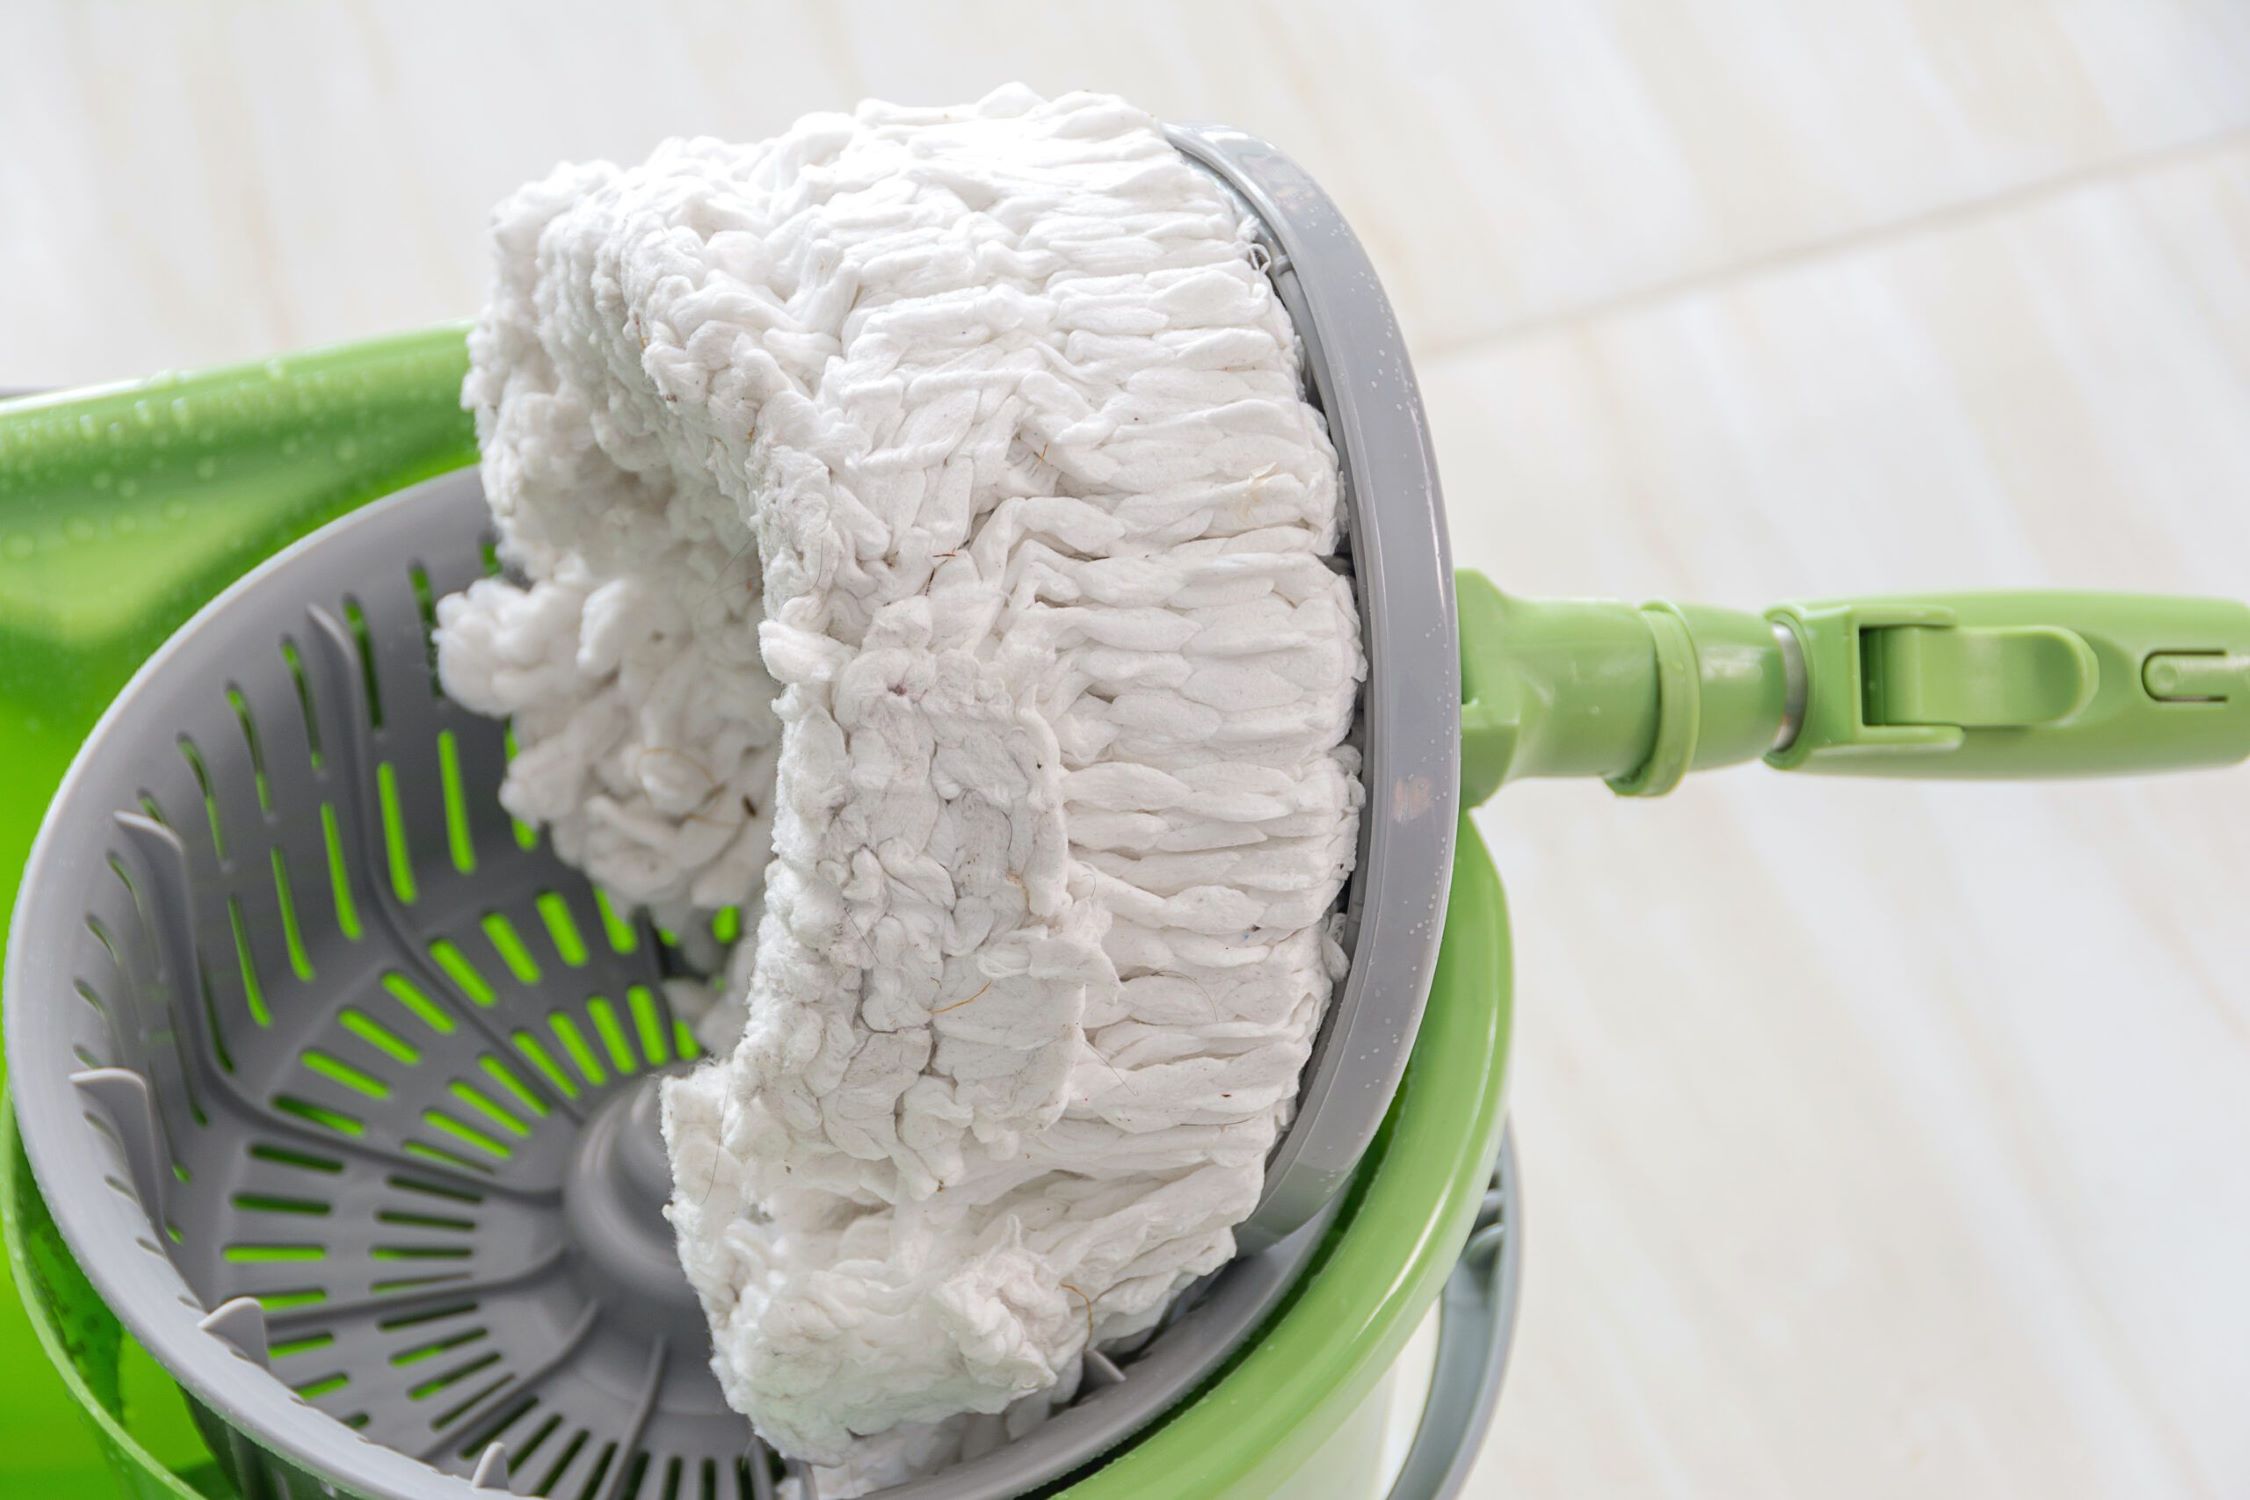
Step 2: Rinse Mop Head
With the excess debris removed, it’s time to give the mop head a thorough rinse to further dislodge any remaining dirt and grime. Head to a sink or use a bucket filled with hot water to begin the rinsing process. Submerge the mop head in the water, allowing the hot water to penetrate the fibers and loosen any embedded dirt.
Gently agitate the mop in the water, ensuring that the hot water reaches all parts of the mop head. This process will help to dislodge dirt and other contaminants, preparing the mop for the next phase of the cleaning process. Depending on the level of soiling, you may need to repeat this rinsing process several times until the water runs clear, indicating that the mop head is free from surface dirt and grime.
Once you’re satisfied that the mop head has been thoroughly rinsed, gently squeeze out the excess water. While the mop head doesn’t need to be completely dry at this stage, removing excess water will make the next step more effective. With the mop head rinsed and ready, it’s time to proceed to the next phase of the cleaning process, bringing your mop one step closer to a revitalized state.
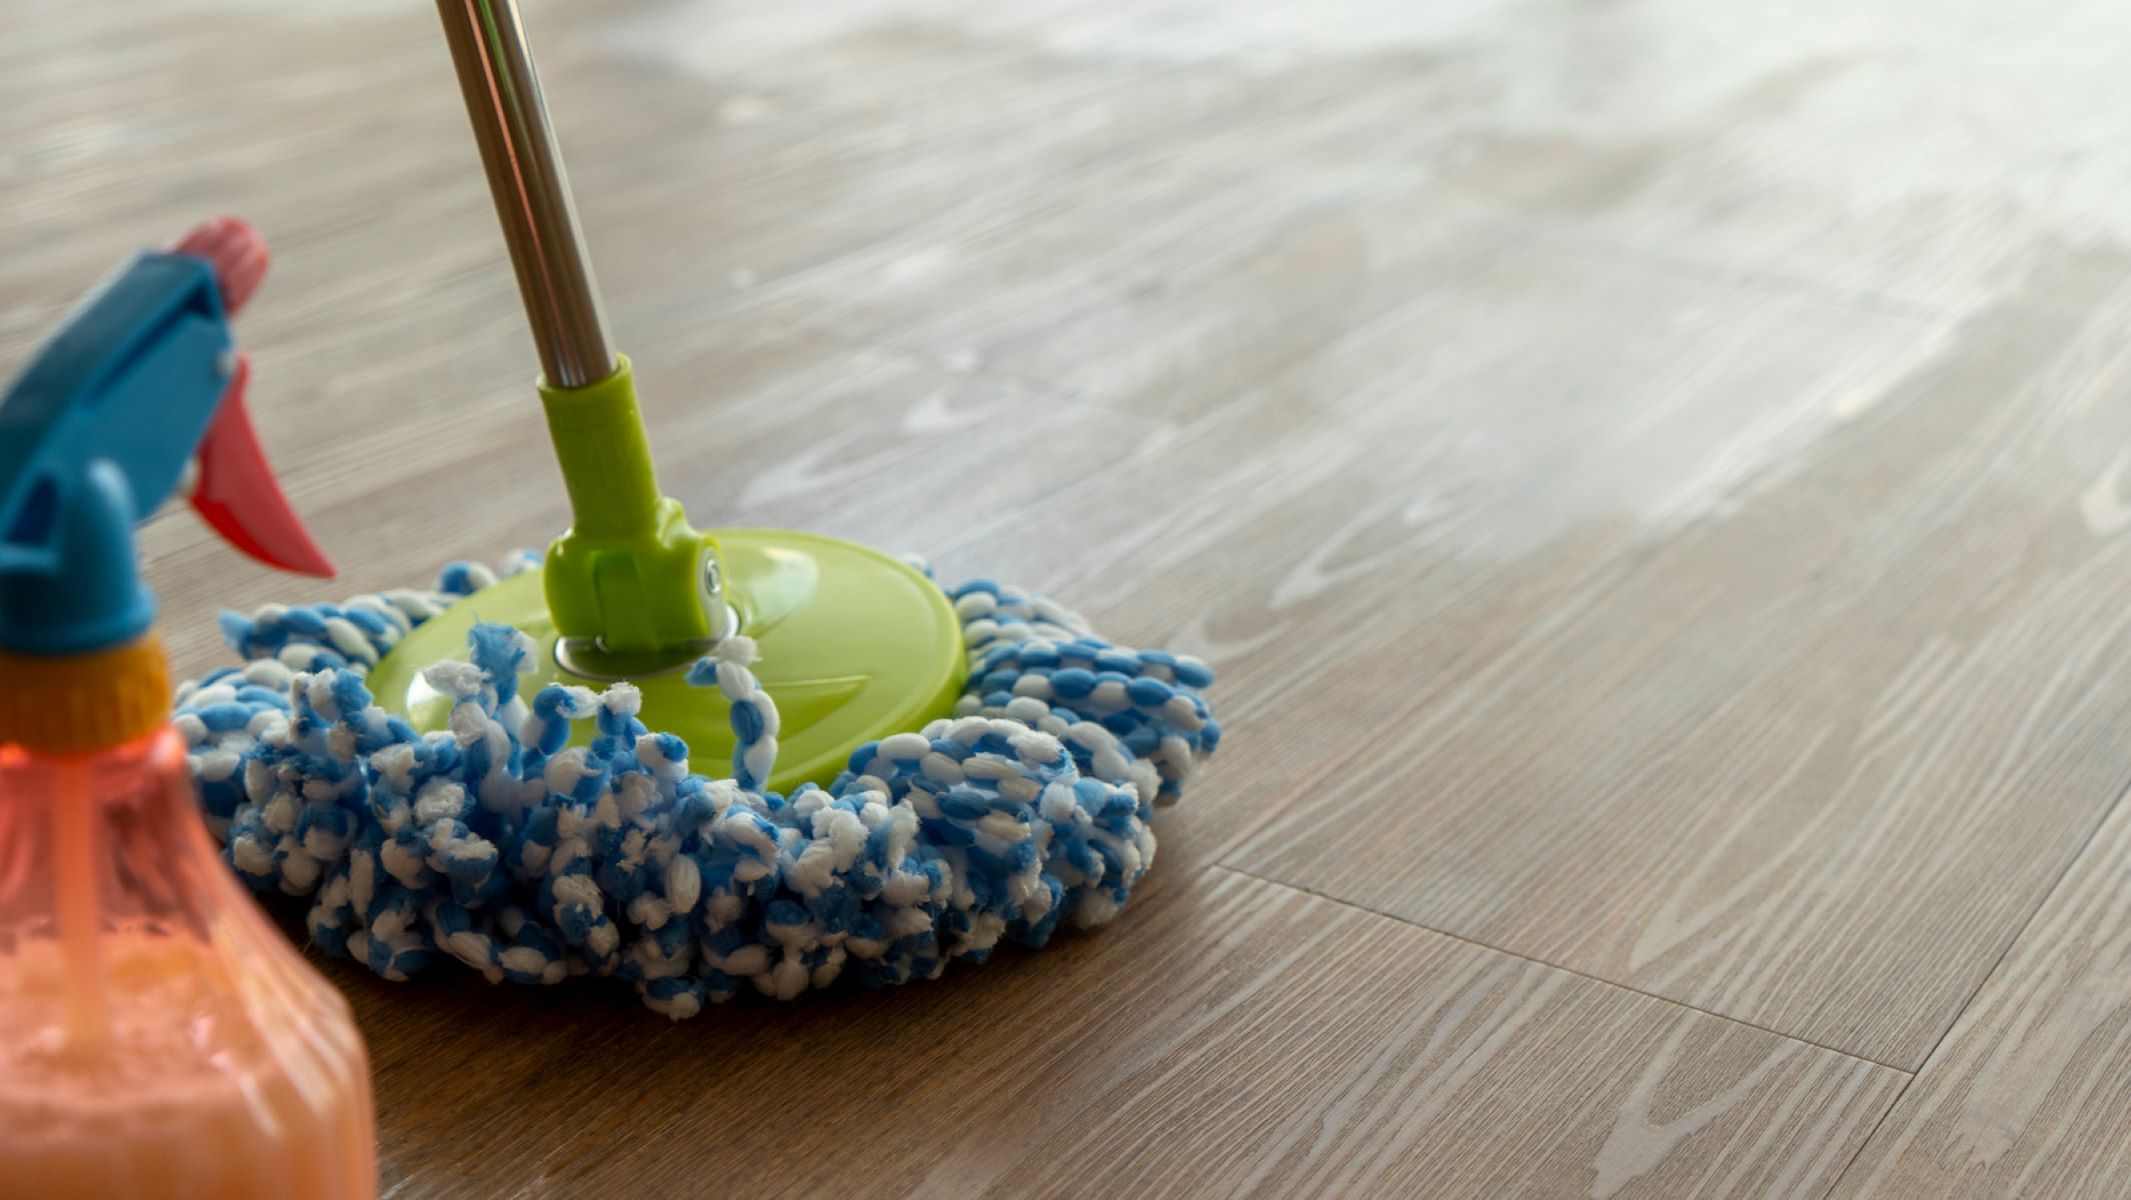
Step 3: Soak in Cleaning Solution
After rinsing the mop head, it’s time to immerse it in a cleaning solution to eliminate any remaining dirt and bacteria. Prepare a cleaning solution by combining hot water with a mild detergent or a specialized cleaning solution designed for mops. If desired, you can also add a small amount of vinegar to the solution for its natural cleaning and deodorizing properties.
Submerge the mop head in the cleaning solution, ensuring that it is fully saturated. Allow the mop to soak for an adequate period, typically around 10 to 15 minutes, to enable the cleaning solution to penetrate the fibers and break down any lingering grime. During this time, gently agitate the mop in the solution to enhance the cleaning process.
The soaking process is crucial for effectively sanitizing the mop and removing any accumulated bacteria. As the mop absorbs the cleaning solution, it works to dislodge stubborn dirt and neutralize odors, leaving the mop fresh and revitalized. Once the soaking process is complete, the mop will be ready for the next phase of the cleaning process, bringing you one step closer to a thoroughly clean and hygienic mop.
After each use, rinse the mop thoroughly with hot water to remove dirt and debris. Then, hang it to air dry to prevent mildew and odors.
Read more: How To Clean A Steam Mop
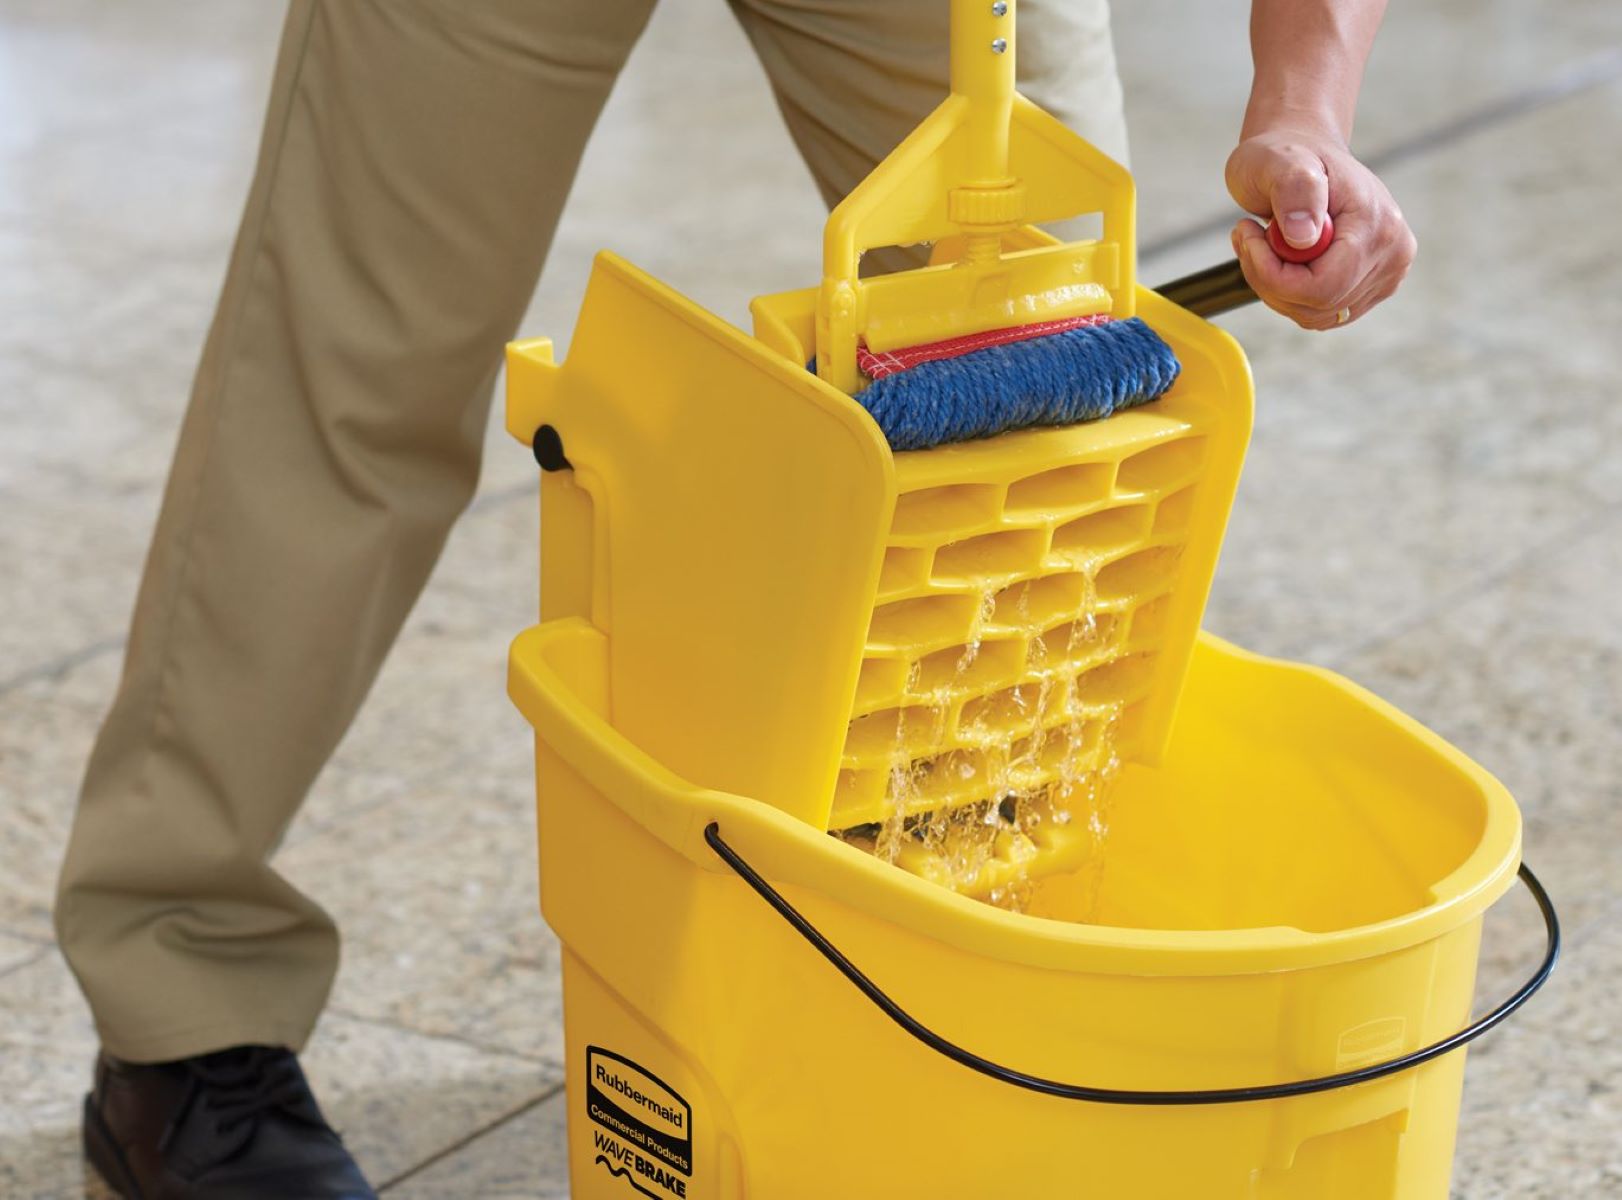
Step 4: Rinse and Wring Out
After the mop has soaked in the cleaning solution, it’s time to rinse out any residual detergent and ensure that the cleaning solution is completely removed. Head back to the sink or use a bucket of clean, hot water for the rinsing process. Submerge the mop head in the water and gently agitate it to dislodge the cleaning solution and any remaining dirt.
Thoroughly rinsing the mop is essential to prevent any detergent residue from compromising its cleaning effectiveness. Continue rinsing and squeezing the mop until the water runs clear, indicating that the cleaning solution has been completely removed. It’s important to ensure that no soapy residue remains in the mop fibers, as this could lead to streaks and residue on your floors during use.
Once the rinsing process is complete, it’s time to wring out the excess water from the mop head. Firmly grasp the mop and twist or press it to expel as much water as possible. While the mop doesn’t need to be completely dry at this stage, removing excess water will expedite the drying process and prevent water from pooling on your floors during future use.
With the rinsing and wringing process complete, your mop is now free from cleaning solution and ready for the final phase of the cleaning process. By diligently carrying out these steps, you’re ensuring that your mop is thoroughly cleansed and primed for optimal performance, allowing you to maintain a sparkling clean home with ease.
Step 5: Air Dry
With the cleaning and rinsing processes complete, it’s time to allow the mop to air dry thoroughly. Find a well-ventilated area, such as a laundry room or outdoor space, where the mop can hang freely without causing an obstruction. Hanging the mop allows air to circulate around the fibers, expediting the drying process and preventing the growth of mold and mildew.
When hanging the mop, ensure that the mop head is fully extended to allow for even drying. Avoid placing the mop in a confined or damp area, as this can impede the drying process and create an environment conducive to bacterial growth. Depending on the ambient humidity and airflow, the drying process may take several hours to complete.
It’s important to verify that the mop is completely dry before storing it, as storing a damp mop can lead to unpleasant odors and bacterial proliferation. To test for dryness, touch the mop fibers to ensure that they are no longer damp to the touch. Once the mop is fully dry, it can be stored in a clean, dry location, ready for its next use.
By allowing the mop to air dry thoroughly, you’re ensuring that it remains clean, fresh, and free from moisture-related issues. This final step in the cleaning process is essential for maintaining the hygiene and effectiveness of your mop, allowing you to tackle cleaning tasks with confidence and efficiency.
Maintenance Tips
Keeping your mop in top condition doesn’t end with the cleaning process. To ensure that your mop remains effective and hygienic for the long term, consider implementing the following maintenance tips:
- Regular Cleaning: Make a habit of cleaning your mop after each use, especially if it has been used to clean heavily soiled areas. Prompt cleaning prevents dirt and bacteria from accumulating and becoming more challenging to remove.
- Sanitization: Periodically sanitize your mop by soaking it in a solution of water and bleach or a specialized disinfectant. This helps to eliminate any lingering germs and odors, keeping your mop fresh and hygienic.
- Proper Storage: Store your mop in a well-ventilated area to prevent moisture buildup. Hanging the mop allows air to circulate around the fibers, promoting quicker drying and inhibiting the growth of mold and mildew.
- Replace Mop Heads: If you have a mop with a replaceable head, consider replacing it periodically to ensure optimal cleaning performance. Over time, mop heads can become worn and less effective at picking up dirt and debris.
- Inspect Handles: Regularly inspect the mop handle for signs of wear or damage. A sturdy handle is essential for effective cleaning, so replace the mop if the handle becomes compromised.
- Rotate Mops: If you have multiple mops, rotate their usage to prevent excessive wear on a single mop. This can prolong the lifespan of each mop and ensure that you always have a clean, effective tool at your disposal.
By incorporating these maintenance tips into your cleaning routine, you can extend the lifespan of your mop and maintain a higher level of cleanliness in your home. A well-maintained mop not only makes cleaning more efficient but also contributes to a healthier and more hygienic living environment for you and your family.
Conclusion
Cleaning a mop may not be the most glamorous task, but it is an essential aspect of maintaining a clean and healthy living space. By following the step-by-step cleaning process outlined in this guide and implementing regular maintenance tips, you can ensure that your mop remains a reliable and effective cleaning tool.
From removing excess debris to allowing the mop to air dry thoroughly, each step plays a crucial role in revitalizing your mop and preparing it for future cleaning tasks. By investing a little time and effort into maintaining your mop, you can enjoy cleaner floors and a healthier home environment.
Remember, regular cleaning and maintenance not only prolong the lifespan of your mop but also contribute to the overall cleanliness and hygiene of your home. By incorporating these practices into your cleaning routine, you’re taking proactive steps to ensure that your living space remains fresh, inviting, and free from dirt and germs.
So, the next time you pick up your mop to tackle a cleaning task, you can do so with confidence, knowing that your trusty cleaning companion is primed and ready to deliver exceptional results. Here’s to cleaner floors, a healthier home, and a well-maintained mop that continues to serve you well for years to come.
Happy cleaning!
Frequently Asked Questions about How To Clean A Mop
Was this page helpful?
At Storables.com, we guarantee accurate and reliable information. Our content, validated by Expert Board Contributors, is crafted following stringent Editorial Policies. We're committed to providing you with well-researched, expert-backed insights for all your informational needs.

0 thoughts on “How To Clean A Mop”