Home>Home Appliances>Cleaning Appliances>How To Disassemble Bona Mop Handle

Cleaning Appliances
How To Disassemble Bona Mop Handle
Modified: September 1, 2024
Learn how to disassemble the Bona mop handle for easy cleaning and maintenance. Keep your cleaning appliances in top condition with these simple steps. Ideal for anyone looking to maintain their cleaning tools efficiently.
(Many of the links in this article redirect to a specific reviewed product. Your purchase of these products through affiliate links helps to generate commission for Storables.com, at no extra cost. Learn more)
Introduction
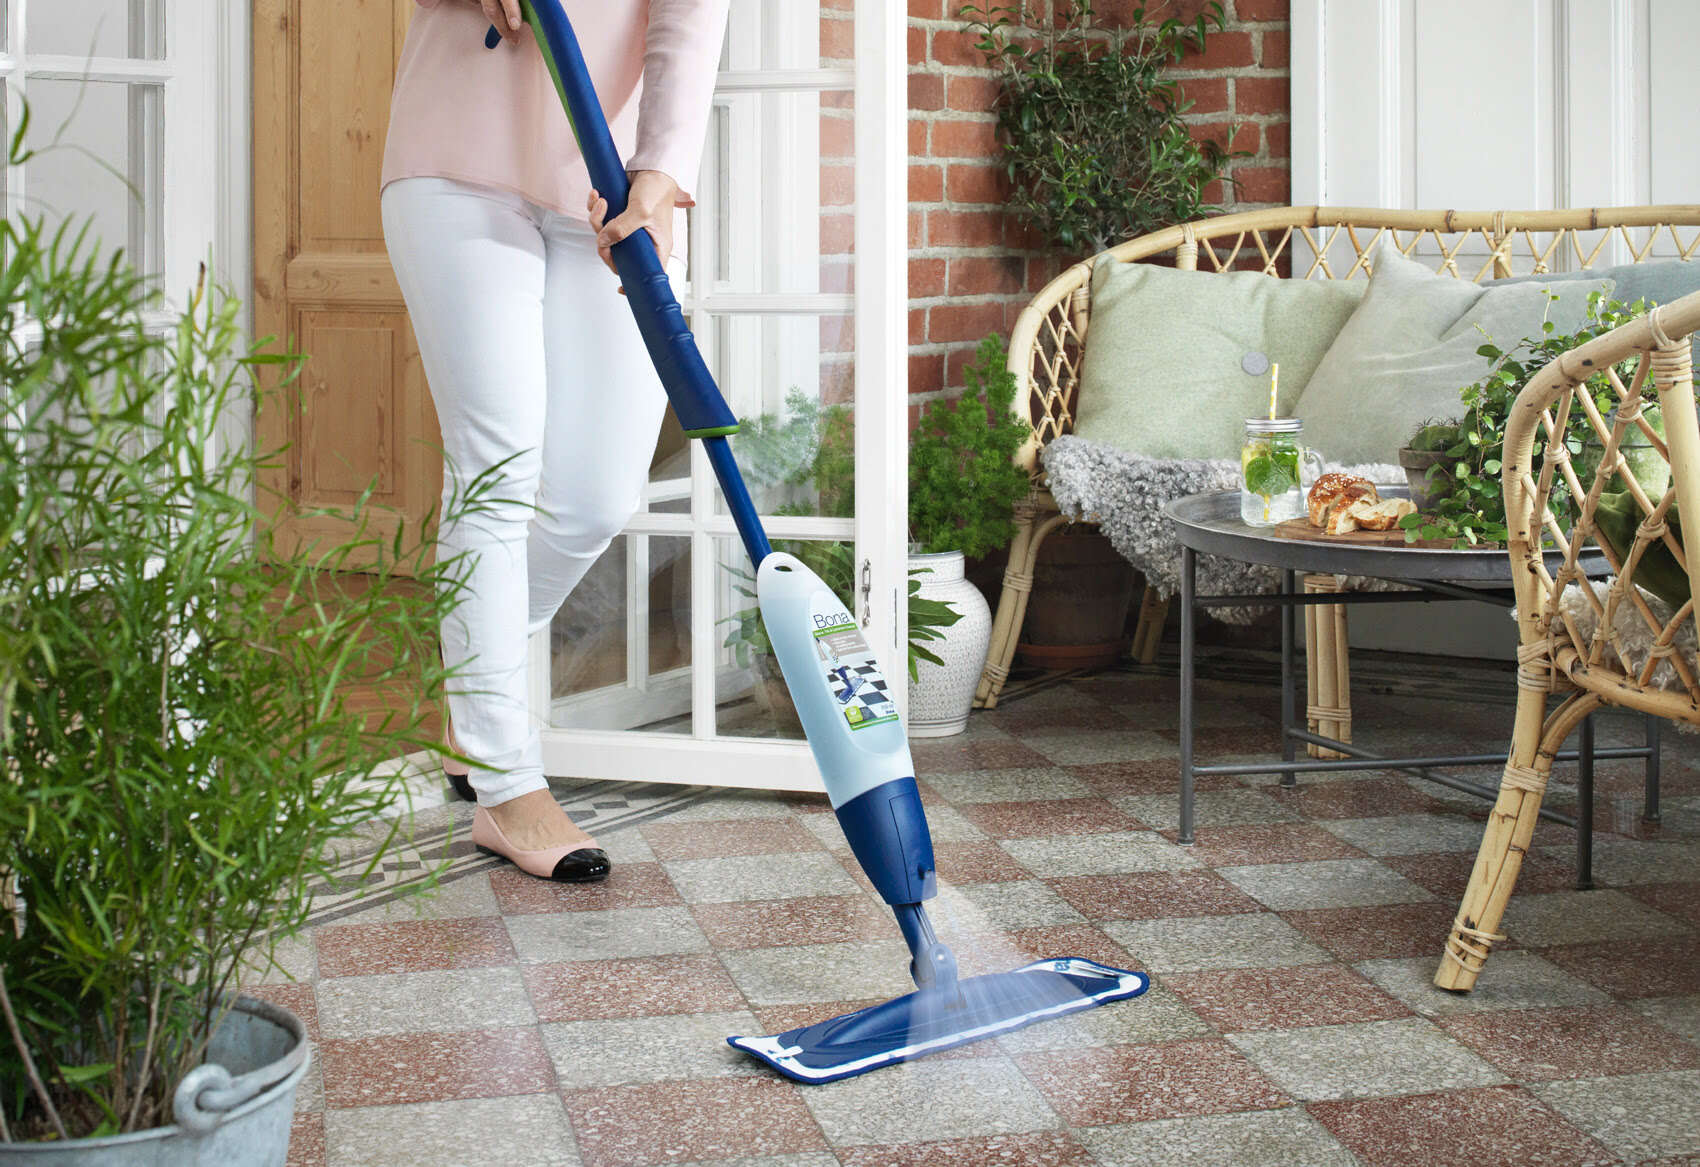
Welcome to our guide on disassembling the Bona mop handle! The Bona mop is a versatile and efficient cleaning tool, but there are times when you may need to disassemble the handle for cleaning, maintenance, or storage purposes. Whether you're dealing with accumulated dirt, a need for thorough maintenance, or simply want to store the mop more efficiently, knowing how to disassemble the Bona mop handle is a valuable skill.
In this comprehensive guide, we'll walk you through the step-by-step process of disassembling the Bona mop handle. By following these instructions, you'll be able to easily take apart the handle, clean each component thoroughly, perform any necessary maintenance, and reassemble it without any hassle. So, grab your tools and let's get started on disassembling your Bona mop handle!
Key Takeaways:
- Disassembling and cleaning your Bona mop handle is easy with just a few tools and materials. Regular maintenance ensures your mop stays efficient and ready for any cleaning task.
- By following the step-by-step guide, you can confidently disassemble, clean, and reassemble your Bona mop handle, keeping your floors sparkling clean and your mop in top condition.
Read more: How To Refill A Bona Mop
Tools and Materials Needed
Before you begin disassembling the Bona mop handle, it's essential to gather the necessary tools and materials to ensure a smooth and efficient process. Here's what you'll need:
Tools:
- Flathead screwdriver
- Adjustable wrench
- Clean cloth or sponge
Materials:
- Mild soap or detergent
- Warm water
- Towel for drying
Having these tools and materials at hand will enable you to disassemble the Bona mop handle with ease and perform any necessary cleaning or maintenance tasks effectively. Once you've gathered everything, you're ready to proceed to the next steps of disassembling the handle.
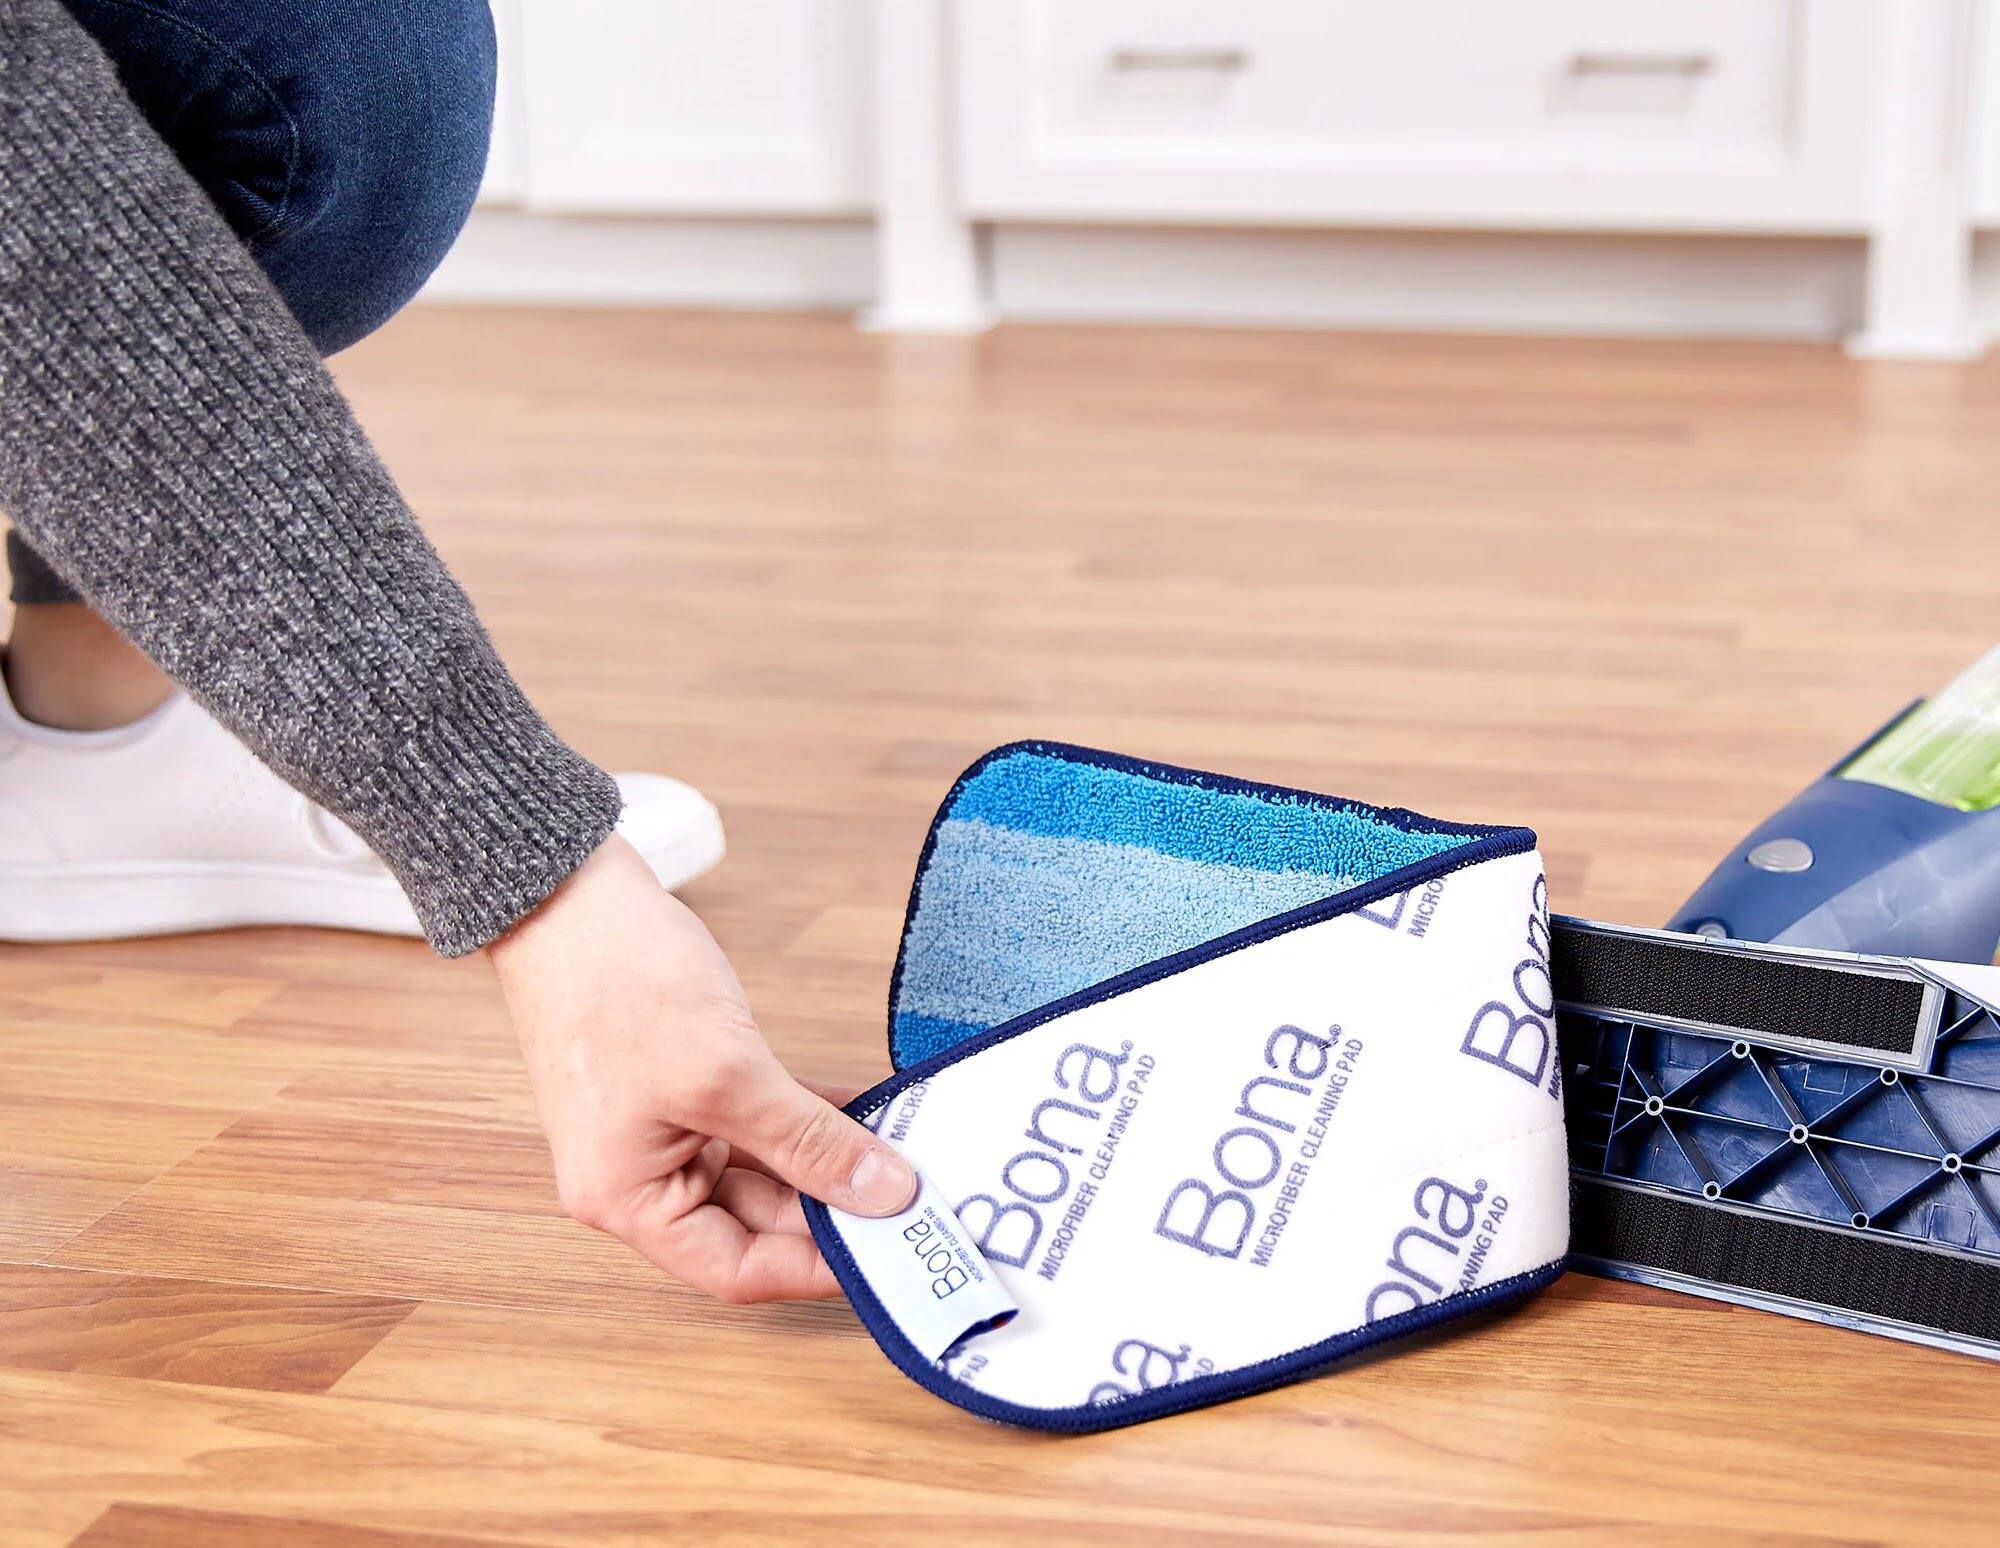
Step 1: Remove the Mop Head
The first step in disassembling the Bona mop handle is to remove the mop head. This allows for easier access to the handle and ensures a thorough cleaning process. Here’s how to do it:
- Place the Bona mop on a flat surface to provide stability during the disassembly process.
- Hold the mop head firmly with one hand while using your other hand to twist and unscrew it counterclockwise. The mop head should detach from the handle easily.
- Once the mop head is removed, set it aside for cleaning. You can follow the manufacturer’s instructions for washing the mop head or use a mild soap and warm water to clean it thoroughly. Allow the mop head to air dry or use a towel to pat it dry before reattaching it later.
With the mop head successfully removed, you’re now ready to move on to the next step in disassembling the Bona mop handle.
Read more: How To Wash A Bona Mop Pad
Step 2: Unscrew the Handle
After removing the mop head, the next step is to unscrew the handle from the mop base. This process will allow you to disassemble the handle sections for thorough cleaning and maintenance. Follow these steps to unscrew the handle:
- Lay the Bona mop on a stable surface to ensure it remains steady during the disassembly process.
- Locate the point where the handle attaches to the mop base. This connection point may feature a screw or a locking mechanism, depending on the specific Bona mop model you have.
- If your Bona mop has a screw, use a flathead screwdriver to loosen and remove it. Turn the screw counterclockwise until it is completely detached from the handle.
- If your Bona mop features a locking mechanism, carefully disengage the lock to release the handle from the mop base. This may involve pressing a release button or twisting the handle to unlock it from the base.
- Once the handle is detached from the mop base, set it aside for further disassembly. You can proceed to the next step to disassemble the handle sections and clean each component thoroughly.
By successfully unscrewing the handle from the mop base, you’ve completed an essential step in the disassembly process. Now, let’s move on to the next step to disassemble the handle sections and prepare them for cleaning and maintenance.
Step 3: Disassemble the Handle Sections
With the handle detached from the mop base, it’s time to disassemble the handle sections to facilitate a thorough cleaning and maintenance process. Follow these steps to disassemble the handle sections of your Bona mop:
- Inspect the handle to identify any sections that can be unscrewed or separated. Depending on the specific Bona mop model, the handle may consist of multiple sections that can be disassembled for cleaning and maintenance.
- Using an adjustable wrench, carefully unscrew the handle sections by turning them counterclockwise. If the sections are secured with locking mechanisms, follow the manufacturer’s instructions to disengage the locks and separate the sections.
- Once the handle sections are detached, lay them out in an organized manner for cleaning. You can use a mild soap or detergent mixed with warm water to clean each section thoroughly, removing any accumulated dirt, grime, or cleaning product residue.
- After cleaning, rinse the handle sections with clean water and dry them using a clean cloth or towel. Ensure that each section is completely dry before reassembling the handle.
By disassembling the handle sections and cleaning them meticulously, you’re taking proactive steps to maintain the cleanliness and functionality of your Bona mop. With the handle sections thoroughly cleaned and dried, you’re now ready to proceed to the next step to reassemble the handle sections and prepare for reattaching the mop head.
To disassemble a Bona mop handle, first remove the mop head by pressing the release buttons on the sides. Then, twist and pull the handle sections apart to separate them.
Step 4: Reassemble the Handle Sections
After cleaning and drying the handle sections, it’s time to reassemble them to restore the Bona mop handle to its functional state. Follow these steps to reassemble the handle sections with precision and care:
- Inspect each handle section to ensure that it is clean, dry, and free from any residue or debris.
- If the handle sections were unscrewed, use an adjustable wrench to carefully screw them back together by turning them clockwise. Ensure that each section is securely fastened to prevent any wobbling or instability during use.
- If the handle sections feature locking mechanisms, follow the manufacturer’s instructions to reengage the locks and secure the sections firmly in place.
- Once the handle sections are reassembled, give the entire handle a gentle shake to ensure that it is stable and secure. This step helps verify that the handle sections are properly connected and ready for use.
By reassembling the handle sections with precision and attention to detail, you’re ensuring that the Bona mop handle is structurally sound and ready for the next phase of the reassembly process. With the handle sections securely reconnected, you’re now prepared to move on to the final steps of reattaching the mop head and completing the reassembly of your Bona mop handle.
Step 5: Attach the Mop Head
With the handle sections reassembled, it’s time to reattach the mop head to complete the reassembly process of your Bona mop handle. Follow these steps to securely attach the mop head:
- Retrieve the cleaned and dried mop head and ensure that it is free from any residual dirt or moisture.
- Align the threaded end of the handle with the attachment point on the mop head.
- Gently twist the handle clockwise into the attachment point on the mop head, ensuring a snug and secure fit. The threads on the handle should align with those inside the mop head, allowing for a smooth and effortless attachment.
- Once the handle is securely attached to the mop head, give it a gentle tug to verify that it is firmly in place. This step ensures that the mop head is securely affixed to the handle and ready for use.
By successfully reattaching the mop head to the handle, you’ve completed the final step in the reassembly process of your Bona mop handle. With the mop head securely in place, your Bona mop is now fully assembled and ready to tackle your cleaning tasks with renewed efficiency and effectiveness.
Read more: How To Disassemble A Shark Steam Mop
Conclusion
Congratulations! You’ve successfully learned how to disassemble and reassemble the Bona mop handle. By following the step-by-step instructions provided in this guide, you’ve gained valuable insights into maintaining and cleaning the essential components of your Bona mop, ensuring its longevity and optimal performance.
Remember, regular cleaning and maintenance of your cleaning appliances are crucial for preserving their effectiveness and extending their lifespan. By disassembling the Bona mop handle, cleaning each component thoroughly, and reassembling it with care, you’re investing in the durability and functionality of your cleaning tool.
As you use your Bona mop to keep your floors sparkling clean, the knowledge and skills you’ve acquired from this guide will empower you to maintain a hygienic and inviting living environment. Whether you’re dealing with everyday spills, routine cleaning, or deep cleaning sessions, your well-maintained Bona mop handle will be your trusted ally in achieving pristine floors and surfaces.
Thank you for embarking on this disassembly and reassembly journey with us. We hope this guide has equipped you with the confidence and expertise to handle the maintenance of your Bona mop handle with ease. Here’s to clean, gleaming floors and a well-maintained Bona mop handle!
Frequently Asked Questions about How To Disassemble Bona Mop Handle
Was this page helpful?
At Storables.com, we guarantee accurate and reliable information. Our content, validated by Expert Board Contributors, is crafted following stringent Editorial Policies. We're committed to providing you with well-researched, expert-backed insights for all your informational needs.


0 thoughts on “How To Disassemble Bona Mop Handle”