Home>Home Appliances>Cleaning Appliances>How To Take Handle Off Shark Steam Mop S1000
Cleaning Appliances
How To Take Handle Off Shark Steam Mop S1000
Modified: February 25, 2024
Learn how to easily remove the handle from your Shark Steam Mop S1000 for cleaning and maintenance. Follow these simple steps to keep your cleaning appliances in top condition. Discover the best way to maintain your Shark Steam Mop S1000.
(Many of the links in this article redirect to a specific reviewed product. Your purchase of these products through affiliate links helps to generate commission for Storables.com, at no extra cost. Learn more)
Introduction
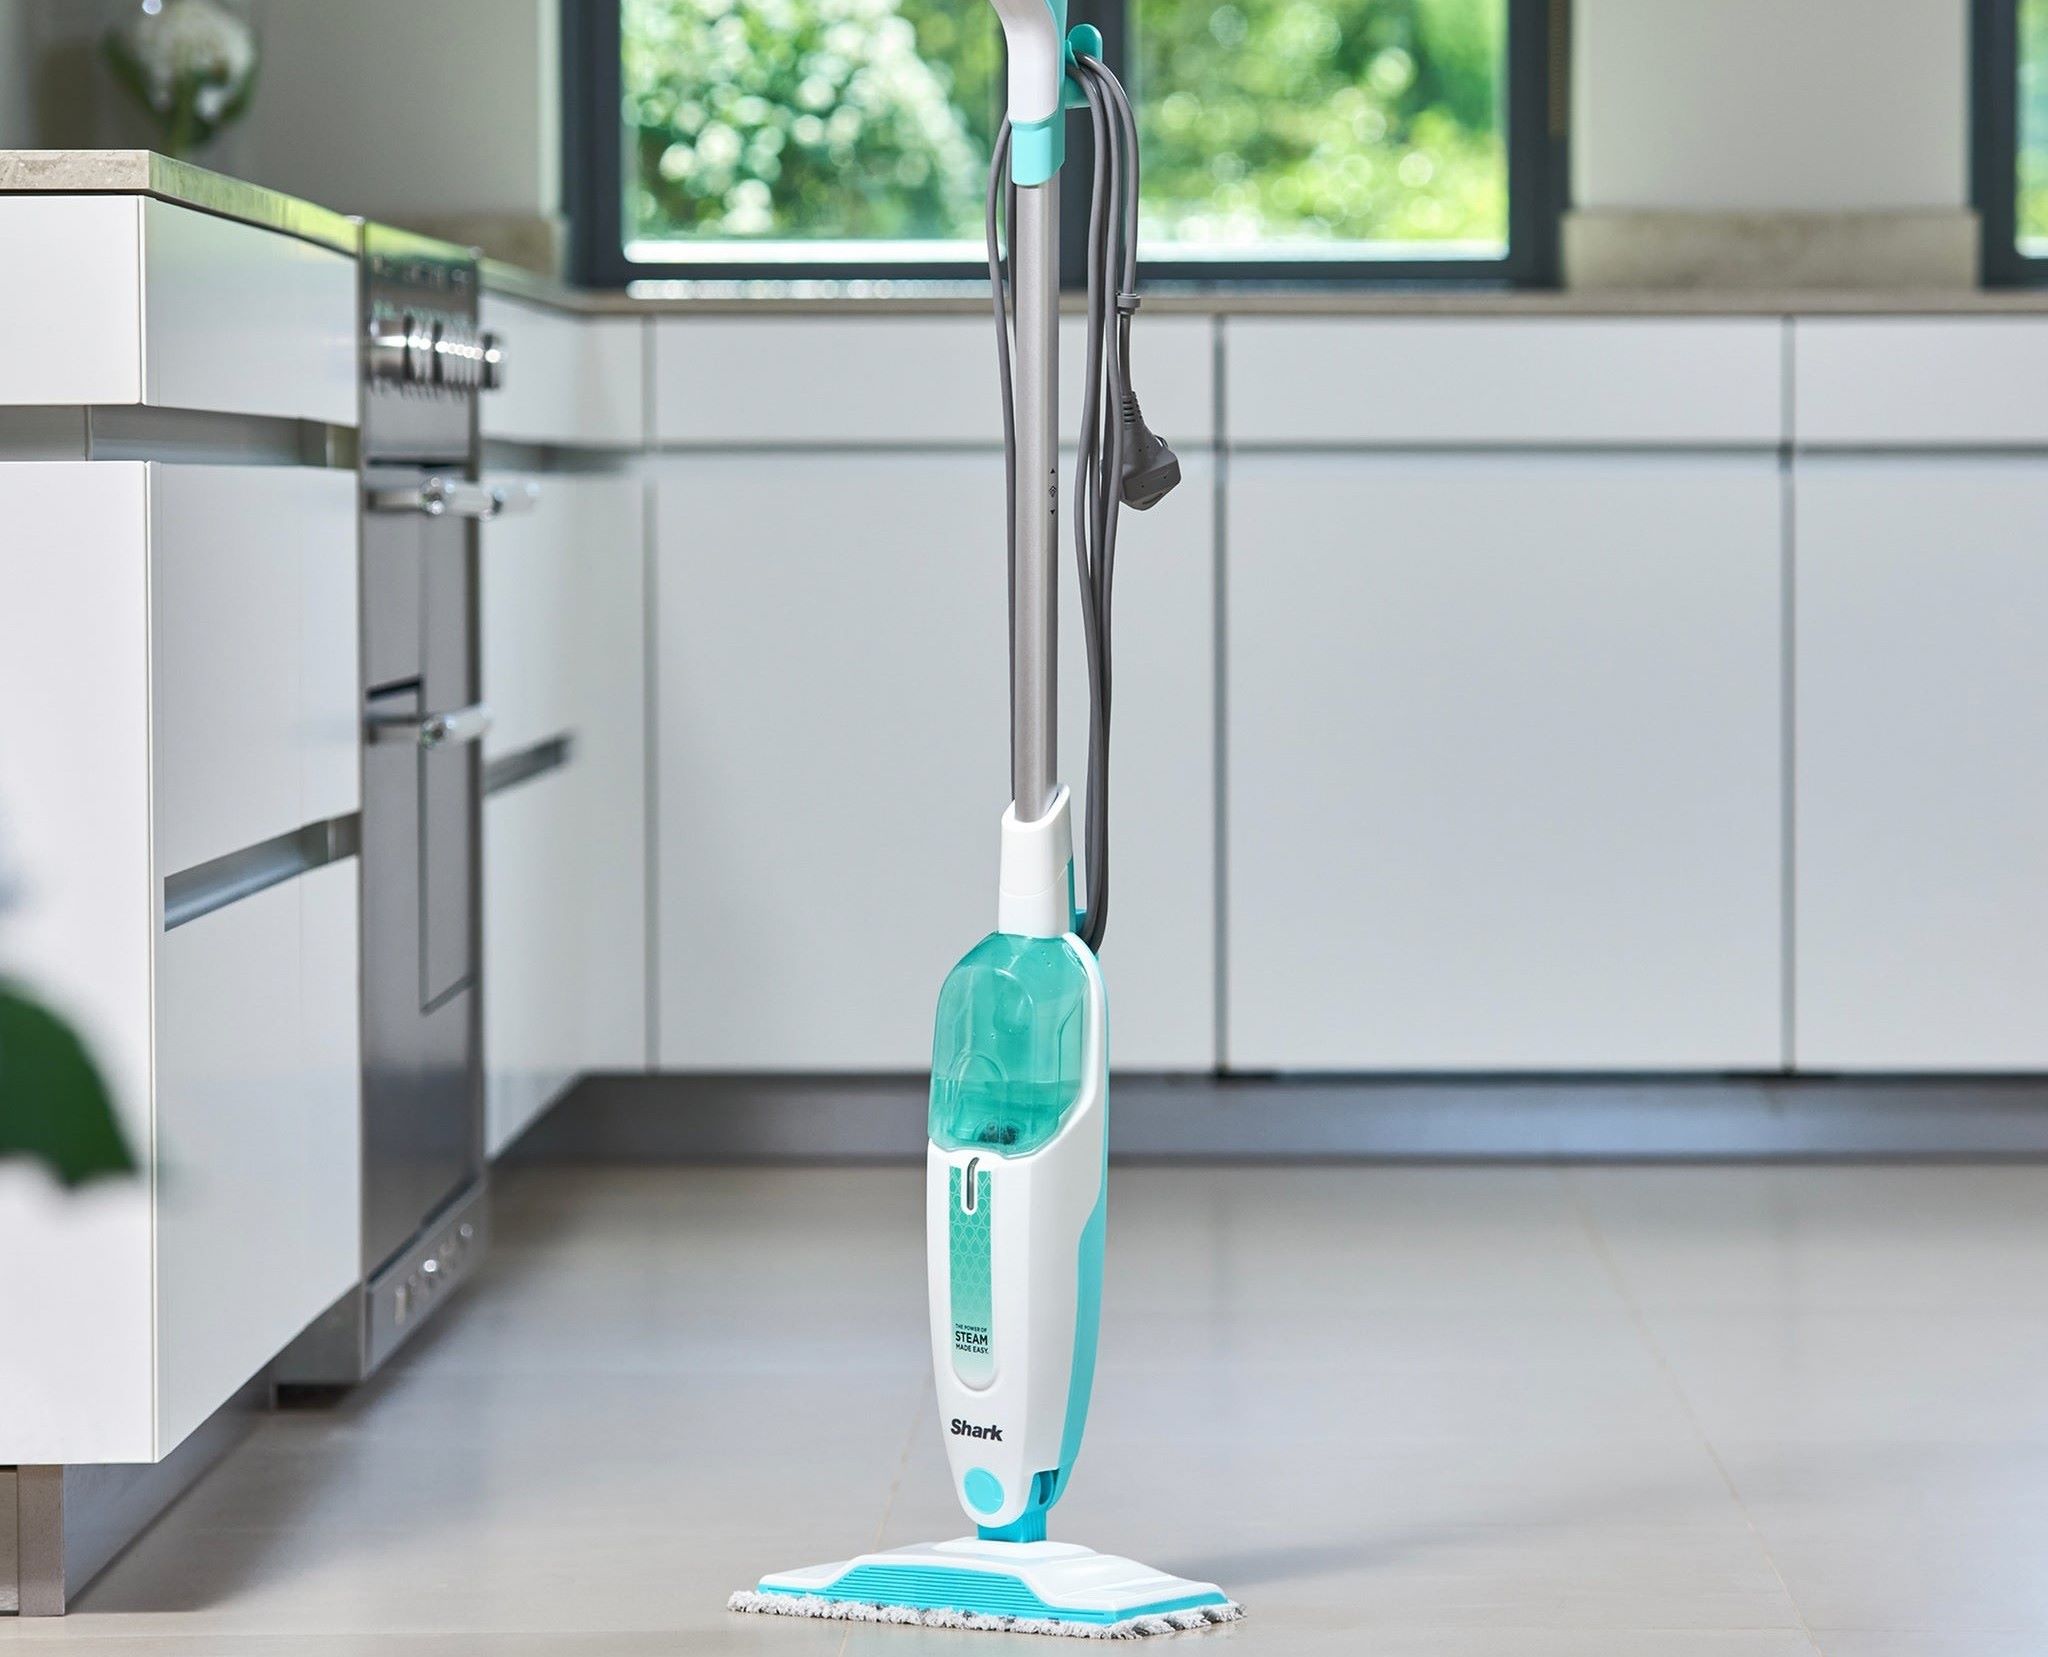
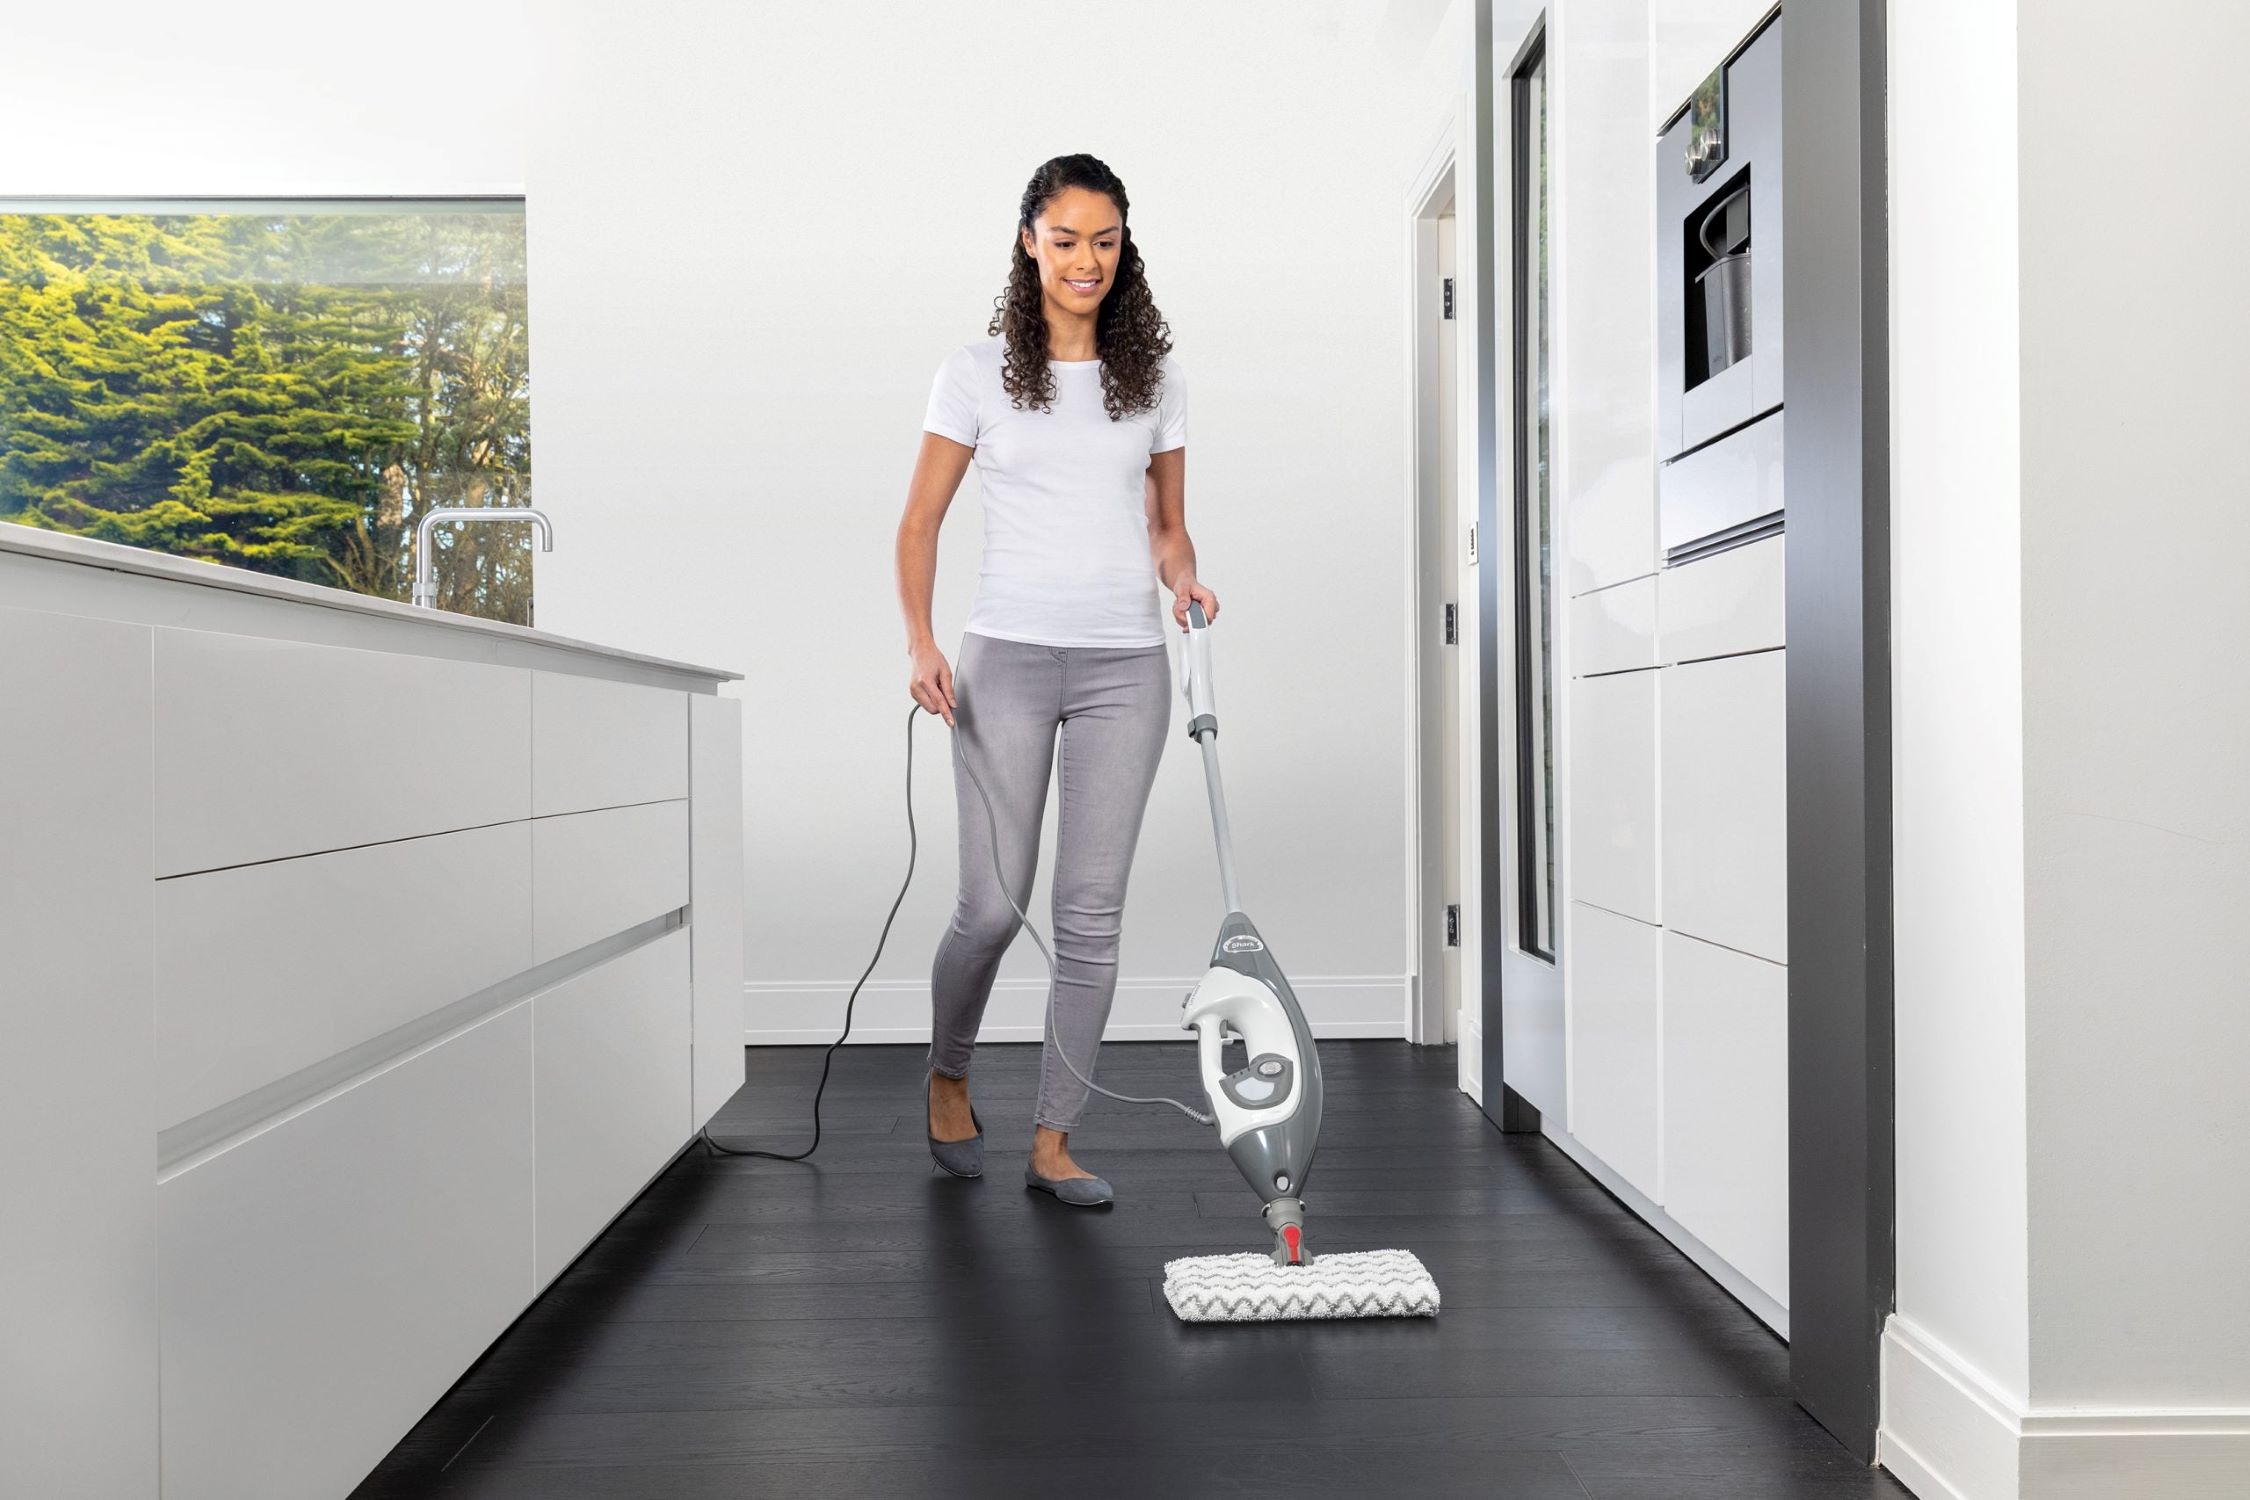
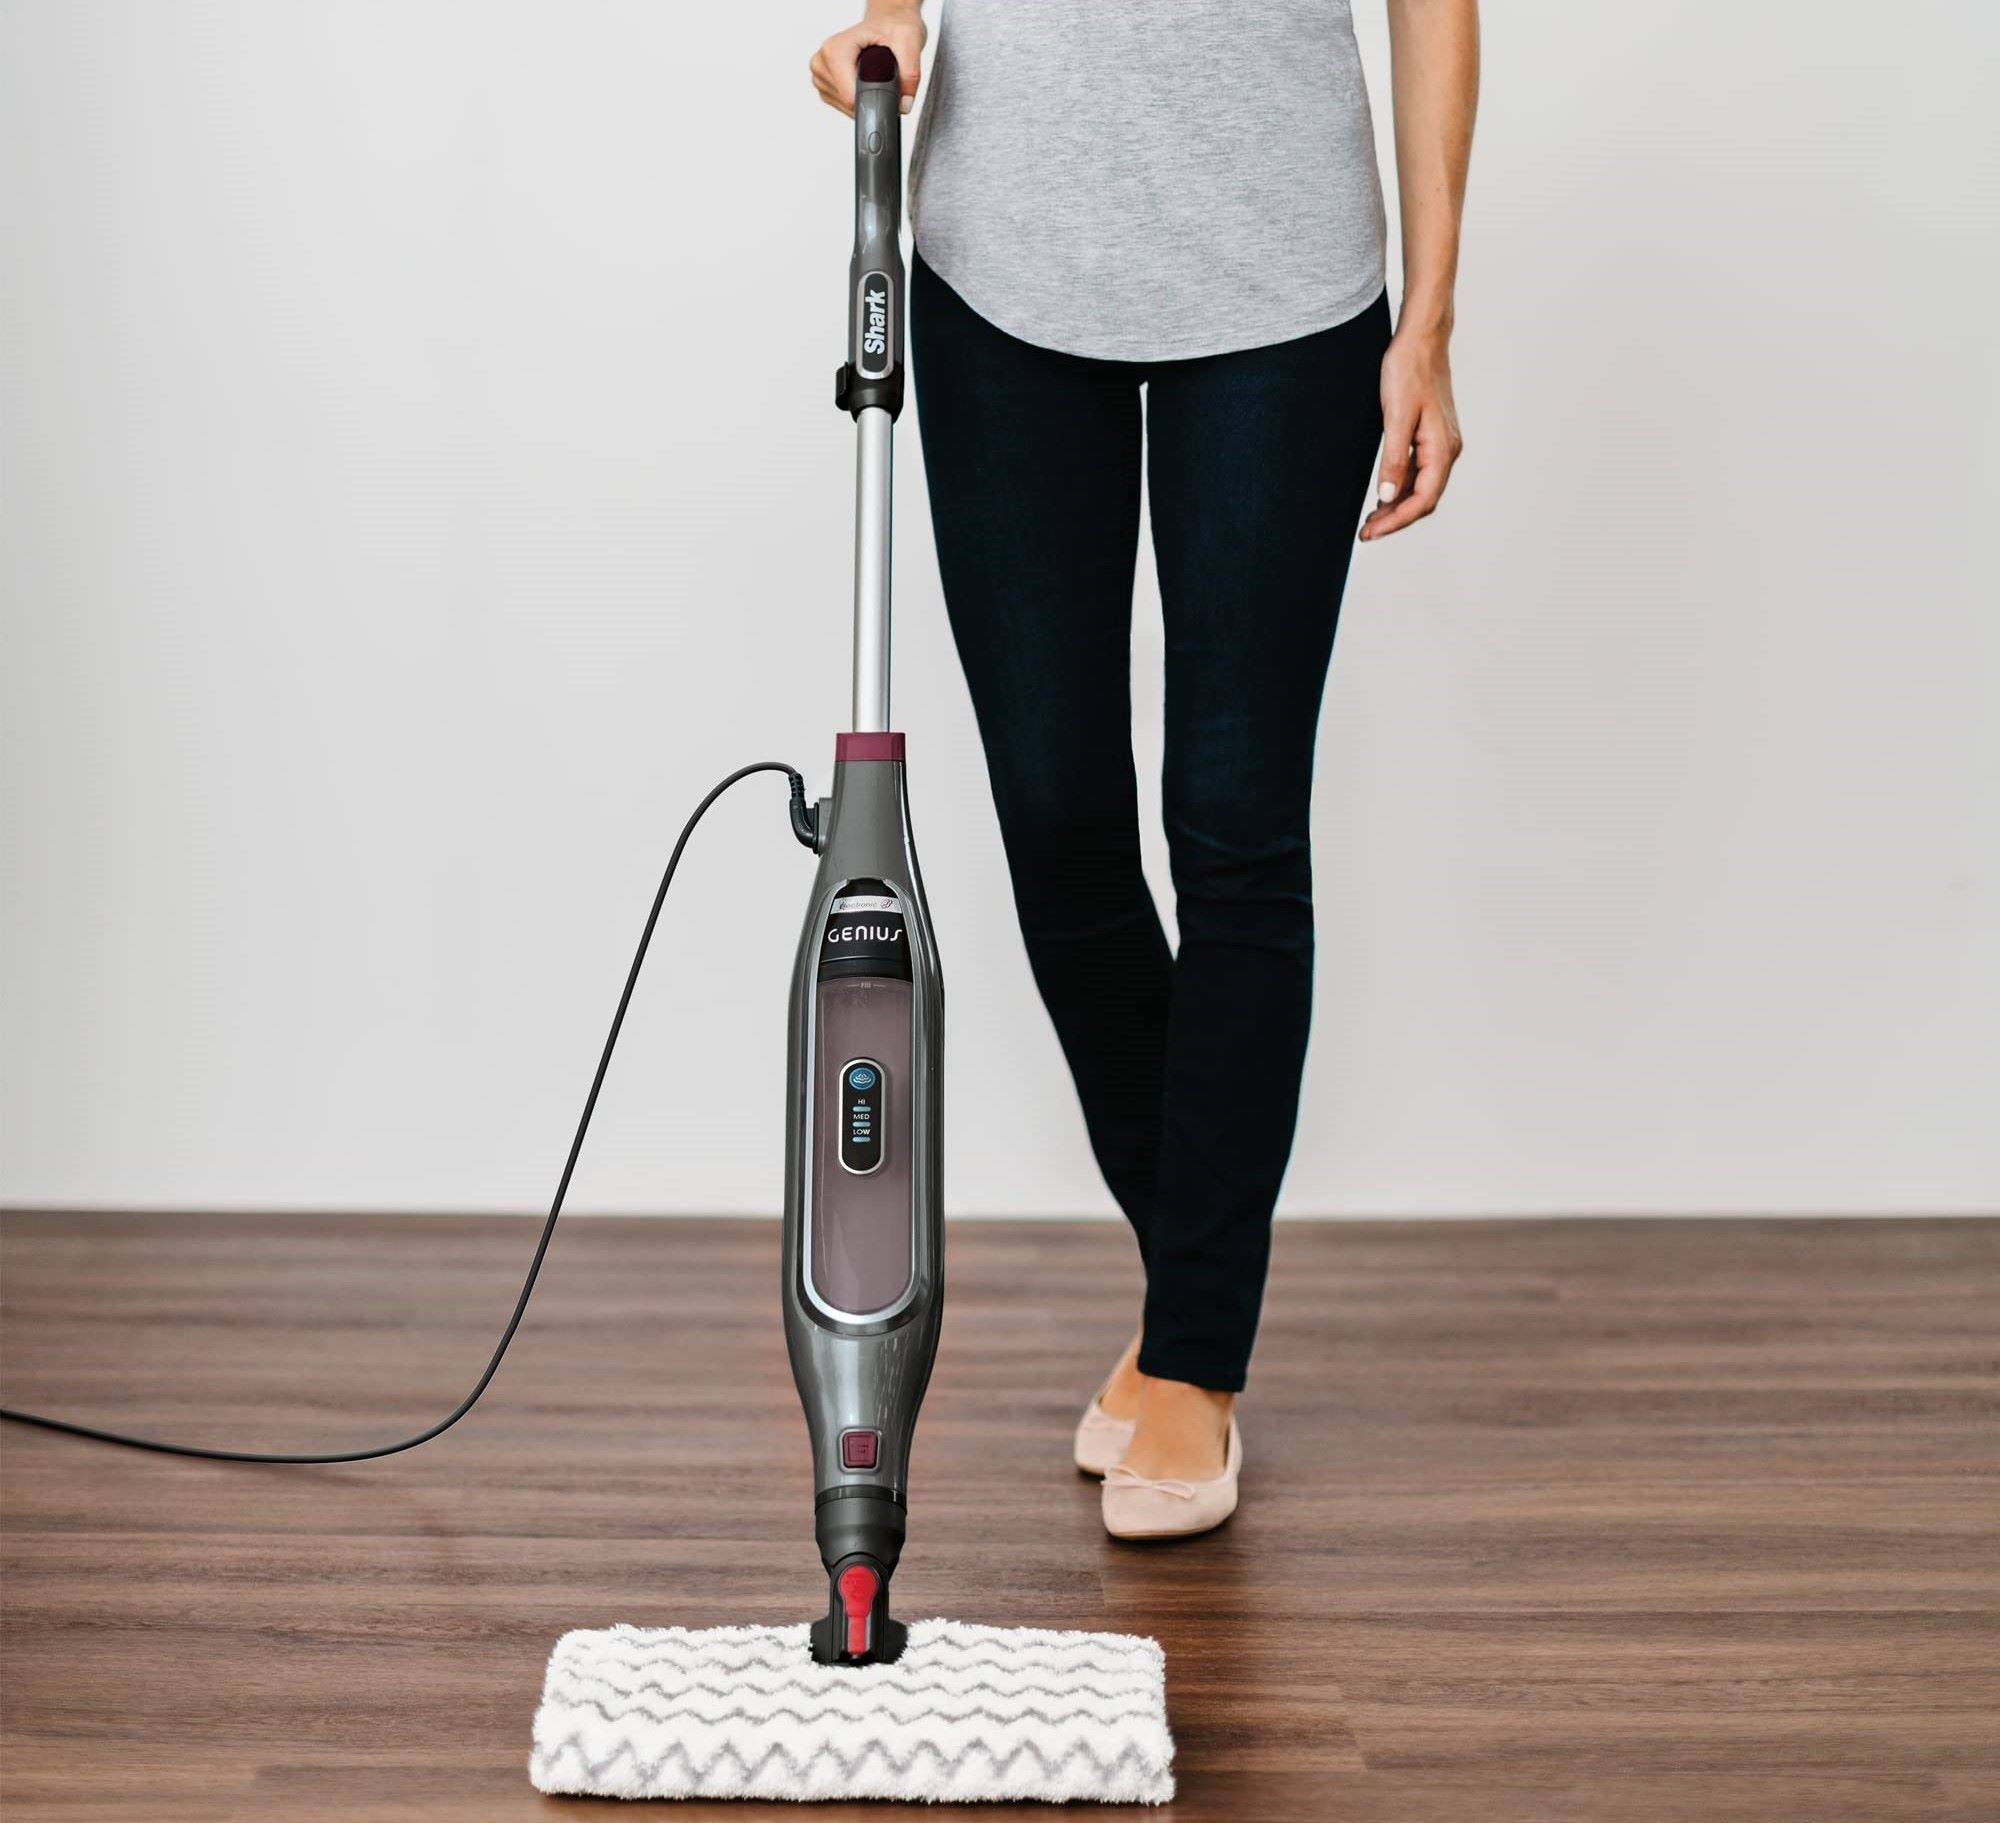
Welcome to the world of deep cleaning with the Shark Steam Mop S1000! This innovative appliance is designed to tackle tough grime and dirt on a variety of surfaces, from hardwood floors to tile and laminate. The Shark Steam Mop S1000 is equipped with a removable handle, which allows for convenient storage and easy maneuverability during use. However, there may come a time when you need to remove the handle for maintenance or storage purposes. If you find yourself in this situation, fear not! In this comprehensive guide, we will walk you through the step-by-step process of removing the handle from your Shark Steam Mop S1000.
By following these simple instructions, you’ll be able to seamlessly remove the handle and reassemble your steam mop with confidence. So, grab your toolkit and let’s get started on unlocking the full potential of your Shark Steam Mop S1000!
Key Takeaways:
- Easily remove and reassemble the handle of your Shark Steam Mop S1000 with simple tools like a screwdriver and cloth. Safely prepare the mop and follow step-by-step instructions for a stress-free process.
- Master the art of handle removal to maintain and store your Shark Steam Mop S1000 with confidence. Safely detach and reattach the handle for convenient maintenance and versatile cleaning.
Read more: How To Remove Shark Steam Mop Handle
Step 1: Gather Necessary Tools
Before diving into the process of removing the handle from your Shark Steam Mop S1000, it’s essential to gather the necessary tools to ensure a smooth and hassle-free experience. Here’s a list of items you’ll need:
- Flathead screwdriver
- Clean cloth
These basic tools will come in handy as you navigate through the handle removal process. The flathead screwdriver will be used to release the handle from its position, while the clean cloth will help maintain the cleanliness of your steam mop throughout the procedure.
Once you have these tools at your disposal, you’ll be well-prepared to proceed to the next step with confidence. With the right tools in hand, you’re one step closer to mastering the art of handle removal for your Shark Steam Mop S1000!
Step 2: Prepare the Steam Mop
Before delving into the handle removal process, it’s crucial to properly prepare your Shark Steam Mop S1000 to ensure a safe and efficient procedure. Here’s how to prepare your steam mop for handle removal:
First, ensure that the steam mop is powered off and unplugged from the electrical outlet. Safety should always be a top priority when performing maintenance tasks on any electrical appliance.
Next, place the steam mop on a flat and stable surface. This will provide a secure foundation for the handle removal process and prevent any accidental tipping or instability.
Inspect the steam mop to ensure that it is free from any visible debris or obstructions. A clean and clear working area will facilitate a smooth handle removal process and minimize the risk of any unwanted complications.
With the steam mop properly prepared and positioned, you’re now ready to move on to the next crucial step in the handle removal process. By taking the time to prepare your steam mop, you’re setting the stage for a successful and stress-free handle removal experience.
To remove the handle from the Shark Steam Mop S1000, first, unplug the mop. Then, press the release button on the handle and pull it off the mop.
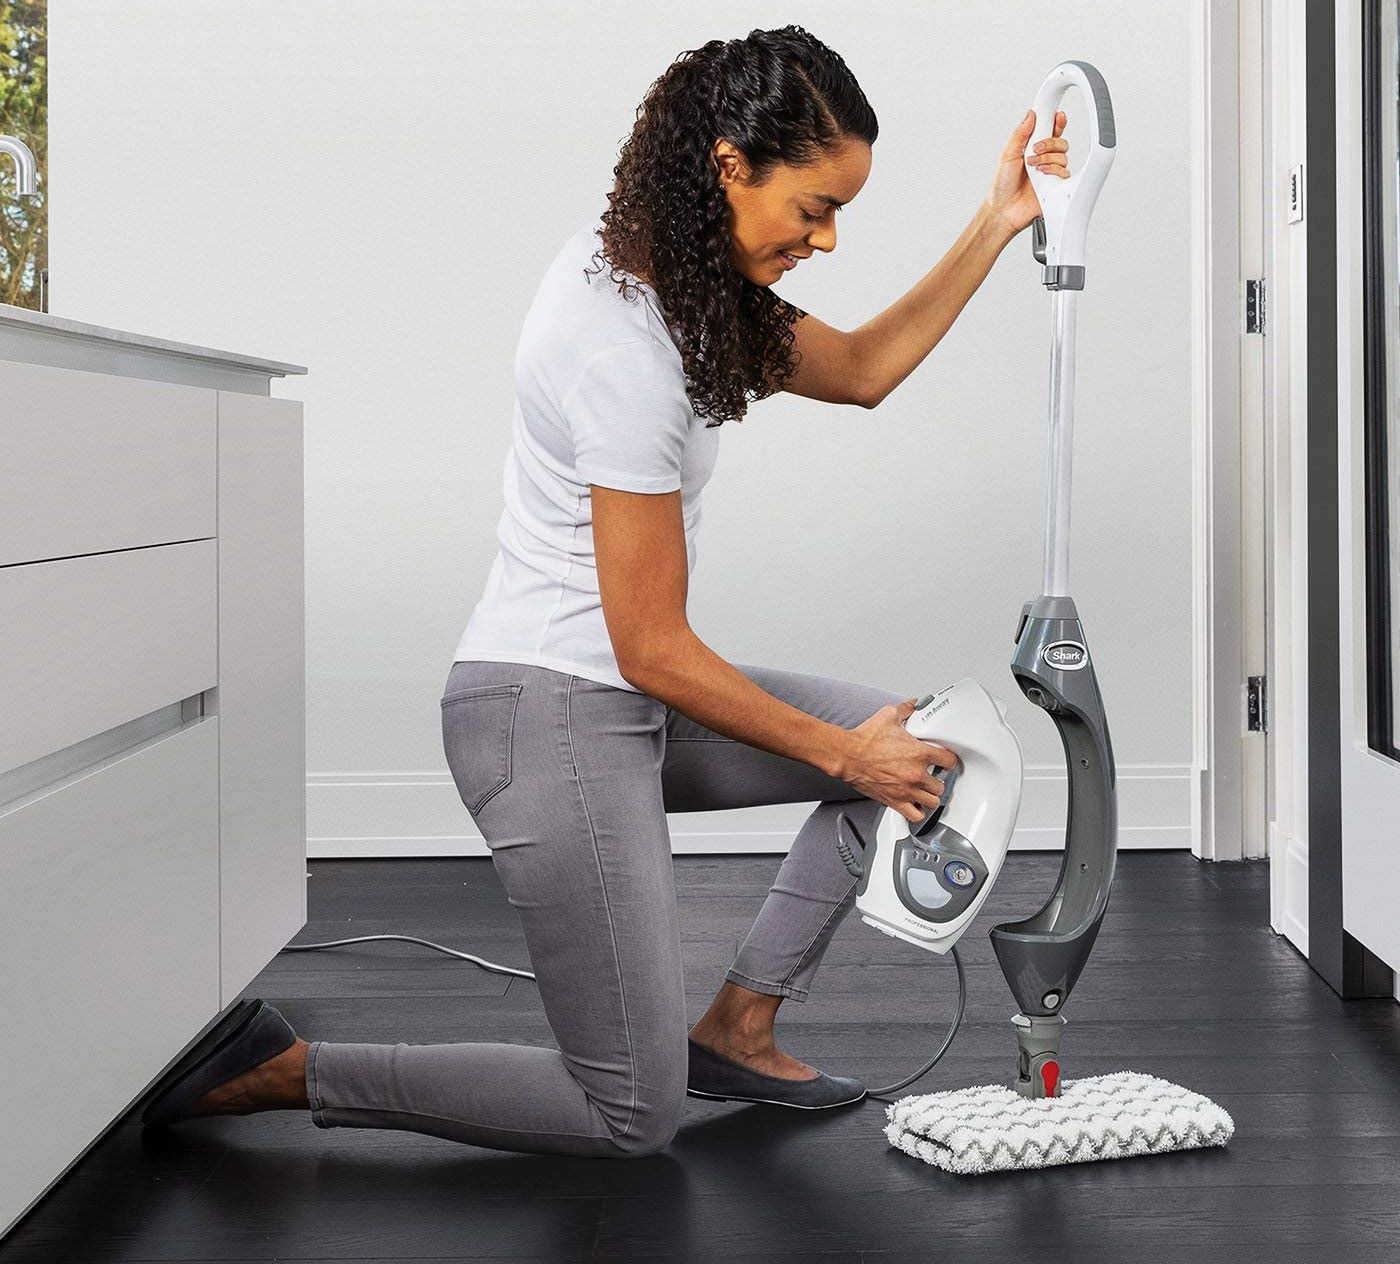
Step 3: Remove the Handle
Now comes the pivotal moment of removing the handle from your Shark Steam Mop S1000. Follow these step-by-step instructions to seamlessly detach the handle:
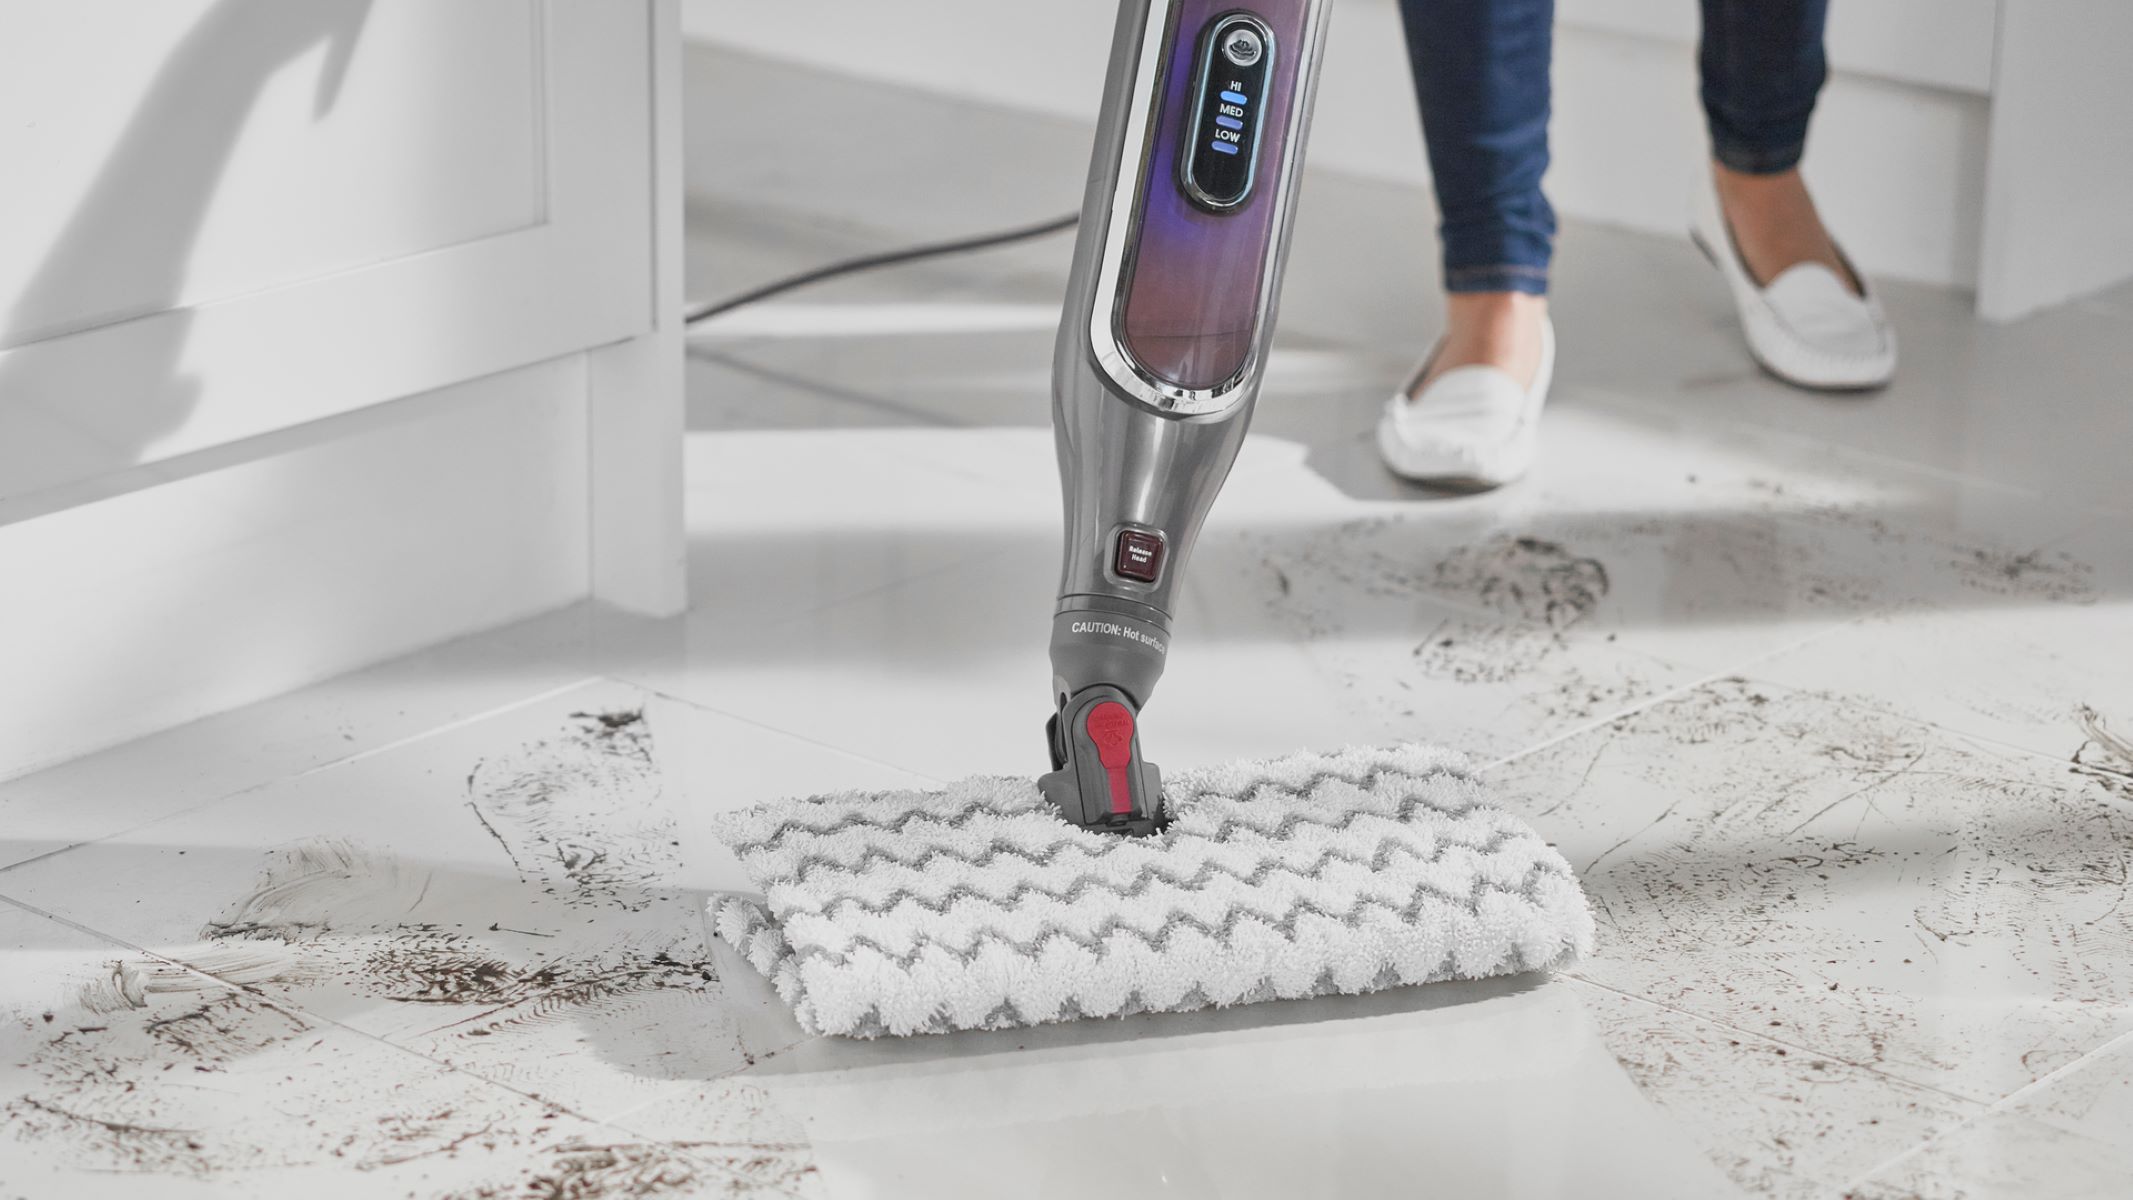
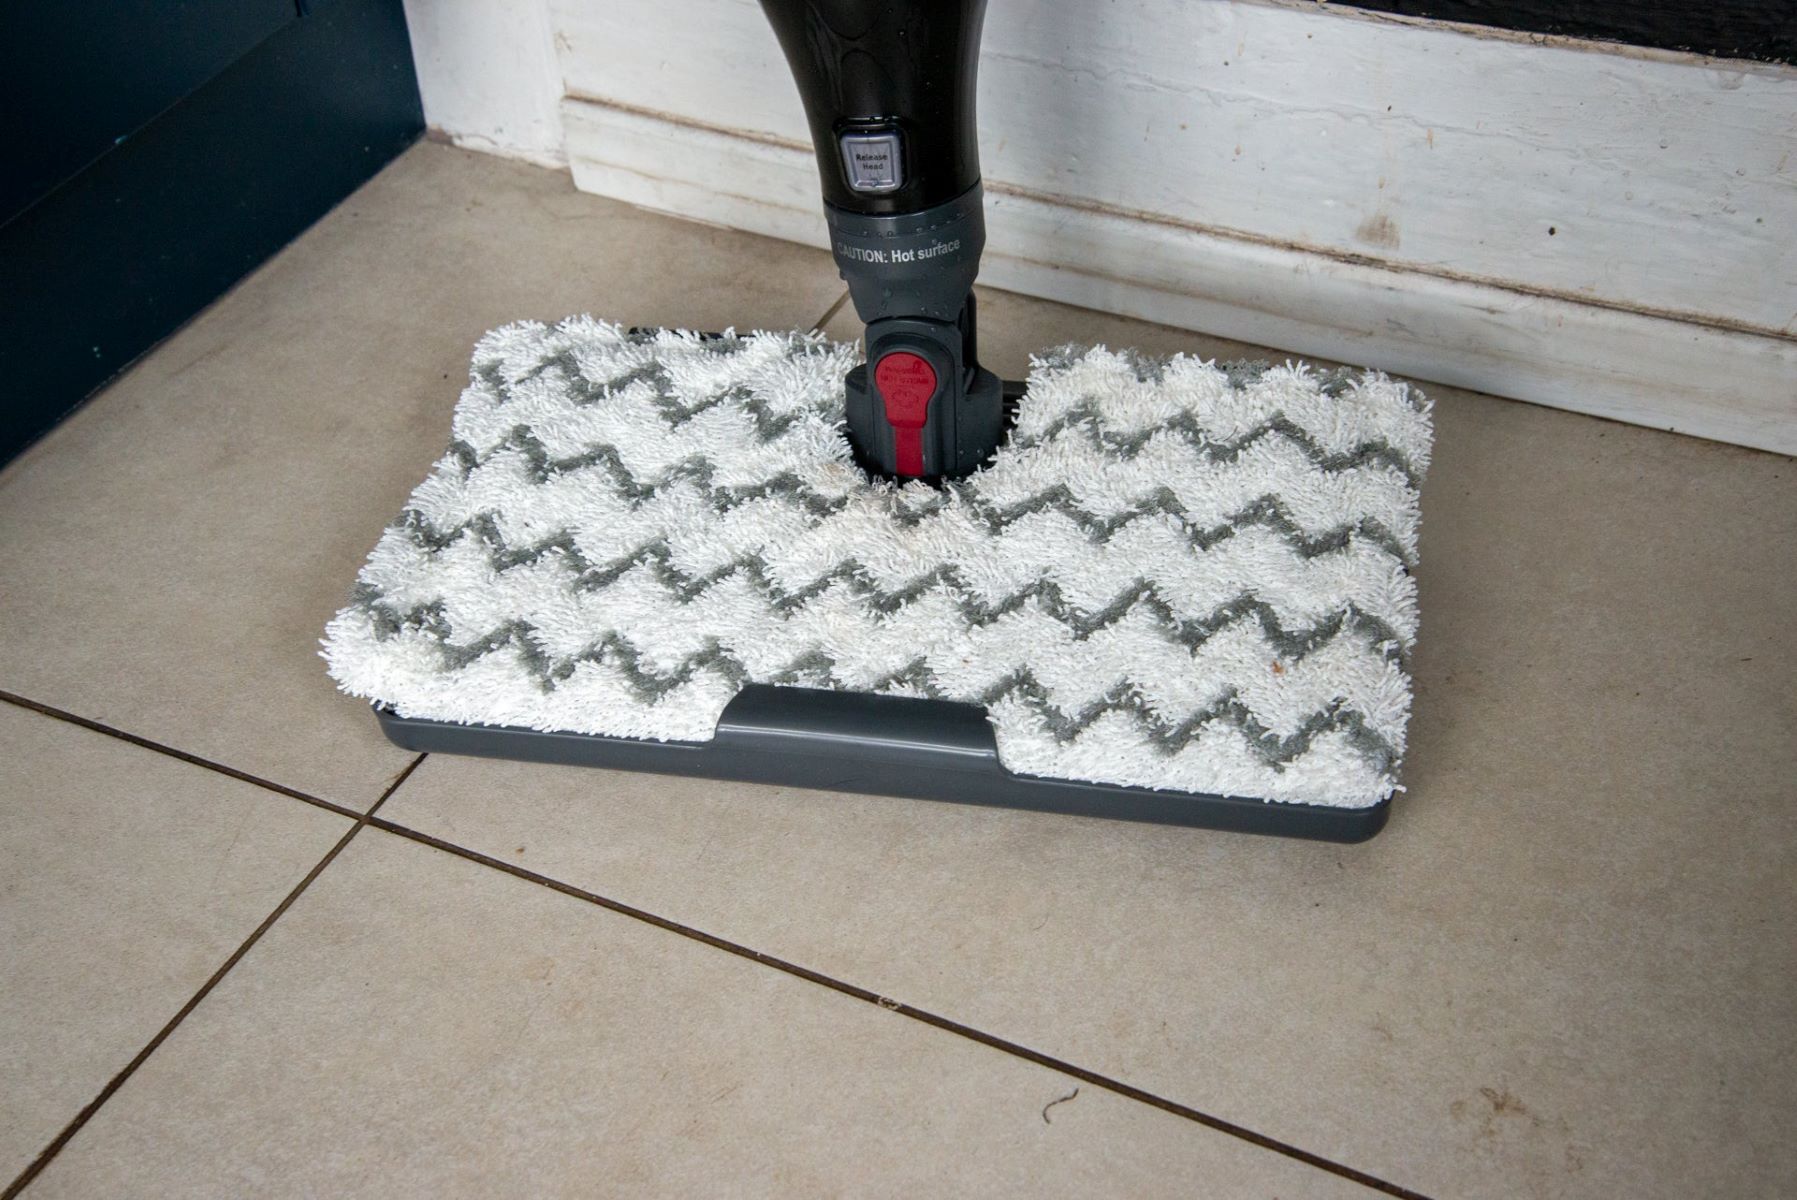
- Start by locating the release button or lever on the steam mop handle. This button is typically positioned near the base of the handle, where it connects to the main body of the steam mop.
- Press the release button or lever to initiate the handle removal process. Applying gentle pressure to the button should trigger the release mechanism, allowing the handle to disengage from the steam mop.
- While holding down the release button, carefully lift the handle away from the main body of the steam mop. Take care to maintain a firm grip on the handle to prevent any accidental drops or mishandling.
- As you lift the handle, you may encounter some resistance due to the secure attachment mechanism. Use a flathead screwdriver to gently pry apart any stubborn connections, ensuring a smooth and controlled removal process.
- Once the handle is successfully detached from the steam mop, set it aside in a safe and stable location. This will prevent any potential damage to the handle and ensure that it remains in optimal condition for future use.
By following these precise steps, you’ll be able to remove the handle from your Shark Steam Mop S1000 with confidence and precision. As you master the art of handle removal, you’re one step closer to unlocking the full potential of your steam mop for maintenance or storage purposes.
Step 4: Reassemble the Steam Mop
After successfully removing the handle from your Shark Steam Mop S1000, it’s time to reassemble the steam mop to its fully functional state. Follow these simple steps to seamlessly reattach the handle:
- Retrieve the detached handle and position it in close proximity to the main body of the steam mop.
- Align the handle with the corresponding attachment point on the steam mop, ensuring a precise and secure fit.
- Gently lower the handle onto the attachment point, taking care to align any connection mechanisms for a seamless reassembly process.
- Apply gentle pressure to the handle, pressing it firmly into place on the steam mop. You may hear a reassuring click or feel a secure connection, indicating that the handle is properly reattached.
- Once the handle is securely in place, give it a light tug to confirm that it is firmly attached to the steam mop. This final check ensures that the handle is properly reassembled and ready for use.
With these straightforward steps, you’ve successfully reassembled the handle onto your Shark Steam Mop S1000, bringing the appliance back to its fully operational state. By mastering the reassembly process, you can confidently prepare your steam mop for future cleaning tasks and ensure its optimal functionality.
Read more: Shark’s Steam Mop Is On Sale On Amazon
Conclusion
Congratulations on mastering the process of removing and reassembling the handle on your Shark Steam Mop S1000! By following the step-by-step instructions outlined in this guide, you’ve gained the knowledge and confidence to seamlessly navigate the handle removal process, allowing for convenient maintenance and storage of your steam mop.
With the right tools and a clear understanding of the process, you can effortlessly remove the handle from your steam mop, opening up possibilities for thorough cleaning and maintenance. Whether you’re performing routine maintenance or preparing your steam mop for storage, the ability to remove and reassemble the handle is a valuable skill that enhances the versatility and functionality of your Shark Steam Mop S1000.
Remember, safety should always be a priority when working with electrical appliances. Always ensure that the steam mop is powered off and unplugged before performing any maintenance tasks, including handle removal and reassembly.
As you continue to explore the capabilities of your Shark Steam Mop S1000, the knowledge and skills you’ve gained from this guide will serve you well in maintaining the appliance’s peak performance. With proper care and maintenance, your steam mop will continue to be a reliable companion in keeping your floors and surfaces sparkling clean.
Thank you for embarking on this handle removal journey with us. We hope this guide has empowered you to confidently tackle the maintenance and care of your Shark Steam Mop S1000, ensuring its longevity and effectiveness for years to come.
Frequently Asked Questions about How To Take Handle Off Shark Steam Mop S1000
Was this page helpful?
At Storables.com, we guarantee accurate and reliable information. Our content, validated by Expert Board Contributors, is crafted following stringent Editorial Policies. We're committed to providing you with well-researched, expert-backed insights for all your informational needs.


0 thoughts on “How To Take Handle Off Shark Steam Mop S1000”