Home>Home Appliances>Cleaning Appliances>How To Fill O-Cedar Spin Mop
Cleaning Appliances
How To Fill O-Cedar Spin Mop
Modified: October 21, 2024
Learn how to effectively fill your O-Cedar Spin Mop for efficient cleaning. Discover the best techniques and tips for using cleaning appliances.
(Many of the links in this article redirect to a specific reviewed product. Your purchase of these products through affiliate links helps to generate commission for Storables.com, at no extra cost. Learn more)
Introduction
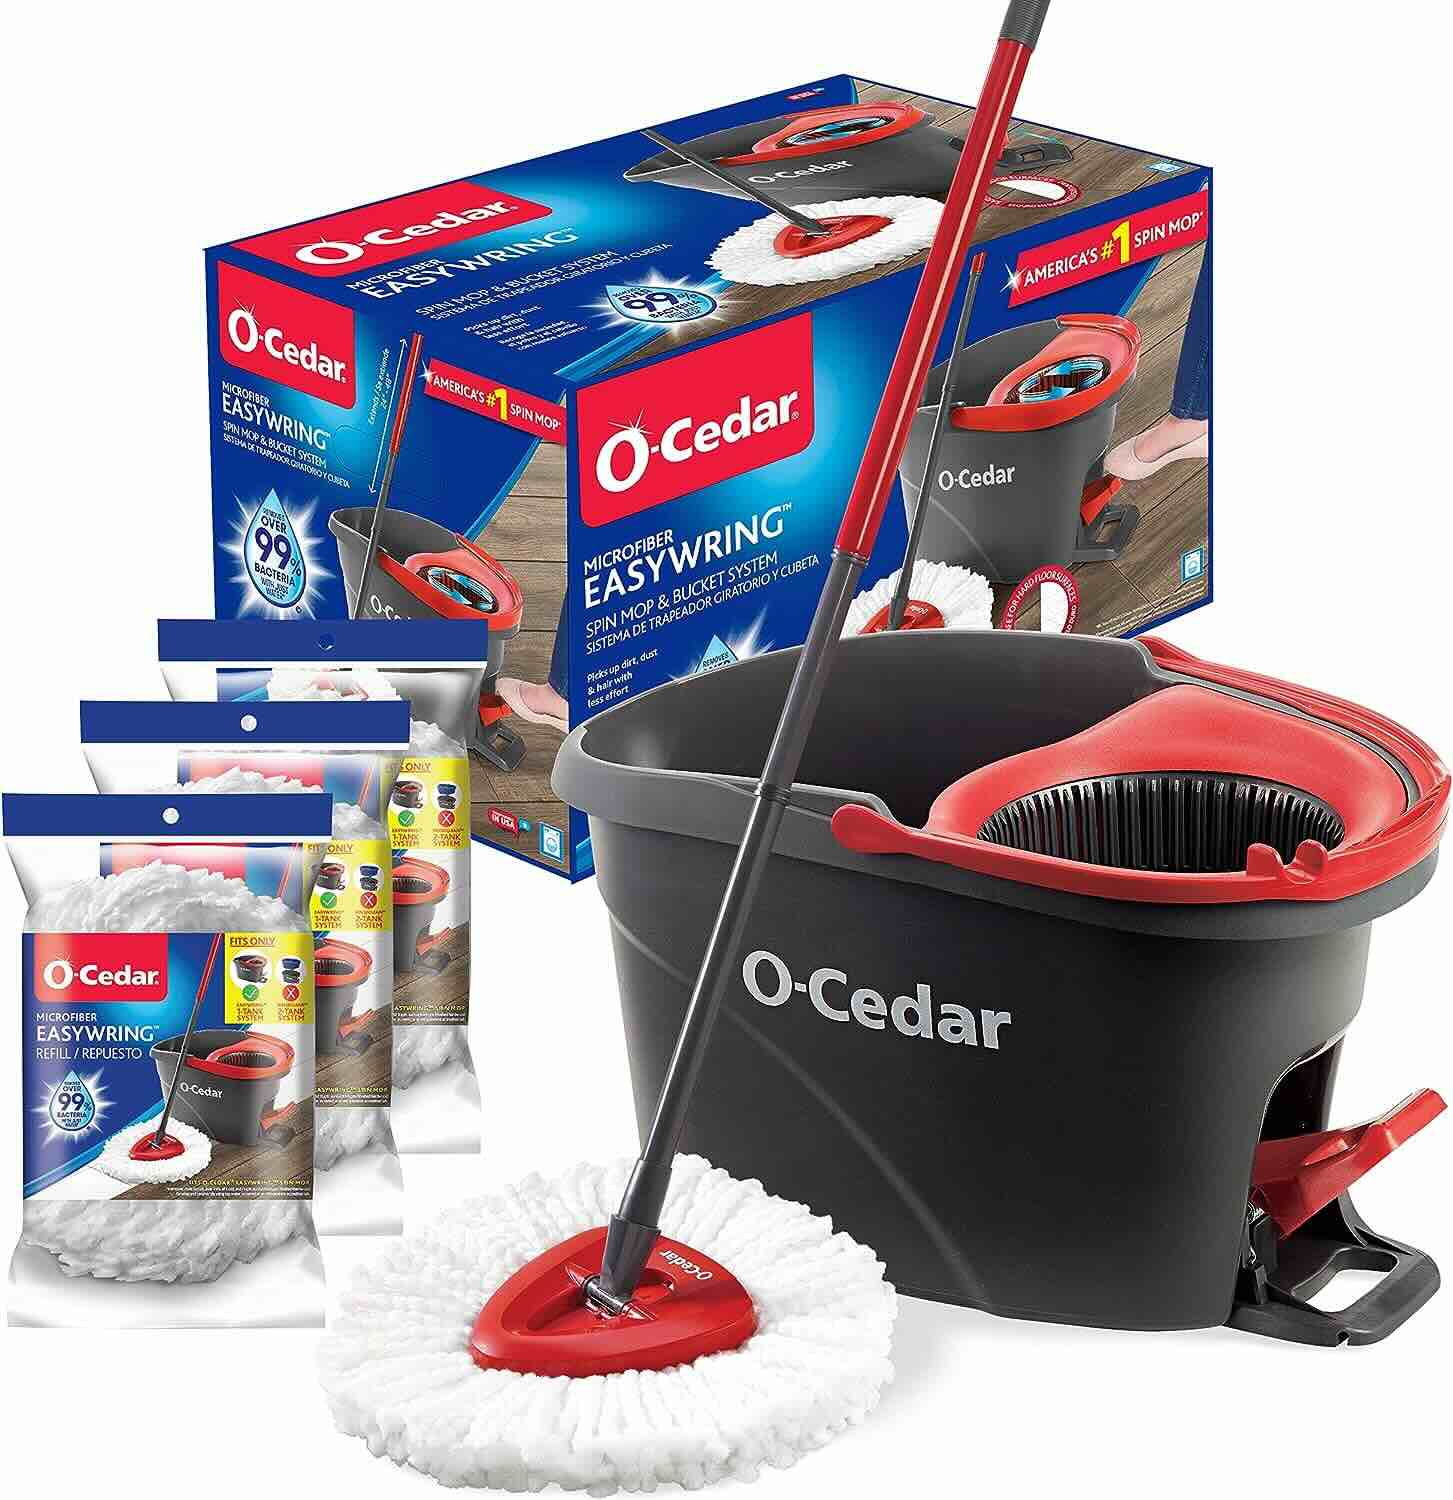
Welcome to the world of hassle-free and efficient floor cleaning with the O-Cedar Spin Mop. This innovative cleaning tool is designed to make the daunting task of mopping a breeze, providing a convenient and effective way to maintain sparkling clean floors in your home. Whether you're a cleaning enthusiast or someone looking to simplify their household chores, the O-Cedar Spin Mop is a game-changer in the realm of cleaning appliances.
In this comprehensive guide, we will walk you through the step-by-step process of filling the O-Cedar Spin Mop, ensuring that you get the most out of this remarkable cleaning tool. From assembling the spin mop to preparing the cleaning solution and attaching the mop head, we'll cover everything you need to know to achieve exceptional cleaning results with ease.
So, if you're ready to bid farewell to the traditional mop and bucket and embrace a more efficient and convenient cleaning solution, let's dive into the world of the O-Cedar Spin Mop and discover how to fill it for optimal performance. Whether you're a seasoned cleaning aficionado or a novice in the world of household chores, this guide is tailored to equip you with the knowledge and skills to make the most of your O-Cedar Spin Mop. Let's get started!
Key Takeaways:
- Say goodbye to traditional mops and buckets! The O-Cedar Spin Mop makes floor cleaning a breeze with its user-friendly assembly and efficient cleaning solution. Enjoy sparkling clean floors with minimal effort.
- Master the art of filling and using the O-Cedar Spin Mop for hassle-free floor cleaning. Its innovative design and absorbent mop head simplify the mopping process, making it a valuable cleaning companion.
Read more: What To Use In O-Cedar Mop
Step 1: Assemble the Spin Mop
Before filling the O-Cedar Spin Mop, it’s essential to assemble the components to ensure seamless functionality during the cleaning process. The O-Cedar Spin Mop is designed for user-friendly assembly, allowing you to prepare the mop for action in just a few simple steps.
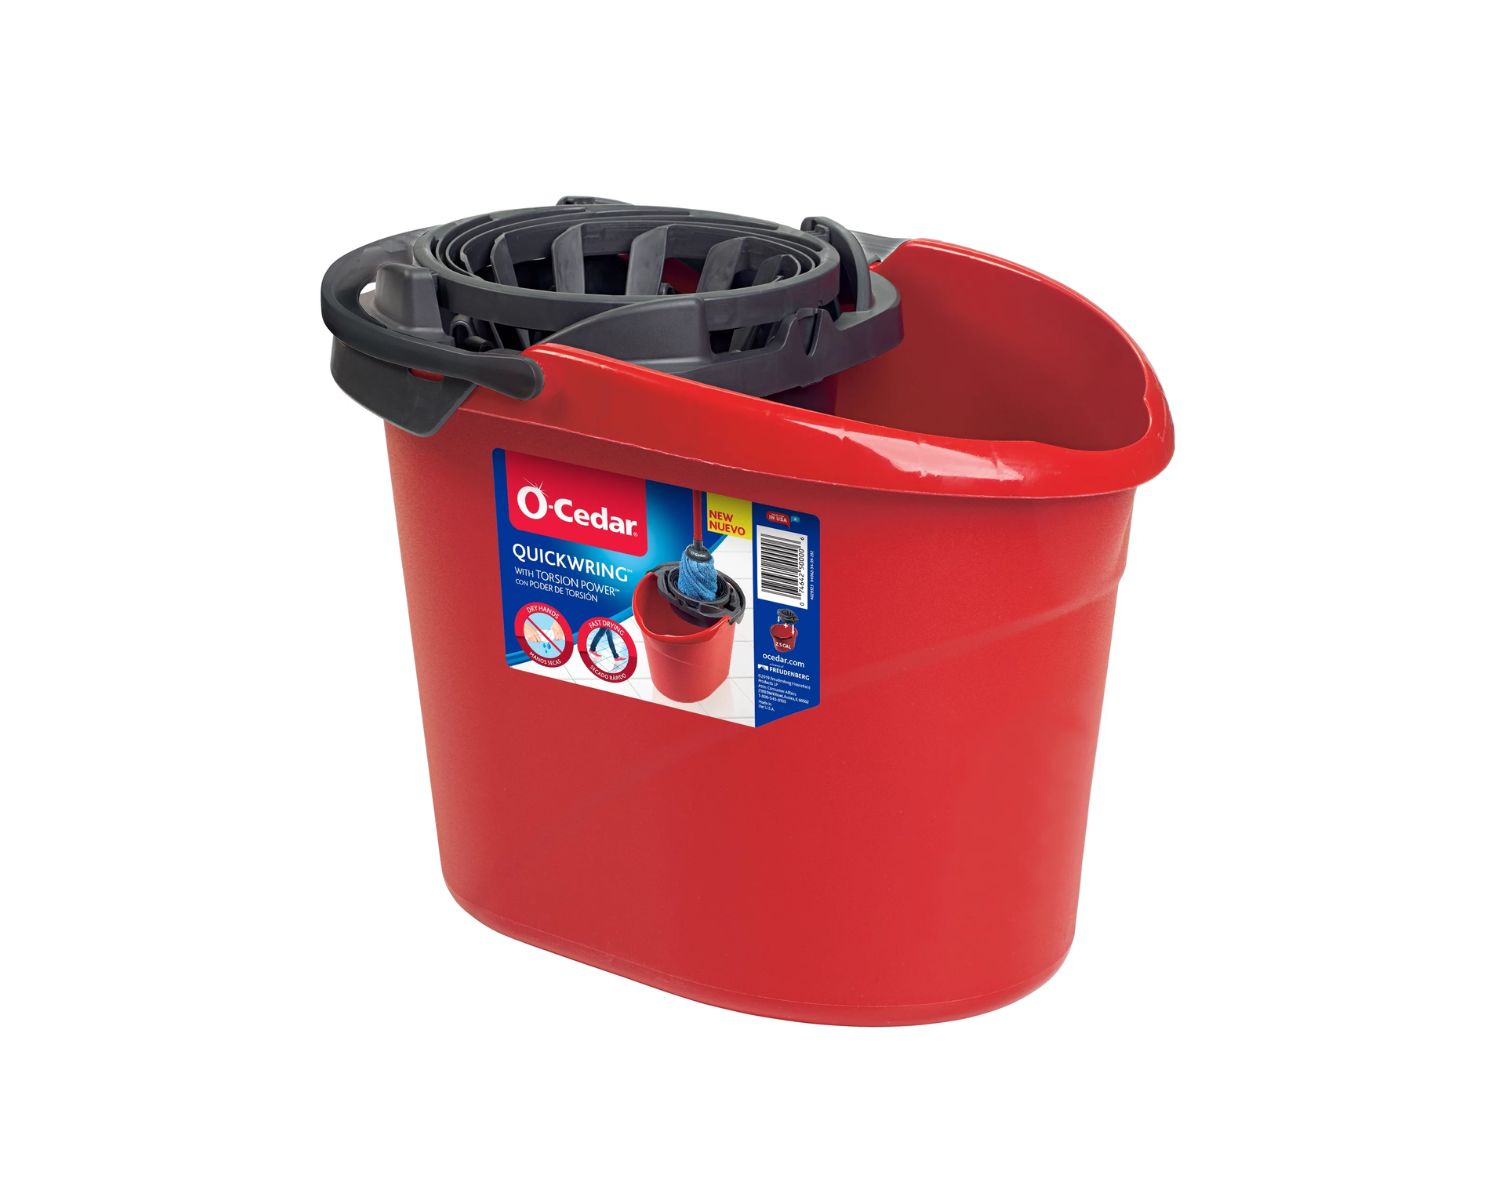
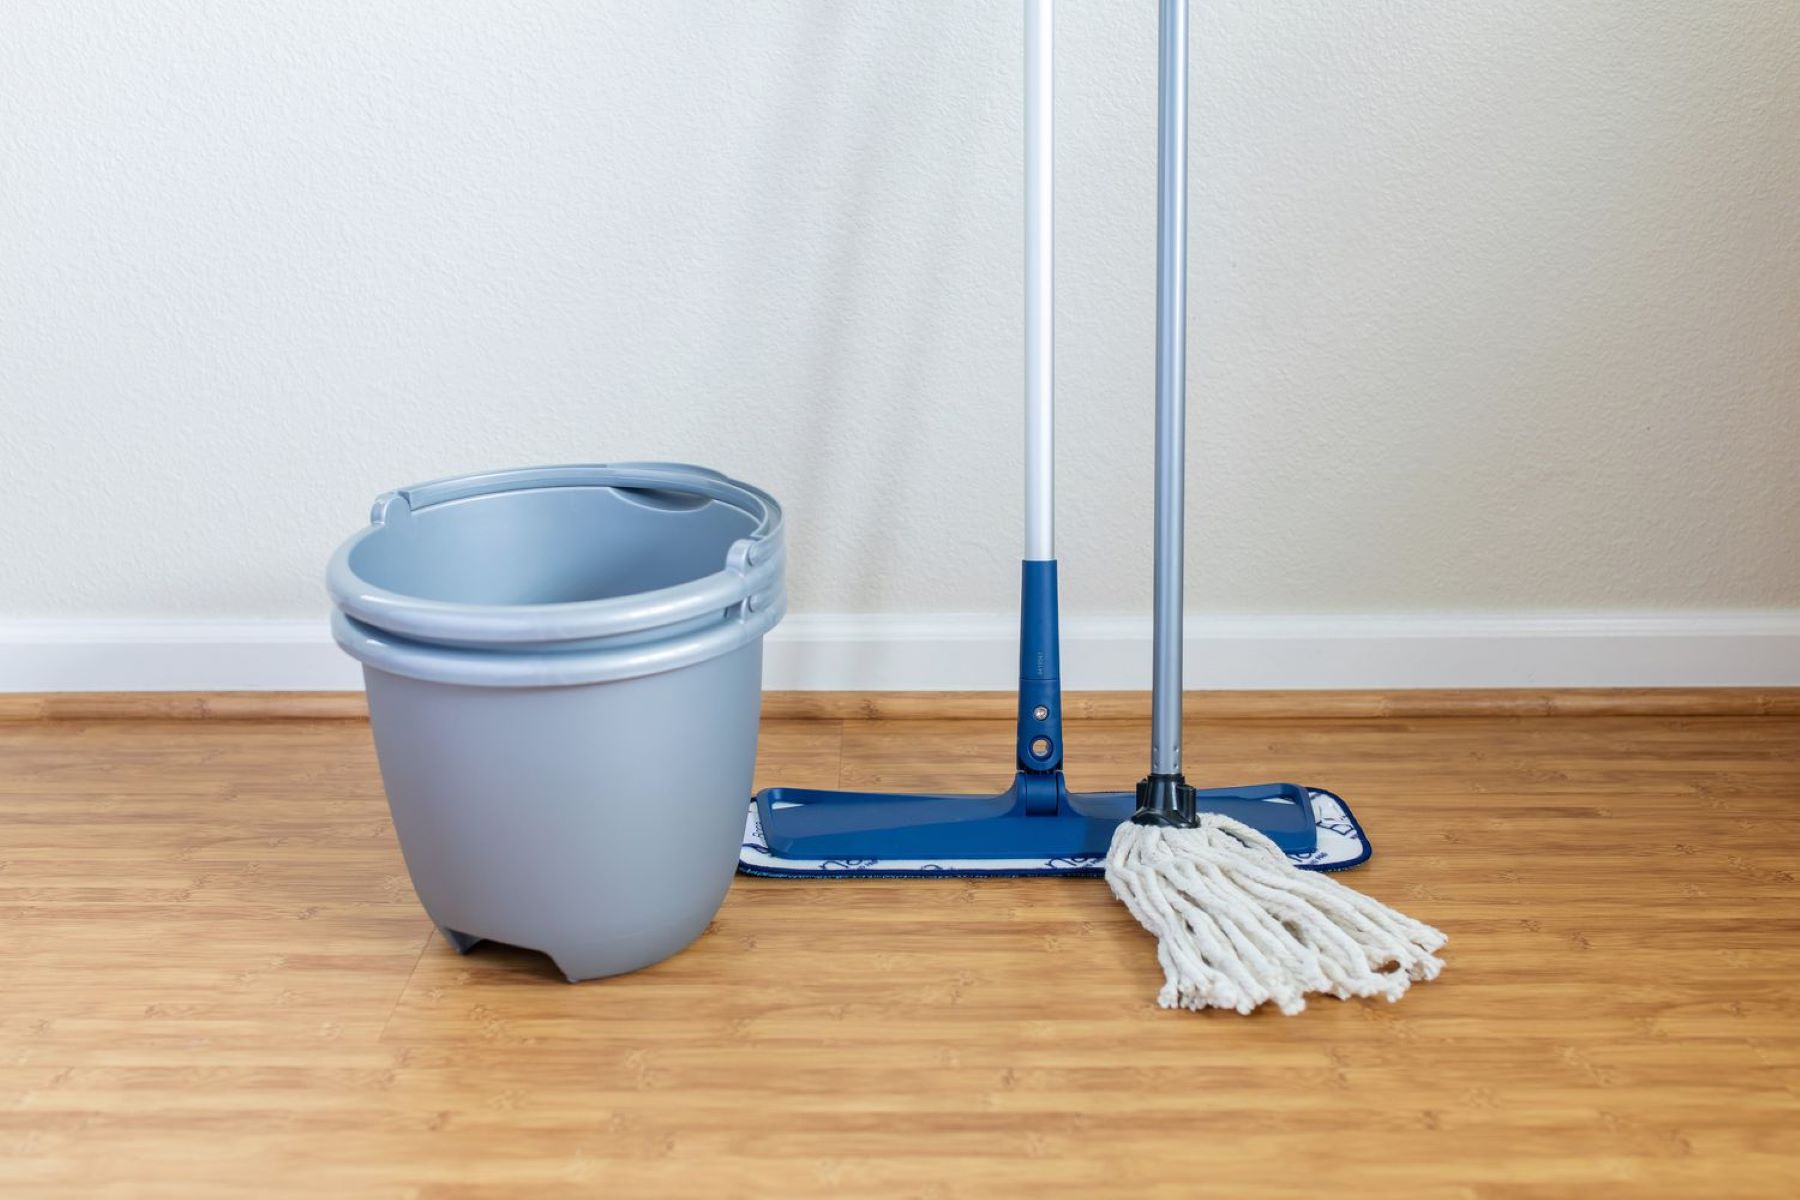
First and foremost, unpack the O-Cedar Spin Mop from its packaging and lay out all the components in an organized manner. You should find the mop handle, the mop head, the spin basket, and the mop bucket. Familiarize yourself with each component to understand how they fit together to create a cohesive cleaning tool.
Next, take the mop handle and insert it into the designated slot on the spin basket. Ensure that the handle is securely attached, as this will serve as the primary point of contact for maneuvering the spin mop during the cleaning process. The secure attachment of the handle is crucial for maintaining control and stability while mopping various surfaces.
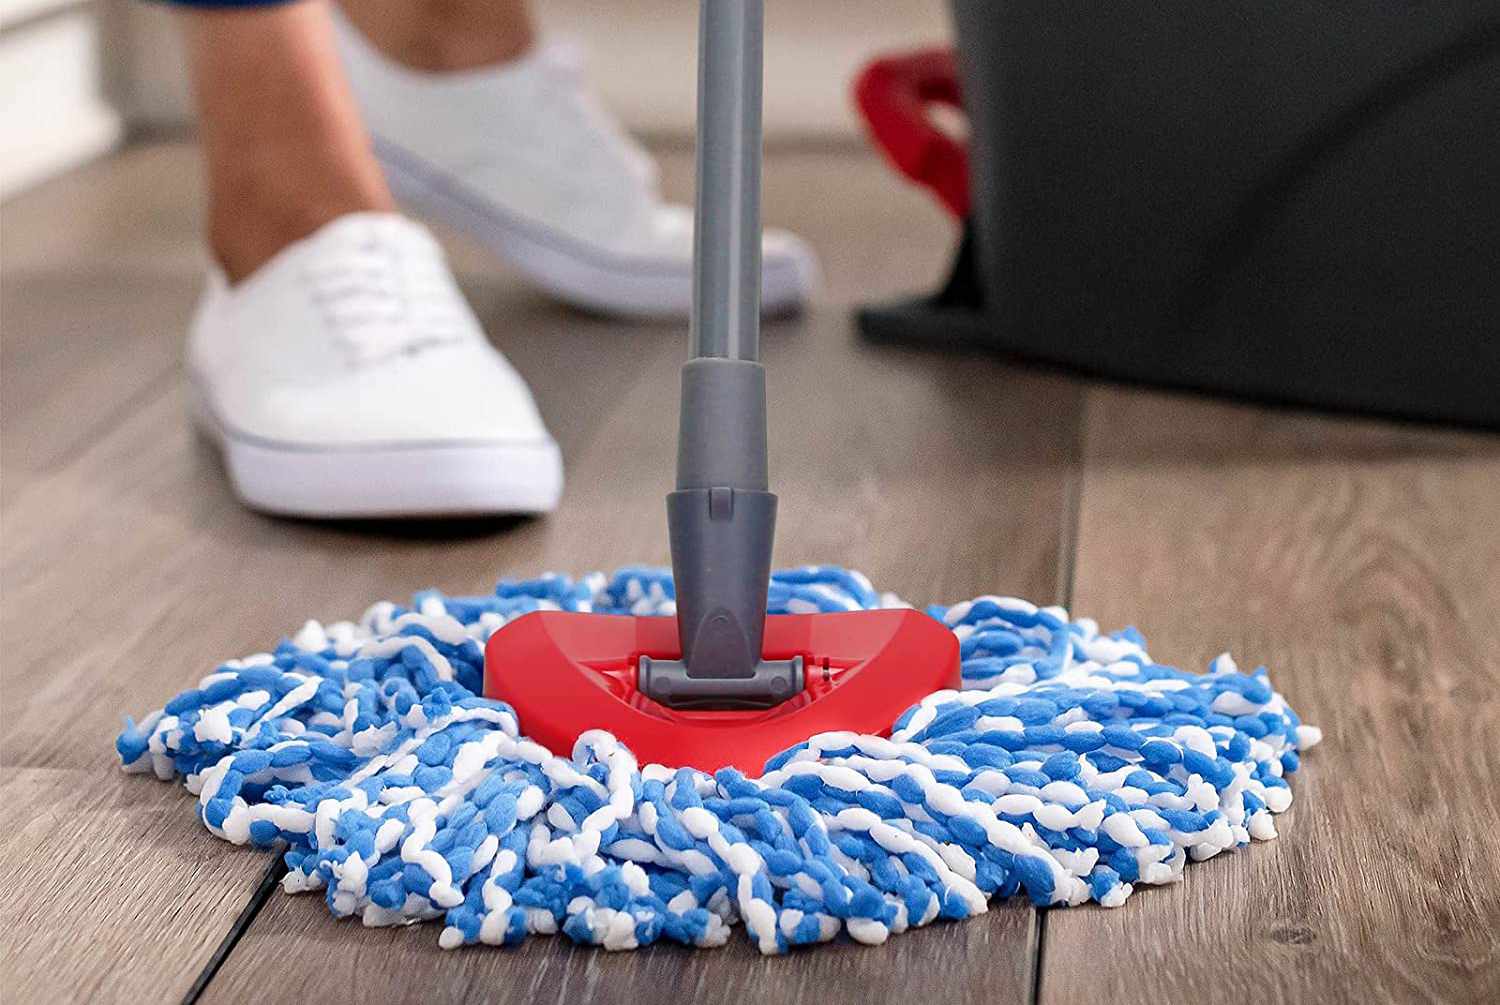
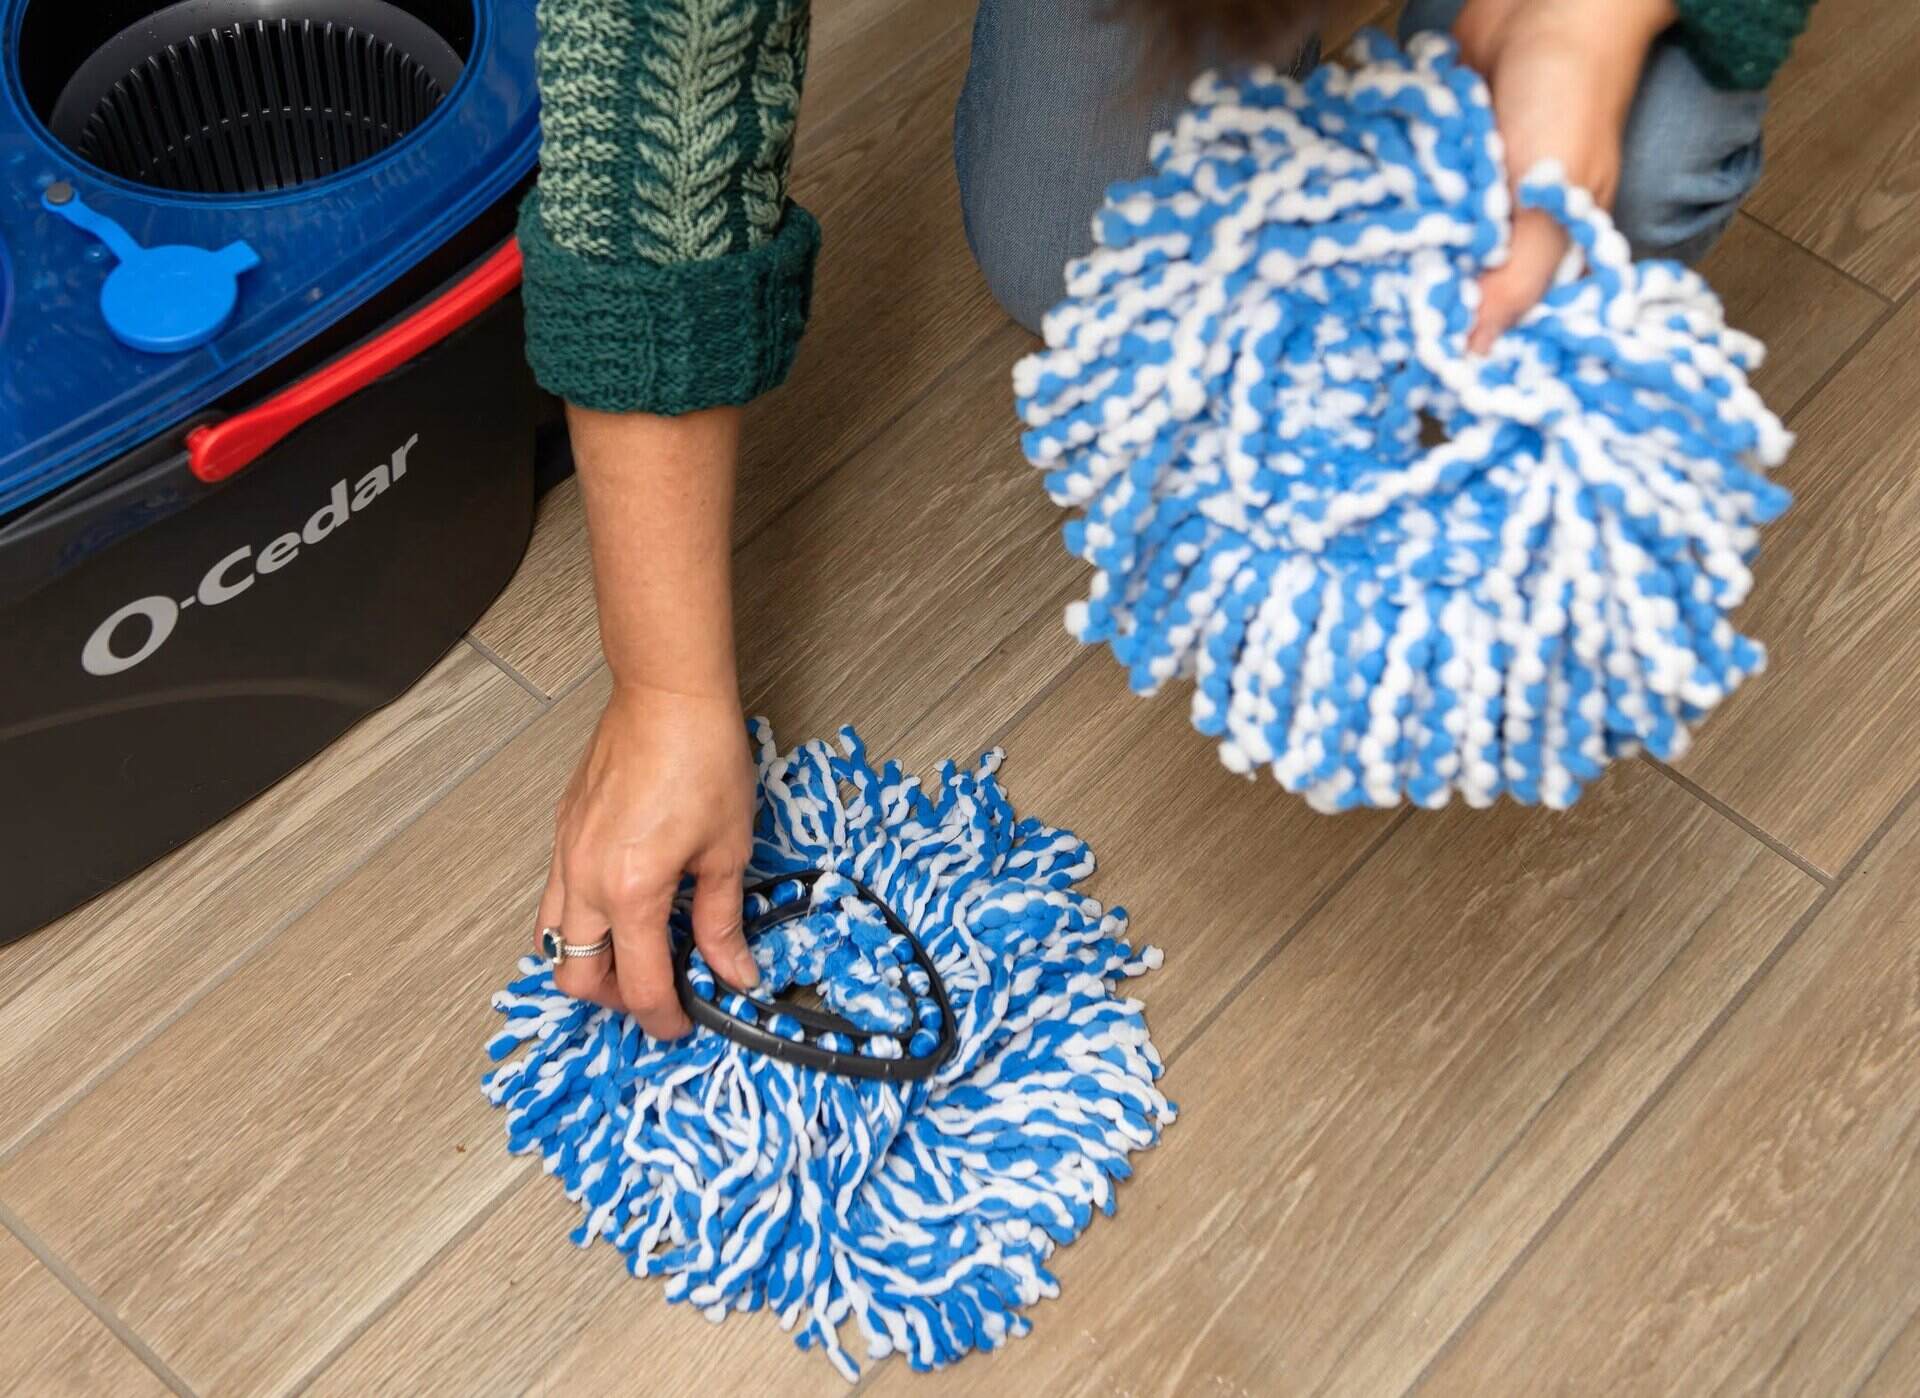
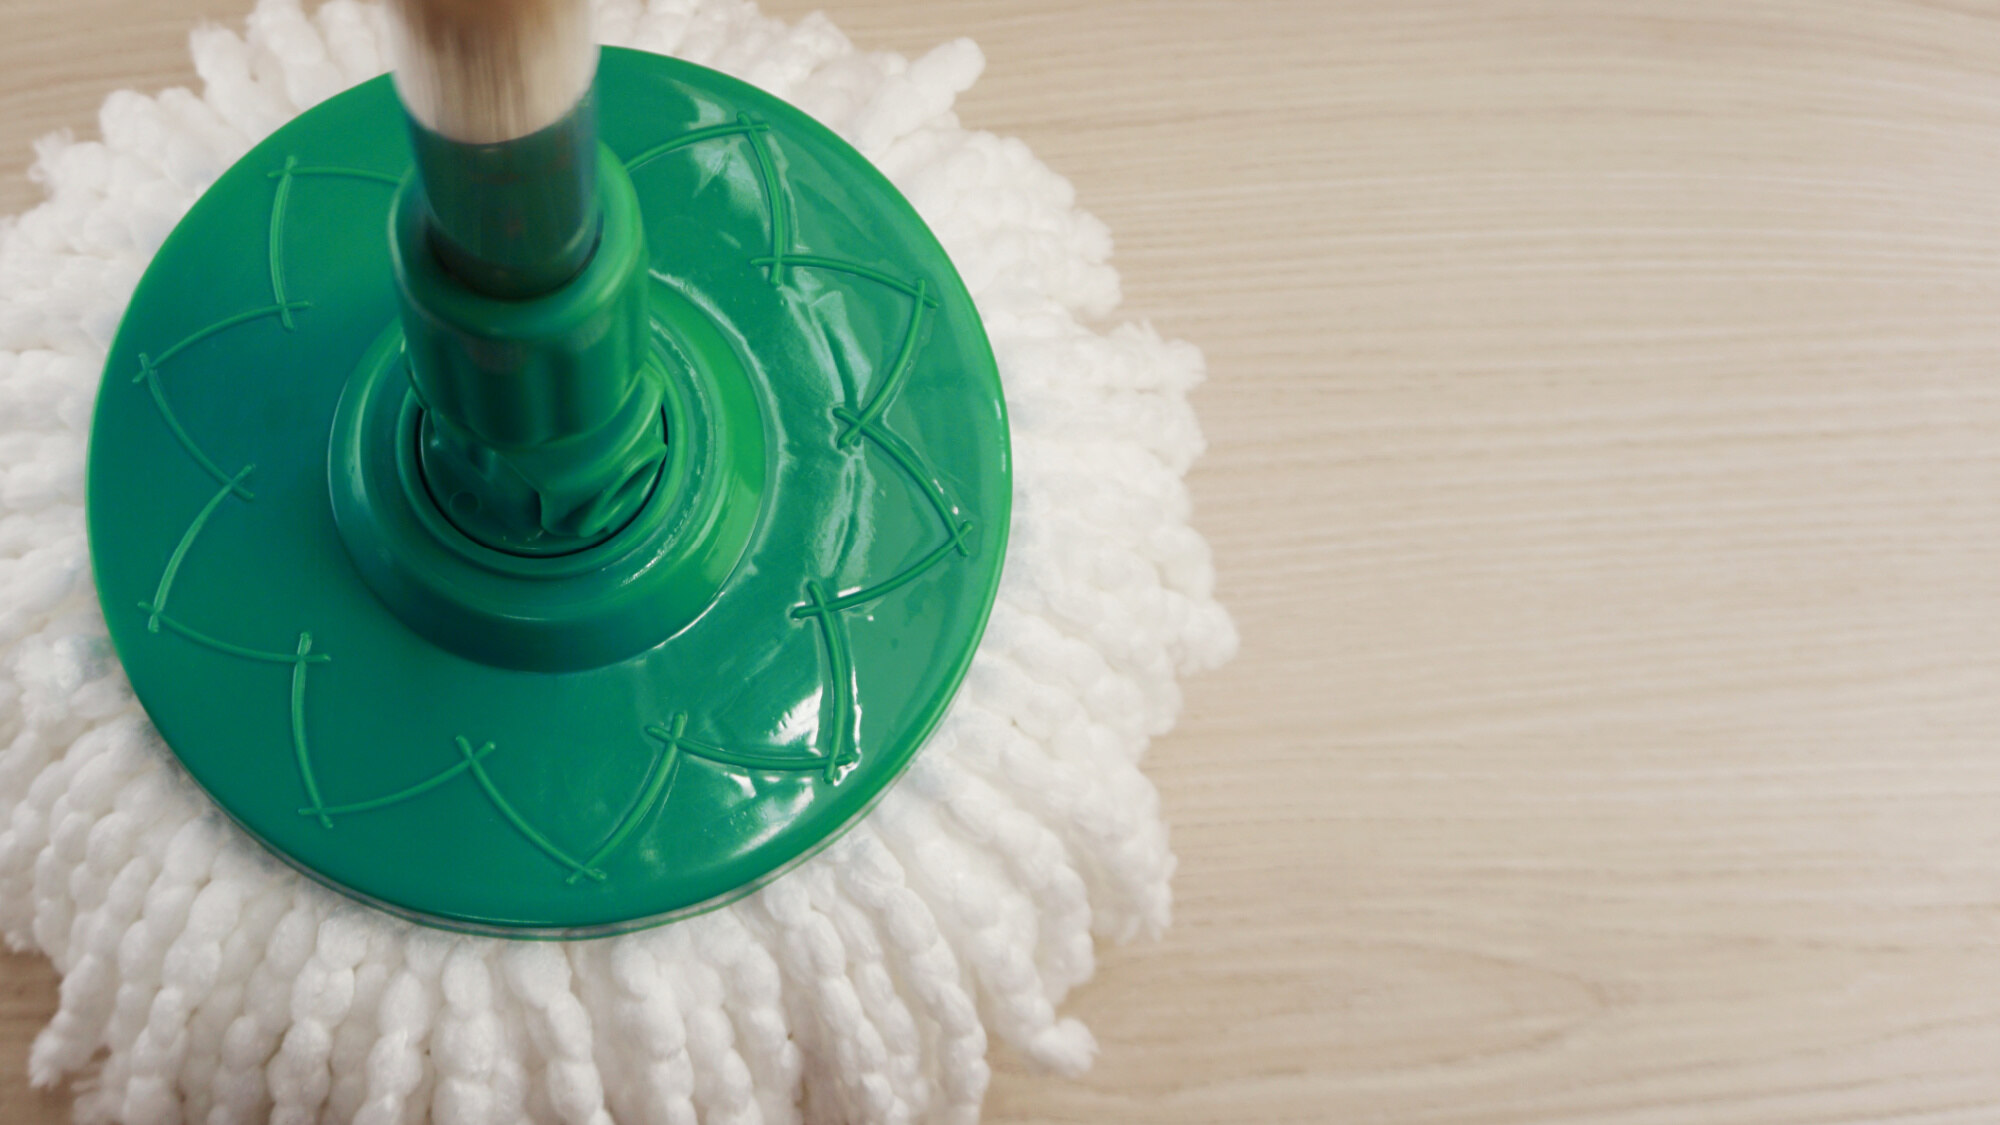
Once the handle is in place, it’s time to attach the mop head. The O-Cedar Spin Mop features a simple yet effective mechanism for securing the mop head to the spin basket. Align the mop head with the designated slots on the spin basket and firmly press down to ensure a snug fit. This step is pivotal in preparing the spin mop for efficient and thorough cleaning, as the mop head plays a pivotal role in capturing dirt and grime from the floor surface.
With the mop head securely attached, you have successfully assembled the O-Cedar Spin Mop and are now ready to proceed to the next crucial step: preparing the cleaning solution. By ensuring that the spin mop is properly assembled, you set the stage for a seamless and effective cleaning experience, allowing you to tackle dirt and spills with confidence and precision.
Now that the spin mop is assembled, let’s move on to the next step in the process of filling the O-Cedar Spin Mop: preparing the cleaning solution.
Step 2: Prepare the Cleaning Solution
Before you can fill the O-Cedar Spin Mop, it’s essential to prepare a suitable cleaning solution that will enhance the mop’s effectiveness in removing dirt and grime from your floors. The O-Cedar Spin Mop is designed to work seamlessly with a variety of cleaning solutions, allowing you to customize your mopping experience based on your specific cleaning needs.
One of the most popular and effective cleaning solutions for use with the O-Cedar Spin Mop is a mixture of water and a gentle floor cleaning solution. Begin by filling a bucket with clean, lukewarm water, ensuring that you have enough volume to accommodate the mop head for thorough saturation. The use of lukewarm water helps to optimize the cleaning solution’s effectiveness by promoting the efficient removal of dirt and stains from the floor surface.
With the bucket filled with water, it’s time to introduce the floor cleaning solution. Choose a gentle and effective cleaning solution that is suitable for the type of flooring in your home. Whether you have hardwood, tile, laminate, or vinyl floors, selecting a compatible cleaning solution is crucial for achieving optimal cleaning results without causing damage to the flooring material.
Add the recommended amount of the cleaning solution to the water in the bucket, following the manufacturer’s instructions for the appropriate dilution ratio. It’s important to avoid using excessive amounts of cleaning solution, as this can lead to residue buildup on the floor surface and may require additional rinsing with clean water.
Once the cleaning solution is added to the water, use a stirring implement to gently mix the solution, ensuring that it is thoroughly blended without creating excessive foam or bubbles. The goal is to create a homogeneous cleaning solution that is ready to be absorbed by the mop head and applied to the floor surface for effective cleaning.
With the cleaning solution prepared, you are now one step closer to filling the O-Cedar Spin Mop and embarking on a satisfying and efficient mopping experience. The carefully prepared cleaning solution will complement the O-Cedar Spin Mop’s capabilities, allowing you to achieve sparkling clean floors with minimal effort and maximum efficacy.
Now that the cleaning solution is ready, let’s proceed to the next step in the process of filling the O-Cedar Spin Mop: filling the mop with the prepared cleaning solution.
Step 3: Fill the O-Cedar Spin Mop
With the O-Cedar Spin Mop assembled and the cleaning solution prepared, it’s time to fill the mop with the carefully crafted cleaning solution in readiness for the mopping process. Filling the O-Cedar Spin Mop is a straightforward yet crucial step in ensuring that the mop head is saturated with the cleaning solution, allowing it to effectively capture dirt and grime from the floor surface.
Begin by placing the assembled O-Cedar Spin Mop near the bucket containing the prepared cleaning solution. The proximity of the mop to the cleaning solution ensures convenient access and minimizes the risk of spillage during the filling process. Position the mop in a stable manner, ensuring that it is ready for the filling procedure without any risk of toppling over.
Next, carefully lower the mop head into the bucket of cleaning solution, allowing it to gradually absorb the liquid. The absorbent nature of the mop head facilitates the uptake of the cleaning solution, ensuring that it is evenly distributed across the mop’s surface for consistent and effective cleaning performance.
As the mop head becomes saturated with the cleaning solution, it’s important to avoid overfilling or submerging the entire mop handle into the bucket. Aim to saturate the mop head with the cleaning solution while ensuring that the handle remains dry and free from excess liquid, as this will facilitate comfortable and controlled maneuvering during the mopping process.
Once the mop head is adequately filled with the cleaning solution, carefully lift it out of the bucket, allowing any excess liquid to drip back into the container. The goal is to achieve a well-saturated mop head that is ready to tackle the cleaning task at hand without dripping excessive liquid onto the floor surface, which can lead to uneven cleaning and prolonged drying times.
With the O-Cedar Spin Mop filled with the prepared cleaning solution, you are now equipped to embark on a rewarding and efficient mopping experience. The carefully filled mop head is primed to capture dirt and grime from the floor surface, ensuring that your cleaning efforts yield sparkling clean results with minimal hassle and maximum effectiveness.
Now that the O-Cedar Spin Mop is filled with the cleaning solution, let’s proceed to the next step in the process: attaching the mop head to the spin basket.
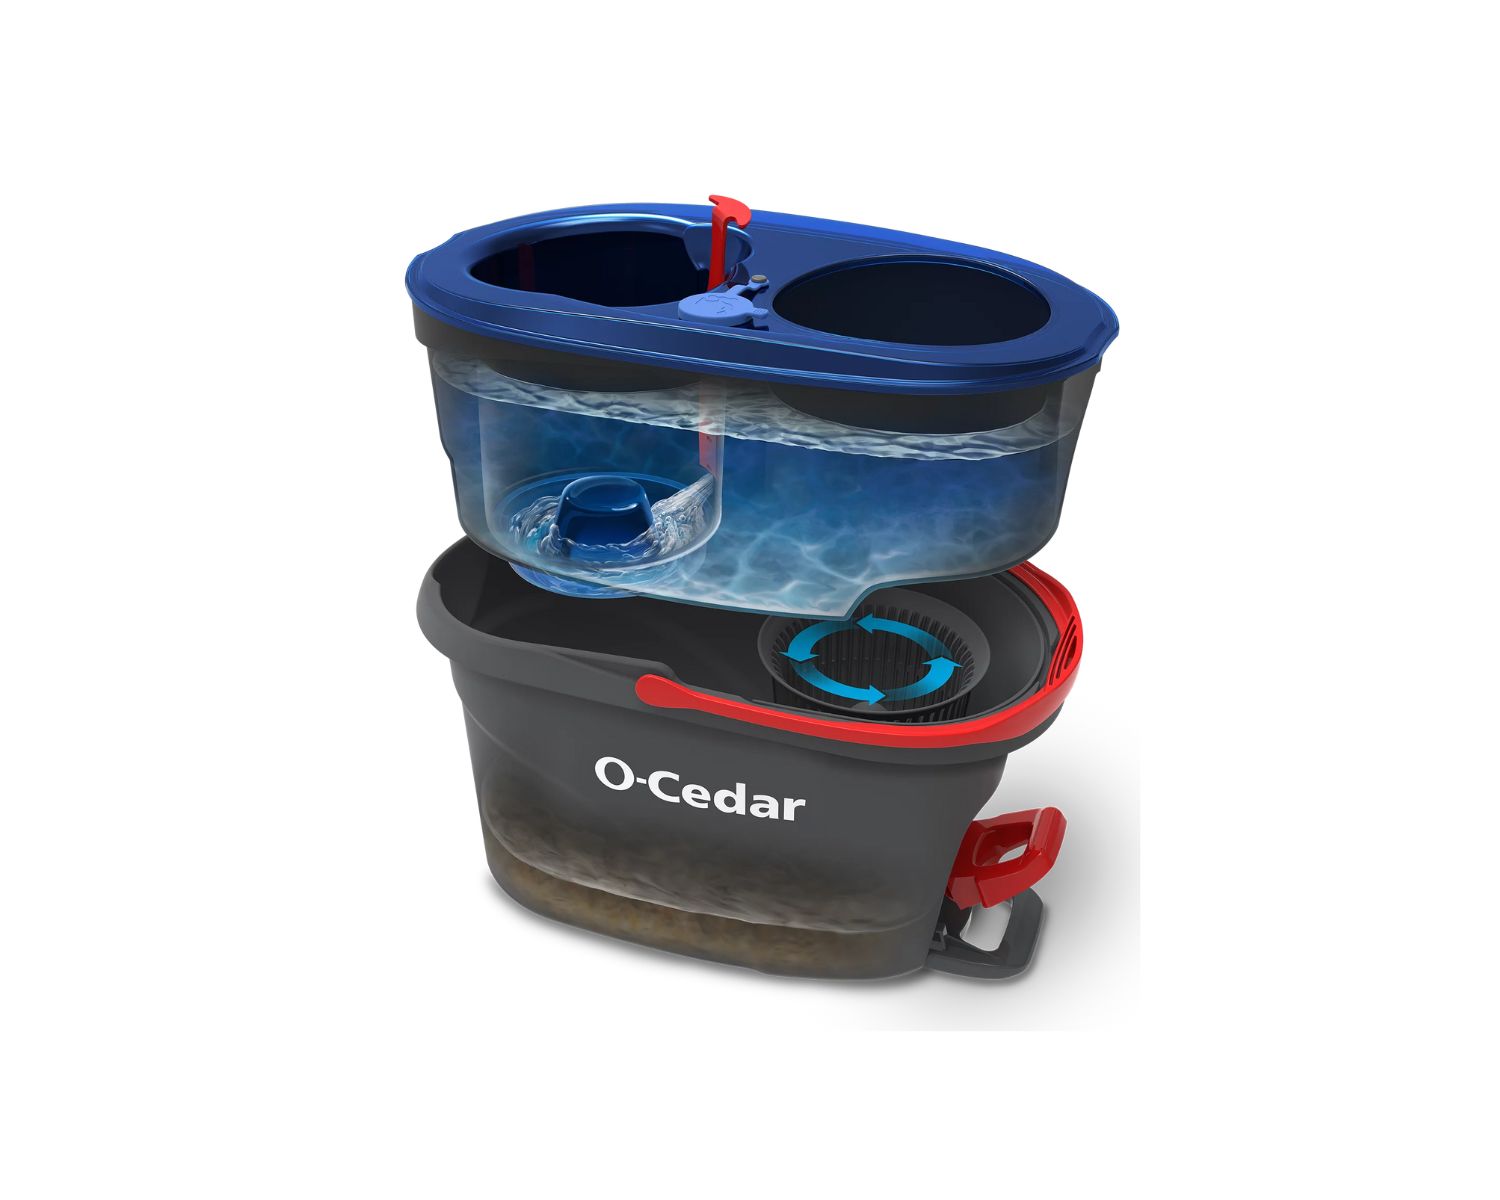
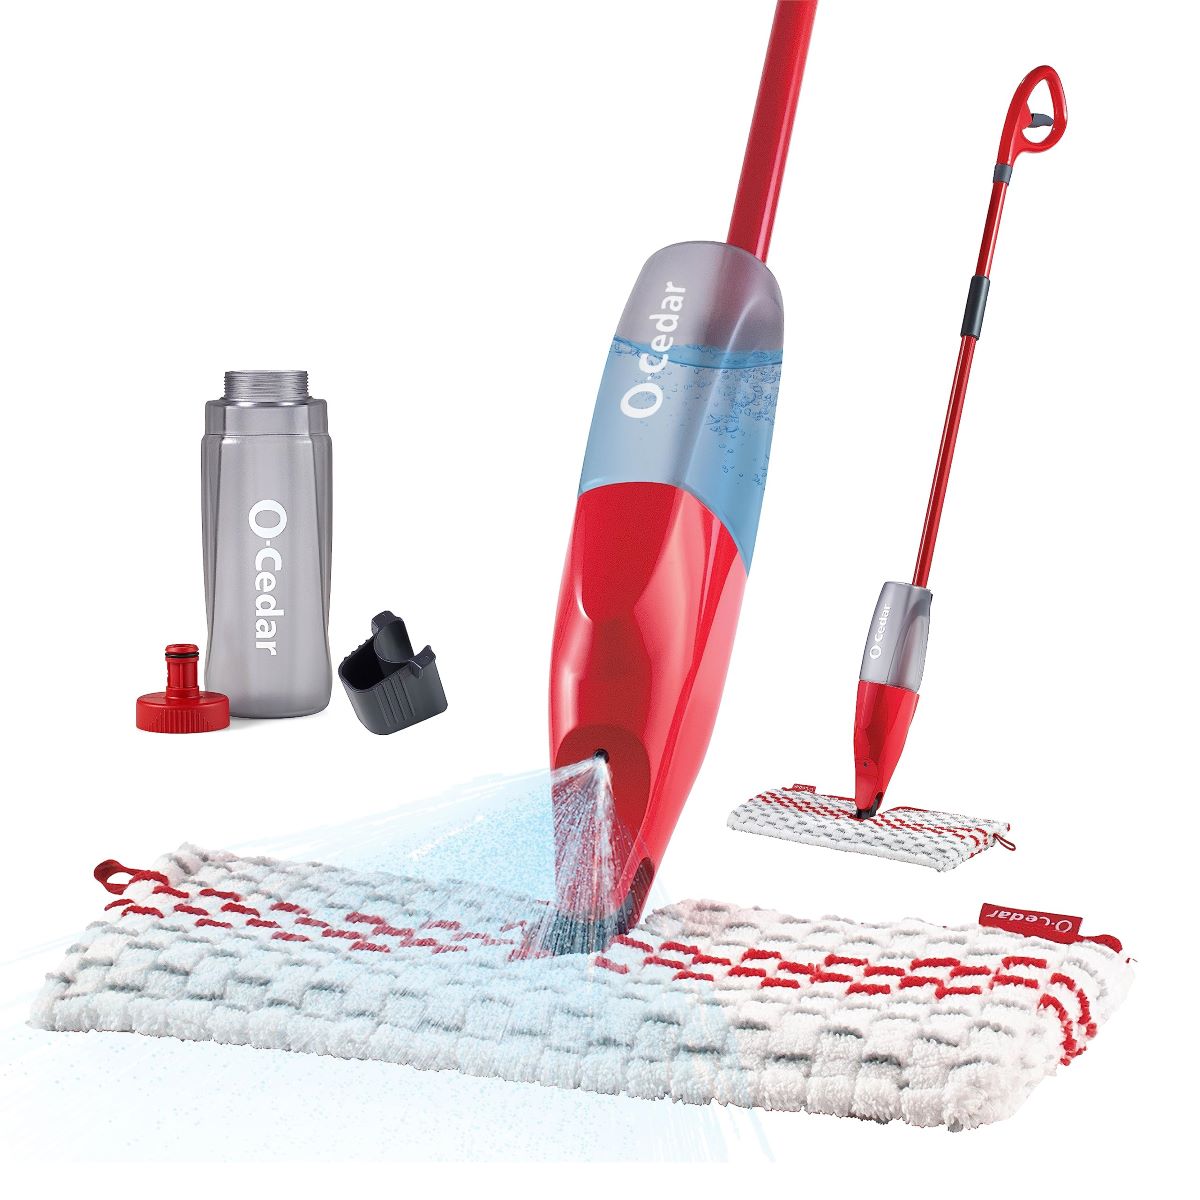
To fill the O-Cedar Spin Mop, first, unscrew the mop head and remove the cap. Then, fill the bucket with water and add your preferred cleaning solution. Finally, place the mop head back on and twist to secure.
Step 4: Attach the Mop Head
With the O-Cedar Spin Mop filled with the carefully prepared cleaning solution, the next crucial step is to securely attach the mop head to the spin basket, ensuring that it is ready for action and poised to deliver exceptional cleaning results. The proper attachment of the mop head is pivotal in maintaining stability and control during the mopping process, allowing you to maneuver the spin mop with confidence and precision.
Begin by positioning the filled mop head in close proximity to the spin basket, ensuring that the attachment process is seamless and convenient. The strategic placement of the mop head and spin basket facilitates efficient and effective assembly, setting the stage for a satisfying mopping experience.
Next, align the mop head with the designated slots on the spin basket, ensuring that it is positioned for a secure and snug fit. The O-Cedar Spin Mop features a user-friendly mechanism for attaching the mop head to the spin basket, allowing for effortless assembly without compromising on stability and reliability.
Once the mop head is aligned with the slots on the spin basket, apply gentle pressure to firmly press it into place, ensuring that it is securely attached and ready for use. The secure attachment of the mop head is essential for maintaining consistent contact with the floor surface, allowing it to effectively capture dirt and grime without compromising on performance.
With the mop head securely attached to the spin basket, take a moment to ensure that it is positioned evenly and securely, minimizing the risk of wobbling or instability during the mopping process. The seamless attachment of the mop head sets the stage for a rewarding and efficient cleaning experience, allowing you to achieve sparkling clean floors with ease.
Now that the mop head is securely attached to the spin basket, the O-Cedar Spin Mop is fully assembled and ready for action. The secure attachment of the mop head ensures that it is poised to deliver exceptional cleaning results, allowing you to tackle dirt and grime with confidence and precision.
With the mop head securely attached, let’s move on to the final step in the process of filling the O-Cedar Spin Mop: starting the mopping process.
Read more: Which O-Cedar Mop Is Best
Step 5: Start Mopping
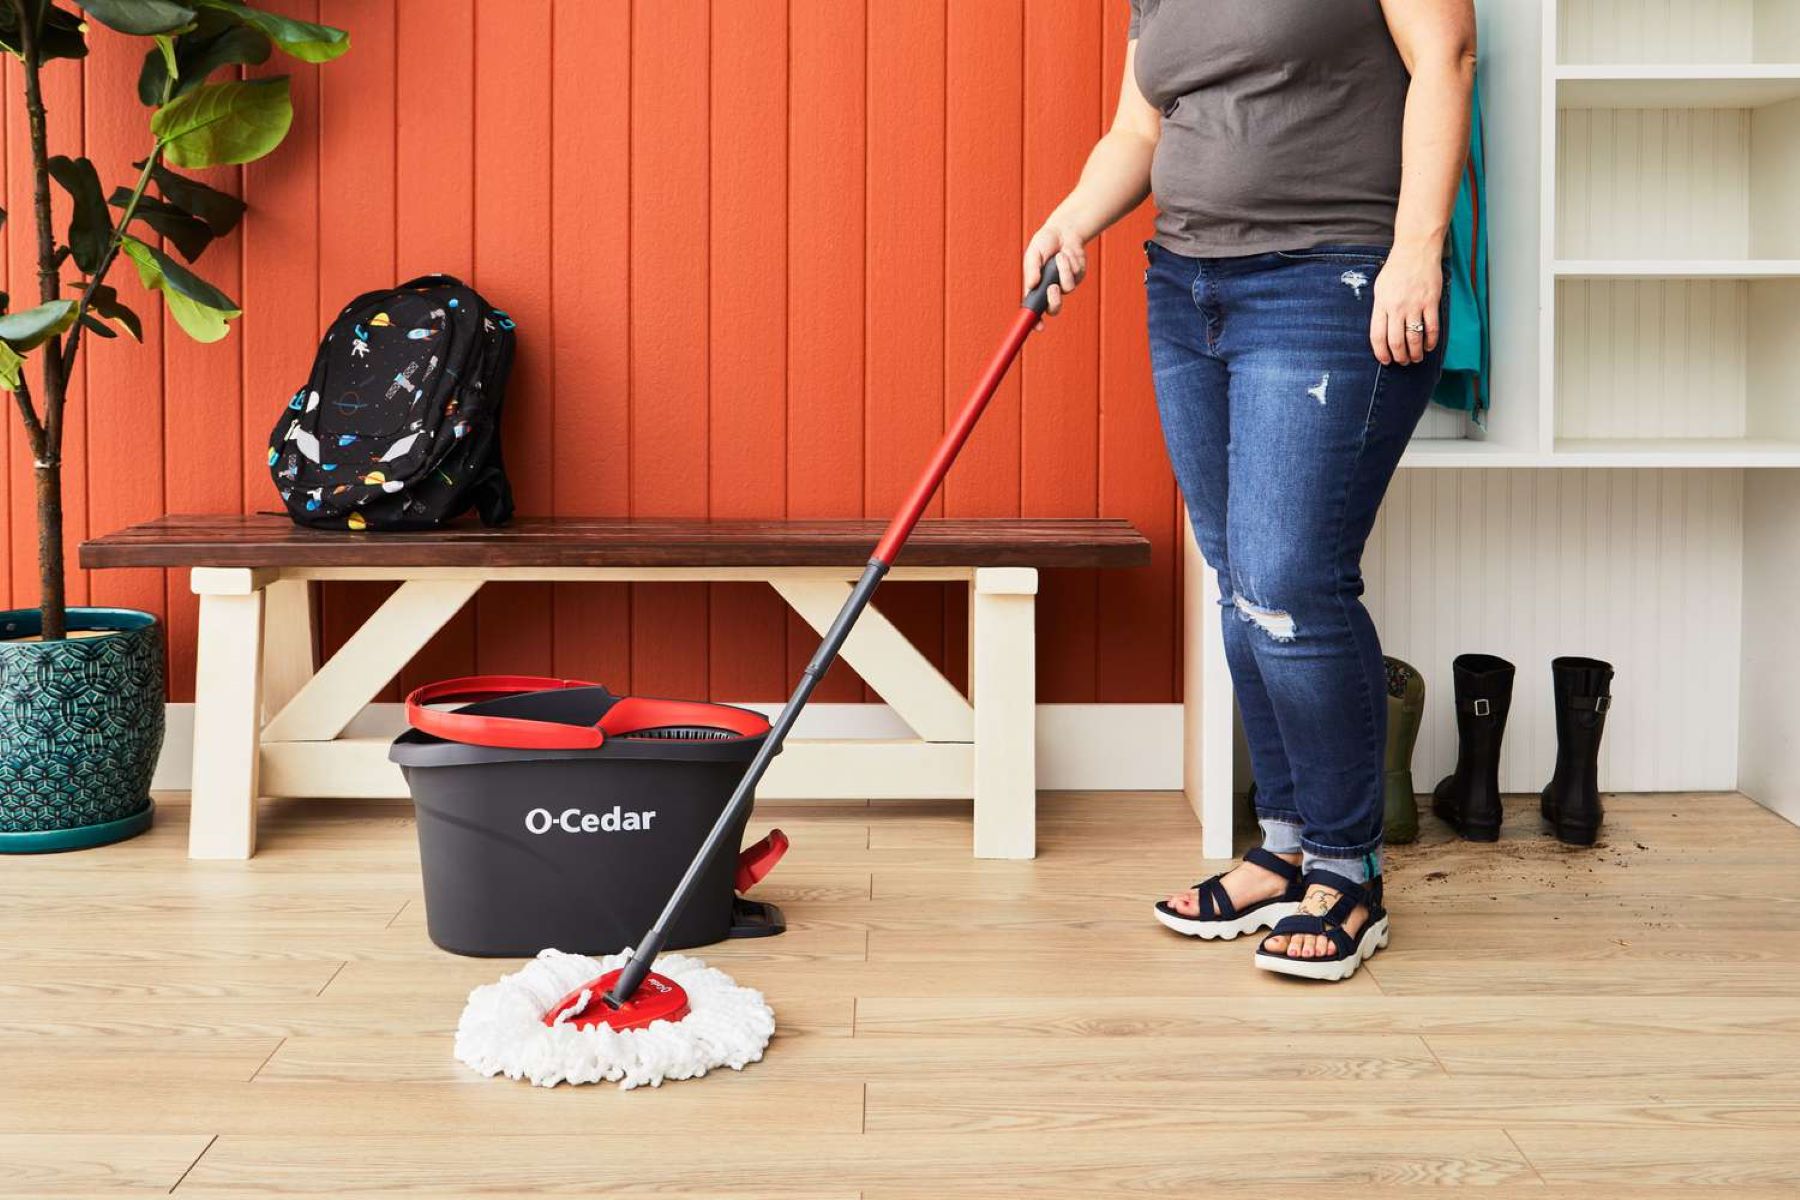
With the O-Cedar Spin Mop fully assembled, filled with the prepared cleaning solution, and the mop head securely attached to the spin basket, you are now ready to embark on the satisfying and efficient mopping process. The O-Cedar Spin Mop is designed to streamline the task of floor cleaning, offering a convenient and effective solution for maintaining pristine floors in your home.
Begin by positioning the filled and assembled O-Cedar Spin Mop near the area of the floor that requires cleaning. Whether you’re addressing spills, dirt, or general maintenance, the O-Cedar Spin Mop is versatile and reliable, allowing you to achieve exceptional cleaning results across various floor surfaces.
Next, grip the handle of the O-Cedar Spin Mop firmly, ensuring a comfortable and secure hold that facilitates controlled and precise maneuvering. The ergonomic design of the spin mop handle promotes ease of use, allowing you to navigate around furniture and obstacles with minimal effort and maximum effectiveness.
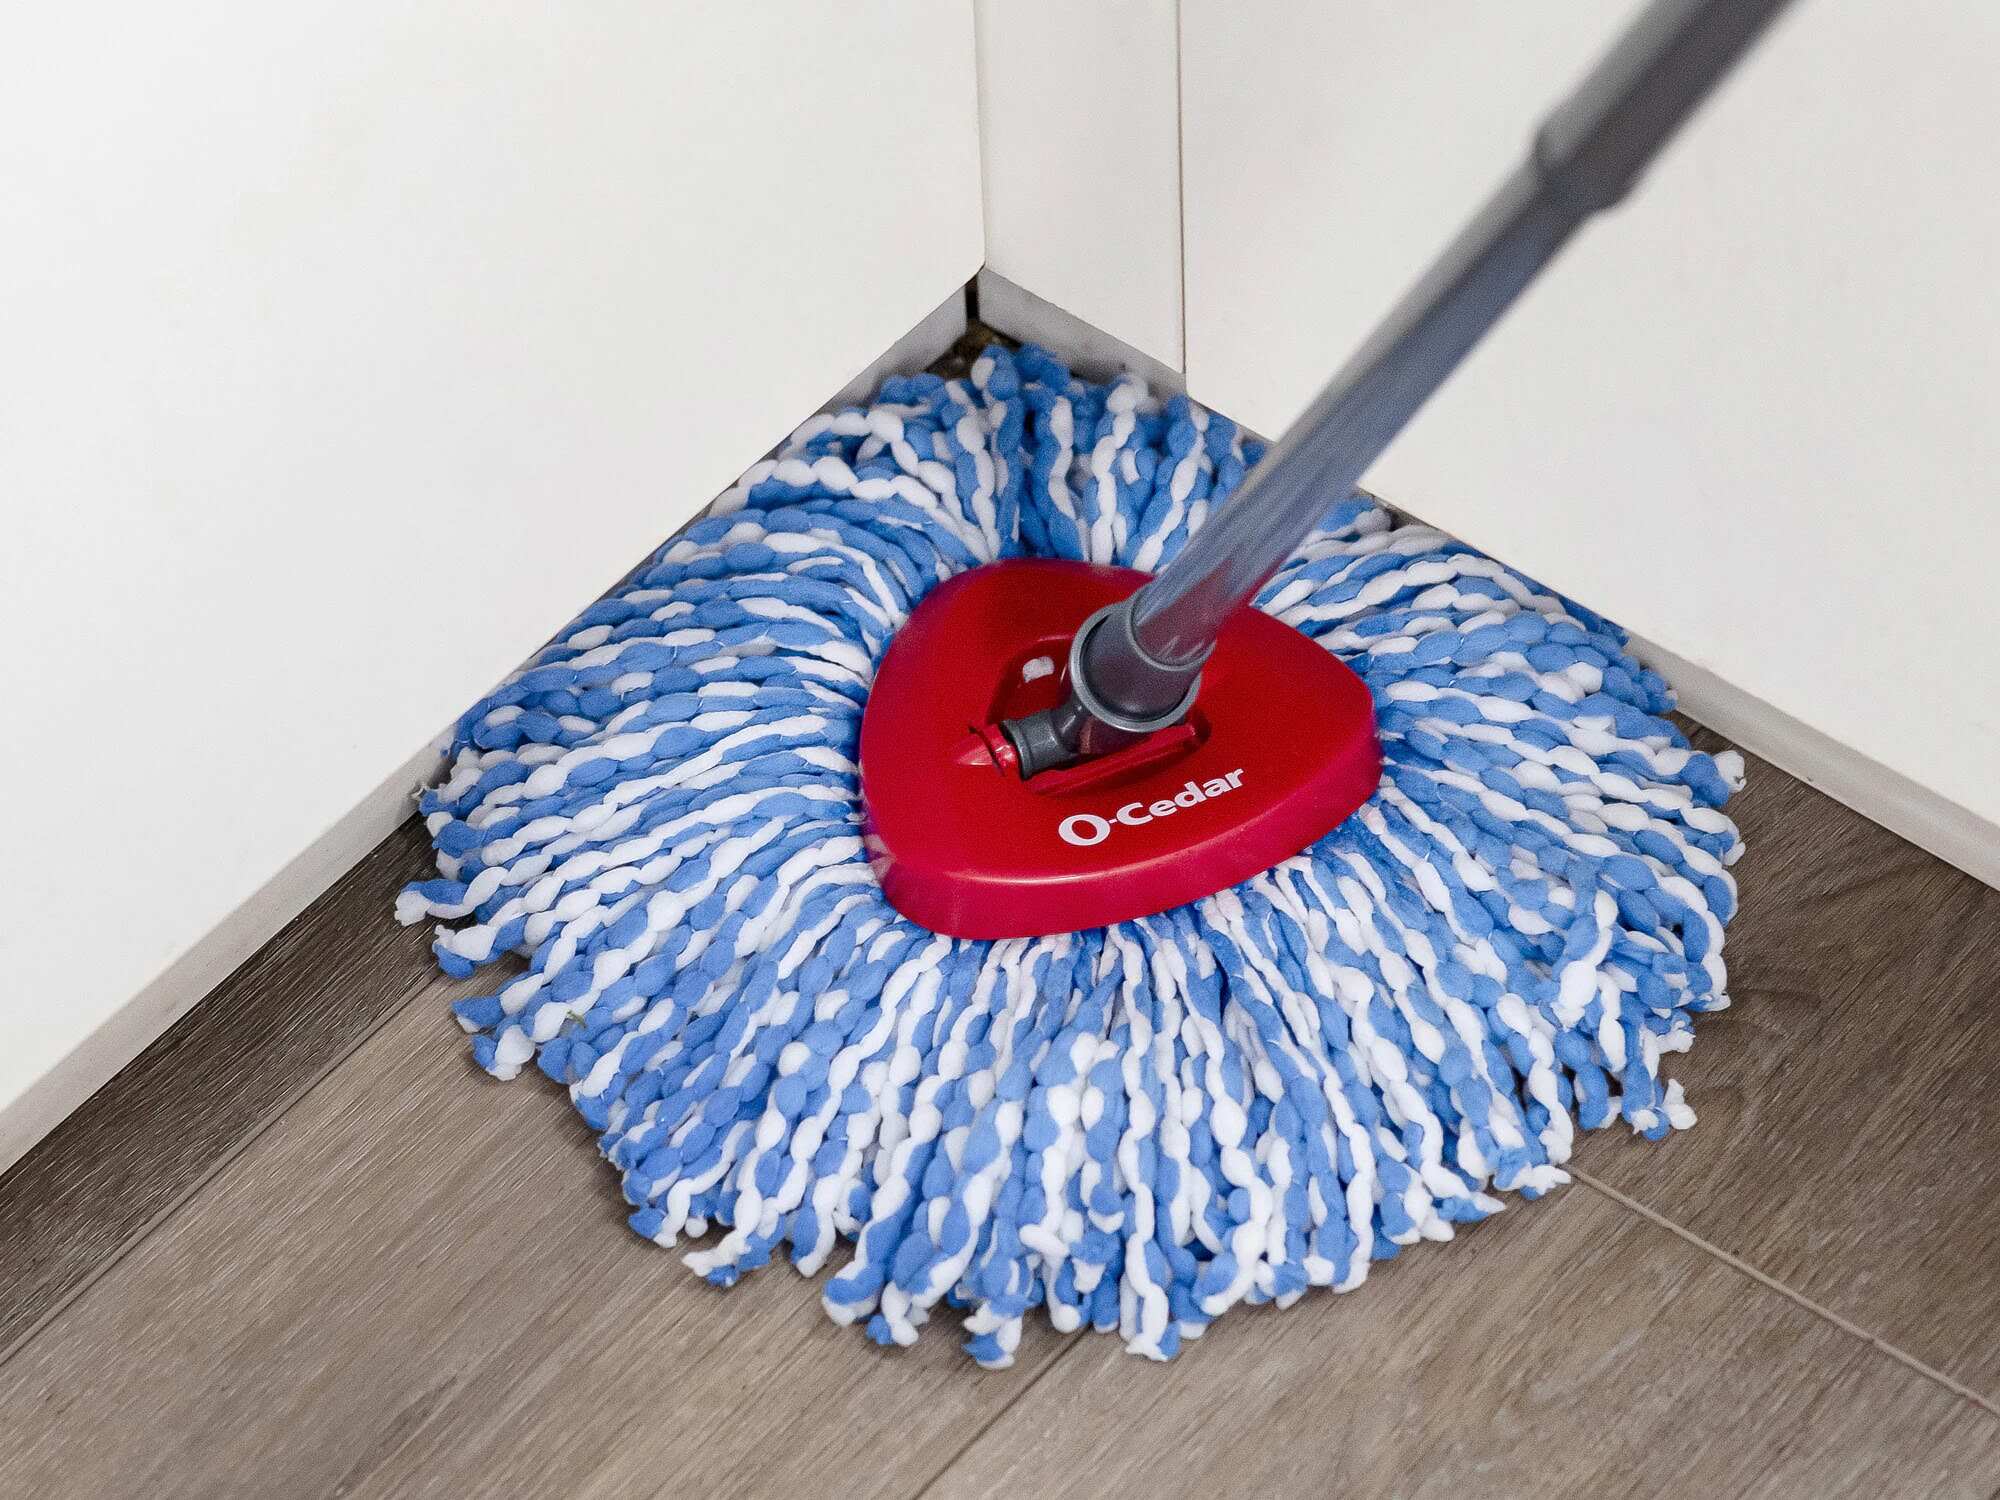
Once you’re in position and ready to commence mopping, lower the mop head onto the floor surface, allowing it to make consistent contact for thorough cleaning. The absorbent nature of the mop head facilitates the efficient uptake of dirt and grime, ensuring that your cleaning efforts yield impressive results without excessive residue or streaking.
Using gentle and fluid motions, guide the O-Cedar Spin Mop across the floor surface, allowing the mop head to capture dirt and spills effectively. The spin mop’s design enables swift and efficient cleaning, minimizing the time and effort required to achieve sparkling clean floors in your home.
As you navigate the O-Cedar Spin Mop across the floor, take note of any areas that require additional attention, ensuring that you address spills and stubborn stains with targeted cleaning motions. The versatility of the spin mop allows for precise and effective cleaning, ensuring that your floors are free from dirt and grime with minimal hassle.
Once you have thoroughly mopped the designated area, lift the O-Cedar Spin Mop from the floor surface, allowing it to drip any excess liquid back into the bucket. The efficient wringing mechanism of the spin mop facilitates the removal of excess liquid, ensuring that your floors dry quickly and evenly, ready to showcase their pristine cleanliness.
With the mopping process complete, you can admire the sparkling clean results achieved with the O-Cedar Spin Mop, knowing that you have efficiently and effectively maintained your floors with a convenient and reliable cleaning tool.
With the mopping process concluded, you have successfully navigated the step-by-step process of filling the O-Cedar Spin Mop and leveraging its capabilities to achieve exceptional cleaning results. Whether you’re a cleaning enthusiast or someone seeking a more efficient approach to household chores, the O-Cedar Spin Mop is your trusted companion in the quest for sparkling clean floors.
Now that you’ve mastered the art of filling and using the O-Cedar Spin Mop, you’re equipped to tackle floor cleaning with confidence and ease, knowing that you have a reliable and effective cleaning tool at your disposal.
Congratulations on completing the process of filling and using the O-Cedar Spin Mop! Your floors are now gleaming, and you’ve embraced a more convenient and efficient approach to floor cleaning. Until next time, happy mopping!
Conclusion
Congratulations on mastering the art of filling and using the O-Cedar Spin Mop! By following the step-by-step process outlined in this guide, you’ve gained valuable insights into preparing and leveraging this remarkable cleaning tool to achieve exceptional results. The O-Cedar Spin Mop has revolutionized the traditional mopping experience, offering a convenient, efficient, and effective solution for maintaining sparkling clean floors in your home.
From assembling the spin mop to preparing the cleaning solution, filling the mop, attaching the mop head, and embarking on the mopping process, you’ve navigated each step with confidence and precision. The O-Cedar Spin Mop’s user-friendly design and versatility have empowered you to streamline the task of floor cleaning, allowing you to achieve sparkling clean results with minimal effort and maximum efficacy.
As you’ve discovered, the O-Cedar Spin Mop’s innovative features, including its absorbent mop head and convenient wringing mechanism, have simplified the mopping process, enabling you to address spills, dirt, and stains with ease. The seamless integration of the cleaning solution with the spin mop has enhanced its cleaning capabilities, ensuring that your floors remain pristine and free from grime and residue.
By mastering the art of filling and using the O-Cedar Spin Mop, you’ve embraced a more efficient and convenient approach to floor cleaning, allowing you to maintain a hygienic and inviting living space with ease. Whether you’re a cleaning enthusiast or someone seeking a reliable and effective cleaning solution, the O-Cedar Spin Mop has proven to be a valuable asset in your quest for pristine floors.
As you bid farewell to the traditional mop and bucket, you can embark on future cleaning endeavors with confidence, knowing that the O-Cedar Spin Mop is your trusted companion in the pursuit of sparkling clean floors. Its user-friendly design, exceptional cleaning performance, and seamless integration with a variety of cleaning solutions make it a standout choice for anyone seeking a hassle-free and effective floor cleaning experience.
With the knowledge and skills acquired through this guide, you’re well-equipped to harness the full potential of the O-Cedar Spin Mop and maintain pristine floors in your home with confidence and ease. Until next time, happy mopping, and may your floors continue to shine with the brilliance of the O-Cedar Spin Mop!
Frequently Asked Questions about How To Fill O-Cedar Spin Mop
Was this page helpful?
At Storables.com, we guarantee accurate and reliable information. Our content, validated by Expert Board Contributors, is crafted following stringent Editorial Policies. We're committed to providing you with well-researched, expert-backed insights for all your informational needs.


0 thoughts on “How To Fill O-Cedar Spin Mop”