Home>Home Appliances>Cleaning Appliances>How To Use The O-Cedar Mop Bucket
Cleaning Appliances
How To Use The O-Cedar Mop Bucket
Modified: October 21, 2024
Learn how to effectively use the O-Cedar mop bucket for efficient cleaning. Discover tips and tricks for maintaining your cleaning appliances.
(Many of the links in this article redirect to a specific reviewed product. Your purchase of these products through affiliate links helps to generate commission for Storables.com, at no extra cost. Learn more)
Introduction
Welcome to the world of hassle-free, efficient cleaning with the O-Cedar Mop Bucket! Whether you’re a cleaning aficionado or a novice looking to simplify your cleaning routine, this user-friendly and durable mop bucket is designed to make your cleaning tasks a breeze. In this comprehensive guide, we’ll walk you through the step-by-step process of assembling, filling, and using the O-Cedar Mop Bucket to achieve sparkling clean floors with minimal effort. Additionally, we’ll cover essential tips for maintaining and cleaning the mop bucket to ensure its longevity and optimal performance.
With its innovative design and user-centric features, the O-Cedar Mop Bucket is a game-changer in the realm of household cleaning. Say goodbye to the inconvenience of traditional mop and bucket setups, and say hello to a more efficient and enjoyable cleaning experience. Let’s dive into the details of how to maximize the potential of your O-Cedar Mop Bucket and elevate your cleaning routine to new heights!
Key Takeaways:
- Effortless Cleaning: The O-Cedar Mop Bucket simplifies cleaning with easy assembly, filling, and mopping. Enjoy sparkling floors with minimal effort and user-friendly design.
- Long-lasting Cleanliness: Proper maintenance ensures the O-Cedar Mop Bucket remains a reliable cleaning companion for years, preserving its efficiency and functionality.
Read more: What To Use In O-Cedar Mop
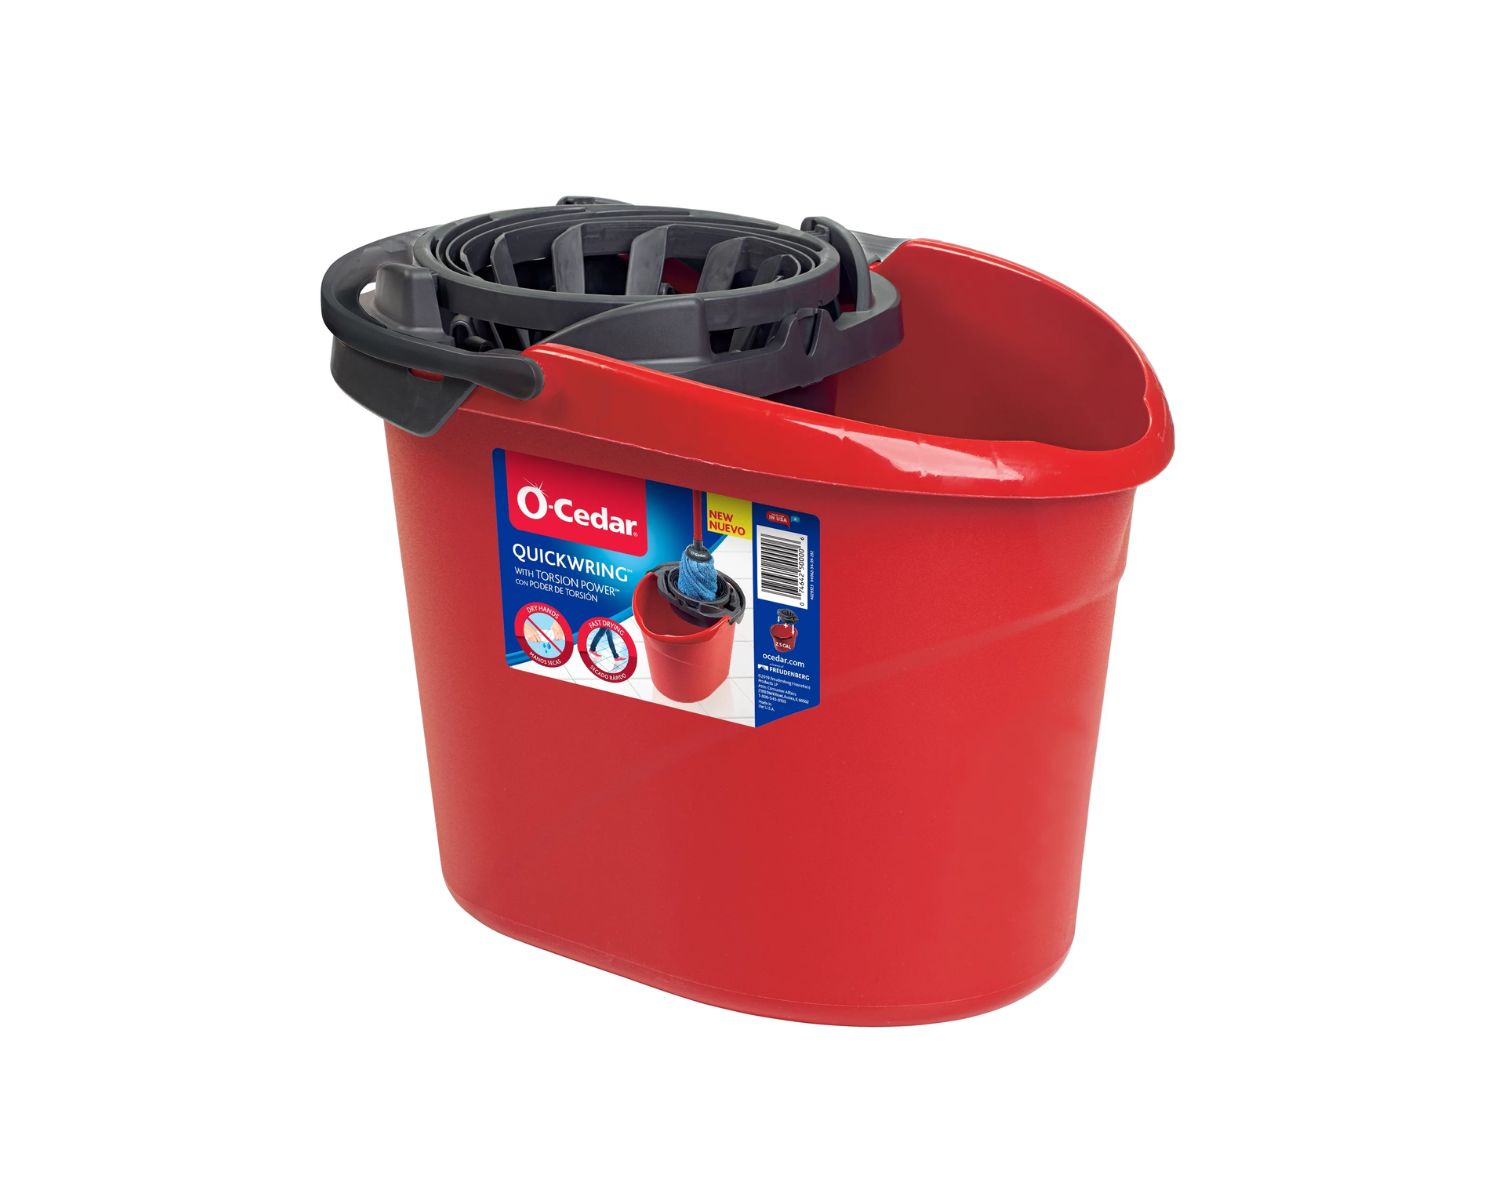
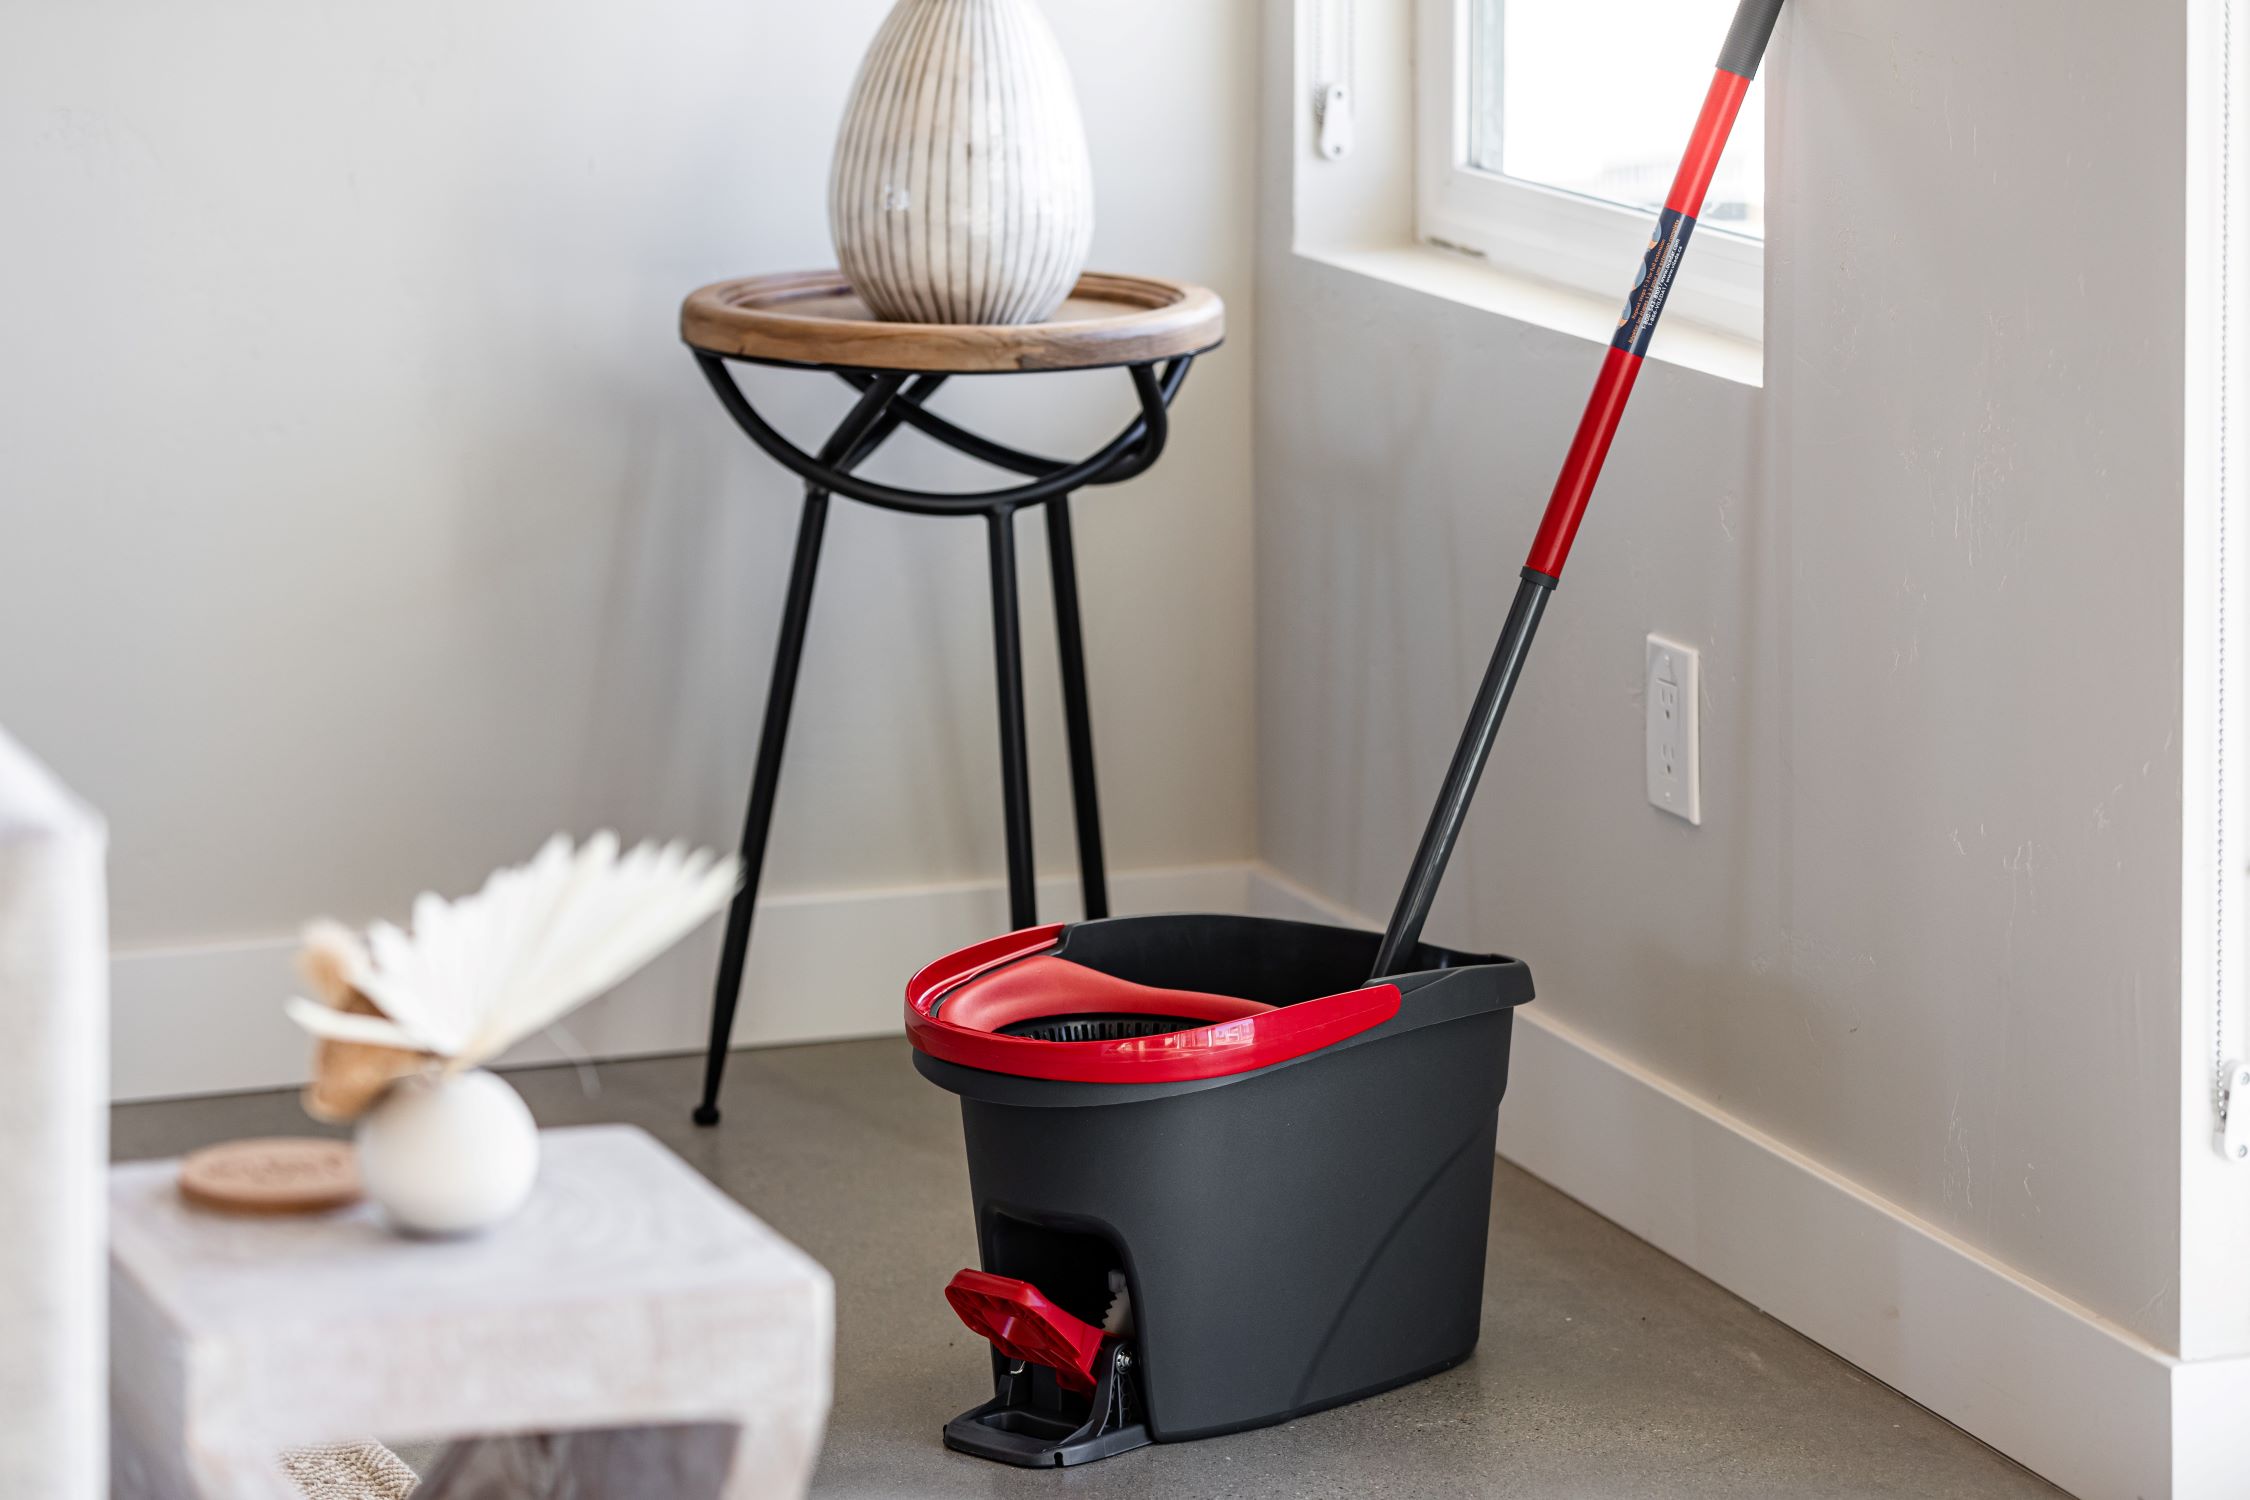
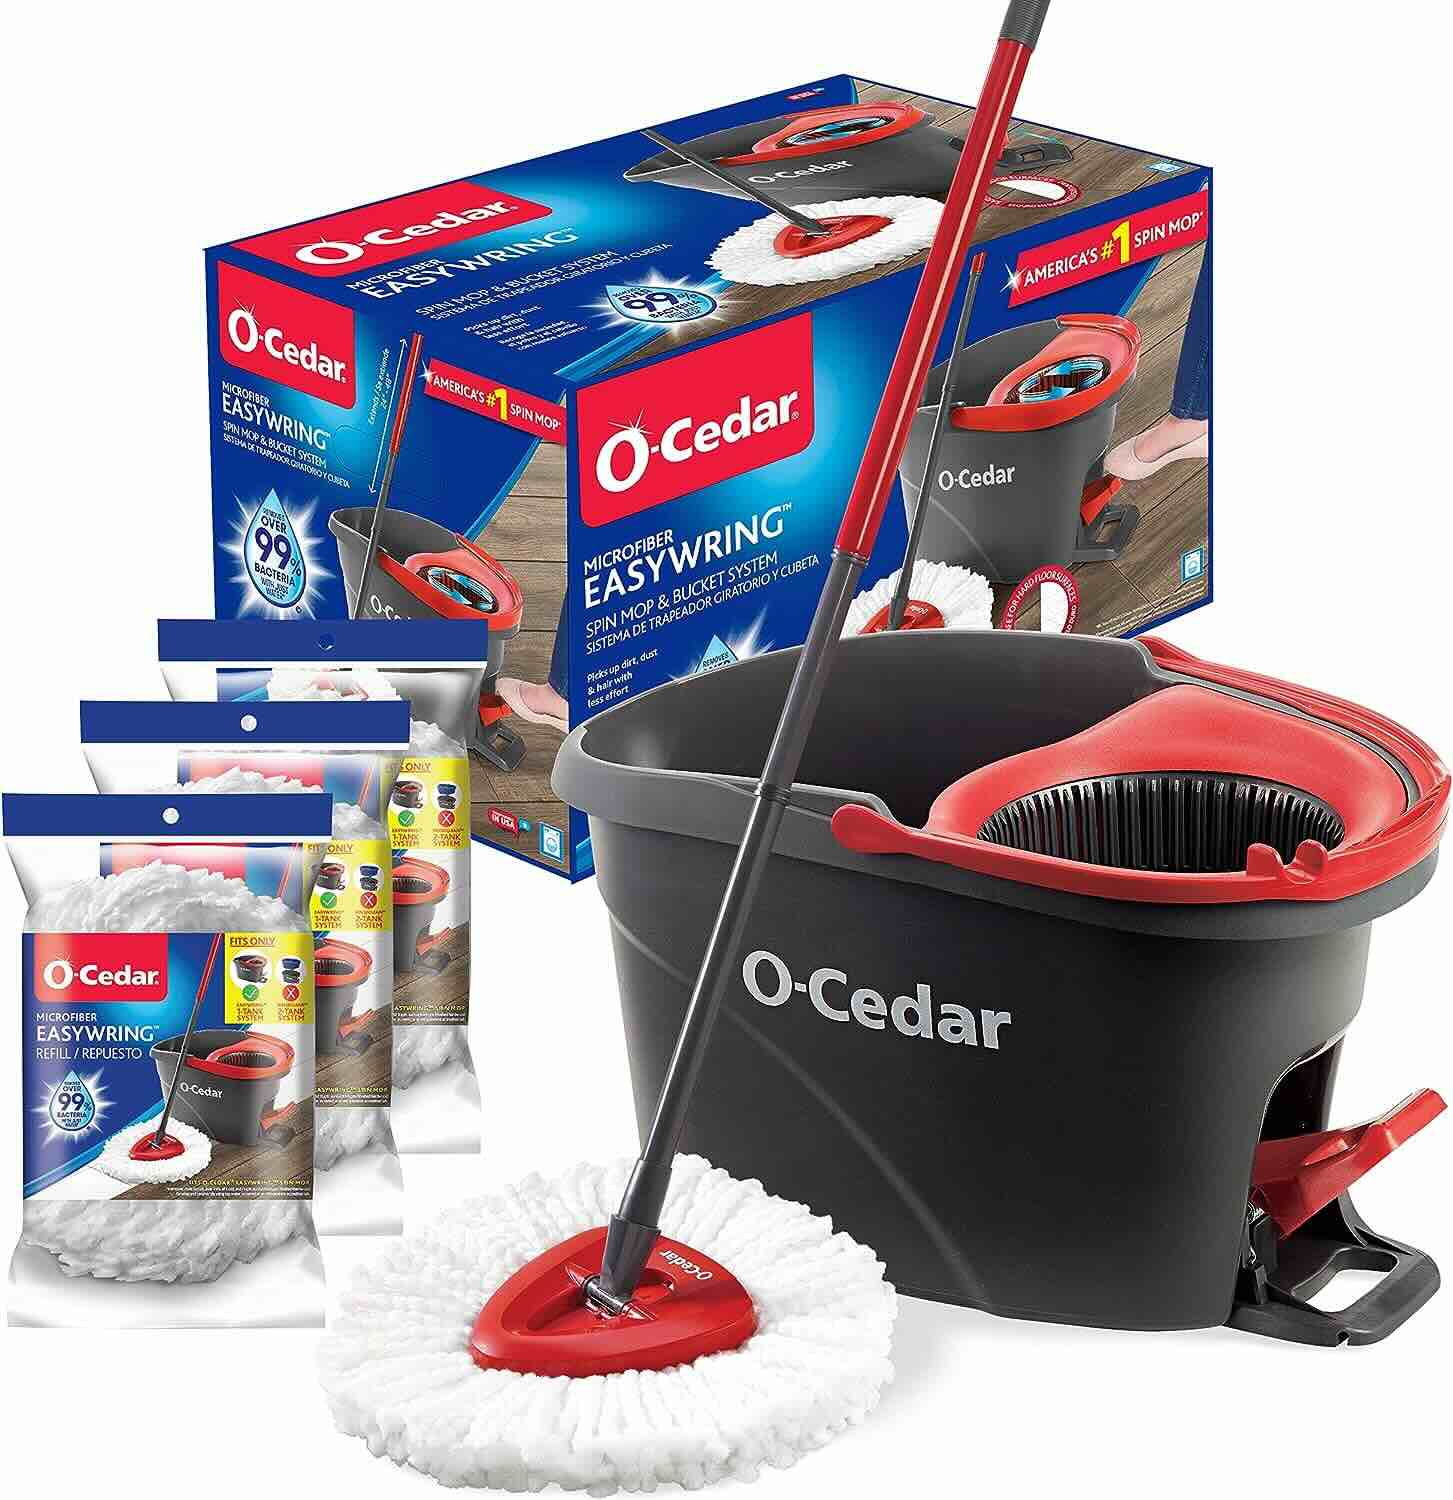
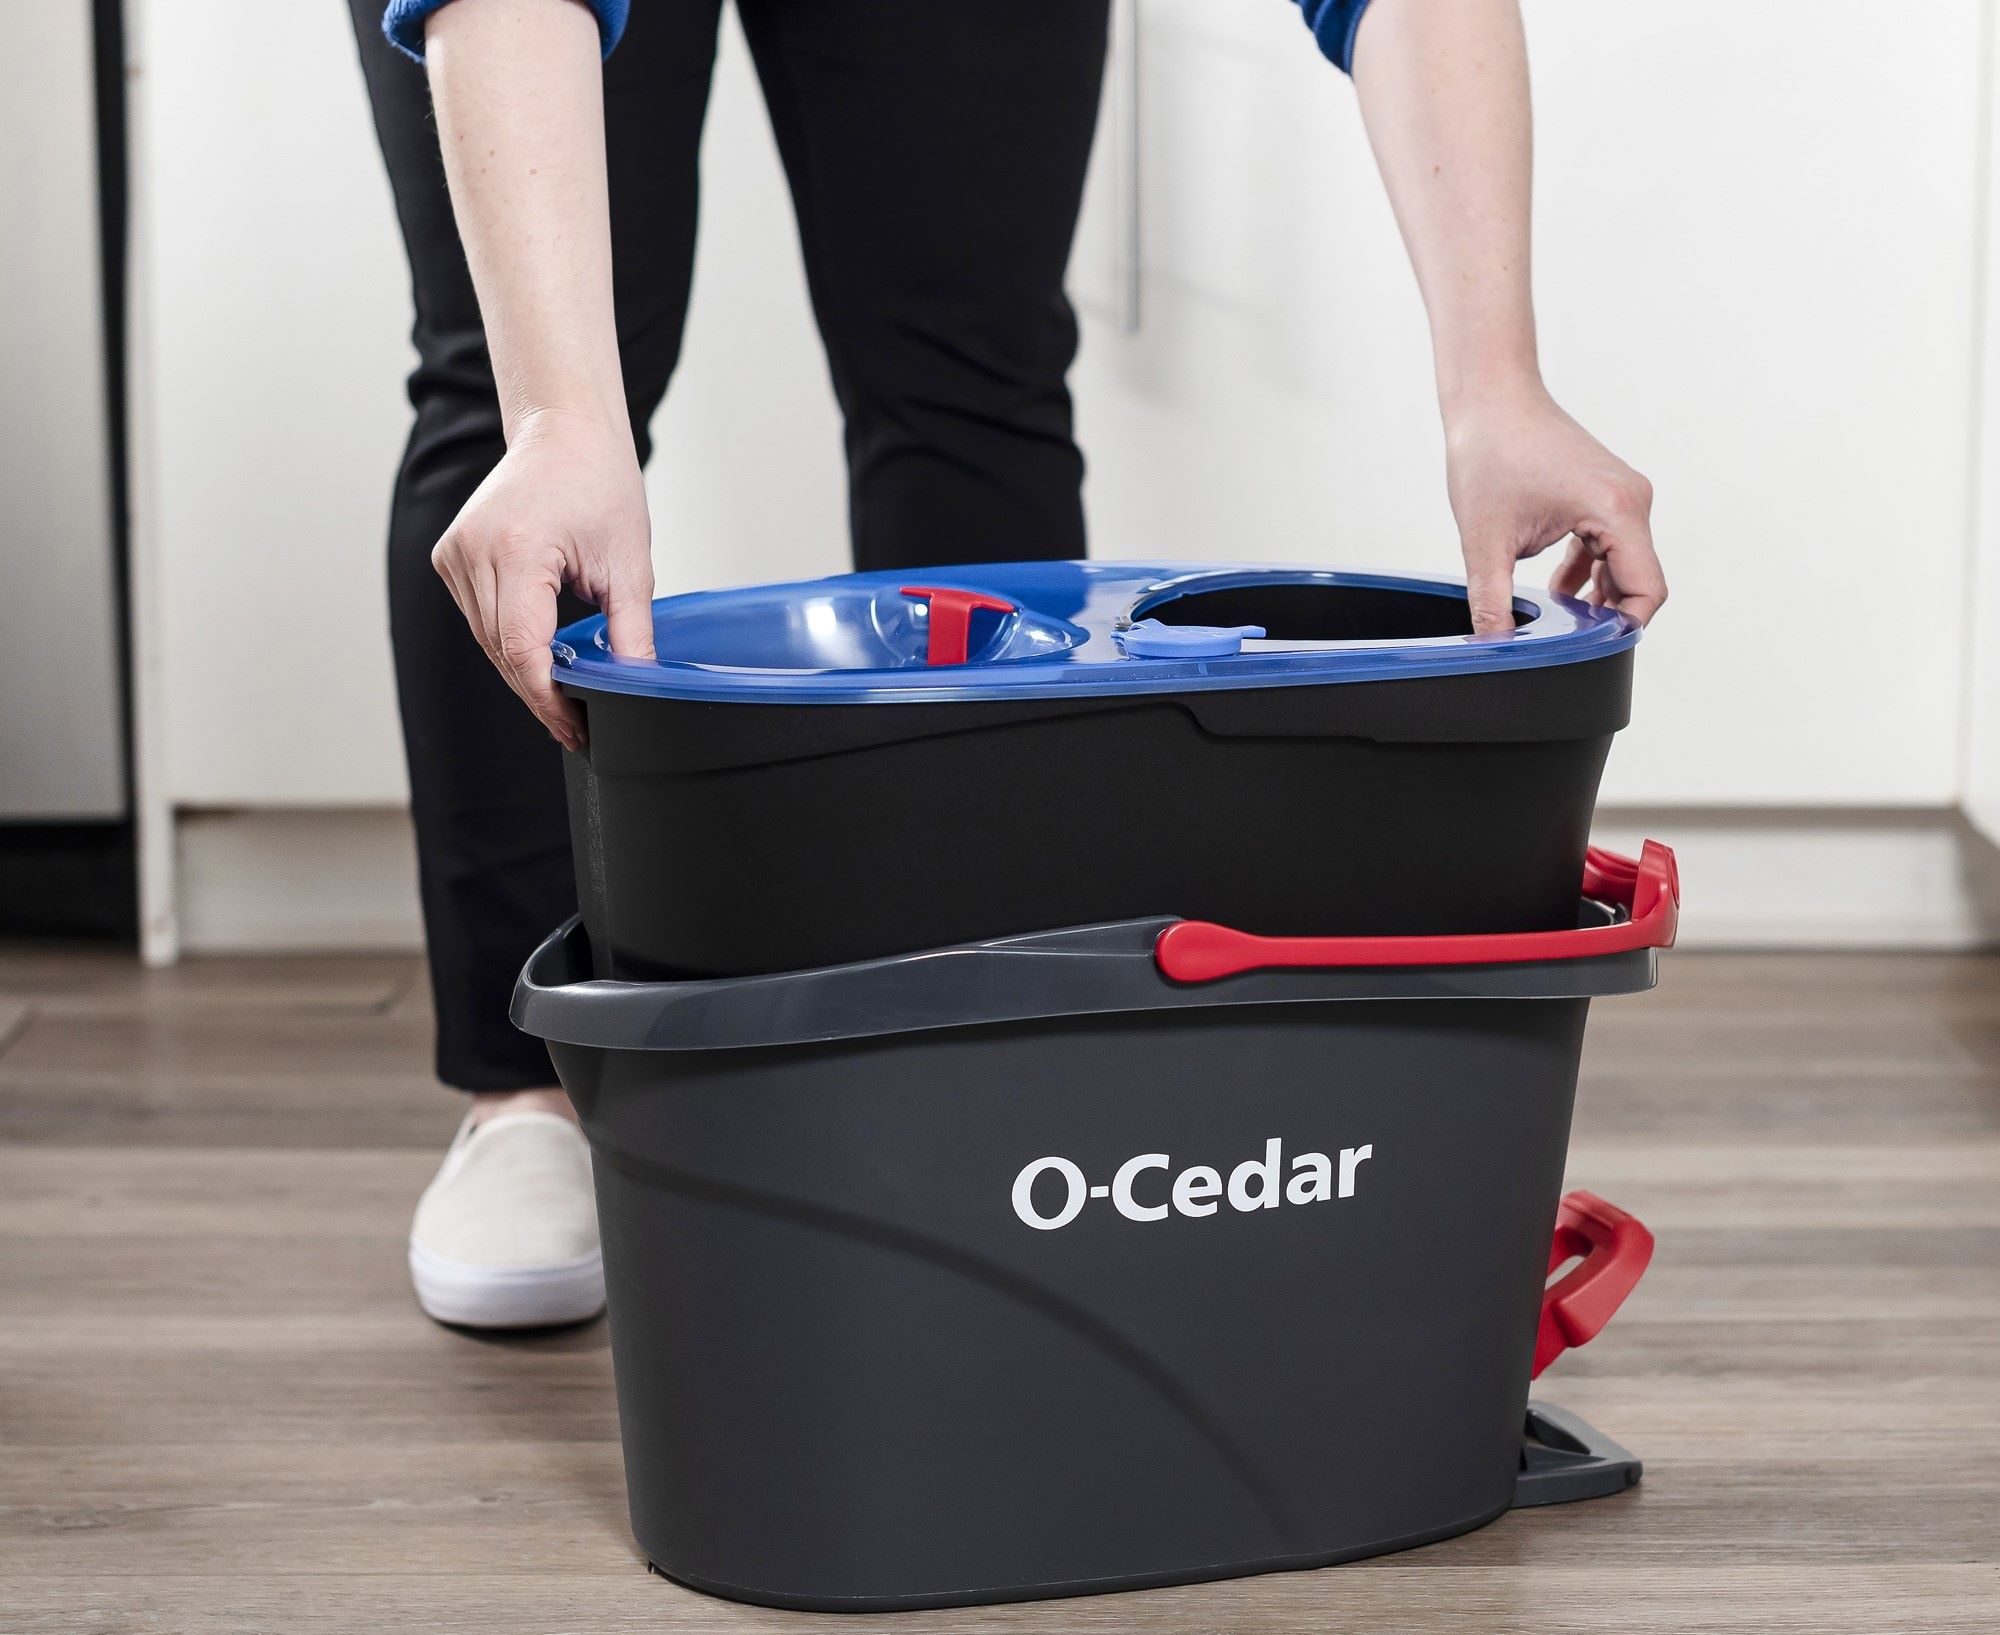
Assembling the O-Cedar Mop Bucket
Assembling the O-Cedar Mop Bucket is a straightforward process that ensures you’re ready to tackle your cleaning tasks in no time. The package includes all the components you need for quick and easy assembly. Here’s a simple guide to help you put together your O-Cedar Mop Bucket:
- Unpack the Components: Start by unpacking the contents of the O-Cedar Mop Bucket package. You should find the mop bucket, handle, wringer, wheels, and any additional accessories included in the package.
- Attach the Wheels: If your O-Cedar Mop Bucket comes with wheels, attach them to the base of the bucket according to the manufacturer’s instructions. The wheels are designed to provide mobility and convenience during the cleaning process.
- Connect the Handle: Next, connect the handle to the designated slot on the mop bucket. Ensure that the handle is securely attached to the bucket to guarantee stability and ease of use during mopping.
- Secure the Wringer: If your mop bucket includes a wringer, secure it to the bucket according to the provided instructions. The wringer plays a crucial role in efficiently removing excess water from the mop, allowing for controlled moisture levels during cleaning.
Once you’ve completed these simple assembly steps, your O-Cedar Mop Bucket will be ready for action. The ease of assembly reflects the user-centric design of the mop bucket, ensuring that you can focus on your cleaning tasks without the hassle of complex setup procedures. With the mop bucket fully assembled, you’re now prepared to fill it with water and cleaning solution to begin the cleaning process.
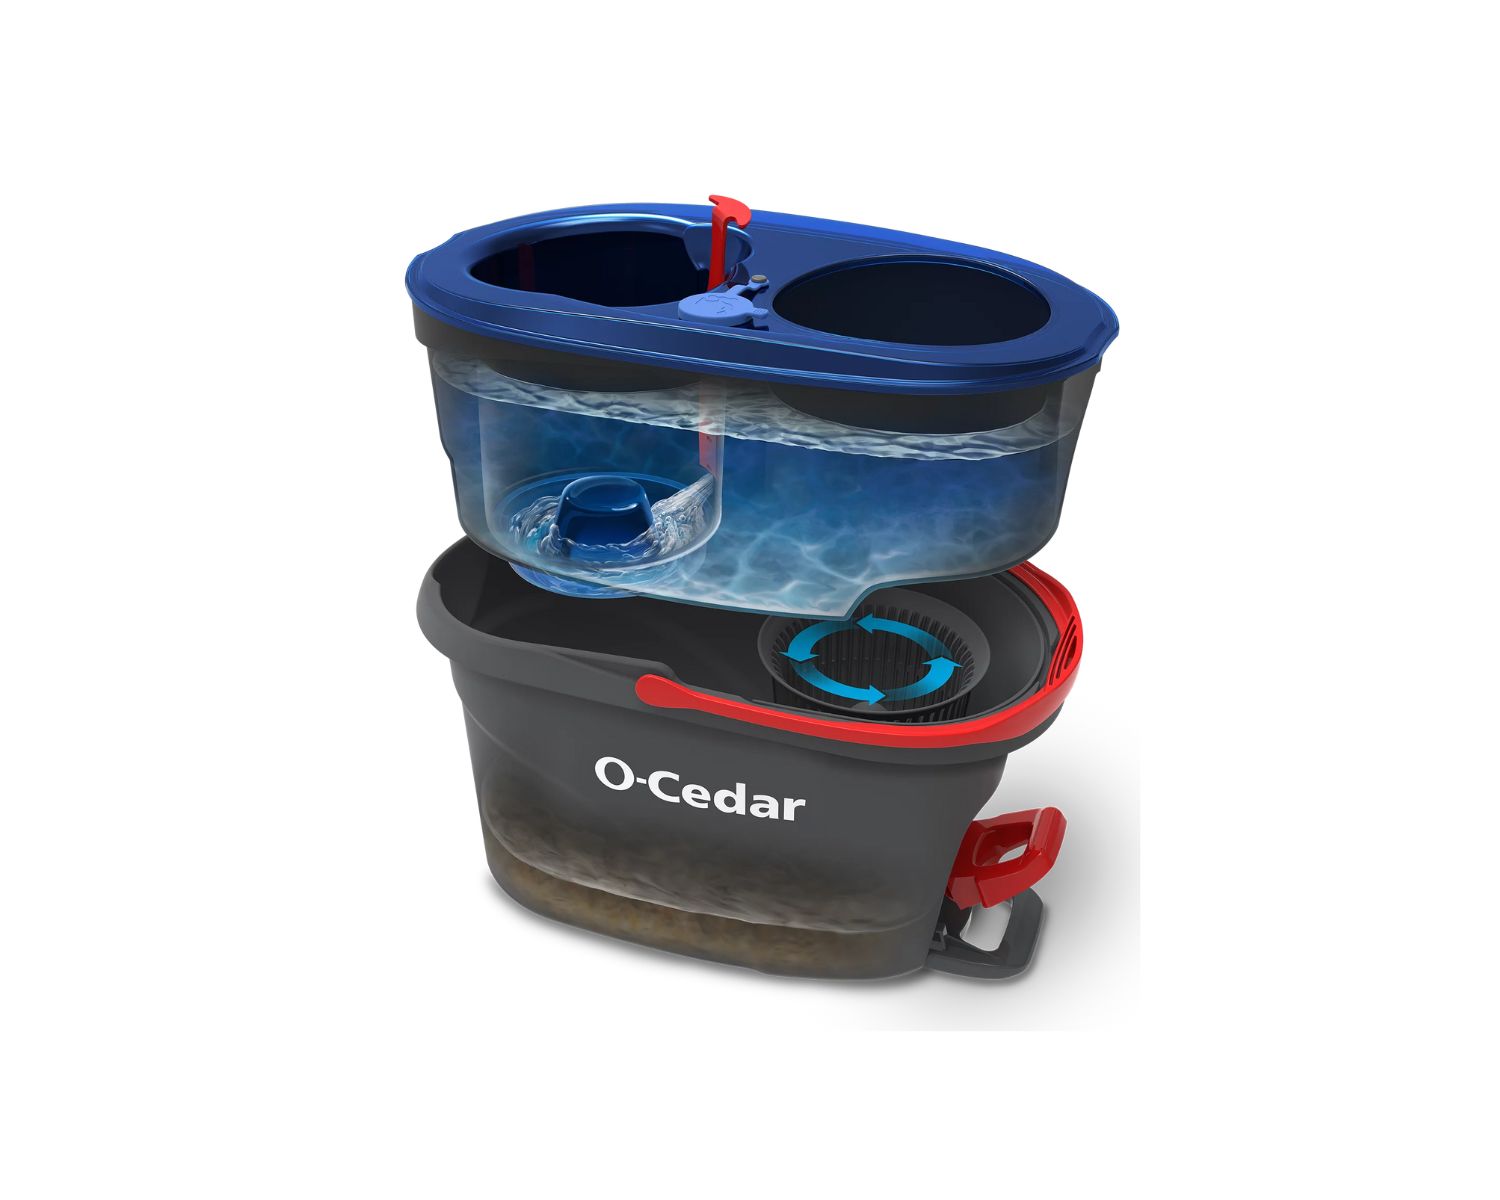
Filling the O-Cedar Mop Bucket with Water
Before embarking on your cleaning journey with the O-Cedar Mop Bucket, it’s essential to fill the bucket with water to create the ideal cleaning solution. Follow these simple steps to ensure that your mop bucket is filled and ready for action:
- Locate a Water Source: Position the O-Cedar Mop Bucket near a water source, such as a sink or a faucet with a detachable hose, for easy access to water. This strategic placement will streamline the process of filling the bucket and minimize the need to transport it while filled.
- Open the Bucket’s Lid: If your O-Cedar Mop Bucket features a lid, remove it to reveal the interior of the bucket. The lid is designed to prevent splashing and spillage during use, ensuring a tidy and controlled cleaning experience.
- Fill the Bucket with Water: Using the water source, fill the mop bucket to the desired level. Be mindful of the recommended water capacity to maintain optimal functionality and maneuverability during cleaning. Avoid overfilling the bucket, as this can lead to unnecessary strain and potential spills.
- Replace the Lid (If Applicable): Once the bucket is filled with water, securely replace the lid if it was initially removed. The lid serves as a protective barrier and helps maintain the temperature of the water, especially if hot water is used for cleaning purposes.
By following these straightforward steps, you’ll have your O-Cedar Mop Bucket filled with water, setting the stage for a seamless and effective cleaning process. The ease of filling the bucket underscores the user-friendly design of the O-Cedar Mop Bucket, allowing you to focus on achieving spotless floors with minimal effort.
Adding Cleaning Solution to the O-Cedar Mop Bucket
Enhance the cleaning power of your O-Cedar Mop Bucket by incorporating a suitable cleaning solution to tackle dirt, grime, and stains effectively. Whether you prefer commercial cleaning products or homemade solutions, the process of adding a cleaning solution to the mop bucket is simple and straightforward. Here’s how to do it:
- Select Your Cleaning Solution: Choose a cleaning solution that aligns with your cleaning needs and preferences. This may include floor cleaners, multi-surface cleaners, or homemade solutions comprising water, vinegar, and essential oils. Ensure that the chosen cleaning product is suitable for the type of flooring you intend to clean.
- Determine the Dilution Ratio: If using a concentrated cleaning product, refer to the manufacturer’s instructions to determine the appropriate dilution ratio. Diluting the cleaning solution correctly ensures effective cleaning without leaving behind residue or streaks on the floor.
- Pour the Solution into the Bucket: With the mop bucket filled with water, carefully pour the predetermined amount of cleaning solution into the water. Use a gentle, steady pour to prevent splashing and ensure an even distribution of the cleaning solution throughout the water.
- Stir the Solution (If Necessary): If using a homemade cleaning solution or a product that requires mixing, use a mop handle or a stirring implement to gently agitate the water and cleaning solution mixture. This step helps achieve a uniform solution for consistent cleaning results.
By following these steps, you’ll have successfully infused your O-Cedar Mop Bucket with a potent cleaning solution, priming it for the task of eliminating dirt and grime from your floors. The addition of a cleaning solution amplifies the cleaning efficacy of the mop, ensuring that your floors receive a thorough and refreshing cleanse with every pass of the mop.
When using the O-Cedar mop bucket, make sure to fill it with the recommended amount of water and cleaning solution to avoid overfilling and spilling.
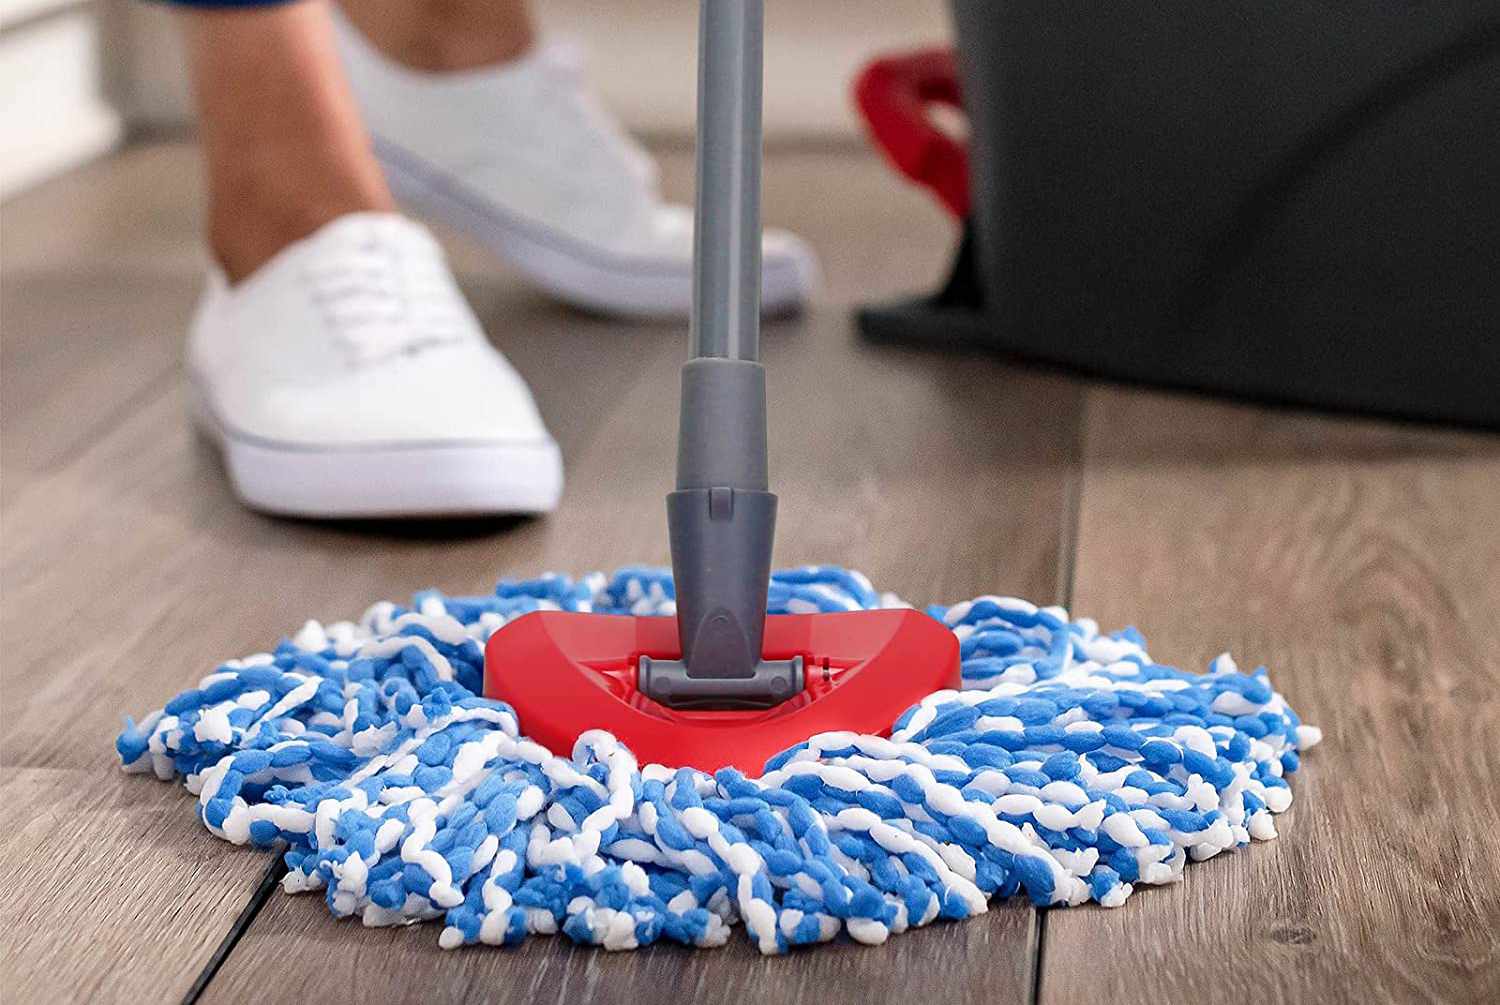
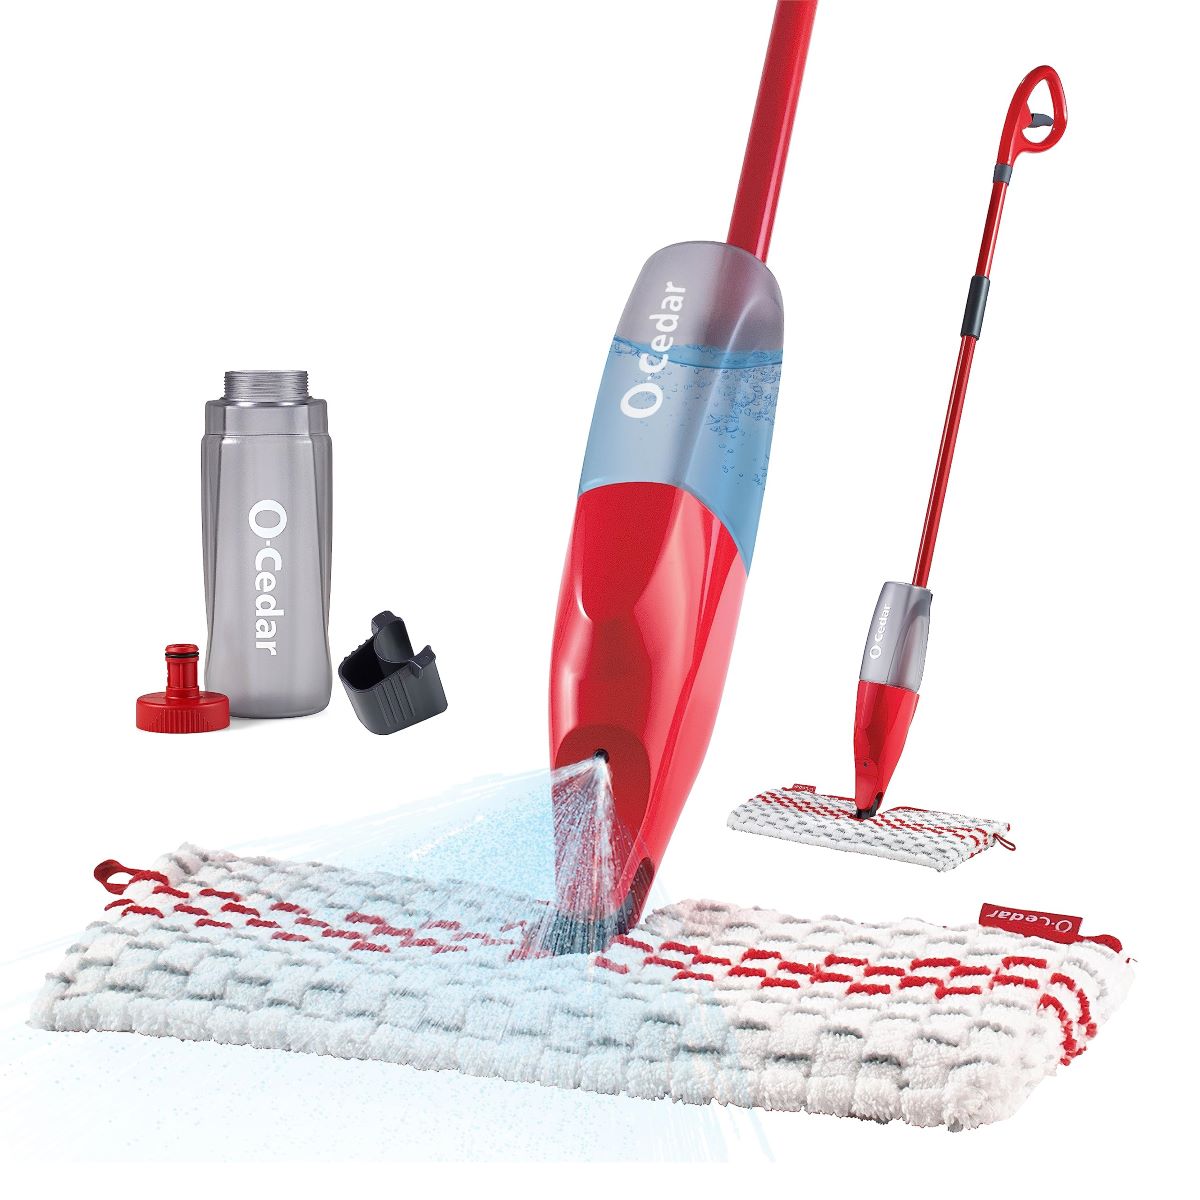
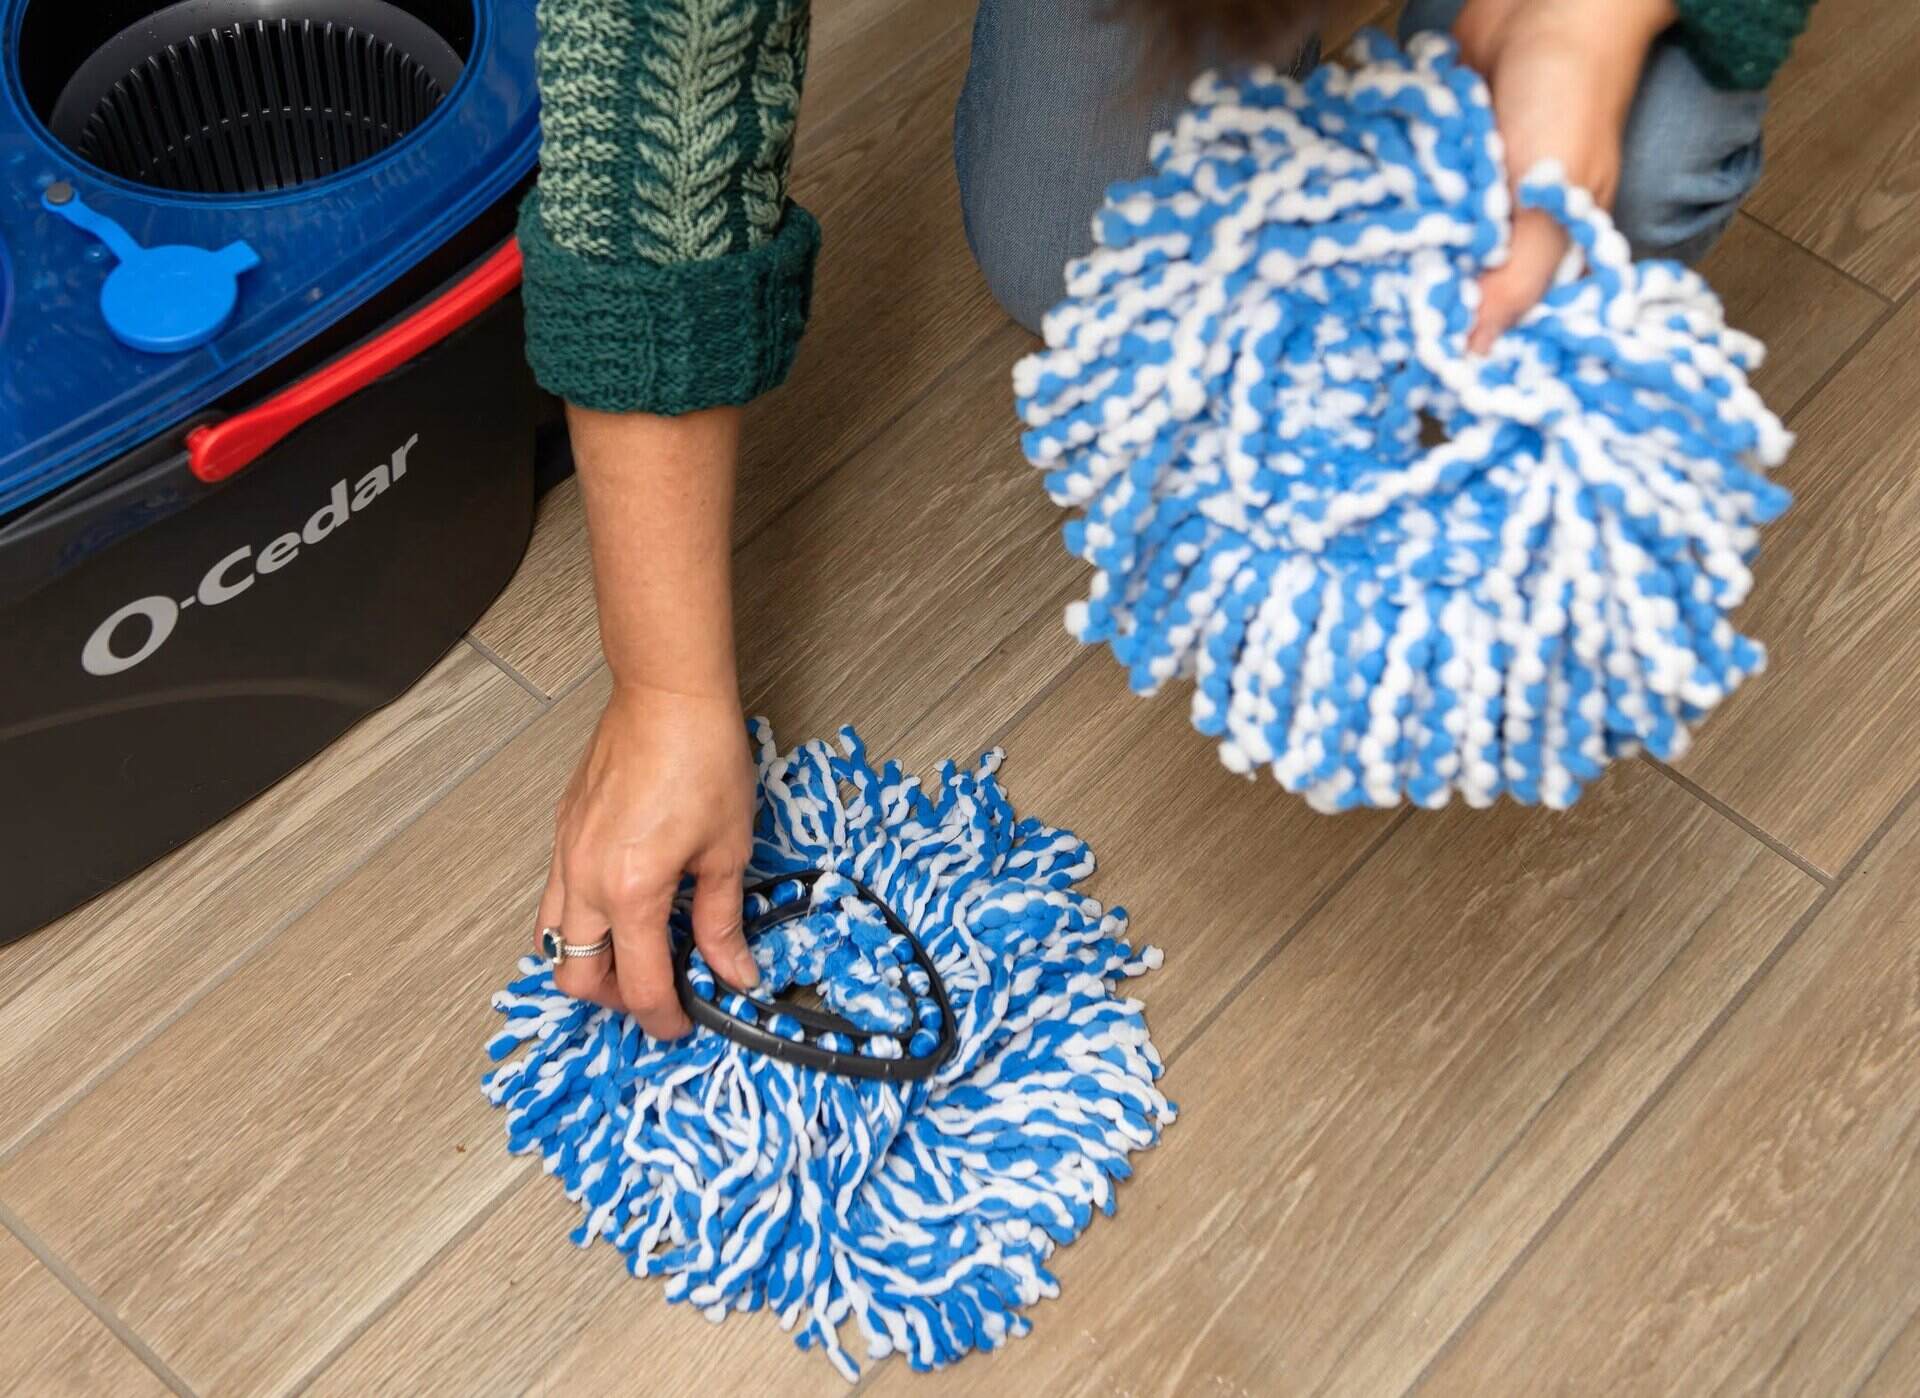
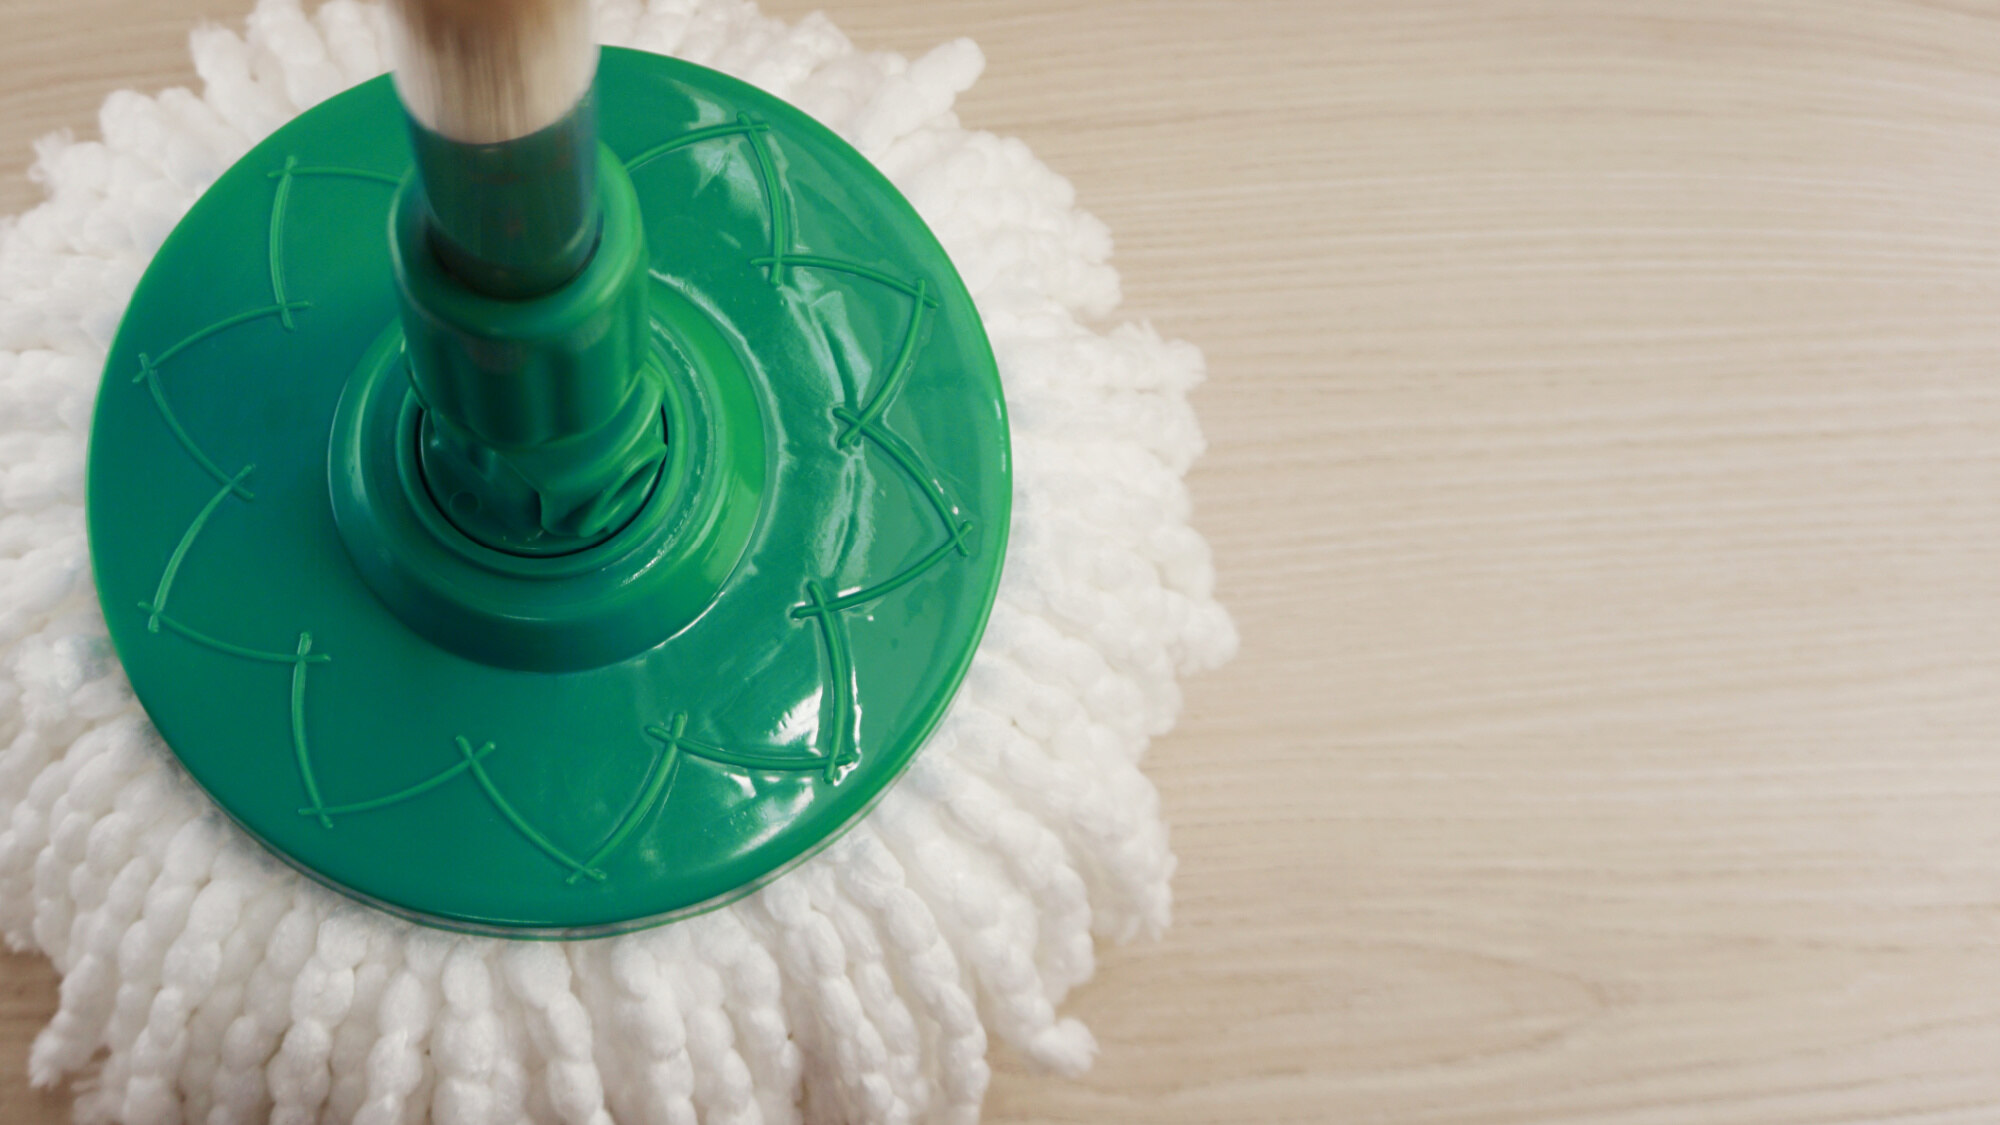
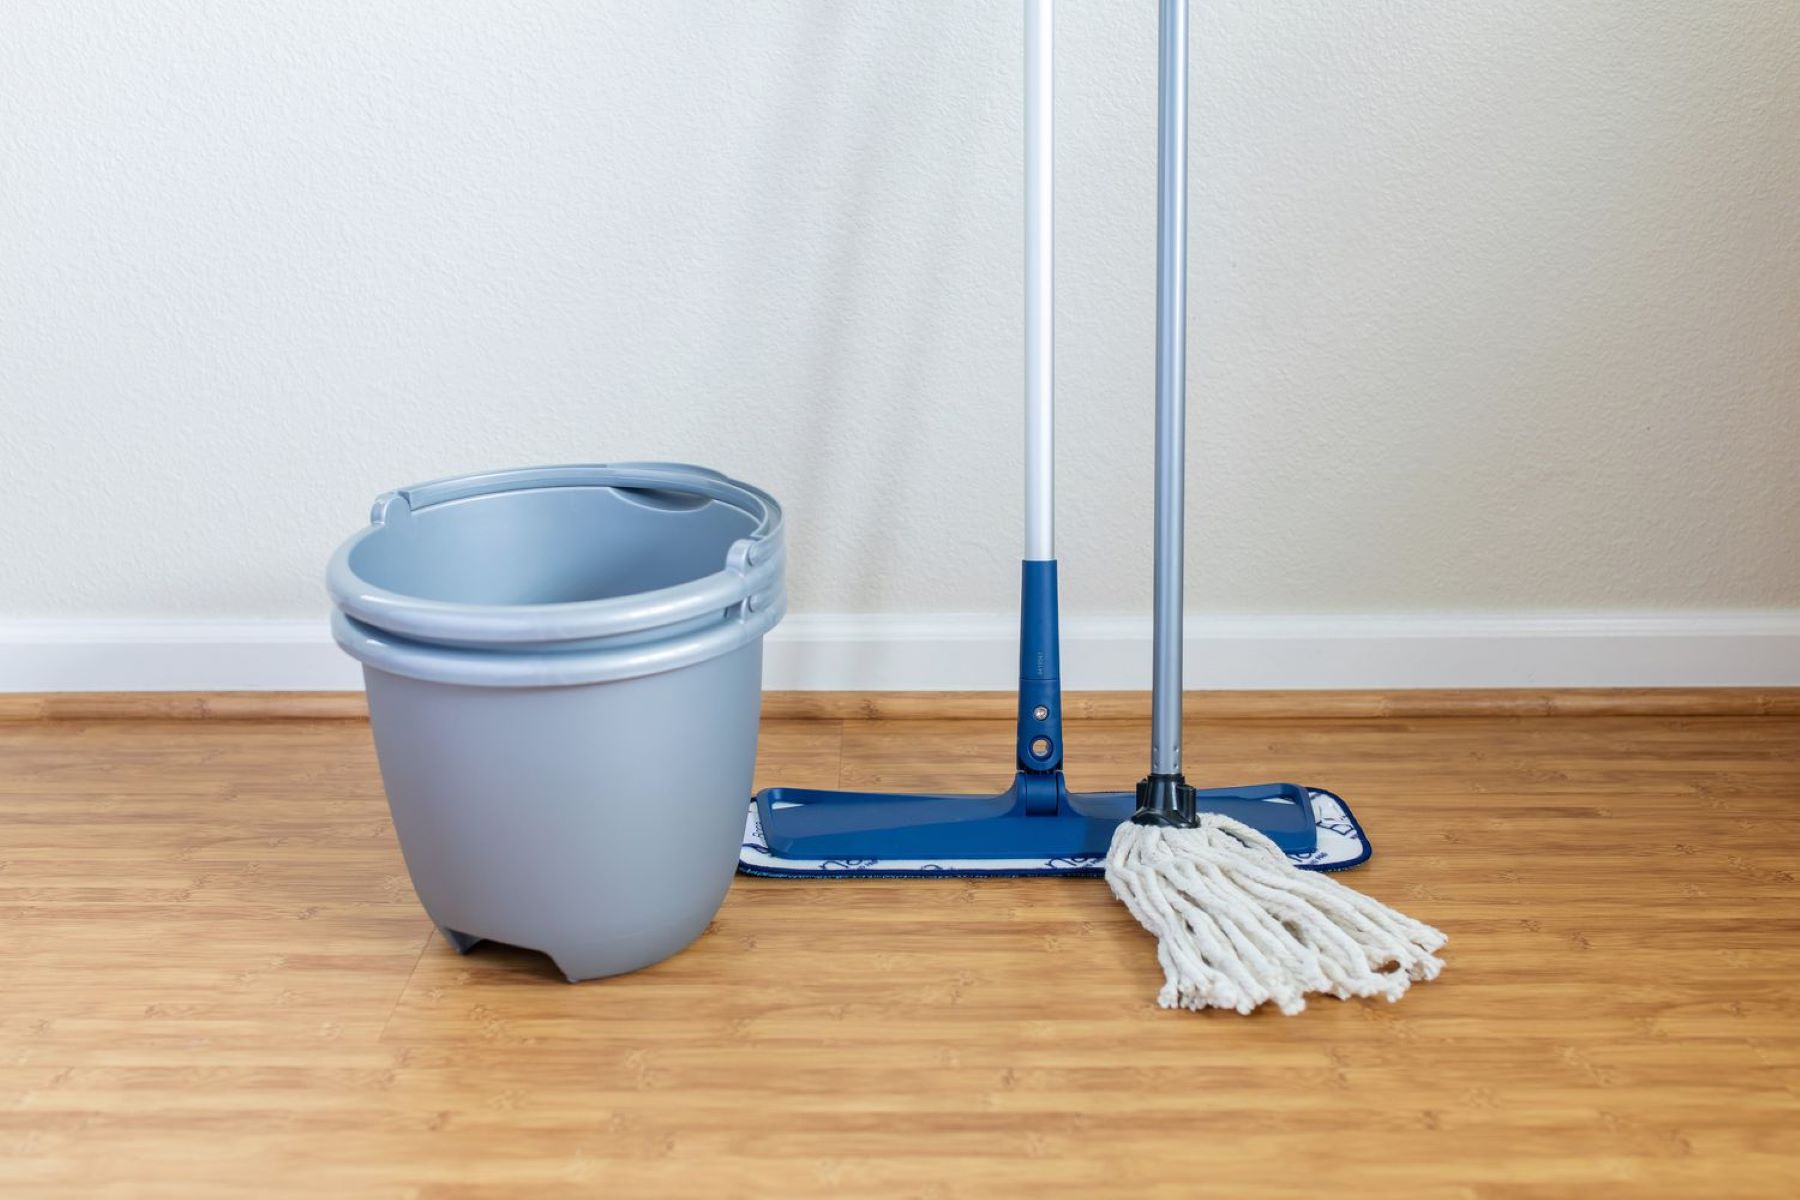
Attaching the Mop Head to the O-Cedar Mop Bucket
With the O-Cedar Mop Bucket assembled, filled with water, and enriched with a cleaning solution, the next step is to attach the mop head, the essential component that will facilitate the actual cleaning process. The process of attaching the mop head to the mop bucket is simple and ensures that you’re ready to tackle your cleaning tasks with ease. Here’s a step-by-step guide to help you attach the mop head to the O-Cedar Mop Bucket:
- Select the Appropriate Mop Head: Depending on your cleaning requirements and the type of flooring you’ll be cleaning, choose the most suitable mop head for the task. O-Cedar offers a variety of mop heads designed for different purposes, including general cleaning, deep cleaning, and dusting.
- Prepare the Mop Head: If your mop head requires assembly or preparation, follow the manufacturer’s instructions to ensure that it’s ready for attachment. This may involve securing the mop head to the mop handle or adjusting any fastening mechanisms for optimal performance.
- Attach the Mop Head to the Mop Handle: If the mop head and handle are separate components, securely attach the mop head to the handle according to the provided instructions. Ensure that the connection is firm and stable to prevent the mop head from detaching during use.
- Place the Mop Head in the Bucket: With the mop head and handle assembled, immerse the mop head in the water and cleaning solution mixture within the O-Cedar Mop Bucket. Allow the mop head to absorb the solution, preparing it for efficient and thorough cleaning.
By following these steps, you’ll have successfully attached the mop head to the O-Cedar Mop Bucket, signaling that you’re ready to embark on your cleaning journey. The seamless integration of the mop head with the mop bucket ensures that you can focus on achieving pristine floors without the hassle of complicated setup procedures. With the mop head in place, you’re now prepared to put the O-Cedar Mop Bucket to work and experience its exceptional cleaning capabilities.
Read more: Which O-Cedar Mop Is Best
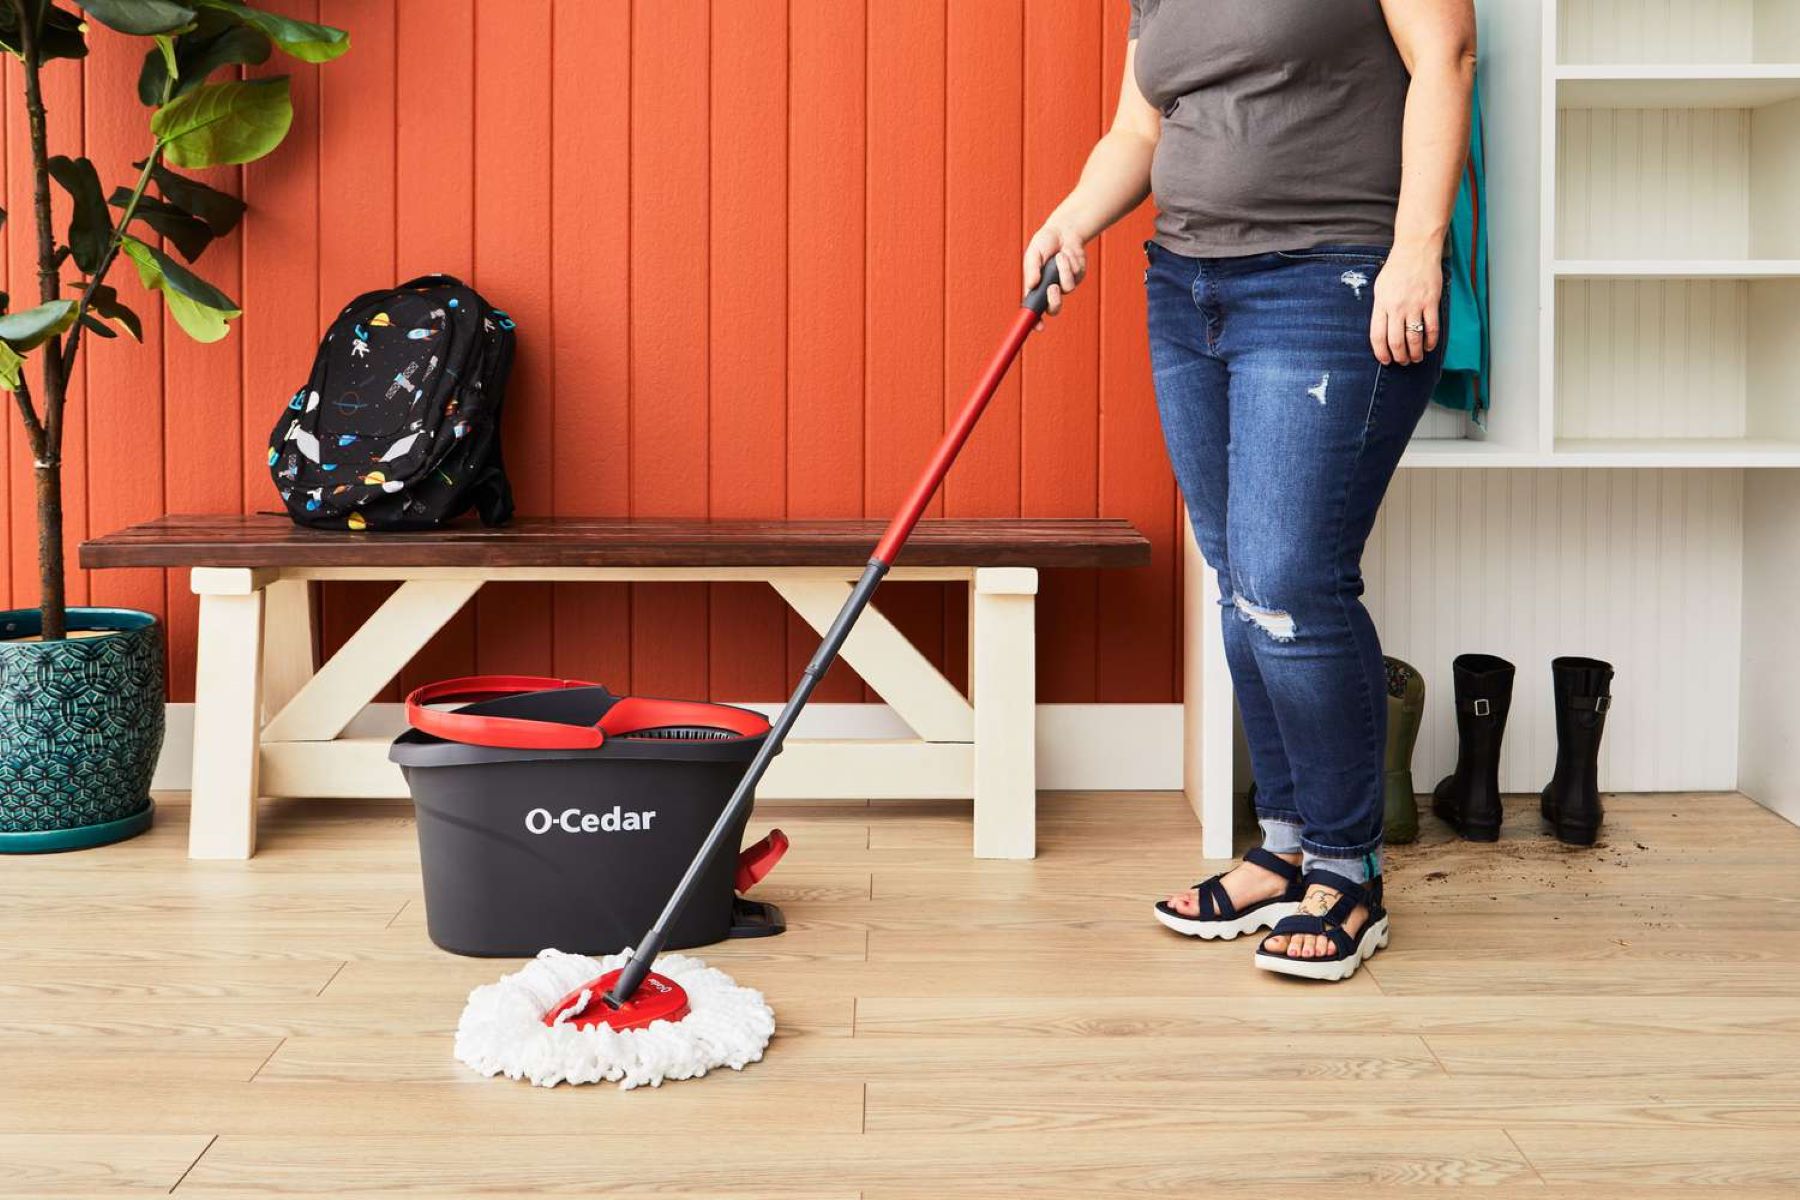
Mopping with the O-Cedar Mop Bucket
Now that your O-Cedar Mop Bucket is assembled, filled with water and cleaning solution, and equipped with the mop head, it’s time to put it to use and experience its exceptional mopping capabilities. Mopping with the O-Cedar Mop Bucket is a straightforward and efficient process that promises sparkling clean floors with minimal effort. Here’s a step-by-step guide to help you make the most of your mopping experience:
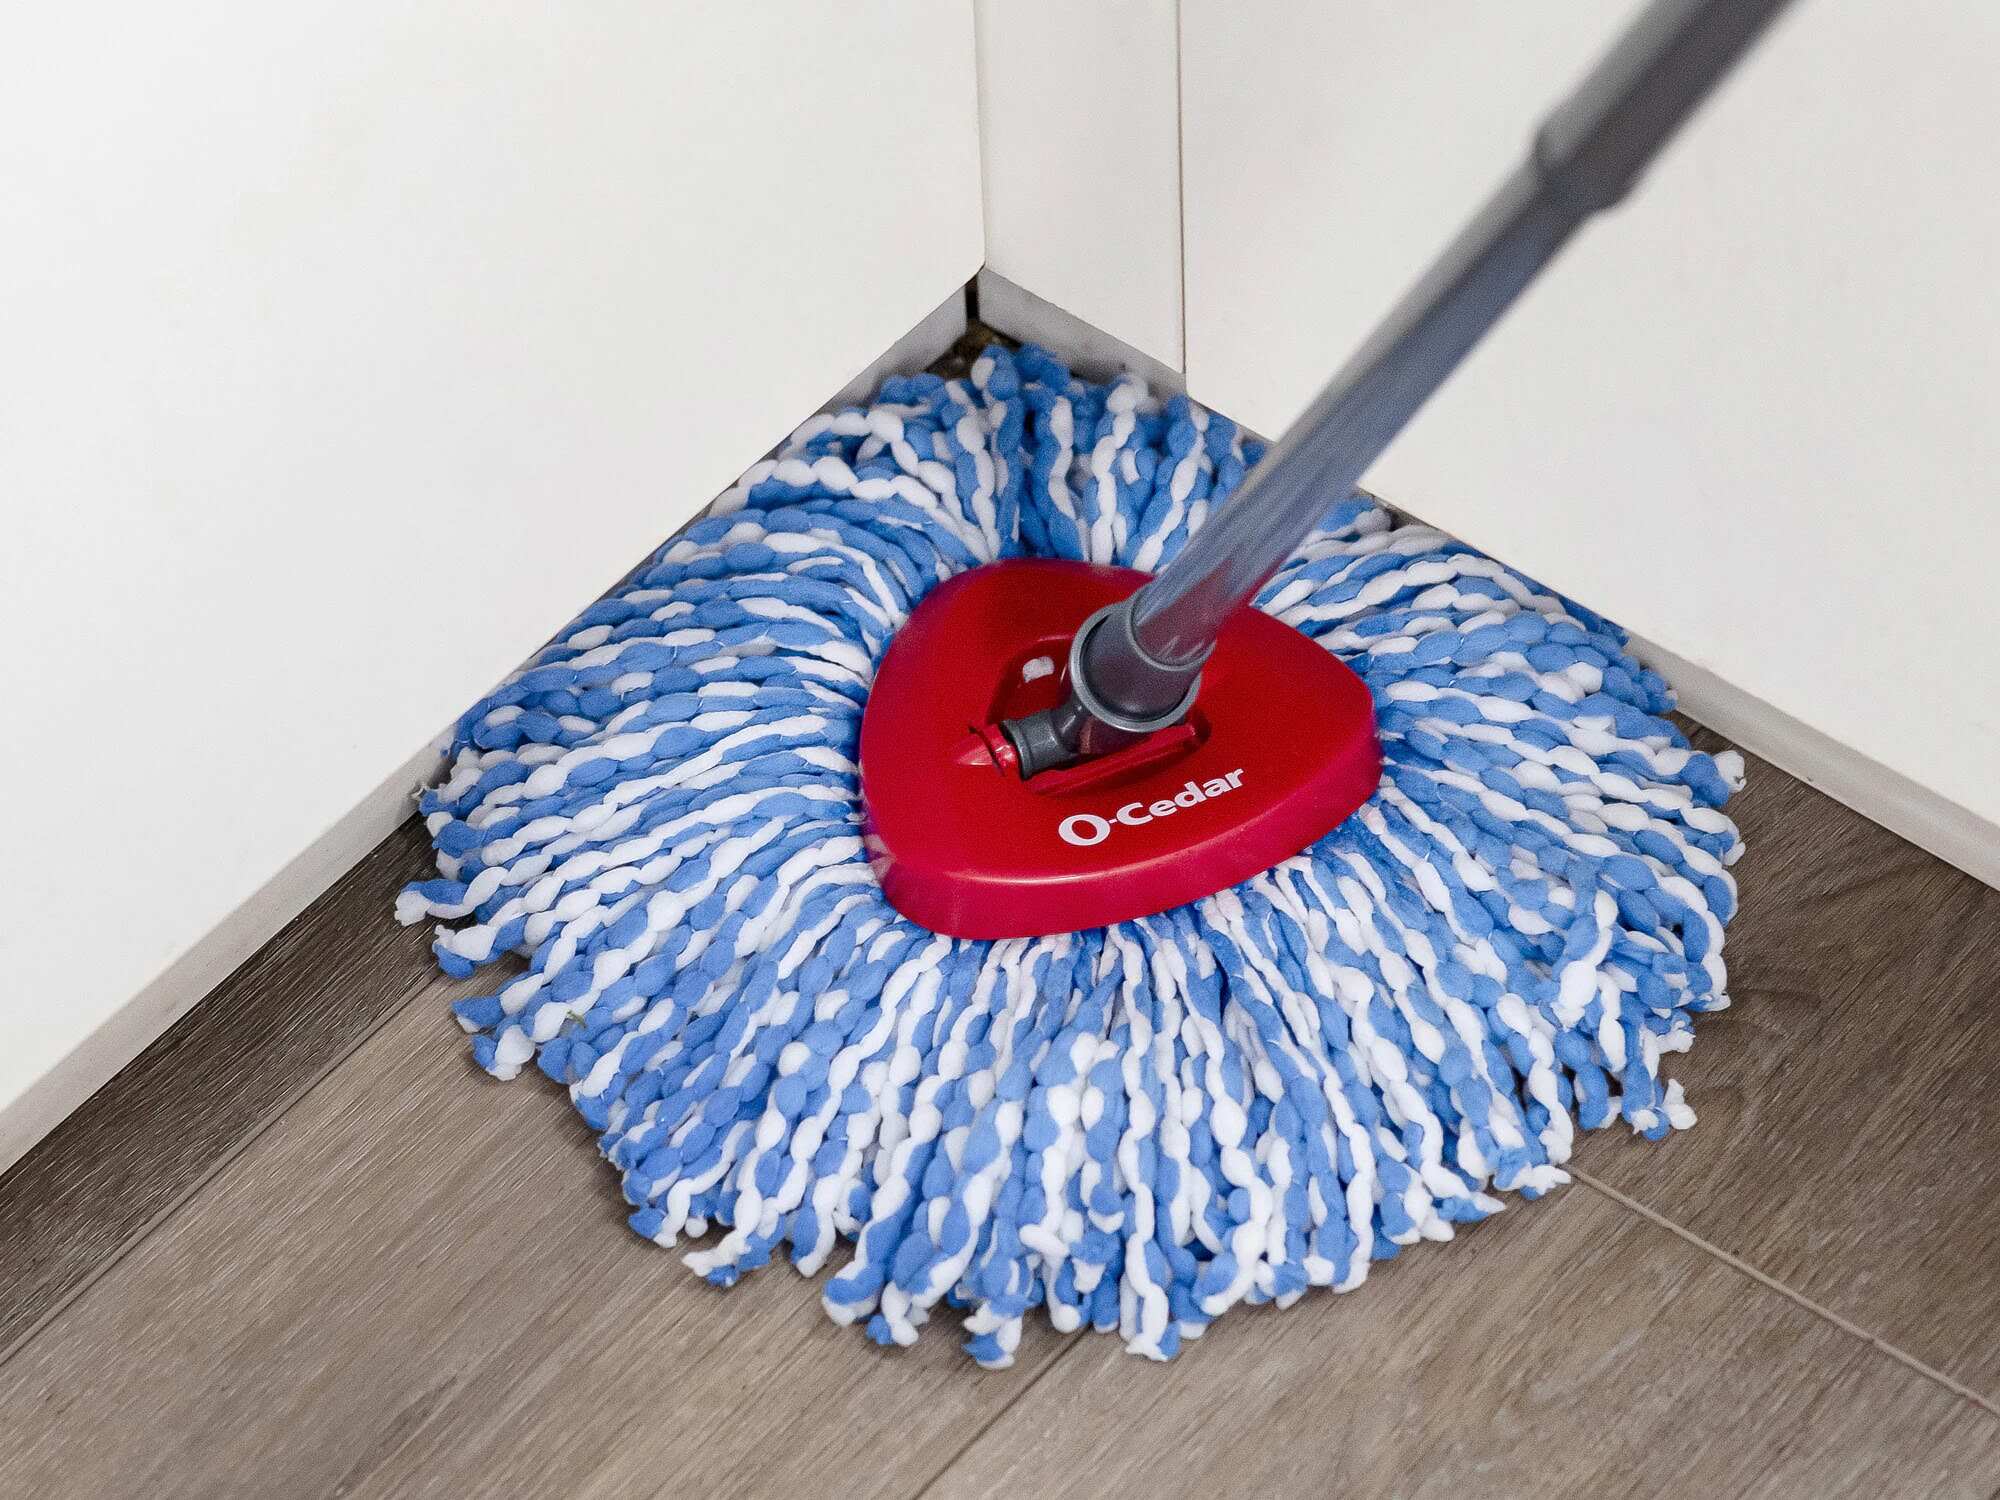
- Position the Mop: Begin by positioning the mop head at the edge of the area you intend to clean. This strategic placement allows for a smooth and controlled mopping motion as you work your way across the floor.
- Apply Gentle Pressure: Place the mop head on the floor and apply gentle pressure to ensure optimal contact between the mop and the surface. This pressure facilitates effective dirt and grime removal while allowing the mop to absorb the cleaning solution for thorough cleansing.
- Mop in a Figure-Eight Motion: Engage in a figure-eight mopping motion, moving the mop head back and forth to cover the designated area. This technique ensures comprehensive coverage and efficient dirt pickup, leaving the floor gleaming and revitalized.
- Refresh the Mop Head as Needed: As the mop head accumulates dirt and becomes saturated, refresh it by rinsing it in the cleaning solution within the mop bucket. Squeeze out excess water using the wringer, if applicable, before resuming mopping to maintain optimal cleaning performance.
- Work in Sections: Divide the cleaning area into manageable sections and focus on mopping one section at a time. This approach promotes thorough cleaning and allows you to maintain control over the mopping process, ensuring that no area is overlooked.
- Inspect and Touch Up as Necessary: After completing the mopping process, inspect the cleaned area for any remaining spots or streaks. Address any missed spots or areas that require additional attention to achieve a consistently immaculate finish.
By following these steps and incorporating the recommended mopping techniques, you’ll harness the full potential of the O-Cedar Mop Bucket, achieving pristine, spotless floors with remarkable efficiency. The user-friendly design of the mop bucket, combined with the effective mopping techniques, ensures that your cleaning experience is not only productive but also satisfying and rewarding.
Emptying and Cleaning the O-Cedar Mop Bucket
After completing your mopping tasks with the O-Cedar Mop Bucket, it’s essential to properly empty and clean the bucket to maintain its hygiene and functionality. This crucial step ensures that the mop bucket remains in optimal condition for future use and prolongs its longevity. Here’s a comprehensive guide to emptying and cleaning the O-Cedar Mop Bucket:
- Empty Excess Water: Start by emptying any remaining water and cleaning solution from the mop bucket. Position the bucket near a drain or sink and carefully pour out the contents, ensuring thorough drainage to prepare the bucket for cleaning.
- Rinse the Bucket: With the excess water emptied, rinse the interior of the mop bucket with clean water to remove residual cleaning solution and dirt. Use a gentle stream of water to thoroughly rinse the bucket, paying attention to corners and crevices to ensure a comprehensive clean.
- Clean the Wringer (If Applicable): If your mop bucket features a wringer, clean it thoroughly to remove any accumulated dirt and grime. Pay attention to the wringer’s mechanisms and ensure that it operates smoothly and efficiently for future use.
- Sanitize the Bucket: To maintain a hygienic cleaning environment, consider sanitizing the mop bucket using a mild disinfectant or a solution of water and vinegar. This step helps eliminate bacteria and odors, ensuring that the bucket remains clean and fresh for subsequent use.
- Air Dry the Bucket: Once cleaned and sanitized, allow the mop bucket to air dry completely before storing it. Position the bucket in a well-ventilated area to expedite the drying process and prevent the accumulation of moisture, which can lead to mildew or odors.
- Store the Mop Bucket Properly: After drying, store the O-Cedar Mop Bucket in a designated area, ensuring that it is placed in a stable and upright position. Proper storage safeguards the bucket from damage and maintains its integrity for continued use.
By following these steps, you’ll effectively empty and clean the O-Cedar Mop Bucket, preserving its cleanliness and functionality for future cleaning endeavors. The meticulous care and maintenance of the mop bucket ensure that it remains a reliable and indispensable tool in your cleaning arsenal, ready to deliver exceptional results with each use.
Conclusion
Congratulations on mastering the art of using the O-Cedar Mop Bucket to achieve pristine and refreshed floors with unparalleled ease. By following the step-by-step guide outlined in this comprehensive manual, you’ve gained valuable insights into assembling, filling, and utilizing the O-Cedar Mop Bucket to streamline your cleaning routine and elevate the cleanliness of your living spaces.
The O-Cedar Mop Bucket’s user-friendly design, combined with its efficient mopping capabilities, has revolutionized the way you approach household cleaning, making the process not only effective but also enjoyable. With its durable construction and thoughtful features, the O-Cedar Mop Bucket has become an indispensable ally in your quest for immaculate floors and a hygienic home environment.
As you continue to harness the potential of the O-Cedar Mop Bucket, remember the importance of proper maintenance and cleaning to preserve its functionality and longevity. By emptying, cleaning, and storing the mop bucket with care, you ensure that it remains a reliable and efficient cleaning companion for years to come.
Embrace the convenience, efficiency, and satisfaction that the O-Cedar Mop Bucket brings to your cleaning routine, and revel in the transformative impact it has on the cleanliness and ambiance of your living spaces. With the O-Cedar Mop Bucket by your side, maintaining spotless floors is no longer a daunting task but a rewarding and fulfilling endeavor.
Thank you for embarking on this journey to unlock the full potential of the O-Cedar Mop Bucket. May your cleaning endeavors continue to be effortless, effective, and imbued with the satisfaction of pristine, gleaming floors.
Frequently Asked Questions about How To Use The O-Cedar Mop Bucket
Was this page helpful?
At Storables.com, we guarantee accurate and reliable information. Our content, validated by Expert Board Contributors, is crafted following stringent Editorial Policies. We're committed to providing you with well-researched, expert-backed insights for all your informational needs.

0 thoughts on “How To Use The O-Cedar Mop Bucket”