Home>Home Appliances>Cleaning Appliances>How To Wash Roomba Mop Pads

Cleaning Appliances
How To Wash Roomba Mop Pads
Modified: January 4, 2024
Learn the best way to clean and wash Roomba mop pads for your cleaning appliances. Follow these simple steps to keep your mop pads fresh and effective.
(Many of the links in this article redirect to a specific reviewed product. Your purchase of these products through affiliate links helps to generate commission for Storables.com, at no extra cost. Learn more)
Introduction
Maintaining a clean and efficient home involves more than just vacuuming and dusting. For those who have embraced the convenience of a Roomba with mopping capabilities, ensuring the cleanliness of the mop pads is an essential part of the cleaning routine. Over time, these pads can accumulate dirt, grime, and other debris, which can compromise their effectiveness in keeping your floors spotless.
In this comprehensive guide, we will walk you through the step-by-step process of washing Roomba mop pads to help you maintain a hygienic and efficient cleaning regimen. By following these simple yet effective techniques, you can extend the life of your Roomba mop pads and ensure that they continue to deliver exceptional results with every use.
So, let's dive in and learn how to keep your Roomba mop pads clean and ready for action!
Key Takeaways:
- Keep your Roomba mop pads clean by removing, shaking off debris, pre-treating stains, machine washing, and air drying. This ensures optimal performance and extends the lifespan of your mop pads.
- Regularly washing your Roomba mop pads maintains a hygienic home, extends their lifespan, and ensures exceptional cleaning results. Follow the step-by-step guide for a fresh and efficient cleaning routine.
Read also: 12 Amazing Roomba Mop For 2025
Step 1: Remove the mop pad from the Roomba
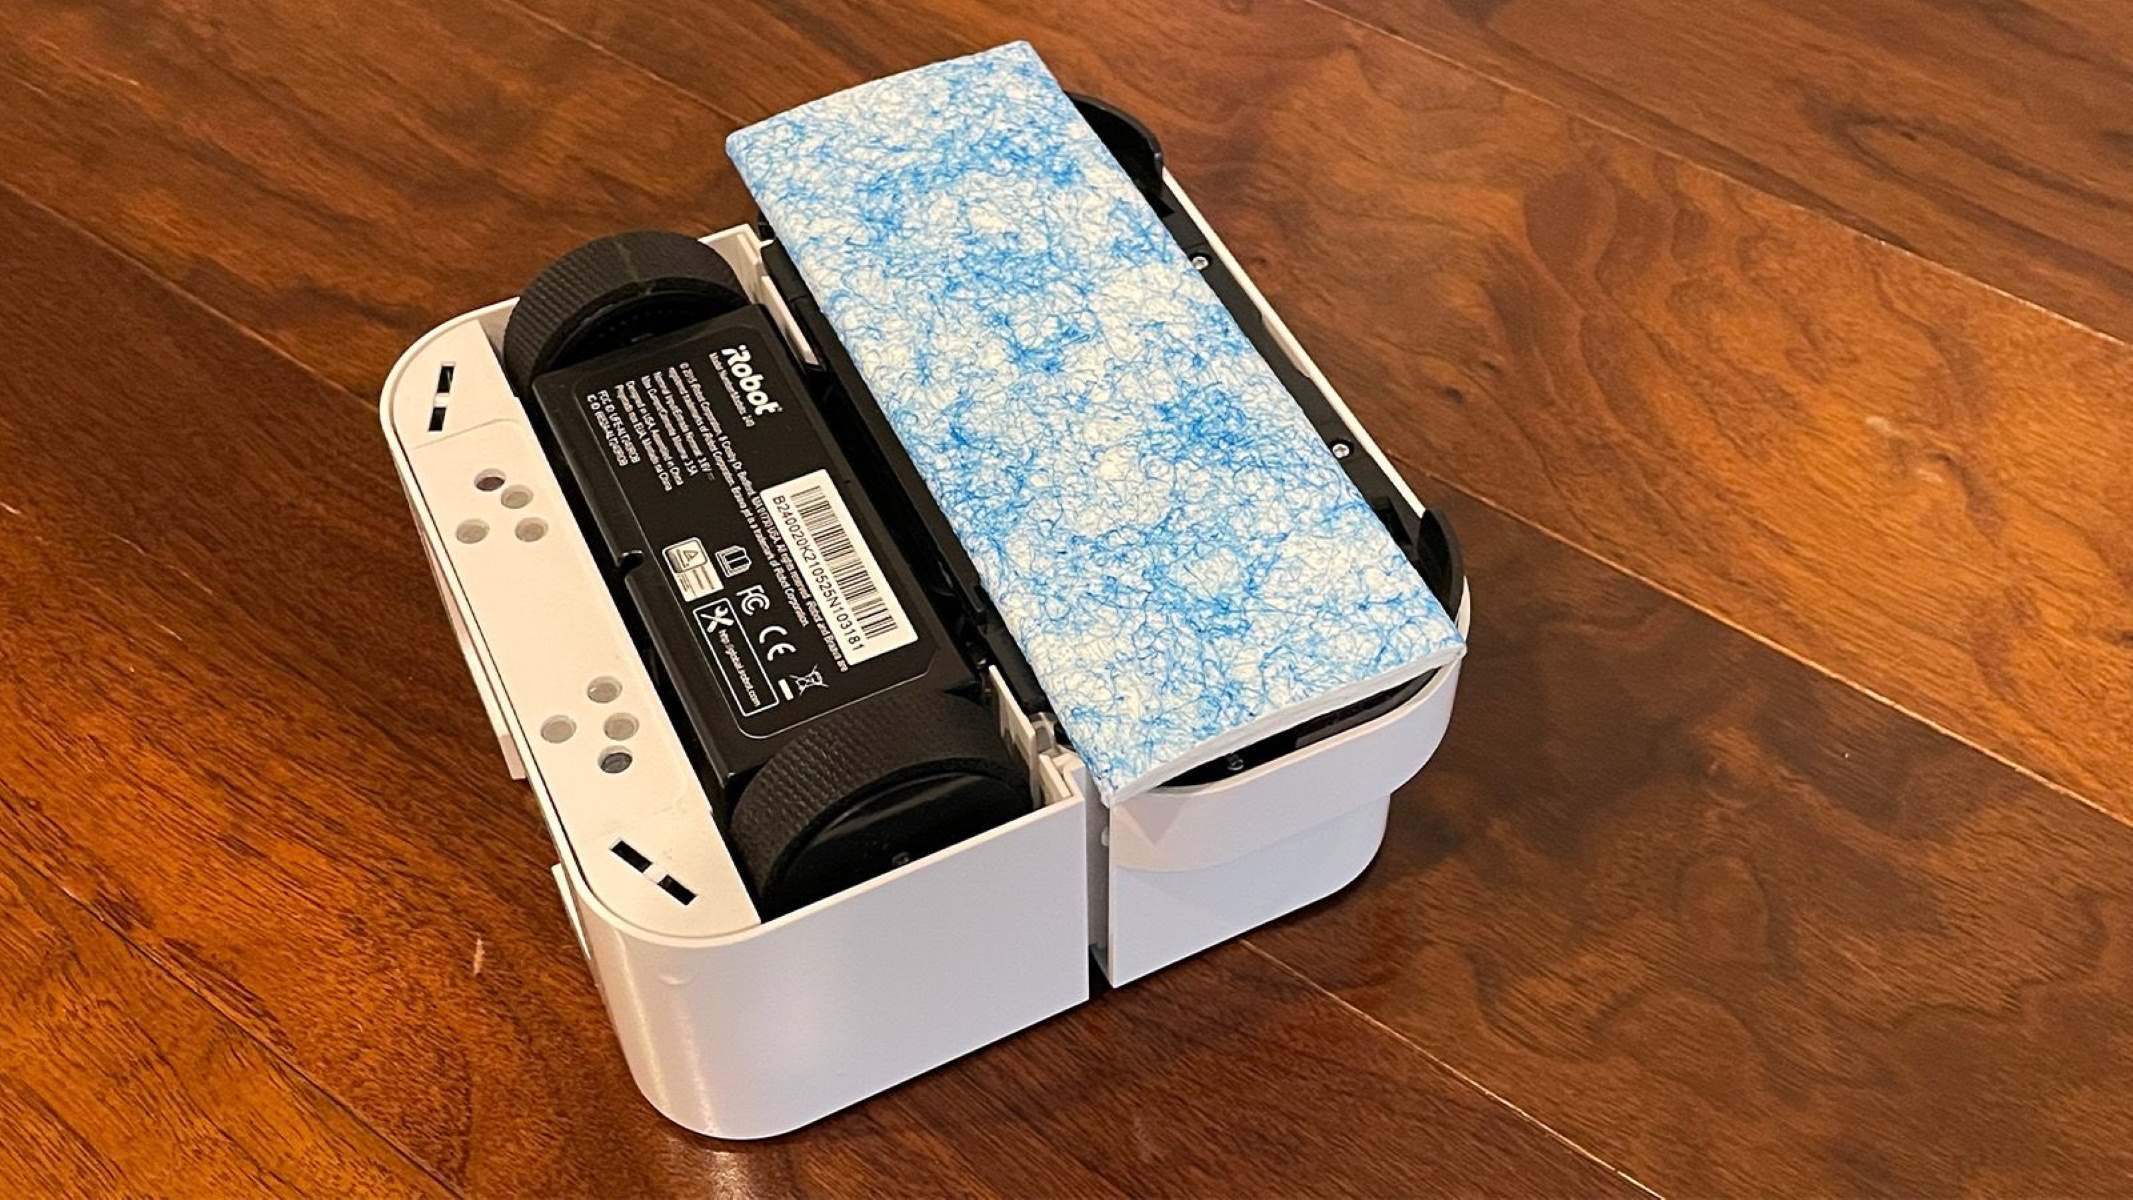
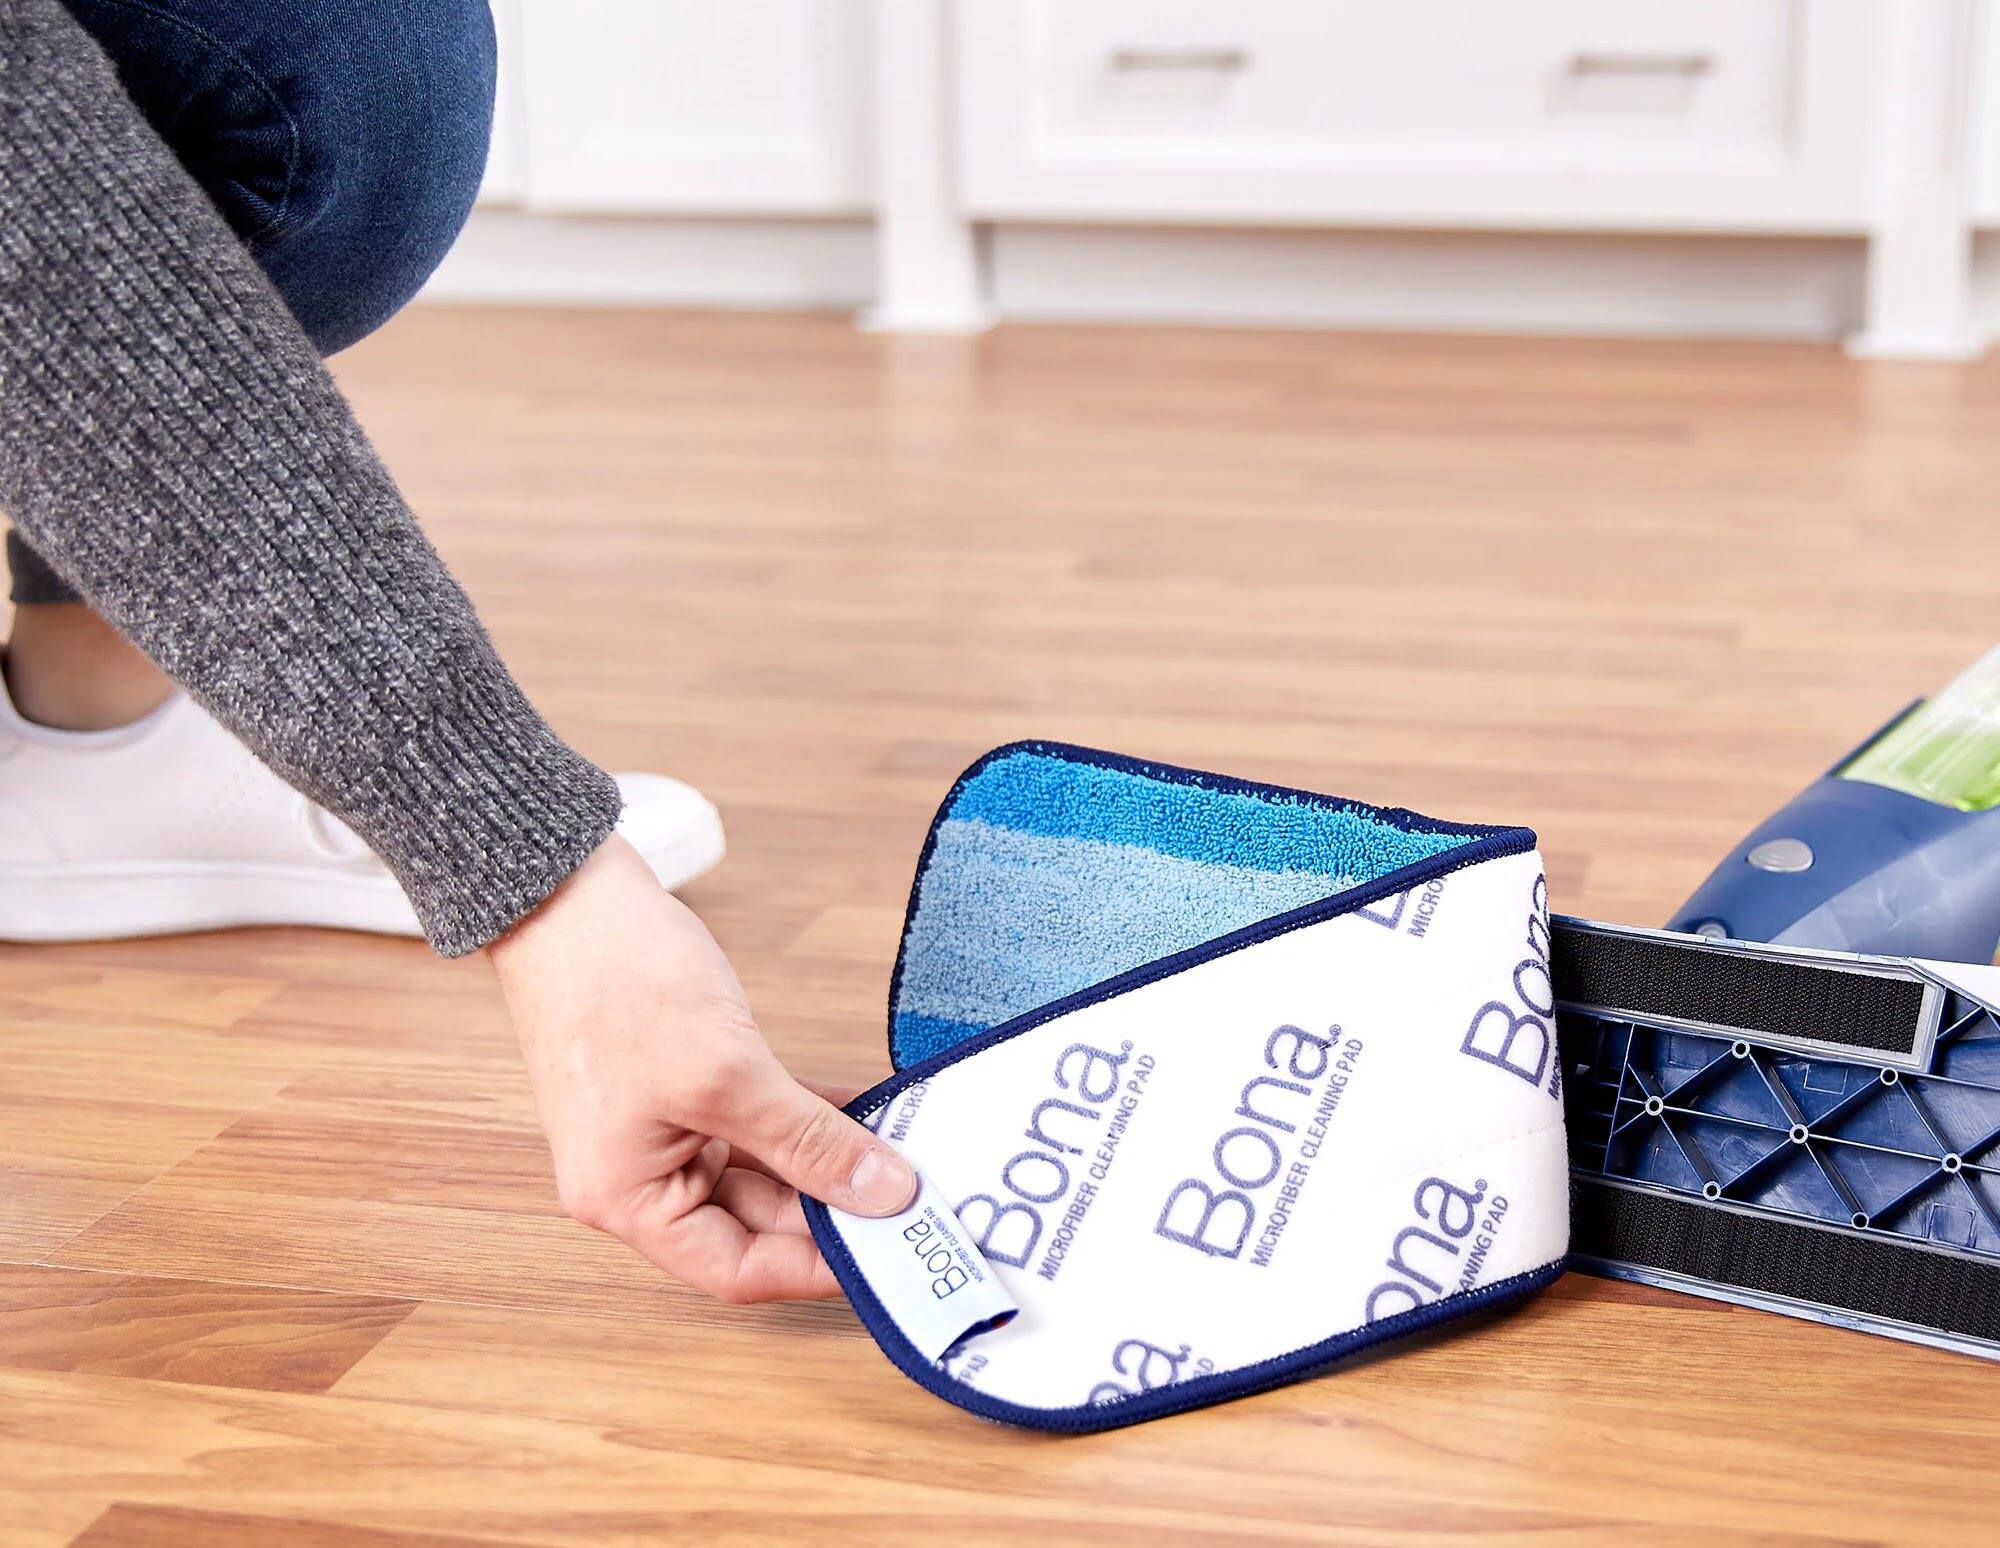
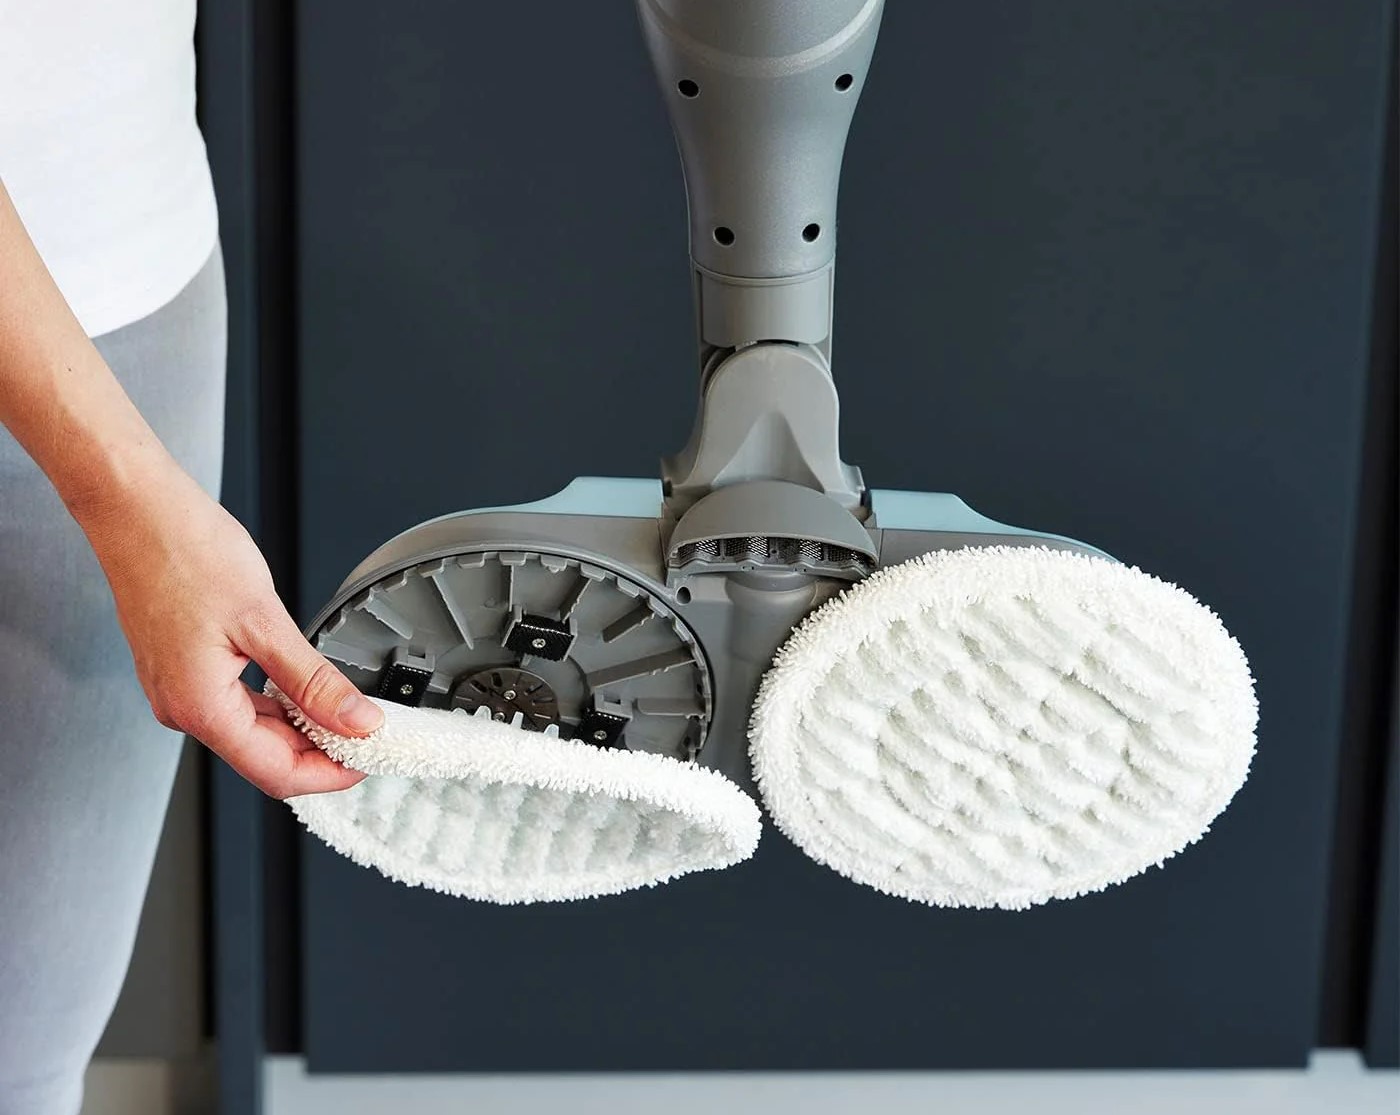
The first step in the process of washing your Roomba mop pad is to carefully remove it from the device. Start by powering off your Roomba and unplugging it from the charging dock to ensure safety during the removal process. Once the Roomba is powered down, locate the mop pad attachment and gently detach it from the device. Depending on the model of your Roomba, this may involve pressing a release button or unfastening a Velcro or clip mechanism.
After removing the mop pad, take a moment to inspect it for any visible debris or large particles that can be easily shaken off before proceeding to the next step. This initial inspection will help ensure that the mop pad is free from any significant dirt or debris that could potentially clog your washing machine or interfere with the cleaning process.
By taking the time to safely and effectively remove the mop pad from your Roomba, you set the stage for a thorough cleaning process that will leave your mop pad fresh and ready for future cleaning tasks. With the mop pad in hand, you are now ready to move on to the next step in the process of washing and maintaining your Roomba mop pads.
Step 2: Shake off loose debris
Once the mop pad has been removed from the Roomba, it’s time to address any loose debris that may have accumulated on the surface. Take the mop pad outside or to a garbage can to prevent the dislodged debris from scattering indoors. Gently shake the pad to dislodge any loose dirt, dust, or other particles that may have accumulated during the cleaning process. This simple yet effective step helps to minimize the amount of debris that will need to be addressed during the washing process, preventing potential clogs in the washing machine and ensuring a more thorough cleaning.
While shaking the mop pad, pay close attention to any stubborn debris that may be clinging to the fabric. You can use a soft-bristled brush or a lint roller to gently remove any remaining particles that are resistant to shaking. By taking the time to thoroughly shake off loose debris and address any lingering dirt, you set the stage for a more effective washing process that will leave your mop pad looking and performing at its best.
By incorporating this simple yet essential step into your cleaning routine, you can ensure that your Roomba mop pad is free from loose debris and ready for the next phase of the cleaning process. With the loose debris addressed, you are now prepared to move on to the next step in the process of washing and maintaining your Roomba mop pads.
Step 3: Pre-treat any stains
Before proceeding with the washing of your Roomba mop pad, it’s important to address any stubborn stains or spots that may have accumulated during use. Pre-treating these stains will help ensure that they are effectively removed during the washing process, leaving your mop pad looking fresh and ready for future cleaning tasks.
To pre-treat stains on the mop pad, start by identifying any areas that appear discolored or soiled. Common stains on mop pads may include pet messes, food spills, or tracked-in dirt. Once you’ve identified the stained areas, apply a small amount of pre-treatment solution directly to the affected areas. You can use a gentle stain remover or a mixture of mild detergent and water to pre-treat the stains.
Gently work the pre-treatment solution into the stained areas using a soft-bristled brush or a clean cloth. Allow the pre-treatment solution to sit on the stains for a few minutes to help break down and lift the discoloration from the fabric. This extra step will help ensure that the stains are effectively addressed during the washing process, leaving your mop pad looking clean and revitalized.
By taking the time to pre-treat any stubborn stains on your Roomba mop pad, you can enhance the effectiveness of the washing process and ensure that your mop pad is restored to its optimal condition. With the stains pre-treated, you are now ready to proceed to the next step in the process of washing and maintaining your Roomba mop pads.
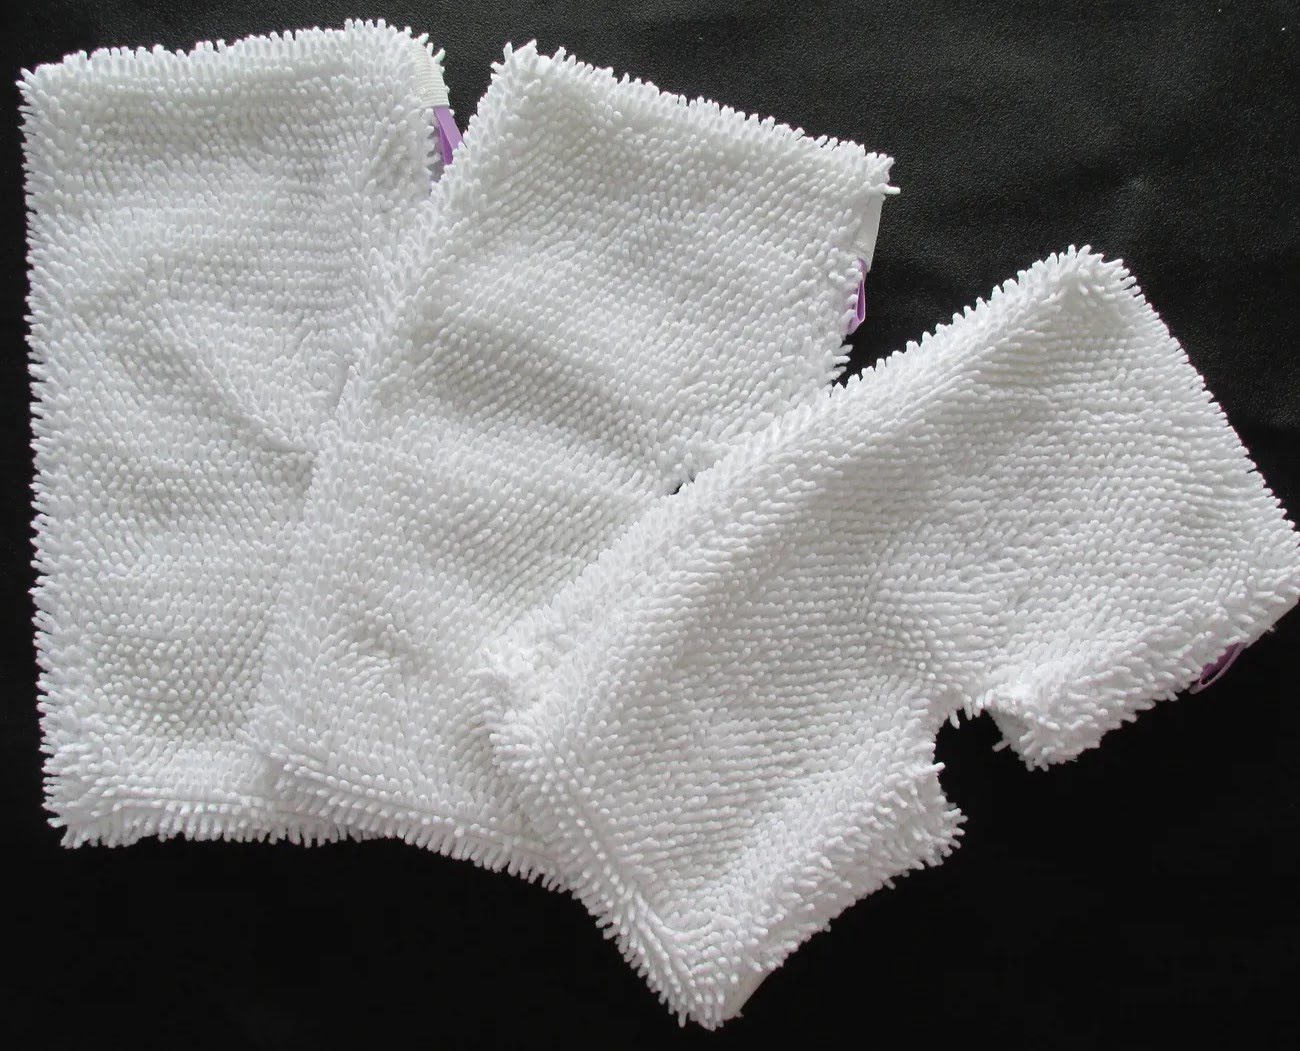
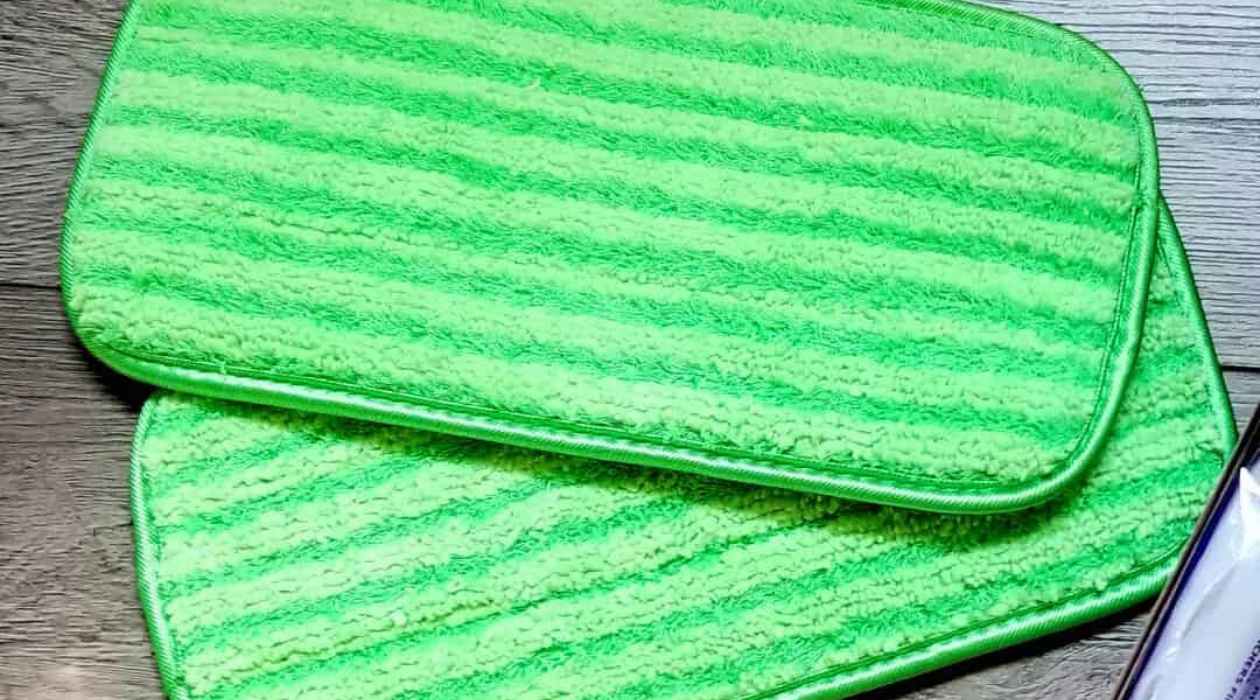
To wash Roomba mop pads, remove them from the robot and machine wash with mild detergent. Air dry or tumble dry on low heat. Avoid using fabric softener to maintain absorbency.
Step 4: Machine wash the mop pad
Now that you have removed the mop pad from the Roomba, shaken off loose debris, and pre-treated any stubborn stains, it’s time to proceed with the machine washing process. This step is crucial in thoroughly cleaning the mop pad and ensuring that it is free from dirt, grime, and any residual cleaning solutions.
Start by placing the prepped mop pad into the washing machine. It’s important to wash the mop pad separately from other items to prevent lint or debris from transferring onto the pad during the washing process. Select a gentle or delicate cycle on the washing machine to ensure that the mop pad is treated with care during the cleaning process.
When it comes to selecting a detergent for washing the mop pad, opt for a mild, fragrance-free detergent to avoid leaving behind any residue that may affect the performance of the mop pad. Additionally, avoid using fabric softeners or bleach, as these products can compromise the absorbency and overall effectiveness of the mop pad.
Once the washing machine cycle is complete, remove the mop pad and inspect it for any lingering stains or residue. If necessary, repeat the washing process to ensure that the mop pad is thoroughly clean and free from any remaining dirt or cleaning solution. After the final wash, gently squeeze out any excess water from the mop pad before proceeding to the next step in the cleaning process.
By following these steps, you can effectively machine wash your Roomba mop pad, ensuring that it is clean, fresh, and ready for future cleaning tasks. With the mop pad successfully washed, you are now prepared to move on to the final step in the process of washing and maintaining your Roomba mop pads.
Read more: How To Wash Mop Pads
Step 5: Air dry the mop pad
After machine washing the Roomba mop pad, the final step in the cleaning process involves air drying the pad to ensure that it is thoroughly dry before being used again. Properly drying the mop pad is essential for maintaining its integrity and preventing the growth of mold or mildew, which can occur if the pad is stored while damp.
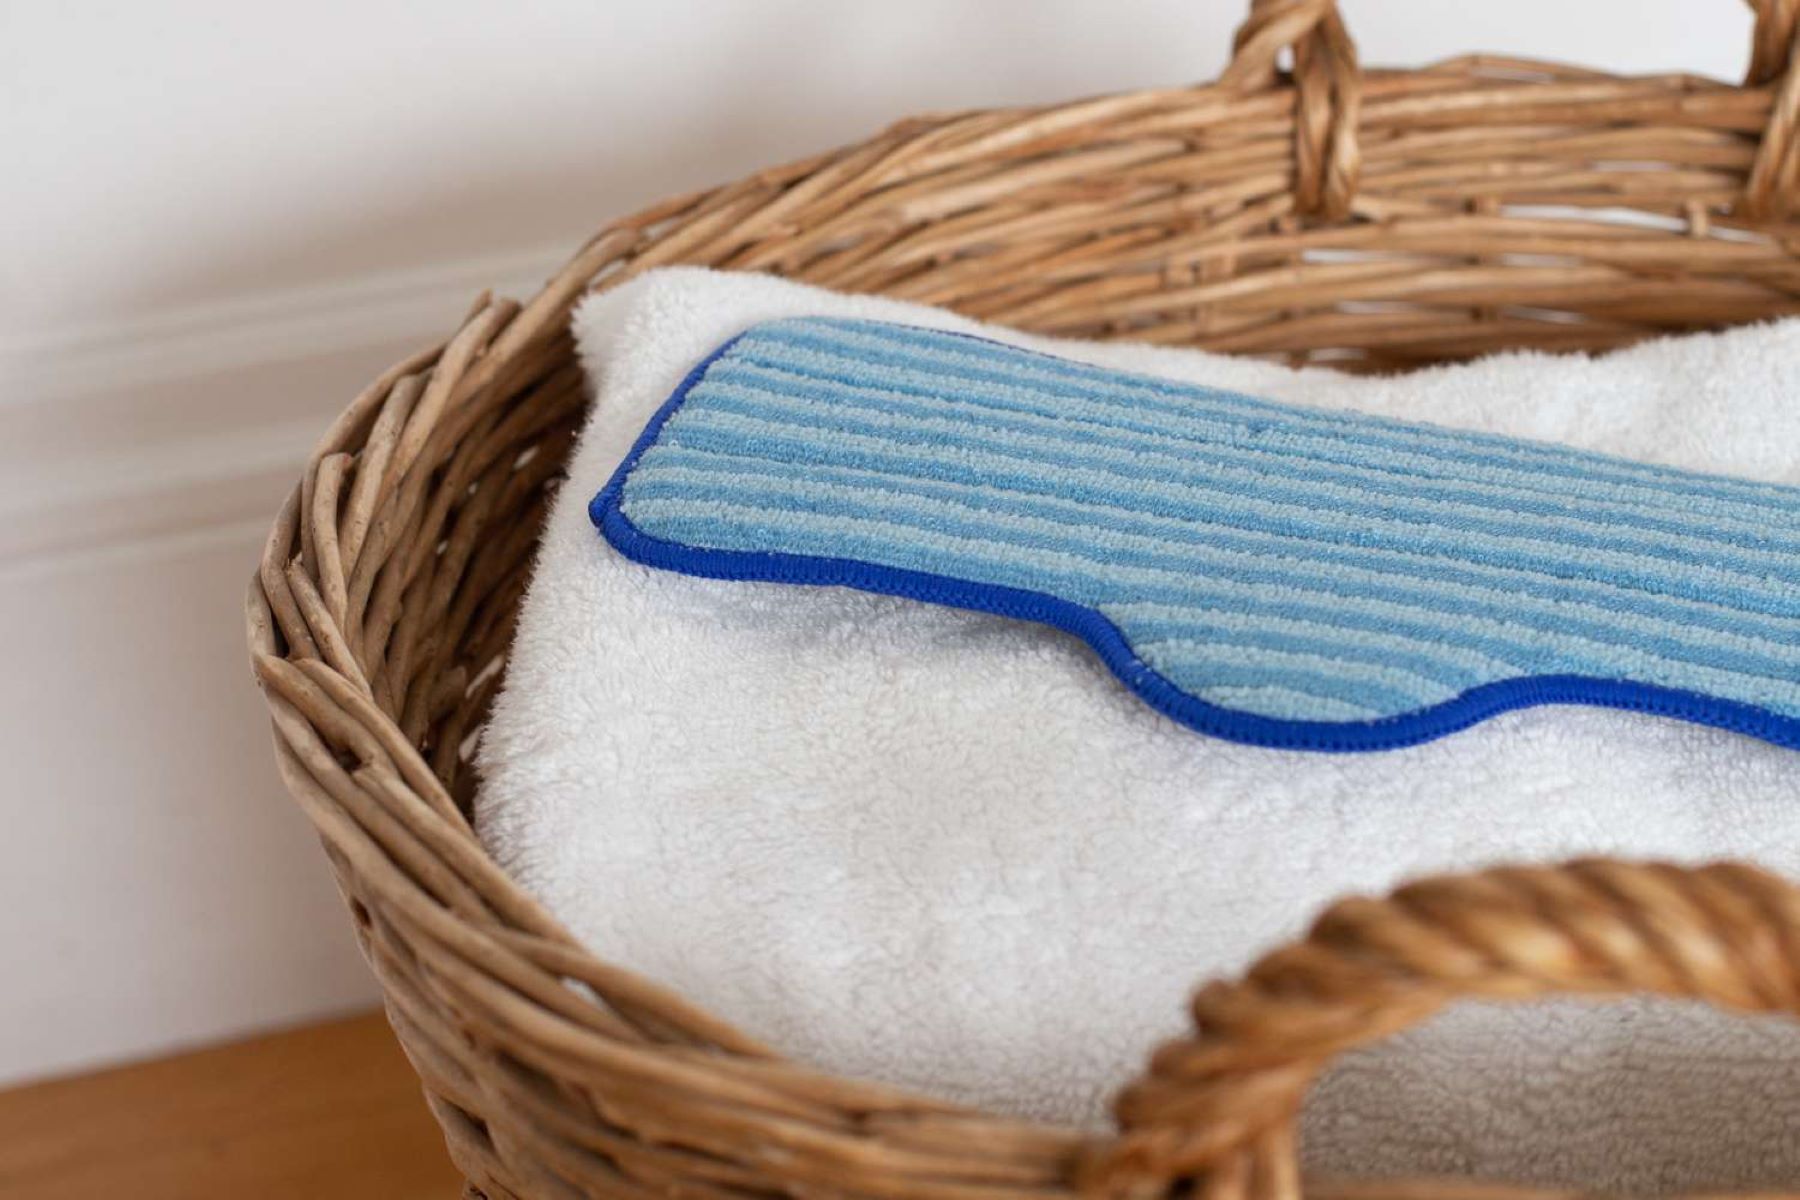
To air dry the mop pad, start by laying it flat on a clean, dry surface. Avoid hanging the mop pad, as this can cause it to lose its shape or become misshapen during the drying process. Choose a well-ventilated area with good air circulation to facilitate the drying process and help the mop pad dry more quickly and thoroughly.
Allow the mop pad to air dry completely before returning it to your Roomba for future use. Depending on the humidity levels and air circulation in your home, the drying process may take several hours. It’s important to ensure that the mop pad is completely dry before storing it to prevent the development of unpleasant odors or the growth of mold and mildew.
Throughout the drying process, periodically check the mop pad to ensure that it is drying evenly and free from any residual moisture. Once the mop pad is fully dry, it’s ready to be reattached to your Roomba for the next round of cleaning tasks, leaving your floors sparkling clean and free from dirt and grime.
By following these steps to air dry your Roomba mop pad, you can ensure that it is thoroughly dry and ready for future use. With the mop pad successfully air-dried, you have completed the final step in the process of washing and maintaining your Roomba mop pads.
Conclusion
Congratulations! By following the step-by-step guide to washing your Roomba mop pads, you have taken a proactive approach to maintaining a clean and efficient cleaning regimen in your home. By incorporating these simple yet effective techniques into your cleaning routine, you can ensure that your Roomba mop pads remain in optimal condition, delivering exceptional cleaning results with every use.
Regularly washing your Roomba mop pads not only helps to extend their lifespan but also ensures that they continue to effectively remove dirt, grime, and spills from your floors. By removing the mop pad from the Roomba, shaking off loose debris, pre-treating stains, machine washing, and air drying the pad, you have completed a thorough cleaning process that will leave your mop pad looking and performing at its best.
Remember to incorporate these cleaning steps into your regular maintenance routine to keep your Roomba mop pads in top condition. By doing so, you can enjoy the convenience and efficiency of your Roomba while maintaining a hygienic and clean living environment for you and your family.
Now that you have mastered the art of washing your Roomba mop pads, you can confidently tackle this essential cleaning task whenever the need arises. With your freshly washed mop pad in hand, your Roomba is ready to take on the next cleaning challenge, leaving your floors spotless and free from dirt and grime.
Thank you for joining us on this cleaning journey, and we hope that this guide has empowered you to maintain a clean and inviting home with the help of your trusty Roomba mop pad!
Frequently Asked Questions about How To Wash Roomba Mop Pads
Was this page helpful?
At Storables.com, we guarantee accurate and reliable information. Our content, validated by Expert Board Contributors, is crafted following stringent Editorial Policies. We're committed to providing you with well-researched, expert-backed insights for all your informational needs.

0 thoughts on “How To Wash Roomba Mop Pads”