Home>Home Appliances>Cleaning Appliances>How To Put A Mop Bucket Together
Cleaning Appliances
How To Put A Mop Bucket Together
Modified: September 1, 2024
Learn how to assemble a mop bucket with our step-by-step guide. Keep your cleaning appliances in top condition with our helpful tips.
(Many of the links in this article redirect to a specific reviewed product. Your purchase of these products through affiliate links helps to generate commission for Storables.com, at no extra cost. Learn more)
Introduction
As you embark on your cleaning journey, one of the essential tools you'll encounter is the mop bucket. This humble yet indispensable piece of equipment plays a crucial role in maintaining clean and sanitary living and working spaces. Whether you're a seasoned cleaning professional or a diligent homeowner, knowing how to put a mop bucket together is a valuable skill that ensures efficient and effective cleaning.
In this comprehensive guide, we will walk you through the step-by-step process of assembling a mop bucket. From gathering the necessary components to testing the finished product, you'll gain a thorough understanding of how each element comes together to create a functional and reliable cleaning tool. So, roll up your sleeves, grab your mop bucket, and let's dive into the satisfying world of assembling this essential cleaning appliance.
Key Takeaways:
- Assembling a mop bucket involves gathering components, assembling the handle and mop head, securing the wringer, filling with water and solution, and testing. Each step ensures a functional and efficient cleaning tool.
- The process of assembling a mop bucket requires attention to detail and careful preparation of the cleaning solution. Testing the assembled mop bucket ensures optimal performance for effective cleaning.
Read more: What Do You Put In A Mop Bucket
Step 1: Gather all the necessary components
Before diving into the assembly process, it's crucial to gather all the components required to put together a mop bucket. Here are the essential items you'll need:
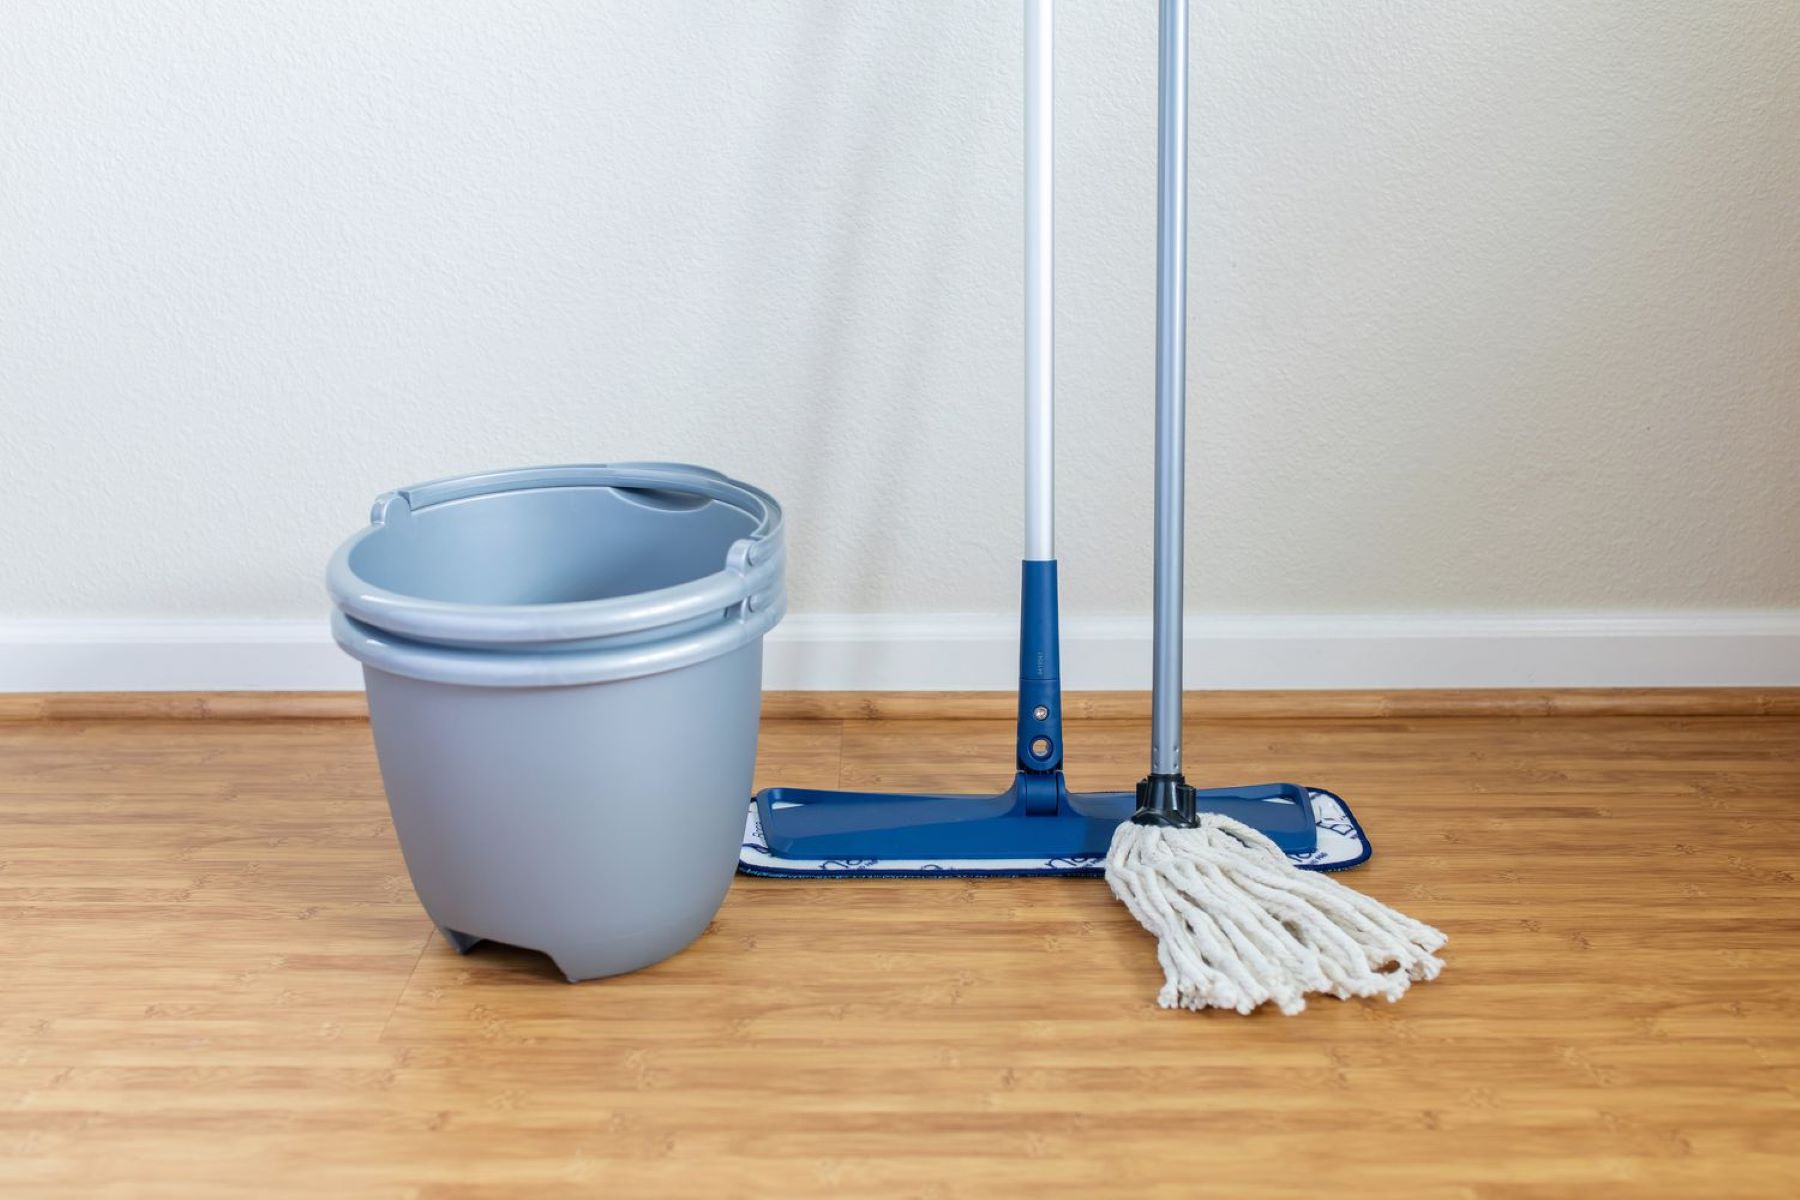
- Mop Handle: This is the long, often telescopic handle that allows you to maneuver the mop head across the floor. It should be sturdy and capable of withstanding repeated use.
- Mop Head: The mop head is the part of the mop that comes into direct contact with the floor. It should be made of durable and absorbent material to ensure effective cleaning.
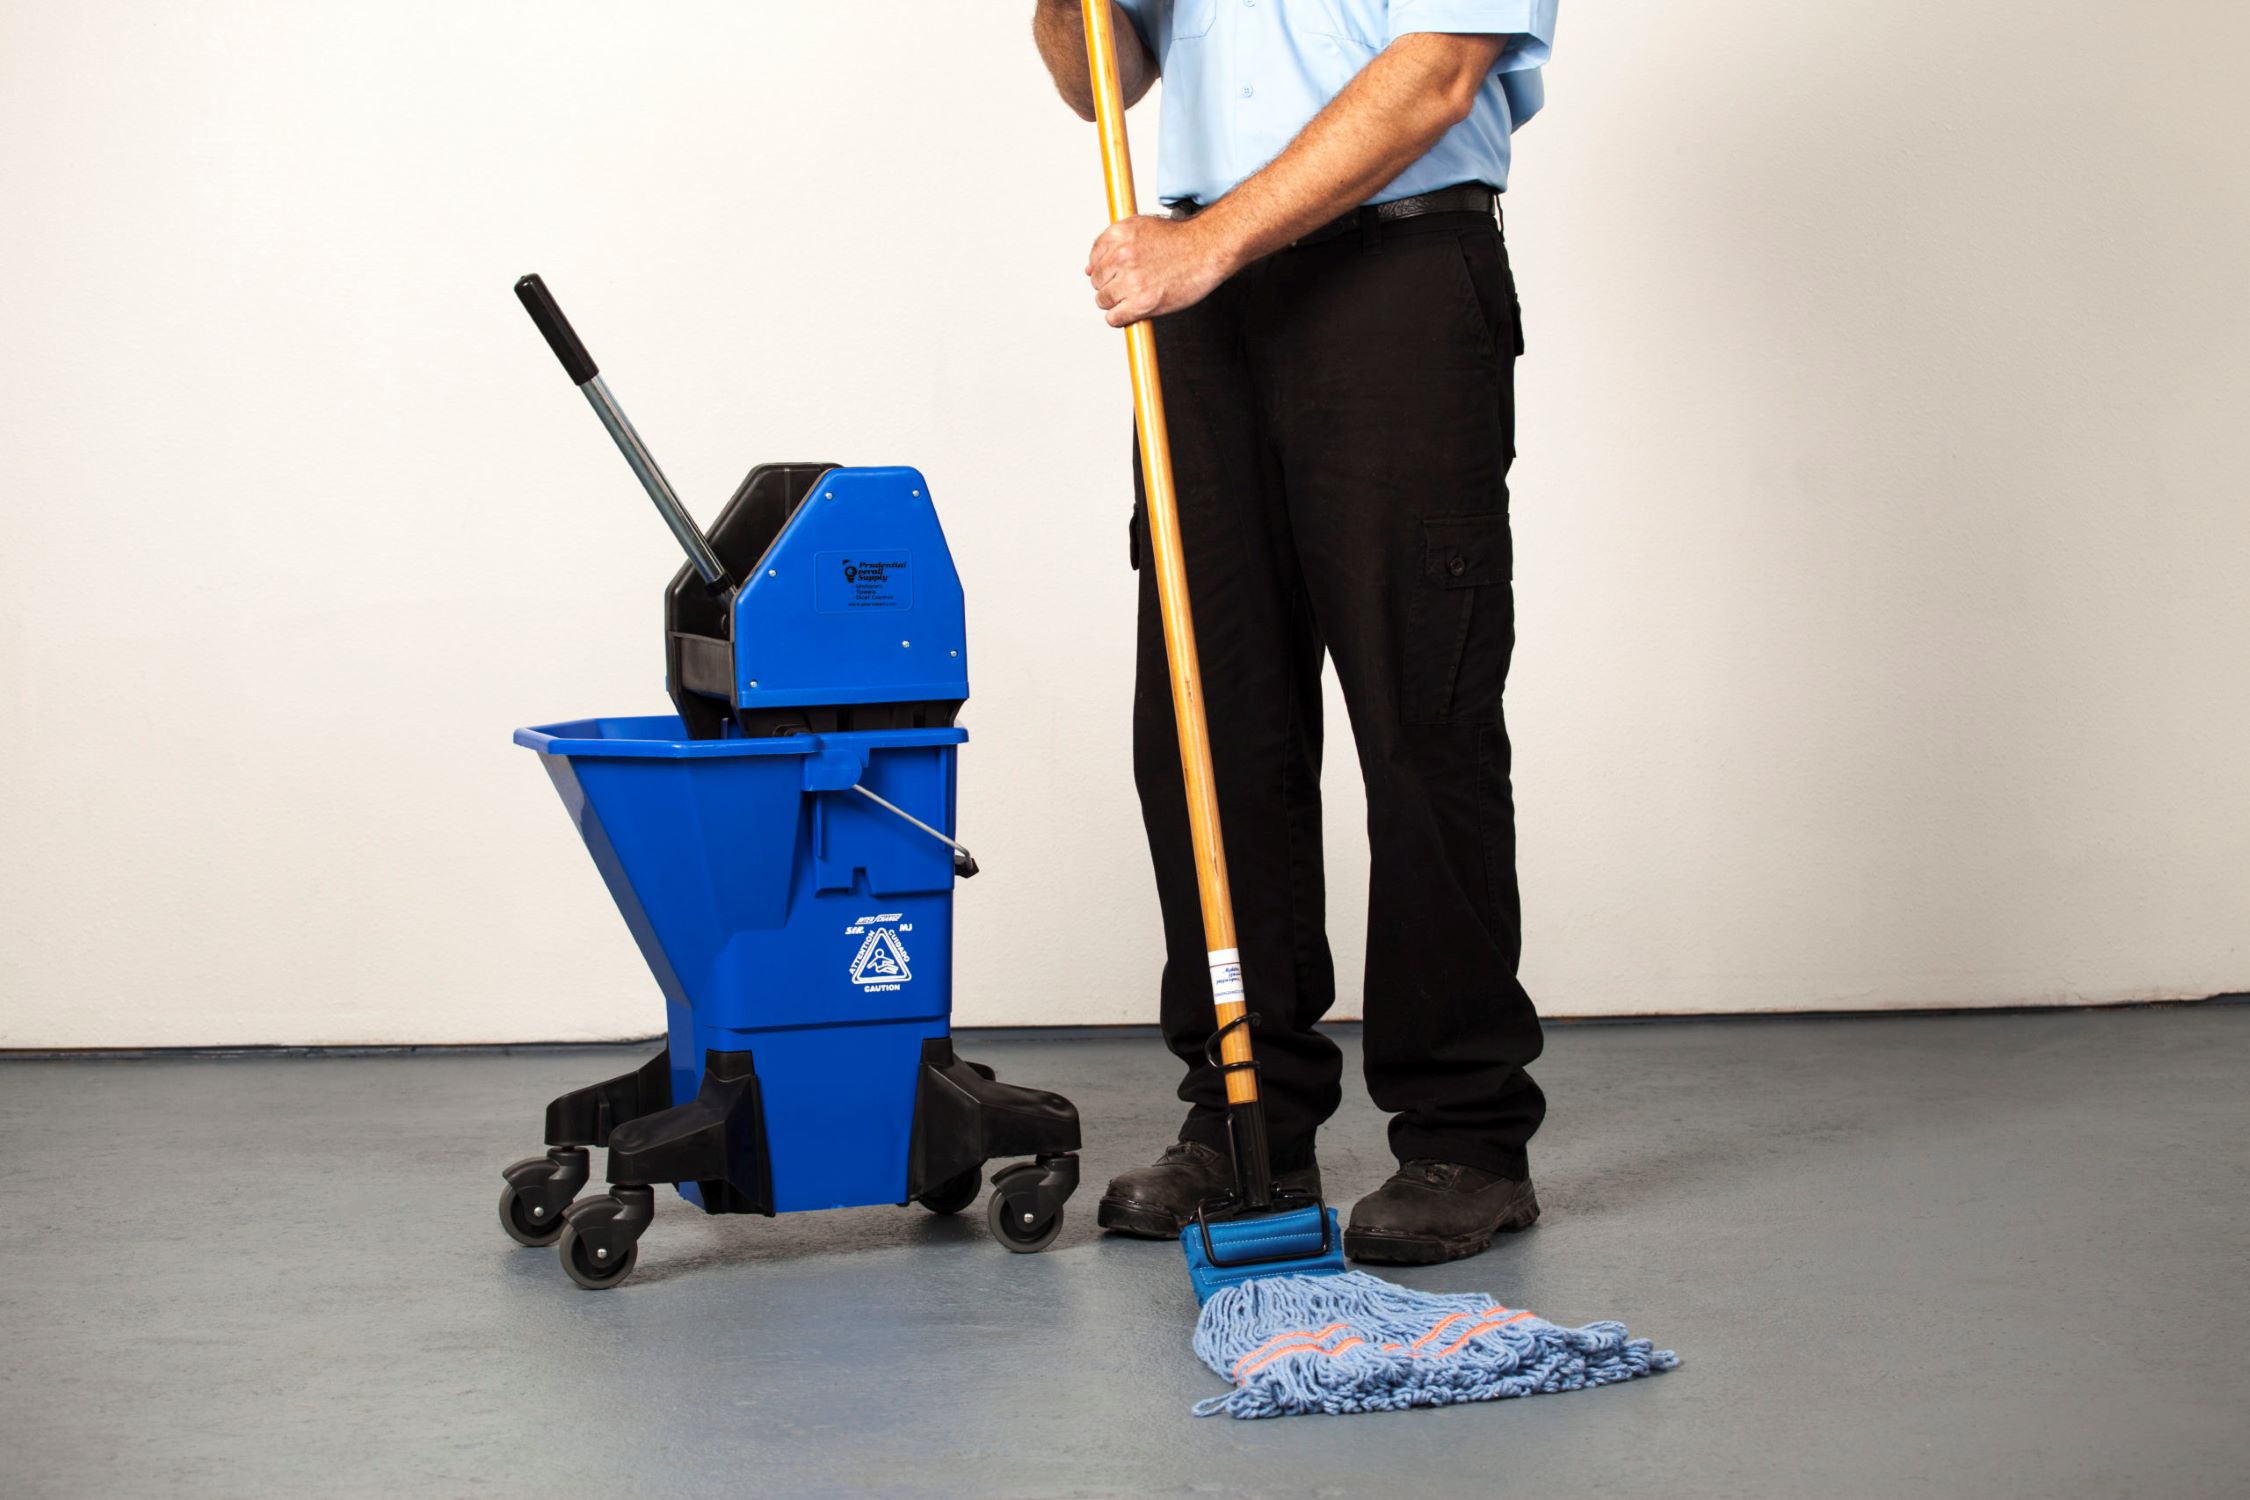
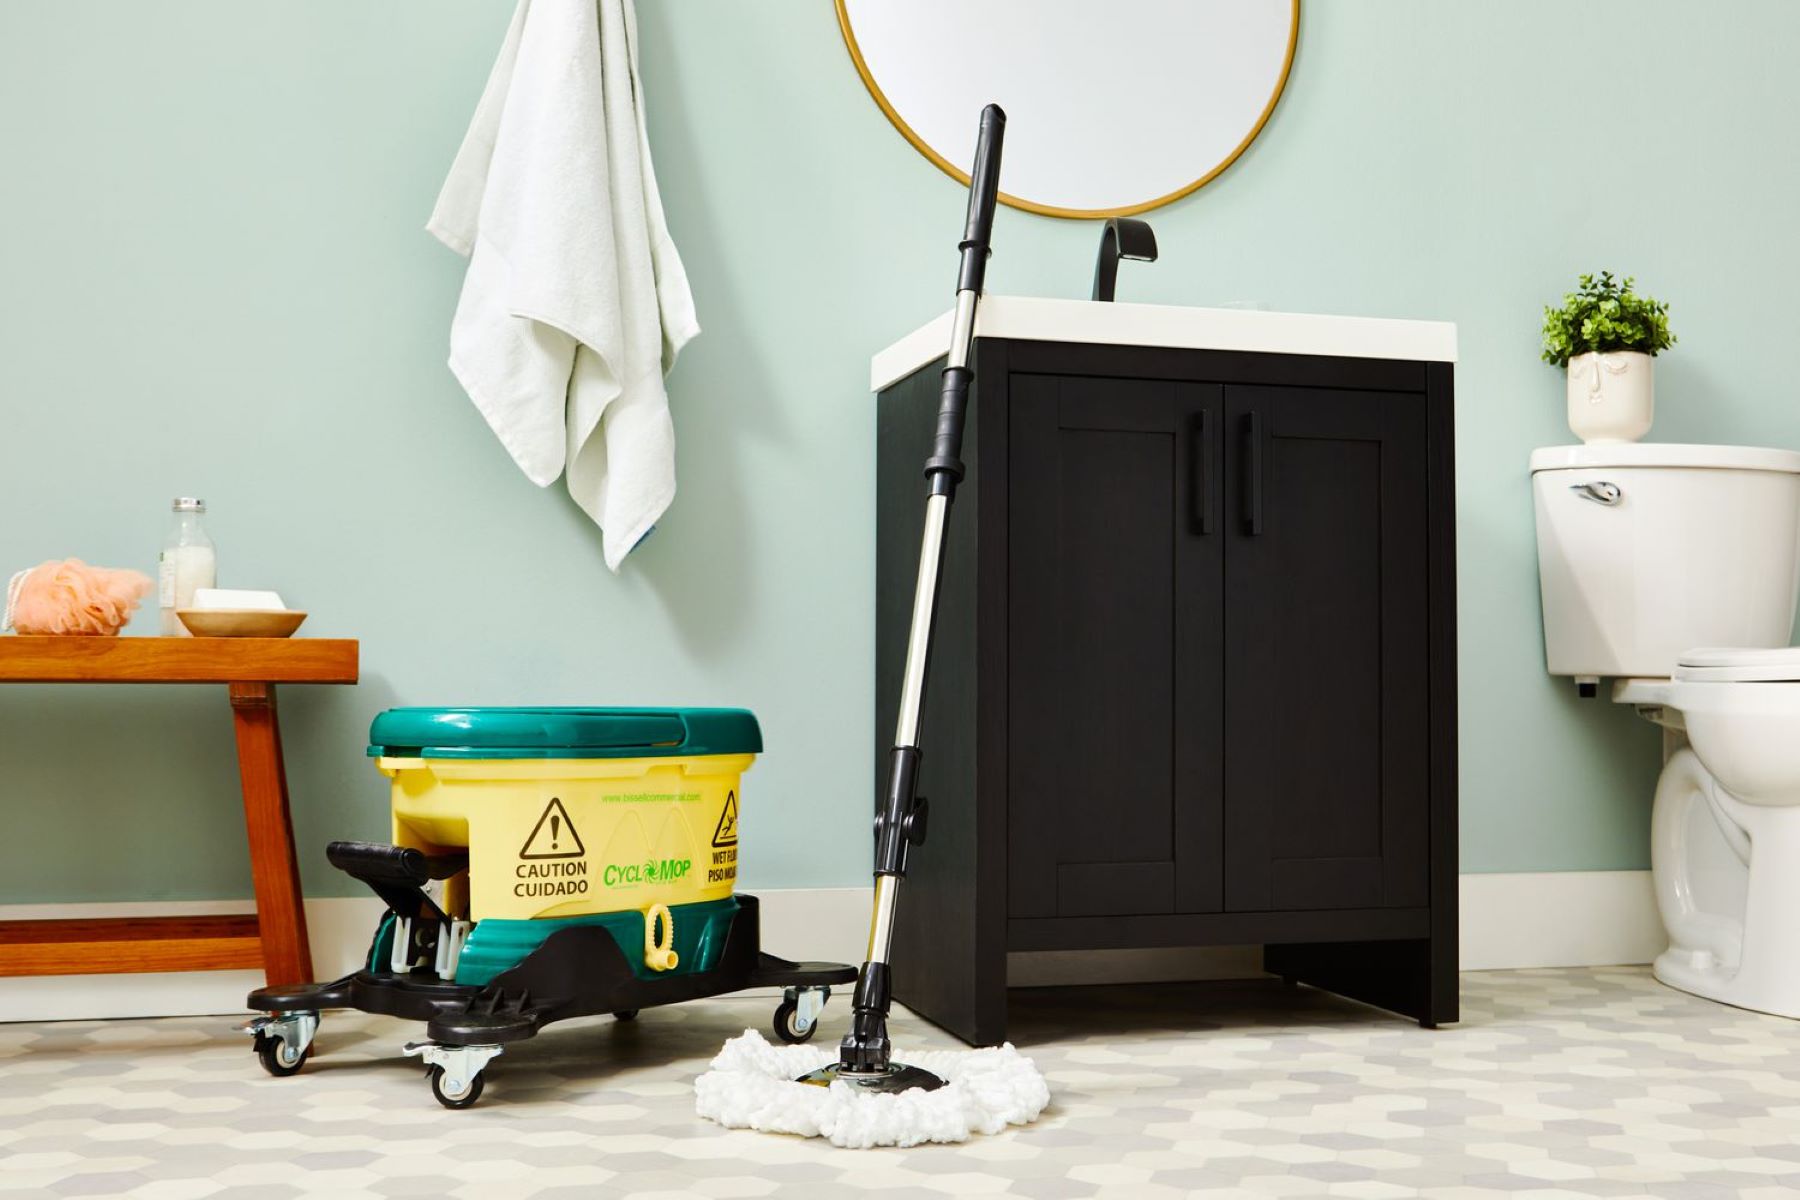
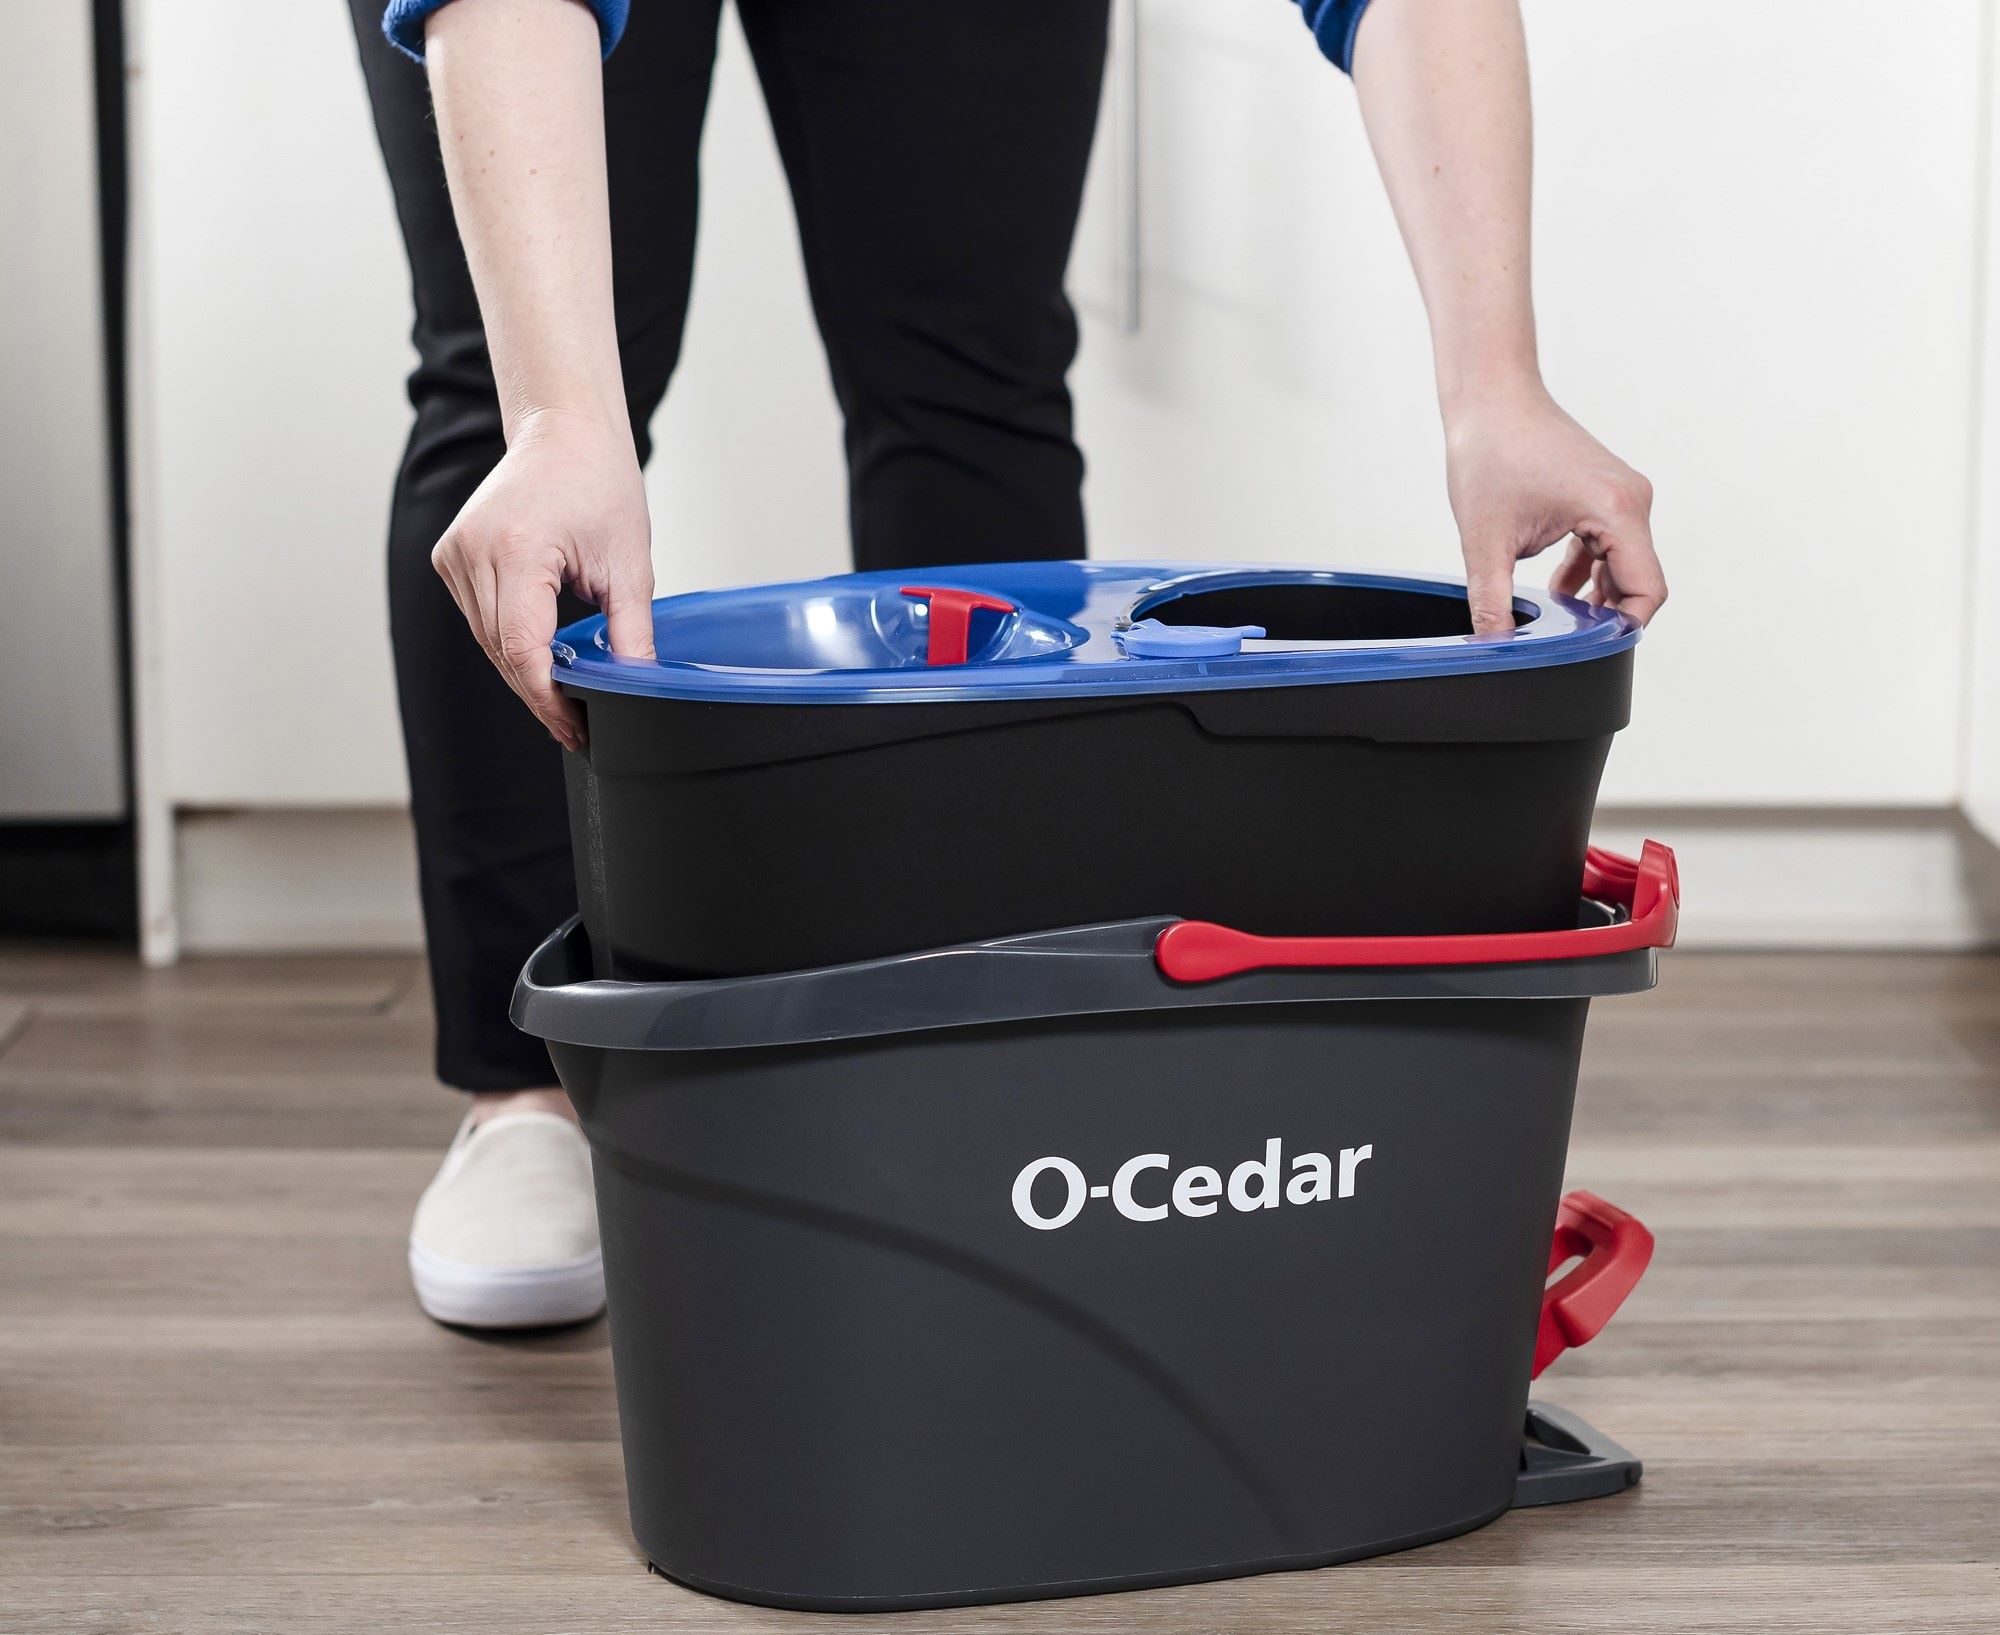
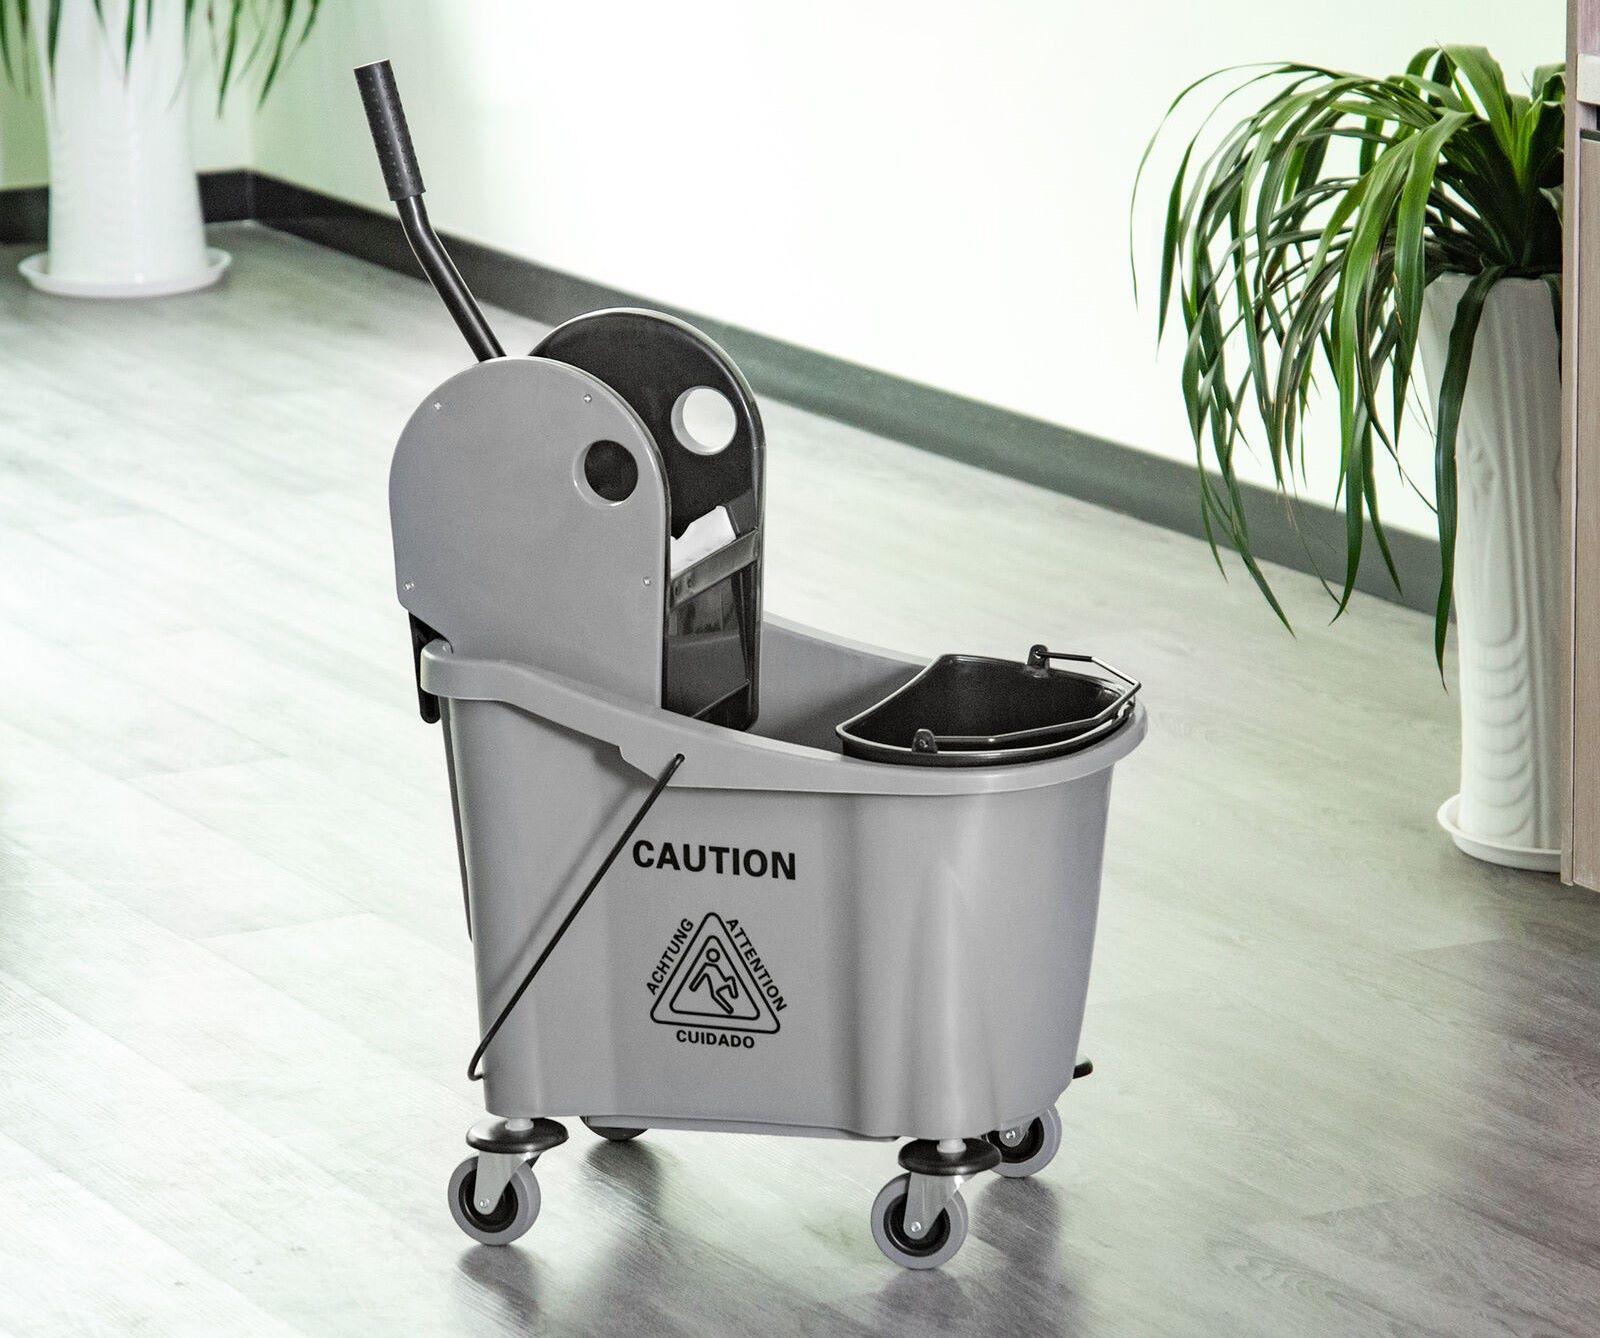
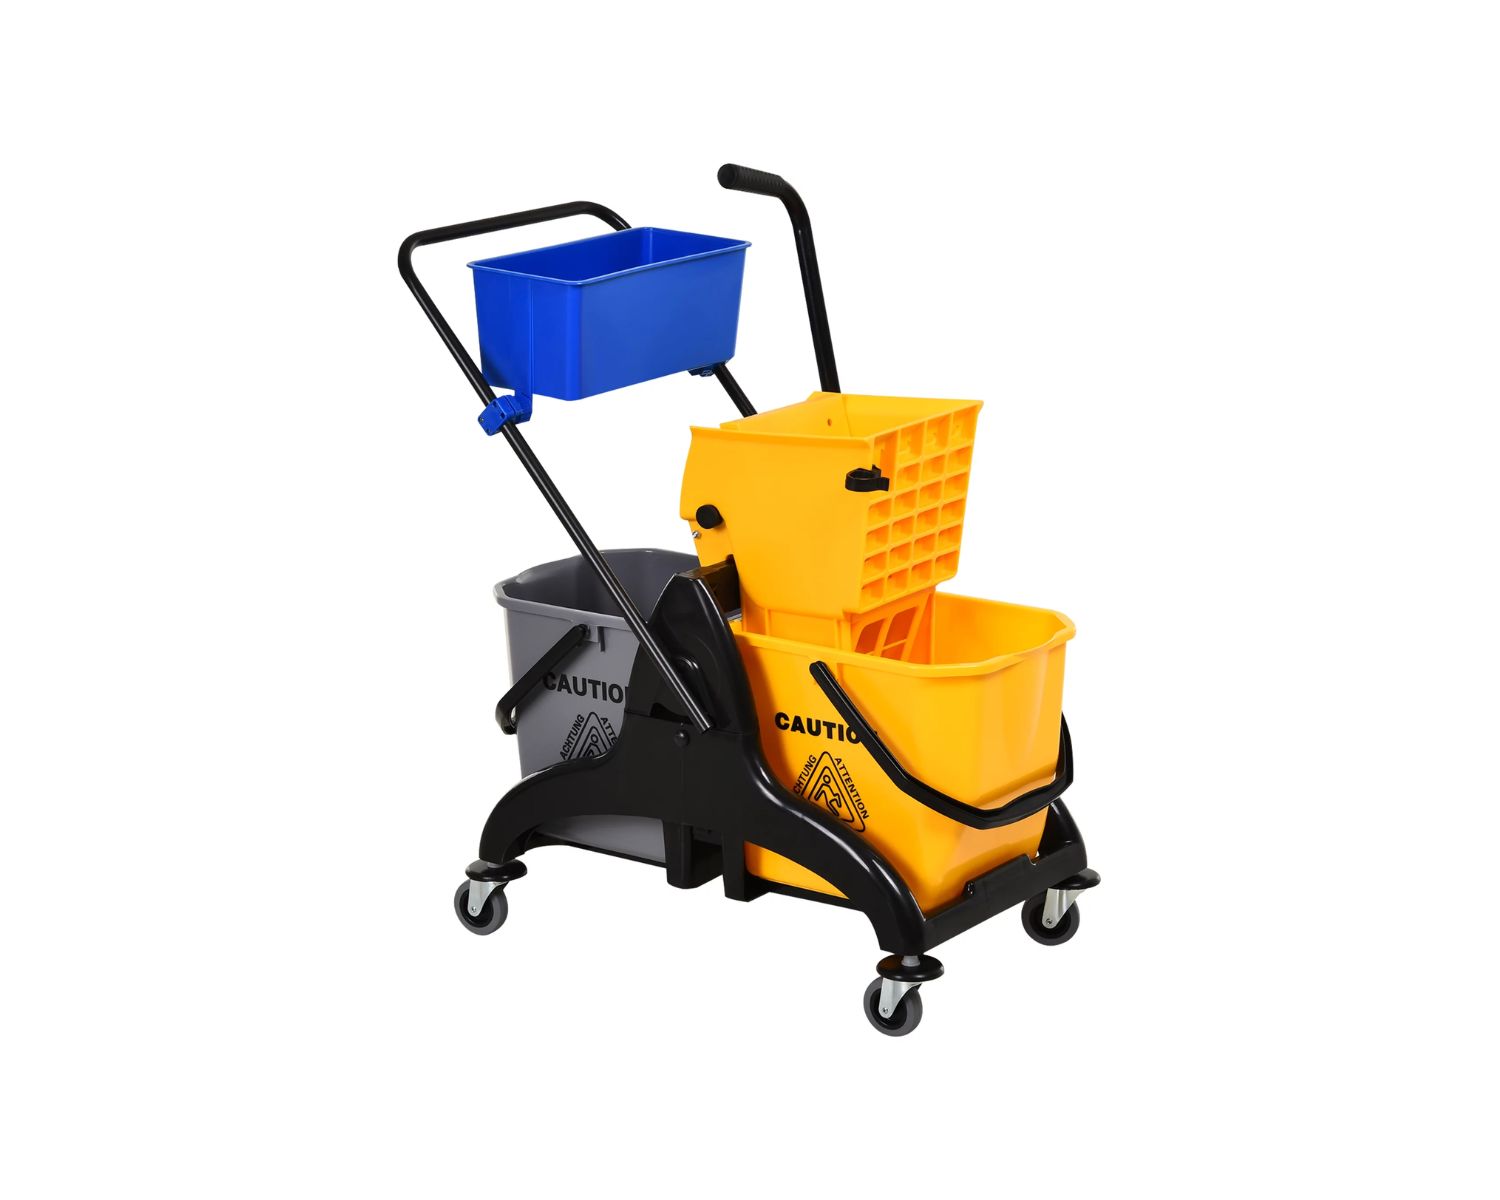
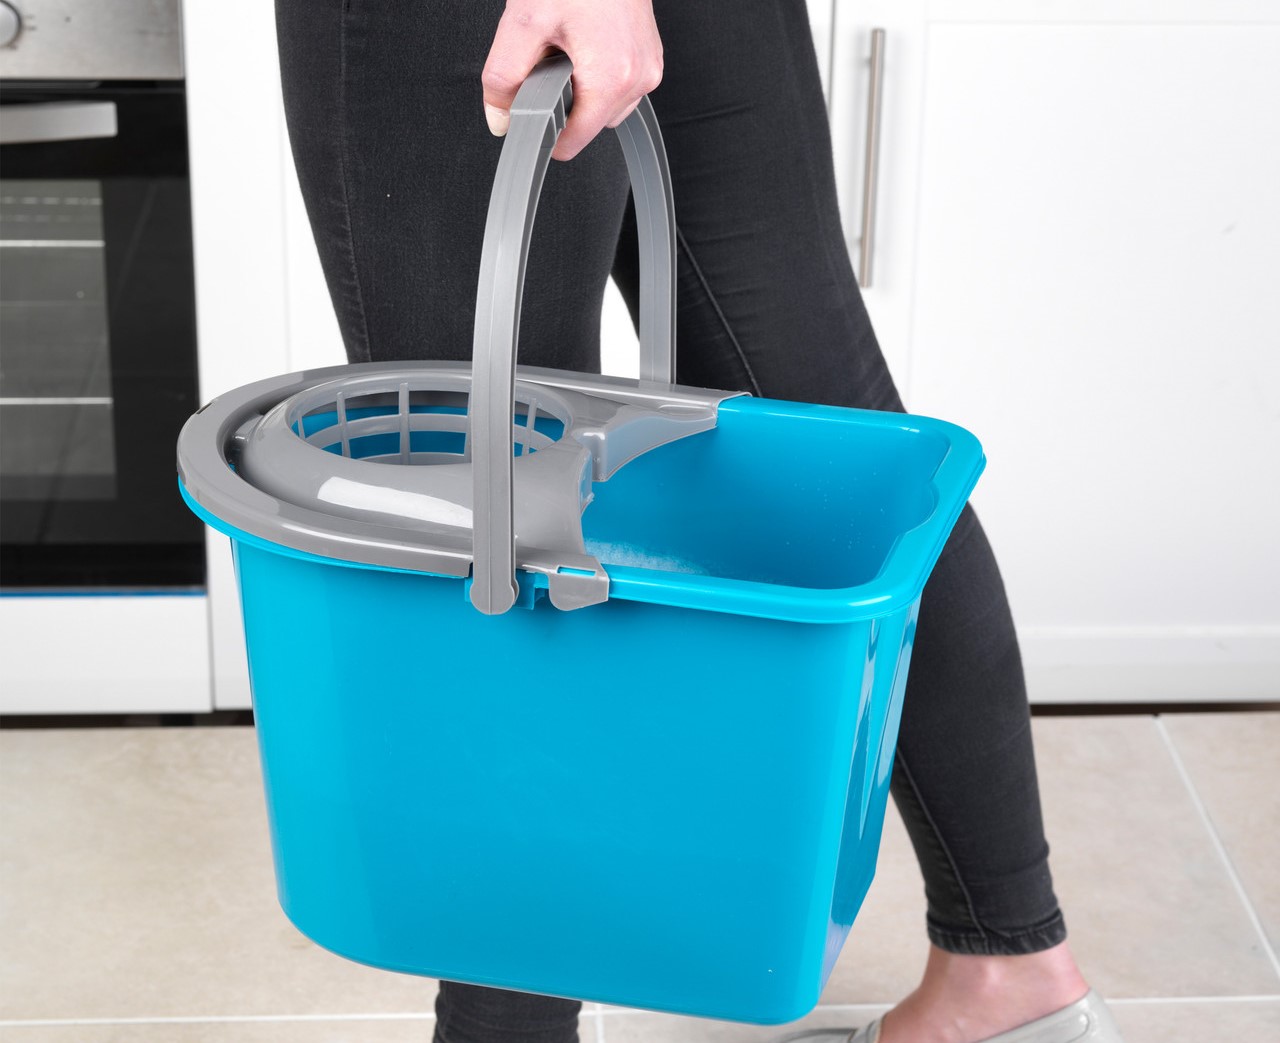
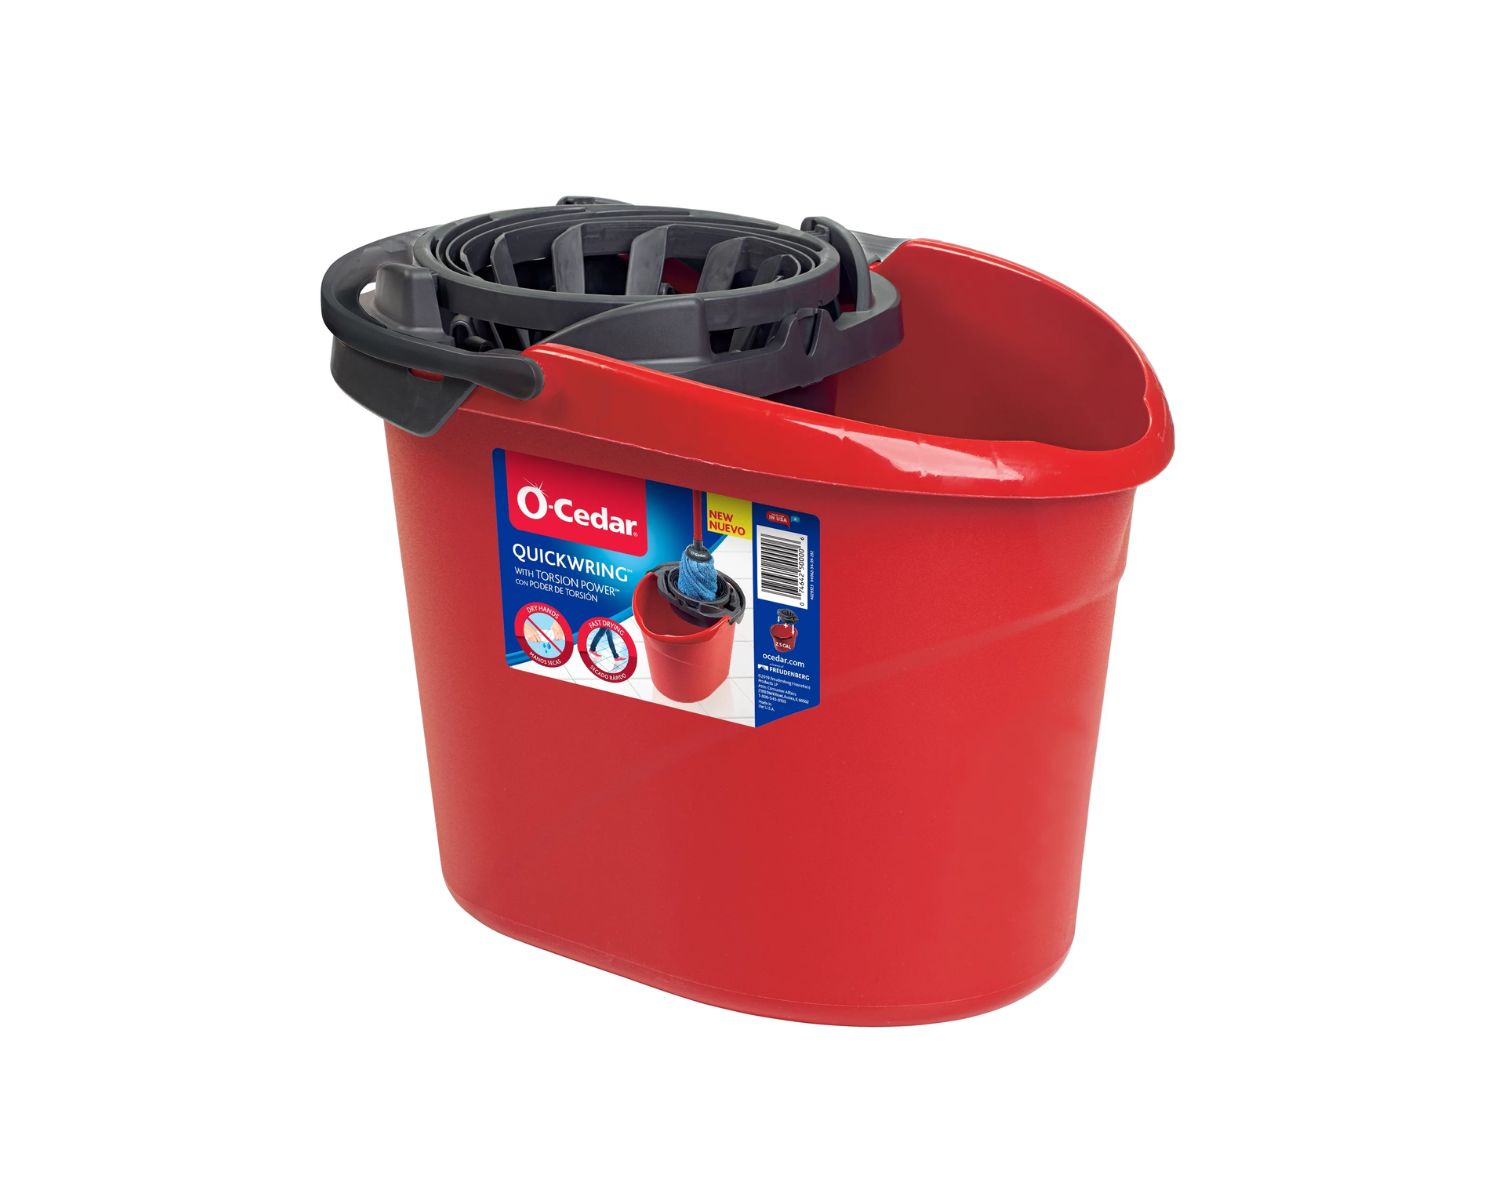
- Bucket: The bucket serves as the reservoir for water and cleaning solution. It should be durable, with a capacity suitable for the cleaning task at hand.
- Wringing Mechanism: Some mop buckets come with built-in wringers, while others may require a separate wringing mechanism. Ensure that this component is available and functioning properly.
- Cleaning Solution: Depending on your cleaning needs, you may require a suitable cleaning solution to add to the water in the bucket. Choose a solution that is compatible with the surfaces you intend to clean.
- Water: Clean water is essential for diluting the cleaning solution and dampening the mop head for effective cleaning.
- Optional Accessories: Depending on the specific features of your mop bucket, you may need additional accessories such as wheels for mobility or a splash guard to contain water and prevent spills.
Once you have all the necessary components at your disposal, you're ready to move on to the next step in the assembly process. Having everything within reach will streamline the assembly and ensure a smooth and efficient workflow.
Step 2: Assembling the mop handle
With all the components gathered, it’s time to start assembling your mop bucket. The first task is to put together the mop handle, a fundamental part of the mop that allows for easy maneuverability and control during cleaning. Follow these steps to assemble the mop handle:
- Extend the Handle: If your mop handle is telescopic, extend it to your desired length. This will depend on your height and comfort preferences while using the mop.
- Secure the Handle: Ensure that the handle is securely locked in place. A sturdy and stable handle is essential for smooth and effective cleaning motions.
- Inspect the Handle: Check the handle for any signs of damage or wear. It should be free from cracks, dents, or sharp edges to prevent injury during use.
- Comfort Grip (Optional): Some mop handles come with a comfort grip, providing ergonomic support for the user’s hands. If your handle includes this feature, ensure it is properly attached and comfortable to hold.
As you assemble the mop handle, pay attention to the quality and functionality of the components. A well-assembled handle contributes to a comfortable and efficient cleaning experience. Once the mop handle is securely in place, you’re ready to move on to the next step in assembling your mop bucket.
Step 3: Attaching the mop head
With the mop handle assembled, the next crucial step in putting together your mop bucket is attaching the mop head. The mop head is the part of the mop that comes into direct contact with the floor, making it essential to ensure a secure and effective attachment. Follow these steps to attach the mop head:
- Prepare the Mop Head: If your mop head is detachable, ensure it is clean and free from debris or residue from previous use. A clean mop head is essential for achieving optimal cleaning results.
- Attachment Mechanism: Depending on the design of your mop, there may be various attachment mechanisms such as clamps, screws, or snap-on features. Familiarize yourself with the specific attachment method for your mop head.
- Align the Mop Head: Position the mop head at the end of the mop handle, ensuring that it is centered and aligned for balanced cleaning motions.
- Secure the Mop Head: Engage the attachment mechanism to secure the mop head in place. It should be firmly attached to the mop handle, with no risk of detachment during use.
- Test the Attachment: Gently tug on the mop head to confirm that it is securely fastened to the handle. A properly attached mop head will withstand light pressure without coming loose.
Attaching the mop head effectively is essential for achieving thorough and efficient cleaning. A securely attached mop head ensures that the cleaning motion translates effectively from the handle to the mop head, allowing for smooth and controlled cleaning actions. Once the mop head is securely in place, you’re ready to proceed with the next steps in assembling your mop bucket.
When putting a mop bucket together, make sure to carefully follow the manufacturer’s instructions to ensure all parts are properly assembled. This will help prevent any leaks or malfunctions while using the mop bucket.
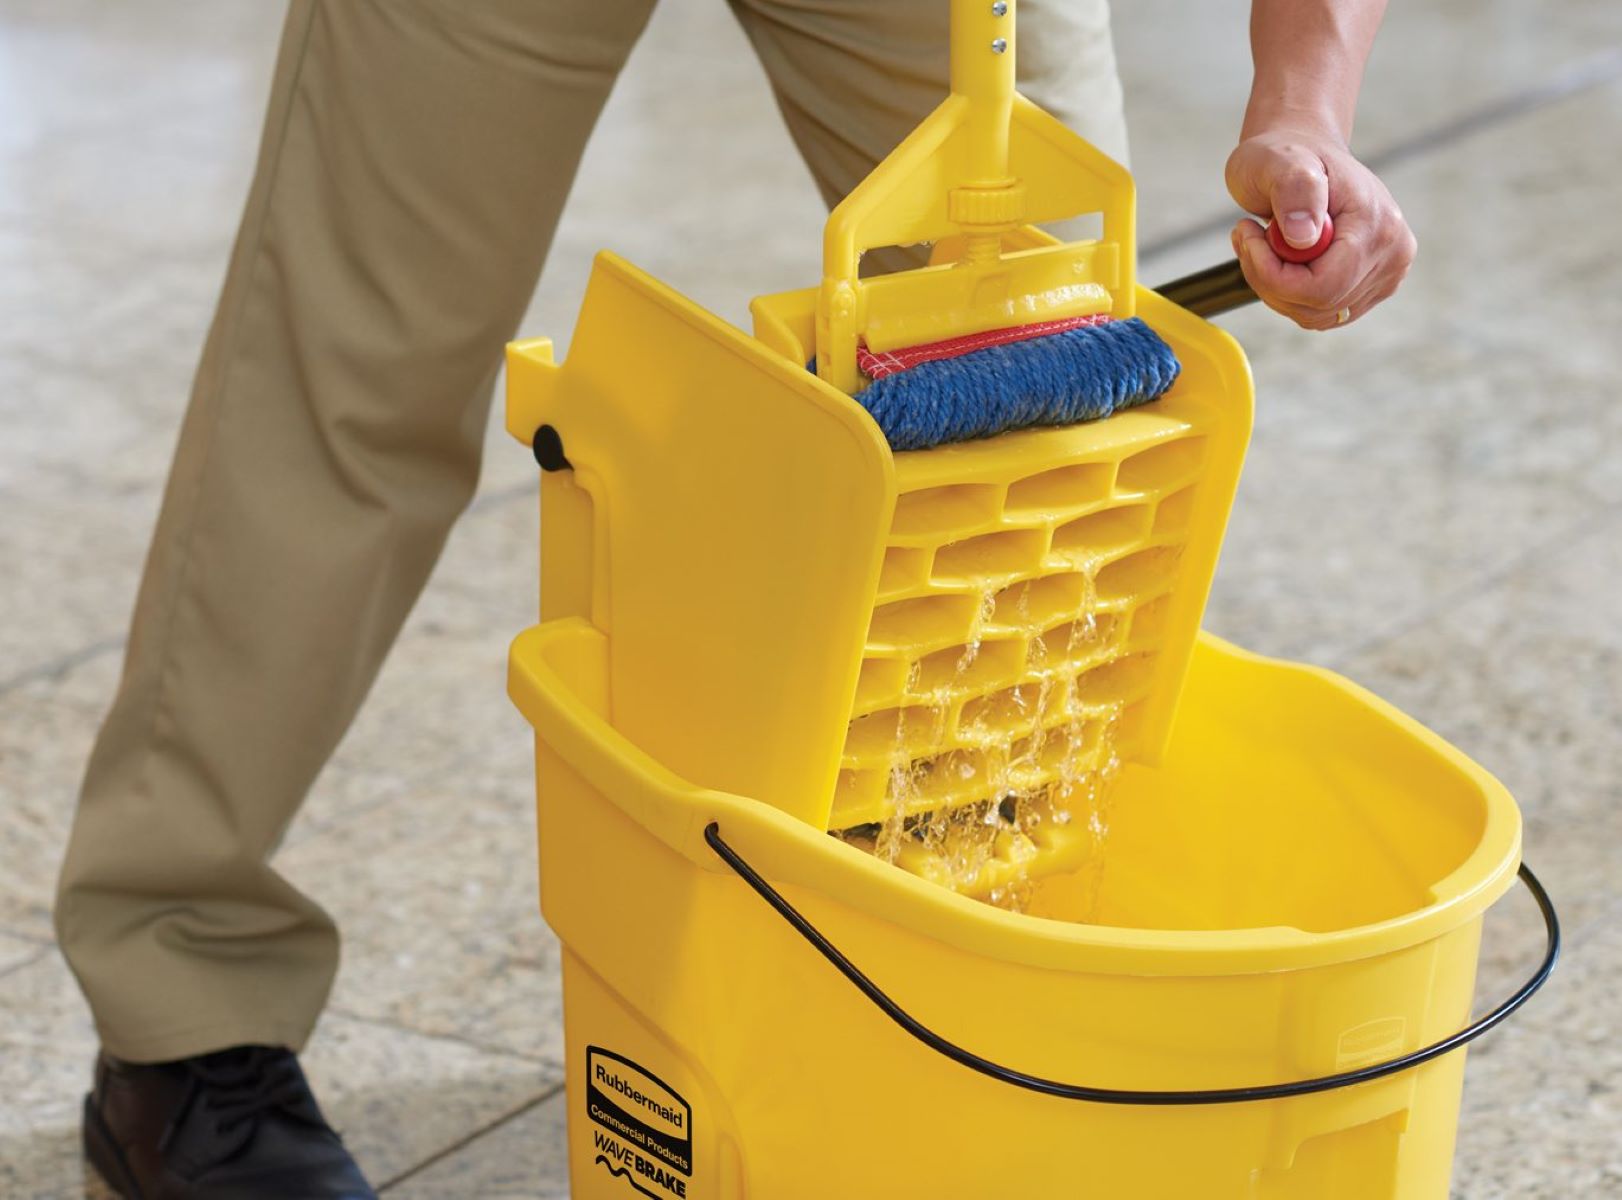
Step 4: Securing the wringer
As you progress with assembling your mop bucket, the next vital step is securing the wringer, a component that facilitates the removal of excess water from the mop head. The wringer plays a crucial role in maintaining the appropriate moisture level in the mop head, contributing to effective cleaning and preventing excessive water from being spread across the cleaned surfaces. Follow these steps to secure the wringer:
- Locate the Wringing Mechanism: Identify the specific wringing mechanism on your mop bucket. This may be a built-in wringer or a separate attachment, depending on the design of your mop bucket.
- Position the Mop Handle: Place the mop handle with the attached mop head into the wringing mechanism. Ensure that the mop head is positioned correctly within the wringer for optimal functionality.
- Engage the Wringing Mechanism: Activate the wringing mechanism according to the manufacturer’s instructions. This may involve pressing a lever, rotating a handle, or employing a foot pedal, depending on the type of wringer.
- Test the Wringer: Verify that the wringer effectively removes excess water from the mop head without causing any damage or deformation to the mop head itself.
- Ensure Smooth Operation: The wringer should operate smoothly and efficiently, allowing for easy wringing of the mop head without requiring excessive force.
Securing the wringer ensures that your mop bucket is equipped to maintain the ideal moisture level in the mop head, promoting effective cleaning and preventing over-saturation of the cleaning surface. Once the wringer is securely in place and operating smoothly, you’re ready to proceed with the next steps in assembling your mop bucket.
Read more: How To Mop With Two Buckets
Step 5: Filling the bucket with water and cleaning solution
With the essential components of the mop bucket assembled, the next pivotal step is filling the bucket with water and a suitable cleaning solution. This crucial preparation ensures that you have the necessary resources to tackle your cleaning tasks effectively. Follow these steps to fill the bucket:
- Select the Cleaning Solution: Choose a cleaning solution that is appropriate for the surfaces you intend to clean. Ensure that the cleaning solution is compatible with the materials and finishes of the cleaning surfaces.
- Dilution Ratio: If the cleaning solution requires dilution, carefully follow the manufacturer’s instructions to achieve the appropriate dilution ratio. This ensures that the cleaning solution is effective without being overly concentrated.
- Pour Water into the Bucket: Fill the bucket with clean water, leaving sufficient space to accommodate the cleaning solution and allow for effective mixing.
- Add the Cleaning Solution: Pour the appropriate amount of cleaning solution into the water, ensuring that it is evenly distributed and thoroughly mixed to create a consistent cleaning solution.
- Stir the Solution: Use a designated mixing tool or the mop handle to gently stir the water and cleaning solution, ensuring thorough integration without creating excessive suds or foam.
- Verify the Mixture: Confirm that the water and cleaning solution are well mixed, creating a homogeneous solution ready for use in the cleaning process.
Filling the bucket with water and a carefully prepared cleaning solution equips you with the essential resources for effective cleaning. The quality and composition of the cleaning solution directly impact the cleaning results, making this step a critical aspect of assembling your mop bucket. Once the bucket is filled with the appropriate solution, you’re prepared to move on to the final steps in assembling and testing your mop bucket.
Step 6: Testing the mop bucket
With your mop bucket fully assembled and filled with the necessary water and cleaning solution, it’s time to put it to the test. Testing the mop bucket ensures that all components are functioning as intended and that the cleaning solution is appropriately distributed for effective cleaning. Follow these steps to test the mop bucket:
- Maneuver the Mop: Dip the mop head into the cleaning solution, allowing it to absorb the solution while ensuring it is not overly saturated.
- Wring the Mop: Utilize the wringing mechanism to remove excess water from the mop head, achieving the desired level of moisture for effective cleaning without leaving puddles of water behind.
- Clean a Small Area: Select a small area to clean, such as a section of the floor or another suitable surface. Use the mop to clean the area, applying gentle pressure and smooth, controlled motions.
- Observe the Cleaning Results: Assess the cleanliness and appearance of the cleaned area, ensuring that the mop effectively removes dirt and grime without leaving streaks or residue behind.
- Check for Residue: Inspect the cleaned area for any signs of cleaning solution residue or excessive moisture, ensuring that the cleaning process leaves the surface appropriately clean and dry.
- Adjust as Needed: If necessary, make adjustments to the cleaning solution concentration, wringing efficiency, or cleaning technique to achieve optimal cleaning results.
Testing the mop bucket allows you to fine-tune the cleaning process and ensure that all components work together harmoniously to deliver exceptional cleaning outcomes. By carefully evaluating the results of the cleaning test, you can make any necessary adjustments to enhance the performance of your mop bucket. Once you’re satisfied with the testing outcomes, your mop bucket is ready for efficient and effective use in your cleaning endeavors.
Conclusion
Congratulations! You’ve successfully navigated the process of assembling a mop bucket, transforming a collection of individual components into a powerful cleaning tool ready to tackle dirt, grime, and spills. By following the step-by-step guide outlined in this comprehensive tutorial, you’ve gained valuable insights into the assembly and preparation of a mop bucket, empowering you to maintain clean and sanitary environments with confidence and efficiency.
As you reflect on the assembly process, remember the importance of gathering all necessary components, ensuring secure and functional assembly, and preparing the appropriate cleaning solution for optimal cleaning performance. Each step contributes to the seamless integration of components, culminating in a fully assembled and functional mop bucket ready to serve your cleaning needs.
With your mop bucket assembled and tested, you’re equipped to take on a variety of cleaning tasks with ease. Whether you’re addressing spills in a commercial setting, maintaining pristine floors in a residential space, or tackling cleaning challenges in diverse environments, your well-assembled mop bucket stands ready to support your cleaning endeavors.
As you embark on your cleaning journey armed with your newly assembled mop bucket, remember the satisfaction that comes from transforming a collection of components into a cohesive and effective cleaning tool. Your attention to detail and commitment to assembling the mop bucket with care and precision will undoubtedly translate into exceptional cleaning results and the creation of inviting, hygienic spaces.
So, with your mop bucket assembled and your cleaning spirit ignited, step forward with confidence, knowing that you possess the knowledge and skills to assemble, prepare, and utilize this essential cleaning appliance to maintain the cleanliness and hygiene of your surroundings.
Frequently Asked Questions about How To Put A Mop Bucket Together
Was this page helpful?
At Storables.com, we guarantee accurate and reliable information. Our content, validated by Expert Board Contributors, is crafted following stringent Editorial Policies. We're committed to providing you with well-researched, expert-backed insights for all your informational needs.

0 thoughts on “How To Put A Mop Bucket Together”