Home>Home Appliances>Cleaning Appliances>How To Use Swiffer Mop

Cleaning Appliances
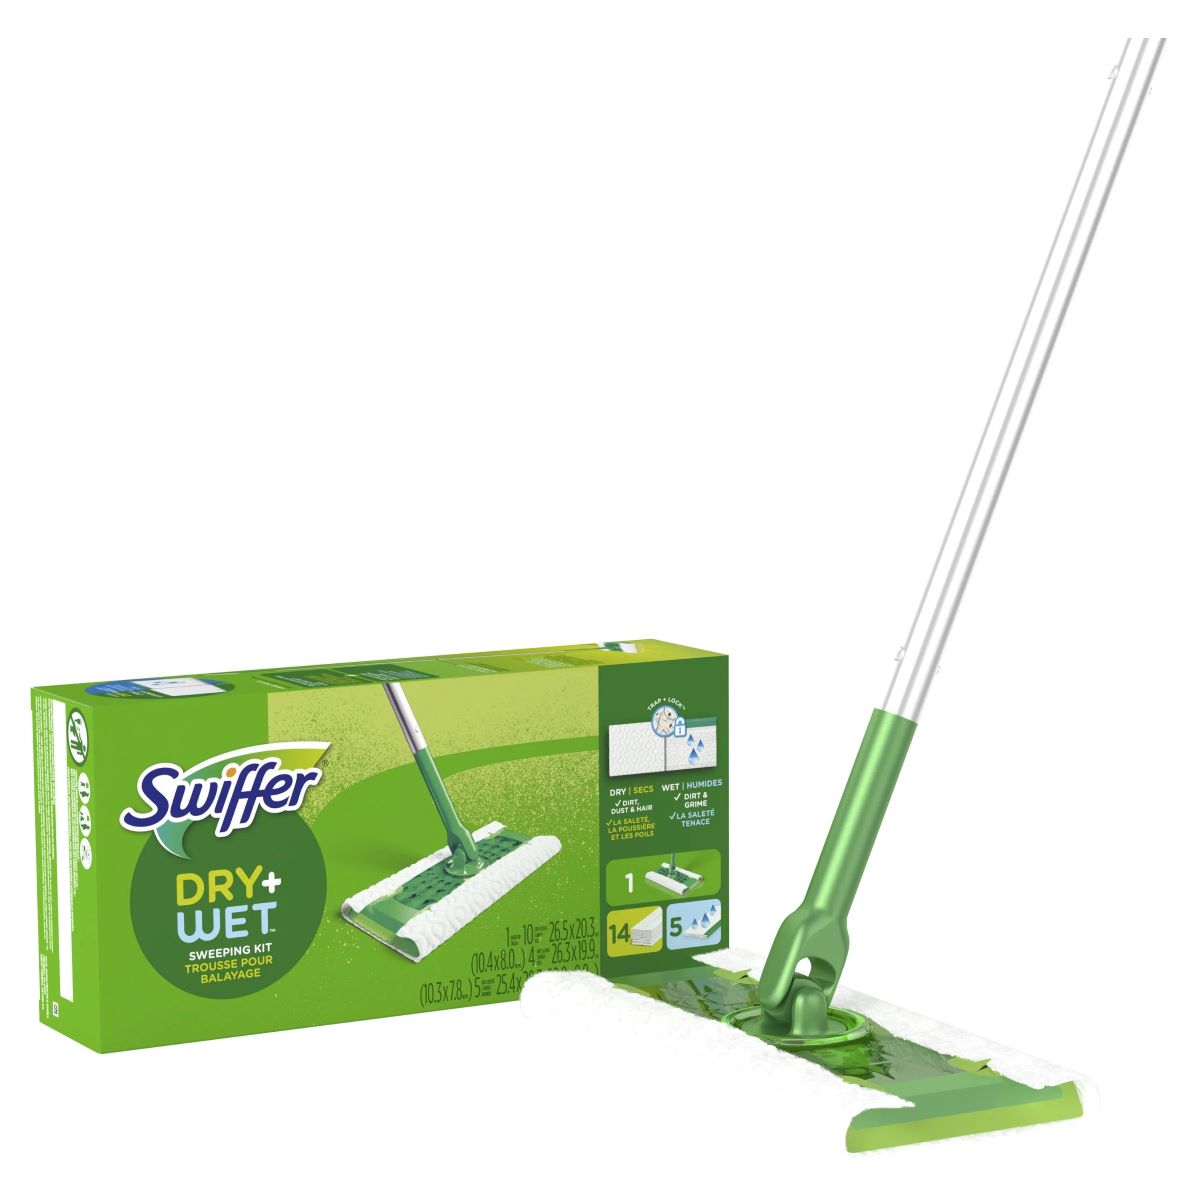
How To Use Swiffer Mop
Modified: October 21, 2024
Learn how to use a Swiffer mop for efficient cleaning of your home and other surfaces with this helpful guide. Keep your cleaning appliances in top condition!
(Many of the links in this article redirect to a specific reviewed product. Your purchase of these products through affiliate links helps to generate commission for Storables.com, at no extra cost. Learn more)
Introduction
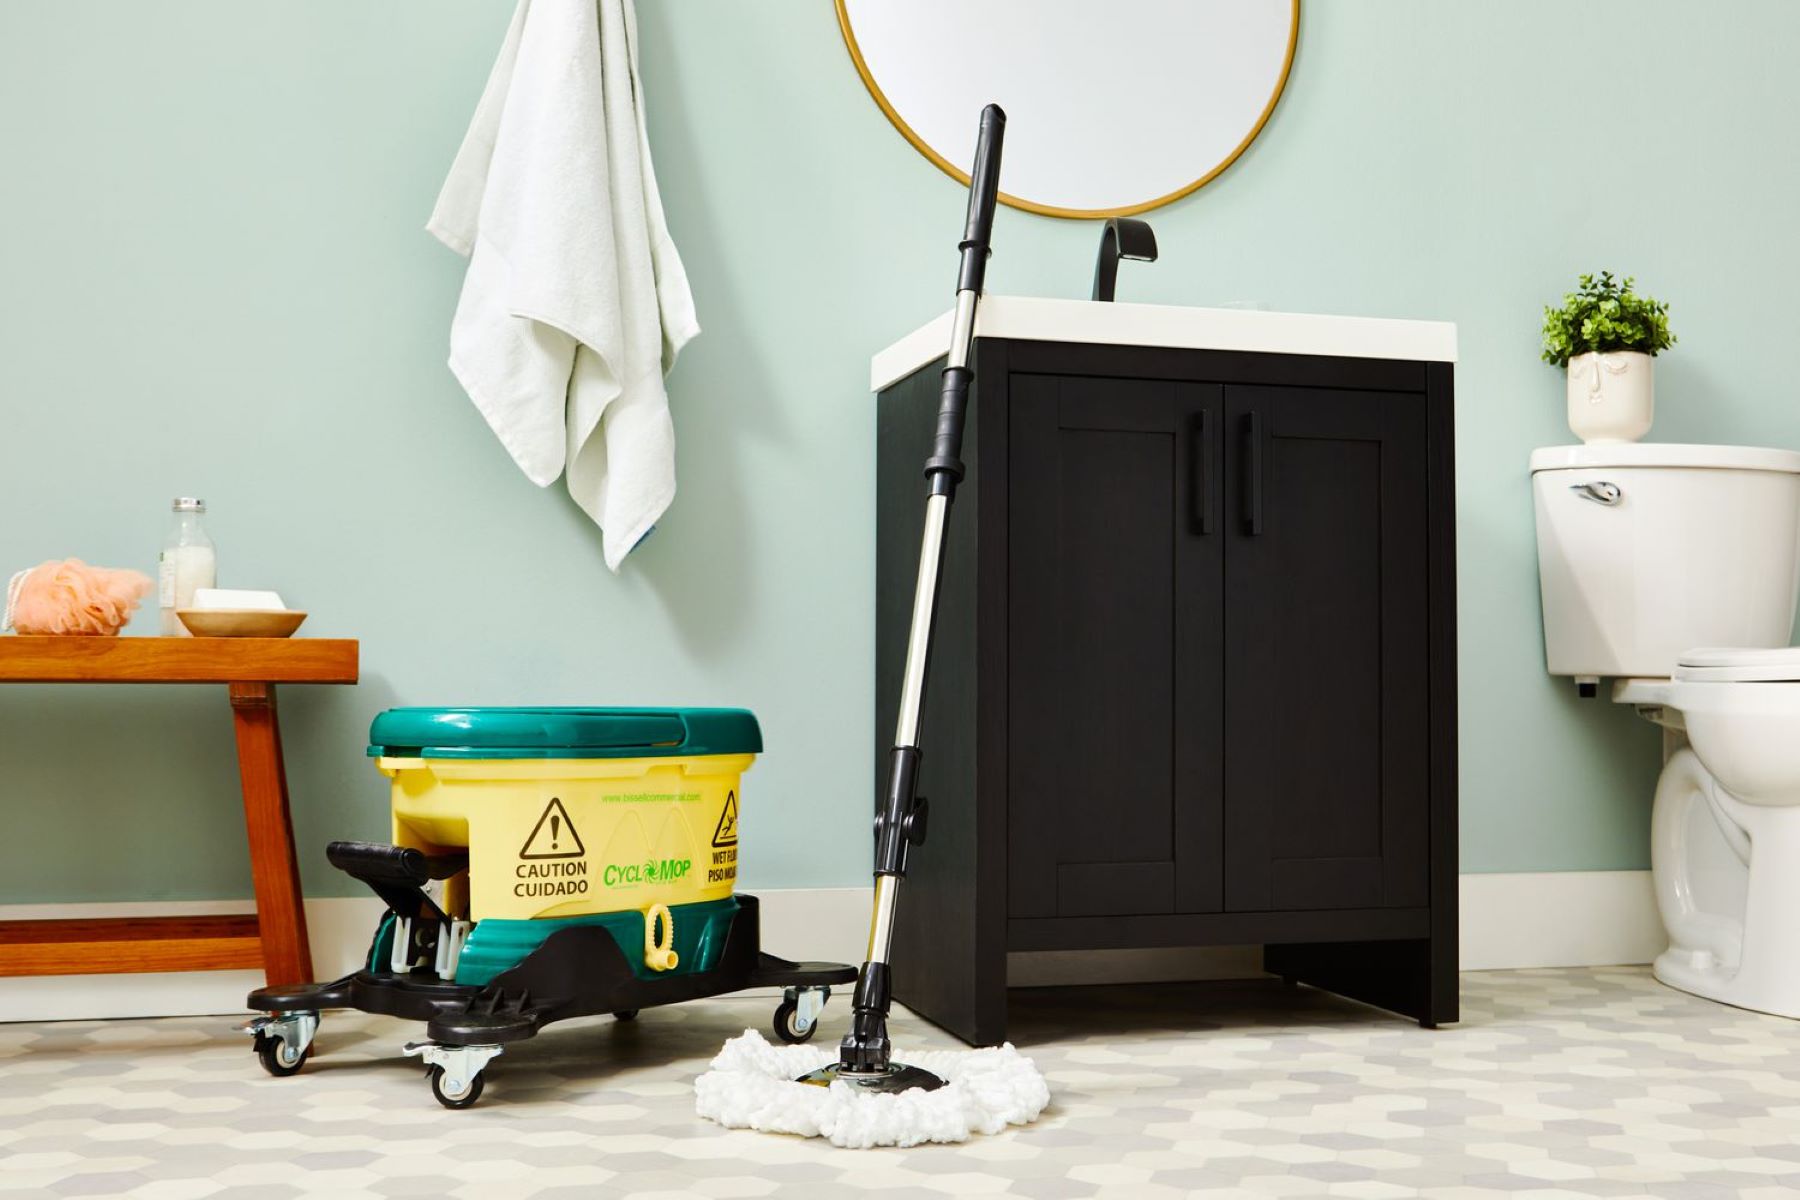
Welcome to the world of hassle-free and efficient floor cleaning! The Swiffer mop is a revolutionary cleaning tool designed to simplify the often laborious task of mopping. Whether you are a seasoned cleaning aficionado or a newcomer to the world of household chores, using a Swiffer mop can make the process not only more effective but also surprisingly enjoyable.
In this comprehensive guide, we will walk you through the steps of using a Swiffer mop to achieve sparkling clean floors with minimal effort. From assembling the mop to disposing of the used cleaning pad, each step is designed to streamline the cleaning process and leave your floors looking immaculate.
So, grab your Swiffer mop, put on your favorite cleaning playlist, and let's dive into the wonderful world of effortless floor cleaning with the Swiffer mop!
Key Takeaways:
- Effortless Floor Cleaning
Using a Swiffer mop is a breeze! From assembly to disposal, it’s designed for easy, effective floor cleaning. Just attach the pad, mop away, and dispose – it’s that simple! - Quick and Convenient Storage
After cleaning, store your Swiffer mop for easy access. Retract the handle, find a designated spot, and keep it ready for your next cleaning adventure. Happy mopping!
Read more: Which Swiffer Mop Is Best
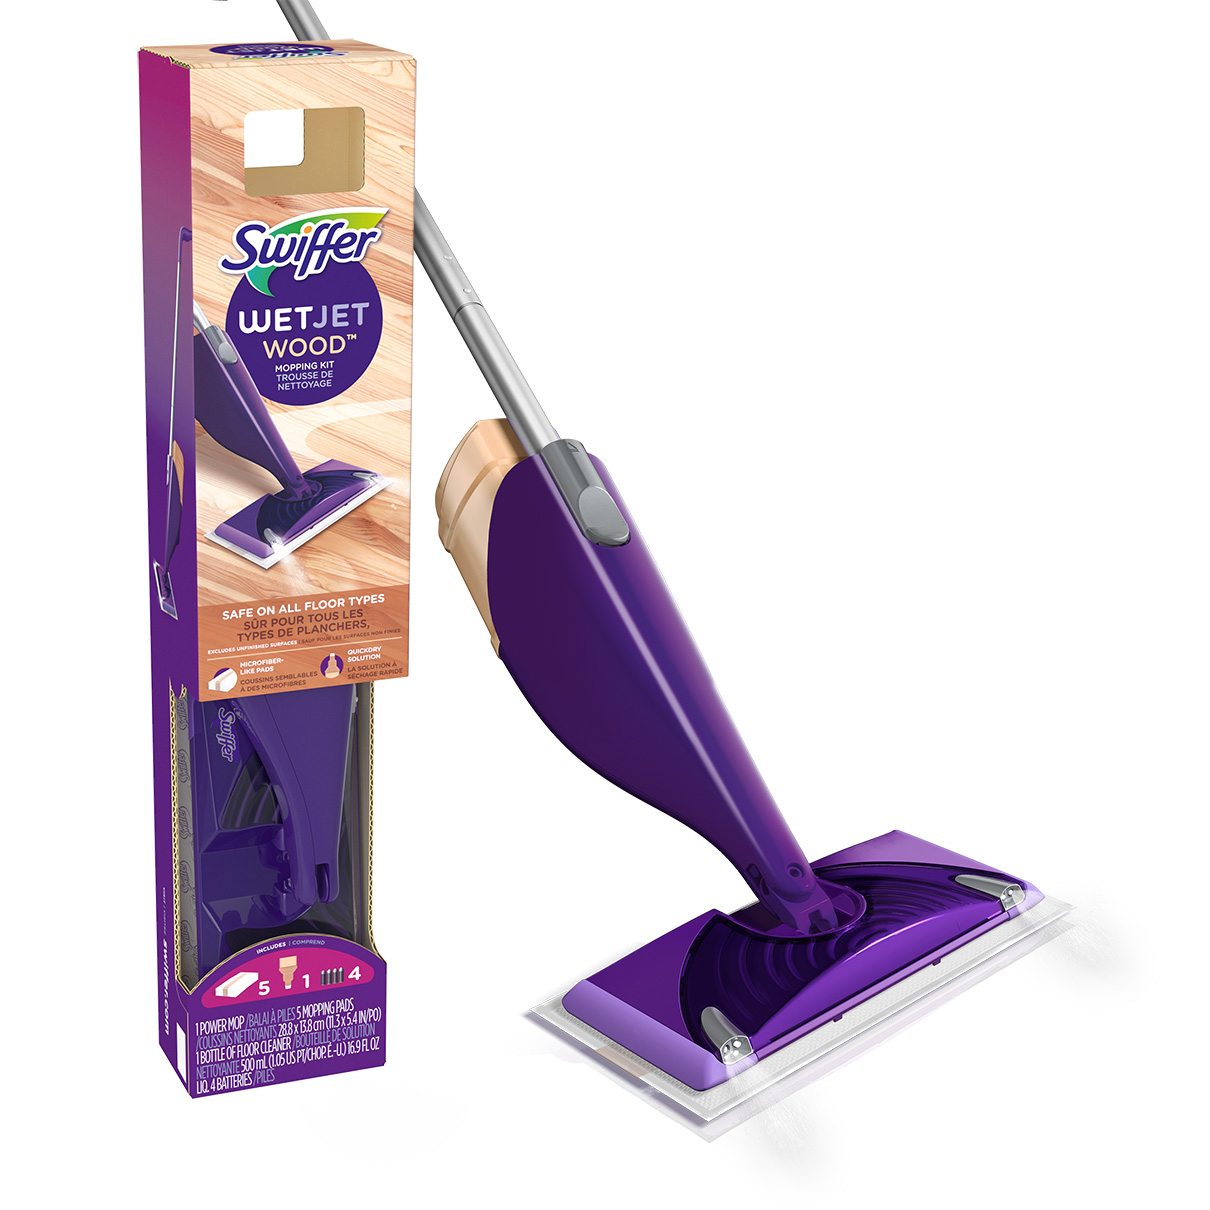
Step 1: Assemble the Swiffer Mop
Before you embark on your cleaning journey, it’s essential to assemble your Swiffer mop for optimal performance. The assembly process is remarkably straightforward, ensuring that you can get to the cleaning action in no time.
To begin, carefully unpack your Swiffer mop from its packaging. You’ll find the mop handle, cleaning pads, and possibly a cleaning solution, depending on the specific Swiffer model you have. Next, attach the handle to the mop head by firmly pressing the two pieces together until you hear a satisfying click, indicating that they are securely connected.
Once the handle is attached, you’re ready to load the cleaning pad onto the mop head. Depending on your Swiffer model, this may involve sliding the pad into designated slots or using a simple adhesive system to secure it in place. Ensure that the cleaning pad is evenly positioned on the mop head to guarantee uniform cleaning coverage.
With the Swiffer mop assembled and ready for action, you’re one step closer to effortlessly clean floors. The intuitive design of the Swiffer mop ensures that you can focus on the cleaning process without being bogged down by complicated assembly procedures.
Now that your Swiffer mop is fully assembled, it’s time to move on to the next step: preparing the cleaning solution.
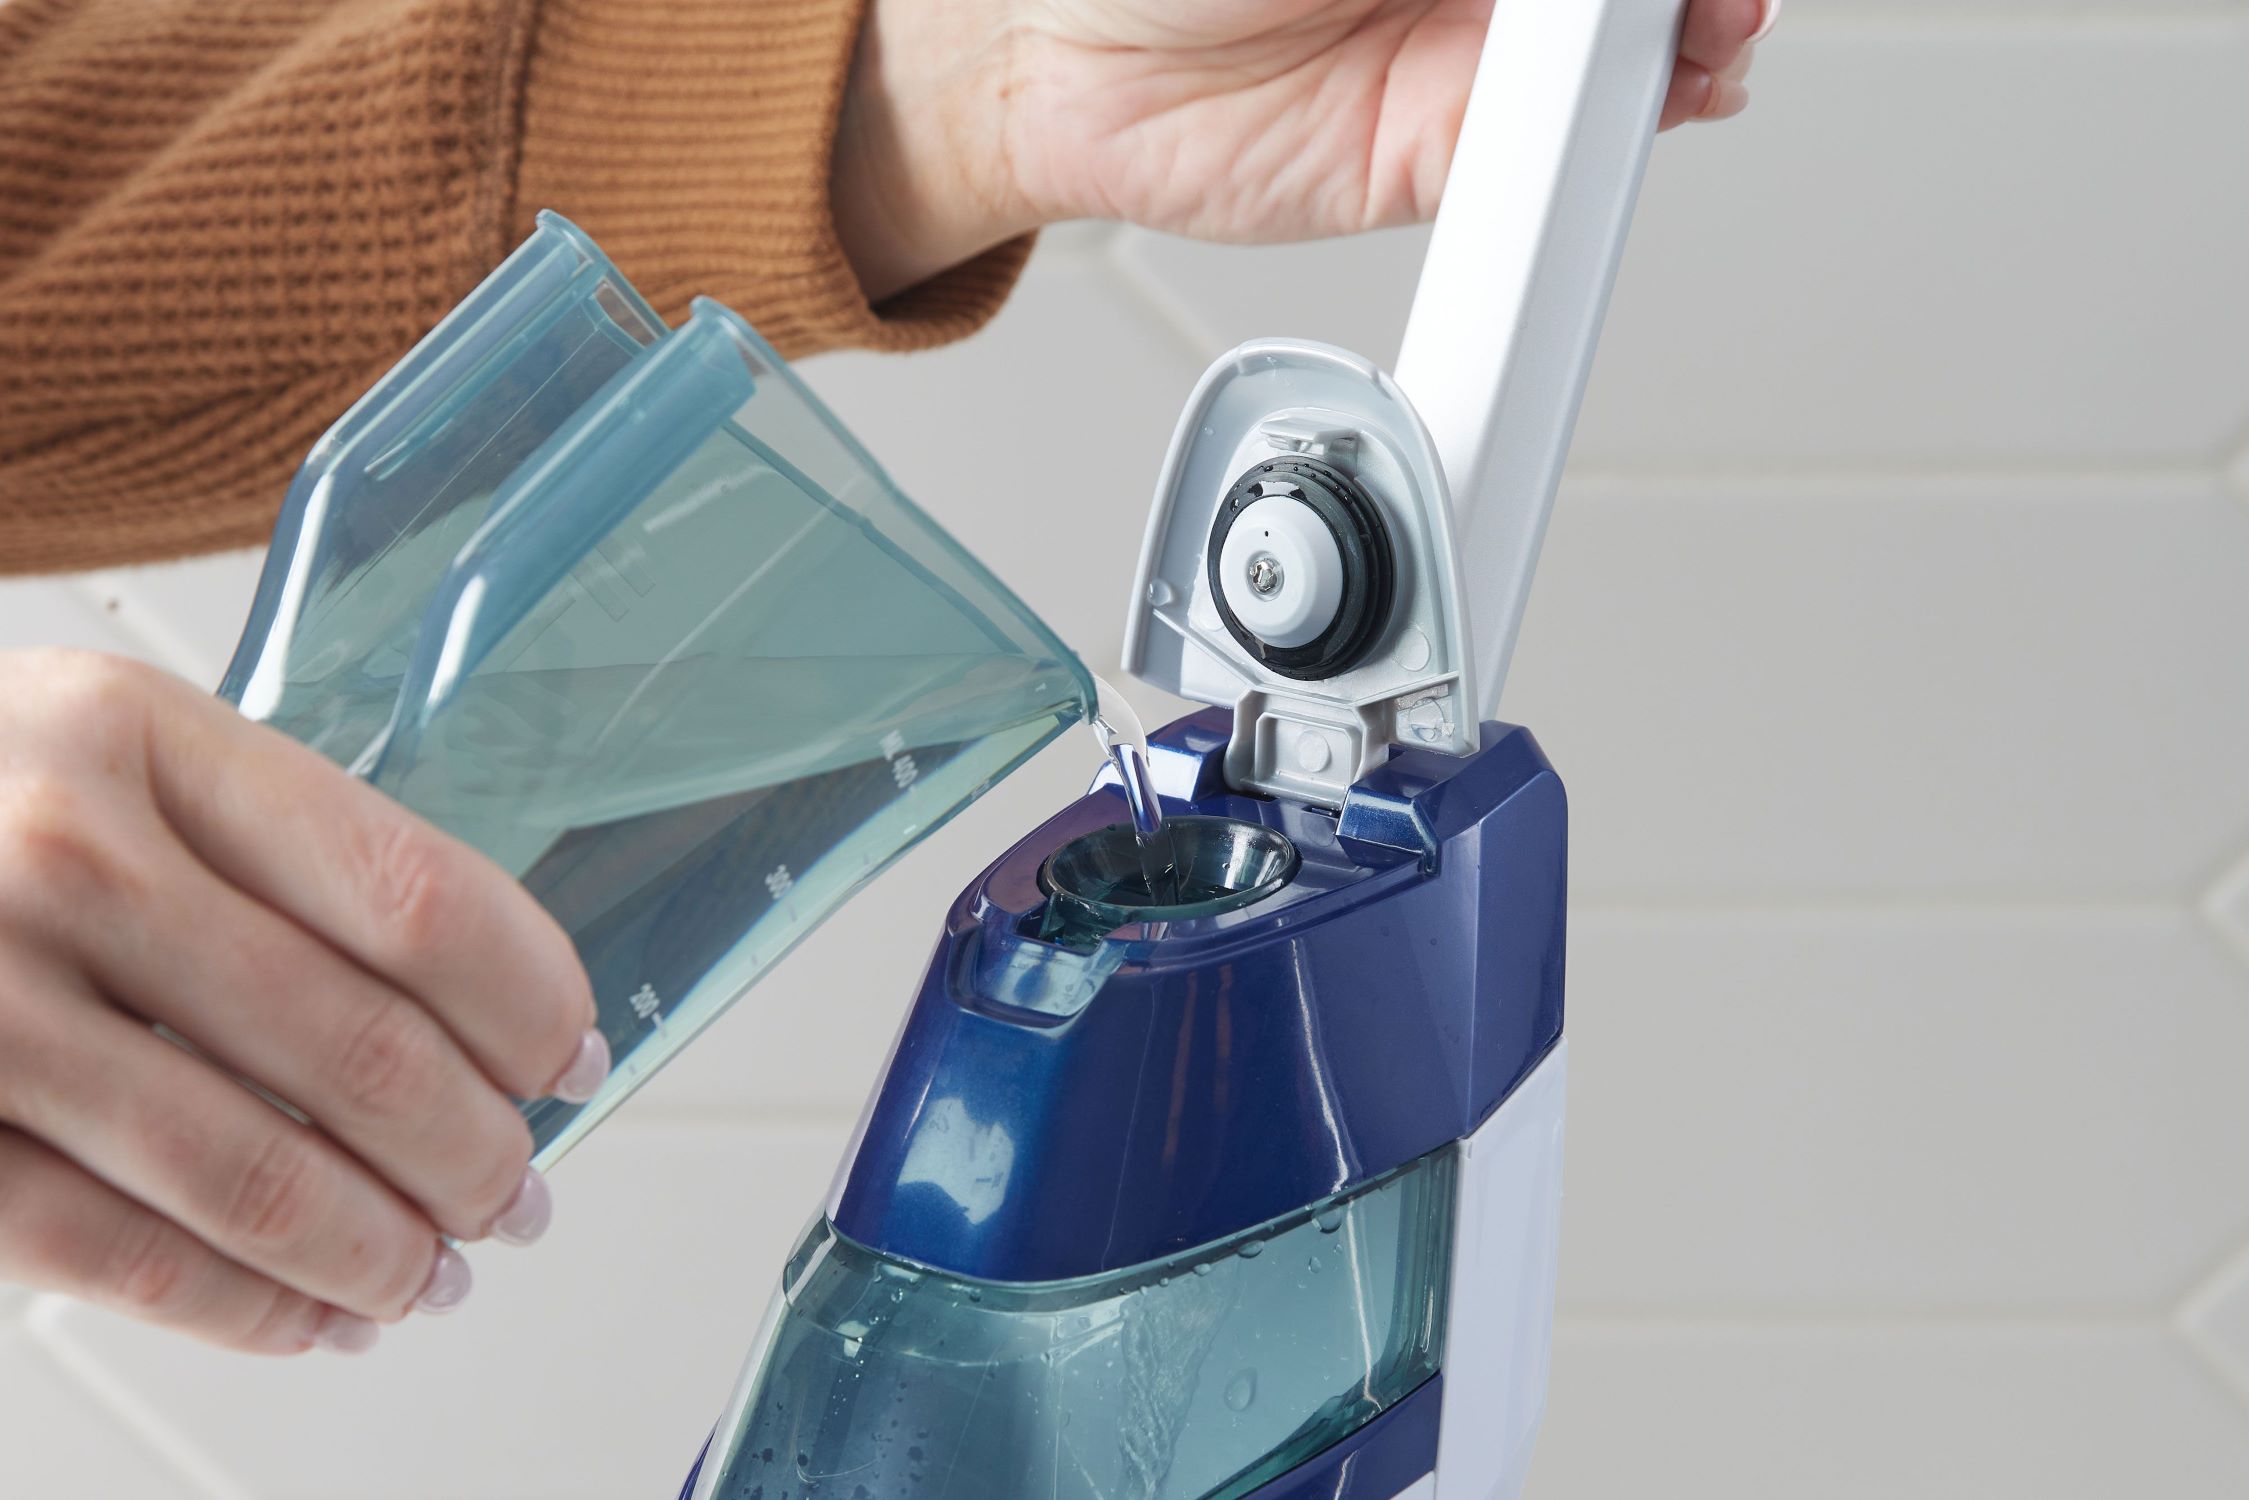
Step 2: Prepare the Cleaning Solution
Before you commence the mopping process, it’s crucial to prepare the cleaning solution that will enhance the effectiveness of your Swiffer mop. While some Swiffer models come with pre-moistened cleaning pads that eliminate the need for a separate solution, others may require the application of a cleaning solution to the floor before mopping.
If your Swiffer mop necessitates the use of a cleaning solution, you have the flexibility to choose from a range of compatible products, including Swiffer-branded solutions or homemade alternatives. When using a store-bought cleaning solution, carefully follow the instructions provided on the packaging to achieve the optimal dilution ratio for your specific cleaning needs.
Alternatively, if you prefer a DIY approach, you can create a simple yet effective cleaning solution by combining water with a mild floor cleaner or a mixture of water and vinegar. This homemade solution is not only cost-effective but also environmentally friendly, making it a popular choice among eco-conscious individuals.
Once you have prepared the cleaning solution, it’s time to apply it to the designated area, ensuring even coverage across the entire surface. Be mindful of any specific instructions related to the application of the cleaning solution, as certain types may require a brief dwell time before mopping with the Swiffer pad.
By taking the time to prepare an appropriate cleaning solution, you are setting the stage for a thorough and efficient mopping experience with your Swiffer mop. With the solution in place, you’re now ready to move on to the next step: attaching the cleaning pad to the mop head.
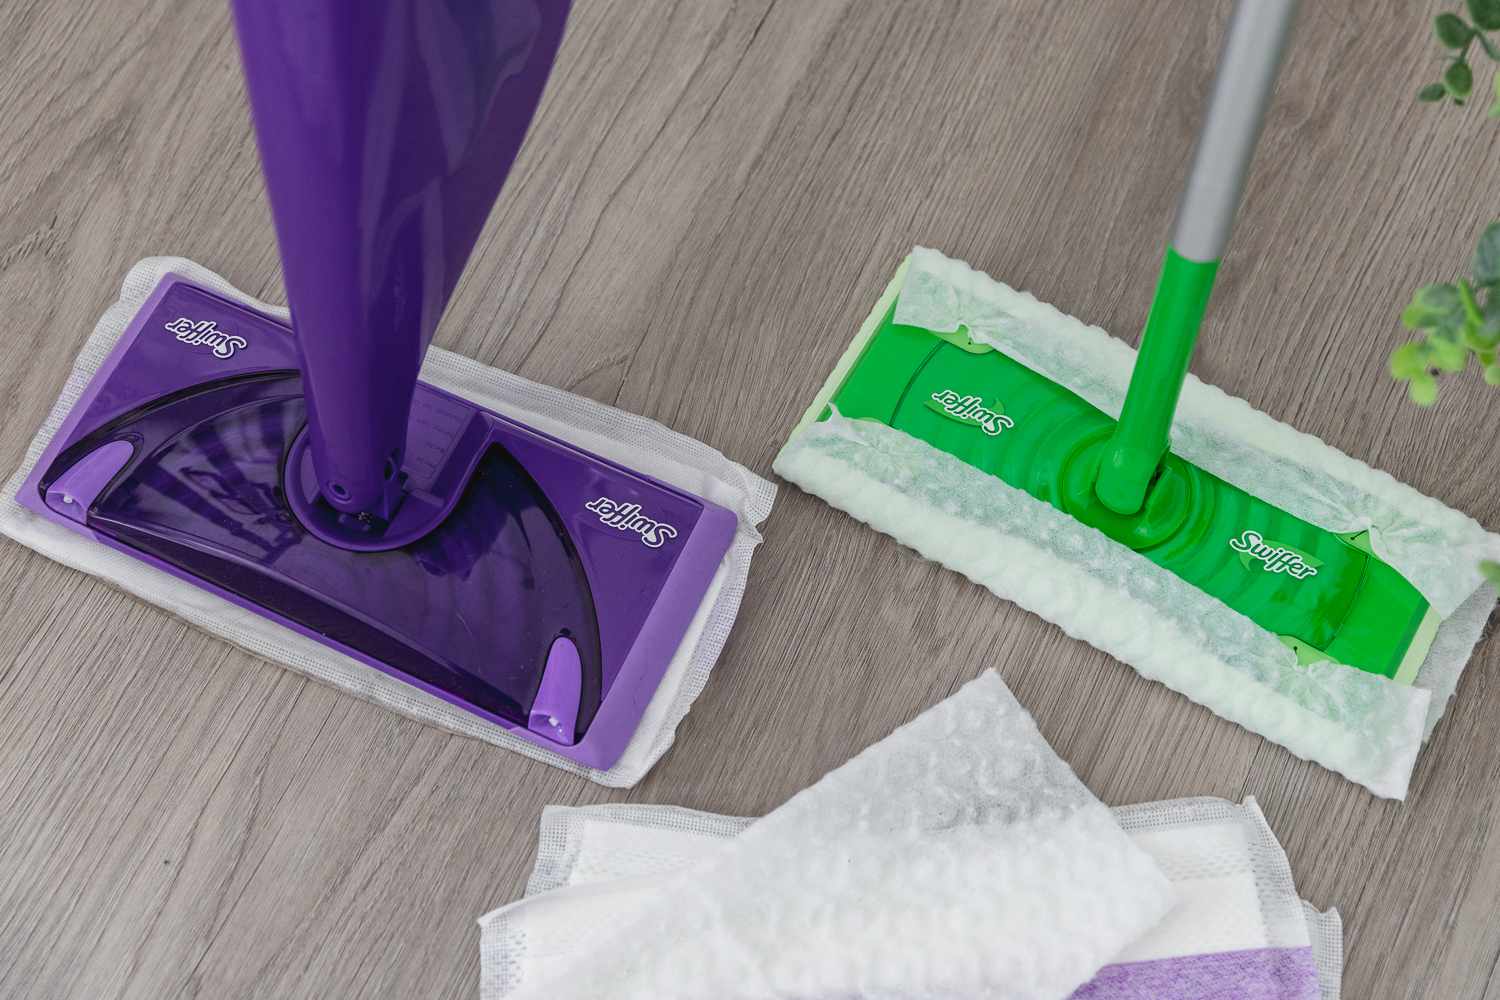
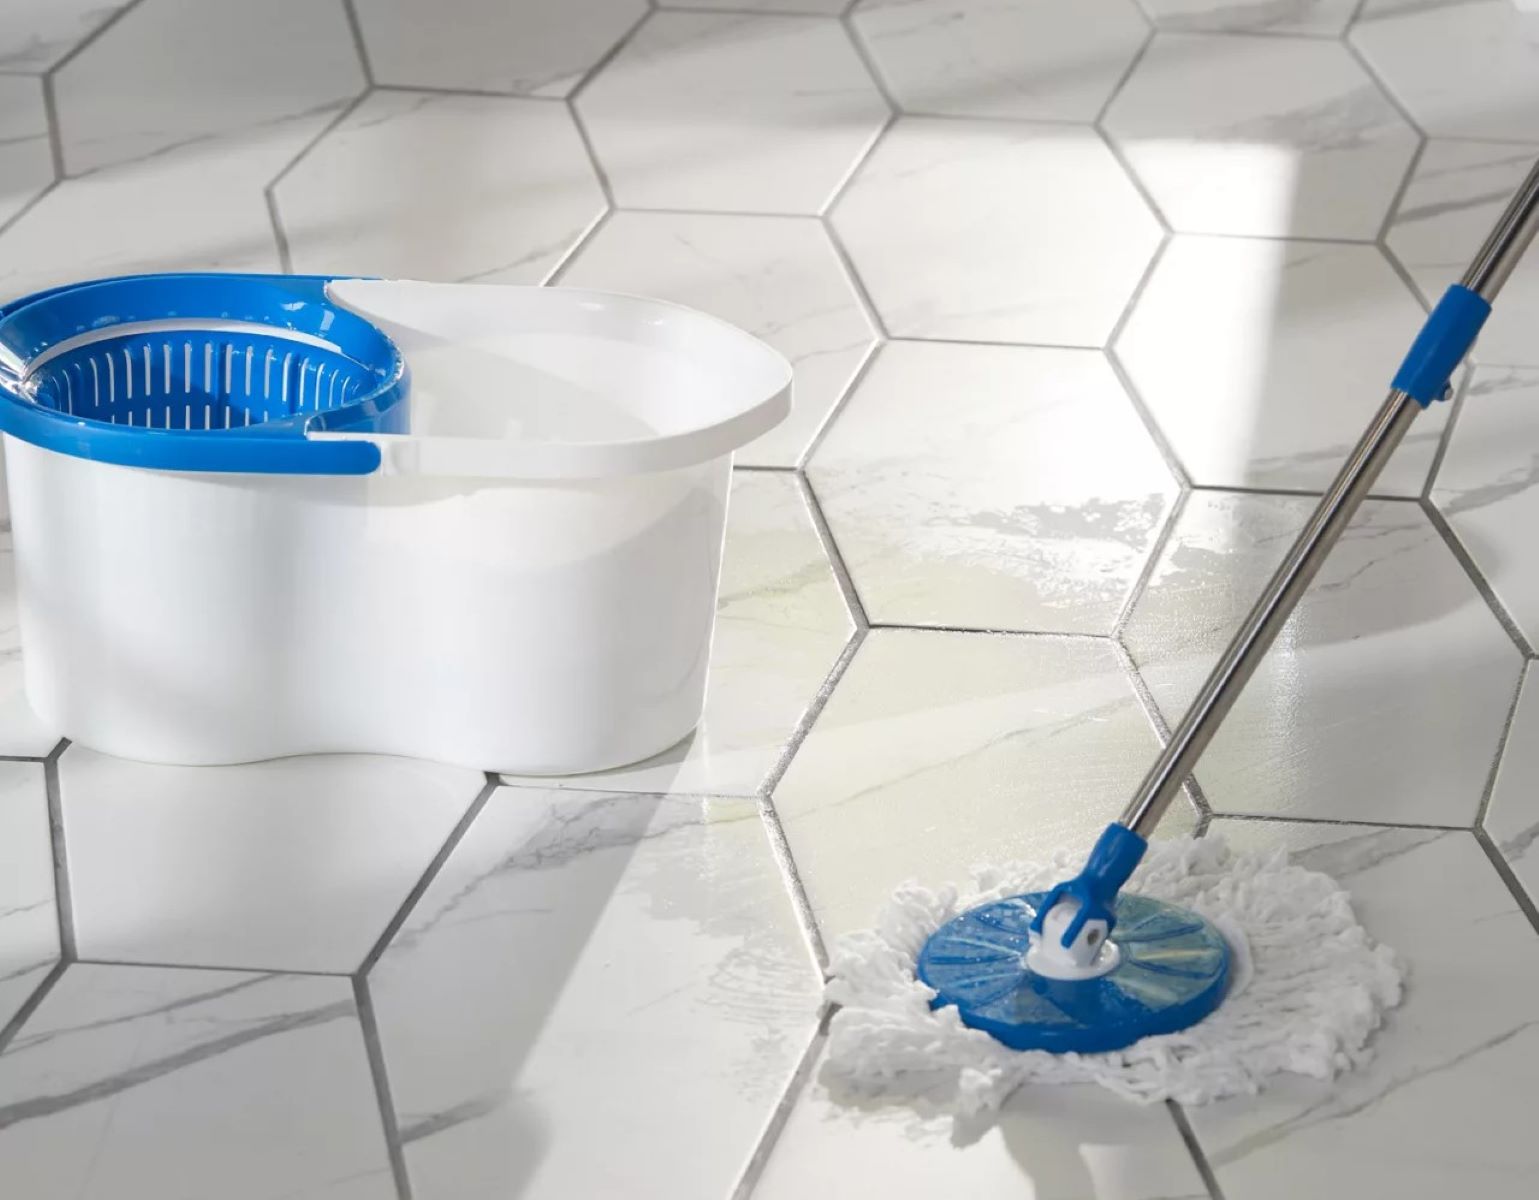
Step 3: Attach the Cleaning Pad
With the cleaning solution prepared and the floor ready for a thorough cleaning, the next step in the process is to attach the cleaning pad to the Swiffer mop. This step is crucial, as the cleaning pad is the workhorse that will effectively remove dirt, dust, and grime from your floors, leaving them spotless and gleaming.
Depending on the specific Swiffer model you have, attaching the cleaning pad can vary slightly. Some Swiffer mops feature a simple attachment mechanism, such as adhesive strips or slots, while others may have a more intricate fastening system. Regardless of the mechanism, the goal remains the same: to securely affix the cleaning pad to the mop head to ensure optimal cleaning performance.
Begin by carefully positioning the cleaning pad over the mop head, ensuring that it aligns with the edges and corners for complete coverage. If your Swiffer mop utilizes an adhesive system, gently press down on the pad to activate the adhesive and secure it in place. For models with designated slots, slide the pad into position until it fits snugly onto the mop head.
Once the cleaning pad is securely attached, take a moment to ensure that it is evenly positioned and free of any wrinkles or folds that could impede its cleaning efficacy. A properly attached cleaning pad sets the stage for a seamless mopping experience, allowing you to focus on achieving immaculate floors without any hindrances.
With the cleaning pad in place, your Swiffer mop is now fully equipped to tackle the task at hand: cleaning the floor. The next step will guide you through the process of using the Swiffer mop to effectively clean the designated area, ensuring that every pass leaves your floors sparkling clean.
When using a Swiffer mop, start by assembling the mop according to the instructions. Then, attach a dry or wet cloth to the mop head and simply glide it across the floor to pick up dirt and dust. Remember to replace the cloth as needed for best results.
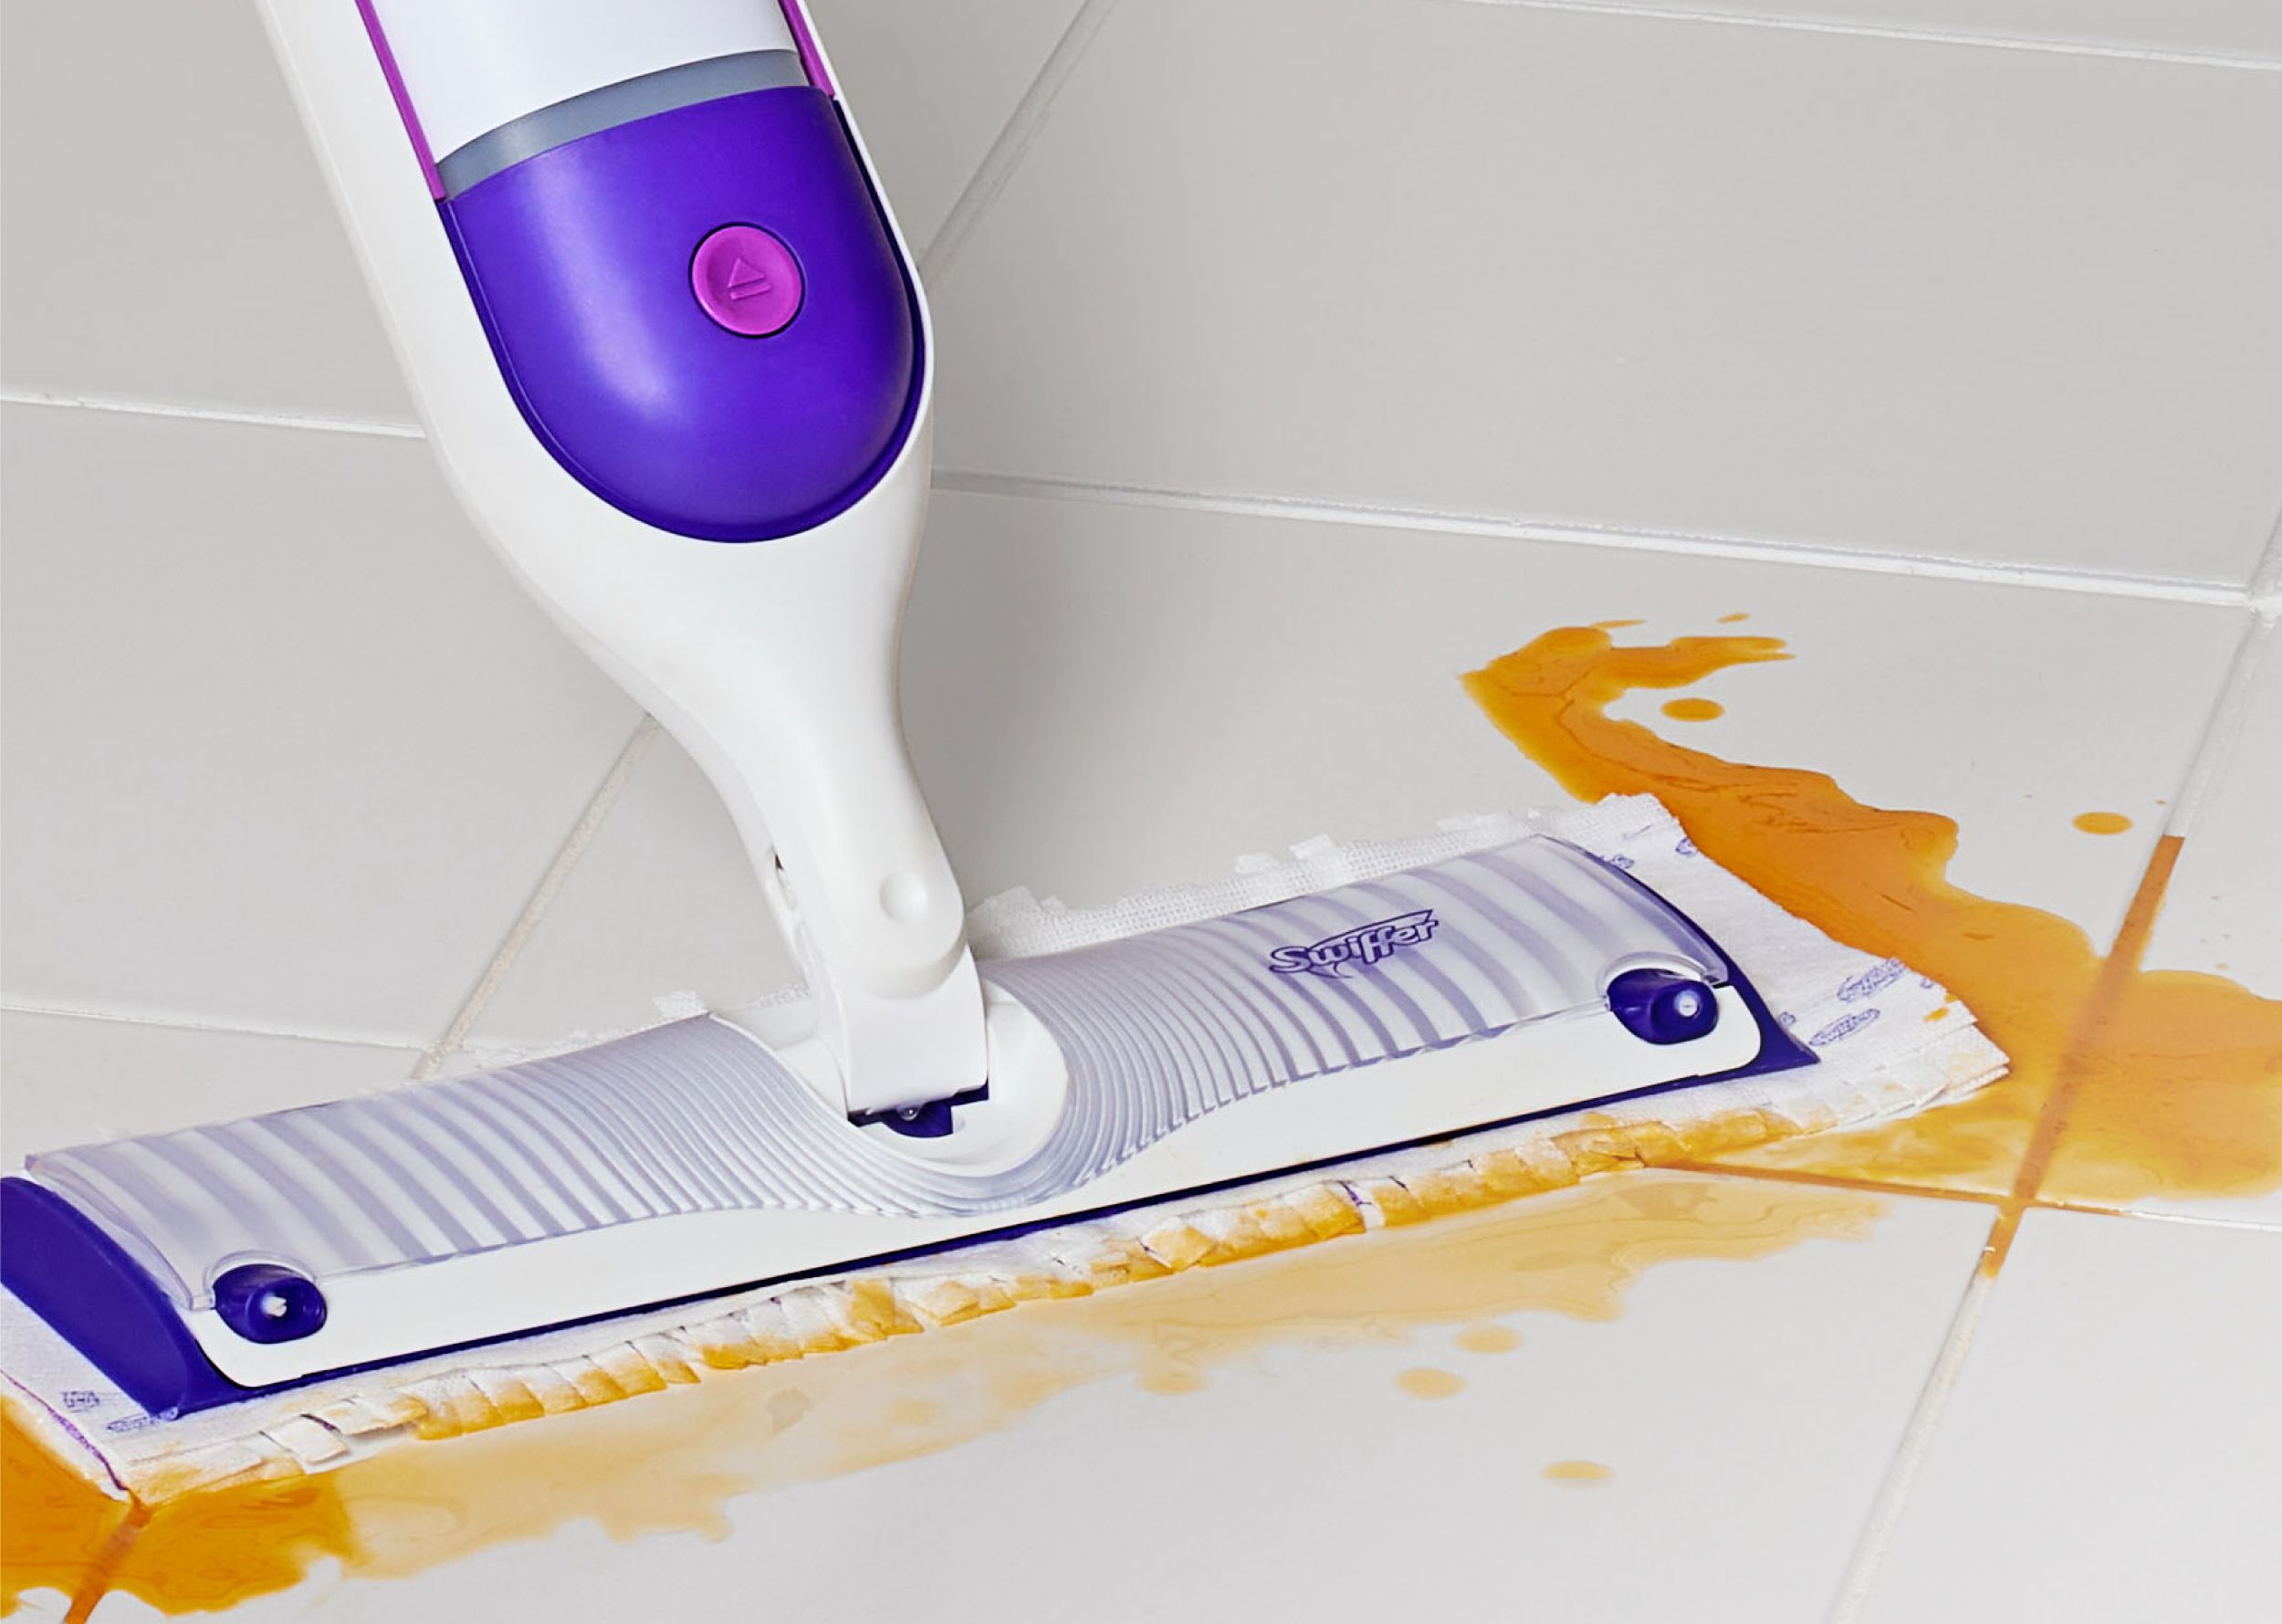
Step 4: Clean the Floor
With the Swiffer mop fully assembled, the cleaning solution prepared, and the cleaning pad securely attached, it’s time to put the mop to work and witness its remarkable cleaning prowess in action. Using a Swiffer mop to clean your floors is a straightforward and gratifying process, allowing you to achieve sparkling results with minimal effort.
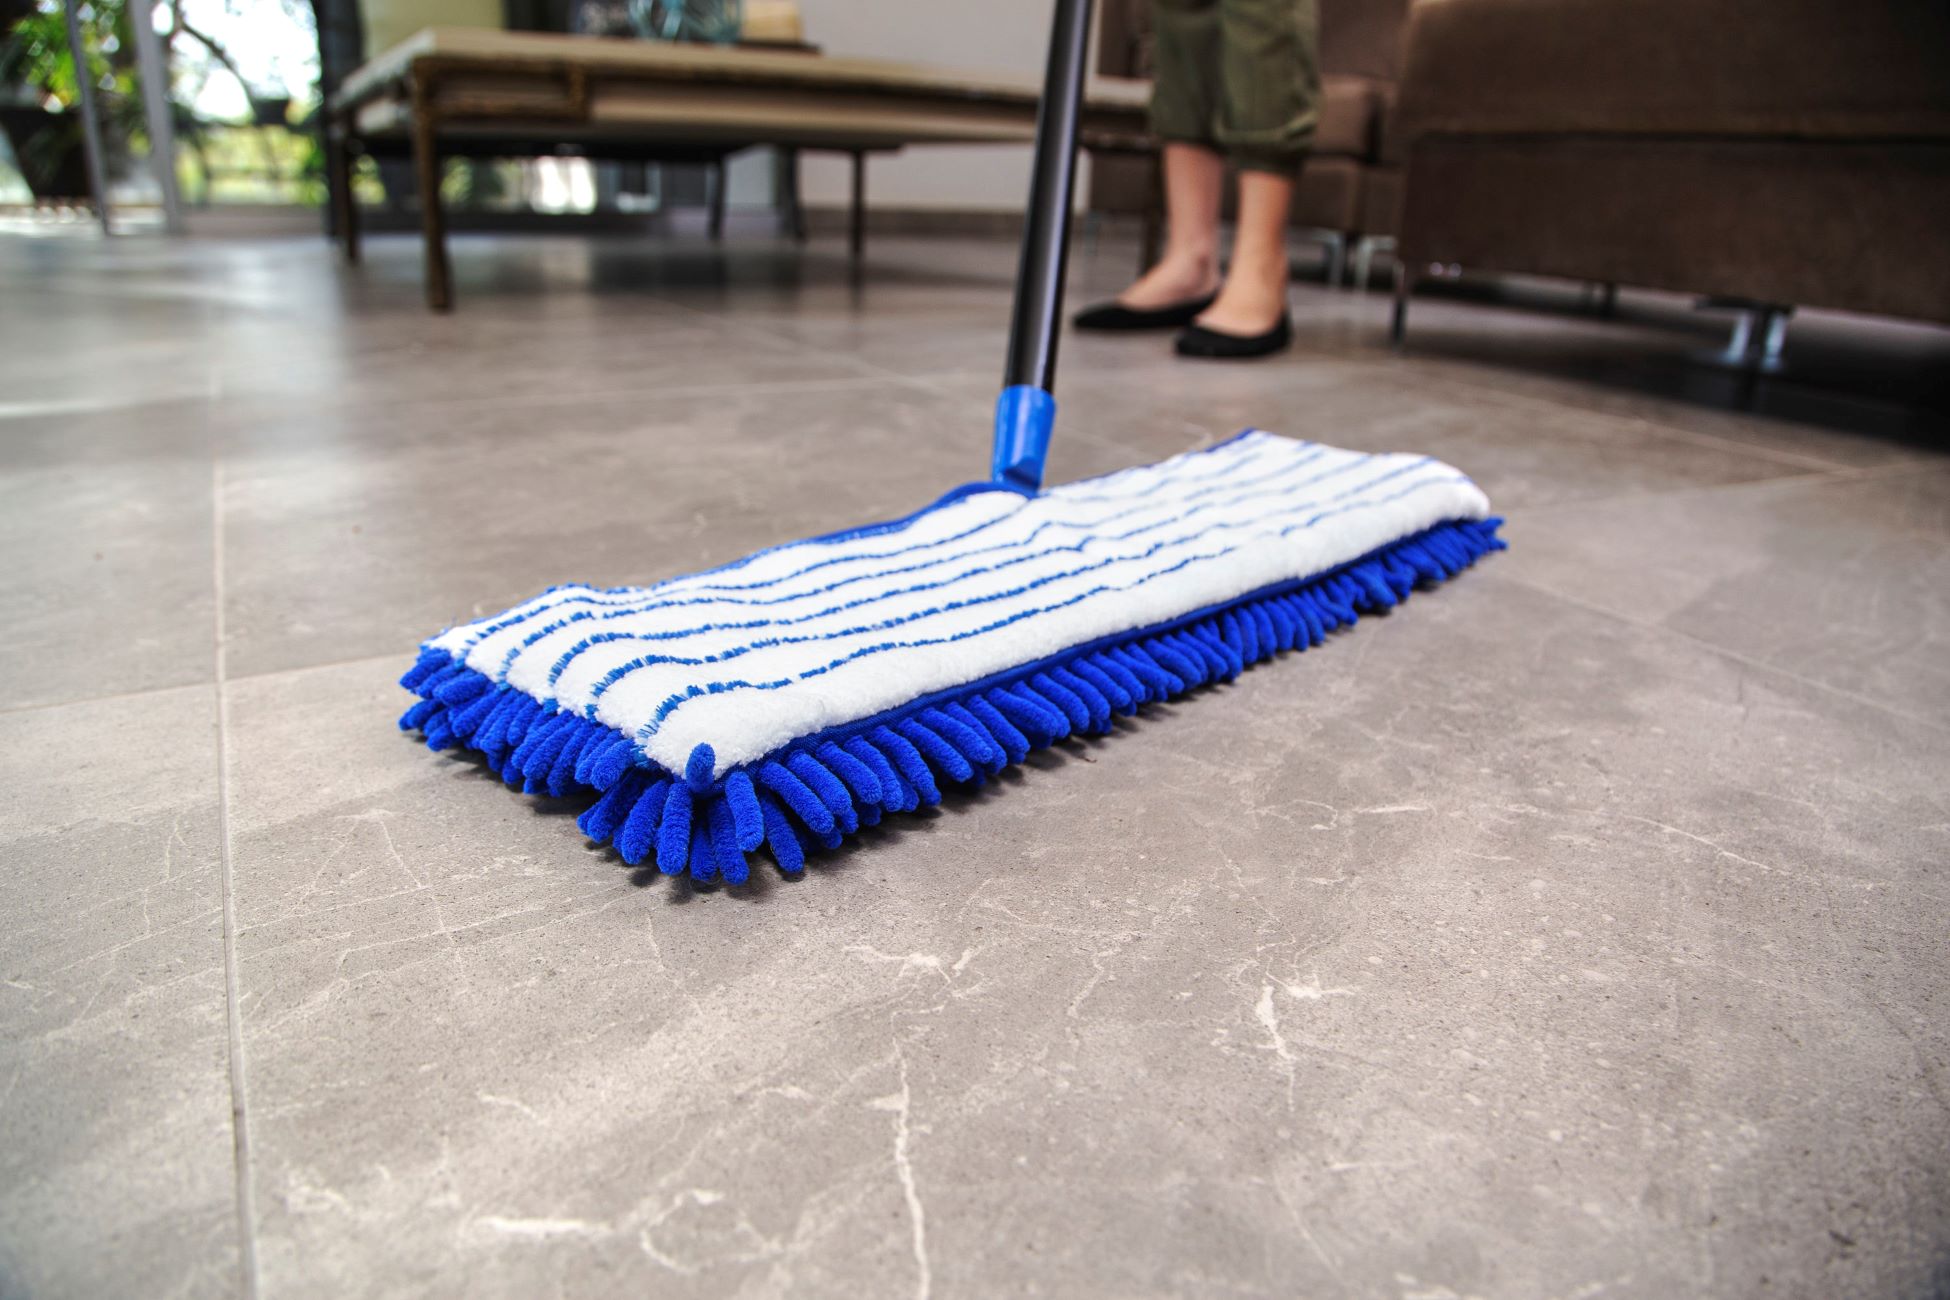
Begin by holding the Swiffer mop handle and positioning the cleaning pad against the designated area of the floor. Whether you’re tackling hardwood, tile, laminate, or vinyl flooring, the Swiffer mop is designed to effectively remove dirt, dust, and grime without leaving behind residue or streaks.
As you make gentle, overlapping passes with the Swiffer mop, you’ll notice the cleaning pad effortlessly attracting and trapping dirt particles, ensuring that they are not redistributed across the floor. The flexible design of the Swiffer mop allows you to navigate around furniture legs and tight spaces with ease, ensuring thorough cleaning in every nook and cranny.
For particularly stubborn spots or heavily soiled areas, applying slightly more pressure while mopping can enhance the pad’s cleaning effectiveness. The Swiffer mop’s innovative design ensures that it adapts to the contours of the floor, delivering consistent cleaning performance across various surfaces.
As you progress through the mopping process, take note of the cleaning pad’s condition. If it becomes visibly soiled or saturated during cleaning, consider replacing it with a fresh pad to maintain optimal cleaning efficiency. This proactive approach ensures that each pass with the Swiffer mop delivers maximum cleaning impact.
Whether you’re addressing a small spill or giving your entire floor a thorough cleaning, the Swiffer mop’s versatility and effectiveness make the process a gratifying experience. With the floor now impeccably clean, it’s time to move on to the final step: disposing of the used cleaning pad.
Read also: 13 Best Swiffer Wet Mop For 2025
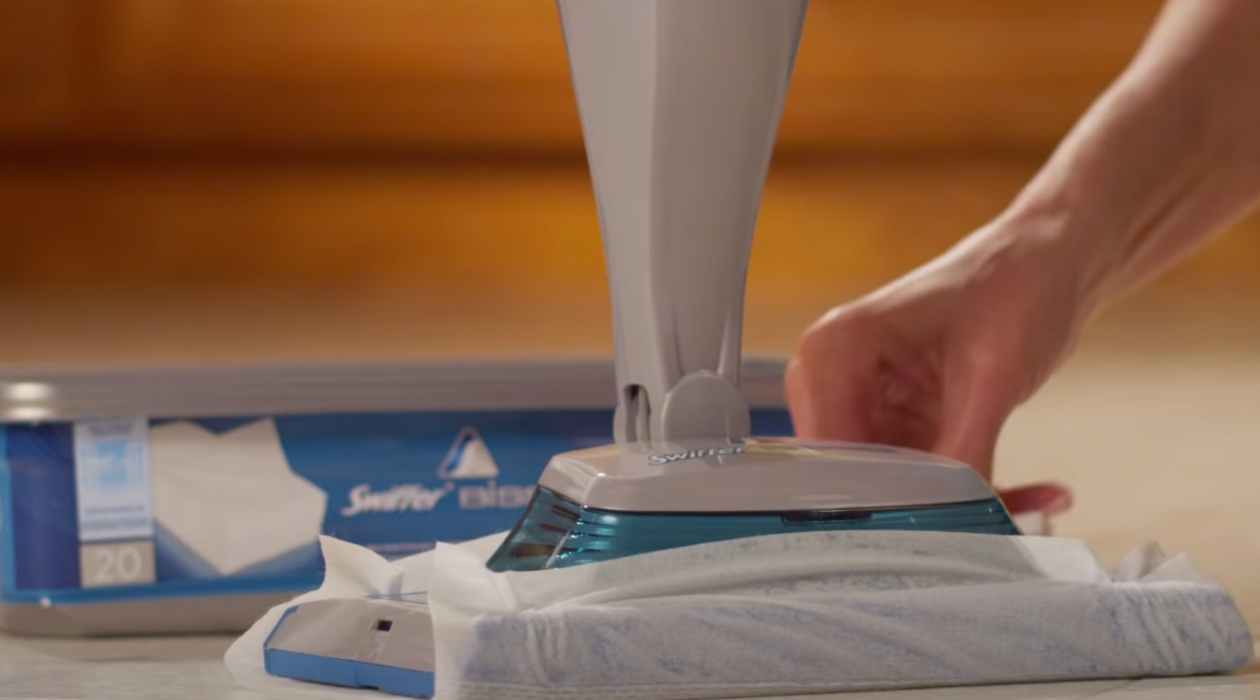
Step 5: Dispose of the Used Cleaning Pad
After completing the mopping process and achieving pristine floors with the Swiffer mop, it’s essential to properly dispose of the used cleaning pad. This step ensures that your cleaning experience remains hygienic and efficient, allowing you to seamlessly transition from cleaning to disposal without any hassle.
Begin by carefully detaching the used cleaning pad from the Swiffer mop, taking care to avoid direct contact with any accumulated dirt or debris. Depending on the specific Swiffer model, the process of removing the cleaning pad may involve a simple release mechanism or sliding it off the mop head without coming into contact with the soiled surface.
Once the used cleaning pad is removed, promptly place it in the designated waste receptacle, such as a trash bin or a disposable bag. This swift disposal method minimizes the risk of spreading dirt or dust from the pad, ensuring a tidy and efficient cleaning experience from start to finish.
If your Swiffer model features disposable cleaning pads, consider replacing the used pad with a fresh one to maintain the mop’s cleaning efficacy for future use. This proactive approach ensures that you’re always prepared for the next cleaning session, with a pristine cleaning pad ready to tackle any dirt or spills that come your way.
By promptly disposing of the used cleaning pad, you’re not only maintaining a clean and organized space but also ensuring that your Swiffer mop is always ready for action. With the used pad properly discarded, it’s time to move on to the final step: storing the Swiffer mop for future use.
Step 6: Store the Swiffer Mop
As you conclude your rewarding cleaning session with the Swiffer mop, it’s essential to store the mop properly to maintain its functionality and cleanliness for future use. Proper storage not only safeguards the mop from damage but also ensures that it remains readily accessible whenever the need for quick and efficient floor cleaning arises.
Begin by retracting the mop handle, if applicable, to its compact storage position. This space-saving feature allows you to store the Swiffer mop in a vertical position, minimizing its footprint and making it easy to tuck away in a closet or storage area without taking up excessive space.
Next, consider designating a specific storage area for your Swiffer mop, ensuring that it is easily accessible when needed. Whether you opt for a wall-mounted storage solution, a dedicated cleaning supply cabinet, or a discreet corner in your utility room, the goal is to keep the Swiffer mop readily available for impromptu cleaning tasks.
If your Swiffer model features a detachable mop head, consider removing the cleaning pad after use to prevent any potential moisture buildup and to allow the pad to air dry thoroughly. This simple practice helps maintain the cleanliness and longevity of the cleaning pad, ensuring that it remains in optimal condition for future use.
For Swiffer models equipped with reusable microfiber cleaning pads, consider washing and air-drying the pads periodically to maintain their cleaning effectiveness and overall hygiene. Following the manufacturer’s care instructions for the cleaning pads ensures that they remain in top condition, ready to deliver exceptional cleaning performance whenever called upon.
By incorporating these storage practices into your cleaning routine, you’re ensuring that your Swiffer mop remains in prime condition, ready to tackle any cleaning task with efficiency and effectiveness. With the mop safely stored and prepared for future use, you’ve completed the final step in the Swiffer mop cleaning process, concluding a satisfying and rewarding cleaning experience.
Frequently Asked Questions about How To Use Swiffer Mop
Was this page helpful?
At Storables.com, we guarantee accurate and reliable information. Our content, validated by Expert Board Contributors, is crafted following stringent Editorial Policies. We're committed to providing you with well-researched, expert-backed insights for all your informational needs.

0 thoughts on “How To Use Swiffer Mop”