Home>Home Appliances>Cleaning Appliances>How To Make A Mop
Cleaning Appliances
How To Make A Mop
Modified: September 1, 2024
Learn how to make a mop for effective cleaning at home with simple materials. Discover tips and techniques for creating your own cleaning appliances.
(Many of the links in this article redirect to a specific reviewed product. Your purchase of these products through affiliate links helps to generate commission for Storables.com, at no extra cost. Learn more)
Introduction
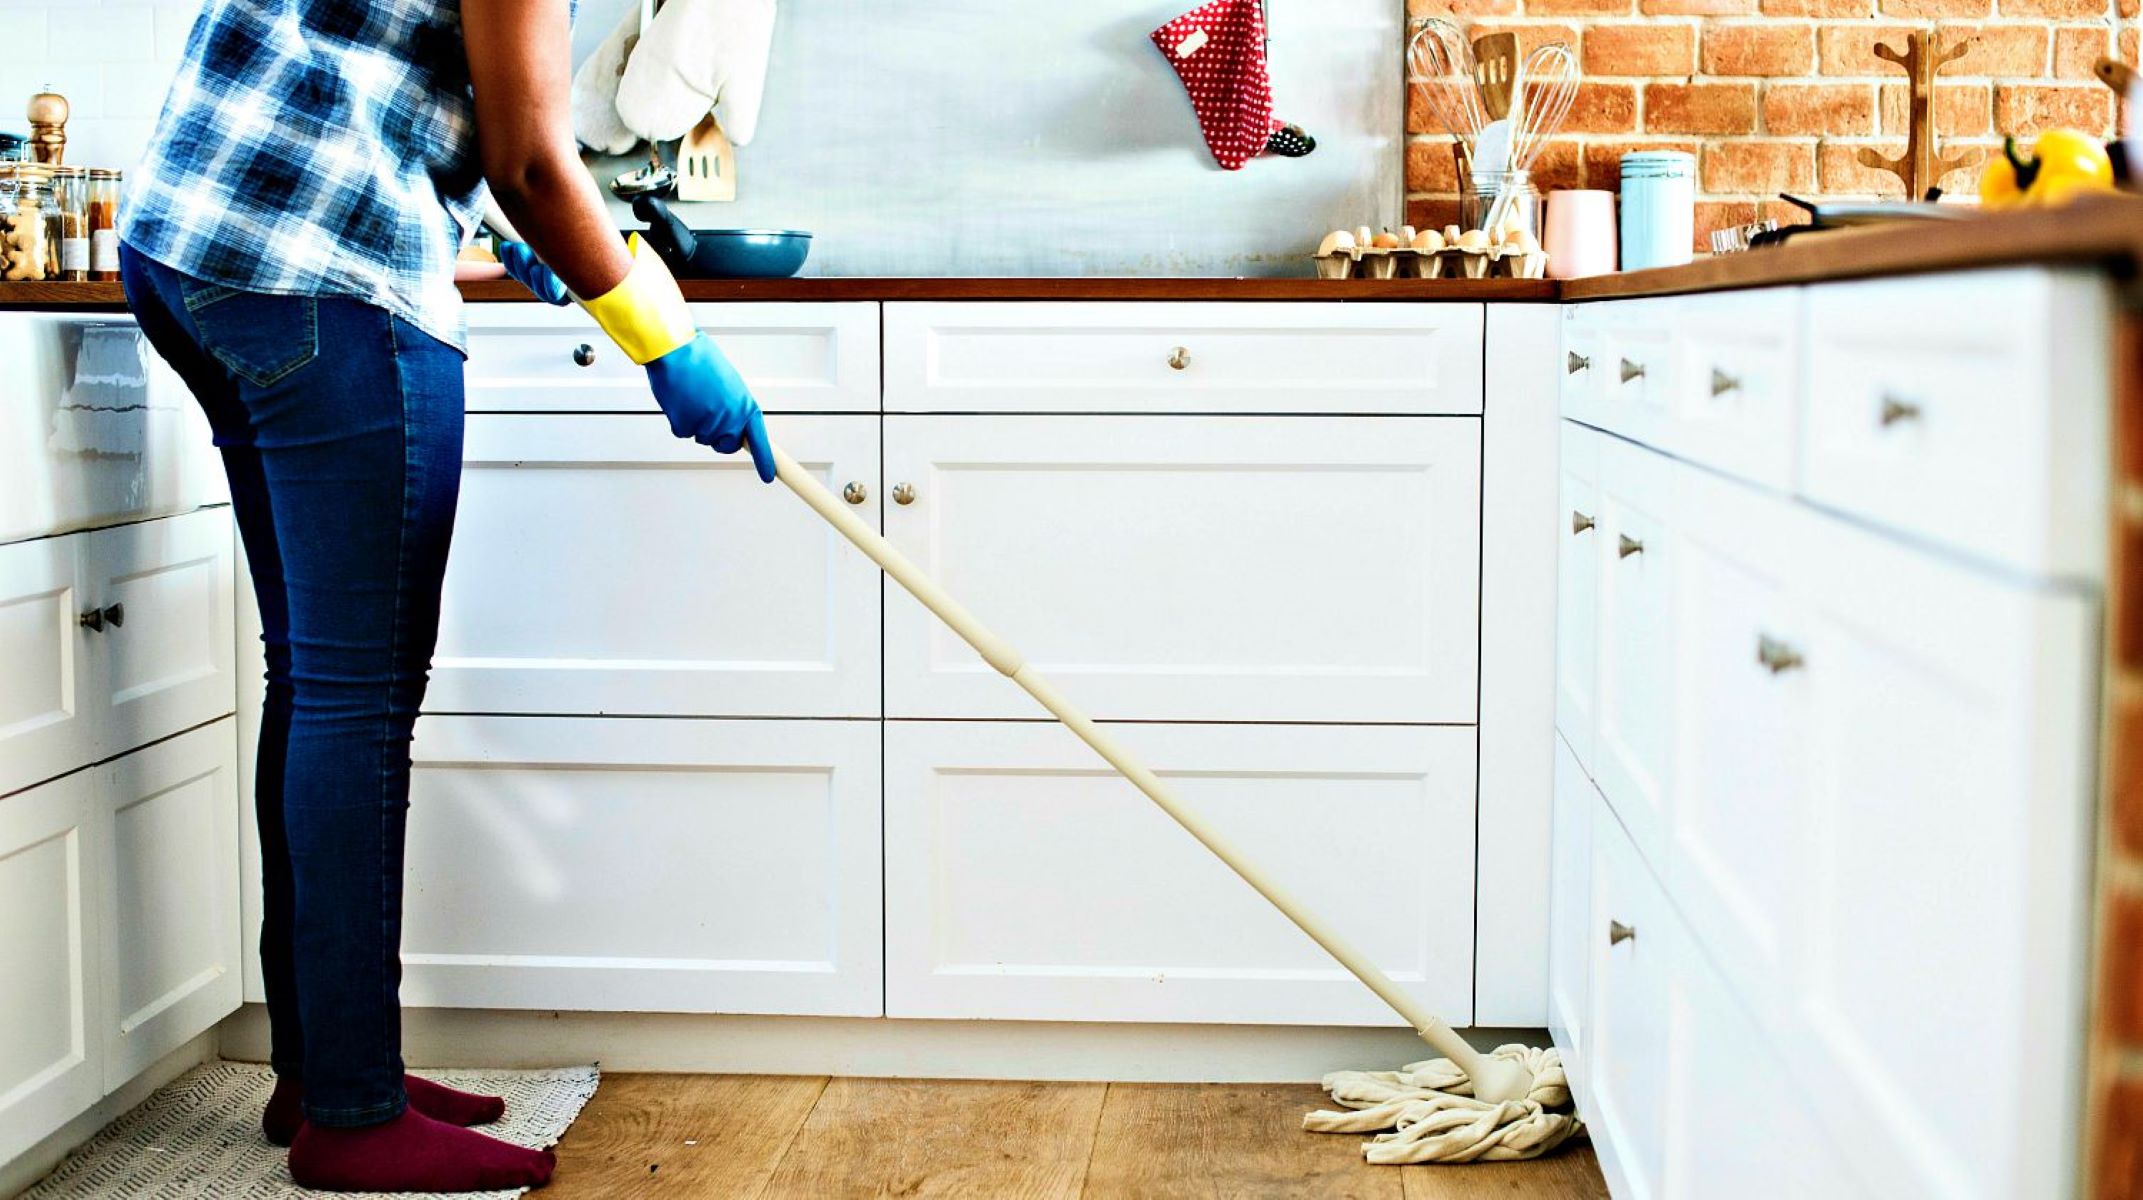
Welcome to the world of DIY cleaning! Making your own mop can be a fun and rewarding project, offering a sense of accomplishment and a personalized cleaning tool tailored to your specific needs. Whether you're a cleaning enthusiast, a sustainability advocate, or simply looking for a cost-effective solution, creating your own mop allows you to customize its features and materials.
In this guide, we'll walk through the step-by-step process of crafting a homemade mop using readily available materials. From preparing the mop head to testing the final product, you'll gain valuable insights into the art of mop-making. By following these instructions, you'll not only have a functional cleaning tool but also the satisfaction of having crafted it with your own hands.
So, roll up your sleeves, gather your materials, and let's dive into the exciting world of DIY mop creation!
Key Takeaways:
- Create a personalized mop by repurposing materials like old T-shirts and a mop handle. Test its effectiveness by maneuvering it across surfaces and assessing its absorbency and cleaning power.
- Crafting your own mop allows for customization, sustainability, and cost-effectiveness. Enjoy the satisfaction of transforming simple materials into a functional and efficient cleaning tool tailored to your unique preferences and needs.
Read more: How To Make Mop Solution
Materials Needed
Before embarking on your mop-making journey, it’s essential to gather the necessary materials. Here’s what you’ll need to create your homemade mop:
- Microfiber cloth or old T-shirt
- Scissors
- Mop handle
- Needle and thread or a sewing machine
- Rubber band or string
- Bucket (optional)
- Mild detergent (optional)
The microfiber cloth or old T-shirt will serve as the mop head, providing the absorbency and cleaning power essential for effective mopping. The scissors will be used to cut and shape the cloth to the desired size and shape. A mop handle is necessary for maneuvering the mop during cleaning tasks.
If you opt for a traditional mop head, you’ll need a needle and thread or a sewing machine to secure the fabric in place. Additionally, a rubber band or string will be used to fasten the mop head to the handle. If you prefer a more advanced cleaning solution, a bucket and mild detergent can be included for a deeper clean.
With these materials at your disposal, you’re well-equipped to commence the mop-making process. Now, let’s delve into the step-by-step instructions for creating your very own homemade mop!
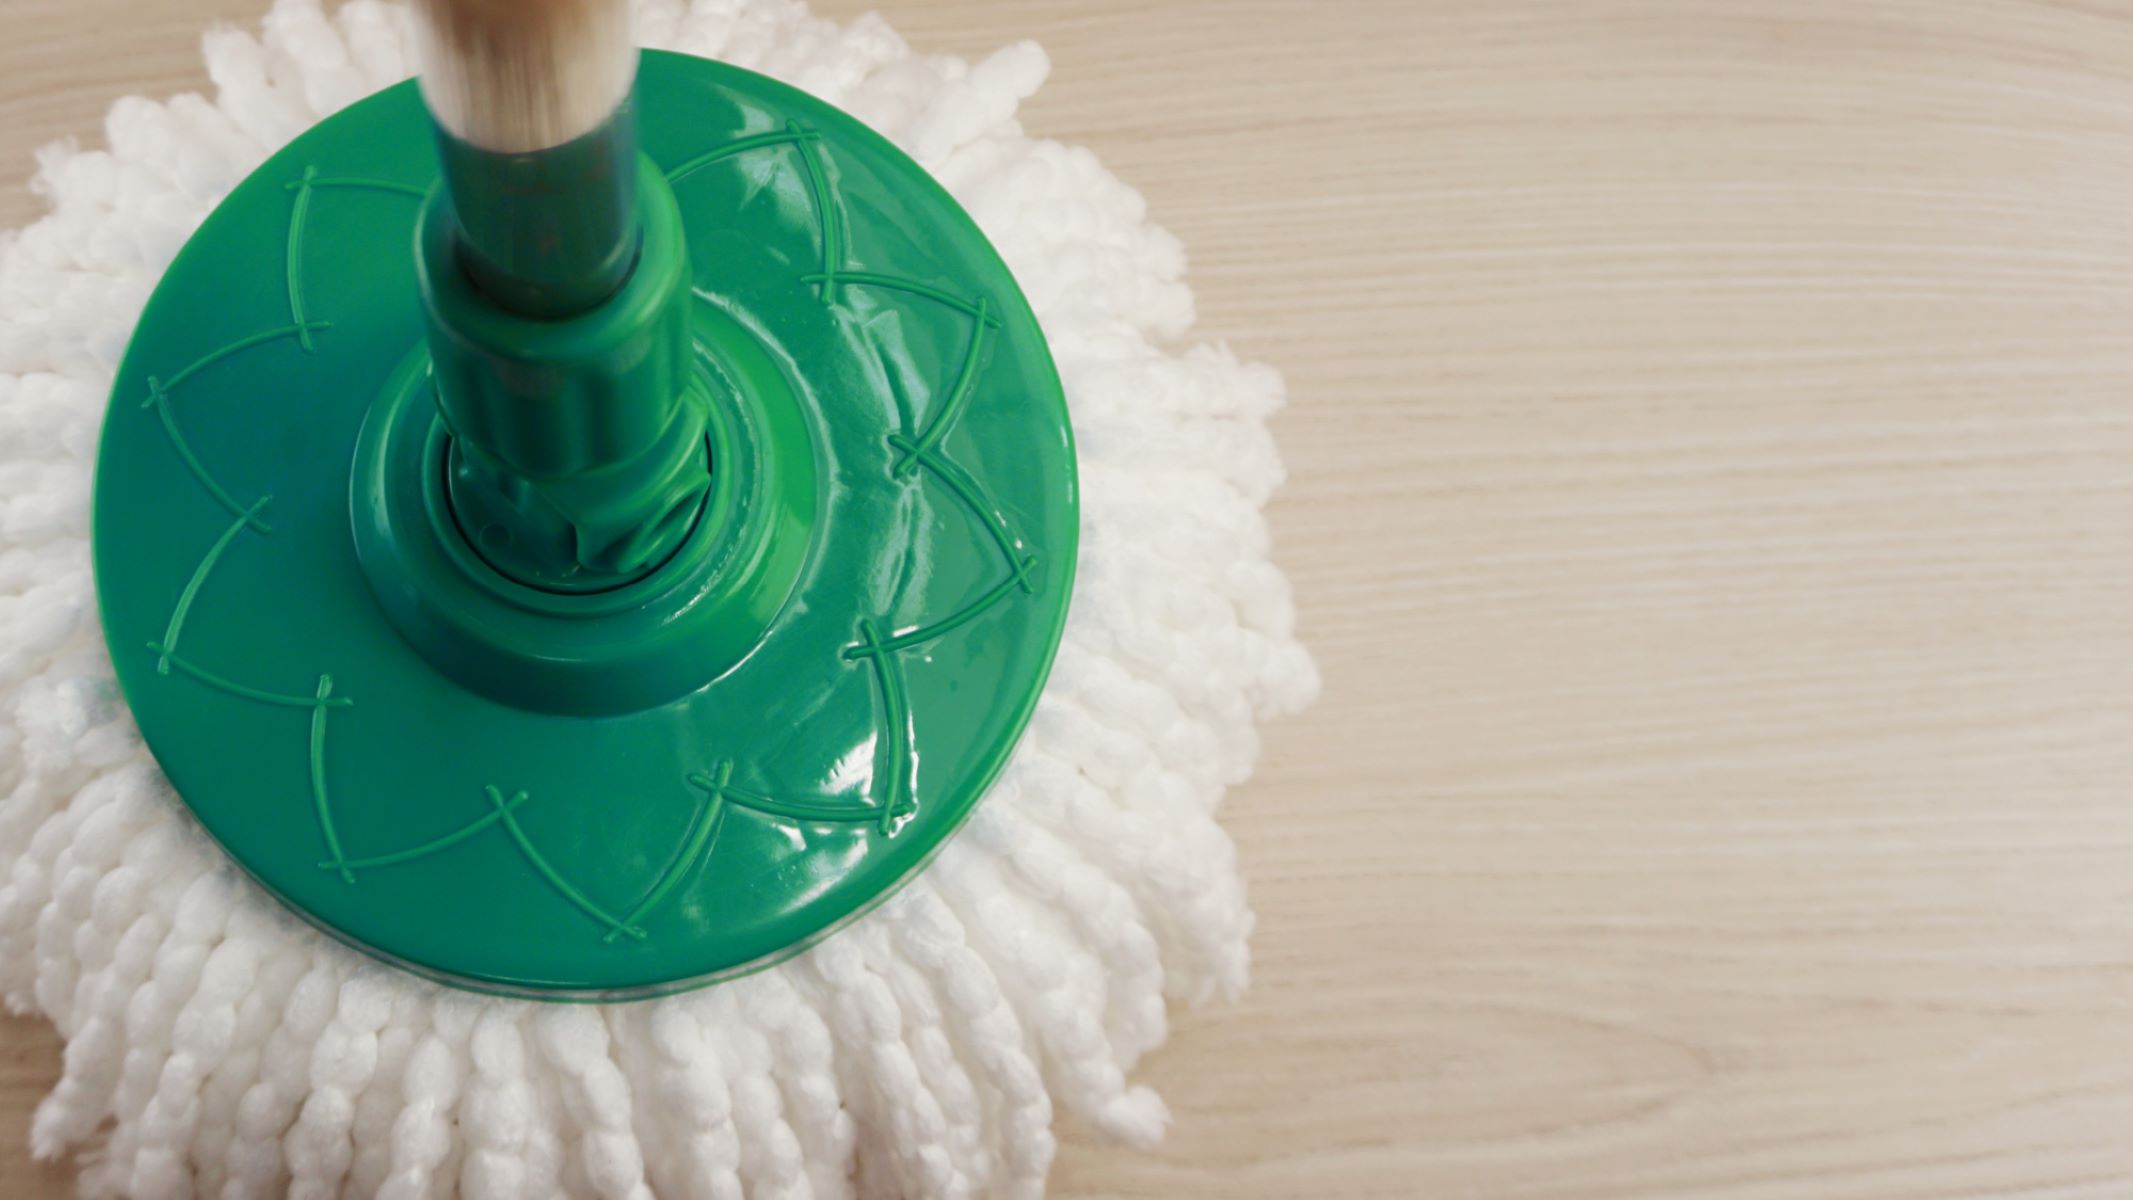
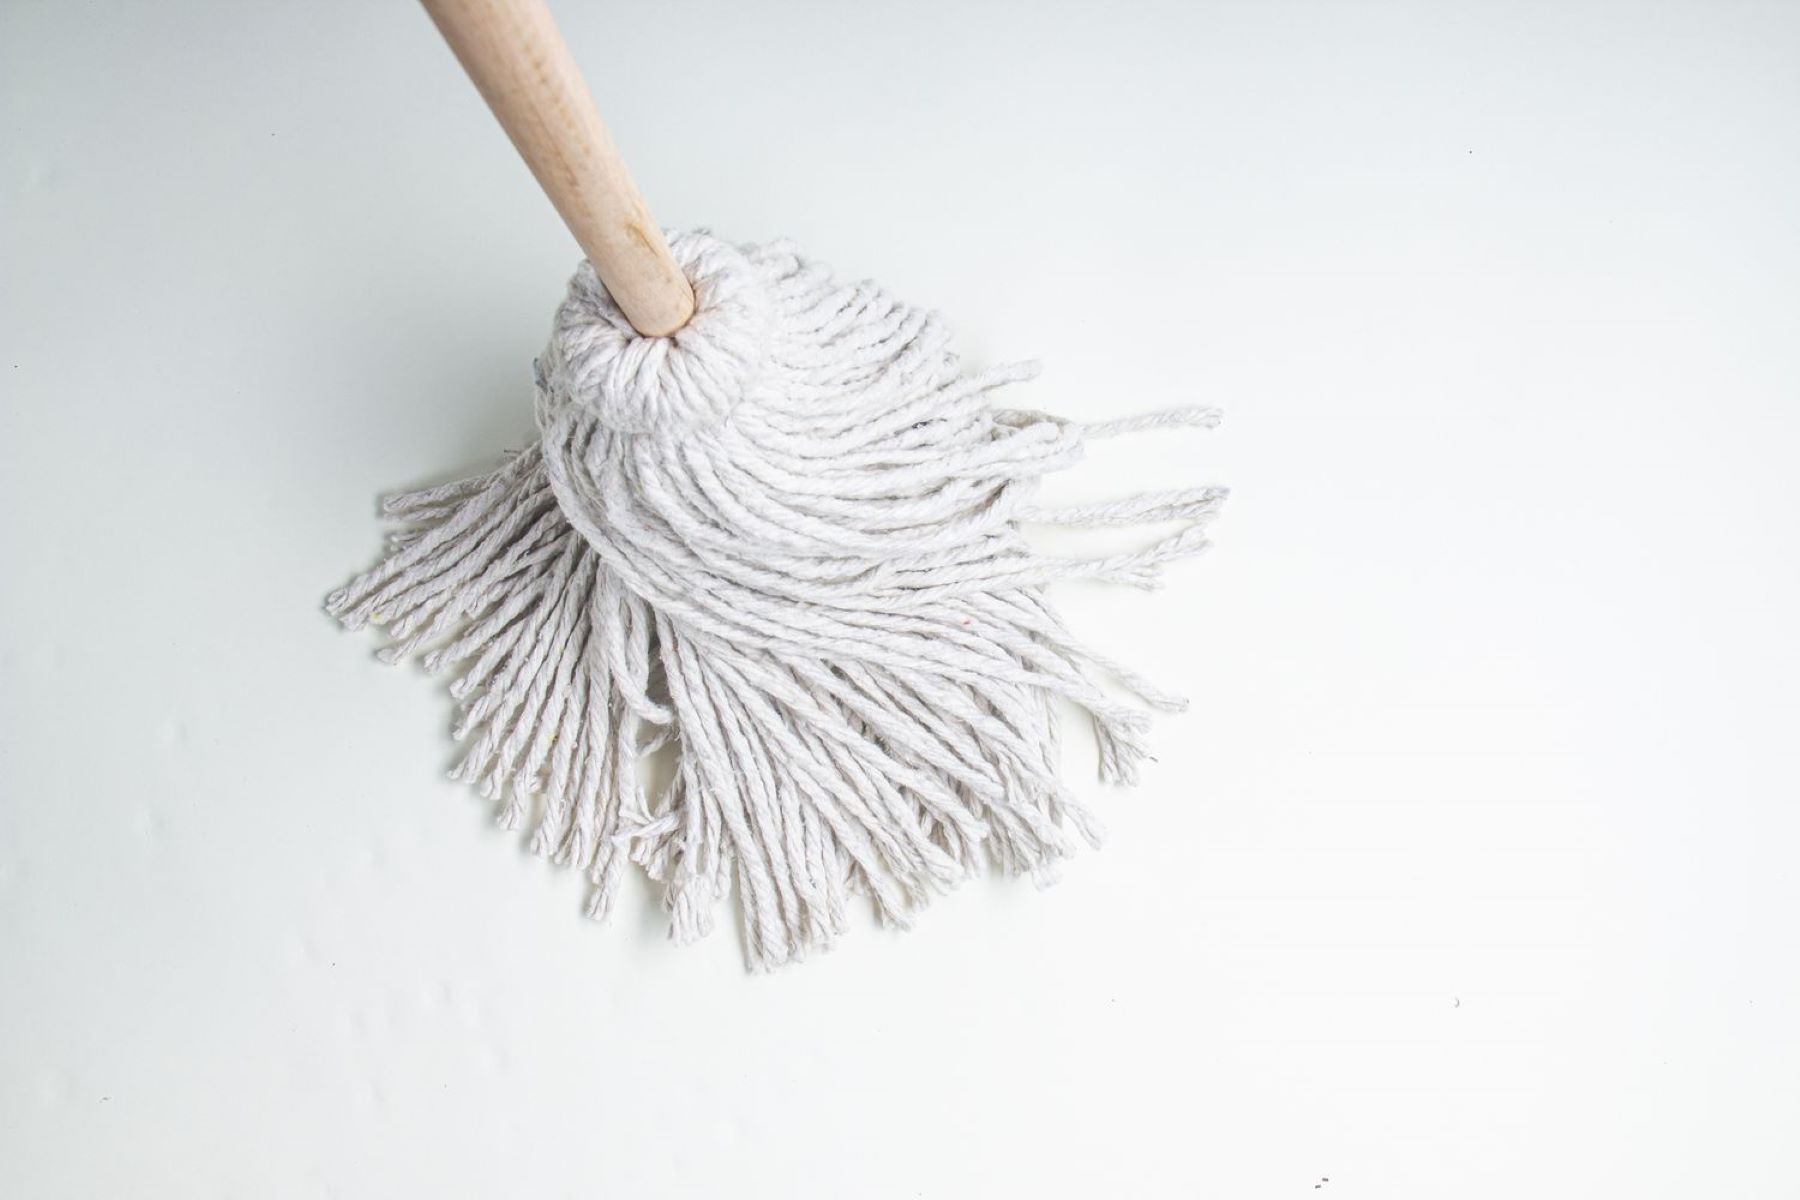
Step 1: Prepare the Mop Head
The first step in making your own mop is to prepare the mop head, which will determine the cleaning efficiency and durability of your homemade cleaning tool. If you’re using a microfiber cloth, start by selecting a piece that is large enough to cover the mop head and provide sufficient surface area for cleaning. Alternatively, if you’re repurposing an old T-shirt, ensure that it is clean and free of any debris or stains.
Once you have the fabric in hand, use the scissors to cut it into a shape that suits your cleaning needs. For general cleaning purposes, a rectangular or square shape is often the most practical. However, feel free to get creative and tailor the shape to fit into corners or tight spaces in your home.
After cutting the fabric to the desired size and shape, inspect the edges to ensure they are clean and free of loose threads or fraying. Trimming any excess or uneven edges will result in a neater and more effective mop head. If you prefer a more polished finish, consider hemming the edges of the fabric using a sewing machine or a needle and thread.
By taking the time to prepare the mop head meticulously, you’ll lay the foundation for a high-performing and durable cleaning tool. With the mop head ready, you’re now poised to move on to the next step in creating your very own homemade mop!
Step 2: Attach the Mop Head to the Handle
With the mop head prepared, the next crucial step in making your own mop is to attach it to the handle. If you’re using a traditional mop handle, ensure that it is clean and free of any residue that could compromise the effectiveness of your homemade mop. If you’re repurposing an old handle, give it a quick wipe-down to remove any dirt or grime.
Position the mop head on a flat surface and lay the handle across the center of the fabric. Fold the fabric over the handle, ensuring a snug fit that allows for easy maneuverability during cleaning. If the fabric is too large, trim any excess material to achieve a proper fit around the handle.
Once the fabric is securely wrapped around the handle, it’s time to fasten it in place. If you’re using a microfiber cloth, you can secure it by tying a rubber band or string around the fabric near the top of the handle. For a more permanent attachment, consider stitching the fabric together using a needle and thread or a sewing machine. This will provide added durability and ensure that the mop head remains firmly attached to the handle during use.
Ensuring a secure and stable connection between the mop head and the handle is essential for optimizing the cleaning performance of your homemade mop. With the mop head successfully attached to the handle, you’re now ready to proceed to the next step in creating your personalized cleaning tool!
To make a mop, you can use an old towel or t-shirt as the mop head and attach it to a long stick or handle. Secure the head with a rubber band or string for a simple and effective DIY mop.
Step 3: Secure the Mop Head
After attaching the mop head to the handle, it’s crucial to secure it firmly to prevent any slippage or detachment during cleaning. This step is essential for ensuring that your homemade mop remains functional and reliable over time.
Inspect the connection between the mop head and the handle to verify that it is secure and stable. If you used a rubber band or string to fasten the fabric, double-check that it is tightly wrapped around the handle and the fabric, providing a snug and secure fit. If you opted for stitching the fabric, examine the seams to confirm that they are strong and reinforced.
To enhance the durability of your homemade mop, consider reinforcing the connection between the mop head and the handle. You can achieve this by adding additional stitches or layers of fabric around the attachment point, providing extra strength and stability. This extra reinforcement will help prevent the mop head from loosening or detaching during rigorous cleaning tasks.
Once you’ve secured the mop head to the handle, give it a gentle tug to test its stability. If the fabric remains firmly attached and shows no signs of shifting or loosening, you can proceed with confidence, knowing that your homemade mop is ready for action.
By ensuring that the mop head is securely fastened to the handle, you’re taking a crucial step toward creating a reliable and effective cleaning tool. With the mop head firmly secured, you’re now prepared to move on to the final step in the mop-making process!
Read more: How To Change Mop Head On Libman Mop
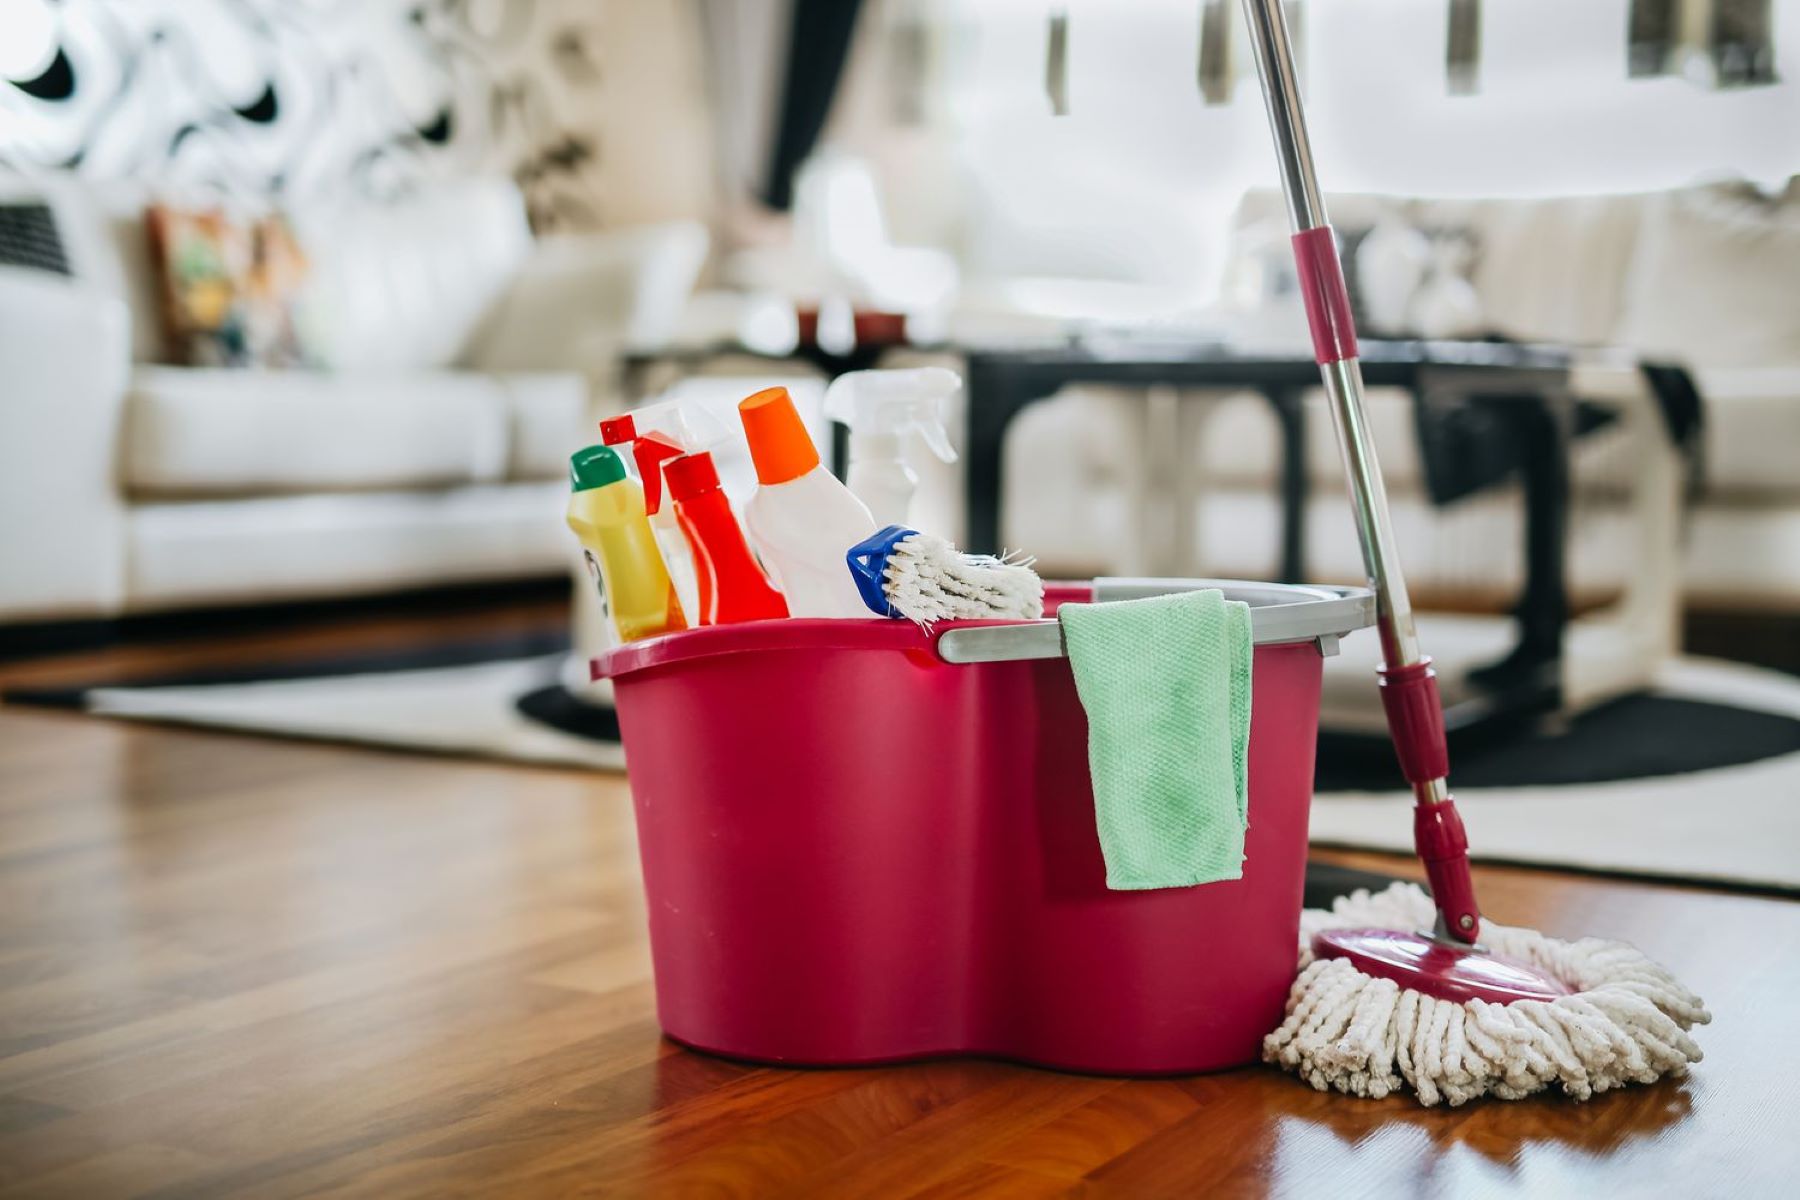
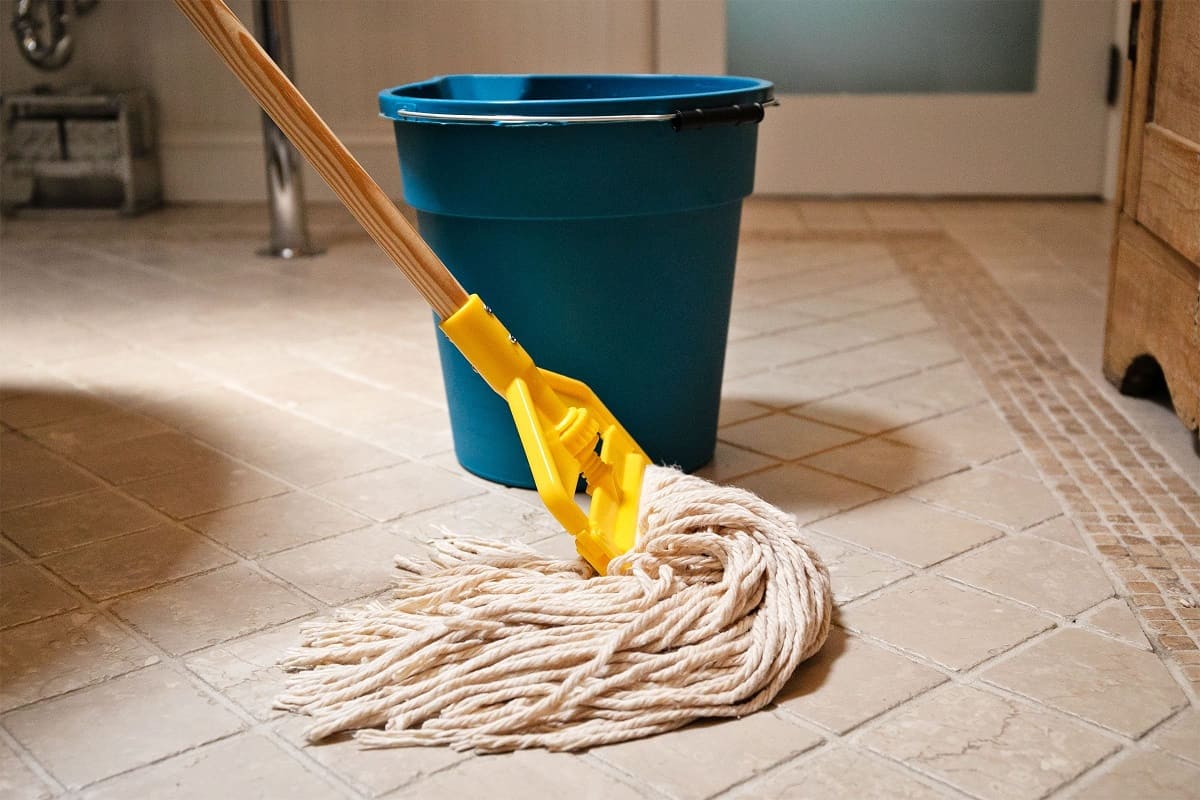
Step 4: Test the Mop
With your homemade mop fully assembled, it’s time to put it to the test and experience the satisfaction of using a cleaning tool crafted with your own hands. Testing the mop will allow you to assess its performance, absorbency, and maneuverability, ensuring that it meets your cleaning needs and expectations.
Before beginning the test, prepare a small area for cleaning, such as a tiled floor or a spill-prone surface. Fill a bucket with water and, if desired, add a small amount of mild detergent to create a cleaning solution. Dip the mop head into the water, allowing the fabric to absorb the liquid and become saturated.
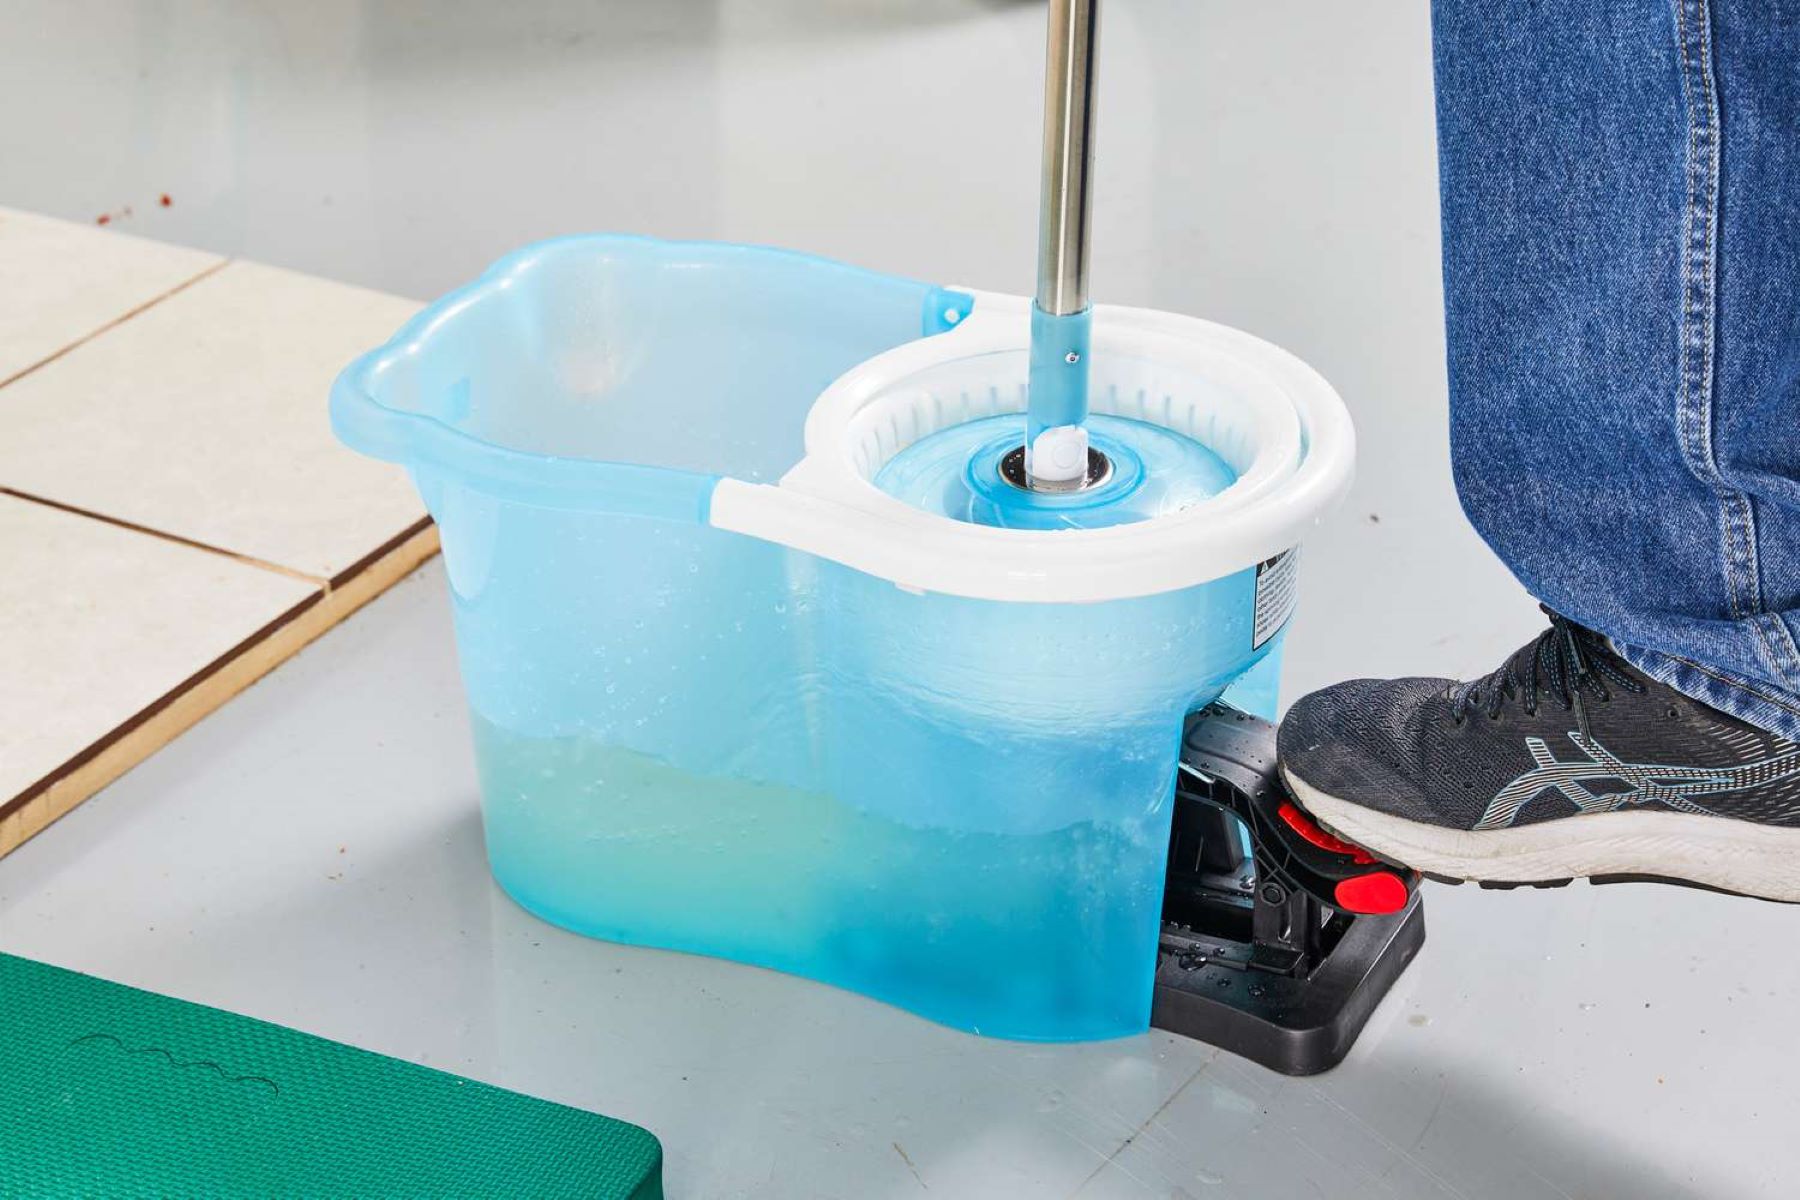
Once the mop head is adequately dampened, maneuver the mop across the designated area, making smooth and deliberate strokes to simulate typical cleaning motions. Pay attention to how the fabric glides across the surface and its ability to pick up dirt and spills. Assess the absorbency of the fabric and its effectiveness in retaining the cleaning solution without dripping excessively.
During the test, evaluate the maneuverability and ergonomics of the mop handle, ensuring that it allows for comfortable and efficient cleaning movements. Take note of any adjustments or modifications that may be necessary to optimize the performance of your homemade mop.
After completing the test, inspect the mop head for any signs of wear or damage, and assess its overall cleaning effectiveness. If necessary, make any adjustments or refinements to the mop head or handle to enhance its performance and functionality.
By testing your homemade mop, you’ll gain valuable insights into its capabilities and identify opportunities for improvement. This hands-on experience will allow you to fine-tune your cleaning tool and tailor it to your specific cleaning requirements, ensuring that it becomes an indispensable asset in your household cleaning routine.
Conclusion
Congratulations on successfully creating your very own homemade mop! By embarking on this DIY project, you’ve not only crafted a practical cleaning tool but also gained valuable insights into the art of mop-making. Whether you repurposed materials from around the house or invested in specific components, the result is a personalized cleaning solution tailored to your unique preferences and needs.
As you reflect on the process of making your own mop, consider the satisfaction of transforming simple materials into a functional and efficient cleaning tool. Your creativity and resourcefulness have contributed to the creation of a sustainable and cost-effective solution for maintaining a clean and tidy living space.
With your homemade mop in hand, you now have a versatile and customizable cleaning tool that can be adapted to various surfaces and cleaning tasks. Whether you’re tackling spills in the kitchen, mopping floors throughout the home, or maintaining the cleanliness of hard-to-reach areas, your personalized mop is ready to rise to the occasion.
As you continue to use and refine your homemade mop, consider exploring additional customization options, such as experimenting with different fabrics, handle lengths, or ergonomic enhancements. Your creativity and ingenuity can further elevate the performance and functionality of your homemade cleaning tool, making it an indispensable asset in your household cleaning arsenal.
By embracing the process of making your own mop, you’ve not only created a practical cleaning tool but also embarked on a journey of self-sufficiency and creativity. Your homemade mop stands as a testament to your ability to transform everyday materials into functional solutions, reflecting your commitment to sustainability, resourcefulness, and a cleaner living environment.
So, as you set out to conquer cleaning tasks with your personalized mop, remember the sense of accomplishment and empowerment that comes with creating your own cleaning tools. Your homemade mop is a testament to your creativity, resourcefulness, and commitment to a cleaner, more sustainable home.
Frequently Asked Questions about How To Make A Mop
Was this page helpful?
At Storables.com, we guarantee accurate and reliable information. Our content, validated by Expert Board Contributors, is crafted following stringent Editorial Policies. We're committed to providing you with well-researched, expert-backed insights for all your informational needs.

0 thoughts on “How To Make A Mop”