Home>Home Appliances>Cleaning Appliances>Why Is My Shark Vacuum Cleaner Not Picking Up
Cleaning Appliances
Why Is My Shark Vacuum Cleaner Not Picking Up
Modified: February 29, 2024
Discover common reasons why your Shark vacuum cleaner may not be picking up, and learn troubleshooting tips to keep your cleaning appliances in top condition. Explore solutions for better cleaning performance.
(Many of the links in this article redirect to a specific reviewed product. Your purchase of these products through affiliate links helps to generate commission for Storables.com, at no extra cost. Learn more)
Introduction
Do you find yourself frustrated when your trusty Shark vacuum cleaner doesn't seem to be picking up dirt and debris as effectively as it used to? It's a common issue that many users encounter, but fear not – there are several simple troubleshooting steps you can take to get your Shark vacuum back in top cleaning form.
In this article, we'll explore the most common reasons why your Shark vacuum cleaner might not be picking up as it should and provide practical solutions to address these issues. By following these tips, you can ensure that your Shark vacuum continues to deliver powerful suction and efficient cleaning performance, keeping your floors and carpets looking their best.
So, if you've ever asked yourself, "Why is my Shark vacuum cleaner not picking up?" – read on to discover the answers and learn how to restore your vacuum's cleaning prowess.
Key Takeaways:
- Regularly checking for and clearing out blockages in your Shark vacuum’s airflow pathway can effectively restore suction power and ensure top cleaning performance.
- By cleaning and maintaining the filters, brush roll, hose, and ensuring proper height adjustment, you can keep your Shark vacuum operating at its full cleaning potential.
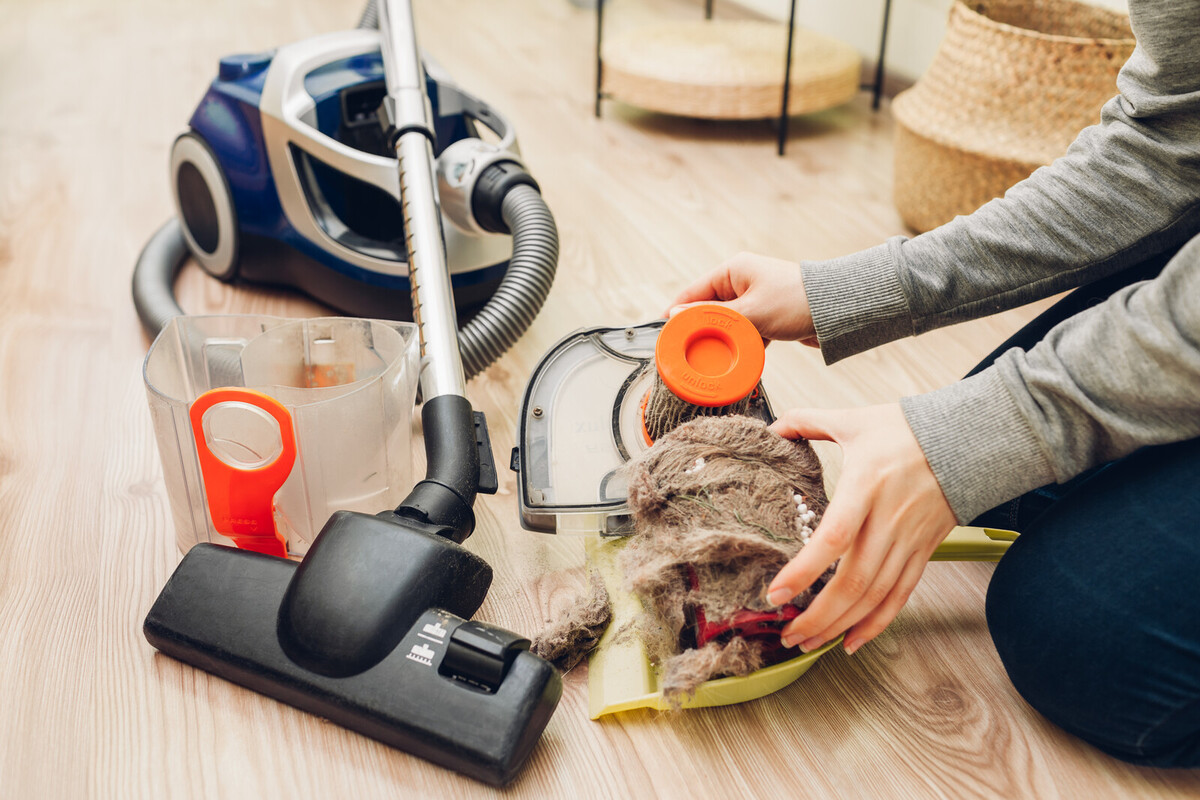
Check for Blockages
One of the most common reasons for a Shark vacuum cleaner failing to pick up dirt and debris is the presence of blockages in the vacuum's airflow pathway. Over time, dust, hair, and other debris can accumulate in the various components of the vacuum, hindering the suction power and overall performance. To address this issue, it's crucial to conduct a thorough inspection for blockages and clear them out effectively.
Start by checking the vacuum's hose and attachments for any visible blockages. Detach the hose and visually inspect both the interior and exterior for obstructions. Use a flashlight to illuminate the inside of the hose, making it easier to spot any clogs or debris that may be lurking within. Additionally, remove any attachments, such as the crevice tool or brush head, and examine them for blockages that could impede airflow.
Next, inspect the vacuum's dirt cup or dust bin. Empty the contents and look for any debris that may be obstructing the airflow. Additionally, check the filters for any buildup of dirt and grime, as clogged filters can significantly reduce suction power. Removing and cleaning the filters according to the manufacturer's instructions can help restore the vacuum's performance.
If you find blockages in any of these areas, carefully remove the debris using a combination of manual removal and a vacuum attachment with a narrow nozzle to dislodge and extract the obstructions. Take care not to force any blockages further into the vacuum, as this could cause damage to the internal components.
By thoroughly checking for and clearing out blockages in the vacuum's airflow pathway, you can effectively restore the suction power and ensure that your Shark vacuum cleaner operates at its full cleaning potential.
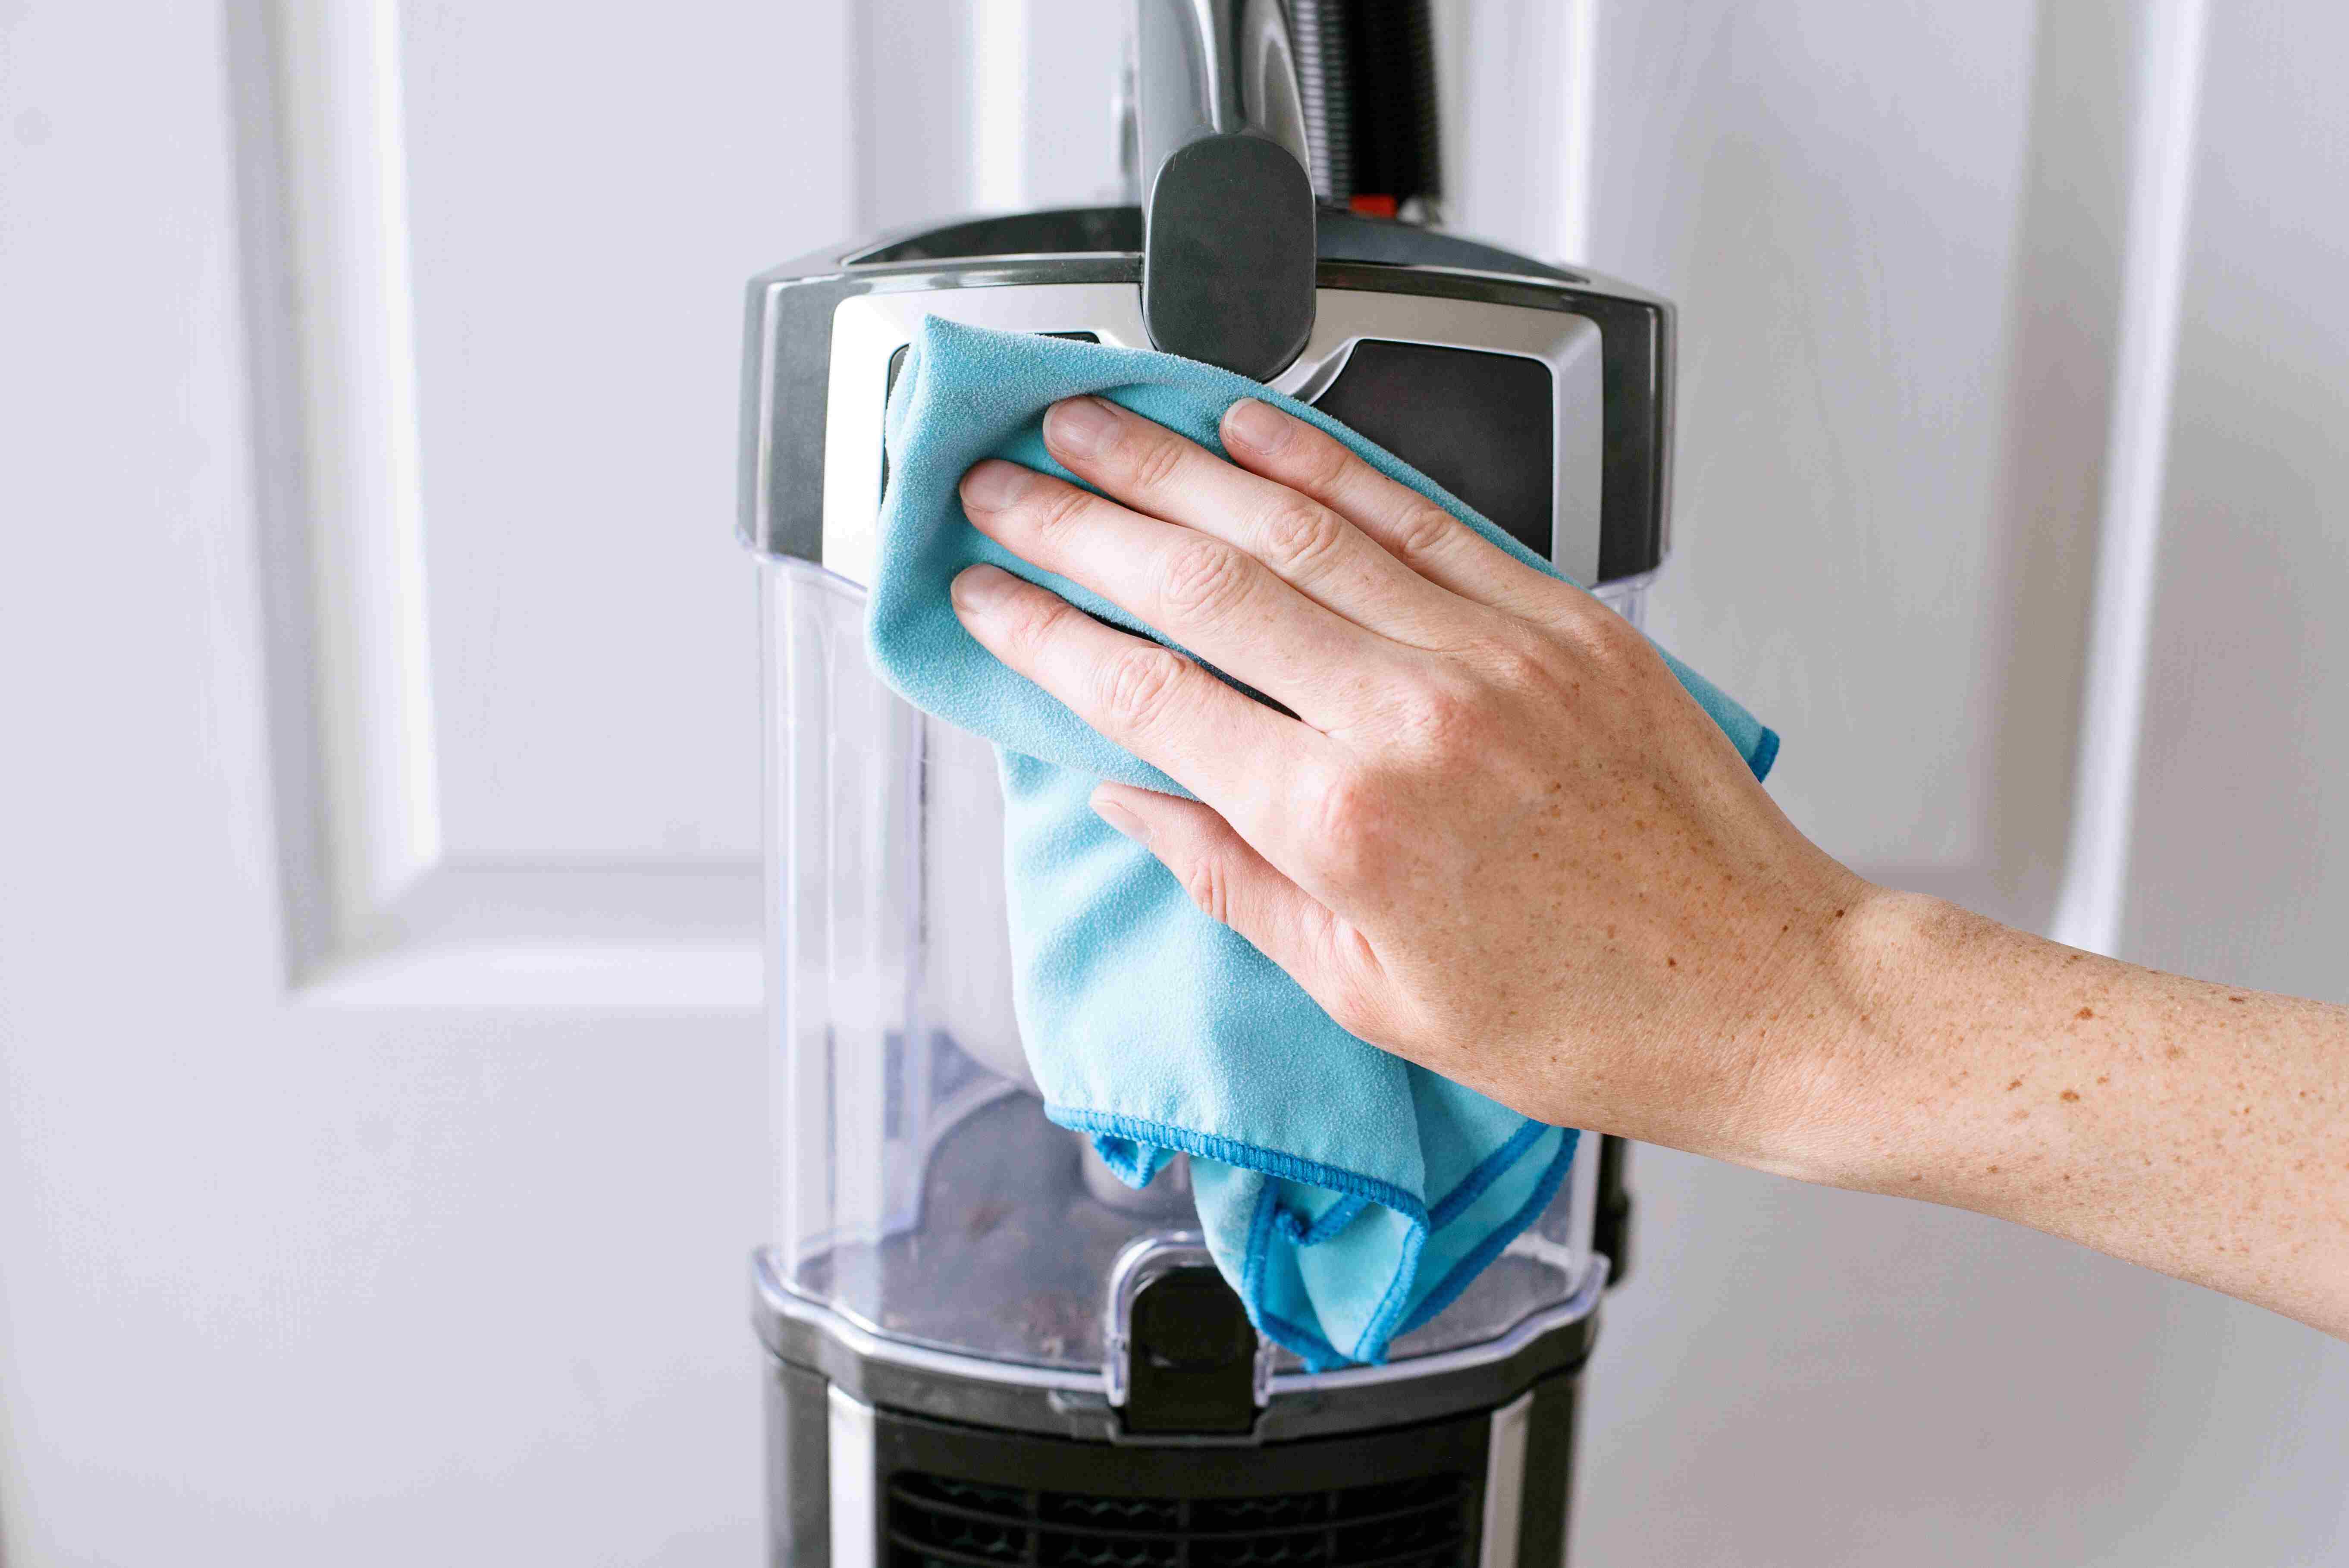
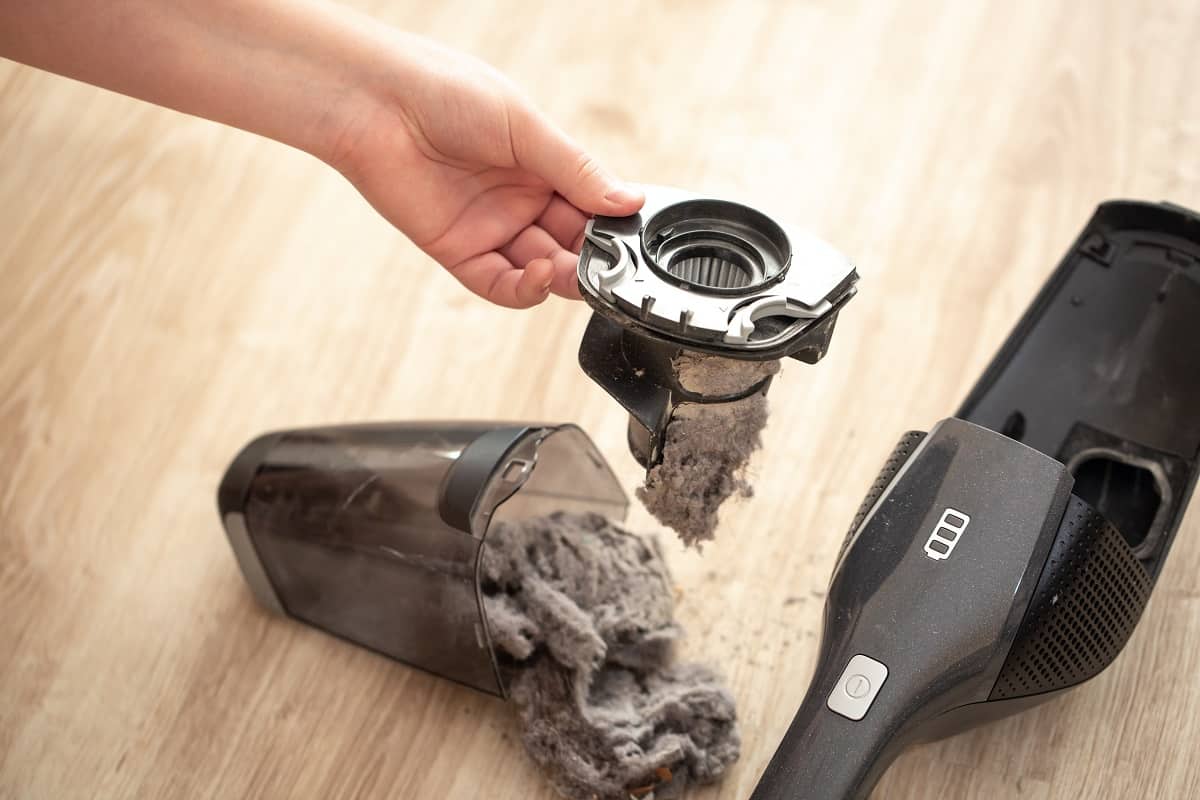
Clean the Filters
When your Shark vacuum cleaner is struggling to pick up dirt and debris, one of the most overlooked yet critical maintenance tasks is cleaning the filters. Filters play a pivotal role in trapping fine dust particles and allergens, preventing them from recirculating into the air during vacuuming. Over time, however, filters can become clogged with dirt and debris, impeding airflow and diminishing the vacuum's suction power.
Most Shark vacuum models are equipped with multiple filters, including foam and felt filters, as well as a HEPA filter in some models. To address filter-related issues, it's essential to locate and inspect each filter for signs of dirt buildup. Refer to your vacuum's user manual to identify the specific filter locations and removal instructions.
Once you've removed the filters, gently tap them over a trash bin to dislodge loose dirt and debris. Avoid using excessive force, as this could damage the filters. For foam and felt filters, rinse them under lukewarm water, taking care to avoid using soap or other cleaning agents that could leave behind residues. Allow the filters to air dry completely before reinstalling them in the vacuum.
For HEPA filters, it's important to follow the manufacturer's guidance for maintenance, as some models may feature washable HEPA filters while others may require replacement. If your Shark vacuum is equipped with a washable HEPA filter, gently rinse it under water and allow it to dry thoroughly before reinserting it into the vacuum.
Regularly cleaning and maintaining the filters in your Shark vacuum cleaner not only restores airflow and suction power but also contributes to a healthier indoor environment by ensuring that airborne particles are effectively captured and contained. By incorporating filter maintenance into your vacuum care routine, you can prolong the life of your Shark vacuum and optimize its cleaning performance.
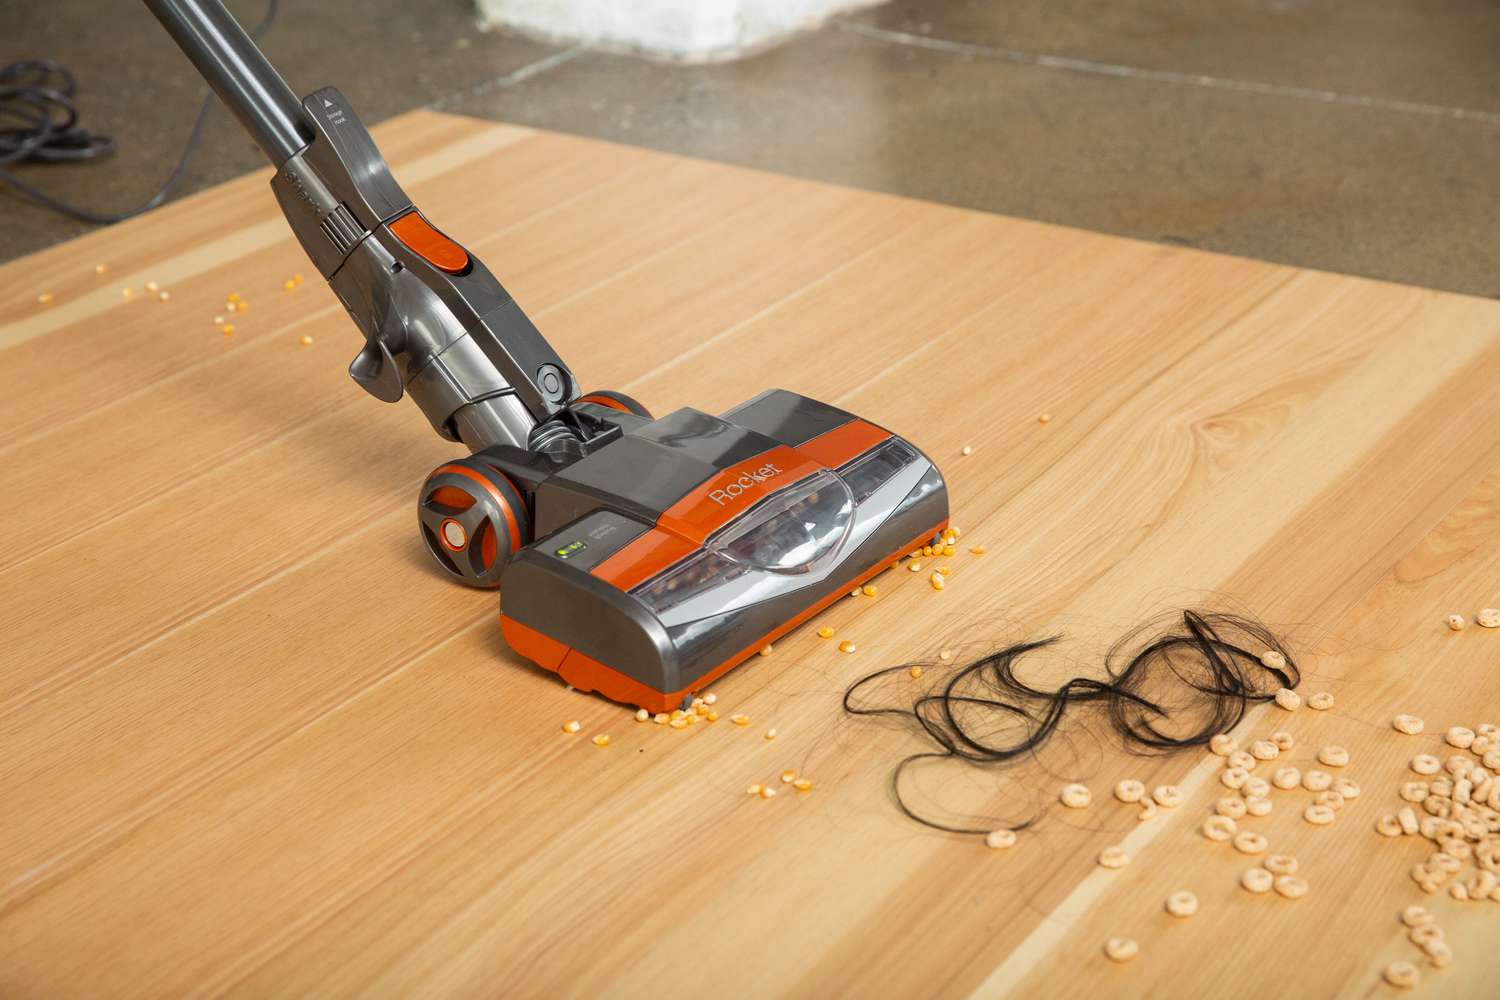
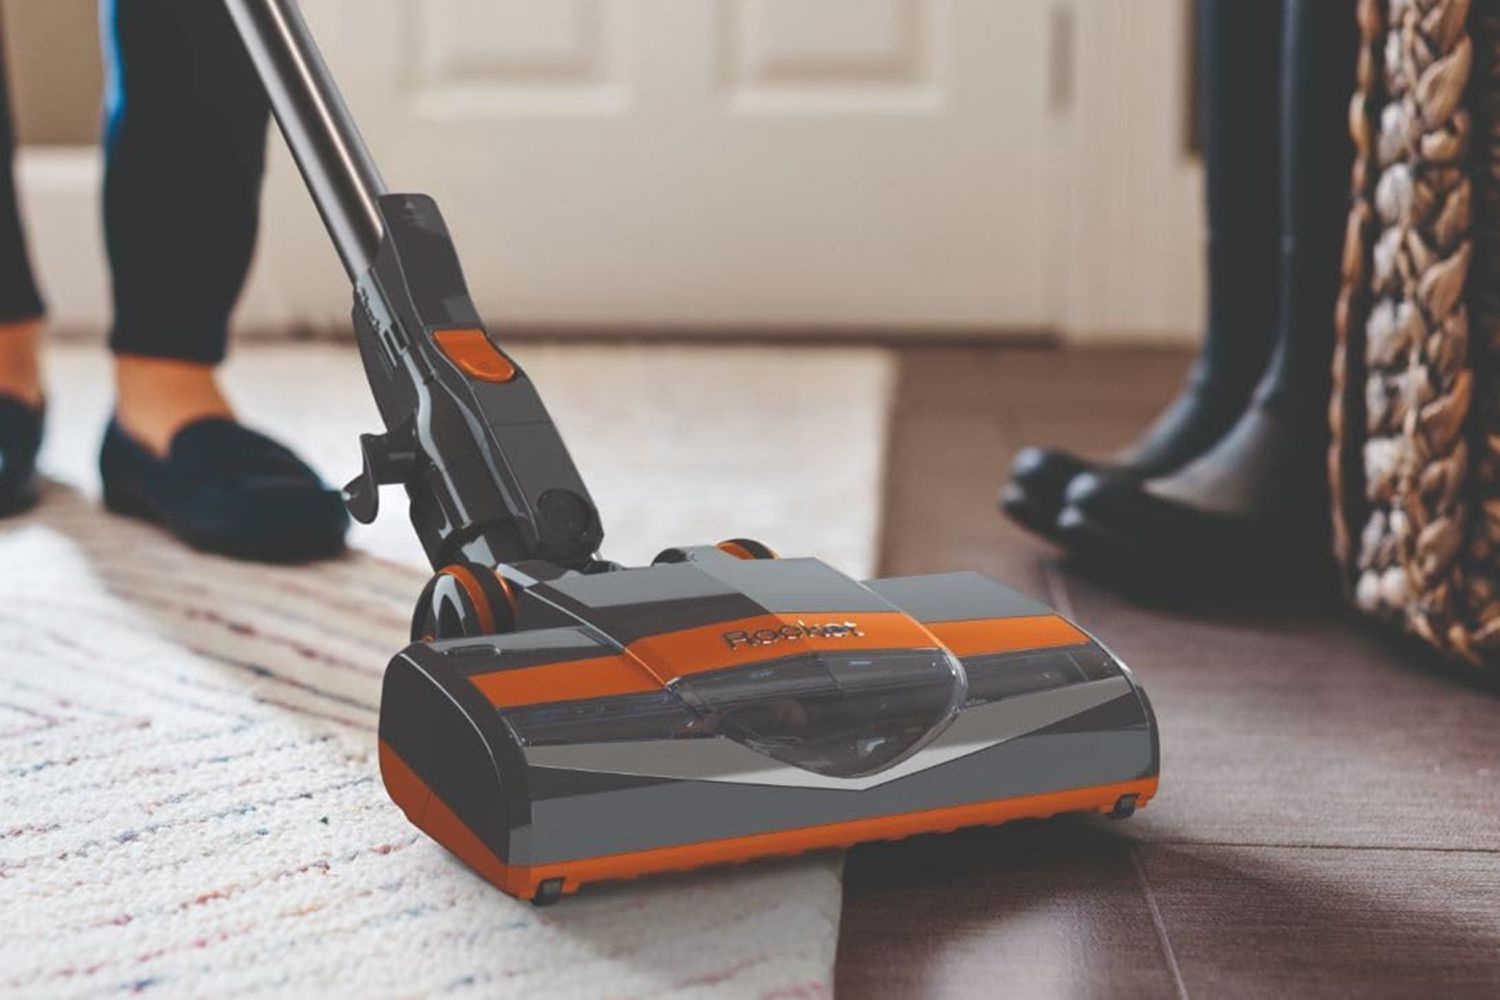
Check the Brush Roll
The brush roll, also known as the agitator or beater bar, is a crucial component of a Shark vacuum cleaner, especially for cleaning carpets and removing embedded dirt and debris. When the brush roll becomes tangled with hair, thread, or other fibers, it can impede the vacuum's ability to effectively agitate and lift dirt from carpet fibers, resulting in reduced cleaning performance.
To inspect the brush roll, start by turning off the vacuum and unplugging it from the power source. Depending on your Shark vacuum model, accessing the brush roll may involve removing a cover plate or accessing it from the underside of the vacuum.
Once you have access to the brush roll, carefully examine it for any tangled hair, threads, or debris that may be wrapped around the bristles. Use a pair of scissors or a seam ripper to gently cut and remove any entangled fibers, taking care to avoid damaging the bristles or the brush roll itself.
Additionally, check the brush roll for any signs of wear or damage, such as worn bristles or a loose or misaligned roller. If the brush roll shows significant wear or damage, it may need to be replaced to restore the vacuum's cleaning effectiveness.
After clearing any obstructions and ensuring that the brush roll is in good condition, reassemble the vacuum and test its cleaning performance on a carpeted surface. You should notice an improvement in the vacuum's ability to agitate and lift dirt from the carpet fibers, resulting in more effective cleaning.
Regularly checking and maintaining the brush roll in your Shark vacuum cleaner is essential for preserving its carpet cleaning capabilities and ensuring optimal performance. By keeping the brush roll free of obstructions and in good working condition, you can enjoy consistently impressive cleaning results on carpeted surfaces.
Check the brush roll for any tangled hair or debris that may be obstructing its movement. Also, make sure the filters are clean and the suction power is set to the appropriate level for the type of flooring you are cleaning.
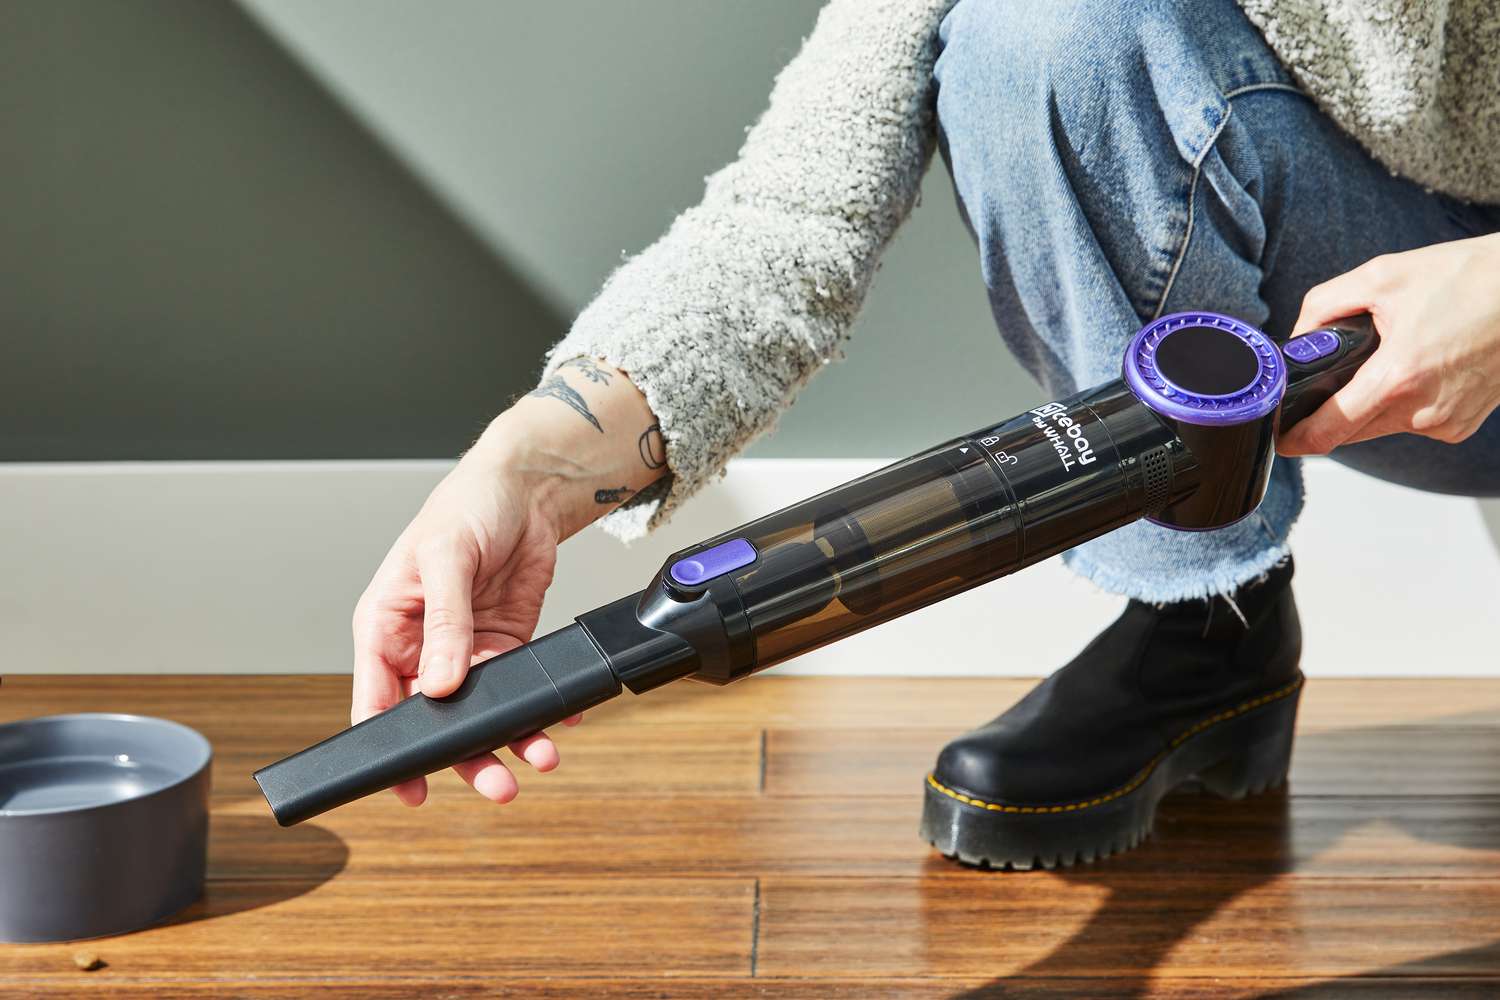
Inspect the Hose
The hose of a Shark vacuum plays a pivotal role in facilitating versatile cleaning, allowing you to reach tight spaces, upholstery, and above-floor areas with ease. However, if the hose becomes clogged, kinked, or damaged, it can significantly impact the vacuum’s suction power and overall cleaning performance. Therefore, conducting a thorough inspection of the hose is essential for maintaining the vacuum’s effectiveness.
Start by detaching the hose from the vacuum and visually inspecting both the interior and exterior for any signs of blockages, twists, or tears. Use a flashlight to illuminate the inside of the hose, making it easier to spot any obstructions that may be hindering airflow.
If you notice any blockages, carefully remove them using a combination of manual extraction and a vacuum attachment with a narrow nozzle to dislodge and extract the debris. Additionally, straighten out any kinks or bends in the hose to ensure unobstructed airflow during vacuuming.
Inspect the hose for any tears, cracks, or damage that could compromise its functionality. Small punctures or tears can often be repaired using duct tape or a suitable adhesive, while more extensive damage may necessitate hose replacement to restore the vacuum’s full cleaning capabilities.
After addressing any issues with the hose, reattach it to the vacuum and test its suction power on various surfaces to ensure that airflow is unimpeded and that the vacuum effectively picks up dirt and debris.
Regularly inspecting and maintaining the hose of your Shark vacuum is crucial for preserving its versatility and ensuring that it delivers consistent cleaning performance. By keeping the hose free of blockages and damage, you can continue to enjoy the convenience and efficiency of your Shark vacuum for a variety of cleaning tasks.
Ensure Proper Height Adjustment
Proper height adjustment is crucial for optimizing a Shark vacuum’s cleaning performance, especially when transitioning between different floor surfaces such as carpets, rugs, and hard floors. If the vacuum’s brush roll is set too low or too high for a particular surface, it can impact the vacuum’s ability to effectively agitate and lift dirt, ultimately affecting its overall cleaning efficiency.
Most Shark vacuum models are equipped with a height adjustment feature that allows users to customize the brush roll’s position according to the floor type being cleaned. To ensure proper height adjustment, follow these steps:
- Refer to your vacuum’s user manual to locate the height adjustment control, which is typically located near the brush roll or on the vacuum’s body.
- Identify the recommended height setting for the specific floor type you are cleaning. For carpets and rugs, a lower brush roll position is often preferred to maximize agitation, while a higher position is suitable for hard floors to prevent potential damage.
- Adjust the height setting accordingly, ensuring that the brush roll is positioned at the optimal distance from the floor surface. Some Shark vacuums feature automatic height adjustment, simplifying this process.
After adjusting the height setting, test the vacuum on different floor surfaces to ensure that it effectively picks up dirt and debris without causing any damage. Pay attention to the sound of the brush roll and the ease of maneuverability, as these can indicate whether the height setting is appropriate for the surface being cleaned.
By regularly checking and adjusting the height setting of your Shark vacuum according to the floor type, you can maximize its cleaning effectiveness and prolong the life of both the vacuum and the floor surfaces it cleans. Proper height adjustment ensures that the brush roll operates at an optimal position, delivering superior cleaning results across various floor types.
Conclusion
When your Shark vacuum cleaner seems to be underperforming and struggling to pick up dirt and debris, it can be frustrating and inconvenient. However, by addressing common issues and performing essential maintenance tasks, you can restore your vacuum’s cleaning prowess and ensure that it continues to deliver powerful suction and efficient performance.
From checking for blockages and cleaning the filters to inspecting the brush roll, hose, and ensuring proper height adjustment, each step plays a vital role in maintaining your Shark vacuum’s optimal cleaning capabilities. By incorporating these troubleshooting and maintenance practices into your regular vacuum care routine, you can prolong the life of your vacuum and enjoy consistently impressive cleaning results.
Remember to consult your Shark vacuum’s user manual for specific instructions related to maintenance and troubleshooting, as different models may have unique features and requirements. Additionally, staying proactive with routine maintenance, such as filter cleaning and brush roll inspection, can prevent issues from arising and help you avoid potential performance problems in the future.
By taking the time to address any issues and perform necessary maintenance, you can ensure that your Shark vacuum remains a reliable and effective cleaning companion, keeping your floors, carpets, and upholstery looking their best. With these practical tips and a proactive approach to maintenance, you can bid farewell to the frustration of a underperforming vacuum and enjoy the satisfaction of a clean and healthy home environment.
So, the next time you find yourself asking, “Why is my Shark vacuum cleaner not picking up?” – remember that with a little care and attention, you can keep your Shark vacuum operating at its full cleaning potential, ready to tackle dirt and debris with ease.
Frequently Asked Questions about Why Is My Shark Vacuum Cleaner Not Picking Up
Was this page helpful?
At Storables.com, we guarantee accurate and reliable information. Our content, validated by Expert Board Contributors, is crafted following stringent Editorial Policies. We're committed to providing you with well-researched, expert-backed insights for all your informational needs.


0 thoughts on “Why Is My Shark Vacuum Cleaner Not Picking Up”