Home>Home Appliances>Cleaning Appliances>How To Change The Belt On A Shark Vacuum Cleaner
Cleaning Appliances
How To Change The Belt On A Shark Vacuum Cleaner
Modified: January 4, 2024
Learn how to change the belt on a Shark vacuum cleaner with our easy step-by-step guide. Keep your cleaning appliances in top condition effortlessly.
(Many of the links in this article redirect to a specific reviewed product. Your purchase of these products through affiliate links helps to generate commission for Storables.com, at no extra cost. Learn more)
**
Introduction
**
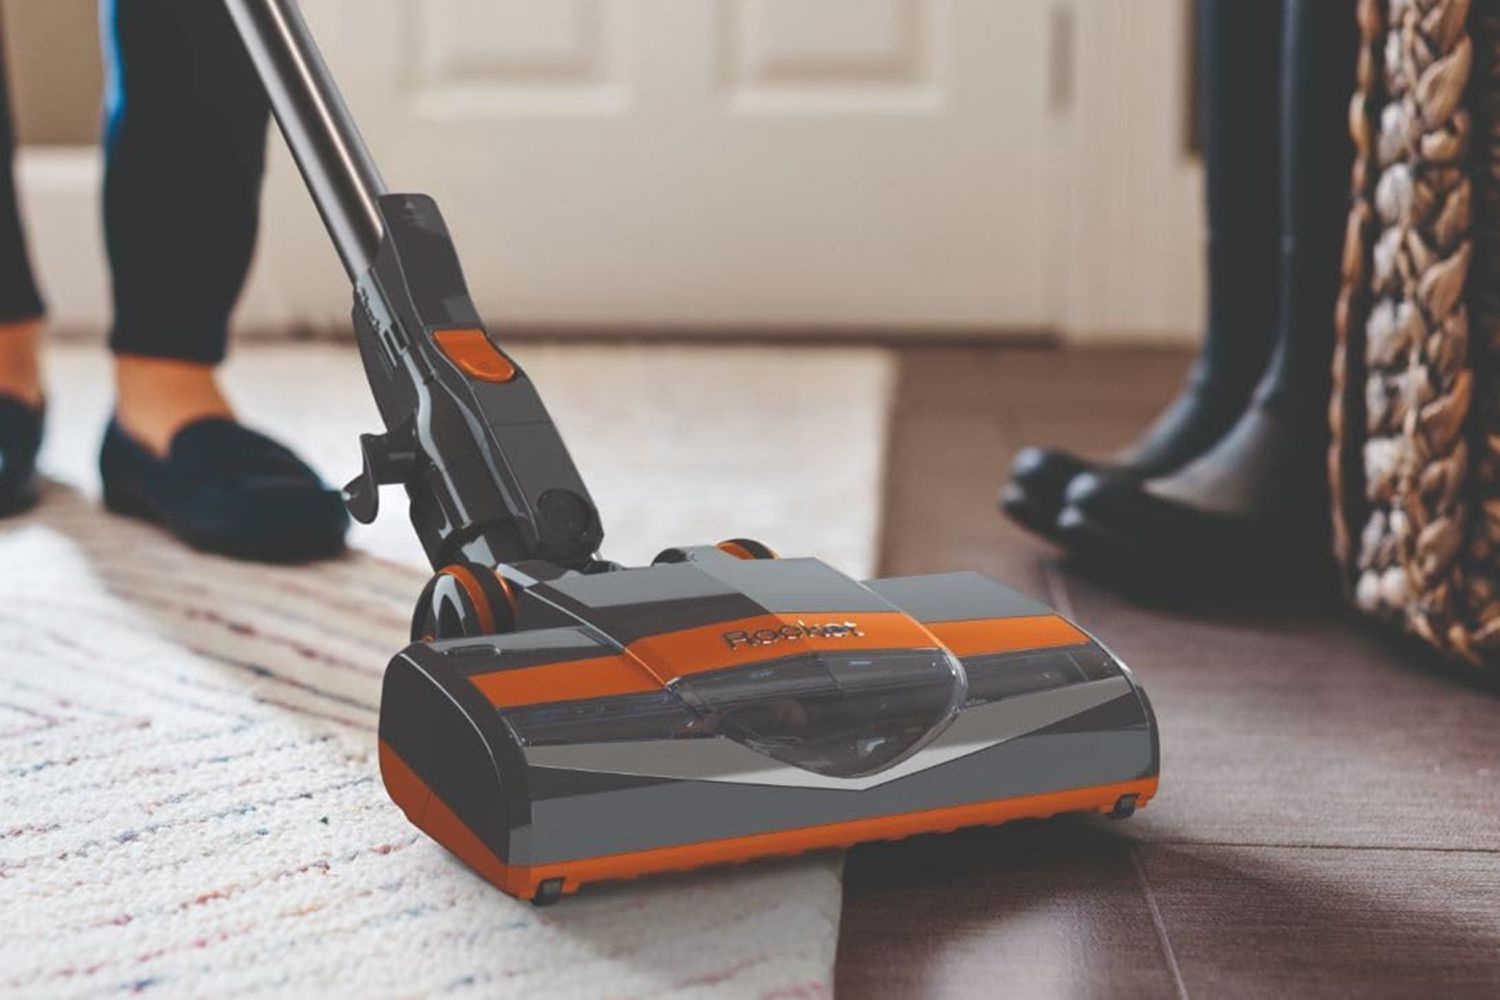
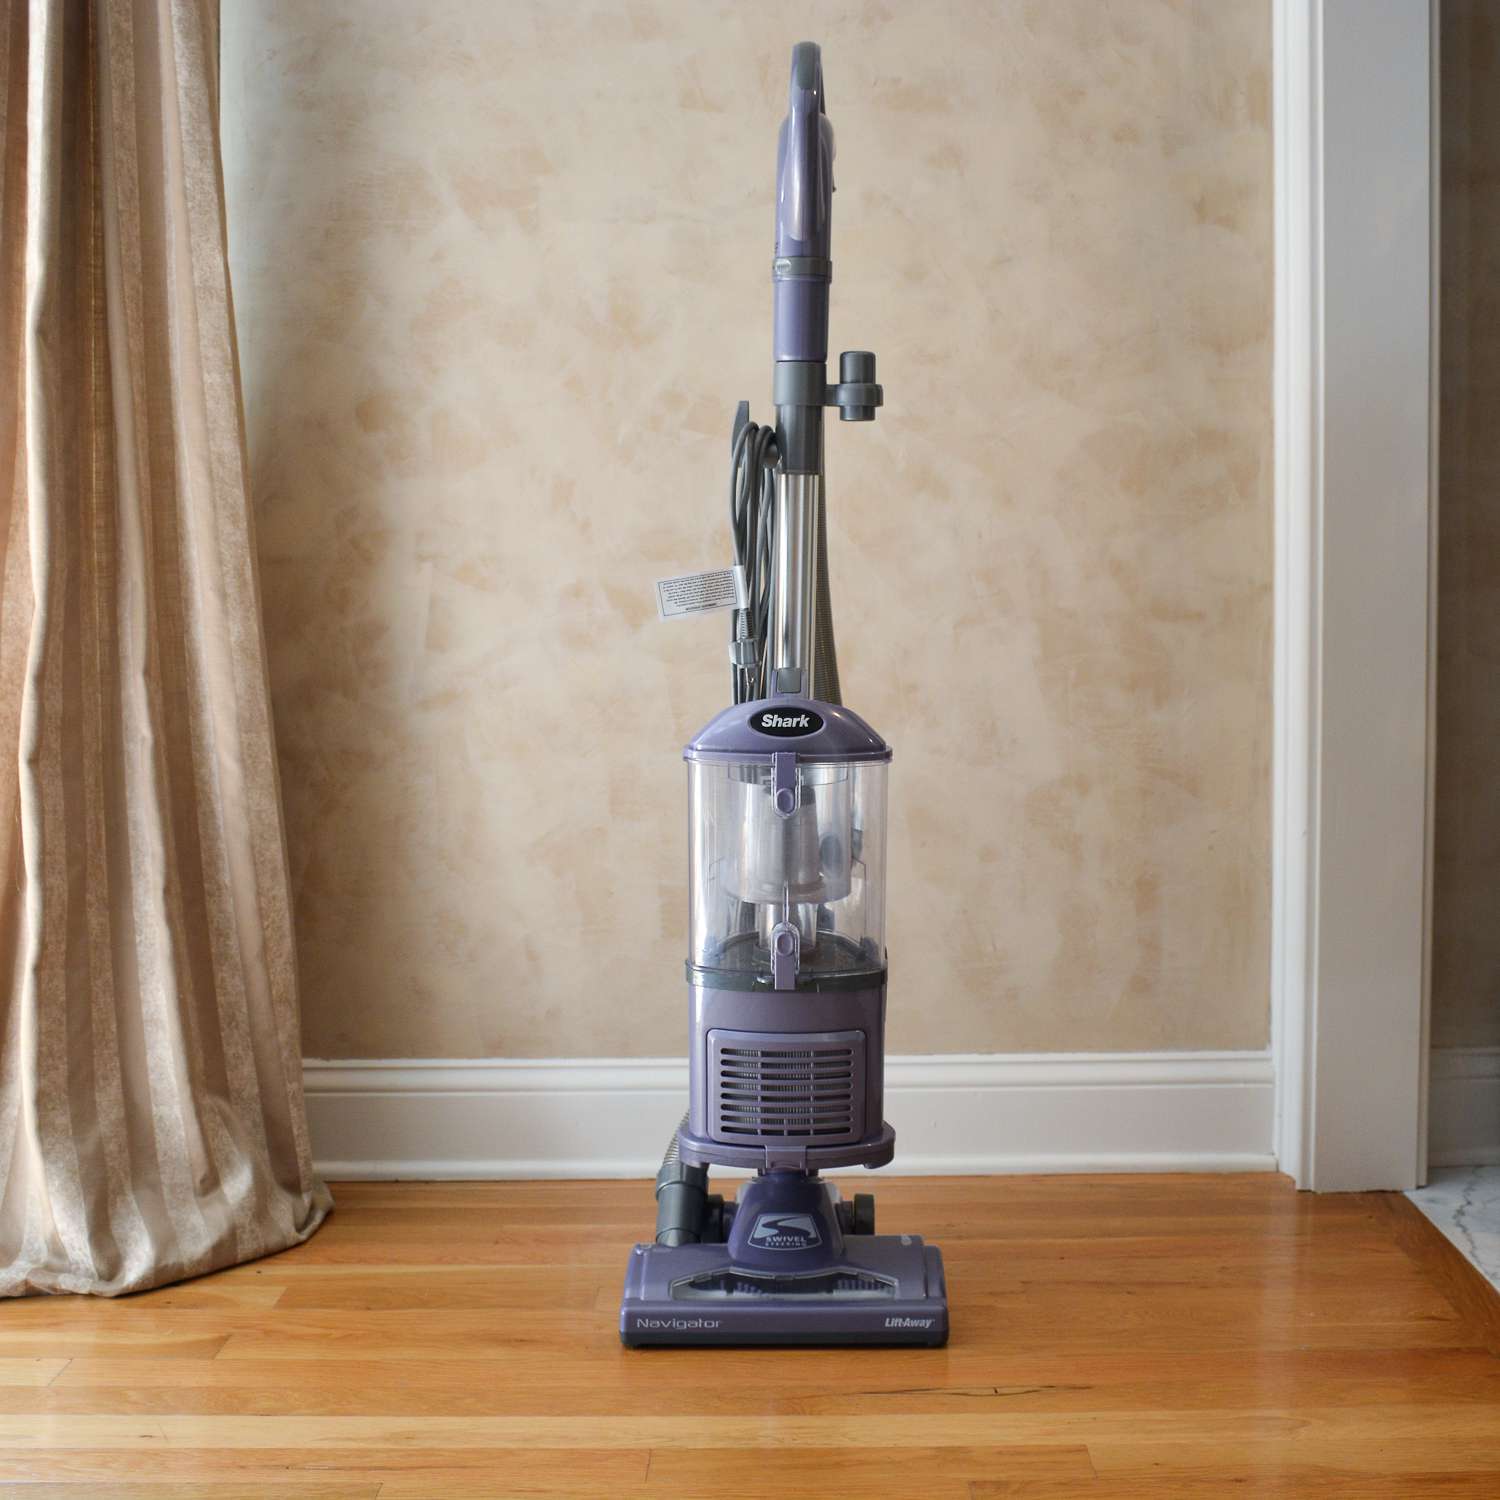
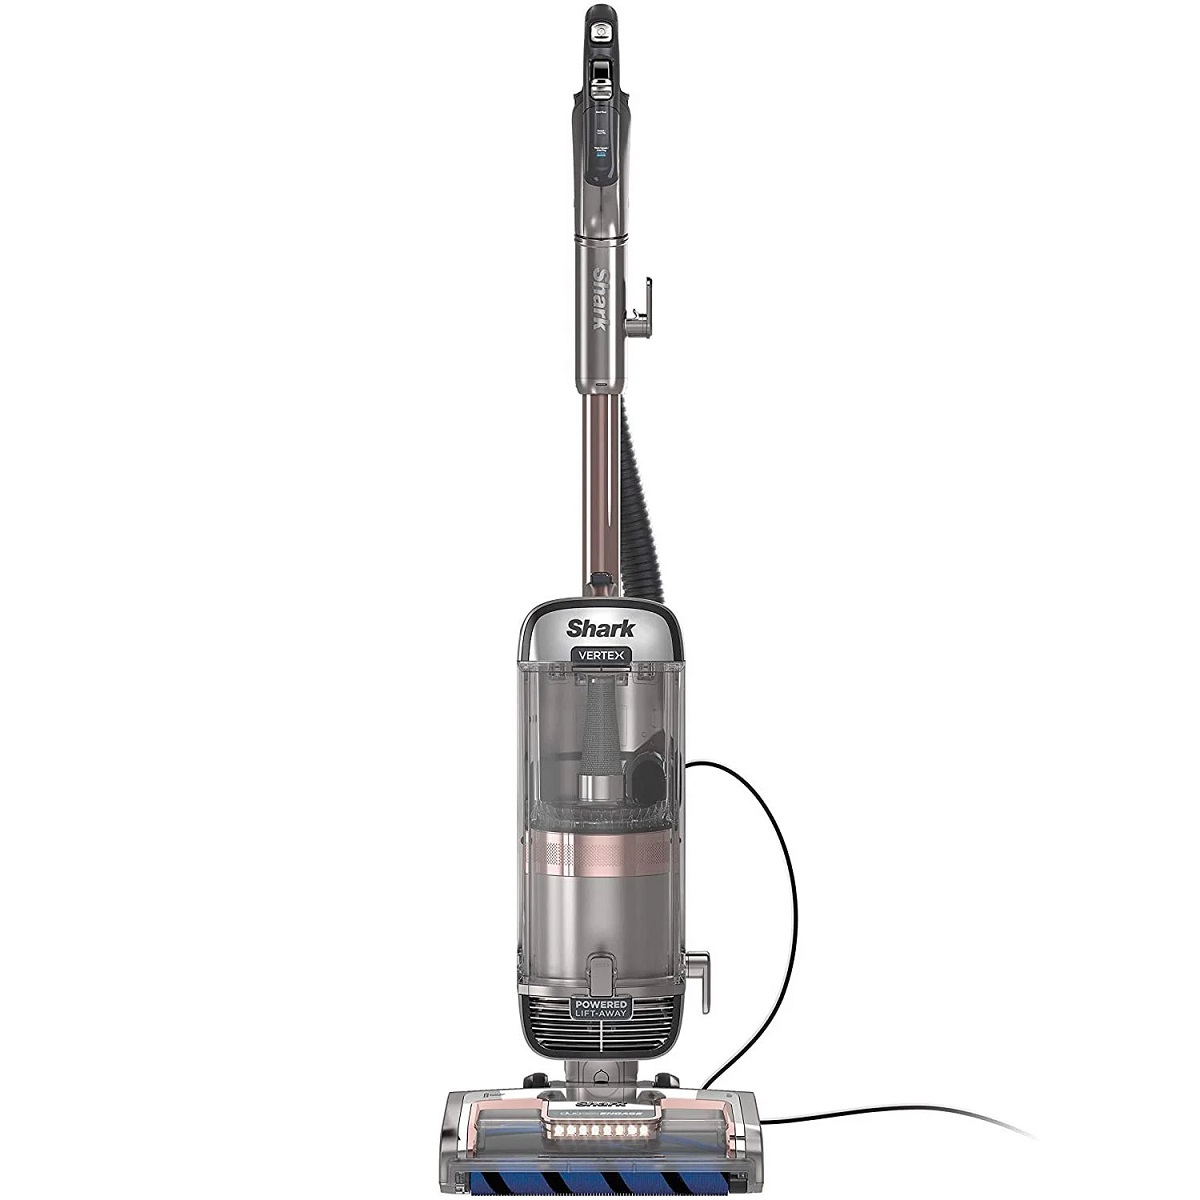
So, your trusty Shark vacuum cleaner is starting to lose suction power, and you suspect that the belt might be the culprit. Don’t worry; changing the belt on a Shark vacuum cleaner is a simple and cost-effective solution to restore its performance. Whether you have a Shark Navigator, Rotator, or any other model, this guide will walk you through the process, ensuring that your vacuum cleaner is up and running in no time.
Changing the belt on your Shark vacuum cleaner is a straightforward task that requires minimal tools and expertise. By following these steps, you can save money on professional repairs and prolong the life of your appliance. So, let’s roll up our sleeves and get ready to give your Shark vacuum cleaner a new lease on life!
Key Takeaways:
- Easily restore your Shark vacuum’s suction power by changing the belt with minimal tools and expertise, saving money on professional repairs and prolonging the appliance’s life.
- Prepare your Shark vacuum for belt replacement by gathering tools, clearing the brush roll area, and accessing the belt, ensuring a safe and successful process.
Read more: How To Change Belt On Kirby Vacuum Cleaner
Step 1: Gather the necessary tools and materials
Before you begin the belt replacement process, it’s essential to gather the required tools and materials. Here’s what you’ll need:
- A replacement belt compatible with your specific Shark vacuum model. Refer to your user manual or the manufacturer’s website to ensure you purchase the correct belt.
- A screwdriver, typically a Phillips head or flat head, depending on your vacuum model’s design.
- A pair of scissors to cut the new belt to the appropriate length, if necessary.
- A clean, flat surface to work on, such as a table or countertop, to prevent small parts from getting lost.
Once you have these tools and materials at hand, you’re ready to proceed to the next step in the belt replacement process. Having everything prepared will streamline the process and minimize interruptions, allowing you to efficiently restore your Shark vacuum cleaner’s functionality.
Step 2: Prepare the vacuum cleaner
Before diving into the belt replacement, it’s crucial to prepare your Shark vacuum cleaner for the task at hand. Follow these steps to ensure that the appliance is ready for the belt replacement process:
- Unplug the vacuum: Safety should always be the top priority when working on any electrical appliance. Unplug your Shark vacuum cleaner from the power source to prevent any potential accidents during the belt replacement process.
- Clear the brush roll area: Depending on your Shark vacuum model, the brush roll and belt may be easily accessible or located beneath a cover. Remove any debris, hair, or obstructions from the brush roll area to ensure a clean working environment and prevent damage to the new belt.
- Inspect the brush roll: Take a moment to inspect the condition of the brush roll. If it shows signs of excessive wear or damage, consider cleaning or replacing it to optimize the vacuum’s performance. A well-maintained brush roll complements the new belt, contributing to efficient cleaning results.
By following these preparatory steps, you’ll create a safe and conducive environment for replacing the belt on your Shark vacuum cleaner. This careful preparation sets the stage for a successful belt replacement process, allowing you to maintain your appliance with confidence and precision.
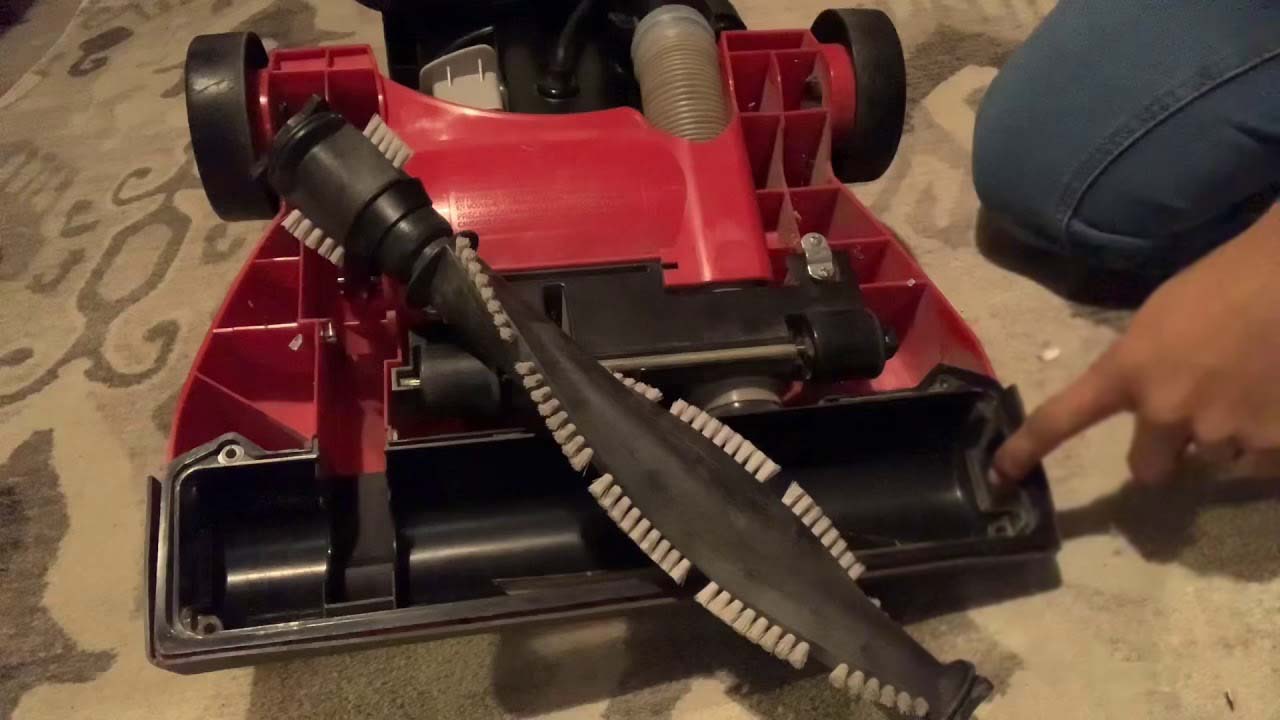
Step 3: Access the brush roll and belt
With the vacuum cleaner unplugged and the brush roll area cleared, it’s time to access the brush roll and belt. The process may vary slightly depending on your Shark vacuum model, but the following general steps will guide you through this crucial stage:
- Locate the brush roll cover: Depending on your Shark vacuum model, the brush roll cover may be secured with screws or latches. Use a screwdriver or follow the manufacturer’s instructions to remove the cover and expose the brush roll and belt assembly.
- Inspect the belt and brush roll: Take a moment to examine the condition of the existing belt and the brush roll. Look for signs of wear, damage, or obstructions that may hinder the vacuum cleaner’s performance. This visual inspection will provide valuable insights into the state of these components and help you determine if additional maintenance is required.
- Note the belt position: Before removing the old belt, take note of its position and orientation around the brush roll and motor shaft. This step is crucial for correctly installing the new belt and ensuring that it functions seamlessly within the vacuum cleaner.
By carefully accessing the brush roll and belt, you’ll gain a clear understanding of their condition and positioning within the vacuum cleaner. This knowledge will prove invaluable as you proceed to remove the old belt and install its replacement, ensuring a smooth and effective transition to the new belt.
When changing the belt on a Shark vacuum cleaner, make sure to unplug the vacuum first. Then, remove the brush roll cover and old belt. Install the new belt by looping it around the motor shaft and brush roll, then reattach the brush roll cover.
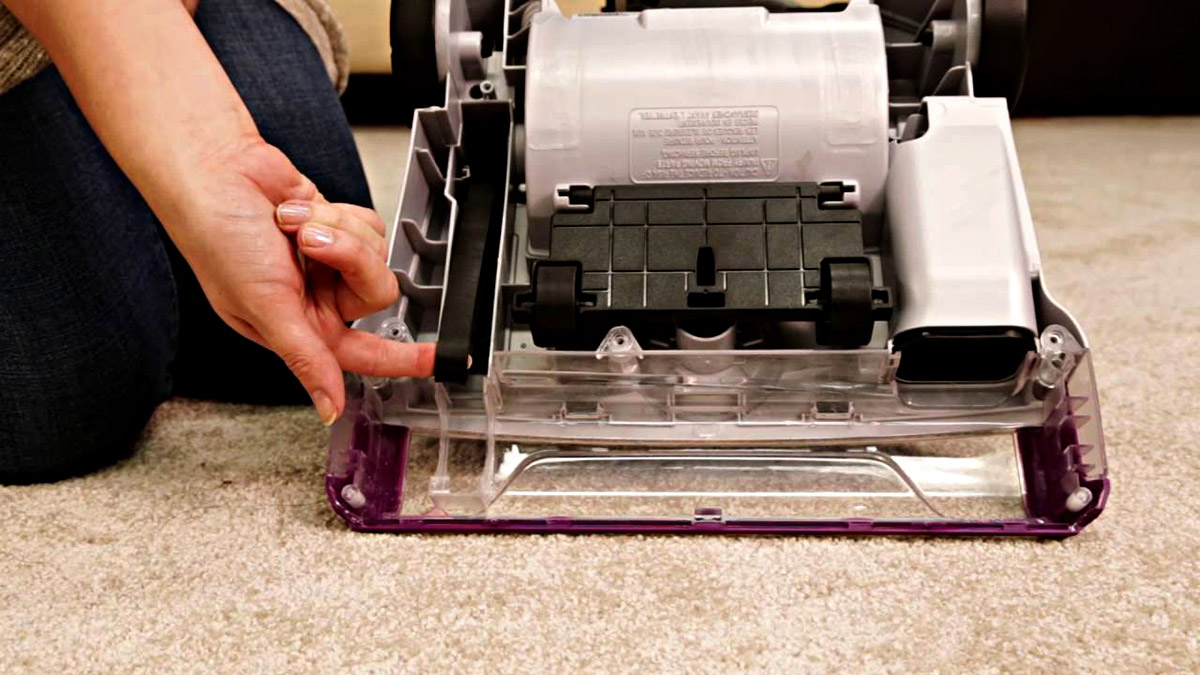
Step 4: Remove the old belt
Removing the old belt from your Shark vacuum cleaner is a pivotal step in the belt replacement process. Follow these steps to safely and effectively remove the worn or damaged belt:
- Release tension from the brush roll: Depending on your Shark vacuum model, there may be a specific mechanism to release tension from the brush roll, allowing for easier belt removal. Refer to your user manual for model-specific instructions on disengaging the brush roll.
- Carefully detach the old belt: With the tension released, carefully detach the old belt from the brush roll and motor shaft. Take note of how the belt is threaded around these components, as this will guide the installation of the new belt.
- Inspect the belt and components: Once the old belt is removed, take a moment to inspect it for signs of wear, stretching, or damage. Additionally, examine the brush roll and motor shaft for any debris or obstructions that may have affected the belt’s performance.
- Clean the brush roll area: While the old belt is removed, seize the opportunity to thoroughly clean the brush roll area. Remove any accumulated debris, hair, or residue that may hinder the performance of the new belt and the overall functionality of the vacuum cleaner.
By methodically removing the old belt and conducting a brief inspection of the components, you’ll pave the way for a seamless transition to the new belt. This careful approach ensures that the vacuum cleaner is primed for the installation of its replacement belt, setting the stage for optimal performance and longevity.
Read more: How To Clean A Shark Vacuum Cleaner
Step 5: Install the new belt
Now that the old belt has been removed and the brush roll area is clean, it’s time to install the new belt in your Shark vacuum cleaner. Follow these steps to ensure a smooth and precise installation process:
- Prepare the new belt: If the replacement belt is longer than necessary for your specific Shark vacuum model, use a pair of scissors to trim it to the appropriate length, following the manufacturer’s guidelines. Ensure that the trimmed belt fits snugly around the brush roll and motor shaft without excessive slack.
- Thread the new belt onto the brush roll: Position the new belt around the brush roll, ensuring that it aligns with any grooves or guides designed to secure it in place. Take note of the belt’s orientation and positioning, mirroring the configuration observed when removing the old belt.
- Secure the belt around the motor shaft: With the belt properly positioned on the brush roll, carefully loop it around the motor shaft, following the designated path outlined in your user manual or based on the original belt’s configuration. Ensure that the belt sits securely and evenly on both the brush roll and motor shaft.
- Test the belt’s tension: Once the new belt is installed, gently rotate the brush roll by hand to verify that the belt is properly tensioned and engaged. The belt should exhibit a firm yet flexible grip on both the brush roll and motor shaft, facilitating efficient operation during vacuuming.
By meticulously installing the new belt according to the manufacturer’s guidelines and your vacuum model’s specific requirements, you’ll ensure that the vacuum cleaner is equipped with a reliable and properly tensioned belt. This meticulous approach sets the stage for optimal performance and longevity, allowing you to enjoy the full cleaning potential of your Shark vacuum cleaner.
Step 6: Reassemble the vacuum cleaner
With the new belt securely installed, it’s time to reassemble your Shark vacuum cleaner, bringing all the components together for seamless functionality. Follow these steps to complete the reassembly process:
- Replace the brush roll cover: If you removed a cover or housing to access the brush roll and belt, carefully reposition it and secure it in place according to the manufacturer’s instructions. Ensure that the cover aligns properly and is firmly fastened to prevent any potential issues during operation.
- Double-check the belt and brush roll alignment: Before fully reassembling the vacuum cleaner, take a moment to verify that the new belt is correctly aligned on the brush roll and motor shaft. Ensure that the belt sits securely and maintains proper tension, setting the stage for effective cleaning performance.
- Plug in the vacuum and test the brush roll: Once the reassembly is complete, plug in your Shark vacuum cleaner and power it on. Test the brush roll to ensure that it rotates smoothly and without any unusual sounds or obstructions. This quick test allows you to confirm that the new belt is functioning properly within the vacuum cleaner.
- Perform a test vacuuming session: To further validate the effectiveness of the new belt and the overall functionality of the vacuum cleaner, conduct a brief test vacuuming session in a designated area. Observe the suction power and brush roll performance, ensuring that the appliance operates at its optimal capacity with the newly installed belt.
By carefully reassembling the vacuum cleaner and conducting preliminary tests, you’ll confirm that the new belt is seamlessly integrated and functioning as intended. This thorough approach ensures that your Shark vacuum cleaner is ready to tackle cleaning tasks with renewed efficiency and reliability, allowing you to maintain a pristine living environment with confidence.
Conclusion
Congratulations on successfully replacing the belt in your Shark vacuum cleaner! By following this comprehensive guide, you’ve taken a proactive step in maintaining the performance and longevity of your valuable appliance. The meticulous process of changing the belt ensures that your Shark vacuum cleaner is equipped to deliver powerful suction and efficient cleaning results, allowing you to tackle household chores with ease.
Remember, regular maintenance, including belt replacements and thorough cleanings, is essential for preserving the functionality of your vacuum cleaner. By staying proactive and attentive to your appliance’s needs, you can extend its lifespan and optimize its performance, ultimately saving time and money on potential repairs or replacements.
As you enjoy the revitalized performance of your Shark vacuum cleaner, consider incorporating a regular maintenance schedule to address its various components and ensure consistent functionality. This proactive approach will enhance the appliance’s durability and reliability, empowering you to maintain a clean and inviting living space effortlessly.
Thank you for entrusting us with the guidance to change the belt on your Shark vacuum cleaner. We hope this experience has empowered you to take charge of your appliance’s maintenance, fostering a cleaner and more comfortable home environment for you and your loved ones.
Frequently Asked Questions about How To Change The Belt On A Shark Vacuum Cleaner
Was this page helpful?
At Storables.com, we guarantee accurate and reliable information. Our content, validated by Expert Board Contributors, is crafted following stringent Editorial Policies. We're committed to providing you with well-researched, expert-backed insights for all your informational needs.


0 thoughts on “How To Change The Belt On A Shark Vacuum Cleaner”