Home>Home Appliances>Heating & Cooling>How To Install Forced Air Heating System
Heating & Cooling
How To Install Forced Air Heating System
Published: February 16, 2024
Learn how to install a forced air heating system for efficient heating and cooling. Follow our step-by-step guide to ensure a smooth installation process.
(Many of the links in this article redirect to a specific reviewed product. Your purchase of these products through affiliate links helps to generate commission for Storables.com, at no extra cost. Learn more)
Introduction
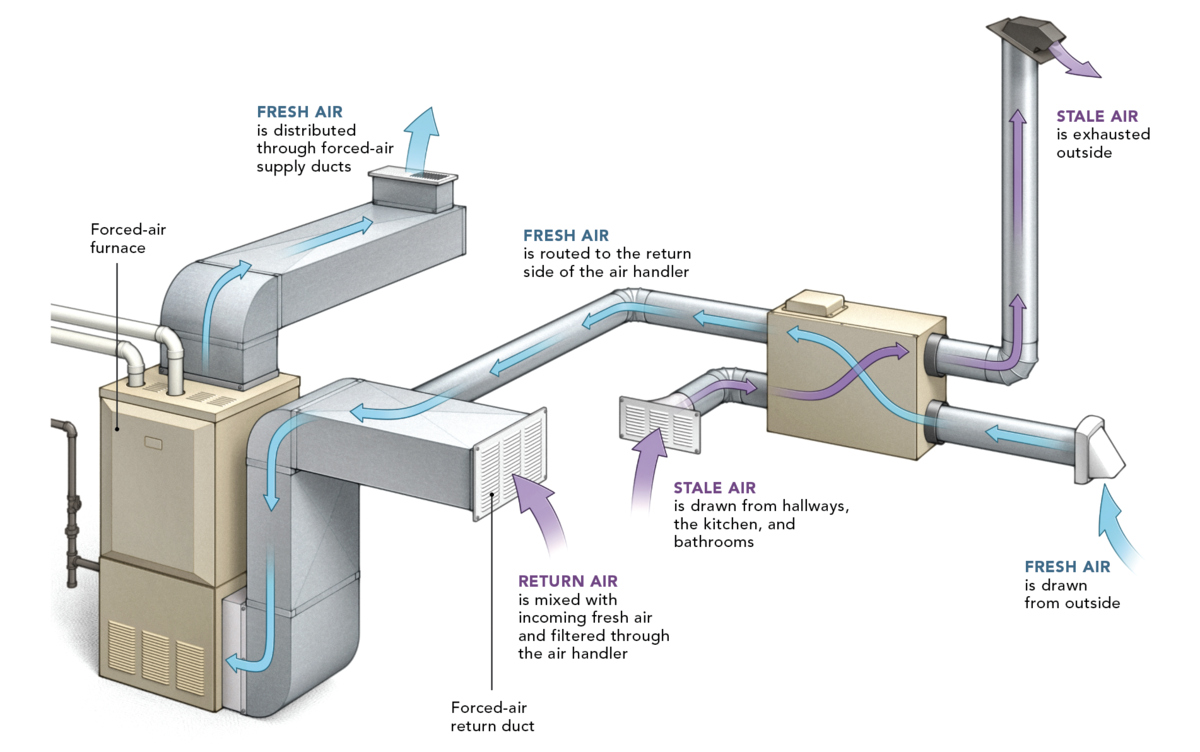
Installing a forced air heating system is a significant decision that can greatly impact the comfort and energy efficiency of your home. Whether you're upgrading an existing system or installing one for the first time, understanding the process is crucial for a successful outcome. A forced air heating system utilizes a furnace to heat air, which is then distributed throughout the home via a network of ducts. This method provides consistent and even heating, making it a popular choice for many homeowners.
In this comprehensive guide, we will walk you through the step-by-step process of installing a forced air heating system. From selecting the right system to testing the final installation, each stage is essential for ensuring optimal performance and safety. By following these steps, you can gain the confidence to tackle this project and potentially save on installation costs.
Let's dive into the details of each step, starting with choosing the right forced air heating system for your specific needs and home layout.
Key Takeaways:
- Choosing the right forced air heating system is crucial. Consider your home’s size, energy efficiency, and heating needs to ensure optimal comfort and cost savings.
- Thorough preparation, precise installation, and comprehensive testing are essential for a successful forced air heating system installation. Prioritize safety, efficiency, and precise temperature control.
Step 1: Choose the Right Forced Air Heating System
Selecting the right forced air heating system is the crucial first step in the installation process. With a wide range of options available, it's essential to consider factors such as the size of your home, energy efficiency, and your specific heating needs.
Consider Your Home's Size and Layout
The size and layout of your home play a significant role in determining the appropriate heating system. Larger homes may require more powerful furnaces to ensure even heating throughout the space, while smaller homes can benefit from more compact systems. Additionally, the layout of your home will influence the design and placement of the ductwork, which is integral to the system's efficiency.
Evaluate Energy Efficiency
Energy efficiency is a key consideration when choosing a forced air heating system. Look for systems with high Annual Fuel Utilization Efficiency (AFUE) ratings, indicating their ability to convert fuel into heat effectively. Opting for a high-efficiency system can lead to long-term cost savings on energy bills while reducing your environmental impact.
Assess Heating Needs
Understanding your specific heating needs is essential for selecting the right system. If you live in a region with harsh winters, a robust and reliable heating system is paramount. Conversely, milder climates may allow for more flexibility in choosing a system with lower heating capacity. Consider factors such as insulation, local climate, and any unique heating requirements for different areas of your home.
Read more: When Did Forced Air Heating Start?
Explore Additional Features
Modern forced air heating systems often come with a range of additional features designed to enhance comfort and convenience. These may include programmable thermostats, zoning capabilities for different areas of the home, and advanced air filtration systems. Assessing these features can help you tailor the system to meet your specific preferences and lifestyle.
By carefully considering these factors, you can make an informed decision when choosing the right forced air heating system for your home. This initial step sets the foundation for a successful installation and ensures that the system aligns with your heating needs and home environment.
Step 2: Prepare the Installation Area
Before diving into the physical installation of a forced air heating system, it's crucial to thoroughly prepare the designated area. This step sets the stage for a seamless and efficient installation process, ensuring that the system operates optimally and safely. Here's a detailed breakdown of the essential tasks involved in preparing the installation area:
Clearing the Space
Begin by clearing the area where the furnace and ductwork will be installed. Remove any obstructions, debris, or items that could impede the installation process. This includes ensuring ample space for the furnace, ductwork, and any required ventilation components. A clutter-free environment facilitates smooth maneuverability and access during the installation.
Assessing Ventilation Requirements
Proper ventilation is critical for the safe operation of a forced air heating system. Evaluate the ventilation needs of the installation area, ensuring that there is adequate airflow and space for the system's intake and exhaust vents. Additionally, verify that the area complies with local building codes and regulations regarding ventilation requirements for heating systems.
Read more: What Is Oil Forced Air Heating?
Preparing the Ductwork Pathway
If the installation involves new ductwork or modifications to existing ducts, prepare the pathway for the ductwork installation. This may involve clearing space in attics, crawl spaces, or other areas where the ducts will be routed. Ensure that the pathways are free from obstructions and are accessible for the installation team to work efficiently.
Addressing Electrical and Gas Connections
For systems powered by natural gas or electricity, it's essential to prepare the necessary connections. This includes ensuring that the installation area has access to the required electrical outlets and gas lines. If modifications or new connections are needed, enlist the assistance of qualified professionals to handle these aspects safely and in compliance with local codes.
Creating a Safe Work Environment
Prioritize safety by creating a work environment that minimizes potential hazards. This involves addressing any structural vulnerabilities, securing loose materials, and implementing safety measures to protect the installation team and the surrounding area. Additionally, consider factors such as adequate lighting and ventilation to support a safe and efficient installation process.
By meticulously preparing the installation area, you set the stage for a successful forced air heating system installation. This proactive approach minimizes potential obstacles and ensures that the installation team can proceed with the subsequent steps smoothly and safely. With the installation area primed and ready, the next phase involves the meticulous installation of the ductwork, a critical component of the heating system.
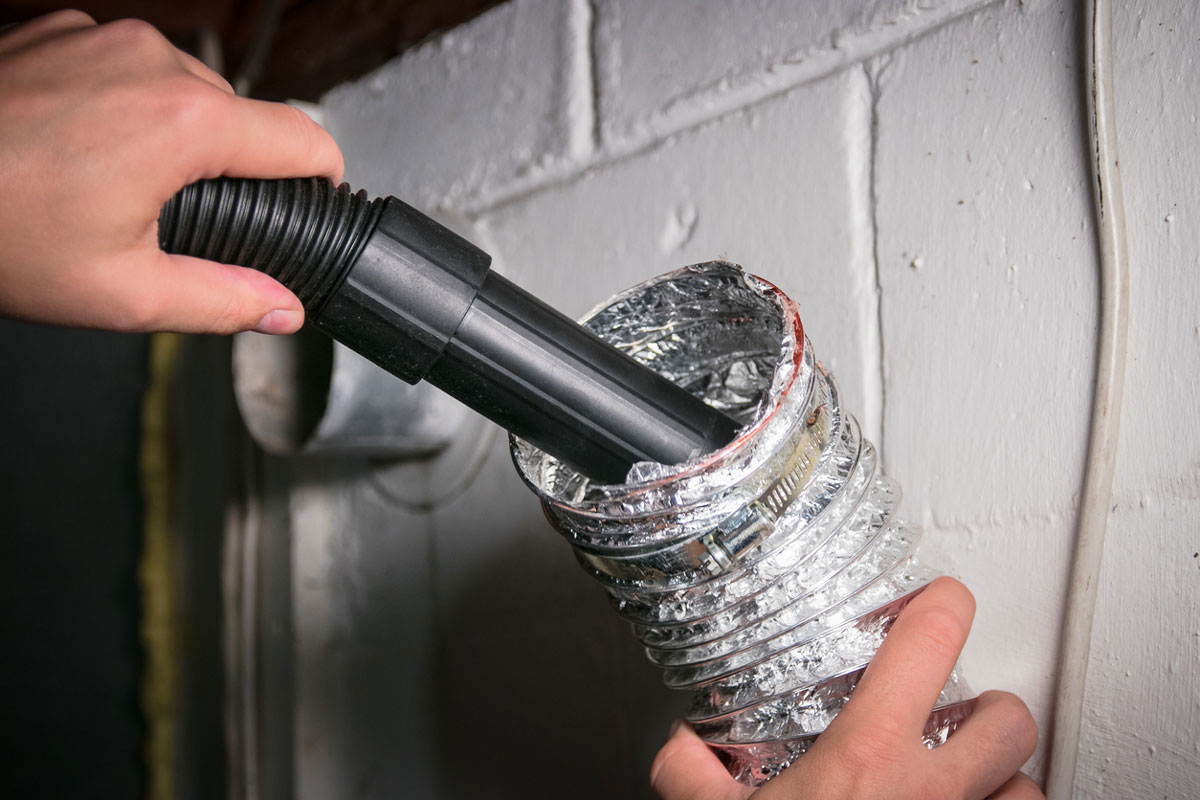
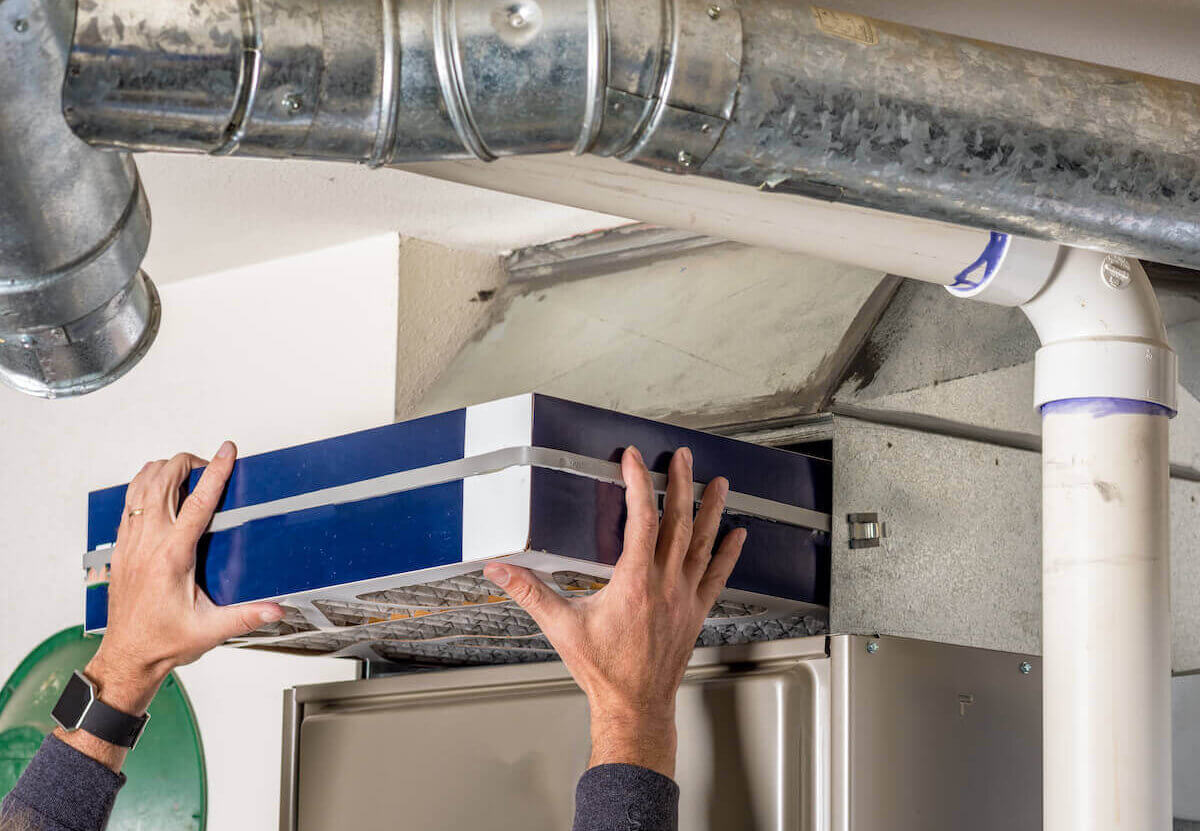
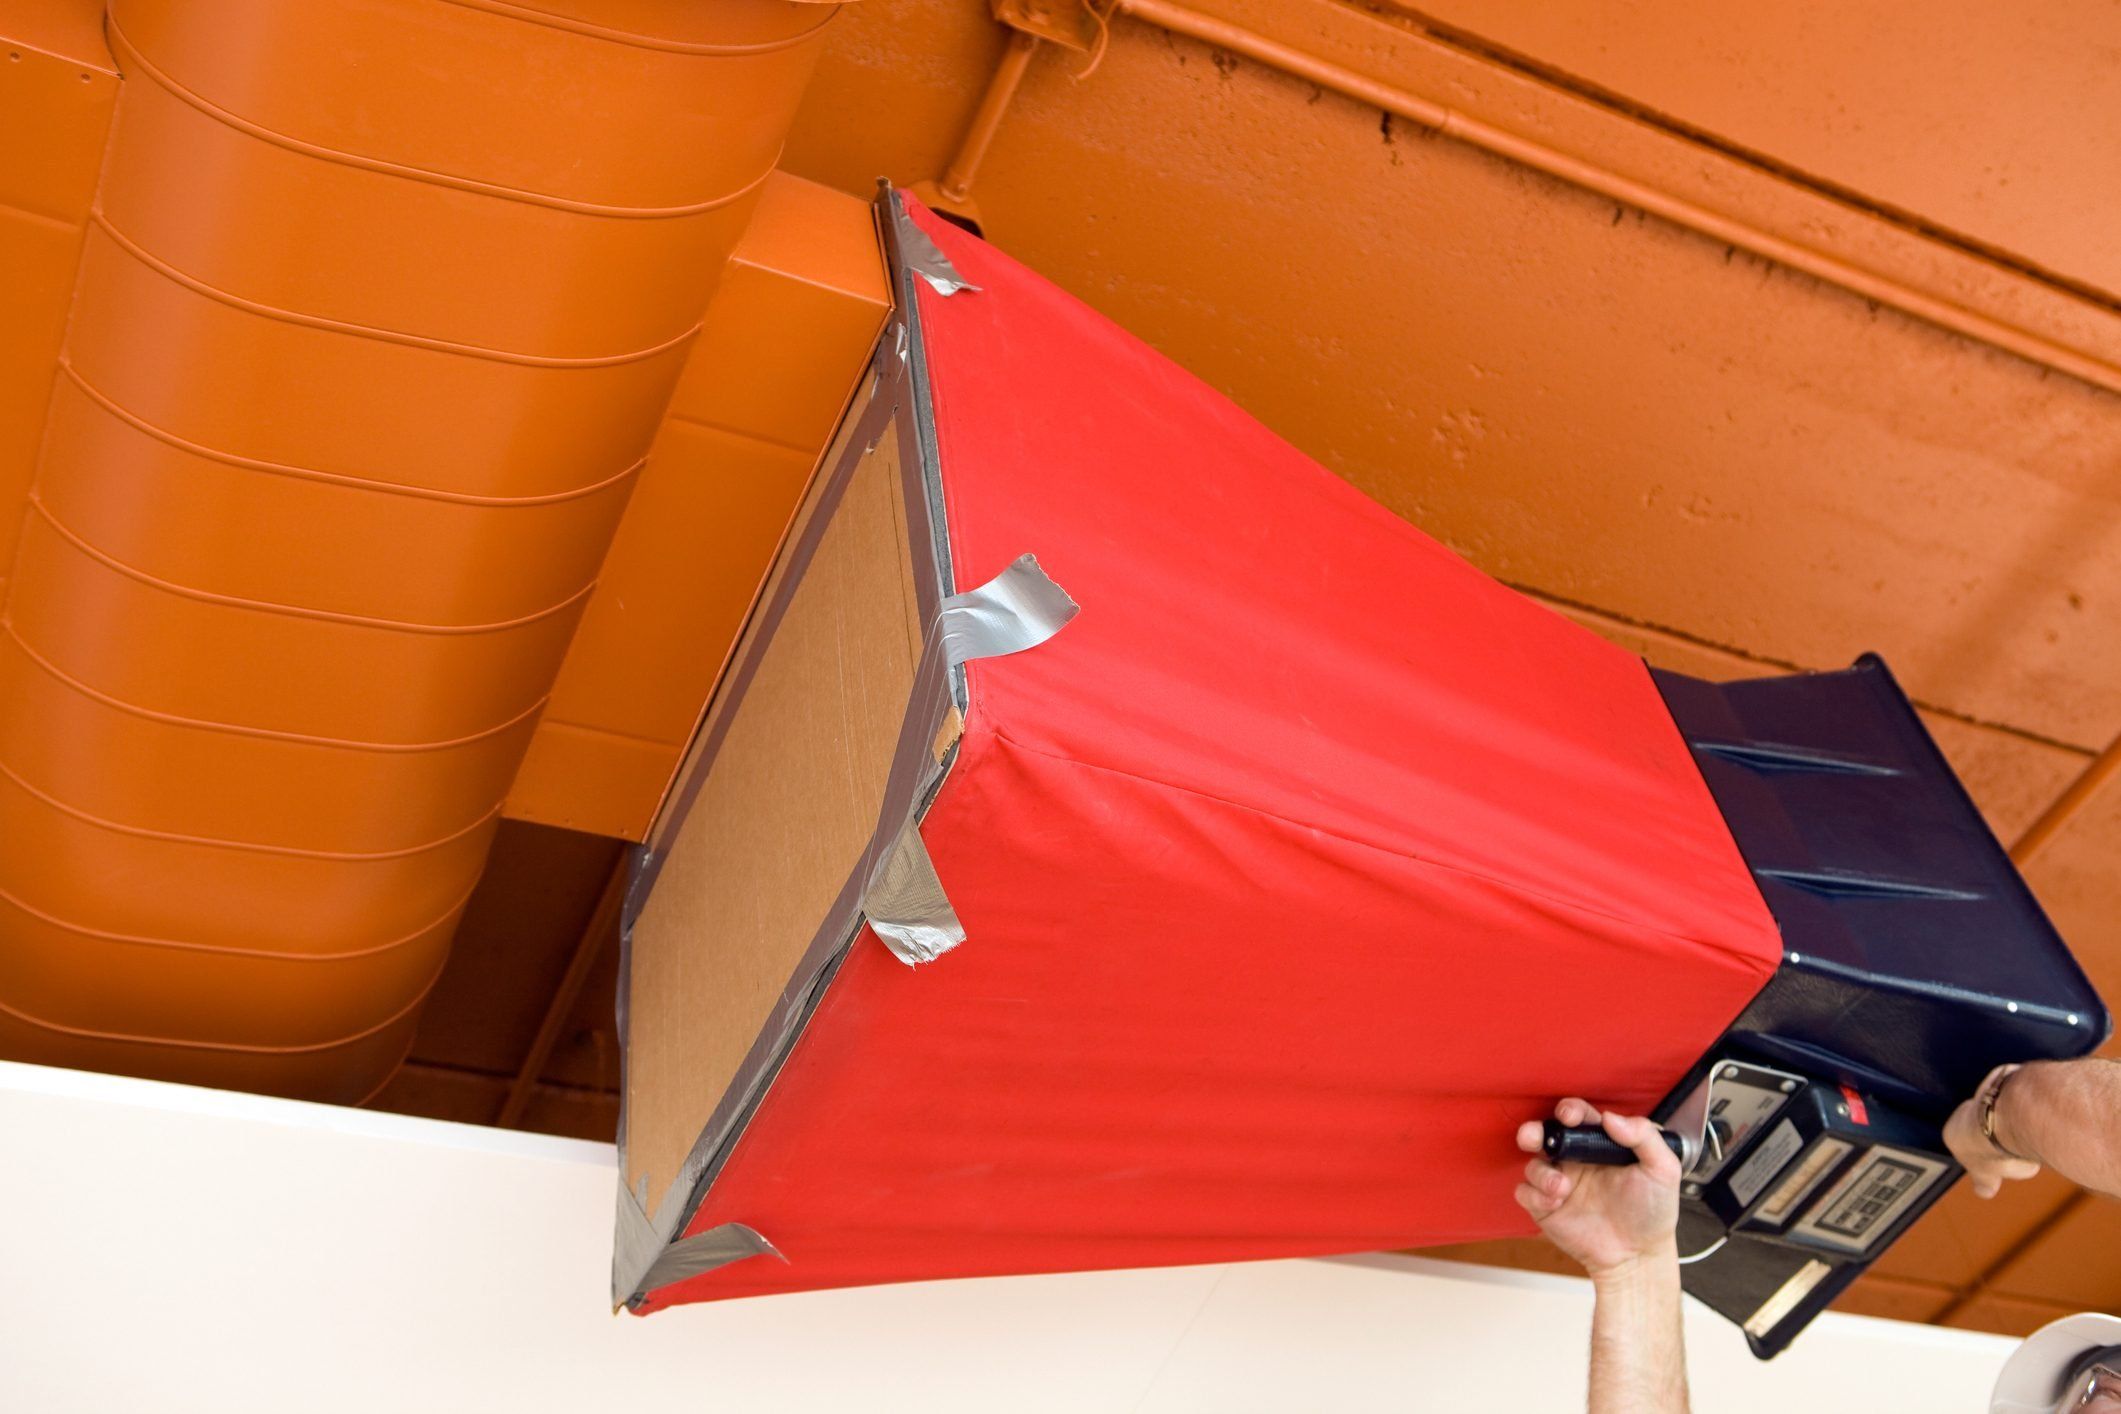
Step 3: Install the Ductwork
The installation of ductwork is a pivotal stage in the process of setting up a forced air heating system. Ductwork serves as the network through which heated air is distributed to various areas of the home, ensuring consistent and efficient heating. Proper installation of the ductwork is essential for maximizing the system's performance and maintaining indoor air quality. Here's a detailed breakdown of the steps involved in installing the ductwork:
Read more: What Is An Advantage Of Forced Air Heating?
Plan the Duct Layout
Before commencing the physical installation, meticulous planning of the duct layout is imperative. Consider factors such as the home's layout, the location of vents, and the optimal pathways for routing the ducts. This planning phase involves assessing the most efficient and unobtrusive routes for the ductwork, minimizing bends and obstructions to facilitate smooth airflow.
Assemble and Position Duct Sections
With the layout plan in place, begin assembling the duct sections according to the predetermined design. Carefully position the duct sections in their designated locations, ensuring a secure and airtight fit. Proper alignment and sealing of the duct sections are crucial for preventing air leaks and optimizing the system's efficiency.
Secure Duct Joints and Seams
Once the duct sections are in place, secure the joints and seams using appropriate fastening methods. This may involve using metal screws, specialized duct tape, or sealant to ensure airtight connections. Pay close attention to the integrity of the connections, as any leaks can compromise the system's performance and lead to energy wastage.
Install Vents and Registers
As the main ductwork is installed, incorporate vents and registers in strategic locations throughout the home. These components facilitate the controlled release of heated air into individual rooms, allowing for customized temperature regulation. Proper positioning and installation of vents and registers contribute to balanced airflow and consistent heating distribution.
Read more: What Are Forced Air Heating Systems
Insulate Ductwork (If Applicable)
In regions with extreme temperature variations, insulating the ductwork is essential for minimizing heat loss and maintaining energy efficiency. Install insulation around the ducts in attics, crawl spaces, or other unconditioned areas to prevent heat transfer and ensure that the heated air reaches its intended destinations without significant loss.
Conduct Airflow Testing
Upon completing the installation, conduct thorough airflow testing to verify the efficiency and integrity of the ductwork. This involves pressurizing the system and inspecting for any air leaks or irregularities. Address any identified issues promptly to optimize the system's performance and ensure even heating throughout the home.
By meticulously following these steps, the installation of the ductwork can be executed with precision, setting the stage for the subsequent installation of the furnace, the heart of the forced air heating system.
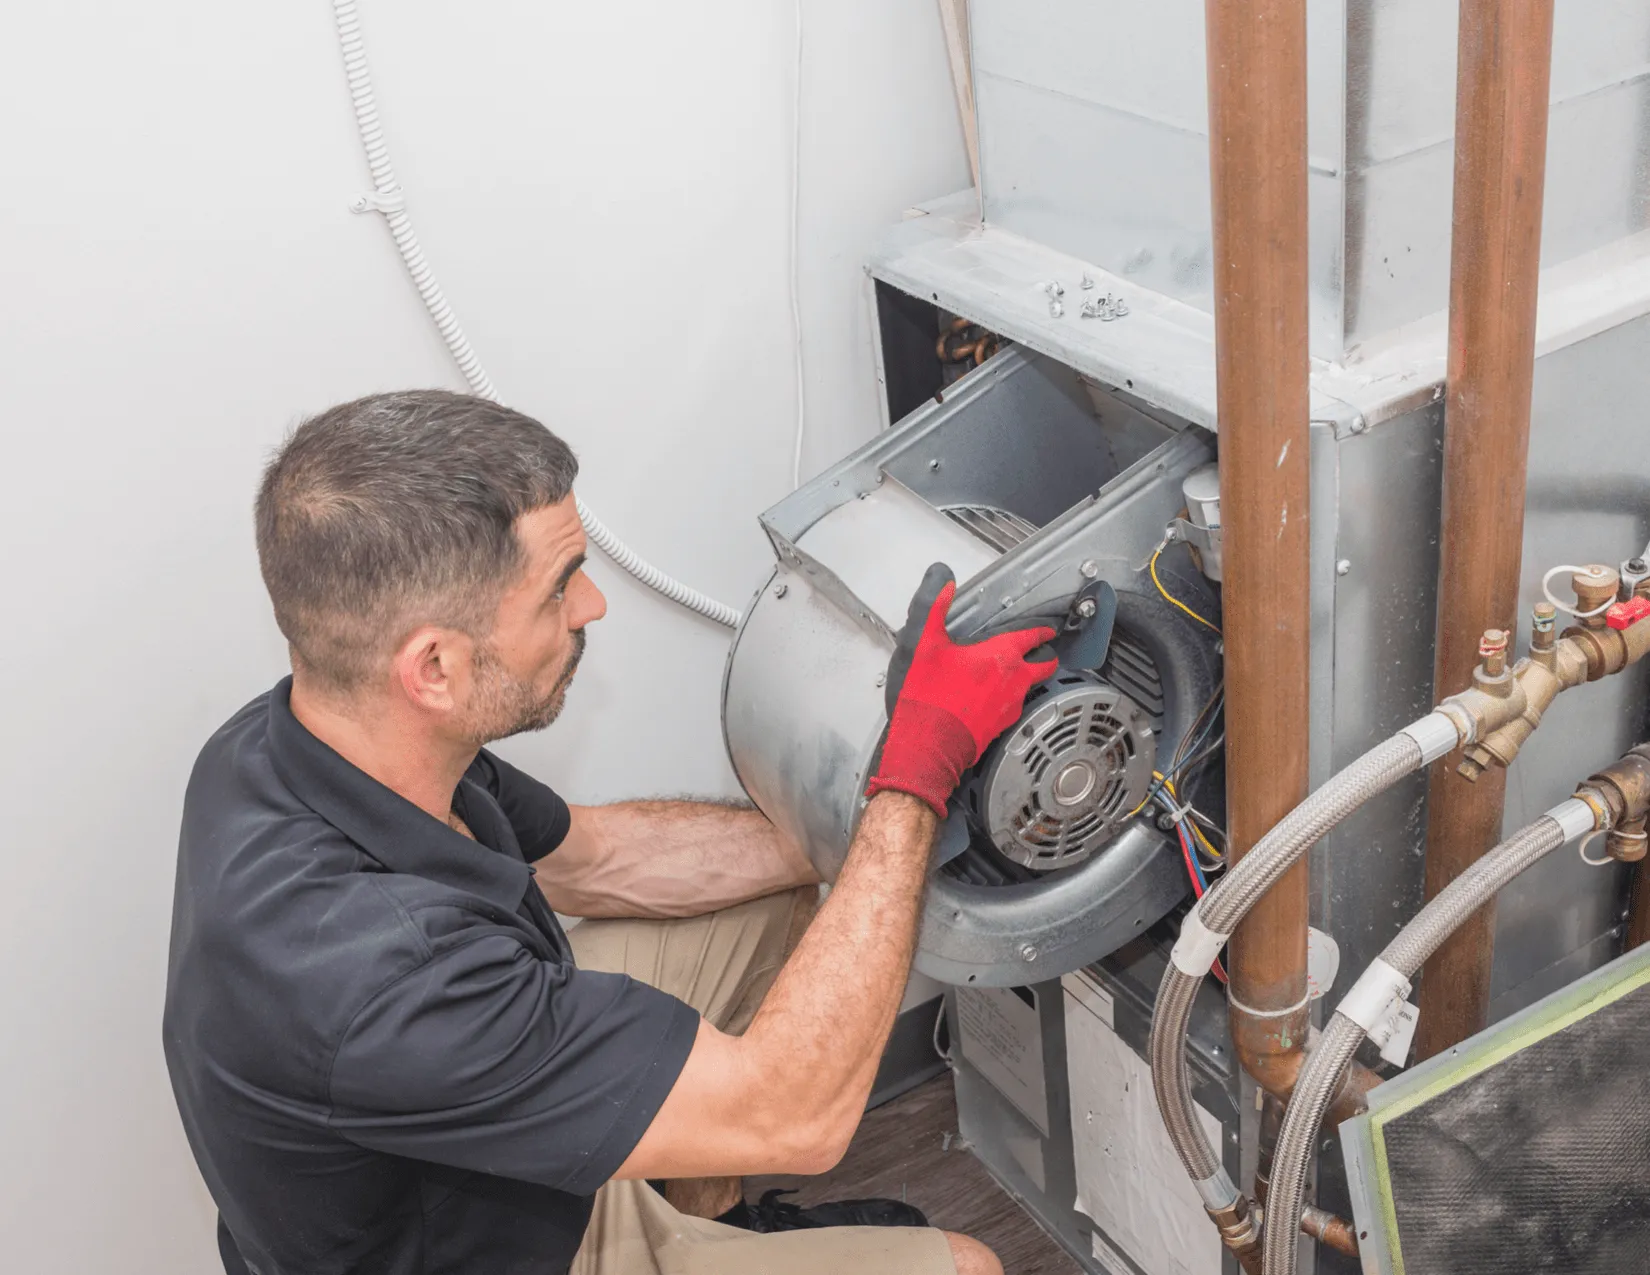
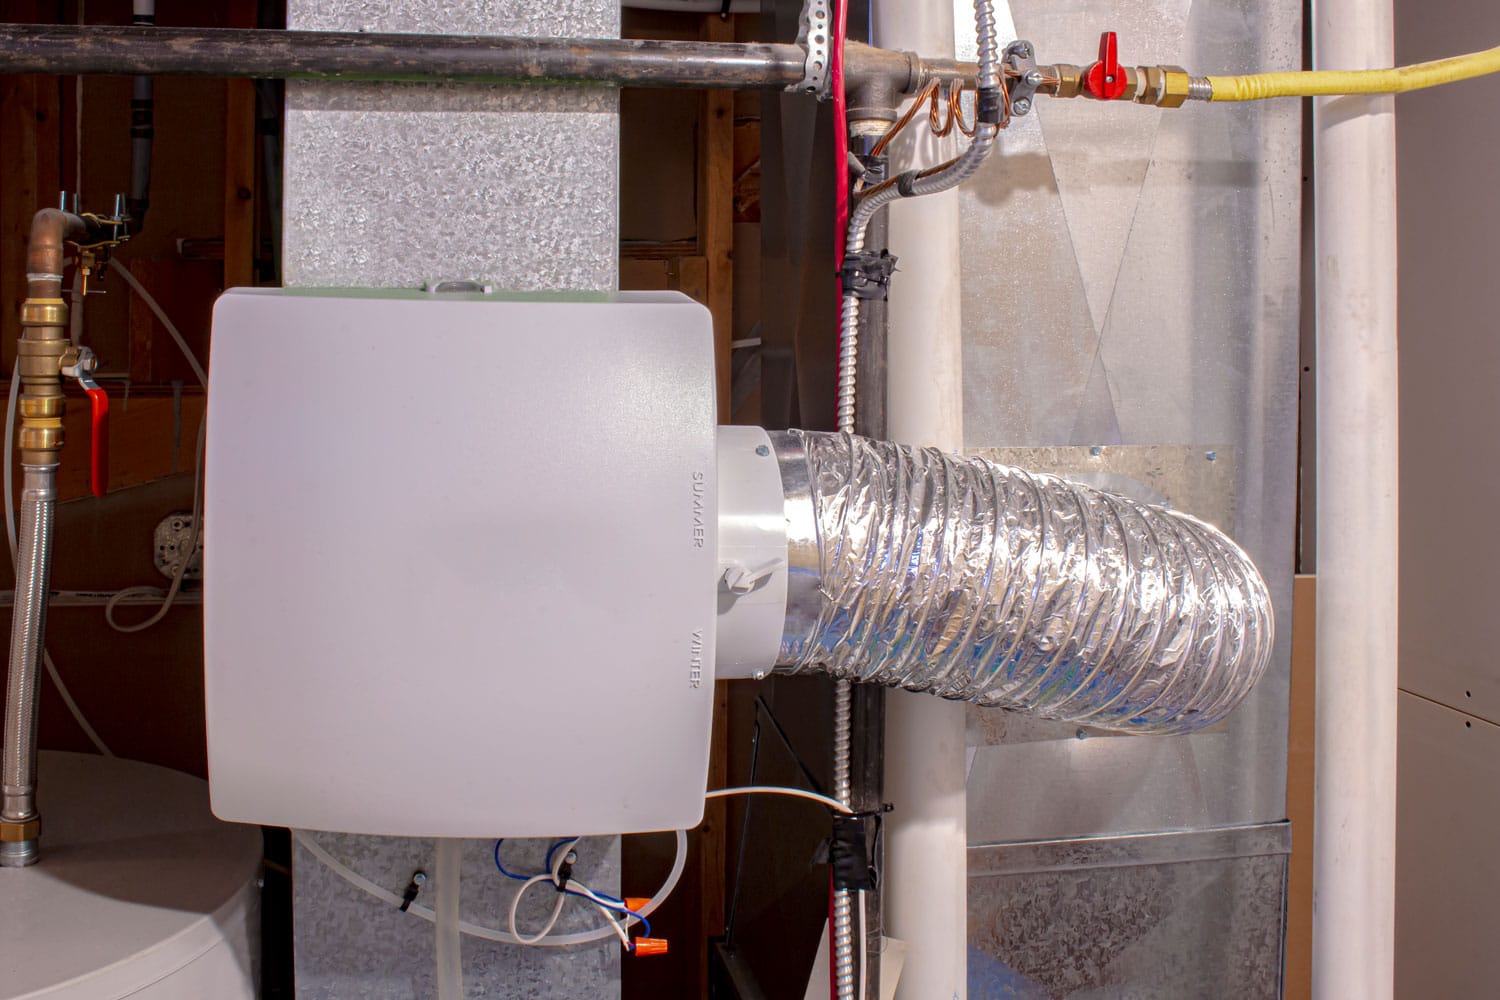
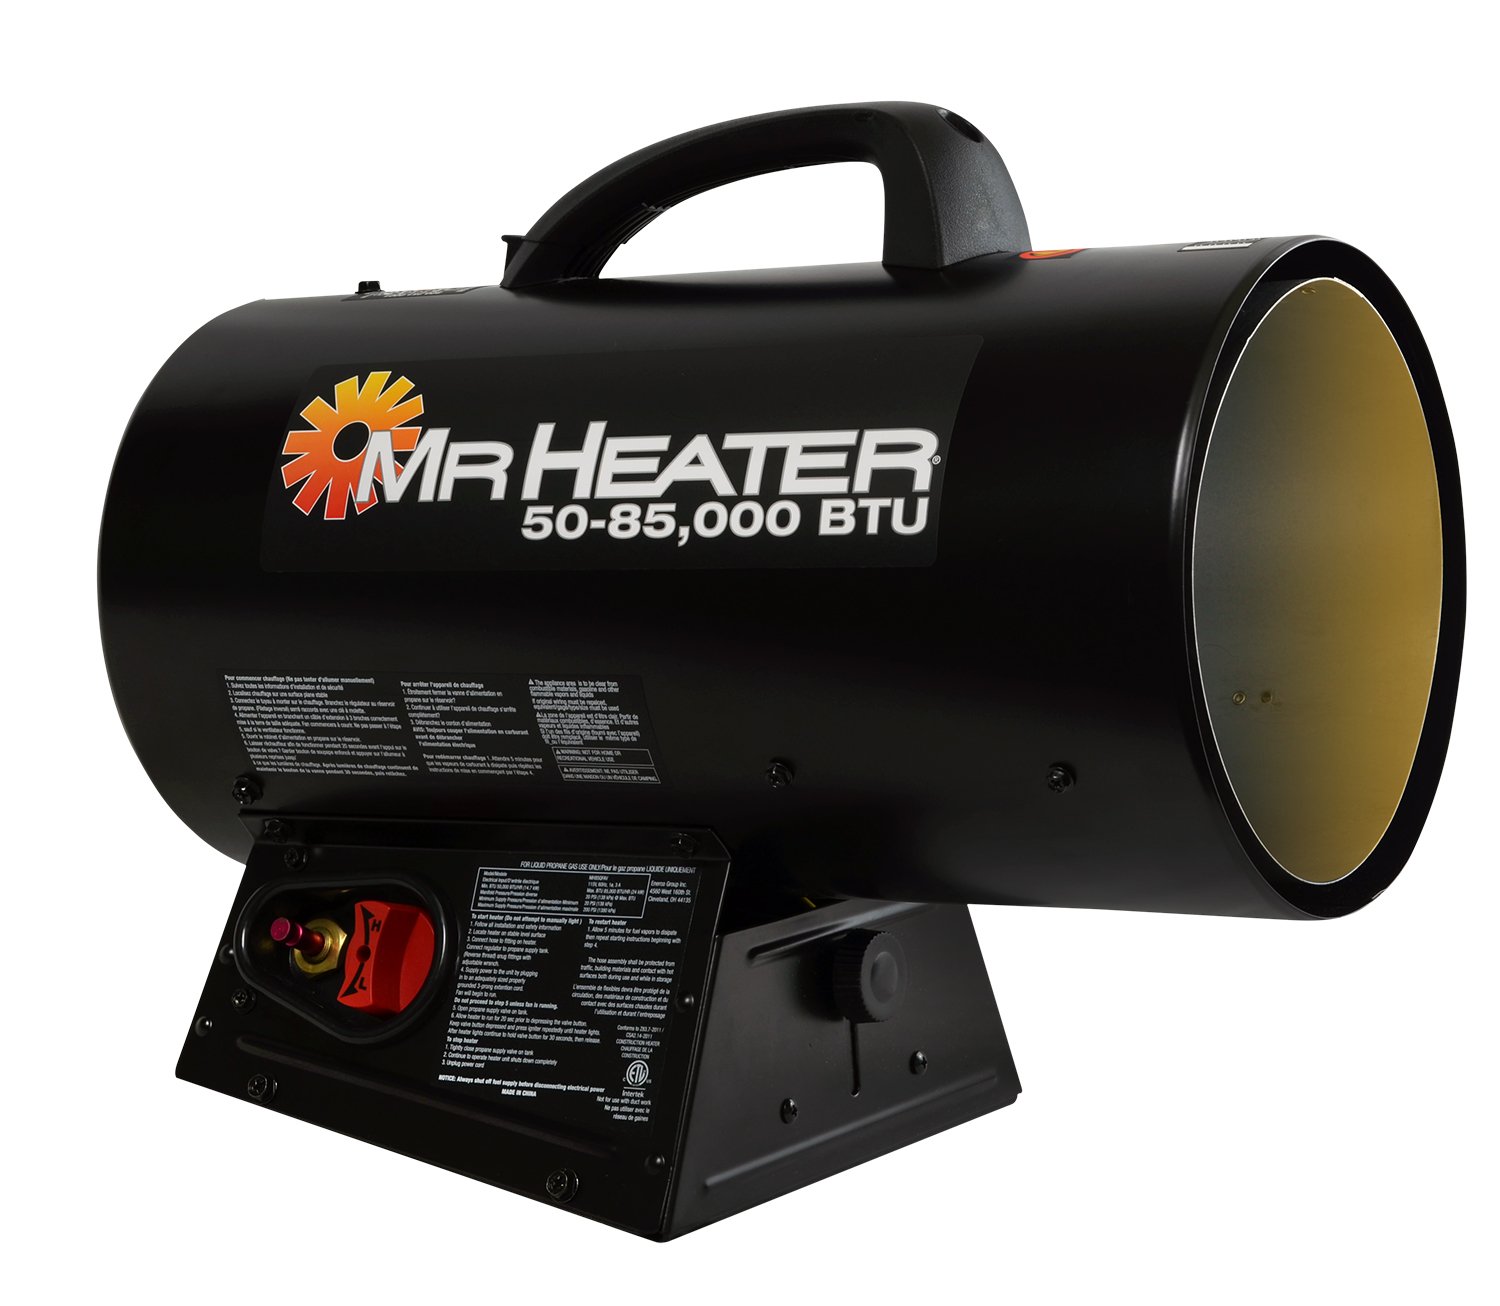
Step 4: Install the Furnace
The installation of the furnace marks a pivotal stage in setting up a forced air heating system. As the central component responsible for heating the air that will be distributed throughout the home, the furnace installation requires meticulous attention to detail and adherence to safety protocols. Here's a comprehensive overview of the essential steps involved in installing the furnace:
Positioning the Furnace
Begin by carefully positioning the furnace in the designated installation area. Ensure that the location allows for proper airflow around the unit and complies with manufacturer specifications and local building codes. The furnace should be placed on a stable, level surface to support its weight and facilitate future maintenance and servicing.
Read more: How To Choose BTU For Forced Air Heating
Connecting the Ductwork
Once the furnace is in place, connect the main supply duct from the ductwork to the furnace's air outlet. Secure the connection using appropriate fastening methods to ensure airtightness and prevent air leaks. Additionally, connect the return air duct to the furnace, allowing for the circulation of air back into the system for reheating.
Securing Electrical and Gas Connections
For gas-powered furnaces, it's crucial to enlist the expertise of qualified professionals to handle the gas line connections. Ensure that the gas line is properly connected to the furnace in compliance with safety standards and local codes. Similarly, secure the electrical connections, ensuring that the furnace is powered safely and reliably.
Installing the Flue Pipe
In the case of gas or oil furnaces, installing the flue pipe is essential for venting combustion gases safely to the outdoors. Position the flue pipe according to manufacturer guidelines and local regulations, ensuring that it provides efficient venting while maintaining a secure and sealed connection to the furnace.
Testing and Calibration
Upon completing the physical installation, conduct thorough testing and calibration of the furnace. This involves verifying the functionality of the heating elements, blower motor, and safety controls. Additionally, ensure that the thermostat is properly connected and calibrated to communicate with the furnace effectively.
Read more: Why Is Forced Air Heating Noisy
Safety and Compliance Checks
Prior to activating the furnace, perform comprehensive safety and compliance checks. Verify that all connections are secure, and there are no gas leaks or electrical issues. Additionally, ensure that the installation adheres to local building codes and regulations, promoting the safe and efficient operation of the heating system.
By meticulously following these steps, the installation of the furnace can be executed with precision, laying the groundwork for the subsequent connection of the thermostat and the comprehensive testing of the entire forced air heating system.
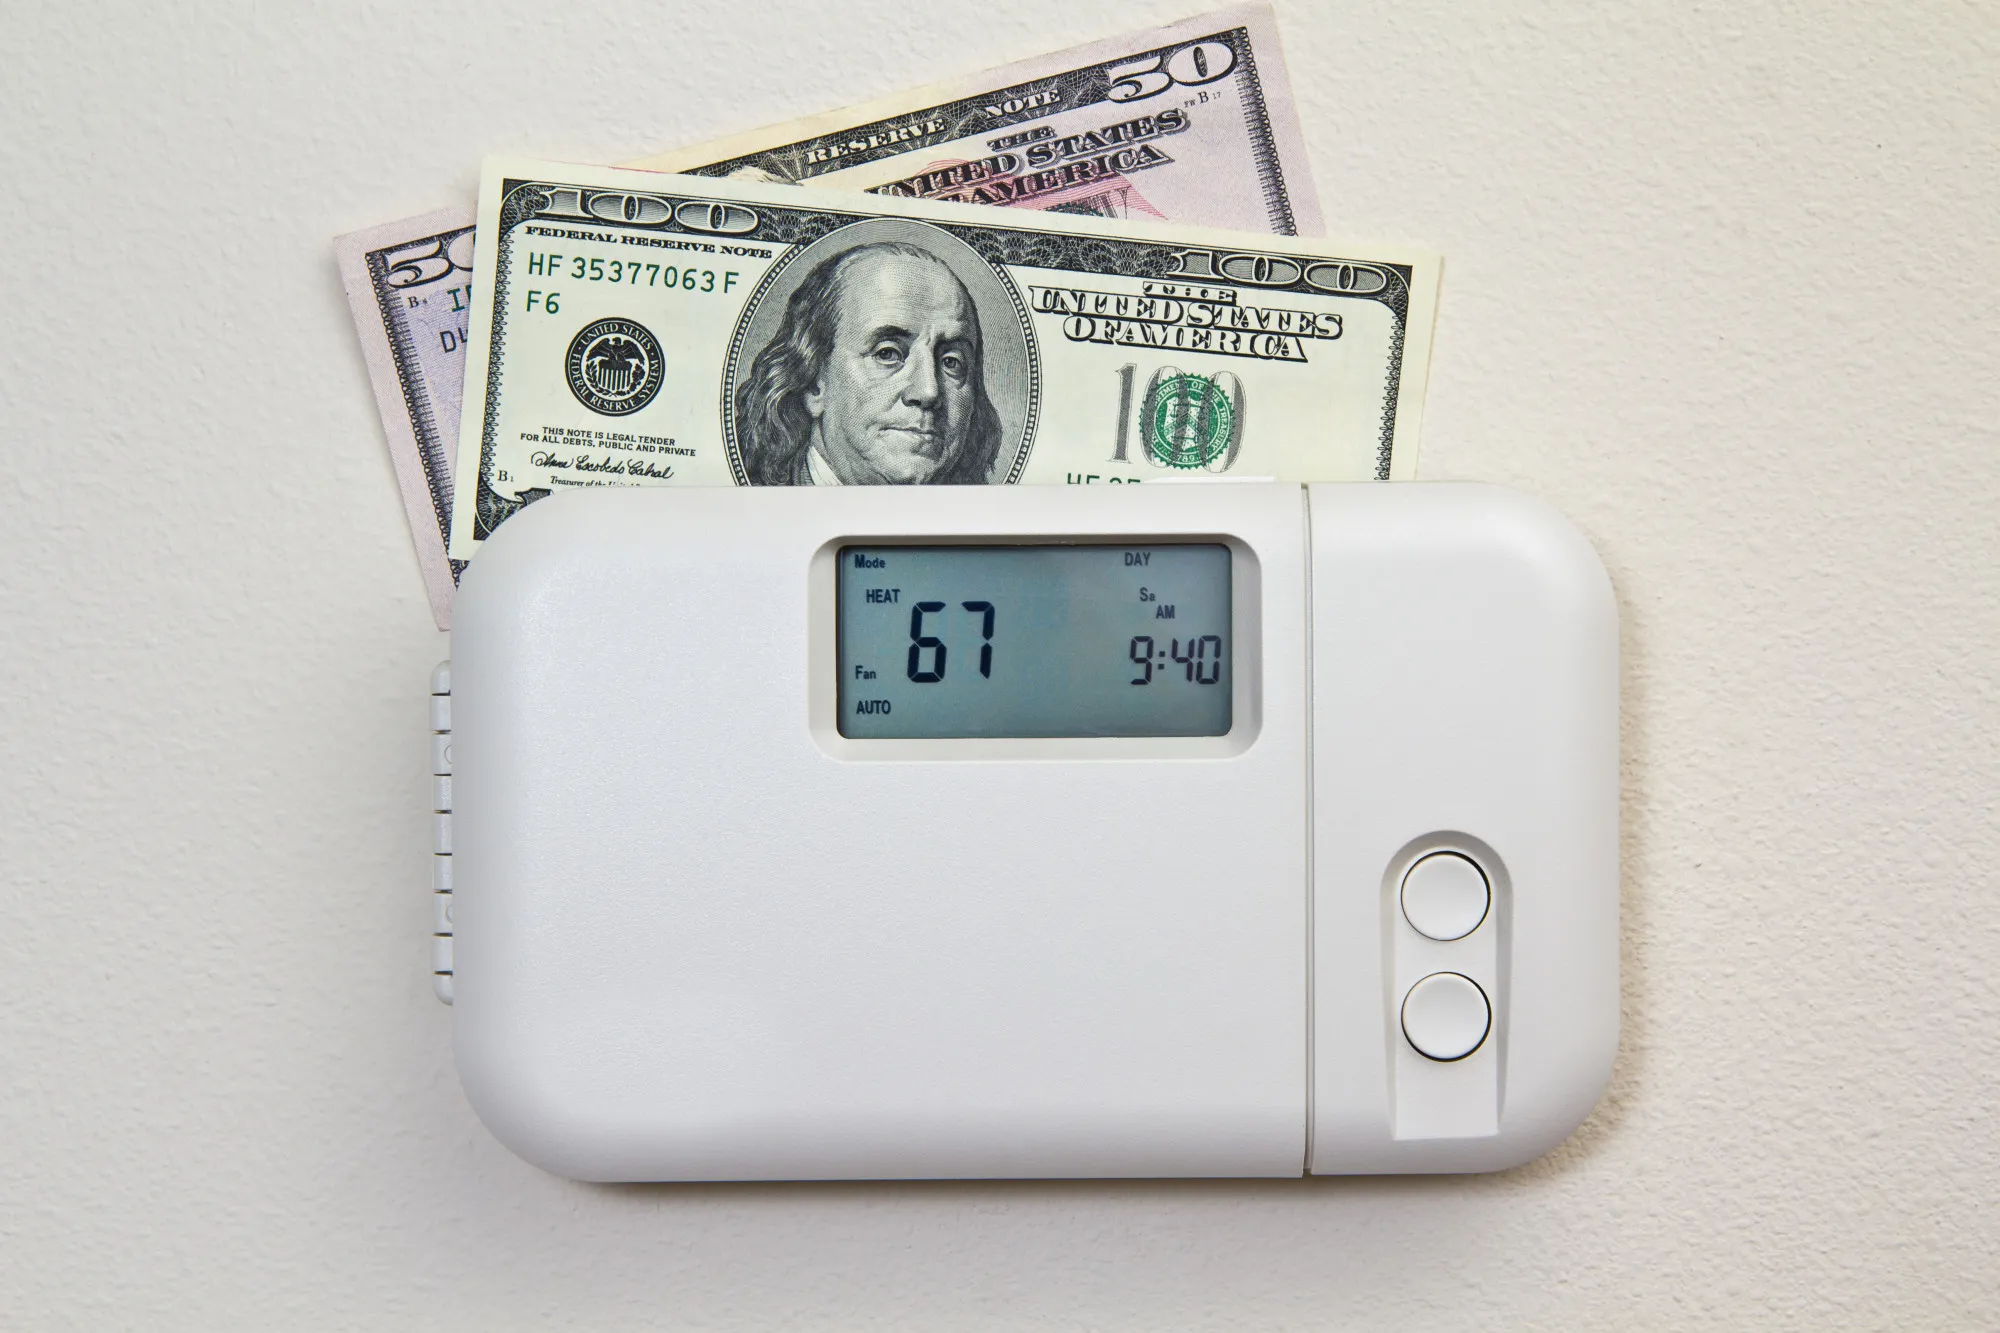
Step 5: Connect the Thermostat
Connecting the thermostat is a pivotal step in the installation of a forced air heating system, as it serves as the control center for regulating the temperature and ensuring optimal comfort within the home. The thermostat communicates with the furnace, directing it to activate or deactivate based on the desired temperature settings, thus playing a crucial role in energy efficiency and personalized climate control. Here's a detailed breakdown of the essential steps involved in connecting the thermostat:
-
Selecting the Thermostat Type: Begin by selecting the appropriate thermostat type based on your preferences and heating system compatibility. Options range from traditional manual thermostats to programmable and smart thermostats, each offering varying levels of functionality and energy-saving features. Consider factors such as scheduling capabilities, remote access, and compatibility with the heating system.
-
Positioning the Thermostat: Choose an optimal location for the thermostat within the home, ensuring easy access for programming and temperature adjustments. Ideally, the thermostat should be placed on an interior wall away from direct sunlight, drafts, and heat sources to provide accurate temperature readings and efficient operation.
-
Wiring the Thermostat: Carefully follow the manufacturer's wiring diagram and instructions to connect the thermostat to the heating system. This typically involves identifying and connecting the designated wires from the thermostat to the corresponding terminals on the furnace or air handler. Pay close attention to the proper labeling and secure connection of the wires to ensure reliable communication between the thermostat and the heating system.
-
Configuring Thermostat Settings: Once the wiring is complete, configure the thermostat settings to align with your heating preferences and schedule. This may involve setting the desired temperature range, programming daily or weekly schedules, and customizing additional features such as fan control and temperature alerts. For smart thermostats, download the corresponding mobile app and complete the setup process for remote access and advanced functionality.
-
Testing the Thermostat: After connecting and configuring the thermostat, perform comprehensive testing to ensure that it effectively communicates with the heating system. Verify that the thermostat accurately reflects the temperature readings and successfully triggers the furnace to activate and deactivate based on temperature adjustments. Additionally, test any programmed schedules or smart features to confirm their seamless operation.
By meticulously following these steps, the thermostat can be seamlessly integrated into the forced air heating system, providing precise temperature control and energy-efficient operation. With the thermostat connected and functioning optimally, the final step involves comprehensive testing of the entire heating system to ensure its performance and reliability.
Step 6: Test the System
After completing the installation of a forced air heating system, thorough testing is essential to ensure its functionality, efficiency, and safety. This critical step involves a comprehensive evaluation of the entire system, from the furnace and ductwork to the thermostat and airflow distribution. By conducting rigorous testing, any potential issues can be identified and addressed, ultimately ensuring that the heating system operates optimally.
Activating the System
The testing process begins with activating the heating system to assess its initial startup and operation. This involves turning on the furnace and allowing it to initiate the heating cycle. During this phase, the installation team monitors the startup sequence, ensuring that the furnace ignites properly, the blower motor functions smoothly, and the airflow through the ductwork is consistent.
Read more: What Is Meant By Forced Air Heating
Temperature Calibration
Once the system is operational, temperature calibration is performed to verify the accuracy of the thermostat and the furnace's heating output. This entails comparing the temperature readings on the thermostat with independent thermometers placed in various areas of the home. By cross-referencing the readings, any discrepancies can be identified and rectified, ensuring precise temperature control.
Airflow and Distribution Analysis
Conducting a detailed analysis of the airflow and distribution throughout the home is integral to confirming the effectiveness of the ductwork and vents. The installation team assesses the airflow from each vent, ensuring balanced distribution and consistent heating in all areas. Any areas experiencing inadequate airflow or temperature variations are addressed to optimize the system's performance.
Safety and Efficiency Checks
Thorough safety and efficiency checks are paramount to validate the system's compliance with industry standards and local regulations. This involves verifying the proper functioning of safety controls, gas or electrical connections, and the overall adherence to safety protocols. Additionally, the system's energy efficiency is evaluated to ensure that it operates with minimal energy consumption while delivering optimal heating.
Thermostat and Control Verification
The final phase of testing involves verifying the functionality of the thermostat and its seamless communication with the heating system. This includes testing programmed schedules, temperature adjustments, and any smart features for remote access and energy-saving capabilities. By confirming the thermostat's reliability, the installation team ensures that users can effectively control the heating system to suit their preferences.
By meticulously conducting these tests, any potential issues or inefficiencies within the forced air heating system can be identified and promptly addressed. This rigorous testing phase serves as the final quality assurance measure, ensuring that the installed system meets the highest standards of performance, safety, and user satisfaction.
Read more: How To Improve A Forced Air Heating System ?
Conclusion
In conclusion, the installation of a forced air heating system is a multifaceted process that demands meticulous attention to detail, adherence to safety protocols, and a comprehensive understanding of the system's components. By following the step-by-step guide outlined in this comprehensive overview, homeowners and installation professionals can navigate the installation process with confidence and precision.
From the initial step of choosing the right forced air heating system to the final phase of rigorous system testing, each stage plays a pivotal role in ensuring the system's optimal performance, energy efficiency, and safety. Selecting a system that aligns with the home's size, layout, and heating needs sets the foundation for a successful installation, while meticulous preparation of the installation area creates a conducive environment for seamless implementation.
The installation of ductwork and the furnace requires meticulous planning, precise execution, and compliance with industry standards to facilitate efficient airflow and consistent heating distribution. Connecting the thermostat serves as the control center for personalized temperature regulation, enhancing energy efficiency and user comfort.
The culmination of the installation process lies in the comprehensive testing of the entire system, encompassing startup sequences, temperature calibration, airflow analysis, safety checks, and thermostat verification. Through these rigorous tests, any potential issues are identified and rectified, ensuring that the installed system operates optimally and reliably.
Ultimately, the successful installation of a forced air heating system not only enhances the comfort and climate control within the home but also contributes to long-term energy savings and environmental sustainability. By leveraging the insights and guidelines presented in this guide, homeowners and installation professionals can embark on the installation journey with the knowledge and confidence needed to achieve a seamlessly integrated and efficient heating system.
With a steadfast commitment to precision, safety, and performance, the installation of a forced air heating system becomes a transformative endeavor, elevating the home's comfort and energy efficiency while laying the groundwork for a cozy and inviting living environment.
Frequently Asked Questions about How To Install Forced Air Heating System
Was this page helpful?
At Storables.com, we guarantee accurate and reliable information. Our content, validated by Expert Board Contributors, is crafted following stringent Editorial Policies. We're committed to providing you with well-researched, expert-backed insights for all your informational needs.
0 thoughts on “How To Install Forced Air Heating System”