Home>Home Appliances>Heating & Cooling>How To Clean Forced Air Heating Ducts
Heating & Cooling
How To Clean Forced Air Heating Ducts
Modified: October 19, 2024
Learn how to effectively clean your forced air heating ducts to improve indoor air quality and optimize your heating and cooling system. Expert tips and techniques for maintaining a healthy home environment.
(Many of the links in this article redirect to a specific reviewed product. Your purchase of these products through affiliate links helps to generate commission for Storables.com, at no extra cost. Learn more)
Introduction
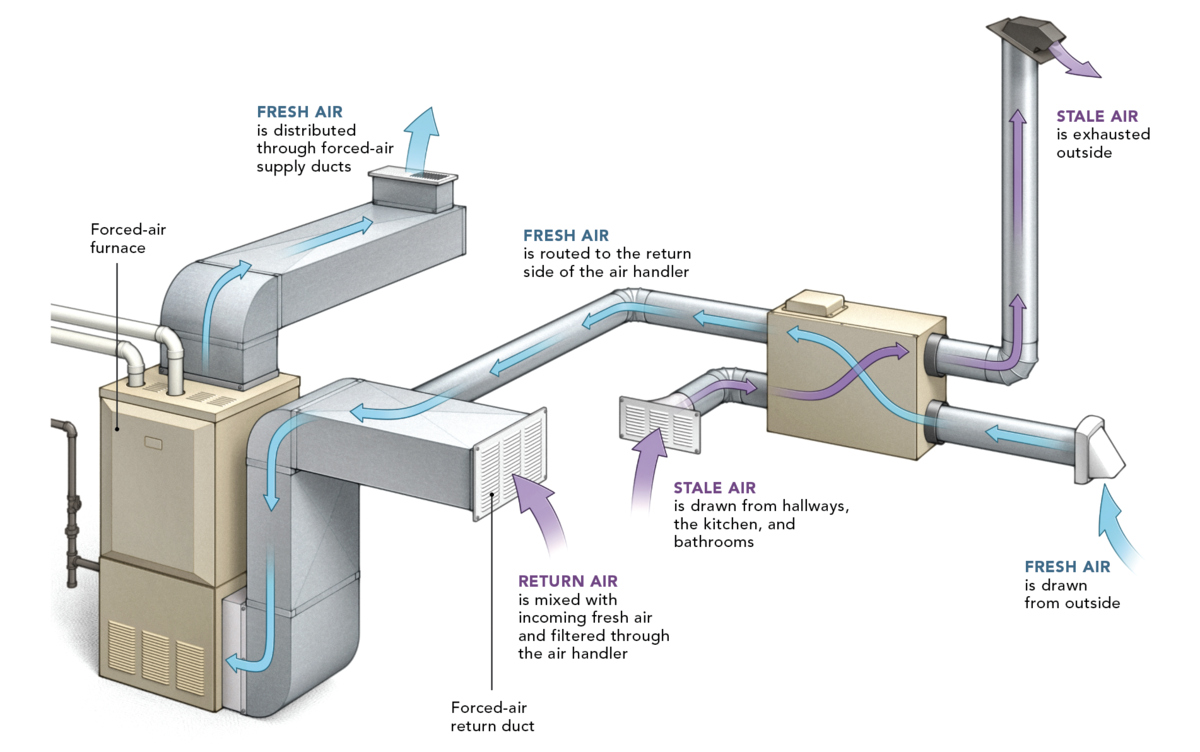
Maintaining a clean and efficient forced air heating system is essential for ensuring optimal indoor air quality and energy efficiency in your home. Over time, dust, debris, and other contaminants can accumulate within the heating ducts, compromising the system's performance and potentially impacting the health of occupants. Regular cleaning of forced air heating ducts is a crucial aspect of home maintenance that can significantly improve the overall air circulation and quality within your living space.
In this comprehensive guide, we will walk you through the step-by-step process of cleaning your forced air heating ducts. By following these instructions, you can effectively remove accumulated dust and debris, thereby enhancing the efficiency and lifespan of your heating system while promoting a healthier indoor environment for you and your family.
A well-maintained heating duct system not only contributes to a cleaner and more comfortable living environment but also helps to reduce energy consumption and lower utility costs. By taking the time to clean your forced air heating ducts, you are investing in the long-term functionality and sustainability of your home's heating system.
Now, let's delve into the detailed steps involved in cleaning forced air heating ducts, equipping you with the knowledge and confidence to undertake this essential maintenance task. With the right tools and a systematic approach, you can ensure that your heating ducts remain free from contaminants, allowing for improved air quality and efficient operation of your home's heating system.
Key Takeaways:
- Keep your home’s air clean and your heating system efficient by cleaning forced air heating ducts. It’s an essential task that improves air quality, reduces allergens, and lowers energy costs.
- Gather tools, turn off the heating system, clean vent covers, vacuum and brush the ducts, clean the blower and fan, and then turn the heating system back on for a healthier, more efficient home.
Step 1: Gather the necessary tools and materials
Before embarking on the process of cleaning your forced air heating ducts, it is essential to gather the required tools and materials to ensure a smooth and effective cleaning operation. Here's a comprehensive list of items you will need:
Tools:
- Screwdriver: You will need a screwdriver to remove the vent covers and access the ductwork.
- Vacuum Cleaner with Hose Attachment: A powerful vacuum cleaner equipped with a long hose attachment is crucial for effectively removing dust and debris from the ducts.
- Soft-Bristle Brush: A soft-bristle brush, such as a paintbrush or a specialized duct cleaning brush, will aid in dislodging and loosening debris within the ductwork.
- Microfiber Cloths: These cloths are ideal for wiping down the vent covers and surrounding areas to ensure a thorough cleaning process.
- Flashlight: A flashlight will help illuminate dark and hard-to-reach areas within the ductwork, allowing for better visibility during the cleaning process.
Materials:
- Disposable Dust Masks: It's important to protect yourself from inhaling dust and contaminants while cleaning the ducts, so disposable dust masks are essential.
- Rubber Gloves: Wearing rubber gloves will shield your hands from dirt and debris, maintaining hygiene during the cleaning process.
- Cleaning Solution: A mild cleaning solution or a mixture of water and vinegar can be used to wipe down the vent covers and surrounding areas.
- Plastic Bags: These will come in handy for collecting and disposing of any debris or dust that is extracted from the ducts during cleaning.
- Replacement Air Filters (Optional): If your heating system utilizes air filters, it may be beneficial to have replacement filters on hand to install after the cleaning process is complete.
By ensuring that you have all the necessary tools and materials at your disposal, you can streamline the cleaning process and achieve thorough results. With these items in hand, you will be well-prepared to proceed to the next steps of cleaning your forced air heating ducts effectively and efficiently.
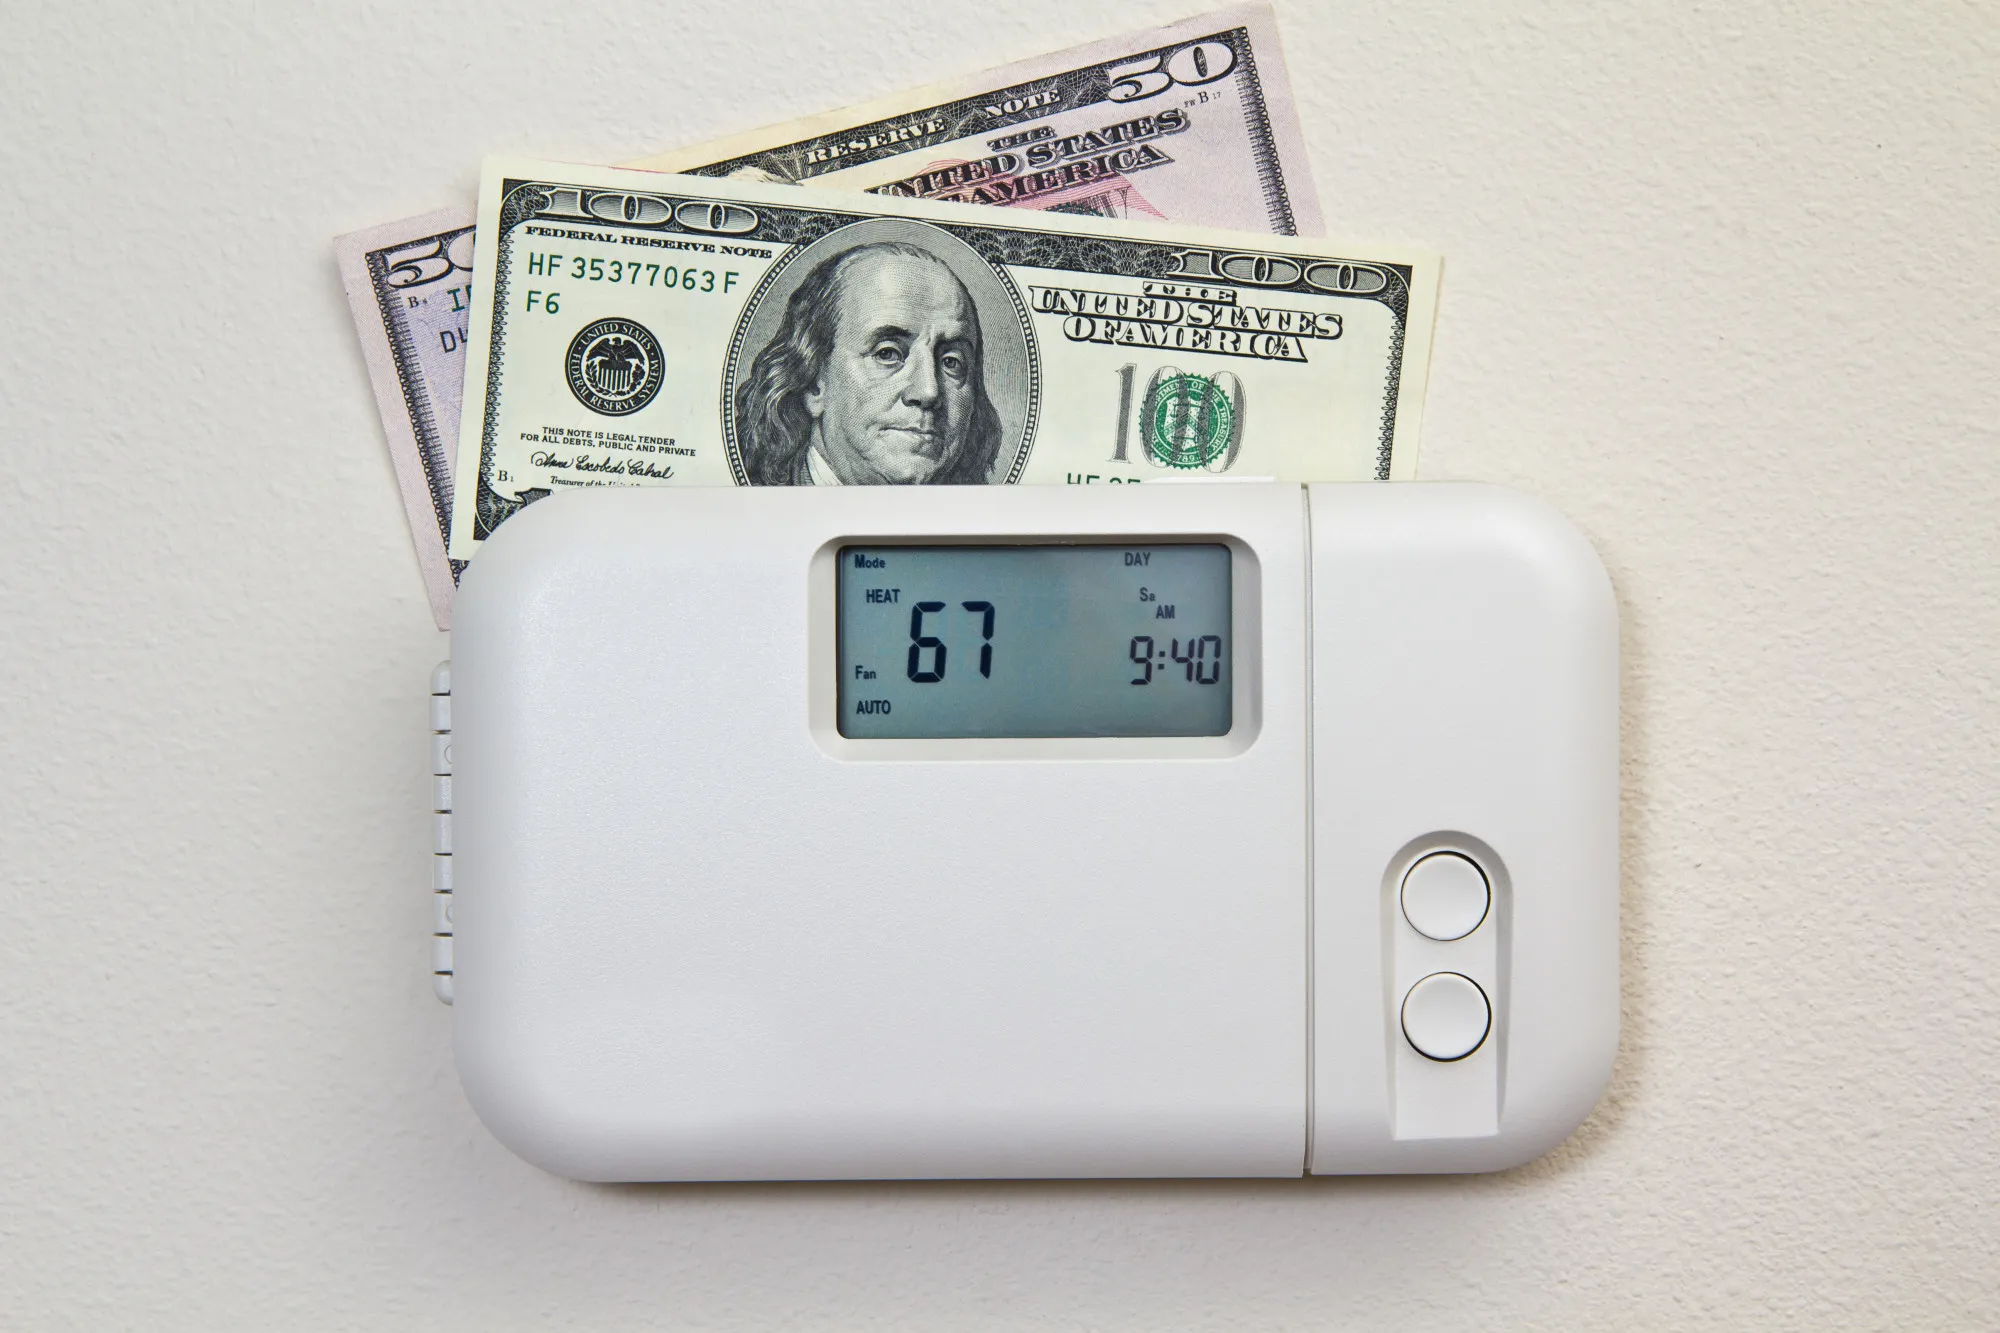
Step 2: Turn off the heating system
Before initiating the cleaning process, it is crucial to ensure the safety and effectiveness of the operation by turning off the heating system. This step is essential to prevent the circulation of air and potential debris during the cleaning process. Here's a detailed guide on how to safely turn off the heating system:
-
Locate the Thermostat: Begin by locating the thermostat that controls your heating system. This may be situated on a wall within your home. Once located, set the thermostat to the "off" position to deactivate the heating system.
-
Shut Off the Power: After turning off the thermostat, it's important to shut off the power supply to the heating system. This can typically be done by locating the circuit breaker or fuse box associated with the heating system and switching off the corresponding circuit or fuse. This precautionary measure ensures that the heating system is completely powered down, minimizing the risk of accidental activation during the cleaning process.
-
Wait for Cooling: If your heating system also functions as a cooling system, it's advisable to wait for a period of time to allow the system to cool down before proceeding with the cleaning. This helps to ensure that the components are safe to handle and reduces the risk of encountering hot surfaces during the cleaning process.
By following these steps to turn off the heating system, you can create a safe and controlled environment for cleaning the forced air heating ducts. This proactive approach not only minimizes the potential for accidents or mishaps but also allows for a more thorough and effective cleaning process. With the heating system safely deactivated, you are now ready to proceed to the next steps of cleaning the ducts and optimizing the performance of your home's forced air heating system.
Read more: When Did Forced Air Heating Start?
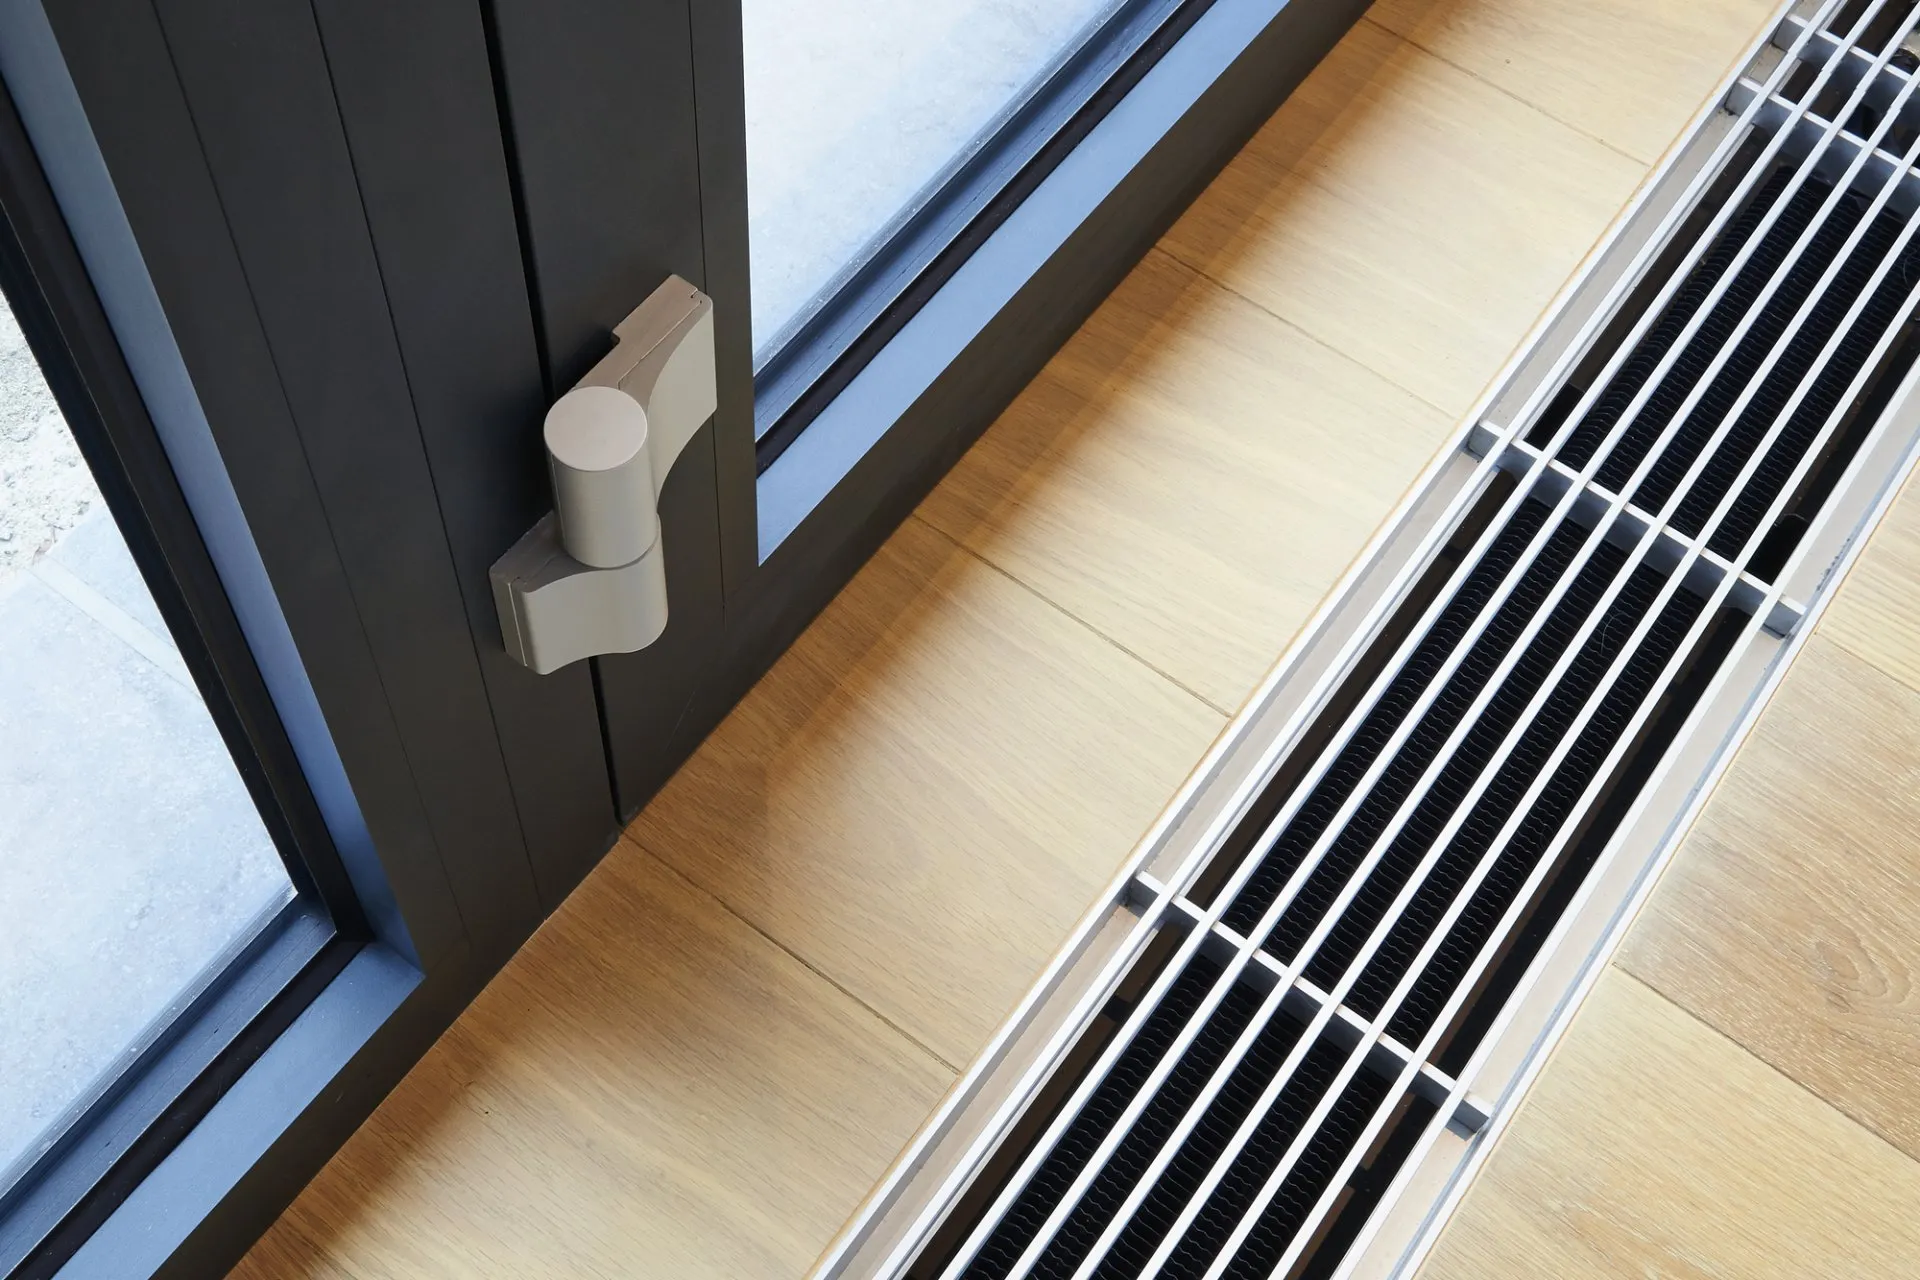
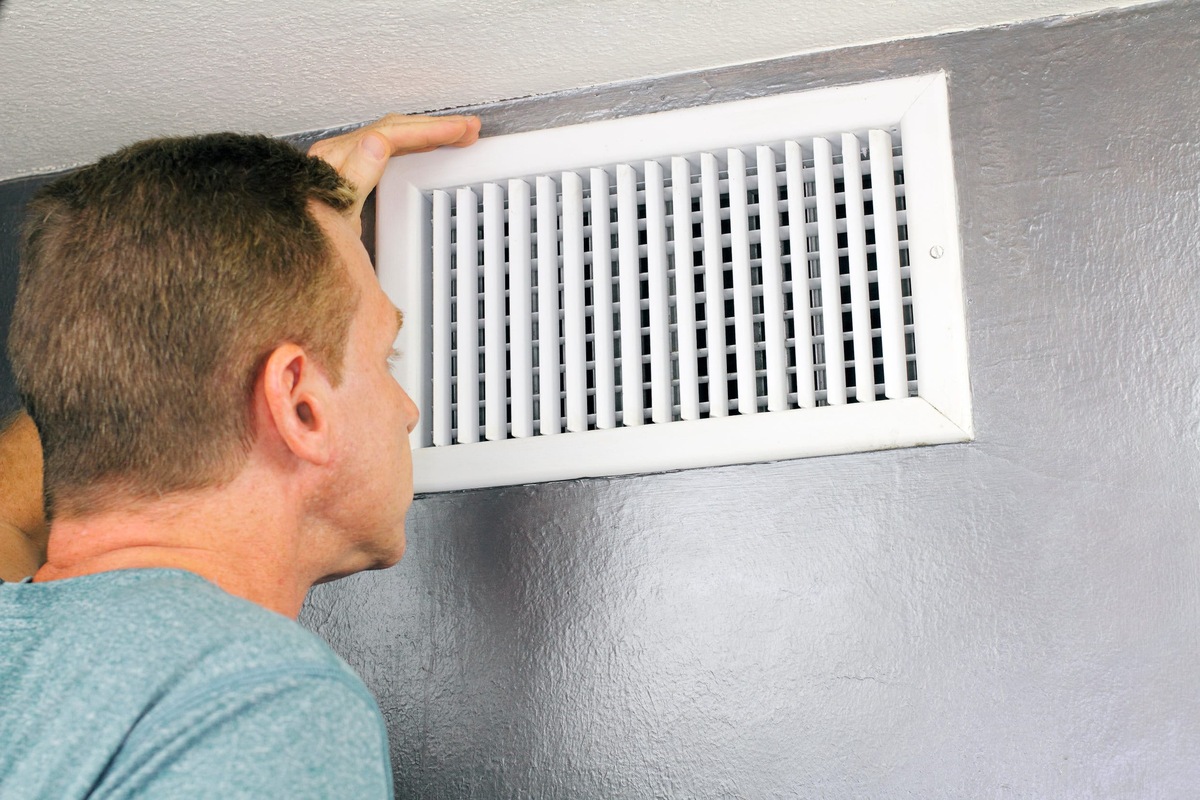
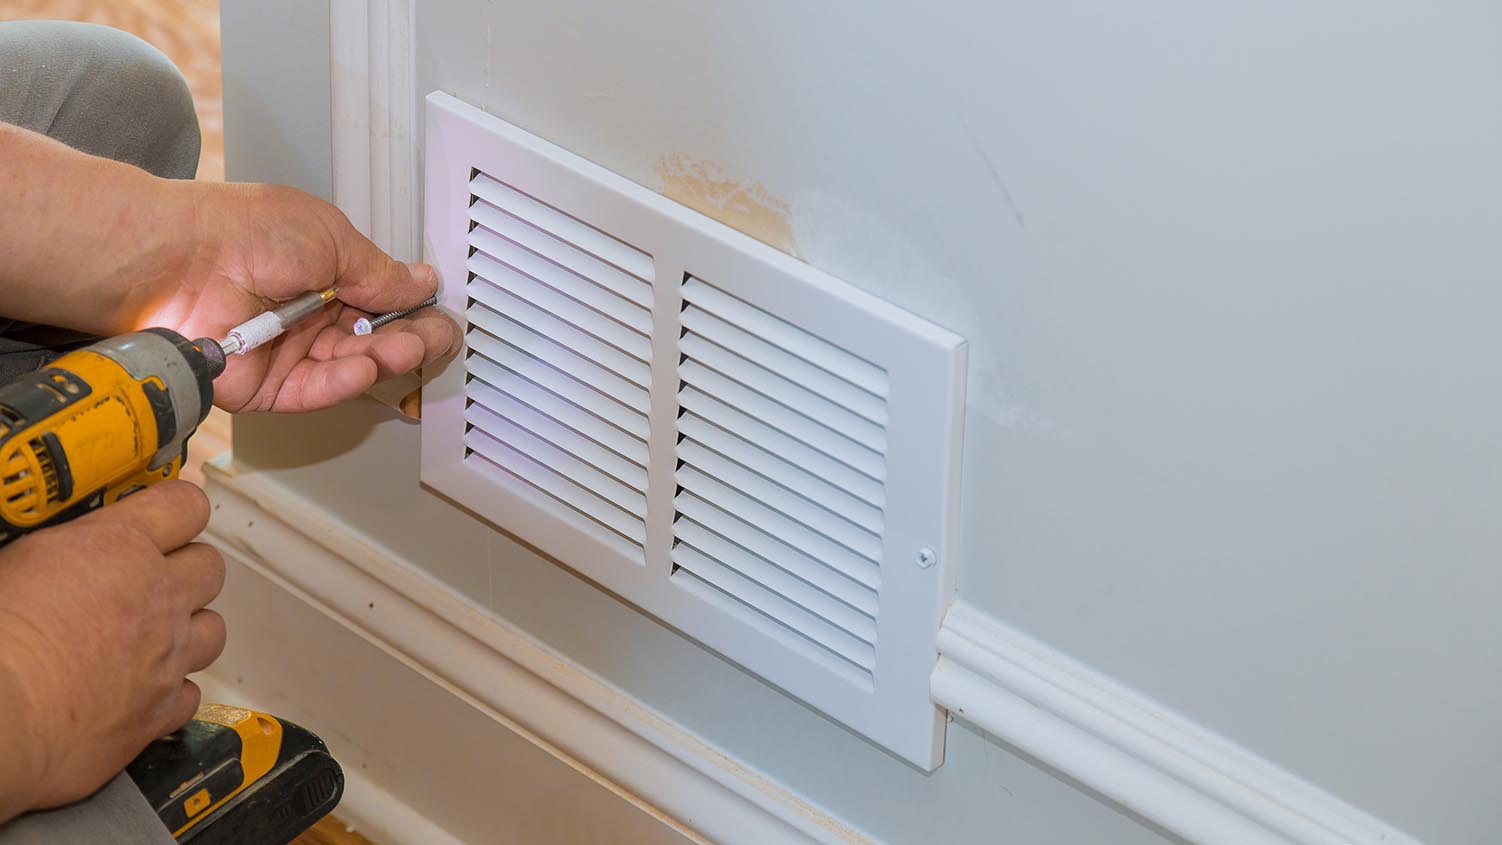
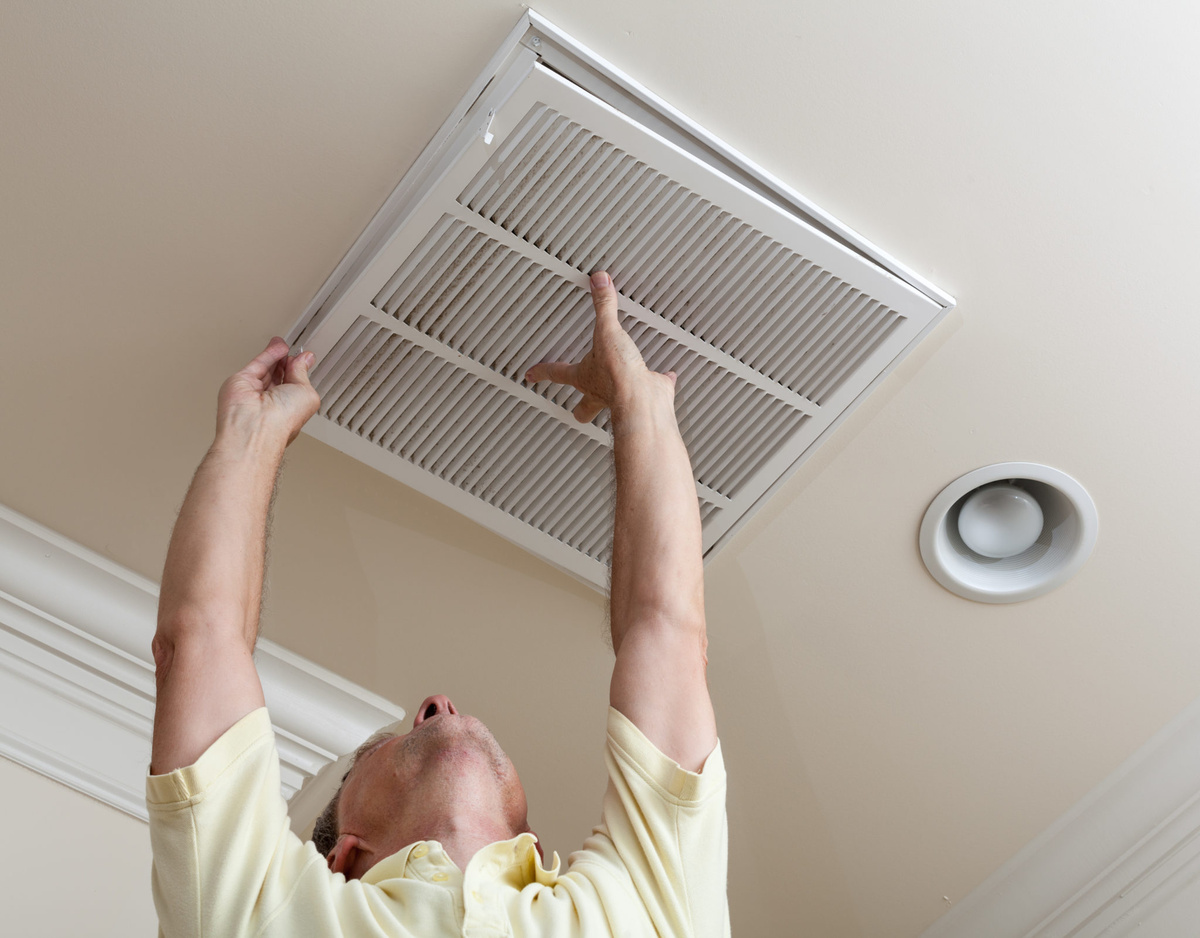
Step 3: Remove and clean the vent covers
Removing and cleaning the vent covers is a crucial step in the process of cleaning forced air heating ducts. Vent covers can accumulate dust, pet dander, and other airborne particles over time, impacting the air quality and overall efficiency of the heating system. Here's a detailed guide on how to effectively remove and clean the vent covers:
-
Use a Screwdriver: Begin by using a screwdriver to carefully remove the screws securing the vent covers in place. Place the screws in a safe location to prevent misplacement.
-
Gently Remove the Vent Covers: Once the screws are removed, gently pull the vent covers away from the duct openings. It's important to handle the covers with care to avoid bending or damaging them during the removal process.
-
Inspect and Clean the Vent Covers: After removing the vent covers, inspect them for accumulated dust and debris. Use a vacuum cleaner with a brush attachment to carefully remove the debris from both the covers and the surrounding areas. For stubborn dirt or grime, a mild cleaning solution or a mixture of water and vinegar can be applied to a microfiber cloth to wipe down the vent covers thoroughly.
-
Allow the Vent Covers to Dry: If a cleaning solution is used, allow the vent covers to air dry completely before reattaching them to the duct openings. This ensures that the covers are free from moisture and ready to be reinstalled.
-
Clean the Duct Openings: While the vent covers are removed, take the opportunity to clean the exposed duct openings using a vacuum cleaner with a brush attachment. This helps to eliminate any dust or debris that may have accumulated around the openings, contributing to a more comprehensive cleaning process.
-
Replace the Vent Covers: Once the vent covers are dry and the surrounding areas are cleaned, carefully position the covers back over the duct openings. Secure them in place by reattaching the screws using the screwdriver.
By following these steps to remove and clean the vent covers, you can effectively eliminate accumulated dust and debris, contributing to improved air quality and unobstructed airflow within the heating ducts. This meticulous approach to cleaning the vent covers ensures that your forced air heating system operates at its best, promoting a healthier and more comfortable indoor environment for you and your family.
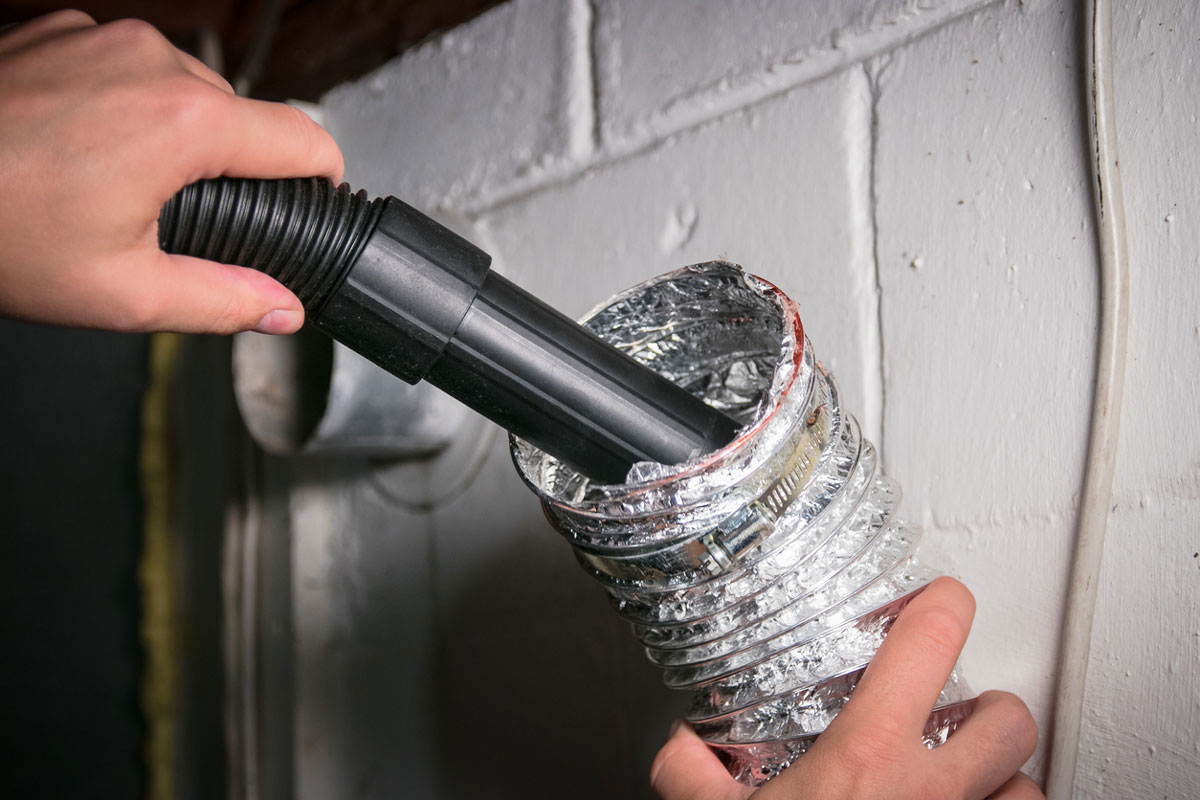
Step 4: Clean the ducts using a vacuum and brush
Cleaning the ducts using a vacuum and brush is a critical step in the process of maintaining a healthy and efficient forced air heating system. Over time, dust, debris, and other contaminants can accumulate within the ductwork, hindering airflow and diminishing indoor air quality. By following these detailed steps, you can effectively remove accumulated particles and ensure the optimal performance of your heating system.
-
Access the Ductwork: Begin by accessing the ductwork, either through the vent openings or by locating access panels along the ducts. Use a screwdriver to remove any panels or covers, providing clear access to the interior of the ducts.
-
Inspect the Ducts: With the ductwork accessible, use a flashlight to inspect the interior for any visible dust, debris, or obstructions. Pay close attention to corners, bends, and junctions where particles are likely to accumulate.
-
Use the Vacuum Cleaner: Attach a long hose and a brush attachment to a powerful vacuum cleaner. Carefully insert the hose into the ductwork, maneuvering it through the passages to effectively remove dust and debris. The brush attachment aids in dislodging and loosening particles from the duct walls, facilitating their extraction by the vacuum.
-
Thoroughly Clean the Ducts: Slowly and methodically move the vacuum hose throughout the ductwork, ensuring comprehensive coverage of all accessible areas. Pay particular attention to areas with visible accumulation and any sections where airflow may be restricted.
-
Brushing Hard-to-Reach Areas: In areas where the vacuum hose may not reach, use a soft-bristle brush to dislodge and loosen debris from the duct walls. Gently brush the interior surfaces, guiding dislodged particles toward the vacuum hose for extraction.
-
Repeat as Needed: Continue the vacuuming and brushing process, working systematically through the ductwork to ensure thorough cleaning. Be patient and meticulous, as this step is crucial for removing as much accumulated dust and debris as possible.
-
Replace Access Panels and Covers: Once the cleaning process is complete, securely reattach any access panels or covers that were removed to gain entry to the ductwork. Ensure that all components are properly secured to maintain the integrity of the duct system.
By diligently cleaning the ducts using a vacuum and brush, you can effectively remove accumulated dust and debris, promoting improved airflow and indoor air quality within your home. This proactive maintenance approach contributes to the overall efficiency and longevity of your forced air heating system, ensuring a healthier and more comfortable living environment for you and your family.
Regularly change the air filter in your forced air heating system to prevent dust and debris from building up in the ducts. This will help maintain good air quality and improve the efficiency of your heating system.
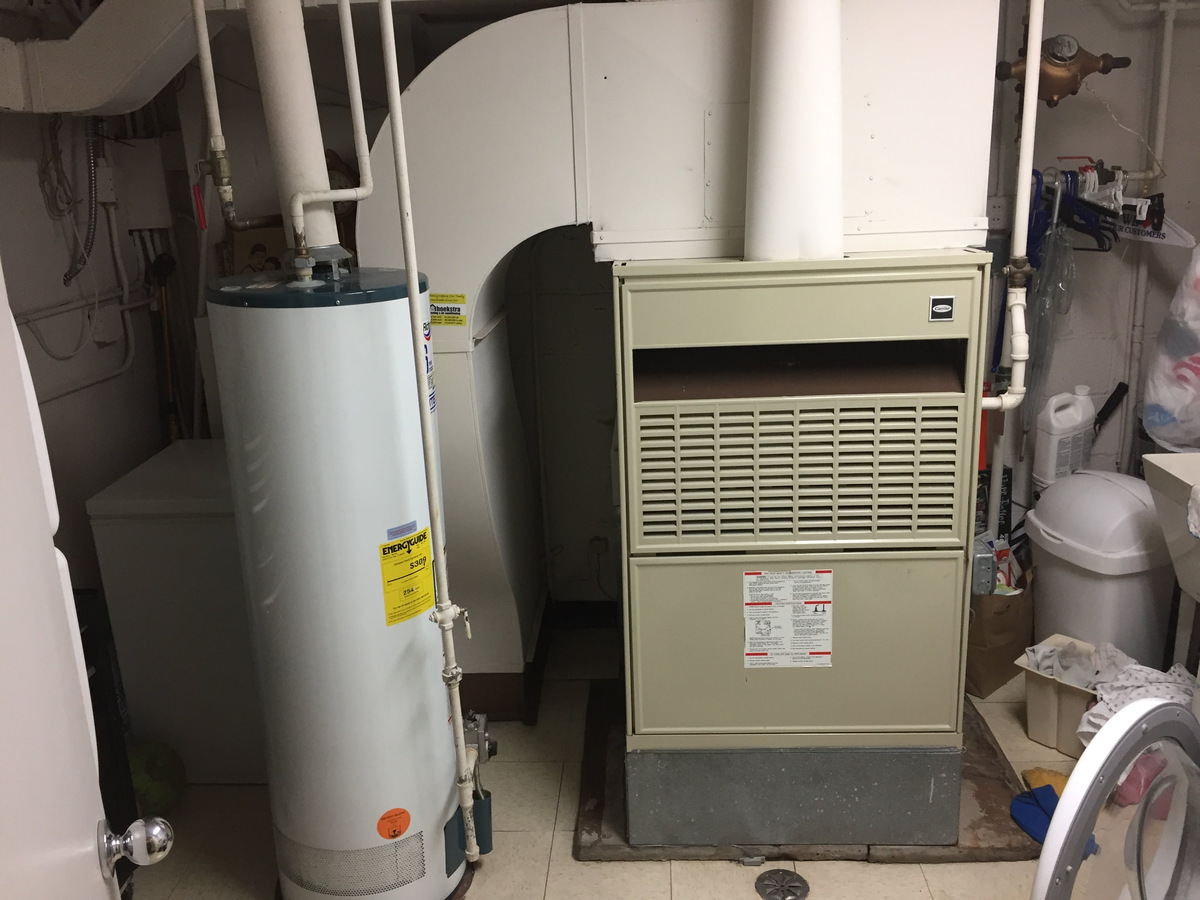
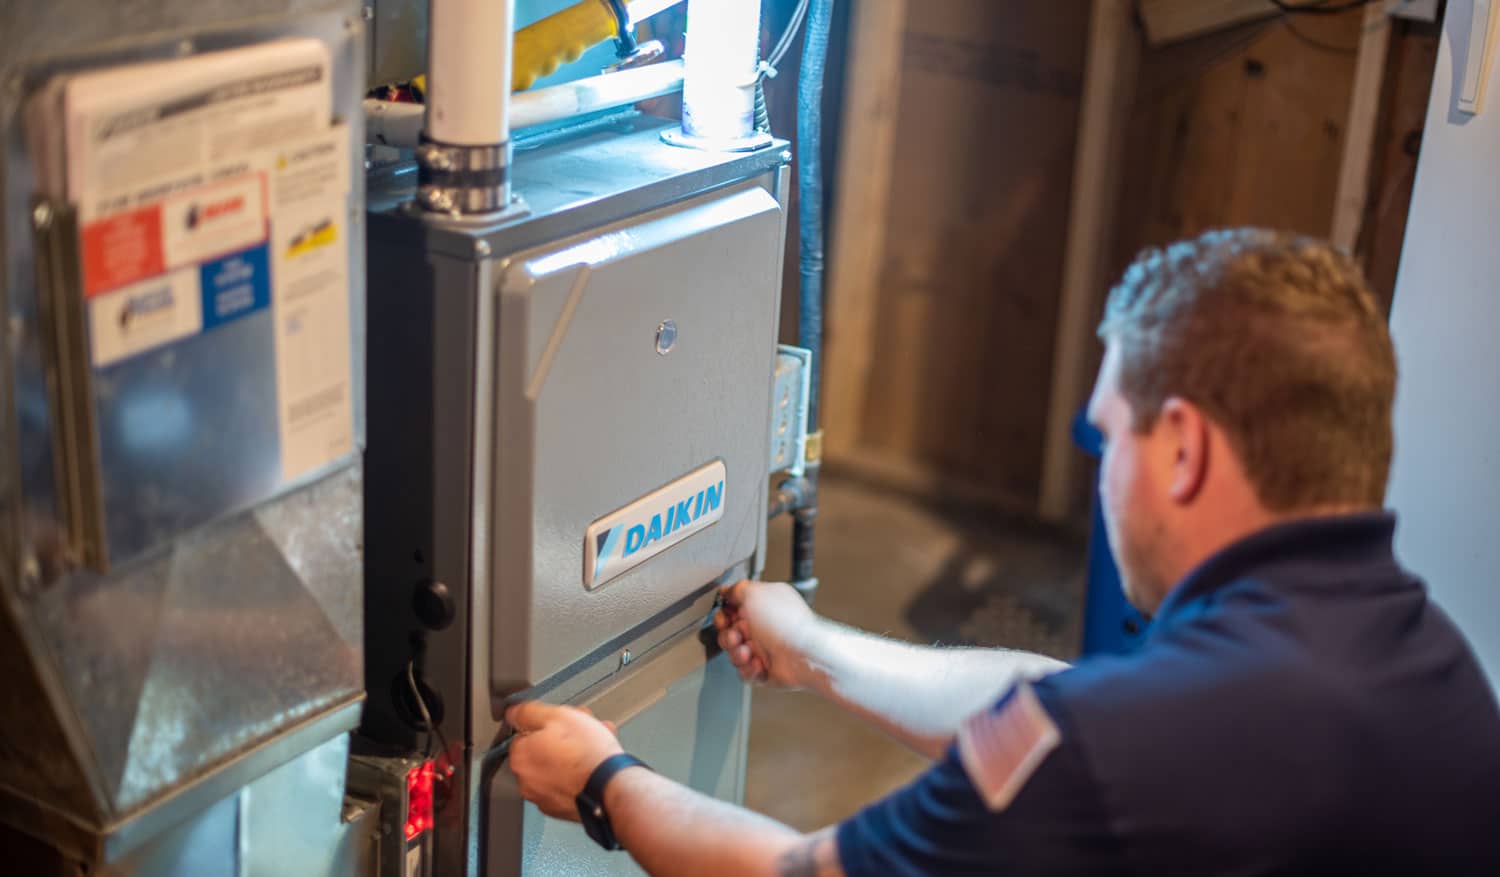
Step 5: Clean the blower and fan
Cleaning the blower and fan is a crucial aspect of maintaining a healthy and efficient forced air heating system. Over time, the blower and fan components can accumulate dust, dirt, and debris, which can impede their performance and compromise the overall functionality of the heating system. By following these detailed steps, you can ensure that the blower and fan operate at their best, contributing to improved air circulation and energy efficiency within your home.
-
Access the Blower Compartment: Begin by locating the blower compartment within your heating system. This may involve removing an access panel or cover to gain entry to the blower assembly. Use a screwdriver to carefully remove any fasteners securing the panel in place, ensuring safe and clear access to the blower and fan components.
-
Inspect the Blower and Fan: With the blower compartment accessible, visually inspect the blower wheel and fan blades for any visible accumulation of dust and debris. Pay close attention to the surfaces of the components, as well as the surrounding areas within the compartment.
-
Use a Vacuum and Brush: Employ a vacuum cleaner with a brush attachment to carefully remove dust and debris from the blower wheel and fan blades. Gently maneuver the brush attachment over the surfaces, dislodging any particles and guiding them toward the vacuum for extraction. Take care to cover the entire surface area of the components, ensuring thorough cleaning.
-
Wipe Down the Components: After vacuuming, use a microfiber cloth or a soft, damp cloth to wipe down the blower wheel and fan blades. This helps to remove any remaining dust or residue, leaving the components clean and free from obstructions. Ensure that the cloth is not overly damp to prevent moisture from accumulating within the blower compartment.
-
Inspect the Motor and Belts: While cleaning the blower and fan components, take the opportunity to inspect the motor and any belts associated with the blower assembly. Look for signs of wear, damage, or excessive dirt accumulation. If necessary, consult the manufacturer's guidelines for maintenance and consider scheduling professional servicing if components show signs of significant wear or malfunction.
-
Replace the Access Panel: Once the cleaning process is complete, securely reattach the access panel or cover to the blower compartment. Ensure that all fasteners are tightened to maintain the integrity of the compartment and prevent the ingress of dust and debris.
By meticulously cleaning the blower and fan components, you can optimize the performance and efficiency of your forced air heating system. This proactive maintenance approach contributes to improved air circulation, energy efficiency, and the overall longevity of your heating system, ensuring a healthier and more comfortable indoor environment for you and your family.
Step 6: Replace the vent covers and turn on the heating system
After completing the meticulous process of cleaning your forced air heating ducts, it's time to finalize the maintenance procedure by replacing the vent covers and restoring the heating system to operation. This critical step ensures that the ductwork is properly sealed and that the heating system can resume providing warmth and comfort to your living space. Here's a detailed guide on how to effectively complete this final phase of the cleaning process:
-
Position the Vent Covers: Carefully align the vent covers with their respective duct openings, ensuring a proper fit. Take care to position the covers securely, allowing for unobstructed airflow while maintaining a clean and polished appearance within your home.
-
Secure the Vent Covers: Once the vent covers are in place, use a screwdriver to reattach the screws, securing the covers over the duct openings. Ensure that the screws are tightened adequately to prevent any movement or displacement of the covers during normal operation of the heating system.
-
Inspect the Surrounding Area: After replacing the vent covers, take a moment to inspect the surrounding area for any residual dust or debris. Use a microfiber cloth to wipe down the area around the vent openings, ensuring a clean and tidy finish to the cleaning process.
-
Check the Thermostat: Before turning on the heating system, check the thermostat to ensure that it is set to the desired temperature. This proactive step helps to avoid any sudden temperature fluctuations and ensures that the heating system operates according to your comfort preferences.
-
Turn on the Heating System: With the vent covers securely in place and the thermostat set appropriately, it's time to turn on the heating system. Locate the power switch or control panel associated with the heating system and activate the system, allowing it to initiate the heating cycle.
-
Monitor the System: Once the heating system is operational, take a few moments to monitor its performance. Listen for any unusual sounds or vibrations that may indicate issues with the ductwork or the heating system components. Additionally, pay attention to the airflow from the vents to ensure that it is consistent and free from obstructions.
By following these steps to replace the vent covers and turn on the heating system, you can effectively complete the cleaning process and restore your forced air heating system to optimal functionality. This proactive maintenance approach ensures that your home's heating system operates efficiently, providing a comfortable and healthy indoor environment for you and your family.
Read more: What Is Oil Forced Air Heating?
Conclusion
In conclusion, the process of cleaning forced air heating ducts is a fundamental aspect of home maintenance that significantly impacts indoor air quality, energy efficiency, and the overall functionality of the heating system. By following the comprehensive steps outlined in this guide, you have taken proactive measures to ensure that your forced air heating system operates at its best, providing a healthier and more comfortable living environment for you and your family.
Regular cleaning of forced air heating ducts not only removes accumulated dust and debris but also contributes to improved air circulation, reduced allergens, and enhanced energy efficiency. By systematically removing obstructions and maintaining clean components, you have optimized the performance of your heating system, potentially lowering utility costs and extending the lifespan of the equipment.
Furthermore, the meticulous cleaning of vent covers, ducts, blowers, and fans has not only eliminated potential sources of indoor air pollutants but also enhanced the overall functionality of the heating system. The removal of accumulated dust and debris from these components ensures unobstructed airflow and reduces the strain on the system, promoting longevity and reliability.
As you turn on your heating system and experience the benefits of a thorough duct cleaning, you can take pride in knowing that you have invested in the well-being of your home and the comfort of your family. The improved air quality and energy efficiency resulting from this maintenance endeavor are tangible benefits that will be felt throughout your living space.
It is important to note that while the steps outlined in this guide provide a comprehensive approach to cleaning forced air heating ducts, regular maintenance and professional inspections are also valuable. Consider scheduling periodic inspections and maintenance services to ensure that your heating system continues to operate optimally.
By prioritizing the cleanliness and functionality of your forced air heating system, you have not only enhanced the quality of your indoor environment but also demonstrated a commitment to the long-term sustainability of your home. With a clean and efficient heating system, you can enjoy a healthier, more comfortable living space while minimizing energy consumption and contributing to a more sustainable lifestyle.
In essence, the effort and attention dedicated to cleaning your forced air heating ducts have positioned you to reap the rewards of improved air quality, enhanced energy efficiency, and a more reliable heating system. Your proactive approach to home maintenance reflects a commitment to creating a healthy and comfortable living environment, setting the stage for a more enjoyable and sustainable lifestyle.
Frequently Asked Questions about How To Clean Forced Air Heating Ducts
Was this page helpful?
At Storables.com, we guarantee accurate and reliable information. Our content, validated by Expert Board Contributors, is crafted following stringent Editorial Policies. We're committed to providing you with well-researched, expert-backed insights for all your informational needs.

0 thoughts on “How To Clean Forced Air Heating Ducts”