Home>Home Appliances>Home Automation Appliances>How To Install Alexa Thermostat
Home Automation Appliances
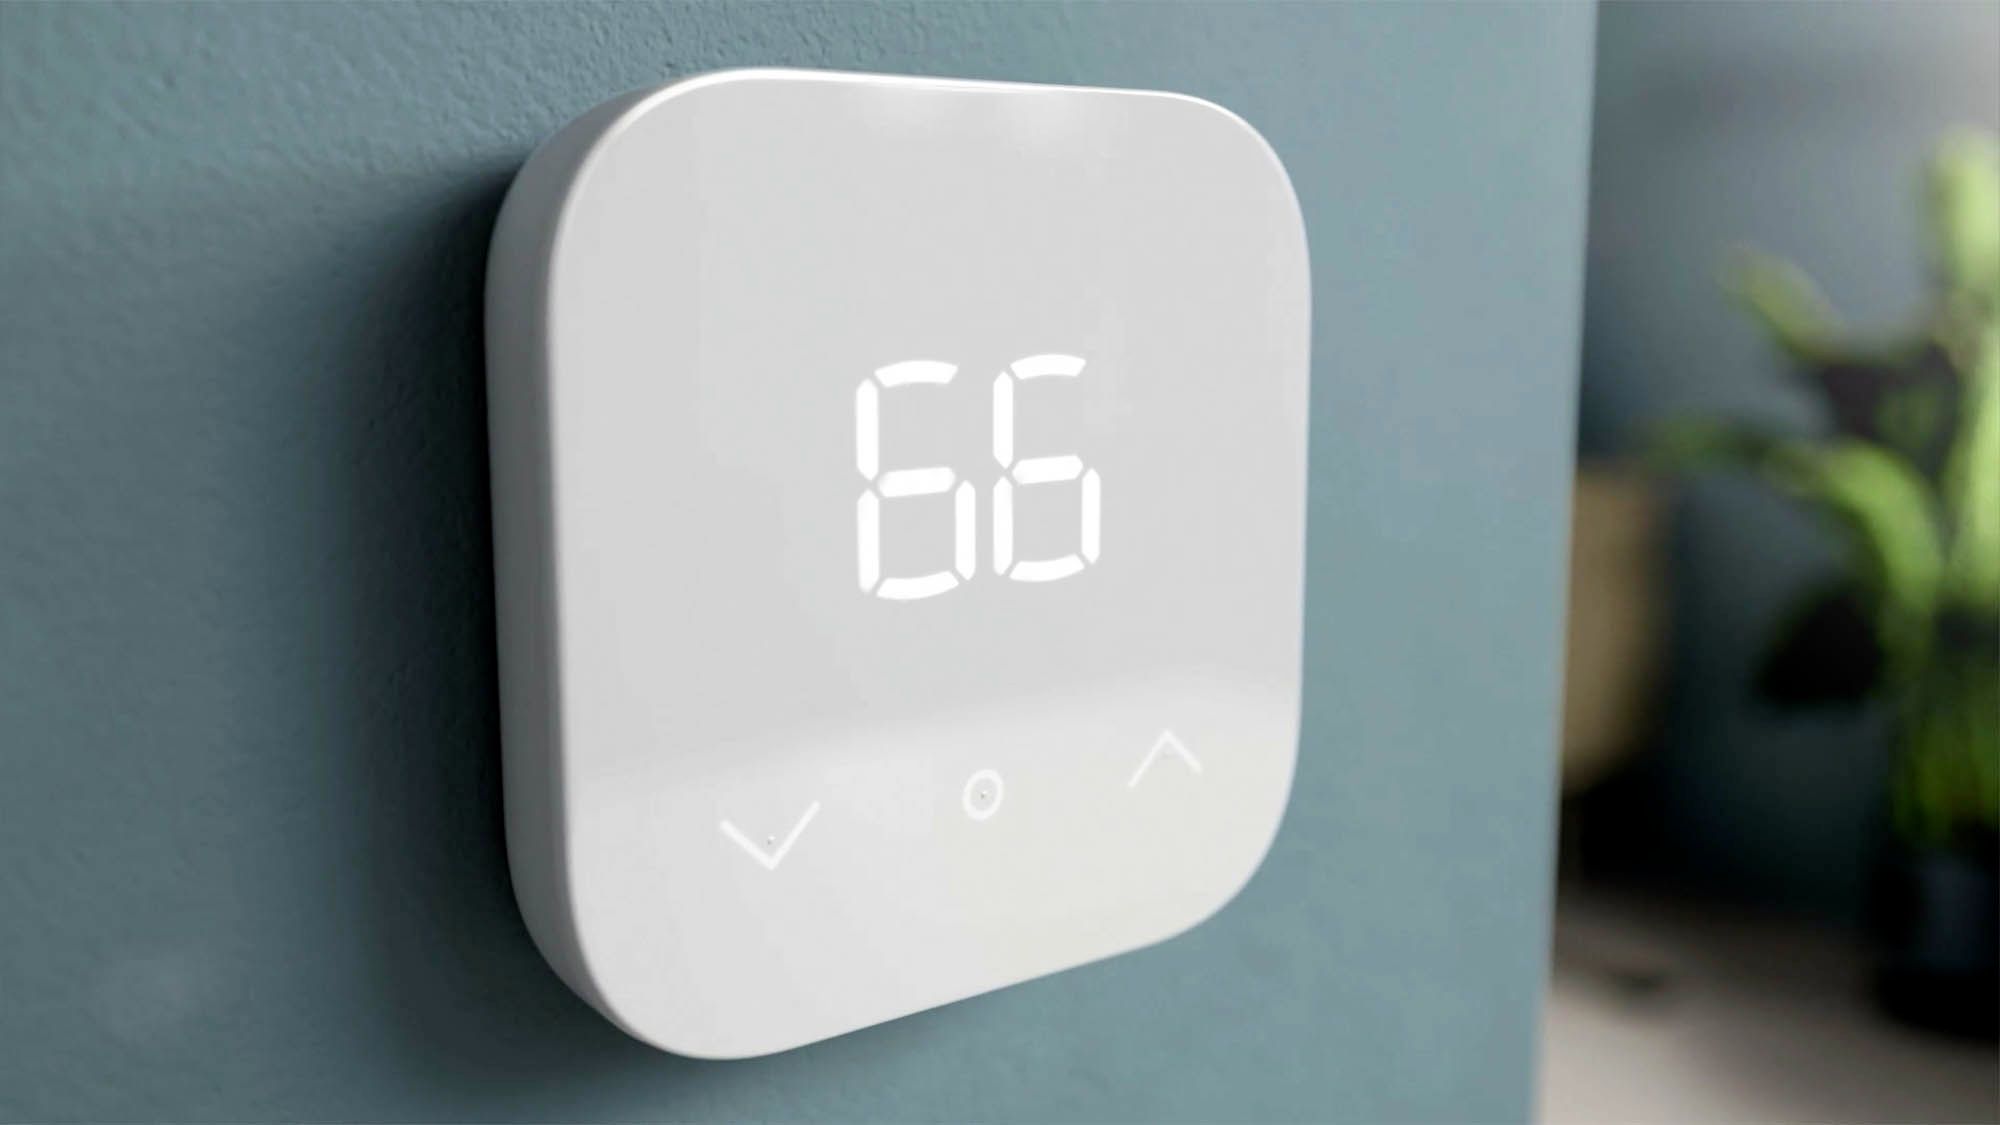
How To Install Alexa Thermostat
Modified: January 6, 2024
Learn how to install an Alexa thermostat for your home automation appliances. Follow our step-by-step guide for a seamless setup.
(Many of the links in this article redirect to a specific reviewed product. Your purchase of these products through affiliate links helps to generate commission for Storables.com, at no extra cost. Learn more)
Introduction
Welcome to the world of smart home technology, where convenience and comfort intertwine seamlessly. As smart home automation continues to revolutionize the way we interact with our living spaces, integrating voice-controlled devices has become increasingly popular. Among these, the Alexa thermostat stands out as a versatile and innovative addition to any modern home.
In this comprehensive guide, we'll walk you through the step-by-step process of installing an Alexa thermostat, empowering you to effortlessly manage your home's temperature with voice commands. Whether you're a tech enthusiast diving into the world of smart home devices or a homeowner seeking to streamline your daily routines, this guide is designed to equip you with the knowledge and confidence to successfully install and set up your Alexa thermostat.
By the end of this tutorial, you'll have a clear understanding of the tools and materials required, the necessary preparatory steps, and the detailed installation process. Additionally, we'll cover the essential aspects of connecting the thermostat to your HVAC system and integrating it with your Amazon Alexa-enabled devices. With a few simple yet strategic actions, you'll be on your way to enjoying the convenience and energy efficiency that a smart thermostat offers.
So, let's embark on this journey together, as we delve into the world of smart home technology and explore the seamless integration of the Alexa thermostat into your living space. Get ready to witness the power of voice control as we pave the way for a more comfortable and connected home environment.
Key Takeaways:
- Installing an Alexa thermostat involves gathering tools, preparing the location, turning off power, removing the old thermostat, installing the new base, connecting wires, attaching the display, and setting up the thermostat for voice-controlled comfort.
- The installation process empowers homeowners to seamlessly integrate smart home technology, optimize energy usage, and enjoy the convenience of voice-activated temperature control, creating a more connected and responsive living space.
Read more: How To Use Alexa Thermostat
Step 1: Gather Necessary Tools and Materials
Before commencing the installation process, it’s essential to assemble the required tools and materials. By ensuring that you have everything at your disposal, you can streamline the installation and minimize interruptions. Here’s a comprehensive list of the tools and materials you’ll need:
Tools:
- Screwdriver set (flathead and Phillips head)
- Drill and drill bits
- Level
- Wire cutter/stripper
- Tape measure
- Pencil
- Masking tape or labels
- Smartphone or tablet with the Alexa app installed
Materials:
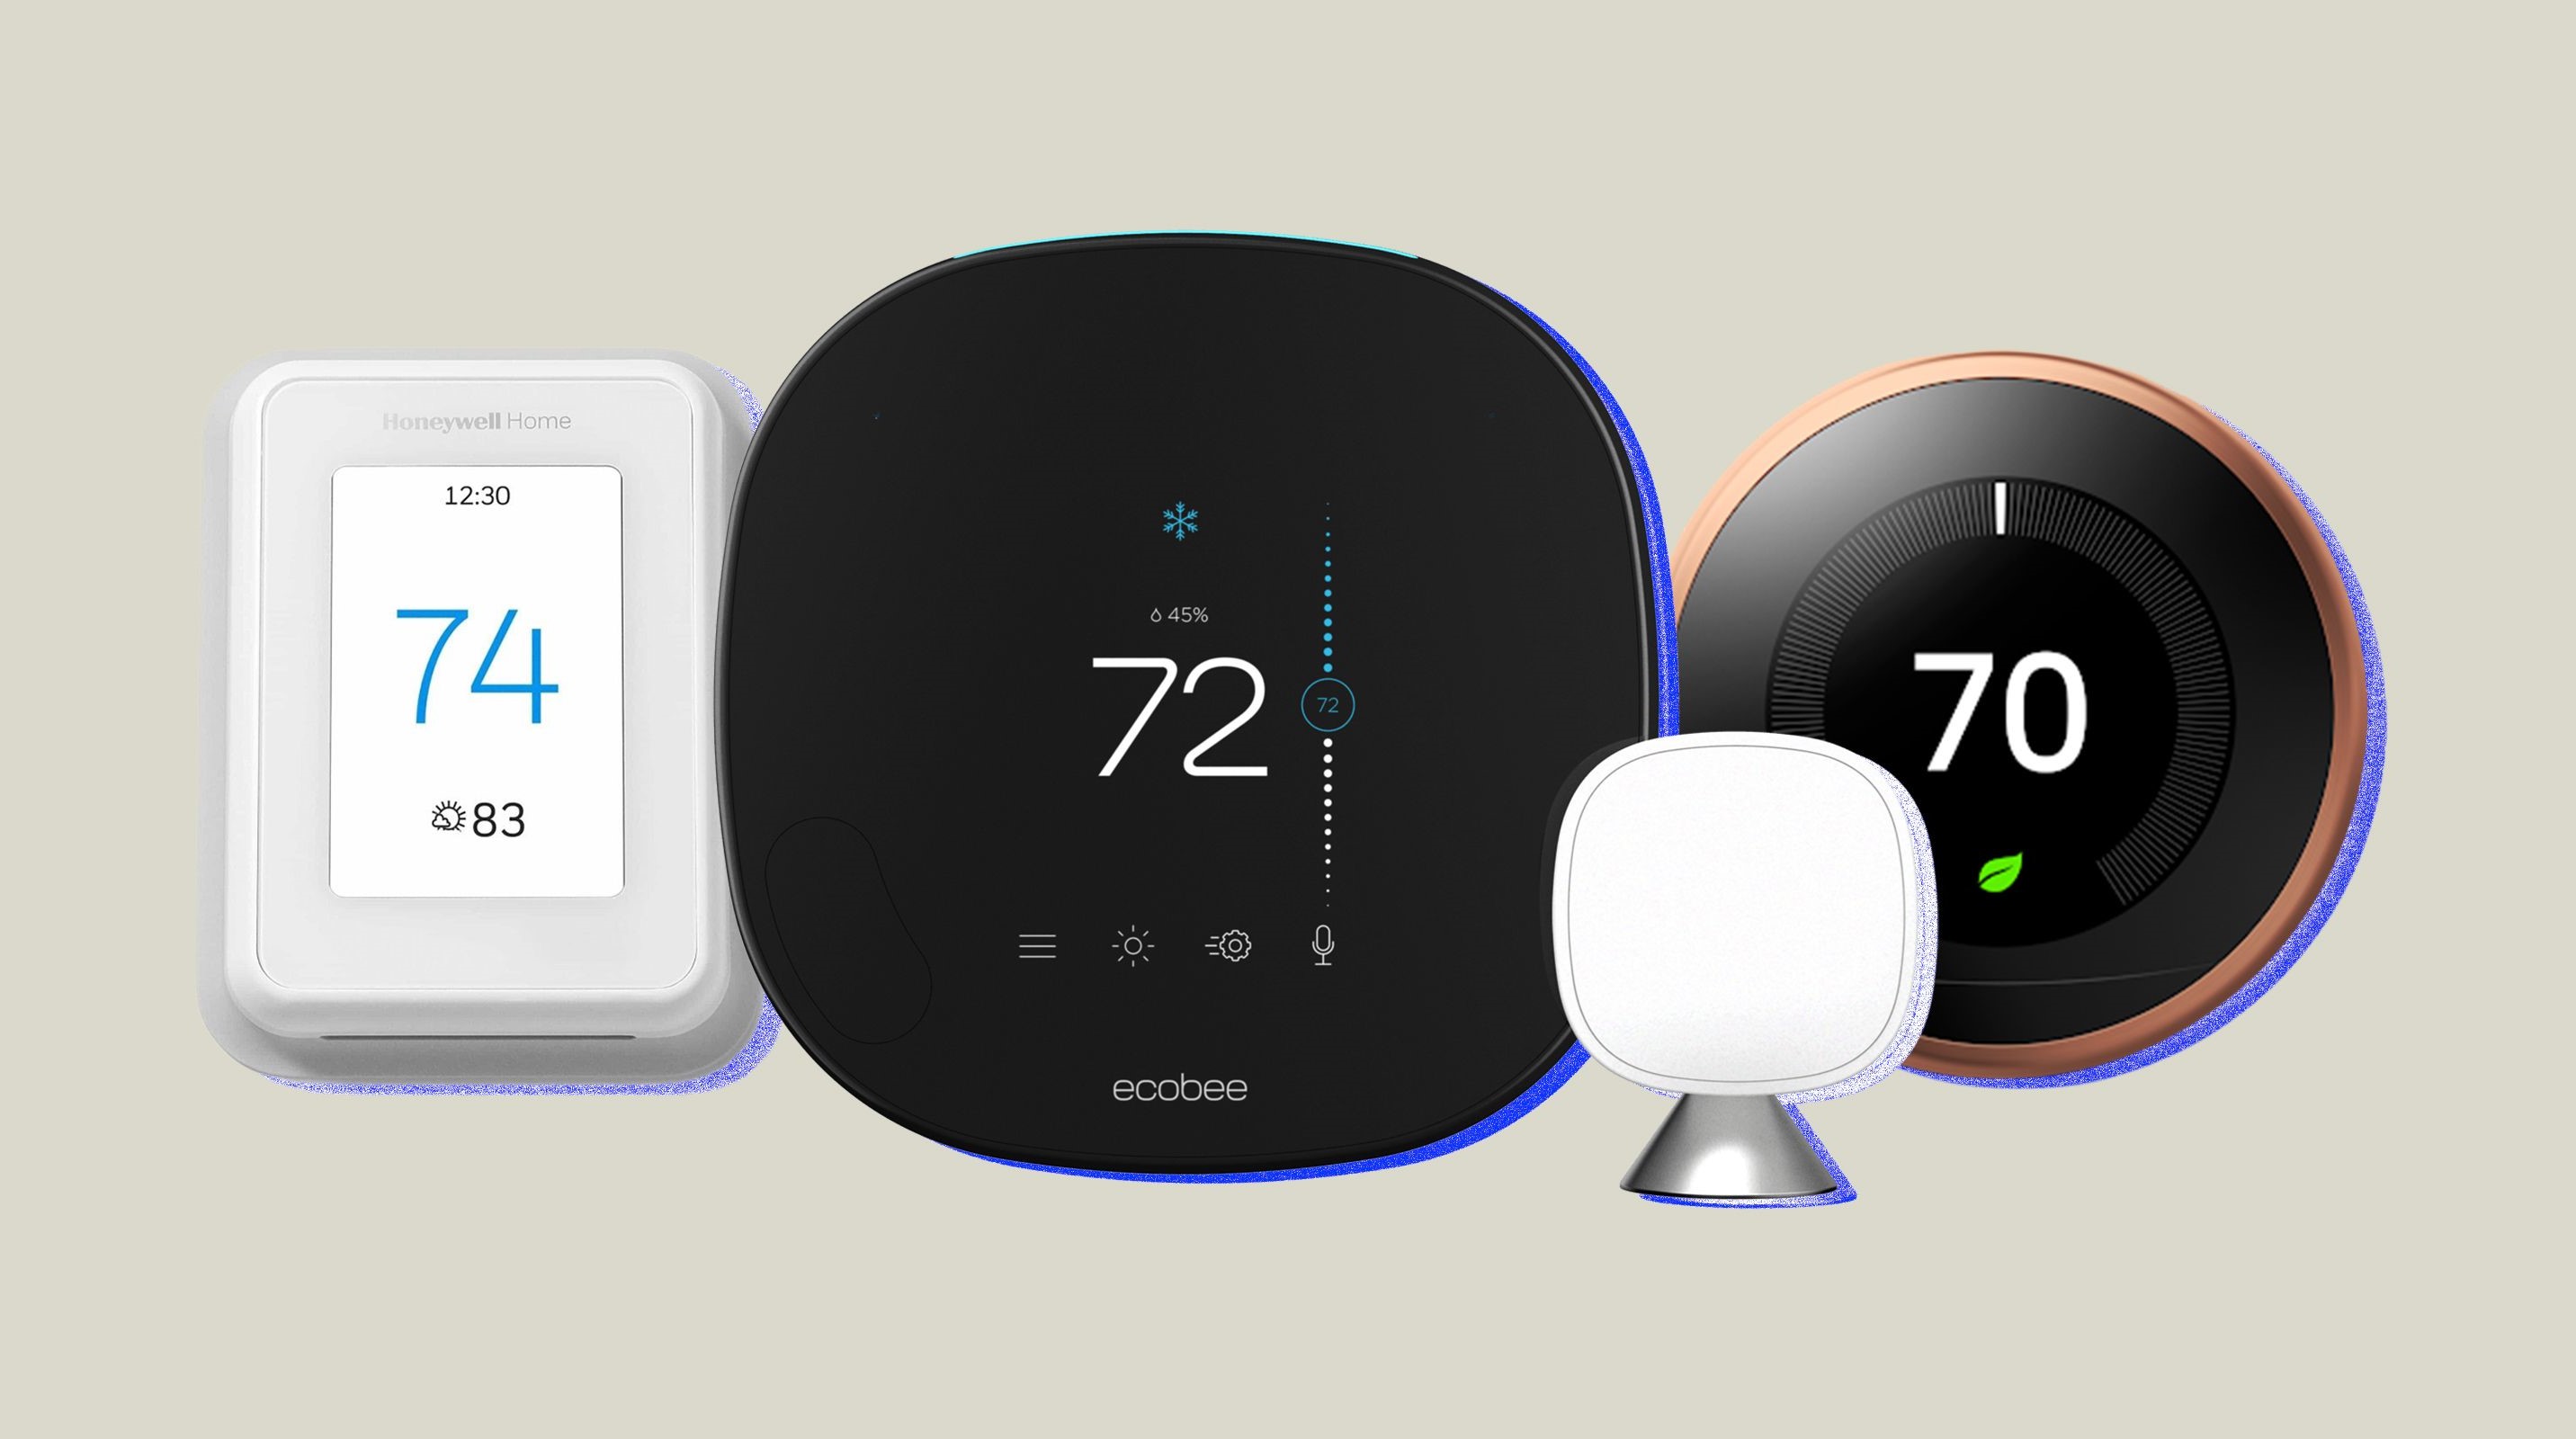
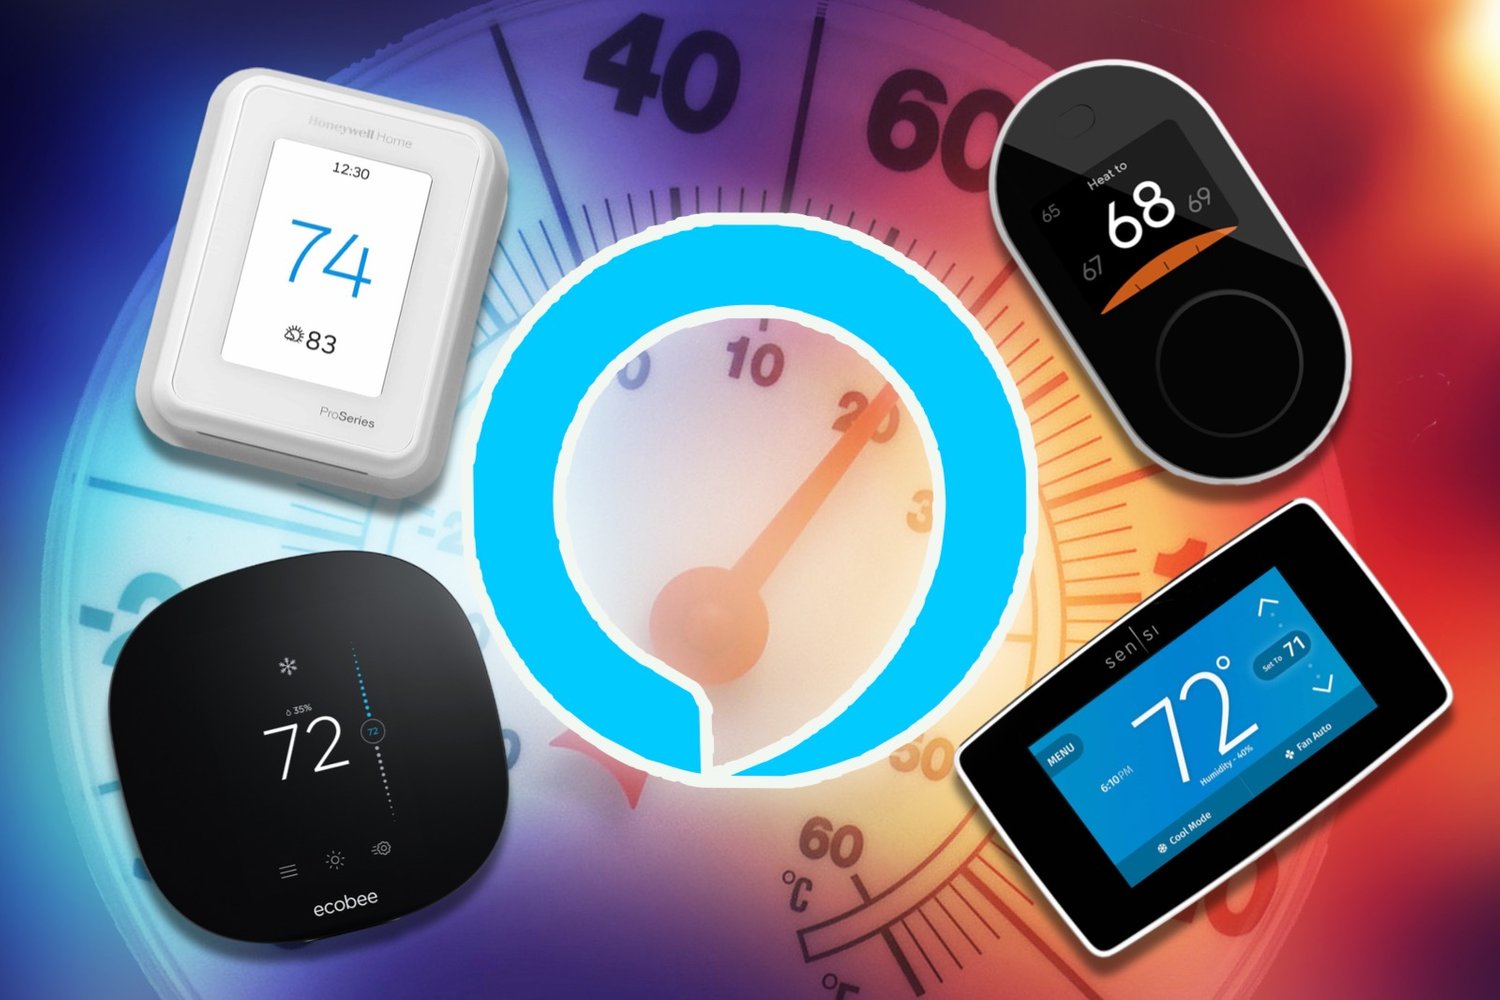
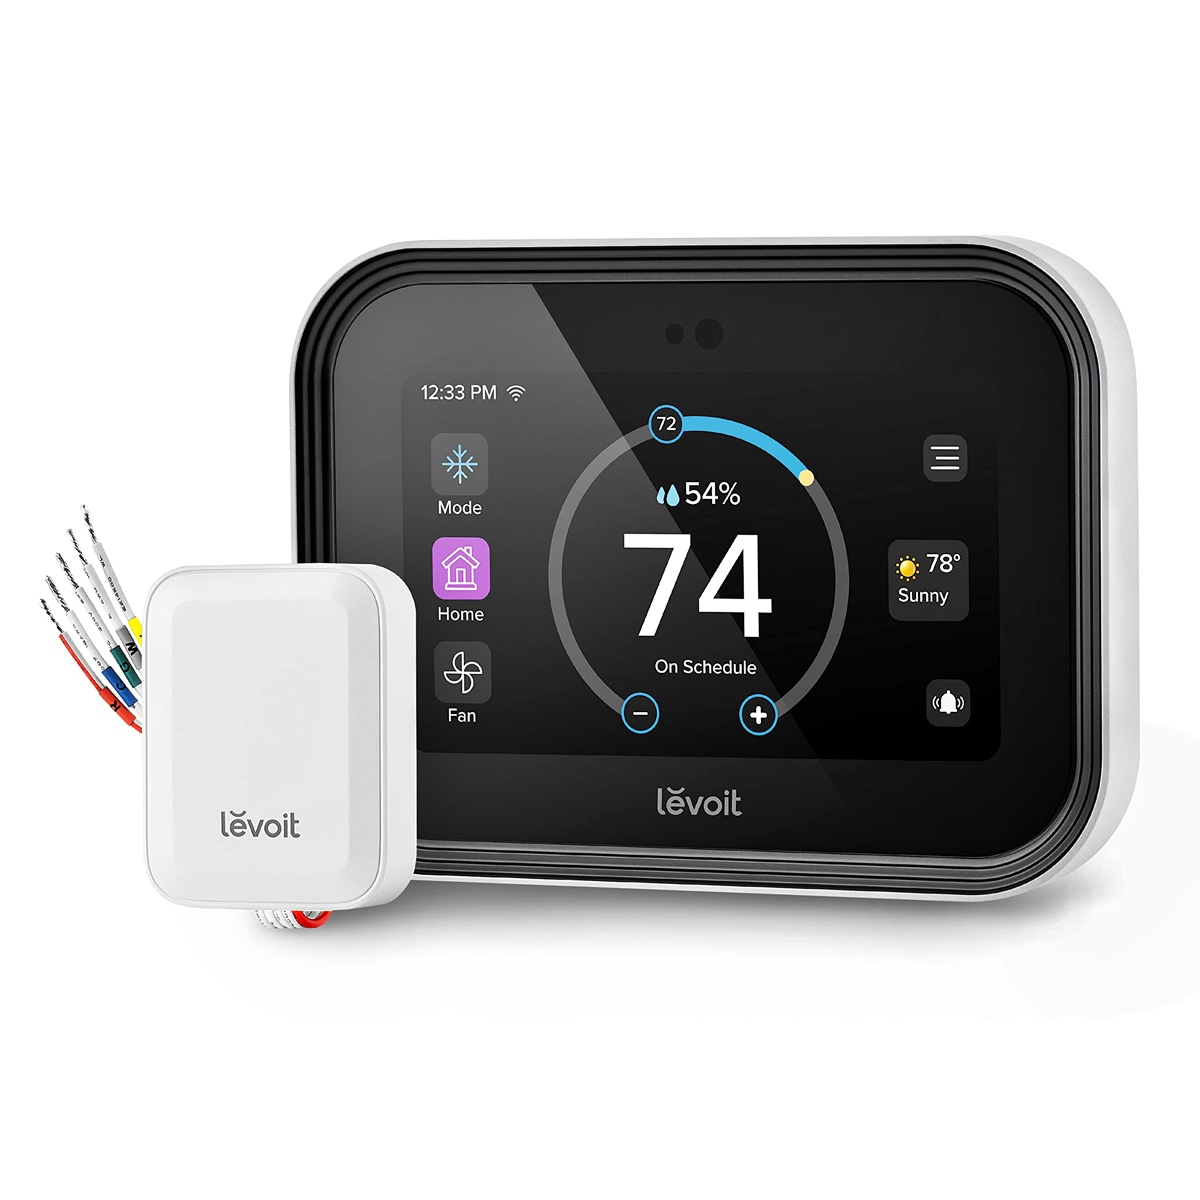
- Alexa-compatible thermostat (make sure it's compatible with your HVAC system)
- Thermostat base and display
- Mounting screws and anchors
- Wire labels (if not included with the thermostat)
- Optional: C-wire adapter (if your HVAC system requires it)
By gathering these tools and materials in advance, you’ll be well-prepared to tackle each step of the installation process with confidence and efficiency. Additionally, having the Alexa app installed on your smartphone or tablet will facilitate the setup and configuration of the thermostat, ensuring a smooth transition to voice-controlled comfort in your home.
With the necessary tools and materials in hand, you’re now ready to embark on this exciting journey toward integrating the Alexa thermostat into your living space. Let’s proceed to the next step, where we’ll prepare the location for your new thermostat.
Step 2: Prepare Your Thermostat Location
Before installing your Alexa thermostat, it’s important to carefully consider the location where it will be mounted. The thermostat’s placement plays a crucial role in ensuring accurate temperature readings and optimal performance. Here are the key considerations for preparing the thermostat location:
Read more: Which Thermostat Works With Alexa
1. Accessibility and Visibility:
Choose a location that is easily accessible for routine adjustments and maintenance. Additionally, ensure that the thermostat is visible and not obstructed by furniture or other objects, allowing for clear visibility of the display and easy interaction with the device.
2. Proximity to HVAC System:
Position the thermostat in close proximity to your HVAC system’s wiring and power source. This will facilitate the connection process and minimize the need for extensive wiring modifications.
3. Avoiding Direct Sunlight and Drafts:
Select a location that is not exposed to direct sunlight or drafts, as these environmental factors can impact temperature readings and affect the thermostat’s ability to regulate the indoor climate effectively.
4. Wall Compatibility:
Ensure that the chosen location is suitable for mounting the thermostat base. The wall should be flat and capable of supporting the weight of the thermostat securely.
By carefully evaluating these factors, you can identify the ideal location for your Alexa thermostat, setting the stage for a seamless installation and optimal performance. Once you’ve determined the placement, you’re ready to move on to the next step: turning off the power to the HVAC system in preparation for the installation process.
Read more: How To Install A Hive Thermostat
Step 3: Turn Off Power
Prior to removing your old thermostat and initiating the installation of the Alexa thermostat, it is crucial to ensure the safety of the electrical systems by turning off the power. This step is essential to prevent any potential electrical hazards and ensure a secure environment for the installation process. Here’s how to safely turn off the power to your HVAC system:
1. Locate the Circuit Breaker:
Identify the circuit breaker in your home’s electrical panel that controls the power supply to the HVAC system. The circuit breaker should be clearly labeled for easy identification. If the HVAC system has a dedicated breaker, it will be labeled accordingly.
2. Switch Off the Circuit Breaker:
Once you’ve located the appropriate circuit breaker, switch it to the “off” position. This action will effectively cut off the power supply to the HVAC system, ensuring that it is safe to proceed with the installation process.
3. Verify Power Disconnection:
After turning off the circuit breaker, it’s important to verify that the power to the HVAC system has been successfully disconnected. You can do this by attempting to turn on the heating or cooling system at the thermostat. If the system does not respond, it indicates that the power has been effectively turned off.
By following these steps to turn off the power, you can create a safe working environment for the installation of your Alexa thermostat. This precautionary measure is essential for preventing electrical mishaps and ensuring a smooth transition to the next phase of the installation process. With the power safely turned off, you’re now ready to proceed to the next step: removing the old thermostat to make way for the new installation.
Step 4: Remove Old Thermostat
Removing the old thermostat is a crucial step in the installation process, as it paves the way for the installation of your new Alexa thermostat. Here’s a detailed guide on how to safely and effectively remove the old thermostat:
1. Remove the Thermostat Cover:
Start by gently removing the cover of the old thermostat to reveal the inner components. In most cases, the cover can be easily lifted off or detached by pressing on the release tabs, allowing access to the wiring and mounting base.
2. Identify and Label the Wires:
Carefully identify and label the wires connected to the old thermostat. It’s crucial to label each wire according to its corresponding terminal to ensure accurate reconnection during the installation of the new thermostat. If the wires are not already labeled, use masking tape or pre-printed wire labels to distinguish them.
3. Disconnect the Wires:
Once the wires are labeled, carefully disconnect them from the terminals on the old thermostat. Depending on the type of thermostat, the wires may be secured by screws or inserted into terminal blocks. Use a screwdriver or the appropriate tool to release the wires, taking care not to let them fall back into the wall opening.
Read more: How To Install A Smart Thermostat
4. Remove the Mounting Base:
After the wires are disconnected, remove the mounting base of the old thermostat from the wall. The base is typically secured with screws and may require gentle prying to detach it from the wall surface. Take care to avoid damaging the wall or the wires behind the base during this process.
5. Inspect the Wiring and Wall Opening:
With the old thermostat and mounting base removed, inspect the exposed wiring and the wall opening to ensure that everything is in good condition. Check for any signs of damage or wear that may require attention before proceeding with the installation of the new thermostat.
By following these steps to remove the old thermostat, you’ll create a clean slate for the installation of your new Alexa thermostat. Properly labeling and disconnecting the wires, as well as inspecting the wiring and wall opening, are essential measures to ensure a smooth transition to the next phase of the installation process. With the old thermostat removed, you’re now ready to proceed to the next step: installing the new thermostat base.
Step 5: Install New Thermostat Base
With the old thermostat removed, it’s time to install the new thermostat base to prepare for the integration of your Alexa thermostat. Proper installation of the base is essential for ensuring a secure and stable foundation for the thermostat. Here’s a detailed guide on how to install the new thermostat base:
1. Select the Mounting Location:
Choose the location for mounting the new thermostat base, taking into consideration the factors discussed in Step 2. Ensure that the chosen location is compatible with the dimensions of the thermostat base and provides easy access to the HVAC system wiring.
2. Mark the Mounting Holes:
Position the thermostat base on the wall and use a pencil to mark the locations of the mounting holes. Use a level to ensure that the base is positioned evenly and horizontally for a professional and aesthetically pleasing installation.
3. Drill Pilot Holes (If Necessary):
If the wall surface requires drilling to accommodate the mounting screws, use an appropriate drill bit to create pilot holes at the marked locations. Take care to drill to the appropriate depth to ensure a secure fit for the mounting screws.
4. Secure the Base to the Wall:
Using the provided mounting screws and anchors, secure the thermostat base to the wall. Ensure that the base is firmly attached and level to provide a stable foundation for the thermostat and facilitate the connection of the wiring.
5. Route the Wires Through the Base:
Once the base is securely mounted, carefully route the labeled wires through the designated openings or terminals on the base. Ensure that each wire is positioned according to the corresponding terminal labels to facilitate a smooth and accurate connection.
Read more: How To Install A Nest Thermostat Trim Kit
6. Verify Stability and Alignment:
After securing the base and routing the wires, verify that the base is stable and aligned correctly. Use a level to confirm that the base is positioned evenly and horizontally, ensuring a professional and secure installation.
By following these steps to install the new thermostat base, you’ll establish a solid foundation for the integration of your Alexa thermostat. Properly securing the base to the wall, routing the wires, and verifying stability and alignment are essential measures to ensure a seamless transition to the next phase of the installation process. With the new thermostat base in place, you’re now ready to proceed to the next step: connecting the wires to the thermostat base.
Step 6: Connect Wires
Now that the new thermostat base is securely installed, the next step in the installation process is to connect the labeled wires to the corresponding terminals on the base. Properly connecting the wires is essential for ensuring the functionality and compatibility of your Alexa thermostat with your HVAC system. Here’s a detailed guide on how to connect the wires:
1. Match Wires to Terminals:
Refer to the labels on the wires and the terminal labels on the thermostat base to match each wire to its corresponding terminal. Ensure that the connections align accurately to prevent any potential wiring issues during the setup and operation of the thermostat.
2. Secure Wires to Terminals:
Carefully insert each wire into its designated terminal on the thermostat base, ensuring a secure and snug fit. Depending on the type of terminals, you may need to use a screwdriver or the provided tool to fasten the wires in place, ensuring proper contact and stability.
Read also: 10 Best Smart Thermostat Alexa For 2025
3. Double-Check Wire Connections:
After securing the wires to the terminals, double-check each connection to verify that the wires are properly seated and secured. Confirm that there are no loose or exposed wires that could lead to connectivity issues or malfunctions.
4. Tuck Excess Wiring:
Once the wires are connected, carefully tuck any excess wiring into the designated space within the thermostat base. This helps maintain a clean and organized appearance while ensuring that the excess wiring does not interfere with the installation of the thermostat display.
5. Verify Proper Wire Placement:
Before proceeding to the next step, verify that each wire is correctly positioned and secured within its respective terminal. This final check ensures that the wiring connections are accurate and ready for the installation of the thermostat display.
By following these steps to connect the wires to the thermostat base, you’ll establish the essential electrical connections required for the operation of your Alexa thermostat. Properly matching, securing, and verifying the wire connections are crucial measures to ensure a seamless transition to the next phase of the installation process. With the wires connected, you’re now ready to proceed to the next step: attaching the thermostat display to the base.
Step 7: Attach Thermostat Display
With the wiring securely connected to the thermostat base, the next pivotal step in the installation process is to attach the thermostat display. The display serves as the interface for controlling and monitoring the temperature settings, and its proper attachment is crucial for the functionality and aesthetics of your Alexa thermostat. Here’s a detailed guide on how to attach the thermostat display:
1. Align the Display with the Base:
Position the thermostat display in alignment with the mounted base, ensuring that it fits snugly and aligns with the designated connectors. Take care to align the display correctly to facilitate a smooth and secure attachment.
2. Secure the Display to the Base:
Once the display is aligned with the base, carefully press it into place to secure it. Depending on the model of the thermostat, the display may feature a snap-on attachment or a locking mechanism that ensures a secure and stable connection with the base.
3. Power On the Thermostat:
After attaching the display, power on the thermostat to initiate the setup process. This may involve inserting batteries or restoring power to the HVAC system to activate the thermostat. Follow the manufacturer’s instructions for powering on the thermostat and initiating the setup sequence.
4. Verify Display Functionality:
Once the thermostat is powered on, verify that the display functions correctly and responds to user input. Check the responsiveness of the touch controls or buttons, and ensure that the display accurately reflects the current temperature and system status.
5. Complete Initial Setup:
Follow the on-screen prompts or instructions provided by the thermostat to complete the initial setup. This may involve configuring basic settings, connecting the thermostat to your Wi-Fi network, and integrating it with your Amazon Alexa-enabled devices using the designated app or interface.
By following these steps to attach the thermostat display, you’ll complete the physical installation of your Alexa thermostat and initiate the setup process. Properly aligning, securing, and verifying the functionality of the display are essential measures to ensure a seamless transition to the next phase of the installation process. With the display attached and the initial setup completed, you’re now ready to proceed to the final step: powering on and setting up your Alexa thermostat for optimal performance.
Step 8: Power On and Set Up Alexa Thermostat
As you approach the final phase of the installation process, it’s time to power on your Alexa thermostat and complete the setup, enabling seamless integration with your home environment. This step encompasses activating the thermostat, connecting it to your Wi-Fi network, and integrating it with your Amazon Alexa-enabled devices. Here’s a comprehensive guide on how to power on and set up your Alexa thermostat:
1. Power On the Thermostat:
If the thermostat requires batteries, insert them according to the manufacturer’s instructions. Alternatively, if the thermostat is powered by the HVAC system, restore power to the system and initiate the thermostat’s power-up sequence. Verify that the thermostat display activates and is ready for setup.
2. Connect to Wi-Fi:
Access the thermostat’s settings or setup menu to connect it to your Wi-Fi network. Follow the on-screen prompts to select your network, enter the Wi-Fi password, and establish a secure connection. This enables the thermostat to access online features and facilitates remote control and monitoring via the Alexa app.
3. Integrate with Amazon Alexa:
Using the Alexa app on your smartphone or tablet, navigate to the smart home devices section and add the Alexa thermostat to your list of connected devices. Follow the app’s instructions to discover and pair the thermostat, enabling voice control and integration with your other Alexa-enabled devices.
4. Configure Temperature Settings:
Once the thermostat is connected to Wi-Fi and integrated with Alexa, configure the temperature settings according to your preferences. Set up heating and cooling schedules, adjust temperature thresholds, and explore the available features to personalize the thermostat’s operation to suit your lifestyle and comfort needs.
5. Test Voice Control and Remote Access:
Use voice commands through your Amazon Alexa-enabled devices to test the thermostat’s responsiveness. Additionally, utilize the Alexa app to remotely access and adjust the thermostat settings, ensuring that the integration and connectivity are functioning as intended.
6. Familiarize Yourself with Features:
Take the time to explore the various features and capabilities of your Alexa thermostat. Familiarize yourself with the app interface, scheduling options, energy-saving settings, and any additional functionalities that enhance the overall experience of managing your home’s temperature and climate control.
By following these steps to power on and set up your Alexa thermostat, you’ll complete the installation process and unlock the full potential of your smart home climate control system. Establishing a Wi-Fi connection, integrating with Amazon Alexa, configuring temperature settings, and testing voice control and remote access are essential measures to ensure a seamless transition to enjoying the convenience and comfort that your Alexa thermostat offers. With the setup completed, you’re now ready to embrace the enhanced control and energy efficiency that come with a voice-controlled smart thermostat.
Conclusion
Congratulations on successfully installing and setting up your Alexa thermostat! You’ve taken a significant step toward enhancing the comfort, convenience, and energy efficiency of your home through the seamless integration of smart home technology. As you embark on this journey, it’s important to recognize the transformative impact that a voice-controlled thermostat can have on your daily routines and overall living experience.
By following the comprehensive installation guide, you’ve not only empowered yourself to take charge of your home’s climate control but also embraced the possibilities of a connected and responsive living space. The installation process, from gathering the necessary tools and materials to connecting the thermostat to your Wi-Fi network and integrating it with Amazon Alexa, has equipped you with the knowledge and skills to leverage the full potential of your smart thermostat.
As you enjoy the benefits of your Alexa thermostat, such as voice-activated temperature adjustments, remote access via the Alexa app, and personalized scheduling, you’re contributing to a more efficient and sustainable home environment. The ability to monitor and manage your home’s temperature with ease and precision reflects a conscious effort to optimize energy usage and create a comfortable living space for you and your family.
Furthermore, the seamless integration of your Alexa thermostat with other smart home devices and voice assistants underscores the interconnected nature of modern living. Your home is now part of an ecosystem where technology works harmoniously to simplify tasks, streamline daily routines, and elevate your overall quality of life.
As you continue to explore the features and capabilities of your Alexa thermostat, consider leveraging its energy-saving settings, personalized scheduling options, and intuitive controls to tailor your home’s climate to your specific needs. Embrace the convenience of voice commands and the flexibility of remote access, allowing you to effortlessly manage your home’s temperature from anywhere.
With your Alexa thermostat installed and seamlessly integrated into your living space, you’re poised to enjoy a new level of comfort, control, and efficiency. Embrace the possibilities that smart home technology offers, and revel in the transformative impact it brings to your daily life. Your journey toward a more connected and responsive home has just begun, and the possibilities are endless.
Here’s to a future of comfort, convenience, and sustainable living with your Alexa thermostat at the heart of it all!
Frequently Asked Questions about How To Install Alexa Thermostat
Was this page helpful?
At Storables.com, we guarantee accurate and reliable information. Our content, validated by Expert Board Contributors, is crafted following stringent Editorial Policies. We're committed to providing you with well-researched, expert-backed insights for all your informational needs.

0 thoughts on “How To Install Alexa Thermostat”