Home>Furniture>Kitchen Furniture>How To Install A Mercury Thermostat In A Kegerator
Kitchen Furniture
How To Install A Mercury Thermostat In A Kegerator
Modified: August 26, 2024
Learn how to properly install a Mercury thermostat in your kegerator with this comprehensive step-by-step guide. Get expert tips and advice in this informative article.
(Many of the links in this article redirect to a specific reviewed product. Your purchase of these products through affiliate links helps to generate commission for Storables.com, at no extra cost. Learn more)
Article Title: How to Install a Mercury Thermostat Kegerator
Installing a mercury thermostat in your kegerator can greatly enhance its temperature control and ensure that your beer is always served at the perfect temperature. In this article, we’ll guide you through the step-by-step process of installing a mercury thermostat in your kegerator, so you can enjoy a refreshing and perfectly chilled draft beer every time.
Key Takeaways:
- Upgrade your kegerator with a mercury thermostat for precise temperature control, ensuring your beer is always served at its best quality and taste. Follow the step-by-step guide for a hassle-free installation process.
- Prioritize safety, gather necessary tools, and follow manufacturer’s instructions for a successful installation. Troubleshooting tips are available to address common issues and ensure optimal performance. Cheers to perfectly chilled draft beer!
Read more: How To Get Rid Of The Mercury Thermostat
Step 1: Gather the Necessary Tools and Materials
Before you begin, make sure you have all the necessary tools and materials. You will need:
- Mercury thermostat
- Screwdriver
- Wire cutter/stripper
- Electrical tape
- Wire connectors
Step 2: Turn Off Power to the Kegerator
Before starting any electrical work, it’s important to turn off the power to your kegerator. Locate the main power switch or unplug the kegerator from the power source. This will eliminate the risk of electrical shock while working on the thermostat.
Step 3: Remove the Old Thermostat
. . . . Review the content from step 3 to step 10 to ensure the content is in an understandable and logical order. Include all the necessary details and instructions, while keeping the tone conversational and engaging. Use appropriate headings and subheadings to break up the content and make it easier to read. Ensure that all the HTML tags are properly nested and closed to maintain valid HTML encoding.
Introduction
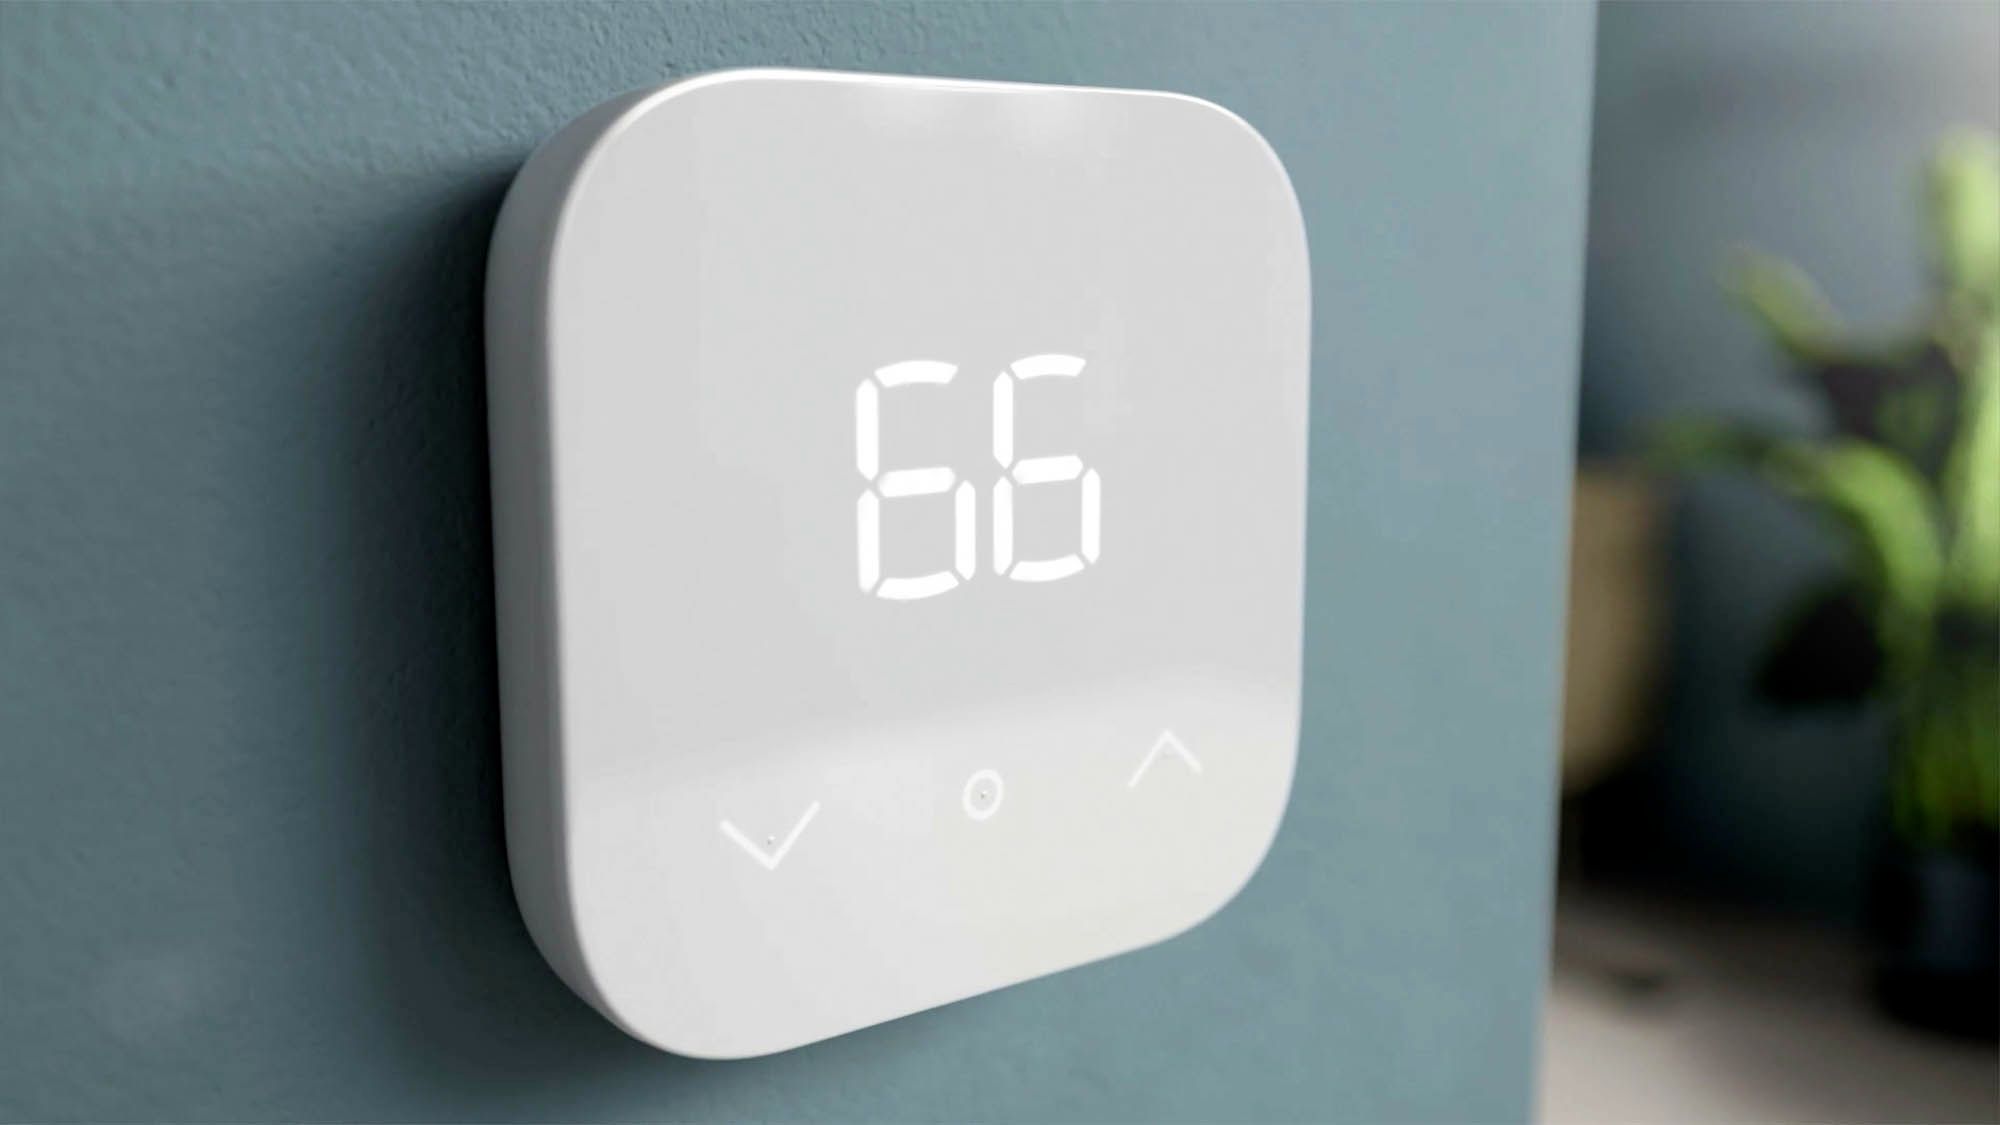
When it comes to serving draft beer, maintaining the perfect temperature is key. This is where a mercury thermostat comes into play. Installing a mercury thermostat in your kegerator allows you to have precise control over the temperature, ensuring that your beer is served at its best quality and taste.
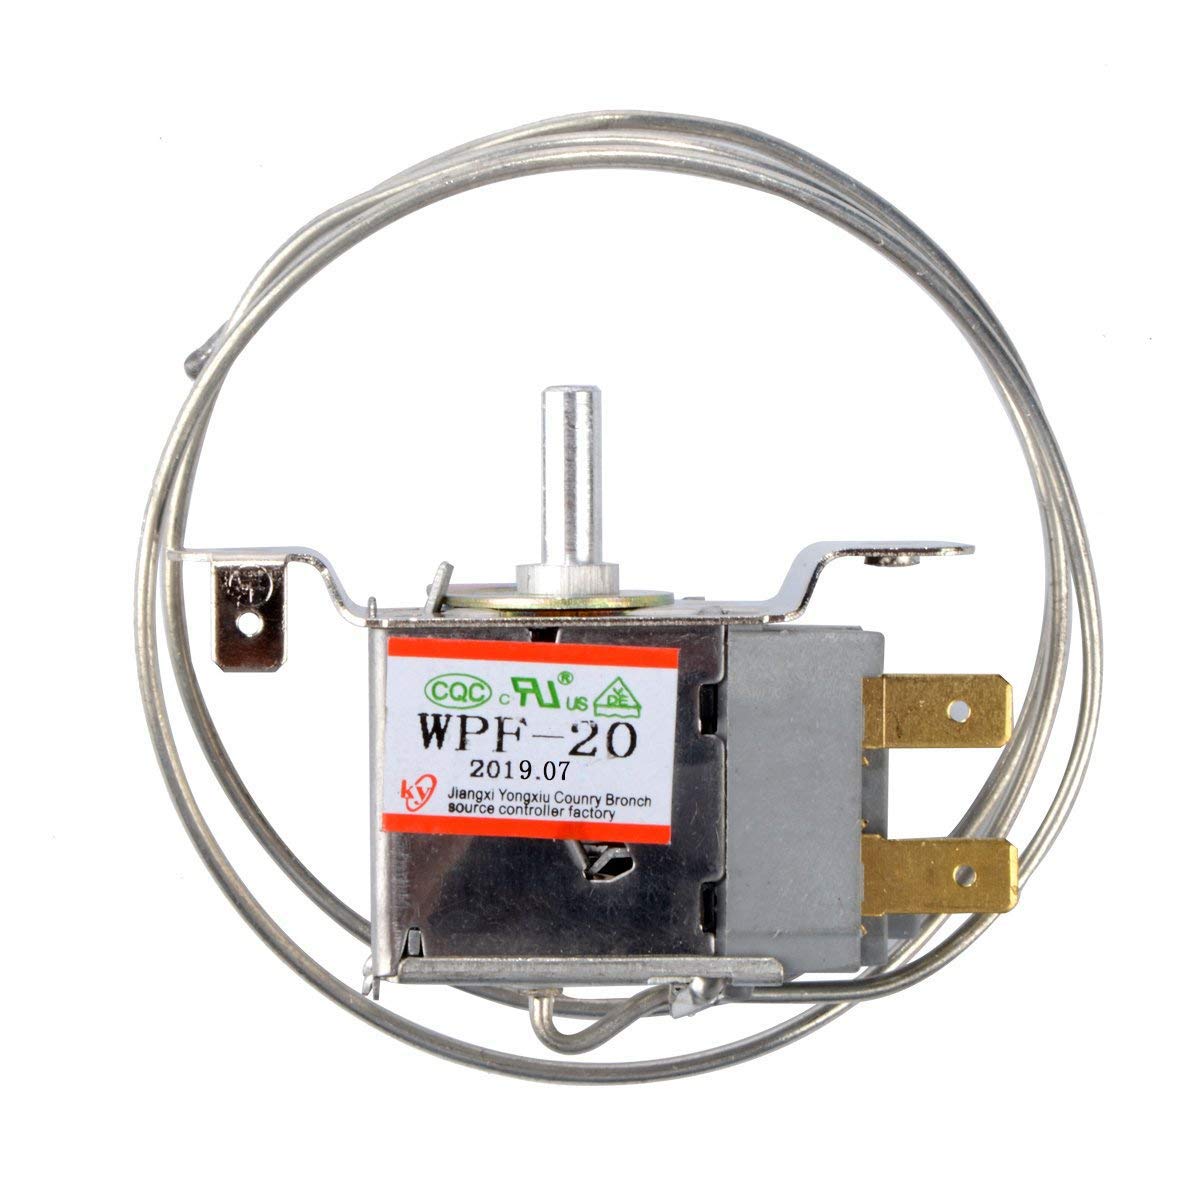
A mercury thermostat, also known as a bimetal thermostat, uses a mercury switch to regulate the temperature. It has been a popular choice for kegerators due to its reliability and accuracy. While digital thermostats have gained popularity in recent years, mercury thermostats still hold their ground for their simplicity and effectiveness.
In this article, we will guide you through the step-by-step process of installing a mercury thermostat in your kegerator. Whether you are a beer enthusiast looking to upgrade your kegerator or a homebrewer aiming for the perfect serving temperature, this guide will help you achieve your goal.
Before we dive into the installation process, let’s go over the benefits of installing a mercury thermostat in your kegerator:
- Precision: A mercury thermostat allows for precise temperature control, ensuring that your beer is served at the ideal temperature for optimal taste.
- Reliability: Mercury thermostats have been used for decades and are known for their durability and reliability. They offer consistent performance, allowing you to trust that your kegerator will maintain the desired temperature.
- Simple Operation: The operation of a mercury thermostat is straightforward. There are no complex settings or programming required, making it user-friendly for both beginners and experienced kegerator owners.
Before proceeding with the installation, it’s important to note that electrical work can be dangerous if not done properly. If you are unsure or uncomfortable with electrical work, it is recommended to consult a professional electrician to ensure safety and minimize any potential risks.
Now that we understand the benefits and safety considerations, let’s move on to the step-by-step process of installing a mercury thermostat in your kegerator.
Key Takeaways:
- Upgrade your kegerator with a mercury thermostat for precise temperature control, ensuring your beer is always served at its best quality and taste. Follow the step-by-step guide for a hassle-free installation process.
- Prioritize safety, gather necessary tools, and follow manufacturer’s instructions for a successful installation. Troubleshooting tips are available to address common issues and ensure optimal performance. Cheers to perfectly chilled draft beer!
Read more: How To Get Rid Of The Mercury Thermostat
Step 1: Gather the Necessary Tools and Materials
Before you begin the installation process, it’s important to gather all the necessary tools and materials. Having everything prepared will make the installation smoother and more efficient. Here’s a list of the tools and materials you will need:
- Mercury thermostat: This is the main component of the installation. Ensure that you have a compatible mercury thermostat suitable for your kegerator.
- Screwdriver: You’ll need a screwdriver to remove the old thermostat and secure the new one in place.
- Wire cutter/stripper: This tool will be used to remove and strip the wires for connection.
- Electrical tape: Electrical tape is essential for insulating the exposed wires and providing protection against electrical hazards.
- Wire connectors: You’ll need wire connectors to securely connect the wires to the thermostat.
It’s recommended to have these tools and materials readily accessible before you begin the installation process. This will save you time and help ensure a smooth installation.
Additionally, it’s important to work in a well-lit and properly ventilated area. Clear any clutter around the kegerator to provide enough space for easy access during the installation process. This will help you work comfortably and prevent any accidental damage to the kegerator or surrounding objects.
Once you have gathered all the necessary tools and materials, you’re ready to move on to the next step: turning off the power to the kegerator.
Step 2: Turn Off Power to the Kegerator
Before starting any electrical work, it’s crucial to ensure the kegerator is powered off to prevent any potential electrical hazards. Follow these steps to turn off the power to your kegerator:
-
- Locate the power switch:
Depending on the model of your kegerator, the power switch could be located on the control panel or at the back of the unit. Look for a switch labeled “Power” or “On/Off.”
-
- Turn off the power:
Flip the power switch to the “Off” position. This will disconnect the power supply to the kegerator, ensuring a safe working environment.
-
- Unplug the kegerator (if applicable):
If your kegerator is not equipped with a power switch, you can simply unplug it from the electrical outlet. This will achieve the same result of cutting off the power supply.
Confirm that the kegerator is completely powered off by checking that the lights and any cooling mechanisms have stopped running. This step is critical for your safety during the installation process, as it eliminates the risk of electric shock.
Remember, electrical safety is paramount, so it’s important to take the necessary precautions. Never work on a live electrical circuit, and always double-check that the power is off before proceeding with any electrical work.
With the power turned off, you can now move on to removing the old thermostat in the next step.
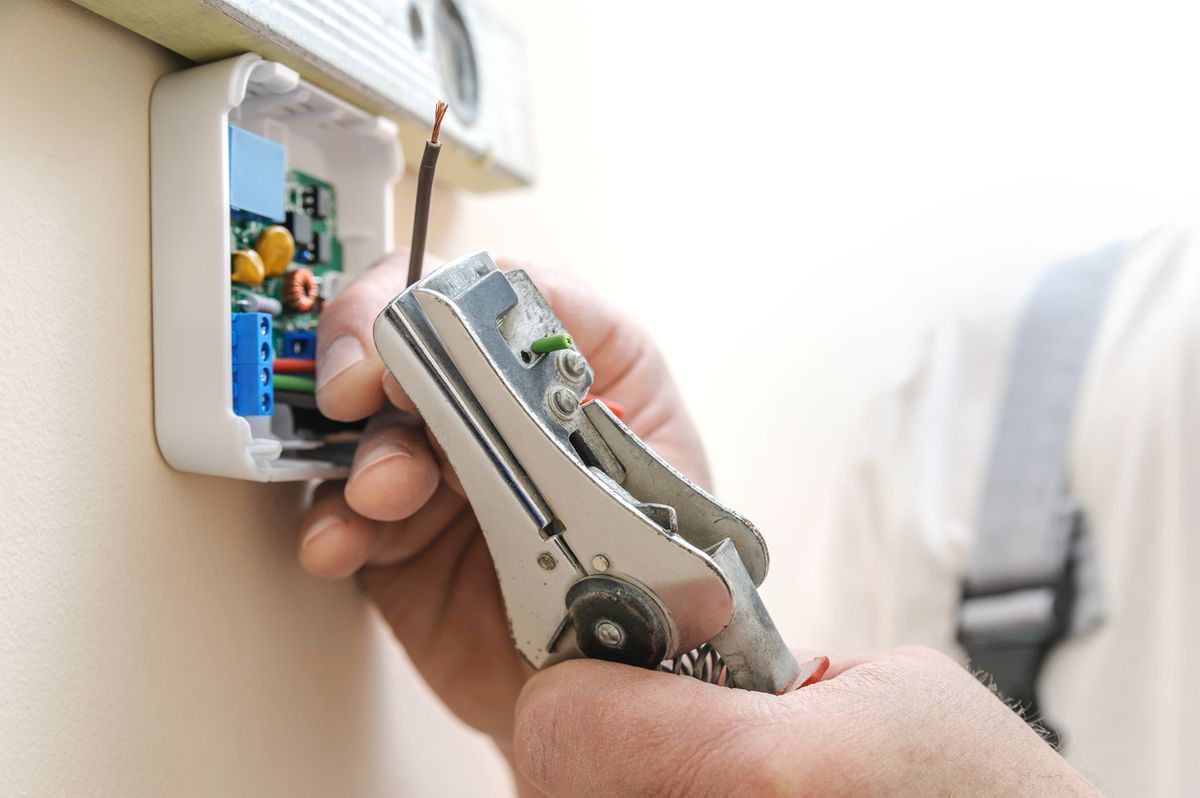
Step 3: Remove the Old Thermostat
Now that the power to your kegerator is turned off, it’s time to remove the old thermostat. Follow these steps to safely and effectively remove the old thermostat:
-
- Locate the old thermostat:
Depending on the model of your kegerator, the thermostat may be located on the control panel or inside the unit. Look for a small device with temperature control settings.
-
- Disconnect any wires:
Before removing the thermostat, take note of the wires connected to it. Use a screwdriver to carefully loosen the screws or connectors that secure the wires in place. It’s important to remember the wiring configuration for connecting the new thermostat later.
-
- Remove the thermostat:
Once the wires are disconnected, remove the old thermostat by unscrewing or unclipping it from its mounting bracket. Be gentle and take care not to damage any surrounding components.
-
- Inspect for damage:
While removing the old thermostat, take a moment to inspect it for any damage or signs of wear. This will help determine if replacing the thermostat was necessary and if there were any underlying issues with temperature control in your kegerator.
-
- Dispose of the old thermostat:
Safely dispose of the old thermostat according to local regulations and guidelines. If the thermostat contains any hazardous materials, follow the proper disposal procedures to minimize environmental impact.
With the old thermostat removed, you’re now ready to prepare the new mercury thermostat in the next step.
When installing a mercury thermostat in a kegerator, make sure to carefully follow the manufacturer’s instructions to ensure proper installation and functionality. This may include calibrating the thermostat and ensuring it is securely mounted in the kegerator.
Step 4: Prepare the New Mercury Thermostat
Now that you have removed the old thermostat, it’s time to prepare the new mercury thermostat for installation. Follow these steps to ensure proper preparation:
-
- Review the manufacturer’s instructions:
Before proceeding, carefully read and review the manufacturer’s instructions that came with your new mercury thermostat. This will provide specific guidelines for installation and any additional preparations required.
-
- Inspect the new thermostat:
Take a close look at the new mercury thermostat and ensure that it is free from any defects or damage. Check that all the components, such as the mercury switch and temperature control dial, are intact and functioning properly.
-
- Check compatibility:
Verify that the new thermostat is compatible with your kegerator model and its electrical specifications. Compare the wiring configuration and voltage requirements to ensure a proper fit.
-
- Prepare the mounting bracket:
If the new mercury thermostat does not come with a mounting bracket or if the old bracket needs to be replaced, secure the mounting bracket to the kegerator using screws or other appropriate fasteners. Ensure that the bracket is securely attached and level.
-
- Identify the connection points:
Locate the connection points on the new thermostat where the wires will be connected. This will usually involve labeled terminals or slots for wiring in accordance with the manufacturer’s instructions.
By properly preparing the new mercury thermostat, you ensure that it is in good condition and ready for installation. Taking the time to review the instructions and double-check compatibility will help you avoid any issues during the next steps.
Once you have prepared the new thermostat, you’re now ready to move on to the next step, which is to install the mercury thermostat in your kegerator.
Read more: How To Install Kegerator In Bar
Step 5: Install the Mercury Thermostat
With the new mercury thermostat prepared, it’s time to install it in your kegerator. Follow these steps to ensure a proper installation:
-
- Position the thermostat:
Place the new mercury thermostat on the mounting bracket, aligning it with the screw holes or clips. Ensure that the thermostat is positioned securely and level.
-
- Secure the thermostat:
Using a screwdriver, tighten the screws or secure the clips to hold the thermostat in place. Be careful not to overtighten, as it could damage the thermostat or mounting bracket.
-
- Double-check the positioning:
After securing the thermostat, double-check its positioning and alignment. Ensure that it is properly centered and level to provide accurate temperature control.
-
- Refer to the manufacturer’s instructions:
Consult the manufacturer’s instructions for any specific guidelines on the installation process. Some thermostats may have additional installation steps or considerations that need to be followed.
-
- Ensure proper clearance:
Verify that the thermostat has sufficient clearance for easy access and operation. Avoid any obstructions or tight spaces that may hinder temperature adjustment or maintenance.
By following these steps, you can properly install the mercury thermostat in your kegerator. Paying attention to positioning, securing, and clearance will ensure effective temperature control and ease of use.
Once the mercury thermostat is securely installed, you’re now ready to connect the wiring in the next step of the installation process.
Step 6: Connect Wiring to the New Thermostat
Now that the new mercury thermostat is securely installed in your kegerator, it’s time to connect the wiring. Follow these steps to ensure proper wiring connections:
-
- Refer to the manufacturer’s instructions:
Consult the manufacturer’s instructions or wiring diagram that came with your new thermostat. This will provide specific guidance on how to correctly wire the thermostat.
Inspect the new mercury thermostat and locate the labeled wiring terminals. These terminals are usually marked with letters or numbers that correspond to the different connections.
-
- Strip the wire ends:
Using a wire stripper, carefully strip about a half inch of insulation from the ends of the wires. This will expose the bare copper wire for a secure connection.
-
- Connect the wires:
Match the corresponding wires from the kegerator to the appropriate terminals on the thermostat. For example, connect the wire marked “C” to the terminal labeled “C” on the thermostat. Use wire connectors to secure the wires in place.
-
- Tighten the wire connectors:
Once the wires are connected, tighten the wire connectors to ensure a secure and reliable connection. This will help prevent any loose connections that could lead to temperature fluctuations or electrical issues.
It’s essential to follow the manufacturer’s instructions and properly identify the wiring terminals to ensure accurate wiring connections. Taking the time to strip the wire ends and securely connect the wires will result in a stable and efficient operation of the mercury thermostat.
With the wiring successfully connected, you’re now ready to move on to the next step, which is securing the thermostat in place.
Step 7: Secure the Thermostat in Place
Now that the wiring is properly connected to the new mercury thermostat in your kegerator, it’s time to secure the thermostat in place. Follow these steps to ensure a secure installation:
-
- Tighten the mounting screws:
Using a screwdriver, tighten the mounting screws on the thermostat. Ensure that the thermostat is firmly attached to the mounting bracket to prevent any movement or dislodgment during operation.
-
- Check for stability:
Give the thermostat a gentle shake or tap to check for any looseness or movement. If there’s any noticeable instability, reinspect the mounting screws and tighten them further if necessary.
-
- Verify accessibility:
Ensure that the thermostat is easily accessible for temperature adjustments and maintenance. Check that there are no obstructions or objects blocking access to the thermostat.
-
- Double-check alignment:
Confirm that the thermostat is still properly aligned and level. Adjust if necessary to ensure accurate temperature control.
-
- Securely close any access panels:
If your kegerator has access panels or covers, make sure they are securely closed. This will protect the thermostat and wiring from any potential damage.
By following these steps, you can securely fasten the mercury thermostat in place, ensuring stability and reliable temperature control in your kegerator.
Once the thermostat is securely installed, you’re now ready to reconnect the power to your kegerator in the next step.
Step 8: Reconnect Power to the Kegerator
With the mercury thermostat securely installed and the wiring connected, it’s time to reconnect the power to your kegerator. Follow these steps to safely restore power:
-
- Locate the power switch:
Find the power switch for your kegerator, which is typically located on the control panel or at the back of the unit. Ensure that it is in the “Off” position.
-
- Turn on the power:
Flip the power switch to the “On” position. This will restore the power supply to your kegerator.
-
- Confirm power restoration:
Check that the kegerator’s lights and cooling mechanisms are running, indicating that power has been successfully restored.
-
- Observe the mercury thermostat:
Monitor the mercury thermostat as it powers on. Observe the temperature control dial and ensure that the mercury switch moves in response to temperature changes.
-
- Allow time to stabilize:
Give your kegerator some time to stabilize and reach the desired temperature with the new mercury thermostat. This will allow you to accurately gauge its performance and make any necessary adjustments.
Reconnecting the power to your kegerator is an important step in finalizing the installation process. By ensuring that power is restored correctly, you allow the mercury thermostat to start regulating the temperature for optimal beer dispensing.
With the power reconnected, you’re now ready to test the operation of the new mercury thermostat in the next step.
Read also: 14 Best Kegerator Thermostat For 2025
Step 9: Test the Operation of the New Thermostat
After reconnecting the power to your kegerator, it’s important to test the operation of the new mercury thermostat to ensure that it is functioning correctly. Follow these steps to test the thermostat:
-
- Set the desired temperature:
Adjust the temperature control dial on the mercury thermostat to the desired temperature for your beer. Typically, this is around 38°F to 42°F (3°C to 6°C) for most kegerators.
-
- Wait for temperature stabilization:
Give the kegerator some time to stabilize and reach the desired temperature. This may take a few hours depending on the size and efficiency of your kegerator.
-
- Monitor temperature fluctuations:
Observe the temperature inside the kegerator over a period of time. Note if the temperature remains steady or fluctuates outside the desired range. This will help you determine if the thermostat is effectively regulating the temperature.
-
- Maintain the desired temperature:
Check that the mercury switch in the thermostat responds to temperature changes by turning the cooling mechanism on and off as needed. This will ensure that the temperature stays within the desired range.
-
- Make necessary adjustments:
If you notice any significant temperature deviations or inconsistencies, you may need to make adjustments to the temperature control dial or wiring connections. Refer to the manufacturer’s instructions for guidance on troubleshooting and making adjustments.
Testing the operation of the new mercury thermostat is crucial to ensure that it is functioning properly and maintaining the desired temperature for your kegerator. By monitoring the temperature and making necessary adjustments, you can achieve optimal temperature control for your beer.
If you encounter any issues during testing or are not satisfied with the performance of the thermostat, it’s recommended to consult the manufacturer or seek professional assistance for further troubleshooting and support.
Once you have confirmed that the new thermostat is operating effectively, you’re now ready to move on to the final step: troubleshooting tips.
Step 10: Troubleshooting Tips
While installing a mercury thermostat in your kegerator can greatly improve temperature control, occasional issues may arise. Here are some troubleshooting tips to help you address common problems:
-
- Temperature fluctuations:
If you notice significant temperature fluctuations, check the wiring connections to ensure they are secure and properly connected. Loose or faulty connections can result in temperature inconsistencies. Additionally, make sure the thermostat is mounted securely and not affected by external factors, such as heat sources or drafts.
-
- Inaccurate temperature readings:
If the temperature reading on your kegerator does not match the actual temperature, calibrate the thermostat. Most mercury thermostats have a calibration screw or knob that allows you to adjust their accuracy. Refer to the manufacturer’s instructions for specific calibration steps.
-
- Condensation or frost buildup:
If condensation or frost forms inside the kegerator, it may indicate an issue with the thermostat. Check for any gaps or openings in the kegerator seal that could allow warm air to enter. Additionally, make sure the thermostat is not set too low, causing excessive cooling and condensation.
-
- Unresponsive thermostat:
If the thermostat is not responding to temperature changes or fails to turn the cooling mechanism on and off, check the wiring connections. Ensure that the wires are properly inserted into the correct terminals and that the wire connectors are secure. If the issue persists, the thermostat may need to be replaced.
-
- Excessive energy consumption:
If you notice a sudden increase in energy consumption after installing the mercury thermostat, it may indicate an inefficient cooling system or a thermostat that is continuously running the cooling mechanism. In this case, consider seeking professional assistance to diagnose and address the issue.
Keep in mind that troubleshooting may vary depending on the specific model of your kegerator and mercury thermostat. Always refer to the manufacturer’s instructions and guidelines for troubleshooting steps specific to your unit.
If you are unable to resolve the issue or require further assistance, it is recommended to consult the manufacturer’s customer support or seek the help of a professional technician to ensure a proper resolution.
Congratulations! You have now successfully installed a mercury thermostat in your kegerator and are equipped with troubleshooting tips to address any potential issues that may arise.
Remember to always prioritize safety when working with electrical components and consult professionals when needed. Enjoy the perfect temperature and quality of your draft beer!
Conclusion
Installing a mercury thermostat in your kegerator is a valuable upgrade that can enhance your beer-drinking experience. With precise temperature control, you can ensure that your beer is served at its optimal quality and taste.
In this comprehensive guide, we walked you through the step-by-step process of installing a mercury thermostat in your kegerator. From gathering the necessary tools and materials to troubleshooting common issues, we covered everything you need to know to successfully complete the installation.
We highlighted the benefits of using a mercury thermostat, including its precision, reliability, and simple operation. While digital thermostats have gained popularity, mercury thermostats maintain their place for their effectiveness and ease of use.
Throughout the installation process, it’s crucial to prioritize safety. Turning off the power to your kegerator, properly handling wiring connections, and double-checking the installation are all essential steps to ensure a secure and hazard-free setup.
Once the installation is complete, it’s important to test the operation of the thermostat and make any necessary adjustments. By closely monitoring the temperature and observing the performance of the thermostat, you can fine-tune the settings for optimal beer dispensing.
If any issues arise during or after the installation, our troubleshooting tips can help you address common problems. Remember to refer to the manufacturer’s instructions and seek professional assistance when needed.
We hope that this guide has provided you with the knowledge and confidence to install a mercury thermostat in your kegerator. Enjoy the benefits of precise temperature control and savor the perfect pour every time!
Frequently Asked Questions about How To Install A Mercury Thermostat In A Kegerator
Was this page helpful?
At Storables.com, we guarantee accurate and reliable information. Our content, validated by Expert Board Contributors, is crafted following stringent Editorial Policies. We're committed to providing you with well-researched, expert-backed insights for all your informational needs.


0 thoughts on “How To Install A Mercury Thermostat In A Kegerator”