Home>Home Appliances>Home Automation Appliances>How To Install A Smart Thermostat
Home Automation Appliances
How To Install A Smart Thermostat
Modified: March 1, 2024
Learn how to easily install a smart thermostat for your home automation appliances. Follow our step-by-step guide for a seamless setup.
(Many of the links in this article redirect to a specific reviewed product. Your purchase of these products through affiliate links helps to generate commission for Storables.com, at no extra cost. Learn more)
Introduction
Welcome to the world of smart home technology, where convenience and energy efficiency go hand in hand. One of the most impactful upgrades you can make to your home is installing a smart thermostat. Not only does it offer the convenience of remote temperature control, but it also helps reduce energy consumption and lower utility bills.
In this comprehensive guide, we will walk you through the step-by-step process of installing a smart thermostat in your home. Whether you are a tech-savvy homeowner or a DIY enthusiast, this guide will equip you with the knowledge and confidence to complete the installation successfully.
By the end of this tutorial, you will have a sleek and modern smart thermostat seamlessly integrated into your home's heating and cooling system. So, roll up your sleeves, gather your tools, and let's embark on this exciting journey to upgrade your home with a smart thermostat!
Key Takeaways:
- Installing a smart thermostat is a DIY-friendly project that enhances home comfort and energy efficiency. With the right tools and careful steps, you can enjoy remote temperature control and lower utility bills.
- A smart thermostat empowers you to create a personalized, eco-friendly home environment. By embracing smart home technology, you contribute to a sustainable future while enjoying modern living conveniences.
Read more: How To Install A Smart Thermostat
Step 1: Gather Necessary Tools and Materials
Before you begin the installation process, it’s crucial to gather all the essential tools and materials. Having everything on hand will streamline the installation and prevent any unnecessary delays. Here’s a comprehensive list of what you’ll need:
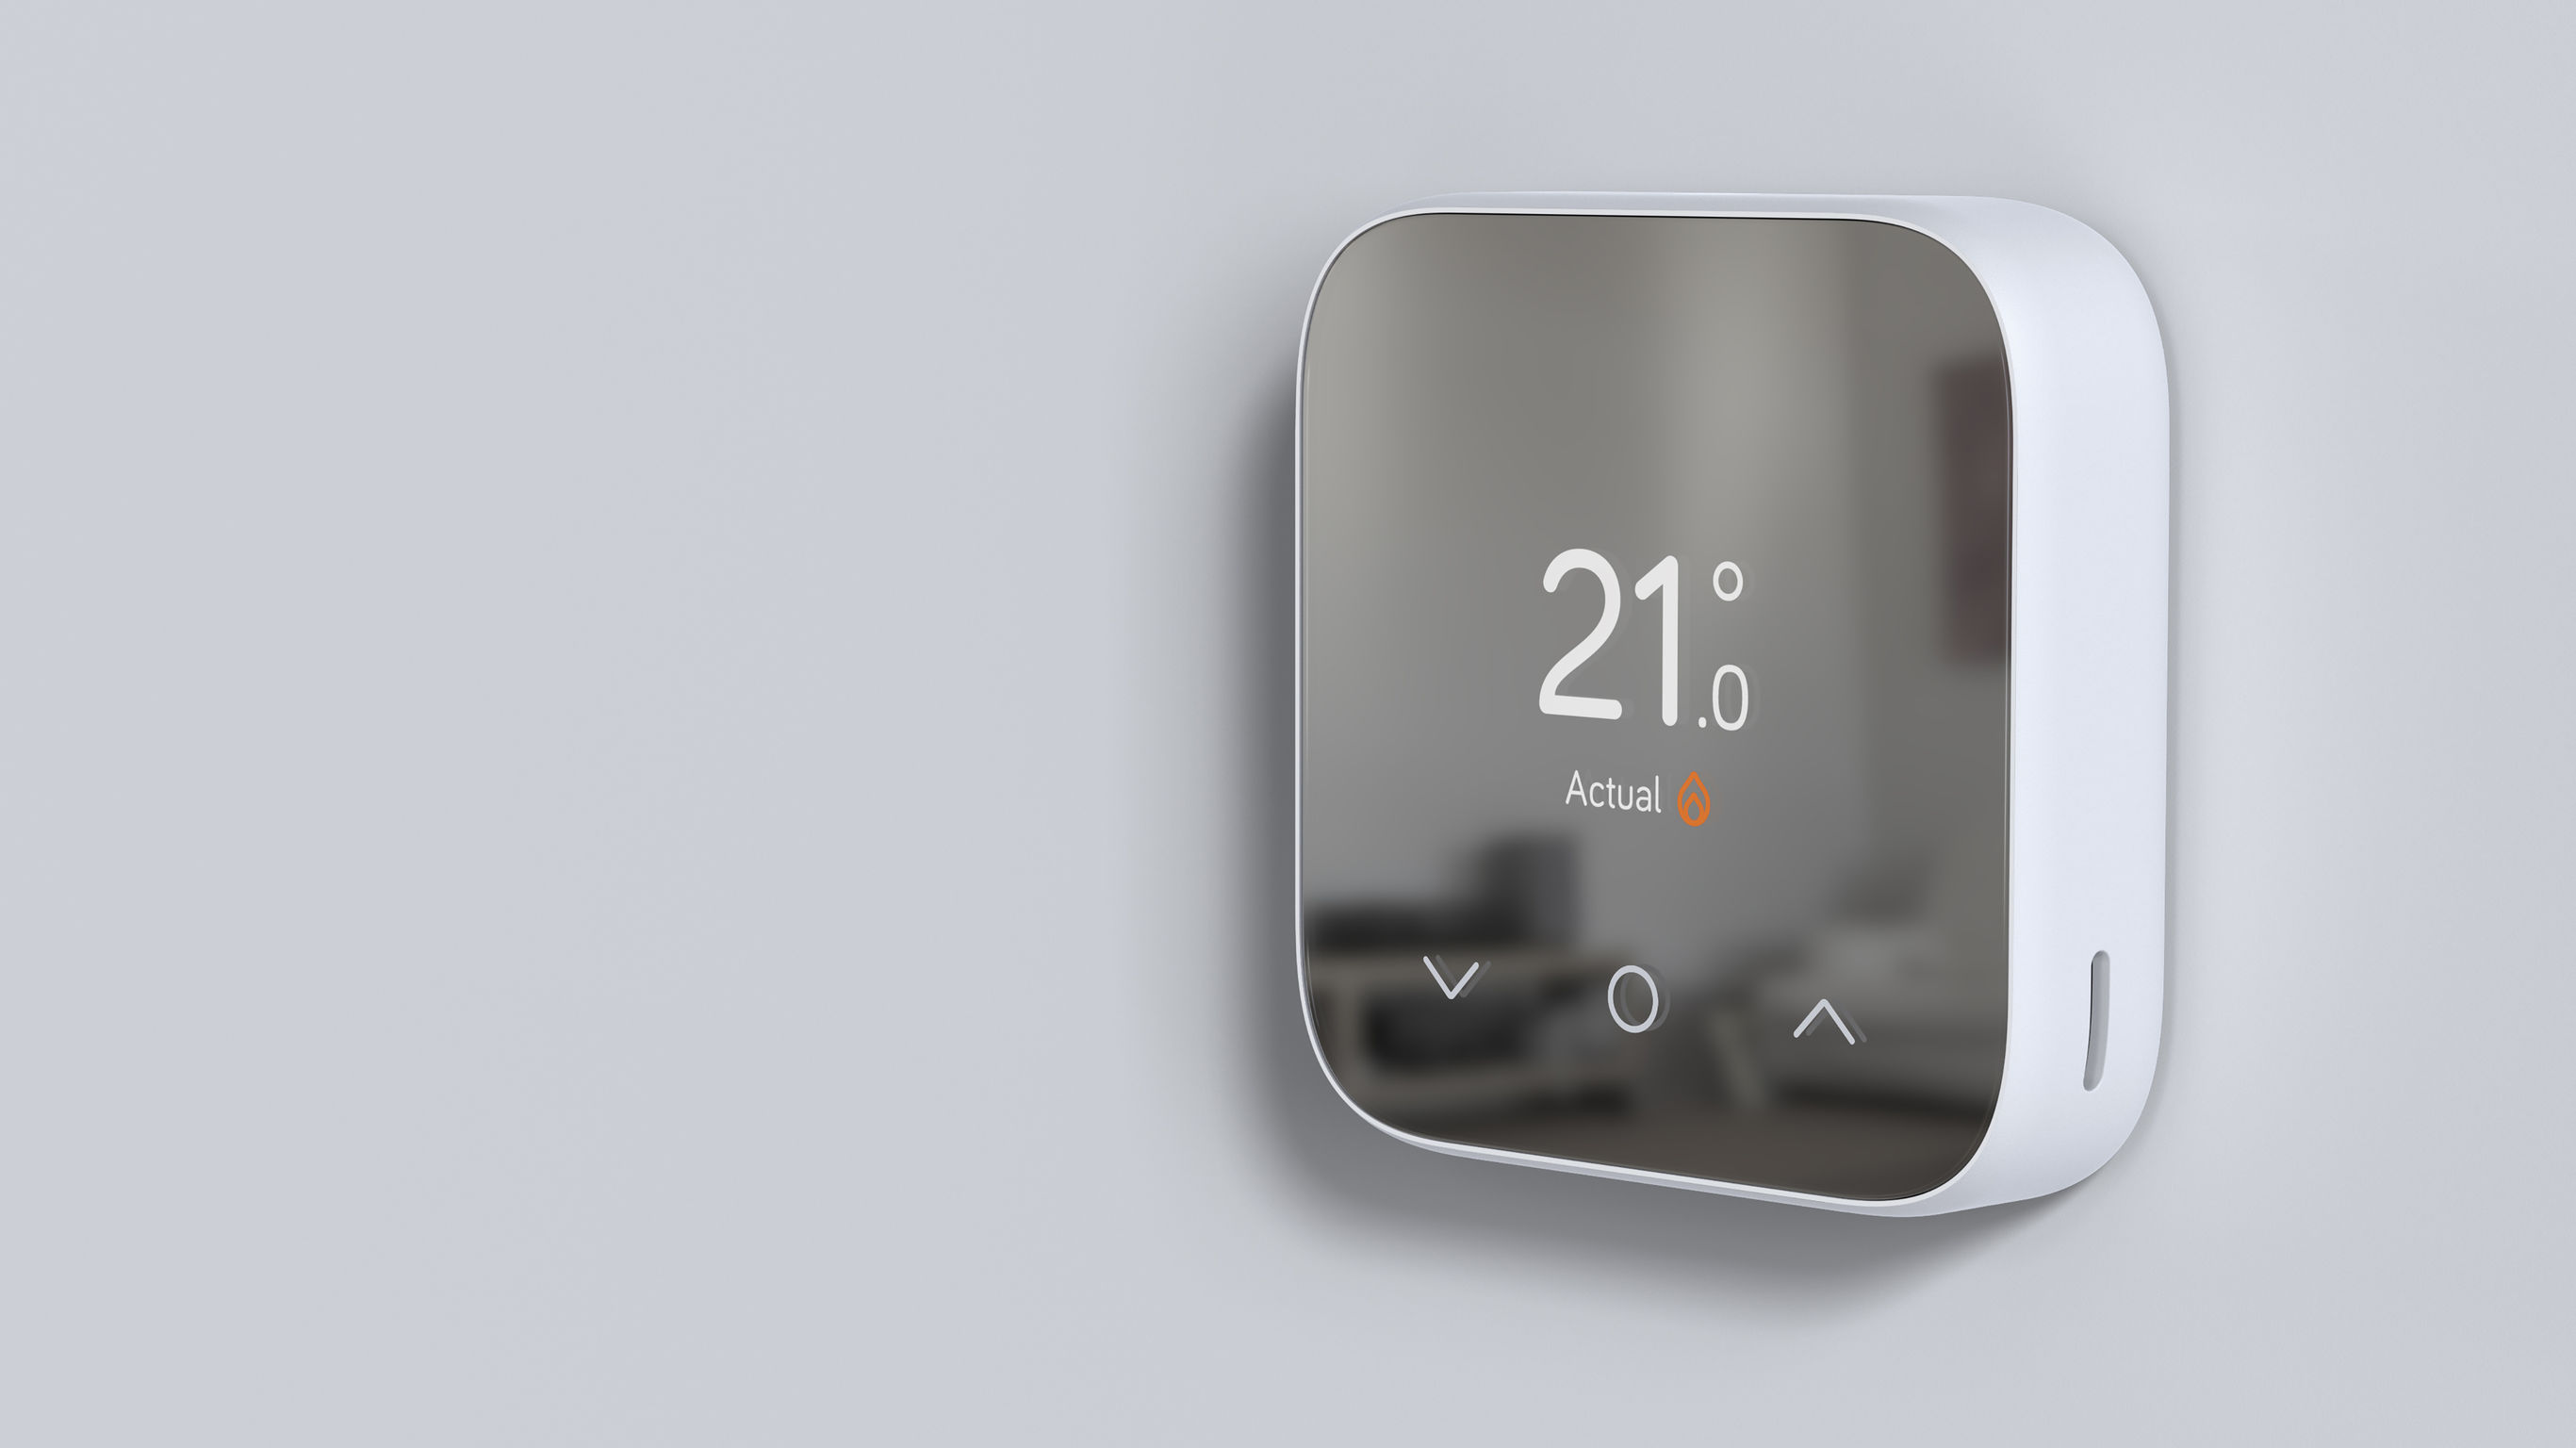
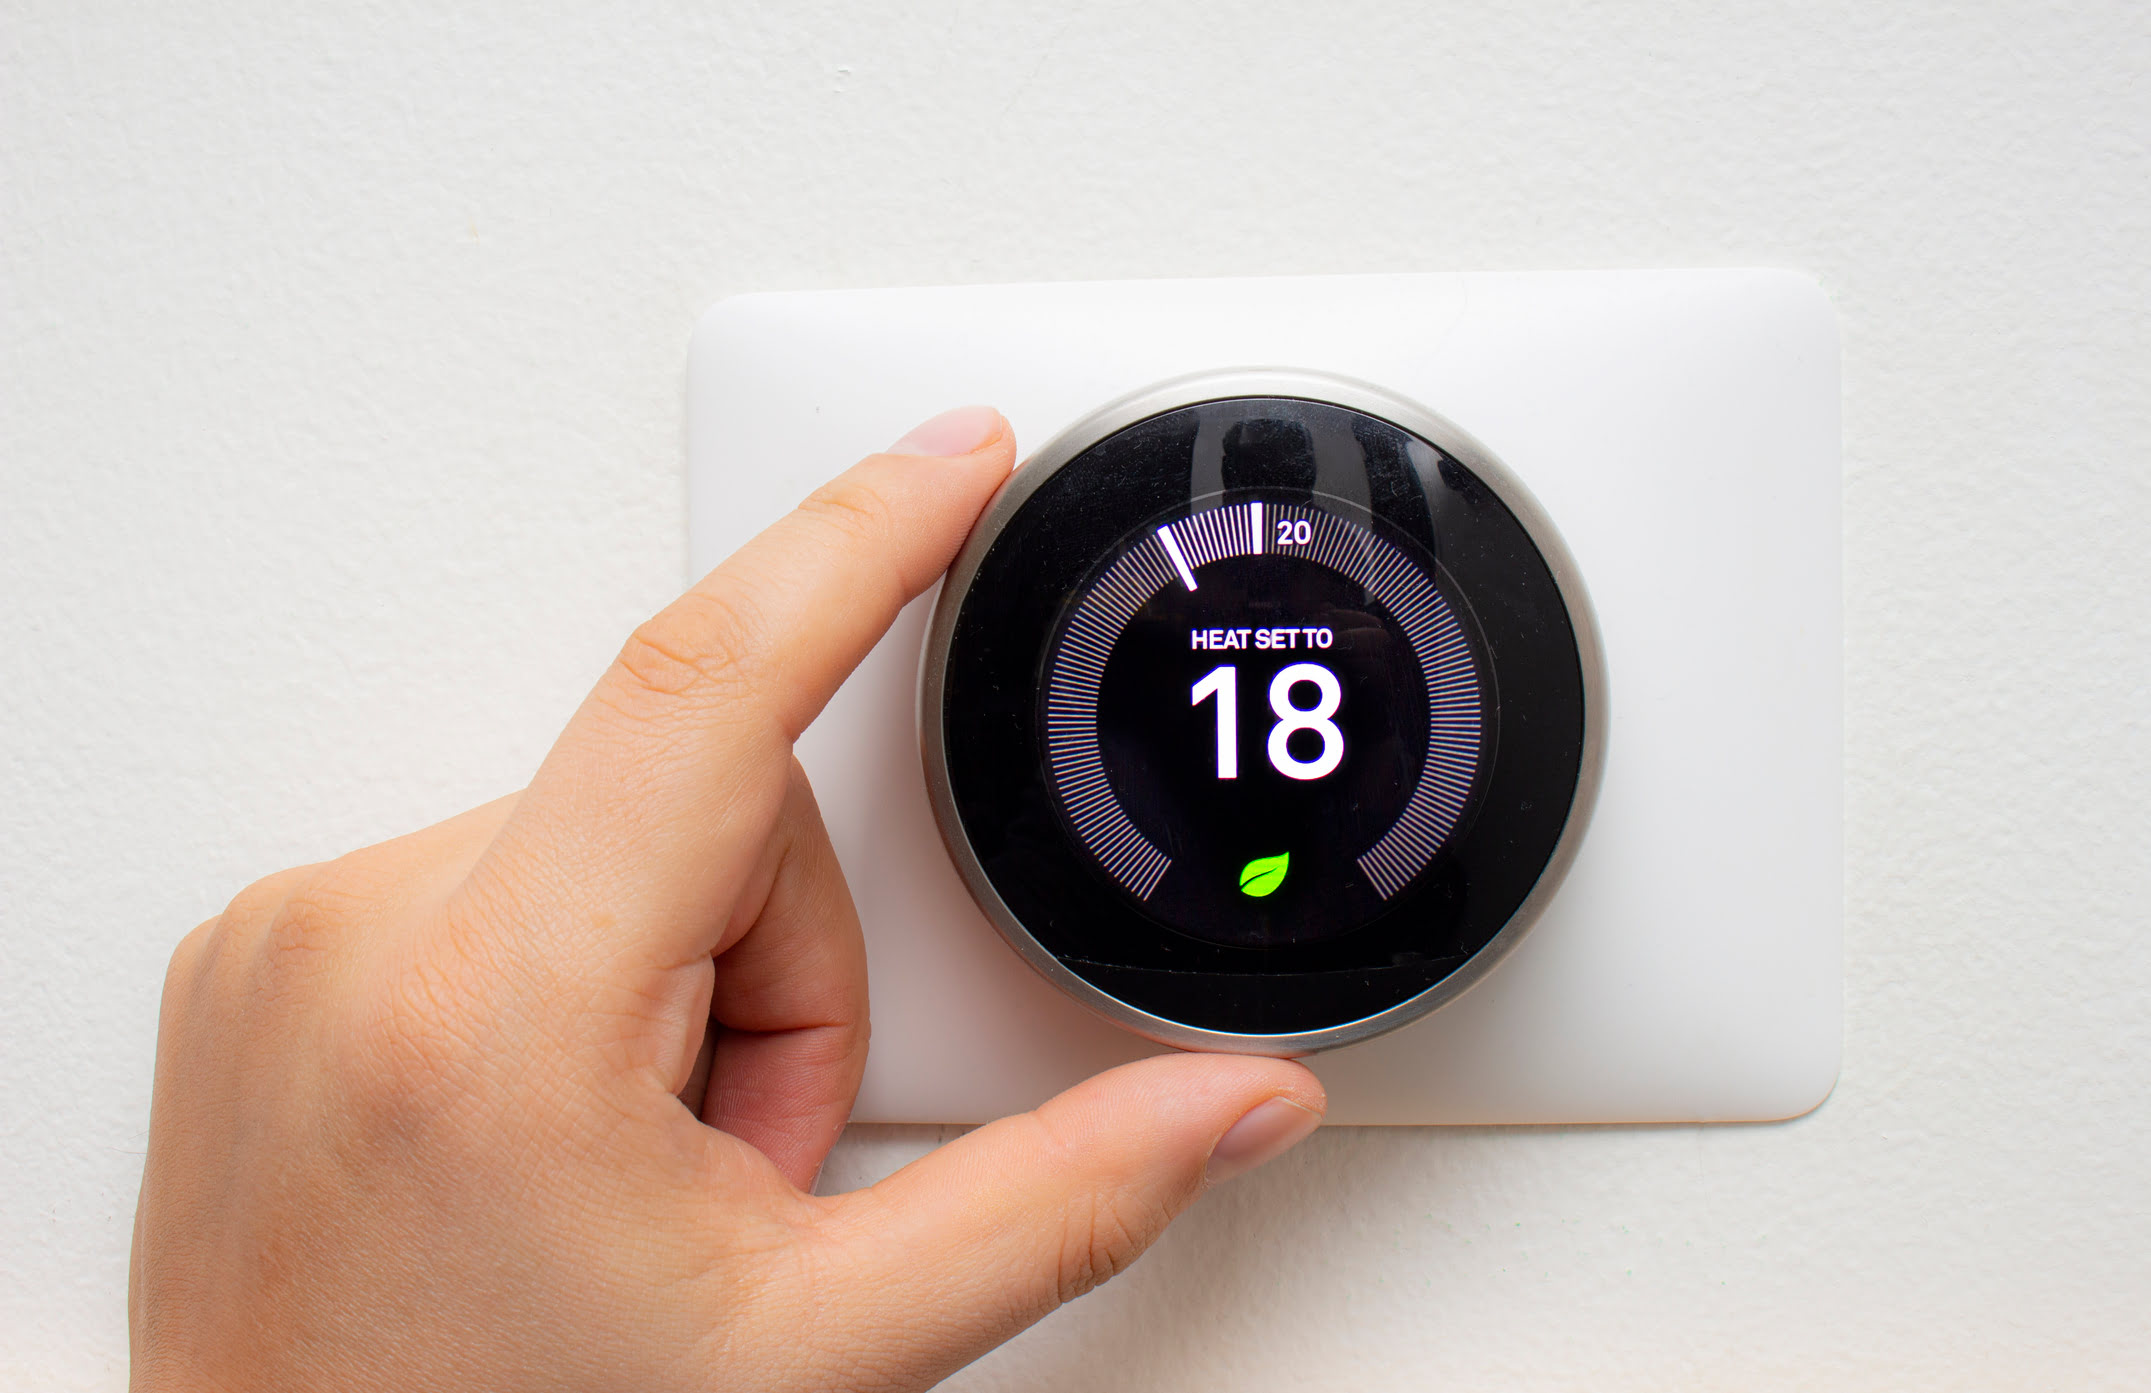
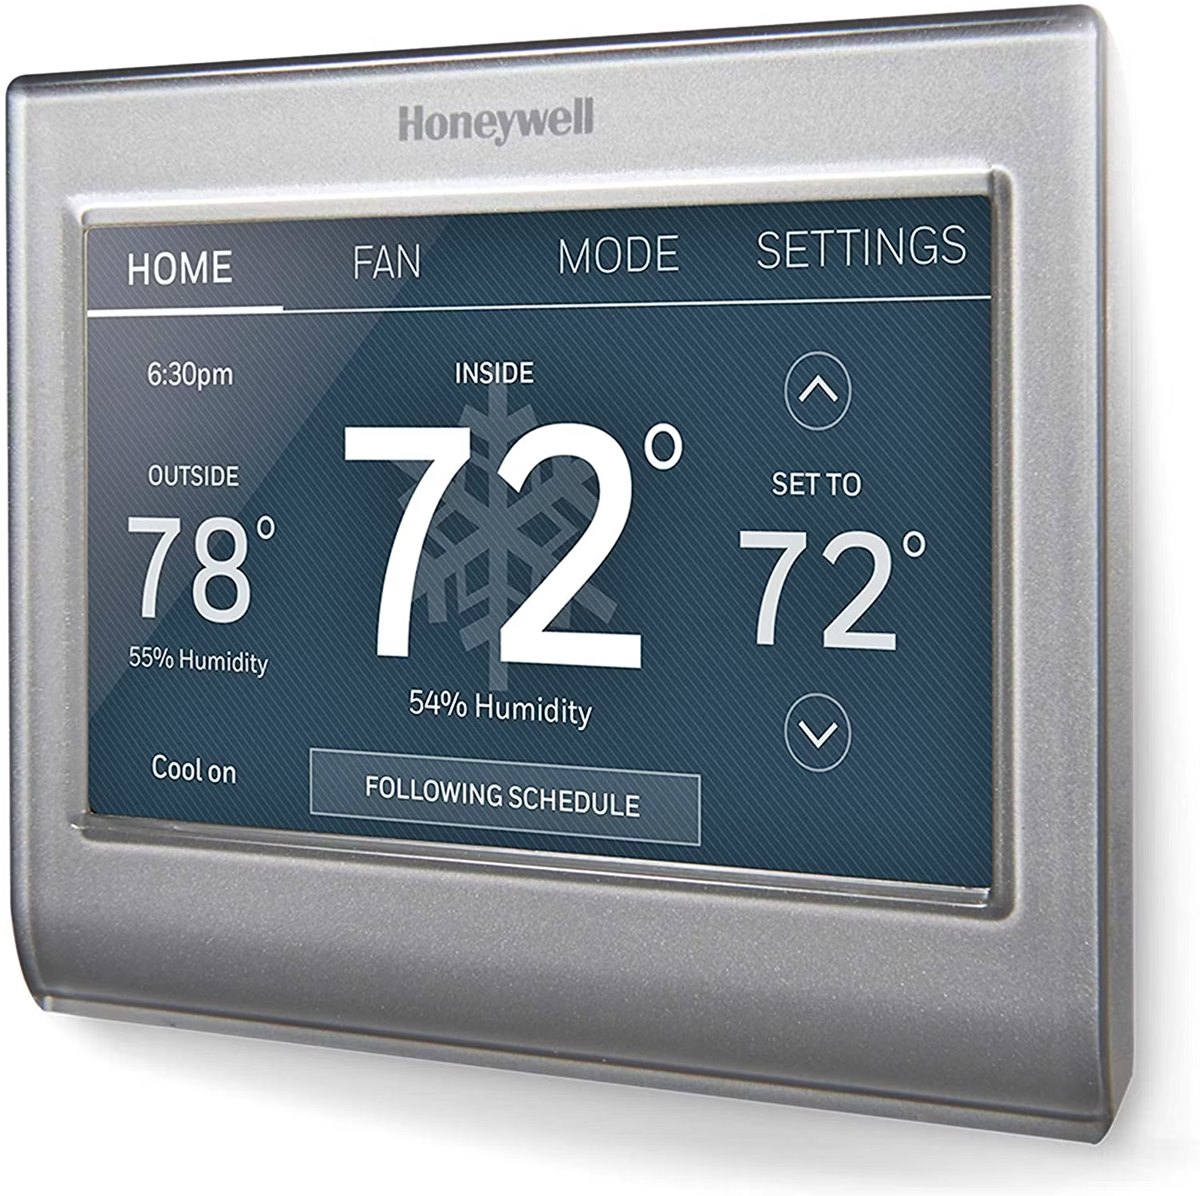
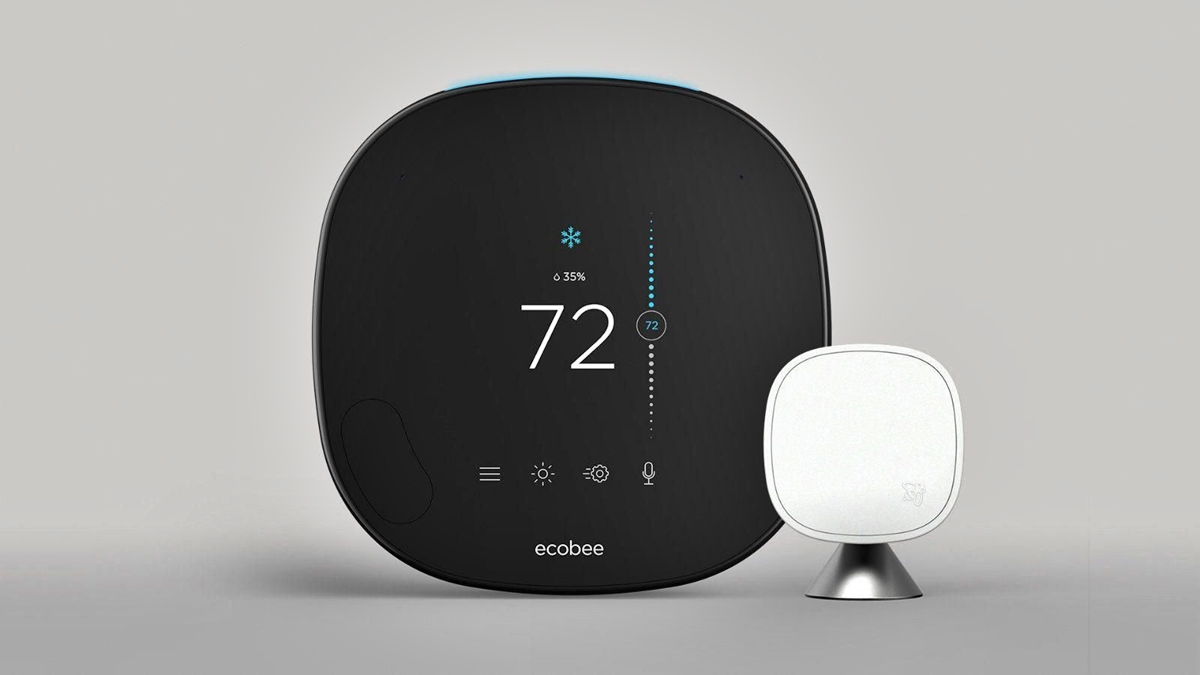
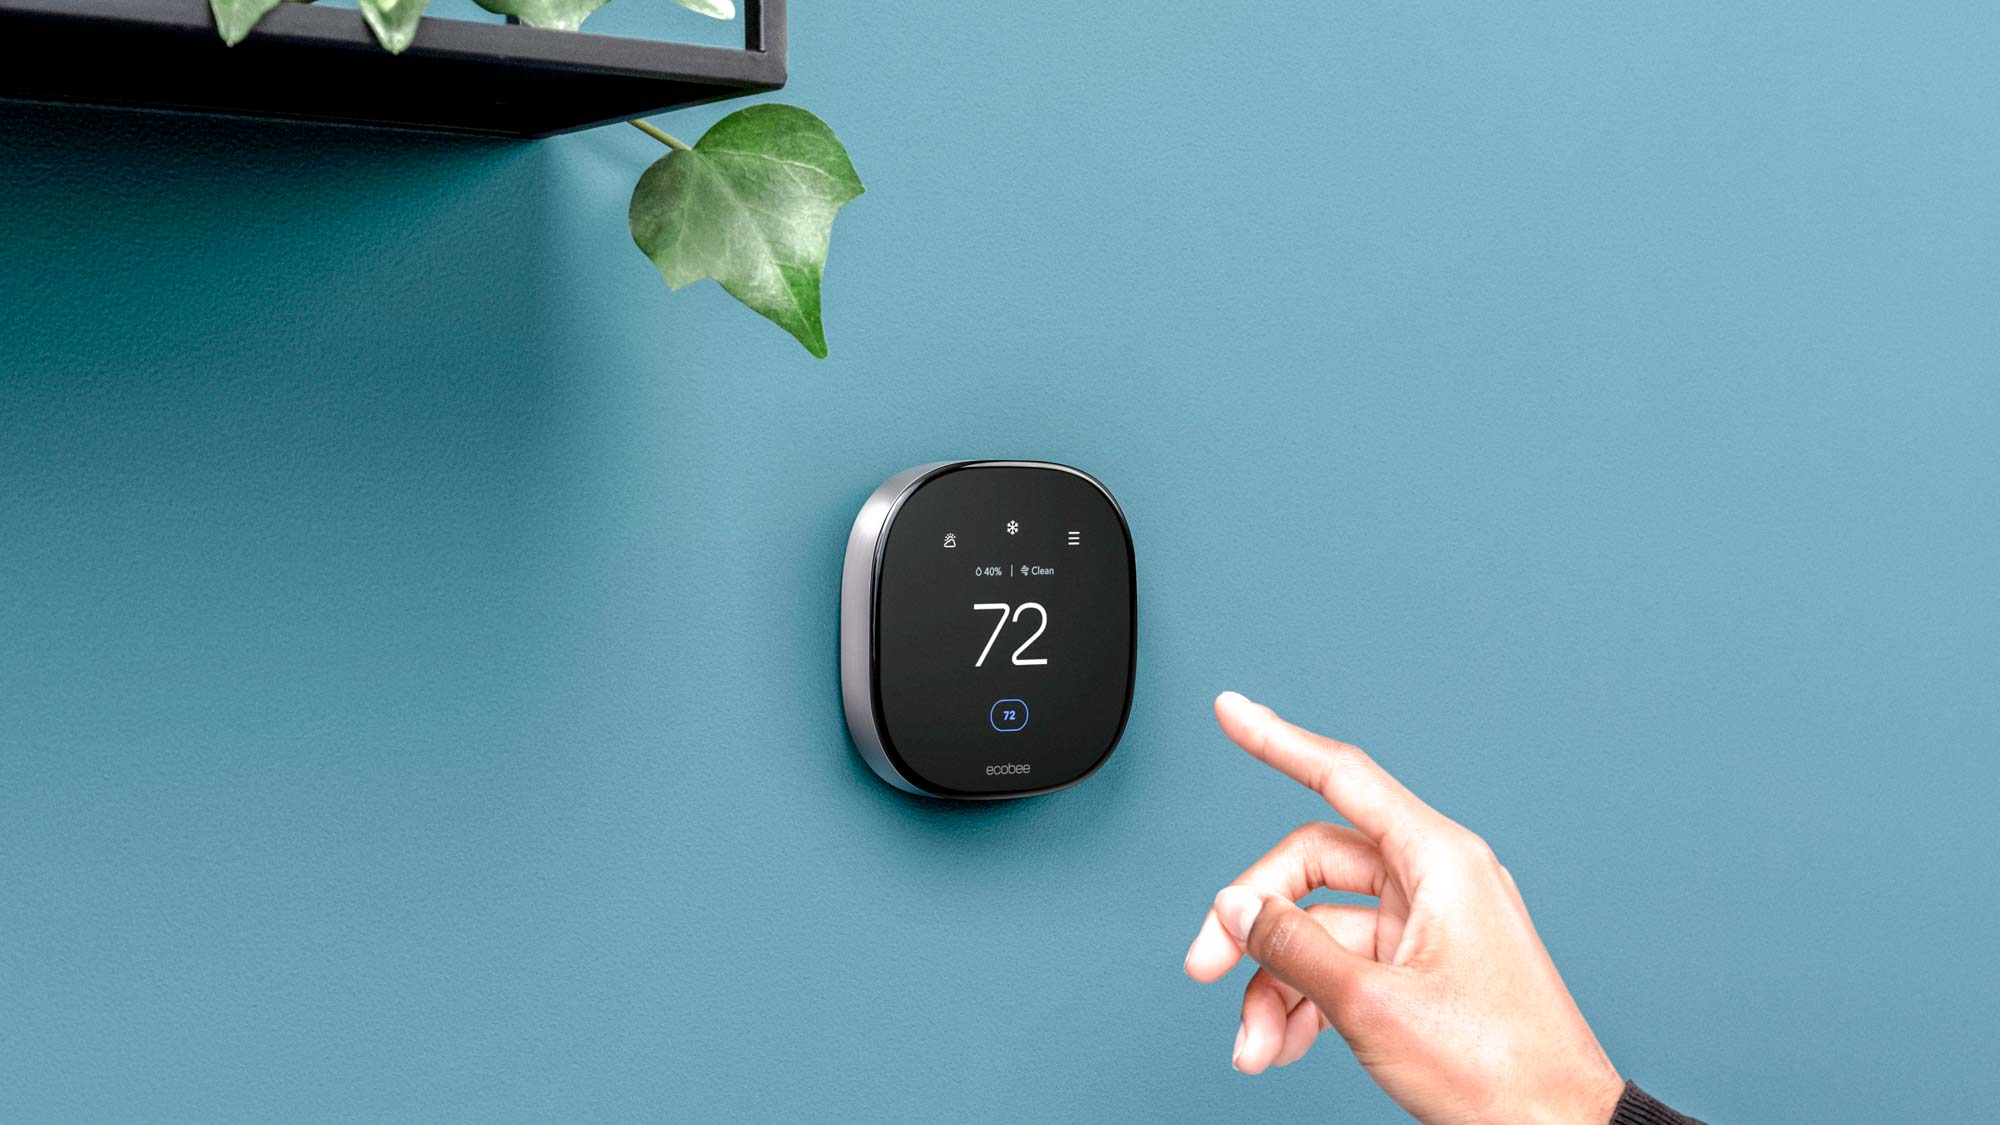
- Smart Thermostat: Choose a smart thermostat that is compatible with your heating and cooling system. Popular options include Nest, Ecobee, and Honeywell.
- Screwdriver Set: Ensure you have both flathead and Phillips head screwdrivers to accommodate different types of screws.
- Wire Labels: It’s helpful to label the wires connected to your existing thermostat to ensure a smooth transition to the new thermostat.
- Drill and Drill Bits: In case you need to install wall anchors or make adjustments to the mounting location.
- Level: To ensure the thermostat is mounted perfectly straight on the wall.
- Pen and Paper: For jotting down notes and recording the wire connections from the old thermostat.
- Mobile Device: You’ll need a smartphone or tablet to download the smart thermostat app for setup and configuration.
- Wire Strippers: If you need to strip the insulation from the wires for proper connection.
- Electrical Tape: To secure the wire connections and prevent any exposed wiring.
- Wall Anchors and Screws: If the new thermostat requires additional support for mounting.
By ensuring you have all the necessary tools and materials at the outset, you’ll be well-prepared to tackle the installation process with confidence and ease. With everything in hand, you’re ready to move on to the next step of the installation process.
Step 2: Turn Off Power to the Thermostat
Prior to removing your old thermostat and beginning the installation of the new smart thermostat, it’s essential to turn off the power to the existing thermostat. This step is crucial for your safety and to prevent any electrical mishaps during the installation process.
Here’s how to safely turn off the power to the thermostat:
- Locate the Circuit Breaker: Identify the circuit breaker that controls the power supply to your heating and cooling system. This is typically located in your home’s electrical panel.
- Switch Off the Circuit Breaker: Once you’ve located the correct circuit breaker, switch it off to cut off power to the thermostat. It’s a good practice to label the breaker for future reference.
- Verify Power Shutdown: After turning off the circuit breaker, go to the thermostat and verify that the display is no longer active. This confirms that the power has been successfully disconnected.
By following these steps, you can ensure that the power to the thermostat is completely shut off, creating a safe environment for the subsequent steps of the installation process. Remember, safety always comes first when working with electrical components in your home.
Step 3: Remove the Old Thermostat
With the power to the thermostat safely turned off, you can proceed to remove the old thermostat from the wall. This step involves carefully detaching the existing thermostat and exposing the wiring that connects it to your heating and cooling system. Here’s a detailed guide on how to remove the old thermostat:
- Detach the Thermostat Cover: Depending on the model of your thermostat, gently pry off the cover to reveal the inner components. Some covers simply snap off, while others may have screws securing them in place.
- Identify and Label the Wires: Take note of the wires connected to the thermostat terminals and use the wire labels to tag each wire with the corresponding terminal letter (e.g., R, Y, W, G). This step is crucial for correctly connecting the wires to the new smart thermostat.
- Remove the Mounting Plate: Unscrew the mounting plate of the old thermostat from the wall. Be cautious when handling the wires to prevent them from slipping back into the wall cavity.
- Inspect the Wiring: Once the mounting plate is removed, inspect the exposed wiring to ensure that the insulation is intact and there are no visible signs of damage. If any issues are detected, it’s advisable to consult a professional before proceeding with the installation of the new thermostat.
By following these steps, you can safely remove the old thermostat and prepare the wiring for the installation of the new smart thermostat. Taking the time to label the wires and assess their condition will contribute to a smooth transition to the next phase of the installation process.
Step 4: Install the New Thermostat Base
With the old thermostat removed and the wiring exposed, it’s time to install the base of your new smart thermostat. The base serves as the foundation for the thermostat display and facilitates the connection of the wiring. Follow these steps to securely install the new thermostat base:
- Select the Mounting Location: Choose a suitable location on the wall to mount the new thermostat base. Ensure it is at eye level and away from direct sunlight, drafts, or other sources of temperature fluctuation.
- Mark the Hole Locations: Using a pencil, mark the positions for the screw holes on the wall based on the dimensions of the thermostat base. Use a level to ensure the markings are straight and aligned.
- Drill Pilot Holes: With the hole locations marked, carefully drill pilot holes at the marked positions to facilitate the installation of wall anchors or screws.
- Install Wall Anchors or Screws: Depending on the wall surface, insert wall anchors into the pilot holes or directly screw in the mounting screws to secure the thermostat base to the wall.
- Connect the Wires: Gently feed the thermostat wires through the base and connect them to the corresponding terminals as labeled during the removal of the old thermostat. Ensure the connections are secure and snug.
- Attach the Base to the Wall: Align the thermostat base with the installed wall anchors or screws and firmly press it against the wall. Use a level to verify that the base is perfectly straight.
- Secure the Base: Use the provided screws to fasten the thermostat base to the wall, ensuring it is stable and flush against the surface.
By following these steps, you can successfully install the base of your new smart thermostat, setting the stage for the seamless integration of the thermostat display and the connection of the wiring. With the base securely in place, you’re ready to proceed to the next phase of the installation process.
Before installing a smart thermostat, make sure to turn off the power to your HVAC system at the breaker to avoid any electrical accidents.
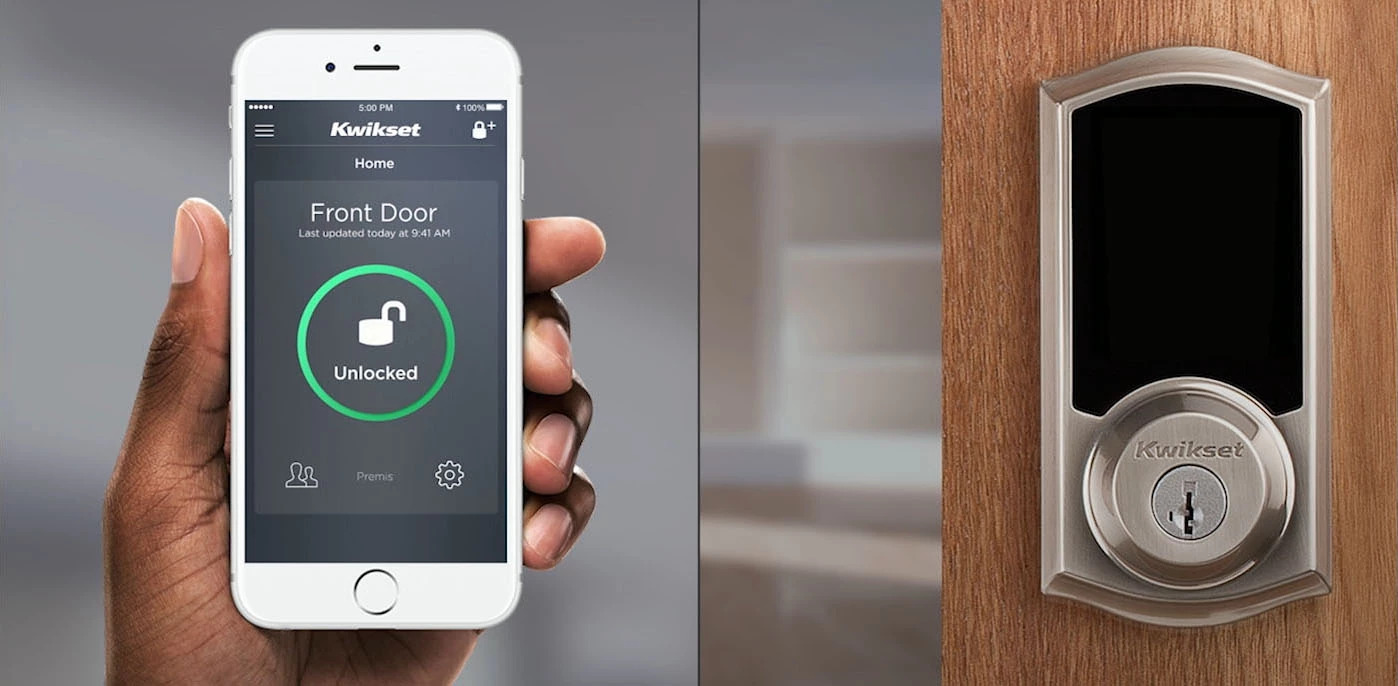
Read more: How To Install A Smart Lock
Step 5: Connect the Wires to the New Thermostat
With the base of the new smart thermostat securely installed, the next critical step is to connect the thermostat wires to the corresponding terminals on the base. Properly connecting the wires ensures that your heating and cooling system functions seamlessly with the new thermostat. Follow these steps to connect the wires:
- Refer to the Wiring Labels: Retrieve the labeled wires and refer to the notes you made during the removal of the old thermostat to identify the corresponding terminals on the new thermostat base.
- Strip the Wire Ends: If necessary, use wire strippers to carefully remove a small portion of insulation from the ends of the wires to expose the conductive metal. Take caution not to damage the conductors within the wires.
- Match and Connect the Wires: Match each labeled wire to the corresponding terminal on the new thermostat base. For example, the “R” wire connects to the “R” terminal, the “Y” wire to the “Y” terminal, and so forth. Follow the manufacturer’s instructions for specific wiring configurations.
- Secure the Connections: Once the wires are inserted into the terminals, ensure they are tightly secured. Some smart thermostats feature push-in connectors, while others utilize screw terminals. Follow the recommended method for your thermostat to secure the connections.
- Tuck Excess Wiring: Carefully tuck any excess wiring into the wall opening behind the thermostat base. Avoid crimping or damaging the wires during this process.
By meticulously connecting the wires to the new thermostat base, you are laying the groundwork for the seamless operation of your smart thermostat with your home’s heating and cooling system. With the wiring securely in place, you are ready to proceed to the next phase of the installation process.
Step 6: Attach the New Thermostat Display
With the wiring securely connected to the base, it’s time to attach the new smart thermostat display. The display serves as the user interface, allowing you to control and program the thermostat settings. Follow these steps to seamlessly attach the new thermostat display:
- Align the Display: Align the back of the thermostat display with the mounted base, ensuring that the connectors on the display correspond to the terminals on the base.
- Secure the Display: Gently press the display onto the base, ensuring that it fits snugly and securely. Some smart thermostats feature a magnetic attachment, while others may require a firm press to lock into place.
- Power Up the Thermostat: Once the display is attached, restore power to the thermostat by turning on the circuit breaker at the electrical panel. The thermostat display should illuminate, indicating that it is receiving power.
- Follow Setup Instructions: Depending on the smart thermostat model, you may be prompted to follow on-screen setup instructions to configure the initial settings, connect to Wi-Fi, and download the companion mobile app for remote control.
- Verify Functionality: Test the thermostat by adjusting the temperature settings and ensuring that the heating and cooling system responds accordingly. Verify that the display accurately reflects the changes and that the system operates as expected.
By following these steps, you can seamlessly attach the new smart thermostat display and initiate the setup process. With the display in place and the thermostat powered up, you are ready to proceed to the final phase of the installation process.
Step 7: Turn the Power Back On and Test the Thermostat
As the final step in the installation process, it’s time to restore power to the thermostat and thoroughly test its functionality. This critical phase ensures that the smart thermostat is fully operational and seamlessly integrated with your home’s heating and cooling system. Follow these steps to turn the power back on and test the thermostat:
- Restore Power: Return to the electrical panel and switch on the circuit breaker that controls the power supply to the thermostat. Confirm that the thermostat display powers up and is responsive.
- Set Initial Temperature: Use the thermostat controls to set an initial temperature for heating or cooling, depending on your comfort needs and the current environmental conditions.
- Observe System Response: Monitor the heating and cooling system to ensure that it responds to the thermostat settings. Listen for the activation of the HVAC equipment and verify that the air temperature adjusts accordingly.
- Test Additional Features: If your smart thermostat offers advanced features such as scheduling, geofencing, or voice control, take the time to explore and test these functionalities to ensure they operate as intended.
- Download Companion App: If applicable, download the companion mobile app for your smart thermostat and verify that you can remotely control and monitor the thermostat settings from your mobile device.
- Verify Wi-Fi Connectivity: If the thermostat connects to your home Wi-Fi network, ensure that it successfully establishes a stable connection and can be accessed via the internet for remote control and monitoring.
By following these steps, you can confidently turn the power back on and thoroughly test the smart thermostat to ensure its seamless operation. With the thermostat fully functional and integrated into your home, you have successfully completed the installation process and can now enjoy the convenience and energy-saving benefits of a modern smart thermostat.
Conclusion
Congratulations on successfully installing your new smart thermostat! By completing this installation, you have taken a significant step toward enhancing the comfort, convenience, and energy efficiency of your home. As you bask in the modern amenities of smart home technology, it’s important to reflect on the benefits and impact of this upgrade.
With your smart thermostat in place, you now have the power to remotely control your home’s temperature, create personalized heating and cooling schedules, and monitor energy usage—all from the palm of your hand. This level of control not only elevates your living experience but also contributes to reduced energy consumption and lower utility bills.
Furthermore, the seamless integration of your smart thermostat with your heating and cooling system ensures that your home maintains optimal comfort while operating in an energy-efficient manner. The ability to fine-tune temperature settings and leverage advanced features such as geofencing and adaptive learning empowers you to create a personalized and eco-friendly home environment.
As you revel in the benefits of your new smart thermostat, take a moment to appreciate the DIY accomplishment of successfully installing this transformative piece of technology. Your dedication to enhancing your home with innovative solutions demonstrates your commitment to modern living and sustainability.
Remember, the installation of a smart thermostat not only elevates your home’s functionality but also aligns with the broader movement toward energy conservation and environmental responsibility. By embracing smart home technology, you are contributing to a more sustainable future while enjoying the immediate perks of a connected and efficient living space.
So, as you enjoy the comfort and control offered by your new smart thermostat, take pride in the positive impact it has on your daily life and the environment. Your commitment to embracing smart home technology is a testament to your forward-thinking approach to modern living. Here’s to a more comfortable, efficient, and connected home—all thanks to your new smart thermostat!
Frequently Asked Questions about How To Install A Smart Thermostat
Was this page helpful?
At Storables.com, we guarantee accurate and reliable information. Our content, validated by Expert Board Contributors, is crafted following stringent Editorial Policies. We're committed to providing you with well-researched, expert-backed insights for all your informational needs.

0 thoughts on “How To Install A Smart Thermostat”