Home>Home Appliances>Home Automation Appliances>How To Install A Nest Thermostat Trim Kit
Home Automation Appliances
How To Install A Nest Thermostat Trim Kit
Modified: February 18, 2024
Learn how to easily install a Nest thermostat trim kit to enhance the look of your home automation appliances. Step-by-step guide for a seamless upgrade.
(Many of the links in this article redirect to a specific reviewed product. Your purchase of these products through affiliate links helps to generate commission for Storables.com, at no extra cost. Learn more)
Introduction
So, you've decided to upgrade your home with a sleek and modern Nest thermostat. Congratulations! The Nest thermostat is a powerful device that not only enhances the aesthetic appeal of your living space but also offers advanced functionality to optimize energy usage and improve your overall comfort. However, to truly integrate the Nest thermostat seamlessly into your home, you'll need to consider the finer details, such as the installation process and the overall presentation of the device on your wall.
One key aspect of achieving a polished and professional installation is the use of a Nest thermostat trim kit. This accessory is designed to cover any imperfections or gaps left behind by your previous thermostat, ensuring a clean and seamless transition to the new Nest thermostat. In this guide, we'll walk you through the step-by-step process of installing a Nest thermostat trim kit, from gathering the necessary tools and materials to the final testing phase. By the end of this tutorial, you'll have the confidence and know-how to elevate the appearance of your Nest thermostat installation and create a sophisticated and harmonious look within your home.
Let's dive into the world of Nest thermostat trim kits and discover how you can effortlessly enhance the visual appeal of your home while enjoying the benefits of a cutting-edge smart thermostat.
Key Takeaways:
- Elevate your home with a Nest thermostat trim kit for a polished, professional look that seamlessly integrates into your decor while ensuring long-term durability and insulation protection.
- Transform your living space with a modern Nest thermostat installation, prioritizing safety and attention to detail to create a sophisticated, energy-efficient, and visually appealing home environment.
Read more: How To Disconnect A Nest Thermostat
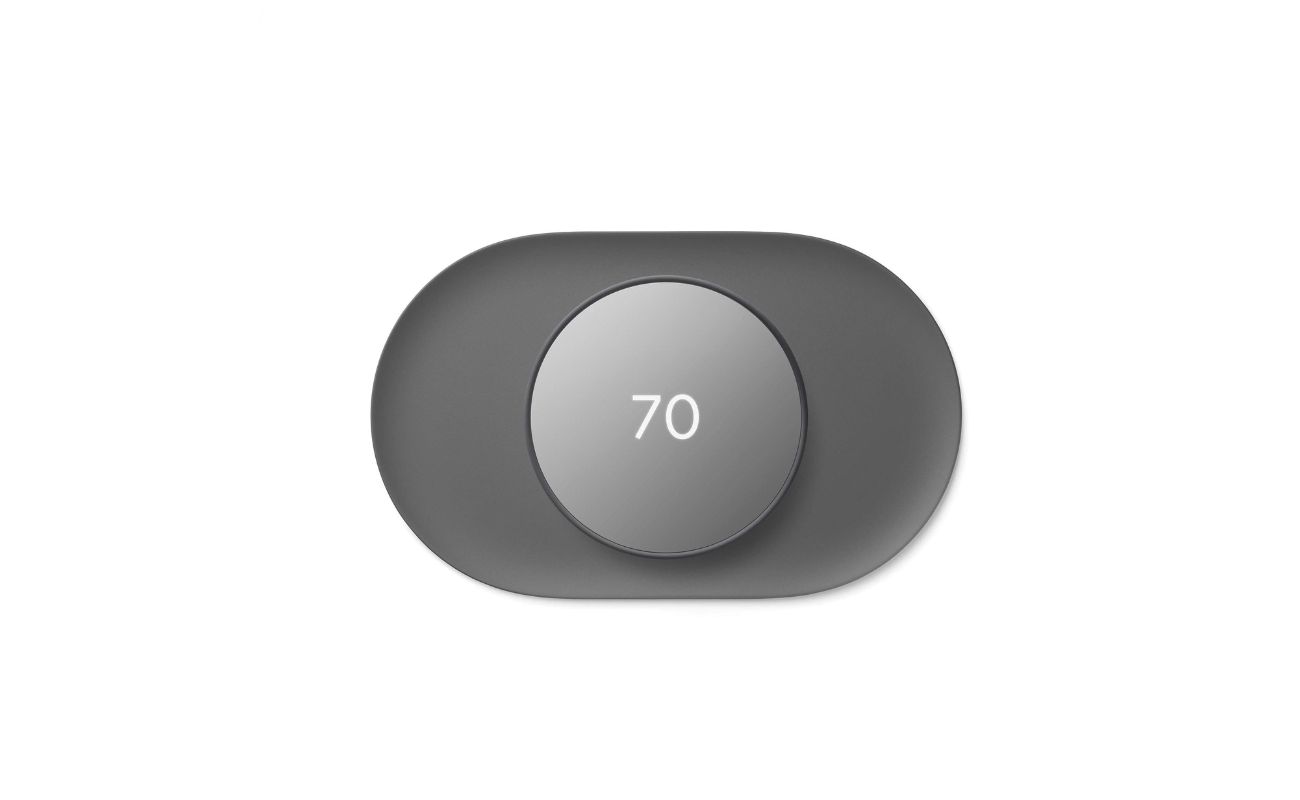
What is a Nest Thermostat Trim Kit?
A Nest thermostat trim kit is a specially designed accessory that complements the installation of your Nest thermostat, ensuring a seamless and professional appearance on your wall. When upgrading to a Nest thermostat from a previous model, the trim kit serves as a finishing touch, concealing any gaps or marks left by the previous thermostat. It effectively covers the area around the new thermostat, creating a clean and polished look that integrates seamlessly with your home decor.
These trim kits are available in various styles and finishes, allowing you to select the option that best matches your interior design preferences. Whether you prefer a subtle and understated trim or a bold and eye-catching accent, there is a trim kit to suit your aesthetic vision.
Aside from its aesthetic benefits, a Nest thermostat trim kit also serves a practical purpose. By effectively covering any imperfections or exposed areas on the wall, it helps to maintain the insulation and protection of your home's wiring and wall surface. This attention to detail not only enhances the overall visual appeal of your thermostat installation but also contributes to the long-term durability and functionality of your home's heating and cooling system.
When considering the installation of a Nest thermostat, incorporating a trim kit into the process demonstrates a commitment to achieving a cohesive and sophisticated look within your living space. It elevates the installation from a mere functional upgrade to a carefully curated design element that enhances the overall ambiance of your home.
Now that we understand the purpose and benefits of a Nest thermostat trim kit, let's explore the tools and materials you'll need to complete the installation process seamlessly.
Tools and Materials Needed
Before embarking on the installation of a Nest thermostat trim kit, it’s essential to gather the necessary tools and materials to ensure a smooth and efficient process. Here’s a comprehensive list of what you’ll need:
Tools:
- Flathead screwdriver
- Phillips screwdriver
- Level
- Power drill (if necessary for wall mounting)
- Tape measure
Materials:
- Nest thermostat trim kit (ensure it is compatible with your Nest thermostat model)
- Mounting screws
- Anchors (if required for wall mounting)
Having these tools and materials readily available will streamline the installation process and minimize any potential delays or interruptions. It’s important to verify the compatibility of the trim kit with your specific Nest thermostat model to ensure a perfect fit and a polished final result.
With the tools and materials in hand, you’re now ready to proceed with the step-by-step installation process, starting with turning off the power to the thermostat.
Read more: How To Reset A Nest Thermostat Password
Step 1: Turn Off Power
Before beginning the installation of the Nest thermostat trim kit, it’s crucial to prioritize safety by turning off the power supply to the thermostat. This step is essential to prevent any electrical mishaps and ensure a secure working environment throughout the installation process.
To turn off the power, follow these steps:
- Locate the Circuit Breaker: Identify the circuit breaker that controls the power supply to your thermostat. This may be labeled in the breaker box or the main electrical panel of your home.
- Switch Off the Power: Once you’ve located the appropriate circuit breaker, switch it off to cut off the electricity supply to the thermostat. This action will safeguard against any electrical hazards while you work on the installation.
- Verify the Power Supply: After turning off the circuit breaker, use a non-contact voltage tester to confirm that the power to the thermostat has been successfully shut off. This precautionary measure ensures that you can proceed with the installation confidently.
By diligently following these steps to deactivate the power supply, you create a safe environment for yourself and protect the integrity of the electrical components involved in the installation process. With the power turned off, you can now proceed to the next step: removing the existing thermostat from the wall.
Ensuring the power is off before beginning any work on the thermostat is a critical safety measure that sets the foundation for a successful and secure installation of the Nest thermostat trim kit.
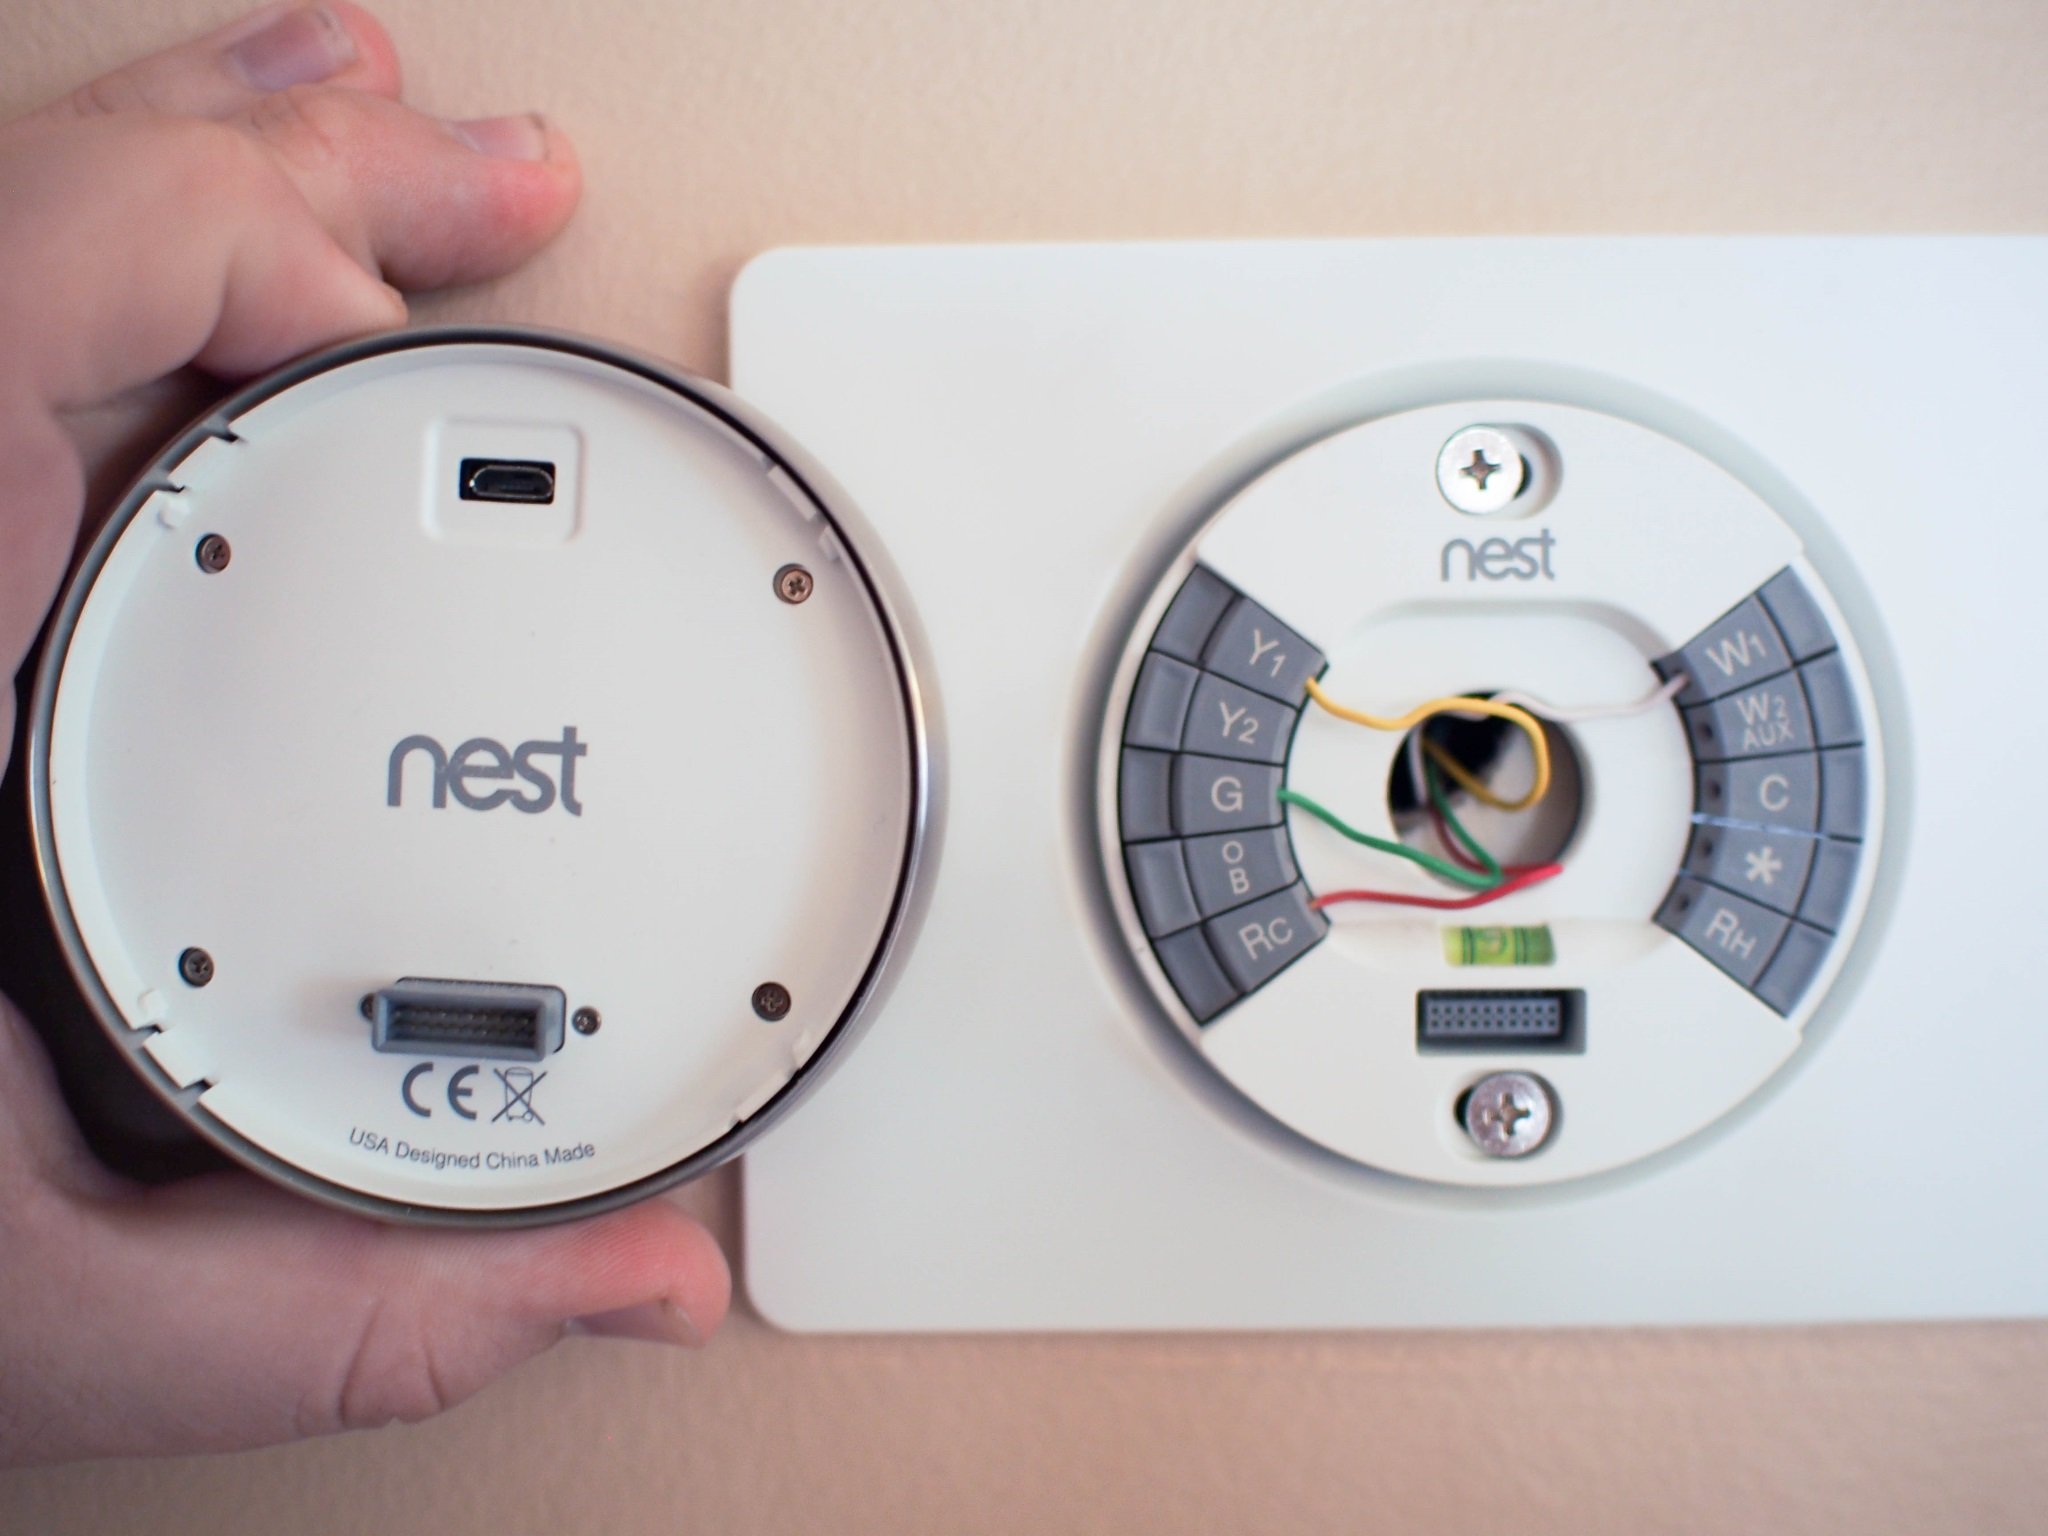
Step 2: Remove Existing Thermostat
Now that the power supply to the thermostat has been safely turned off, you can proceed with the next crucial step: removing the existing thermostat from the wall. This process involves carefully detaching the old thermostat to create a clean slate for the installation of the Nest thermostat trim kit.
Here’s a step-by-step guide to removing the existing thermostat:
- Remove the Faceplate: Gently detach the faceplate or cover of the thermostat to reveal the inner components. This may involve unscrewing the faceplate or carefully prying it away from the wall, depending on the model of your existing thermostat.
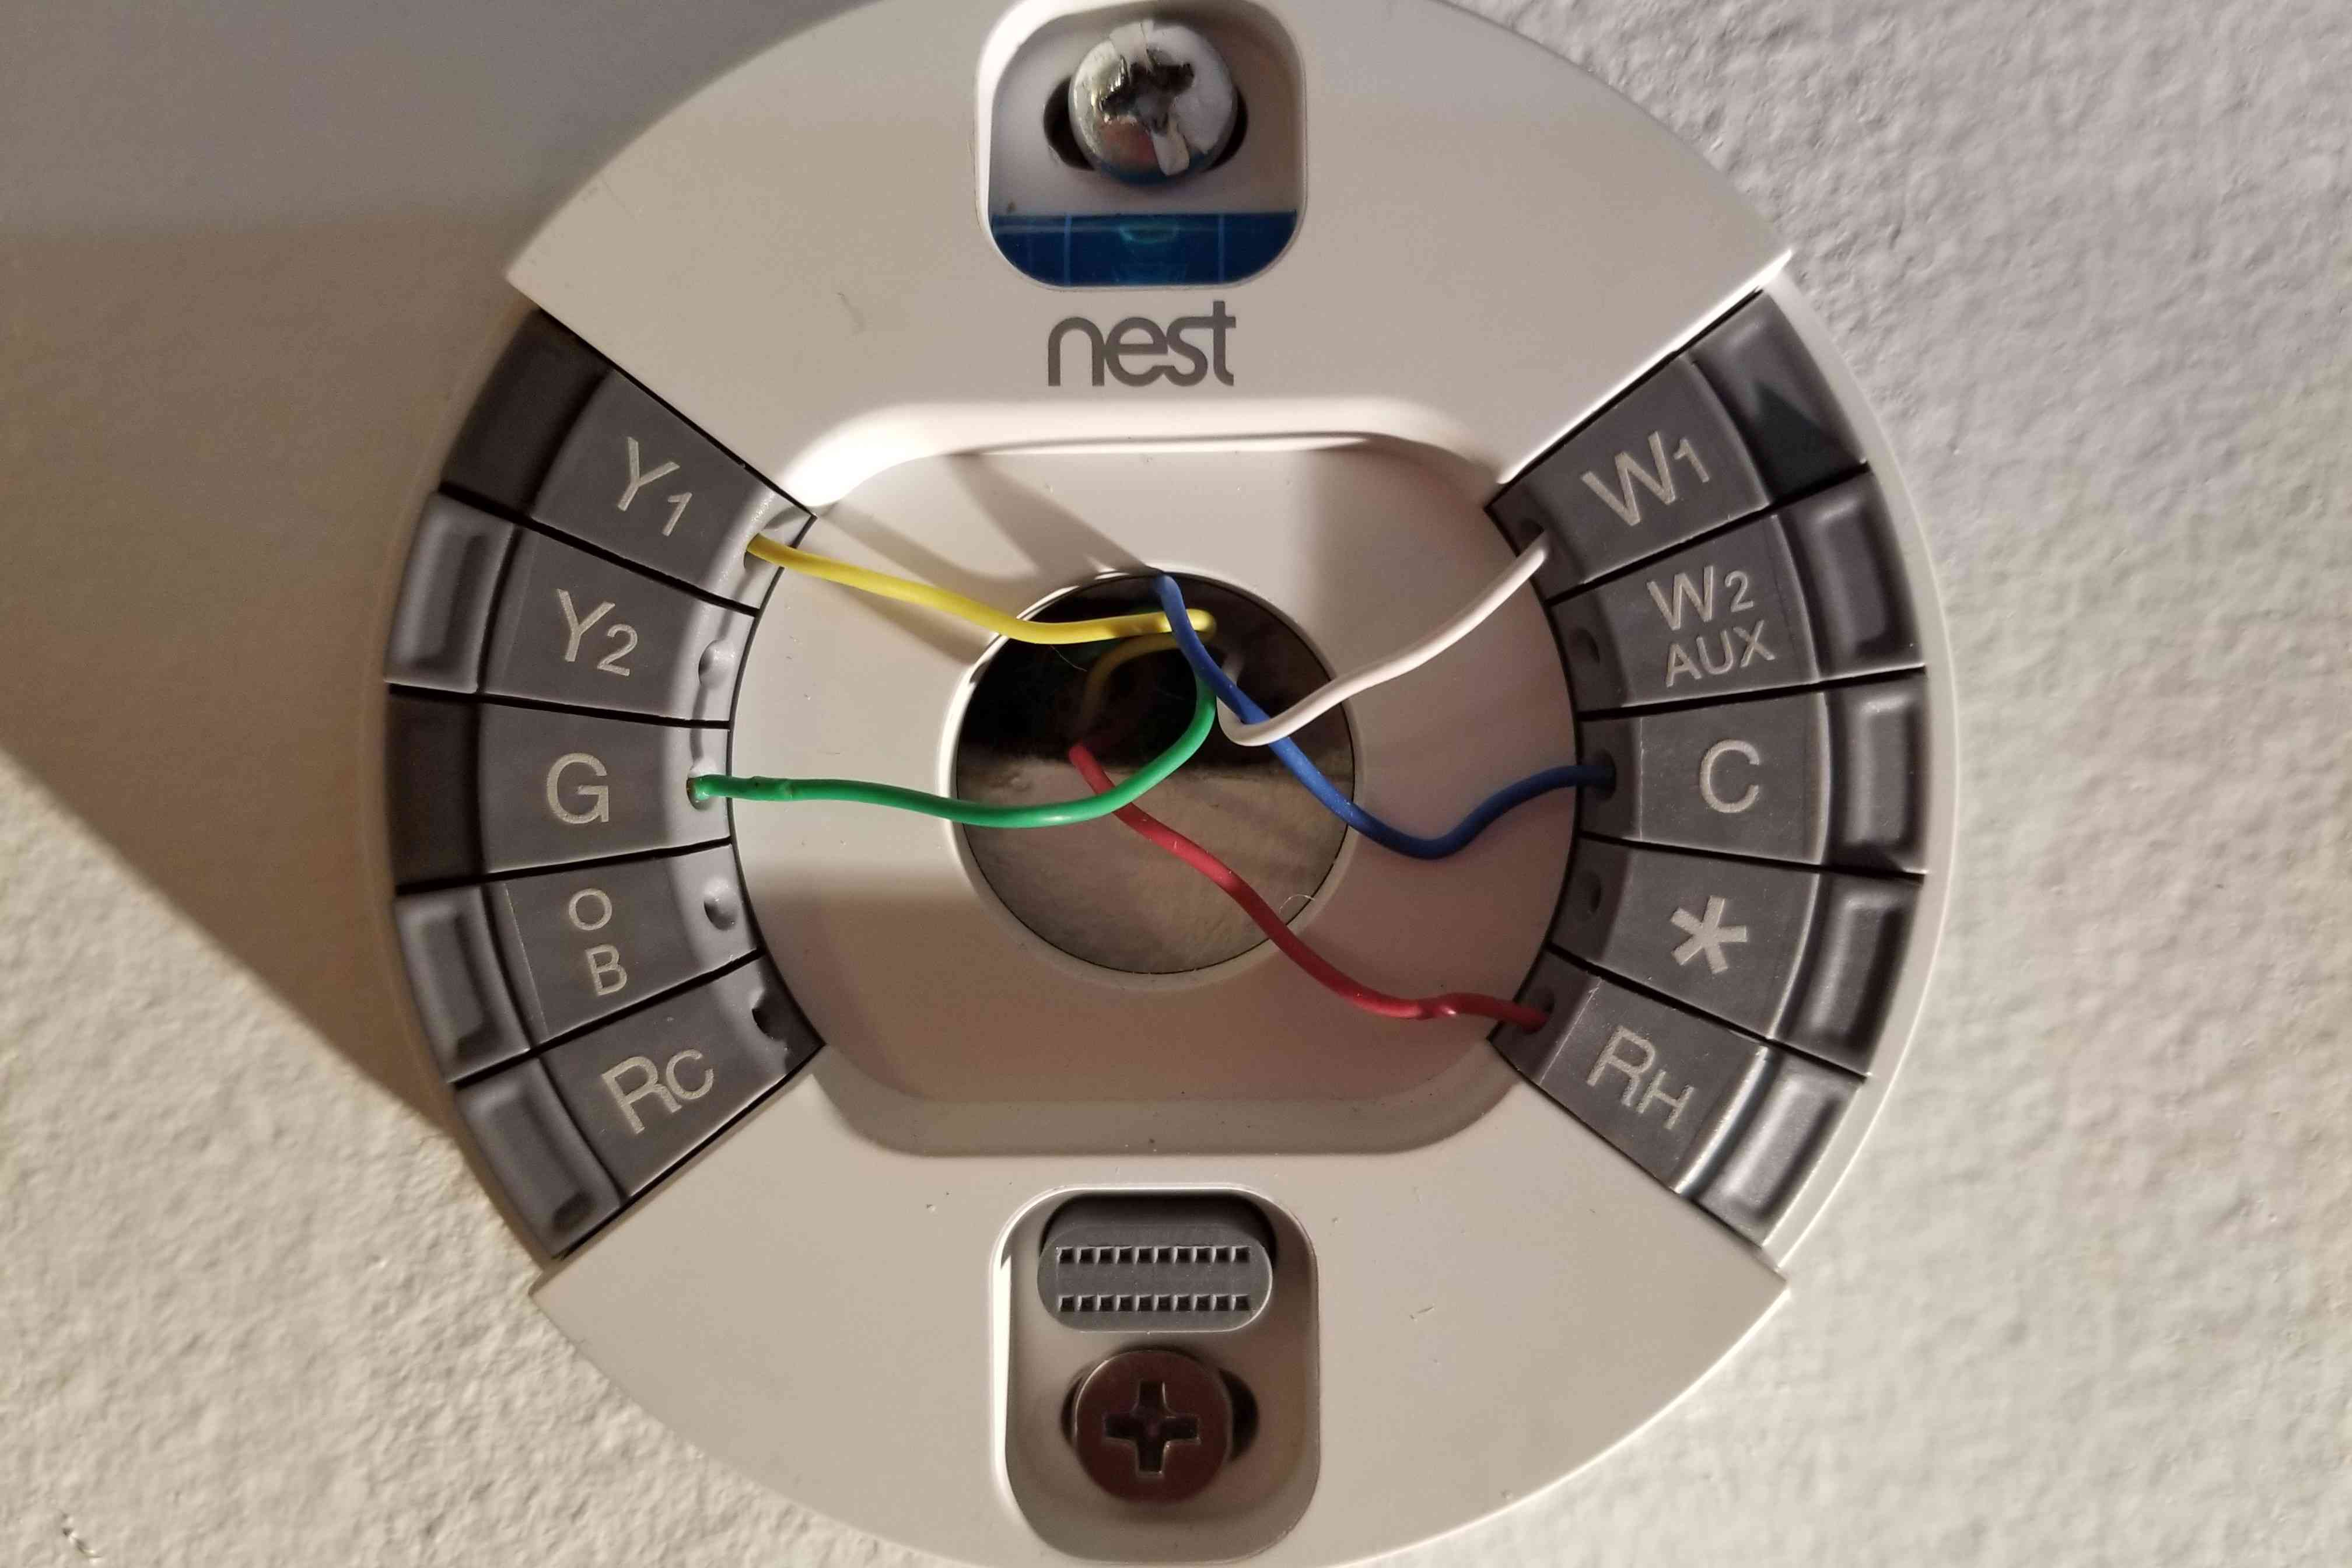
- Identify and Label Wires: Take note of the wires connected to the thermostat terminals and their corresponding labels. It’s essential to ensure that you can reconnect the wires accurately when installing the new Nest thermostat trim kit.
- Disconnect Wires: Carefully disconnect the wires from the terminals of the existing thermostat. Keep in mind the color-coded labels or any notes you’ve made to facilitate the reconnection of the wires during the installation of the new trim kit.
- Remove Mounting Plate: Unscrew and remove the mounting plate of the old thermostat from the wall. Take care to avoid damaging the wall surface during this process, as the area will serve as the foundation for the installation of the Nest thermostat trim kit.
- Clean the Wall Surface: Once the old thermostat and mounting plate have been removed, take a moment to clean the wall surface to ensure it is free from any debris or residue that could affect the adhesion and appearance of the new trim kit.
By following these steps meticulously, you can effectively remove the existing thermostat and prepare the wall for the installation of the Nest thermostat trim kit. With the wall surface clean and the wires disconnected and labeled, you’re now ready to move on to the next phase: installing the trim plate.
Removing the old thermostat is a critical step that sets the stage for seamlessly integrating the new Nest thermostat and trim kit into your home, creating a polished and professional finish.
Step 3: Install Trim Plate
With the old thermostat removed and the wall surface prepared, it’s time to proceed with installing the trim plate that will serve as the foundation for the Nest thermostat and contribute to a clean and polished appearance.
Follow these steps to install the trim plate:
- Select the Correct Trim Plate: Ensure that the trim plate you have is compatible with your Nest thermostat model. The trim plate should align perfectly with the dimensions and design of your specific thermostat, providing a seamless fit.
- Align the Trim Plate: Position the trim plate over the opening on the wall, ensuring that it is level and centered. Use a level to confirm that the trim plate is perfectly aligned before proceeding with the installation.
- Secure the Trim Plate: Once the trim plate is aligned, use the provided mounting screws to secure it in place. Take care not to overtighten the screws, as this could damage the trim plate or the wall surface.
- Verify Stability: After securing the trim plate, gently test its stability by applying light pressure. The trim plate should sit flush against the wall and remain securely in place, providing a stable foundation for the installation of the Nest thermostat.
By following these steps, you can ensure that the trim plate is installed securely and serves as a stable base for mounting the Nest thermostat. The clean and polished appearance of the trim plate contributes to a professional and aesthetically pleasing installation, setting the stage for the final step: attaching the Nest thermostat to the trim plate.
Installing the trim plate is a crucial element of the process, as it not only provides a secure mounting point for the Nest thermostat but also enhances the overall visual appeal of the installation, creating a seamless transition from the old thermostat to the new, sophisticated Nest thermostat and trim kit combination.
When installing a Nest thermostat trim kit, make sure to turn off the power to your HVAC system before beginning the installation. This will ensure your safety and prevent any electrical accidents.
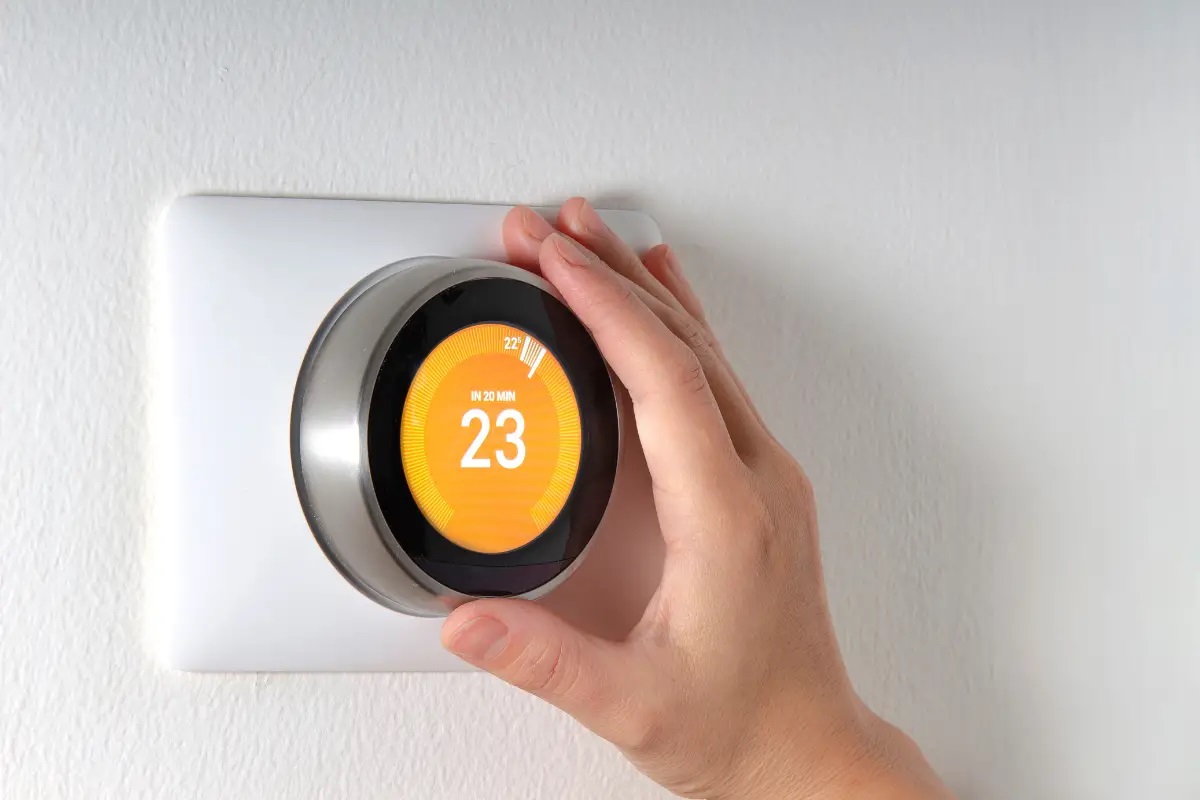
Step 4: Attach Nest Thermostat
With the trim plate securely installed, it’s time to proceed with attaching the Nest thermostat to create a sleek and modern addition to your home. This step involves carefully mounting the Nest thermostat onto the trim plate and connecting the wires to ensure seamless functionality.
Follow these steps to attach the Nest thermostat:
- Position the Nest Thermostat: Align the Nest thermostat with the trim plate, ensuring that it sits flush and level. Take a moment to confirm that the thermostat is centered and positioned correctly before proceeding.
- Secure the Nest Thermostat: Once the thermostat is positioned correctly, use the provided screws or mounting mechanism to secure it to the trim plate. Take care to follow the manufacturer’s instructions for your specific Nest thermostat model to ensure a secure and stable attachment.
- Connect the Wires: Reconnect the labeled wires to the corresponding terminals on the Nest thermostat. Ensure that each wire is securely fastened and properly seated to guarantee reliable functionality.
- Verify the Fit: After attaching the Nest thermostat and connecting the wires, verify that the device sits securely on the trim plate and that the wires are neatly organized to facilitate a tidy and professional appearance.
By following these steps, you can ensure that the Nest thermostat is securely attached to the trim plate and that the wiring is correctly connected, setting the stage for the final phase of the installation process: turning on the power and testing the Nest thermostat.
Attaching the Nest thermostat to the trim plate represents the culmination of the installation process, transforming your home with a modern and sophisticated addition that not only enhances the aesthetic appeal but also offers advanced functionality to optimize your comfort and energy usage.
Read more: How To Turn On My Nest Thermostat
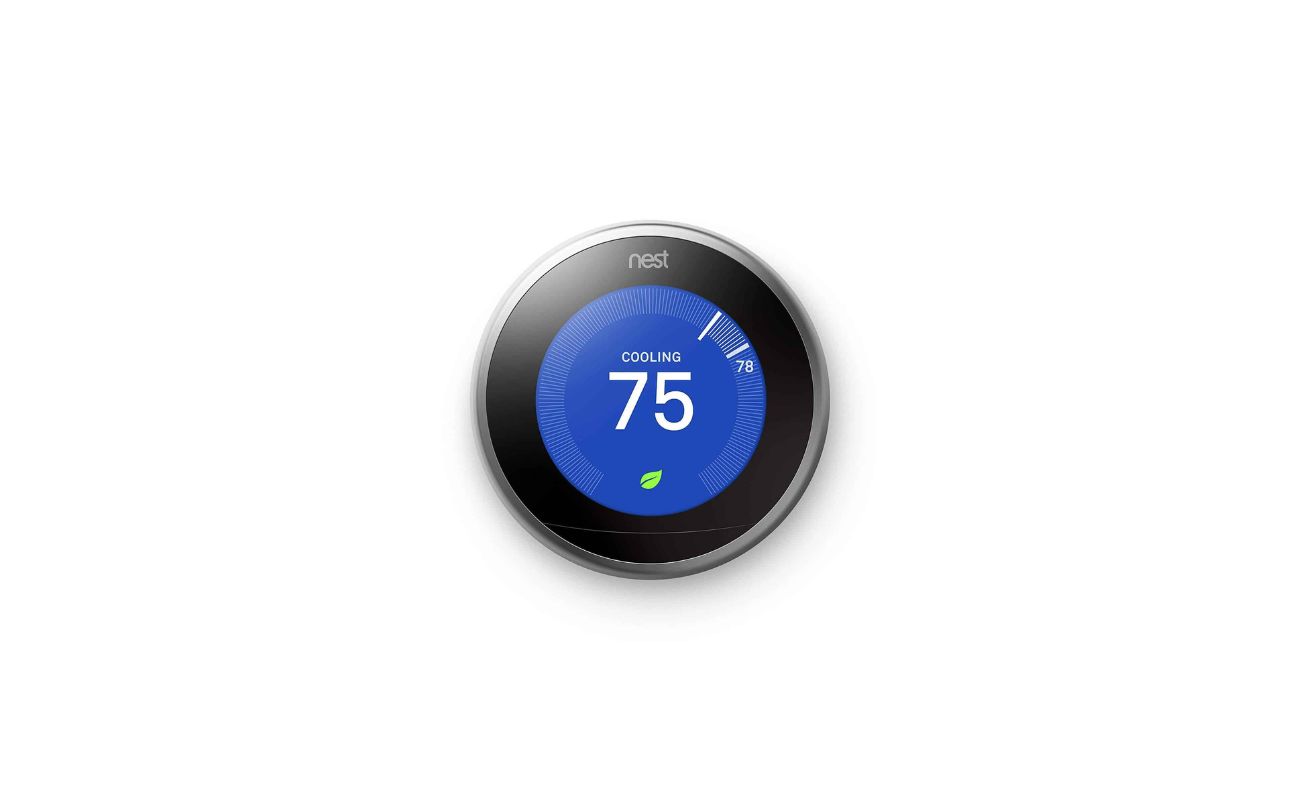
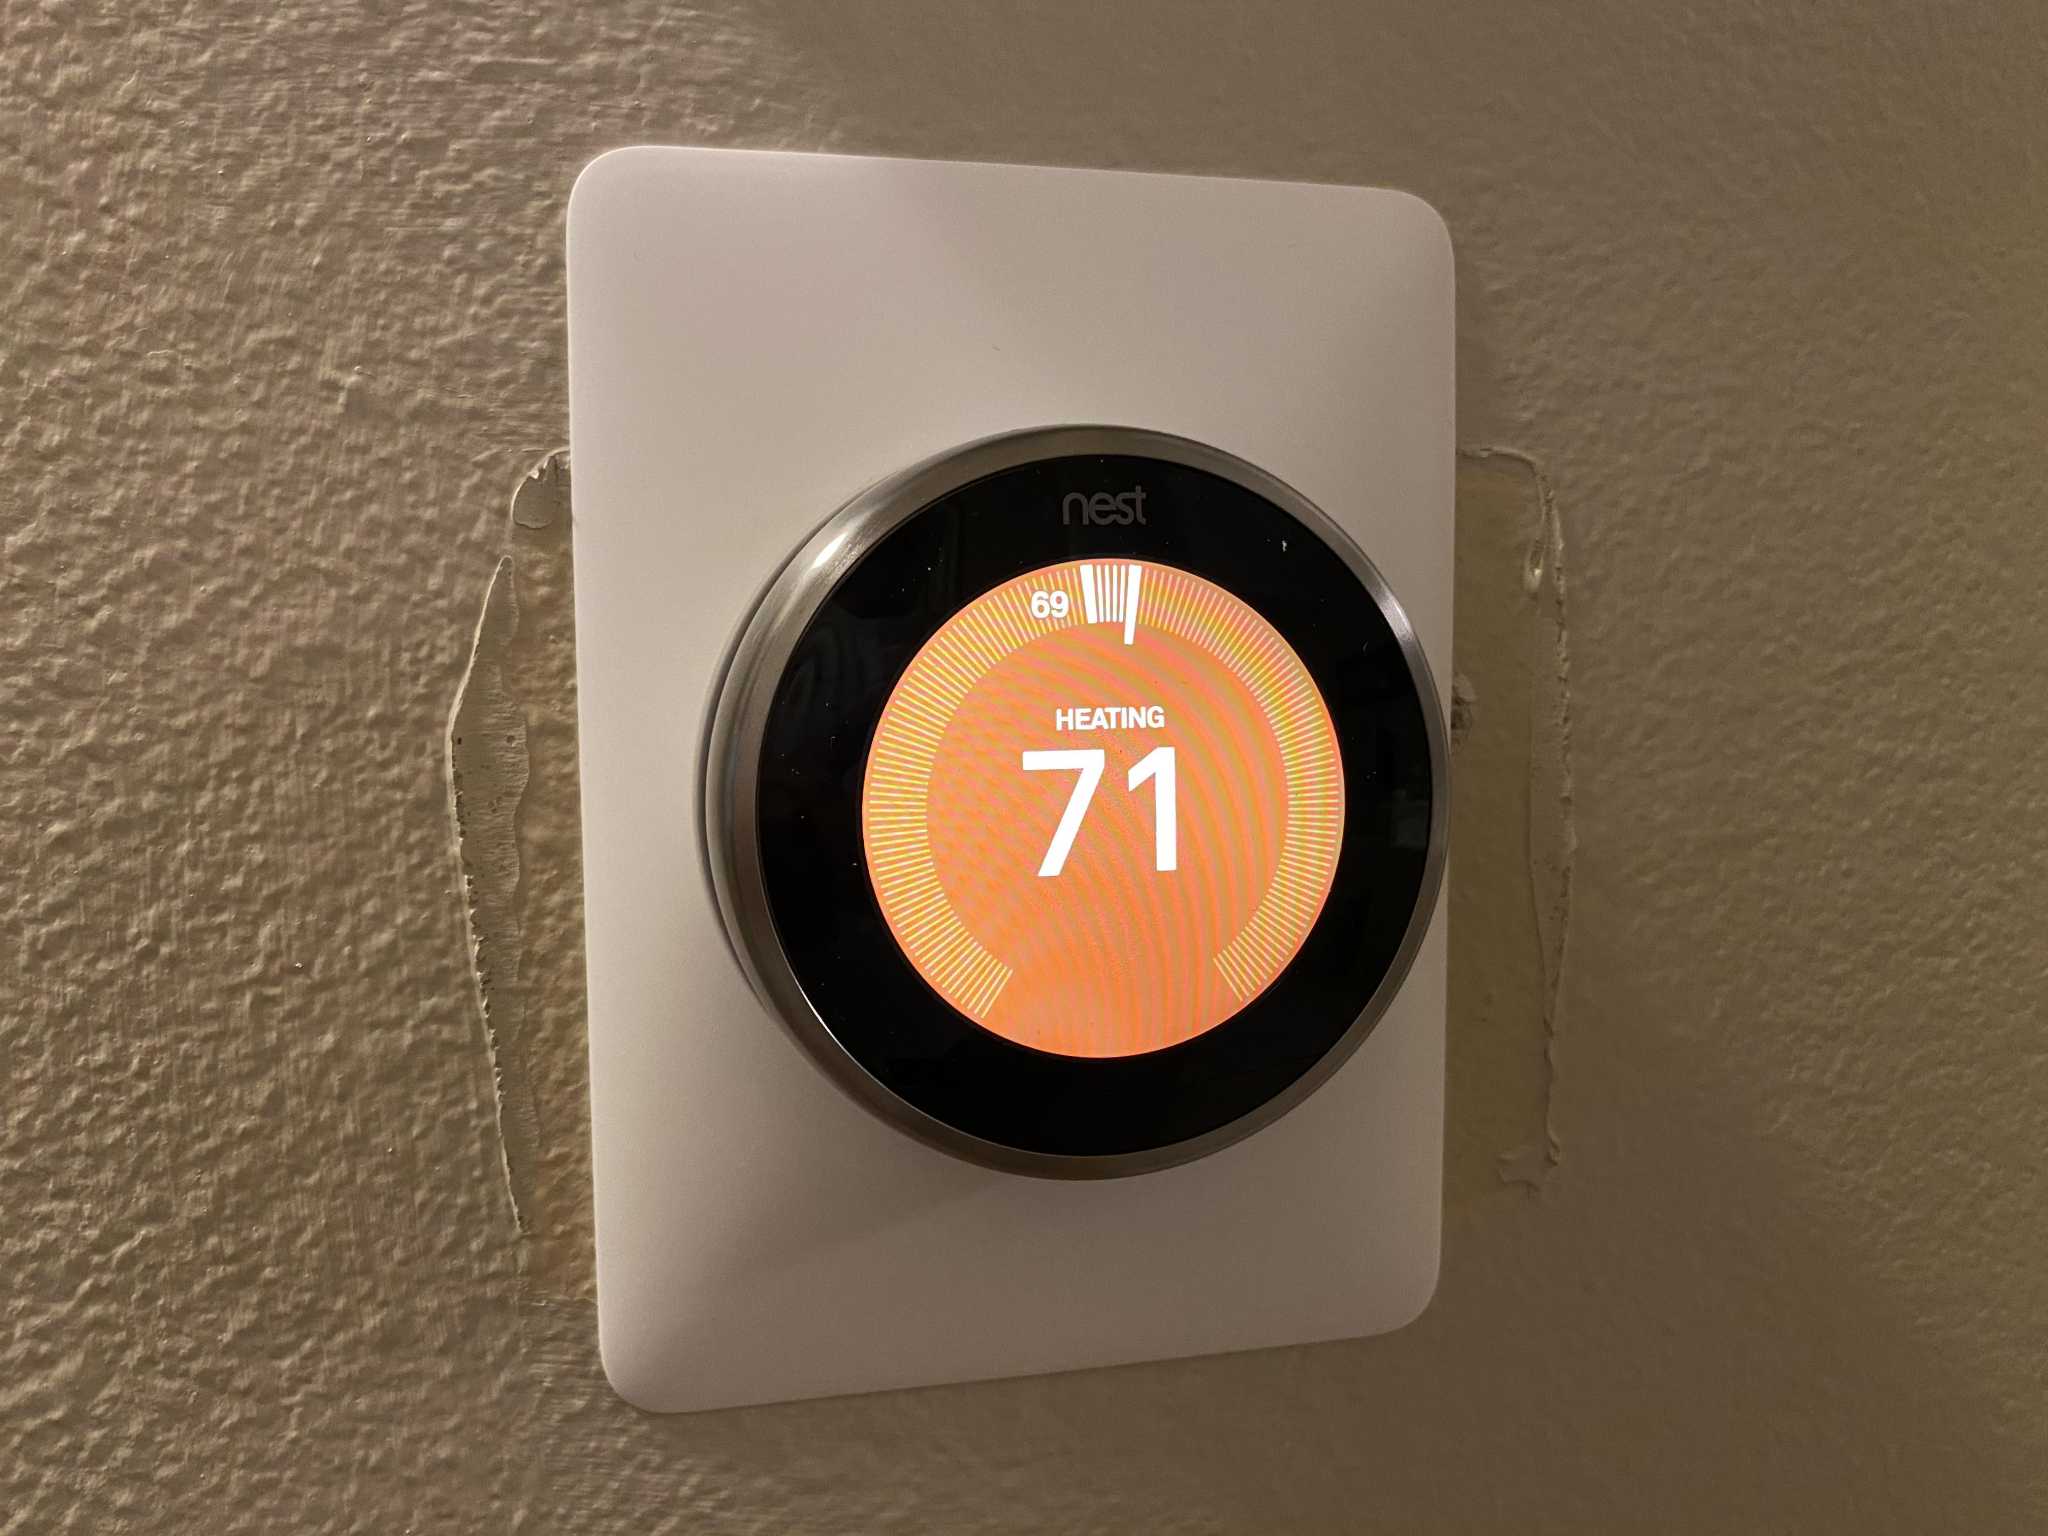
Step 5: Turn On Power and Test
With the Nest thermostat securely attached and the wiring connected, the final step in the installation process involves turning on the power and testing the functionality of the device. This critical phase ensures that the Nest thermostat is operational and effectively integrated into your home’s heating and cooling system.
Follow these steps to turn on the power and test the Nest thermostat:
- Restore Power Supply: Return to the circuit breaker or main electrical panel and switch on the power supply to the thermostat. This action restores the electricity necessary for the Nest thermostat to function.
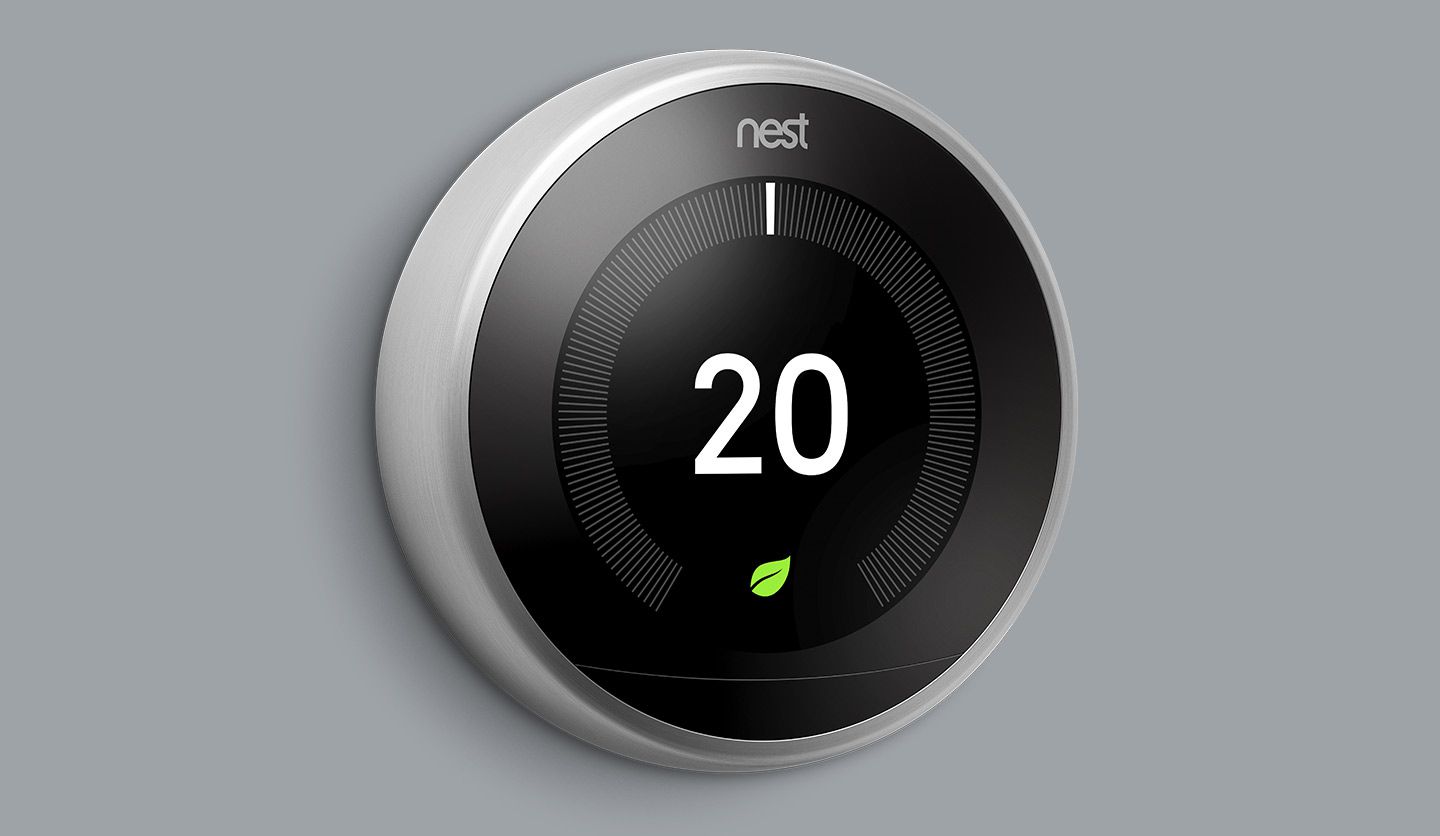
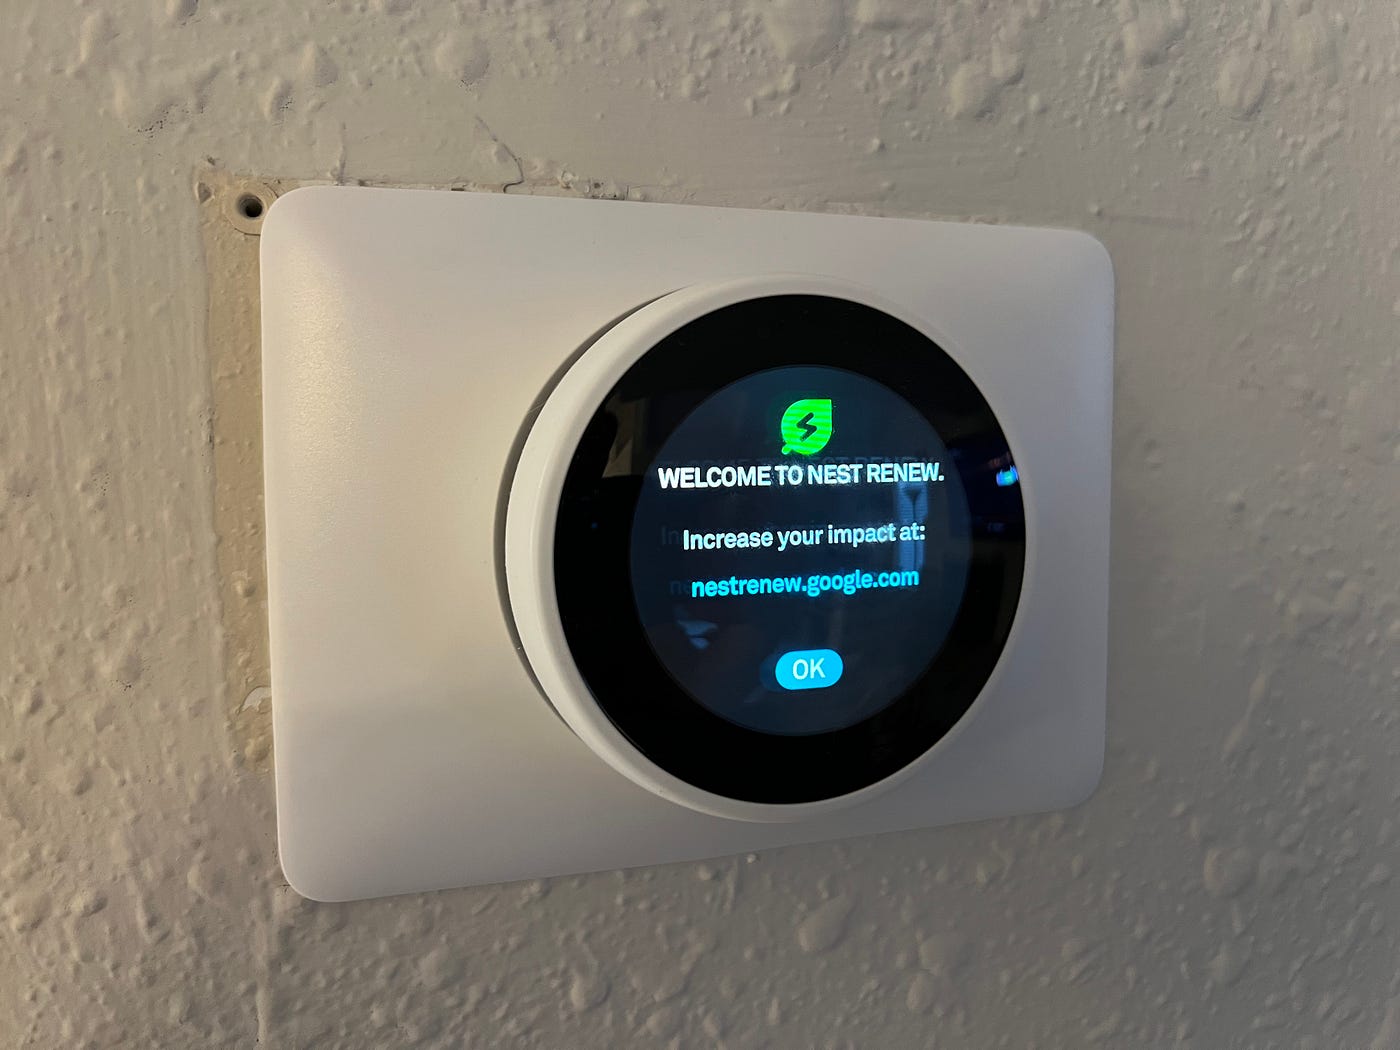
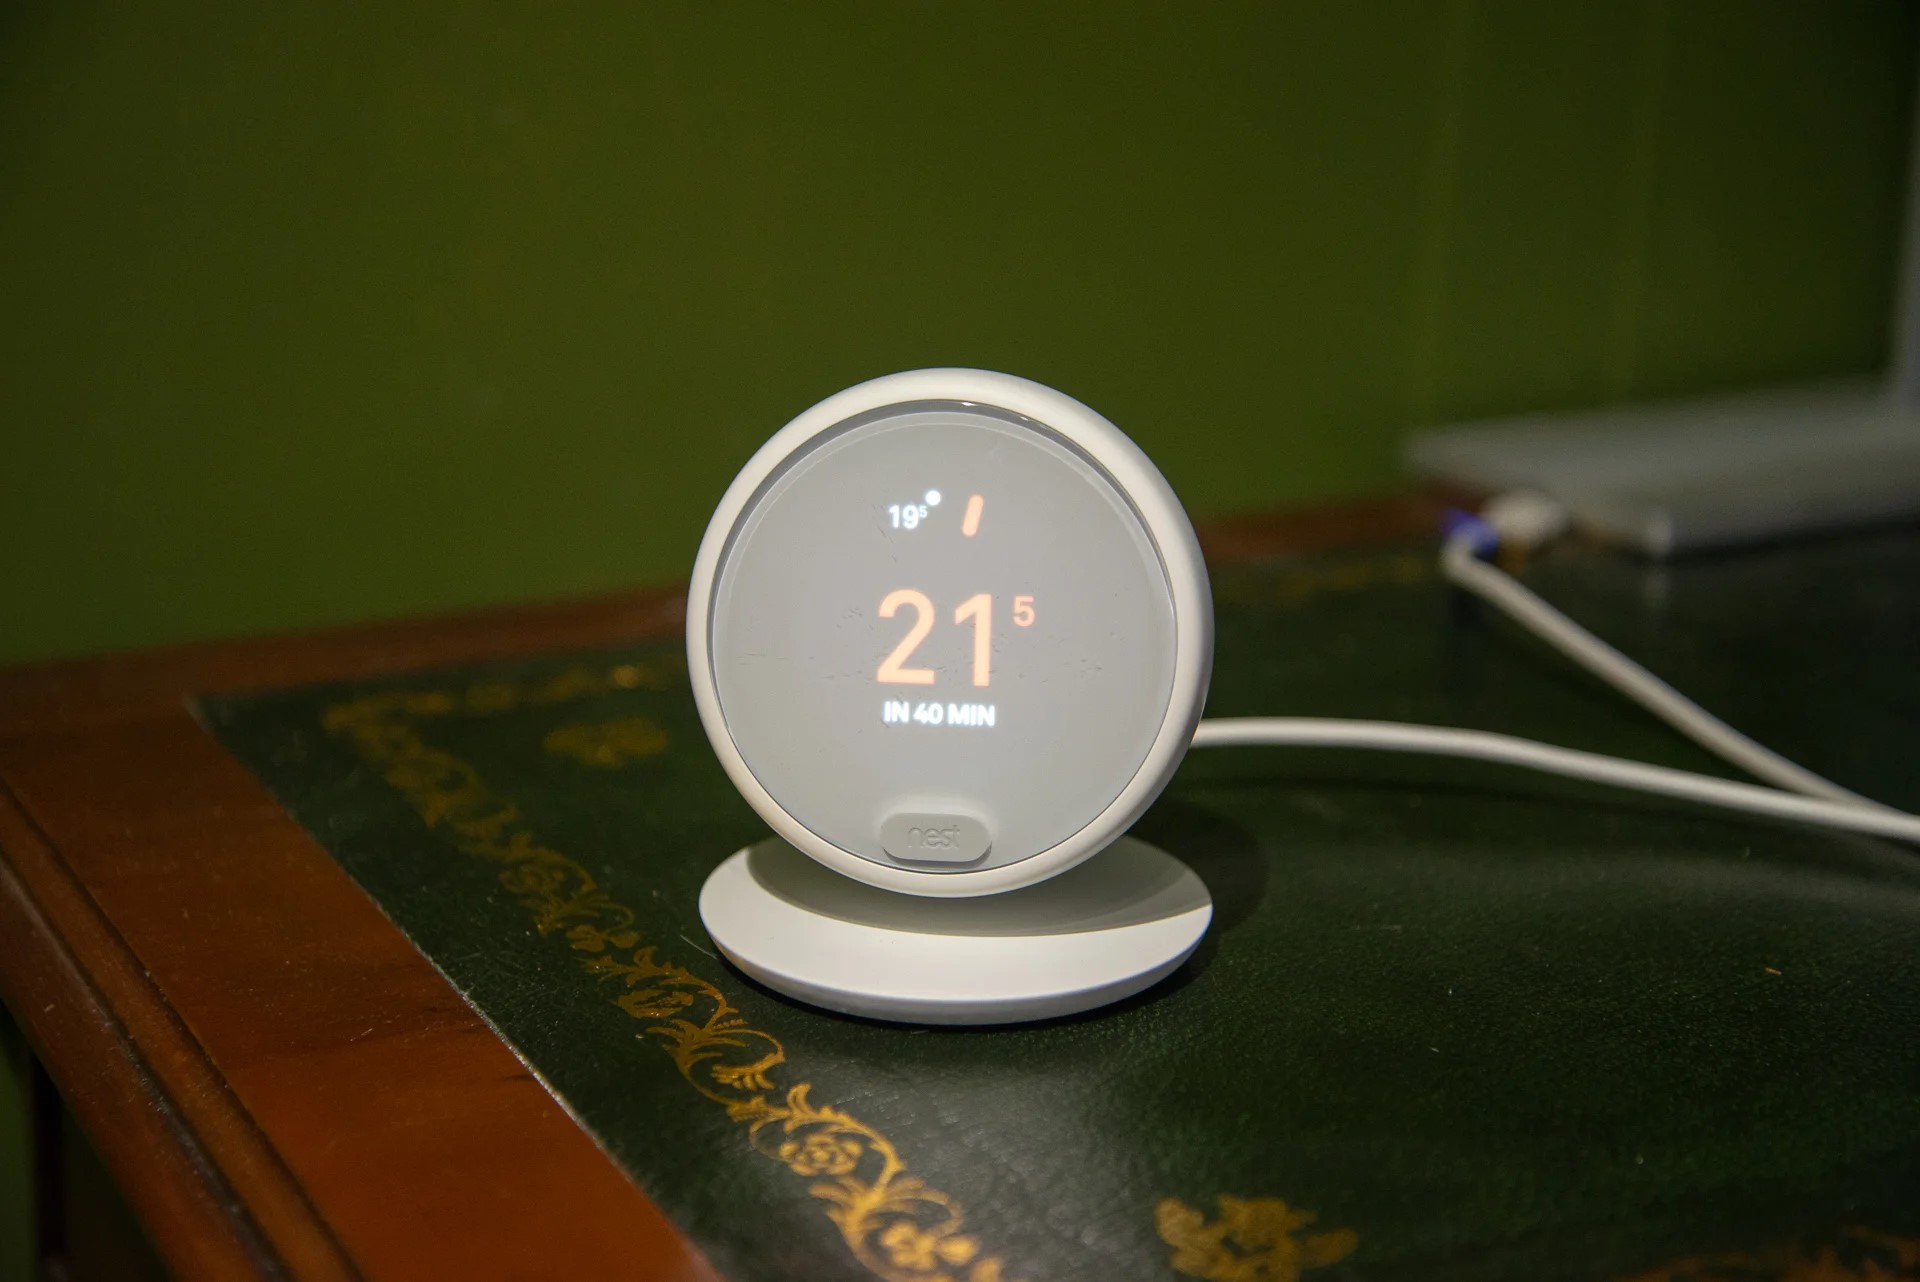
- Observe the Display: Once the power is restored, observe the display of the Nest thermostat to ensure that it powers on and displays the relevant information clearly. Verify that the thermostat responds to user input and functions as expected.
- Test Heating and Cooling: Activate the heating and cooling systems through the Nest thermostat to confirm that they respond appropriately. Pay attention to the temperature settings, fan operation, and any additional features to ensure that the thermostat controls the home’s climate effectively.
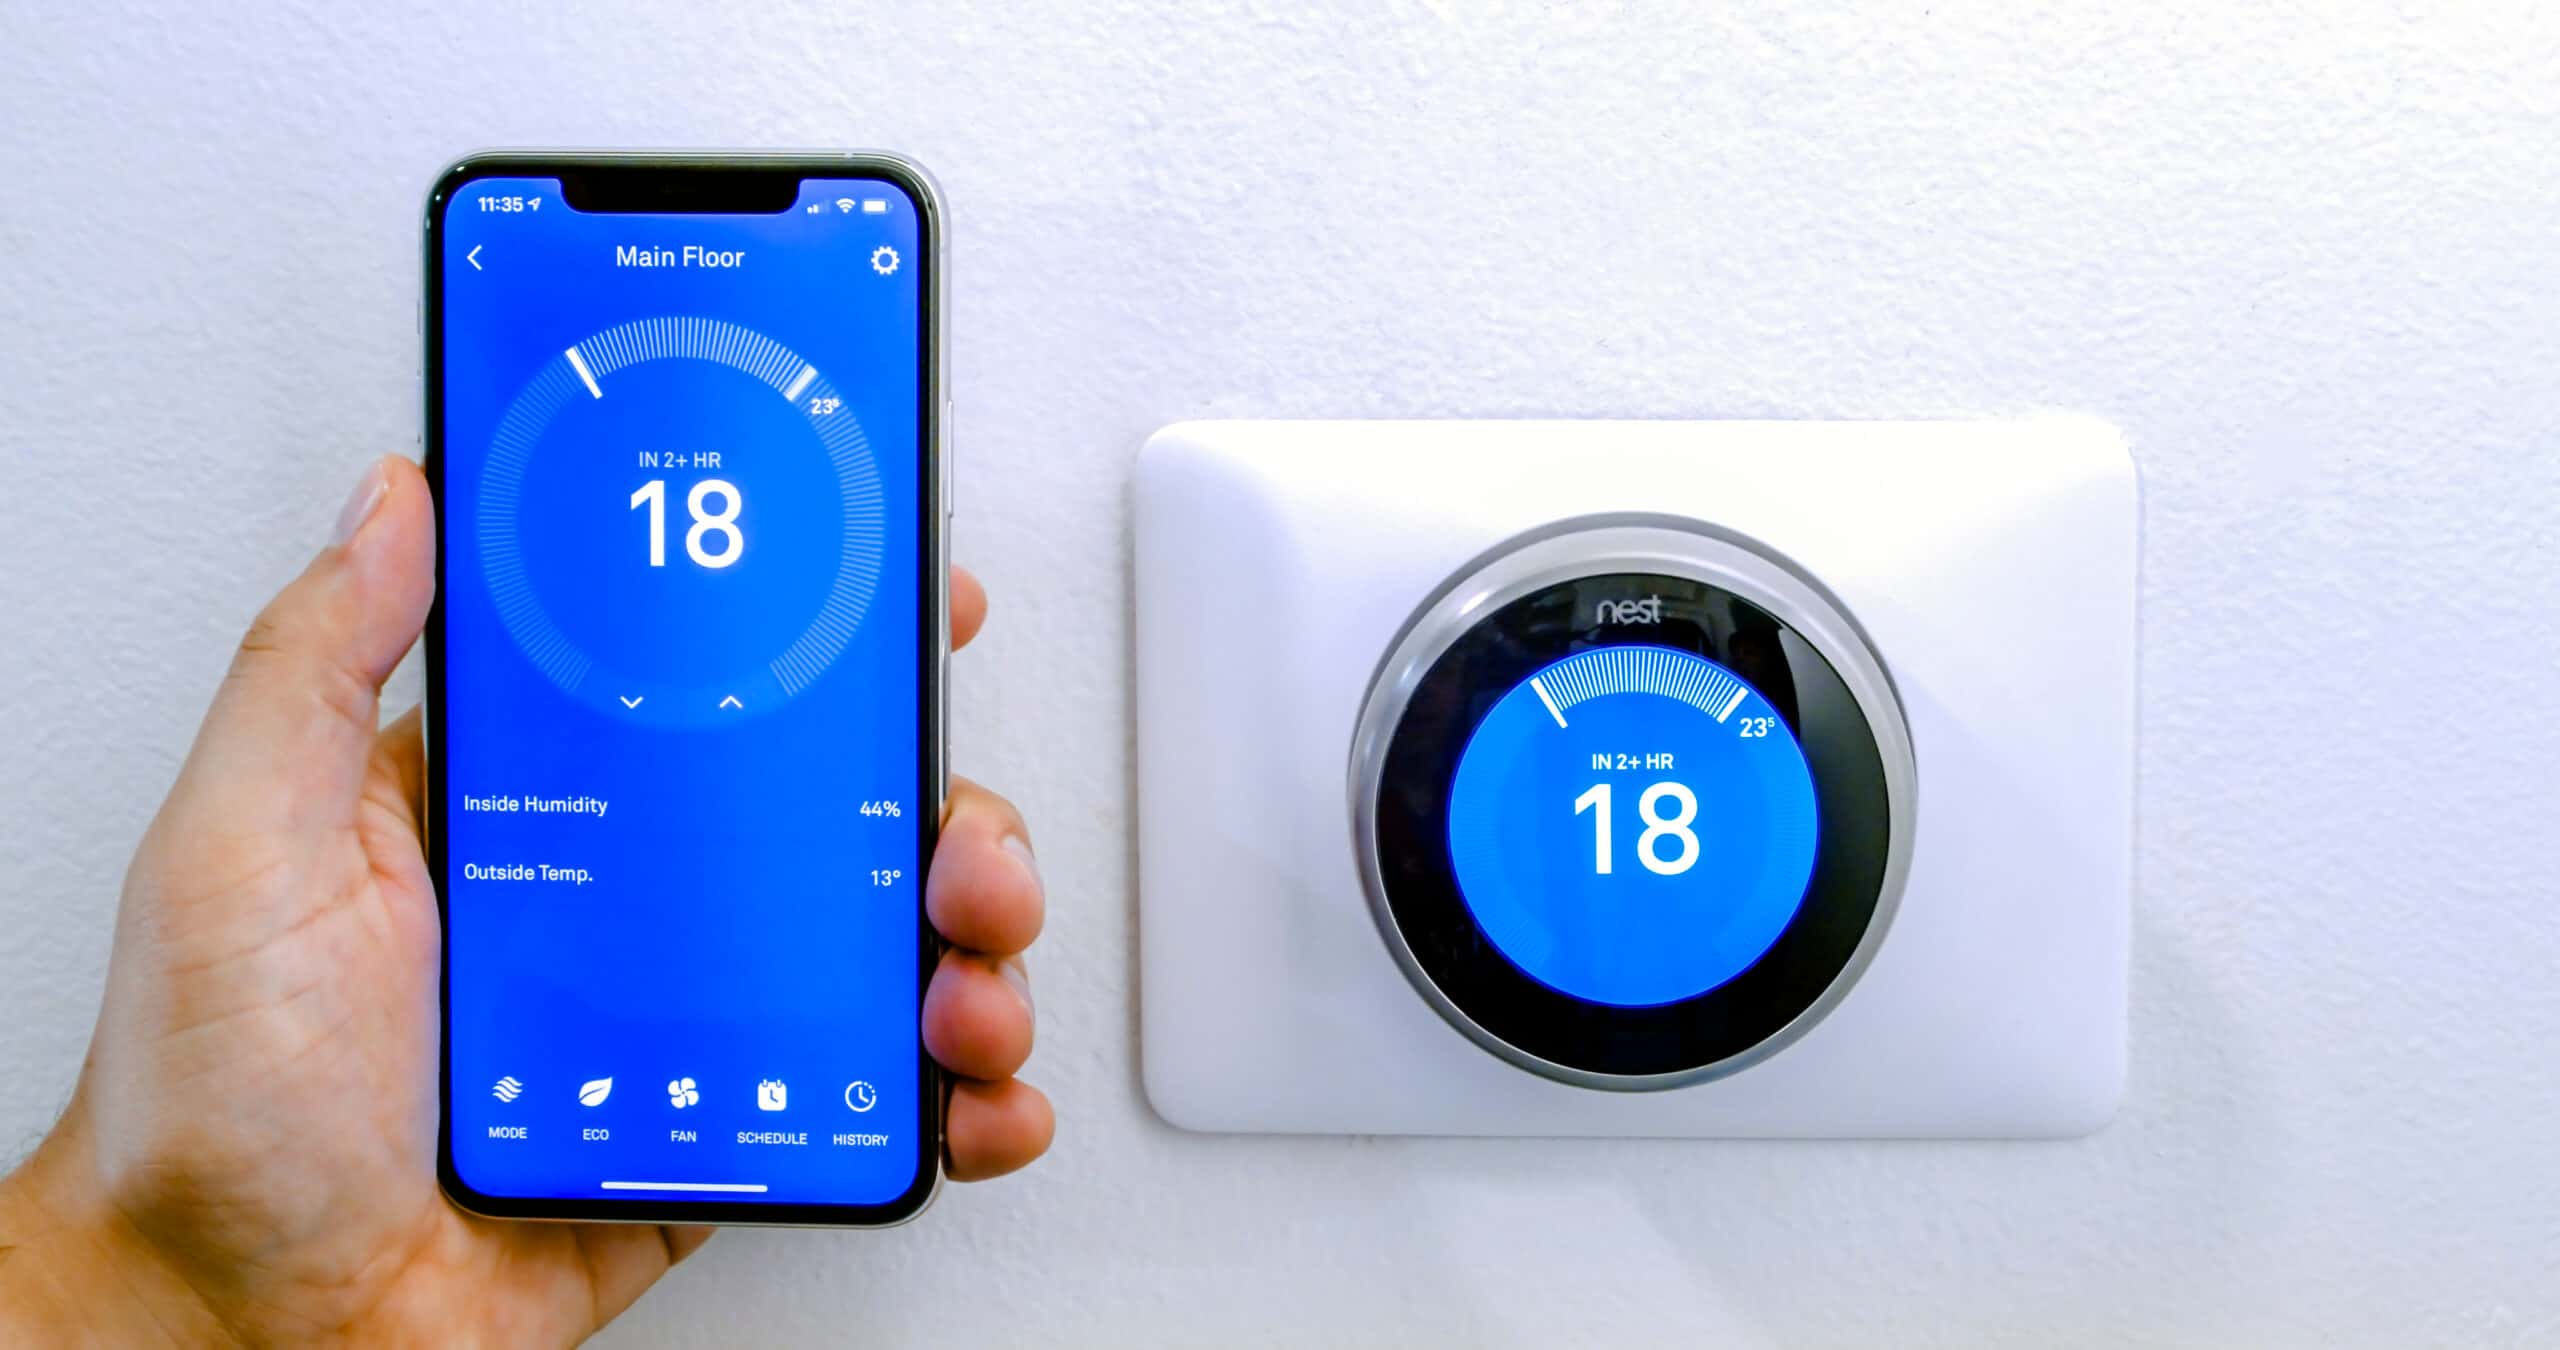
- Adjust Settings: Familiarize yourself with the Nest thermostat’s settings and features, making any necessary adjustments to personalize the device to your preferences. This may include setting schedules, adjusting temperature thresholds, or exploring energy-saving options.
By following these steps, you can verify that the Nest thermostat is fully operational and seamlessly integrated into your home’s heating and cooling infrastructure. This thorough testing process ensures that the installation is a success and that you can enjoy the benefits of a modern, smart thermostat within your living space.
Turning on the power and testing the Nest thermostat represents the final stage of the installation journey, marking the successful completion of the process and the beginning of a new chapter in optimizing your home’s comfort and energy efficiency.
Conclusion
Congratulations! You’ve successfully navigated the installation of a Nest thermostat trim kit, transforming your home with a modern and sophisticated addition that seamlessly integrates into your living space. By following the step-by-step guide outlined in this tutorial, you’ve not only elevated the aesthetic appeal of your thermostat installation but also ensured the seamless functionality and reliability of the Nest thermostat.
Throughout this process, you’ve demonstrated a commitment to creating a polished and professional installation, from turning off the power and removing the existing thermostat to installing the trim plate, attaching the Nest thermostat, and testing its functionality. Each step has contributed to the seamless integration of the Nest thermostat into your home, enhancing both its visual appeal and its practical utility.
By prioritizing safety, attention to detail, and precision in the installation process, you’ve set the stage for a transformative upgrade that offers advanced functionality to optimize your home’s energy usage and improve your overall comfort. The Nest thermostat trim kit serves as the finishing touch, ensuring a clean and harmonious transition from the old thermostat to the sleek and modern Nest thermostat.
As you enjoy the benefits of your newly installed Nest thermostat, take pride in the effort and care you’ve invested in creating a sophisticated and functional addition to your home. The seamless integration of the Nest thermostat trim kit represents a thoughtful and impactful upgrade that enhances the ambiance and efficiency of your living space.
With the installation process successfully completed, you can now embrace the convenience, comfort, and energy-saving features offered by the Nest thermostat, knowing that it has been seamlessly integrated into your home with a professional and polished touch.
Thank you for embarking on this installation journey with us. We hope this guide has empowered you to create a seamless and elegant Nest thermostat installation that enriches your home and enhances your daily living experience.
Frequently Asked Questions about How To Install A Nest Thermostat Trim Kit
Was this page helpful?
At Storables.com, we guarantee accurate and reliable information. Our content, validated by Expert Board Contributors, is crafted following stringent Editorial Policies. We're committed to providing you with well-researched, expert-backed insights for all your informational needs.

0 thoughts on “How To Install A Nest Thermostat Trim Kit”