Home>Home Appliances>Home Automation Appliances>How To Install A Hive Thermostat
Home Automation Appliances
How To Install A Hive Thermostat
Modified: October 19, 2024
Learn how to install a Hive thermostat for efficient home automation. Upgrade your appliances with this simple step-by-step guide.
(Many of the links in this article redirect to a specific reviewed product. Your purchase of these products through affiliate links helps to generate commission for Storables.com, at no extra cost. Learn more)
Introduction
Welcome to the world of smart home technology, where convenience and energy efficiency converge! In this guide, we'll walk you through the process of installing a Hive thermostat, a sleek and intuitive device designed to revolutionize the way you control the temperature in your home. Whether you're a tech enthusiast or simply looking to streamline your daily routine, the installation of a Hive thermostat is a practical and rewarding endeavor.
With its user-friendly interface and advanced features, the Hive thermostat offers seamless integration with your smart home ecosystem, allowing you to effortlessly manage your heating and cooling settings from anywhere. By following the steps outlined in this guide, you'll gain the confidence to install your Hive thermostat with ease, empowering you to optimize your home's energy usage and create a comfortable living environment.
As we embark on this installation journey, rest assured that you don't need to be an expert technician to successfully complete the process. With a basic understanding of household tools and a willingness to follow instructions, you'll soon be enjoying the benefits of a smart thermostat that adapts to your lifestyle and helps reduce your energy costs.
So, let's roll up our sleeves and dive into the exciting world of home automation as we learn how to install a Hive thermostat. Get ready to take control of your home's climate in a whole new way!
Key Takeaways:
- Takeaway 1: Installing a Hive thermostat is a practical and rewarding endeavor, empowering you to control your home’s temperature with ease and optimize energy usage for a comfortable living environment.
- Takeaway 2: The Hive thermostat offers seamless integration with your smart home ecosystem, providing remote access and energy-saving features to enhance convenience and efficiency in climate control.
Read also: 10 Amazing Hive Thermostat For 2025
Step 1: Gather Necessary Tools and Materials
Before you begin the installation process, it’s essential to ensure that you have all the required tools and materials at your disposal. By gathering these items in advance, you can streamline the installation and minimize any potential interruptions. Here’s a comprehensive list of what you’ll need:
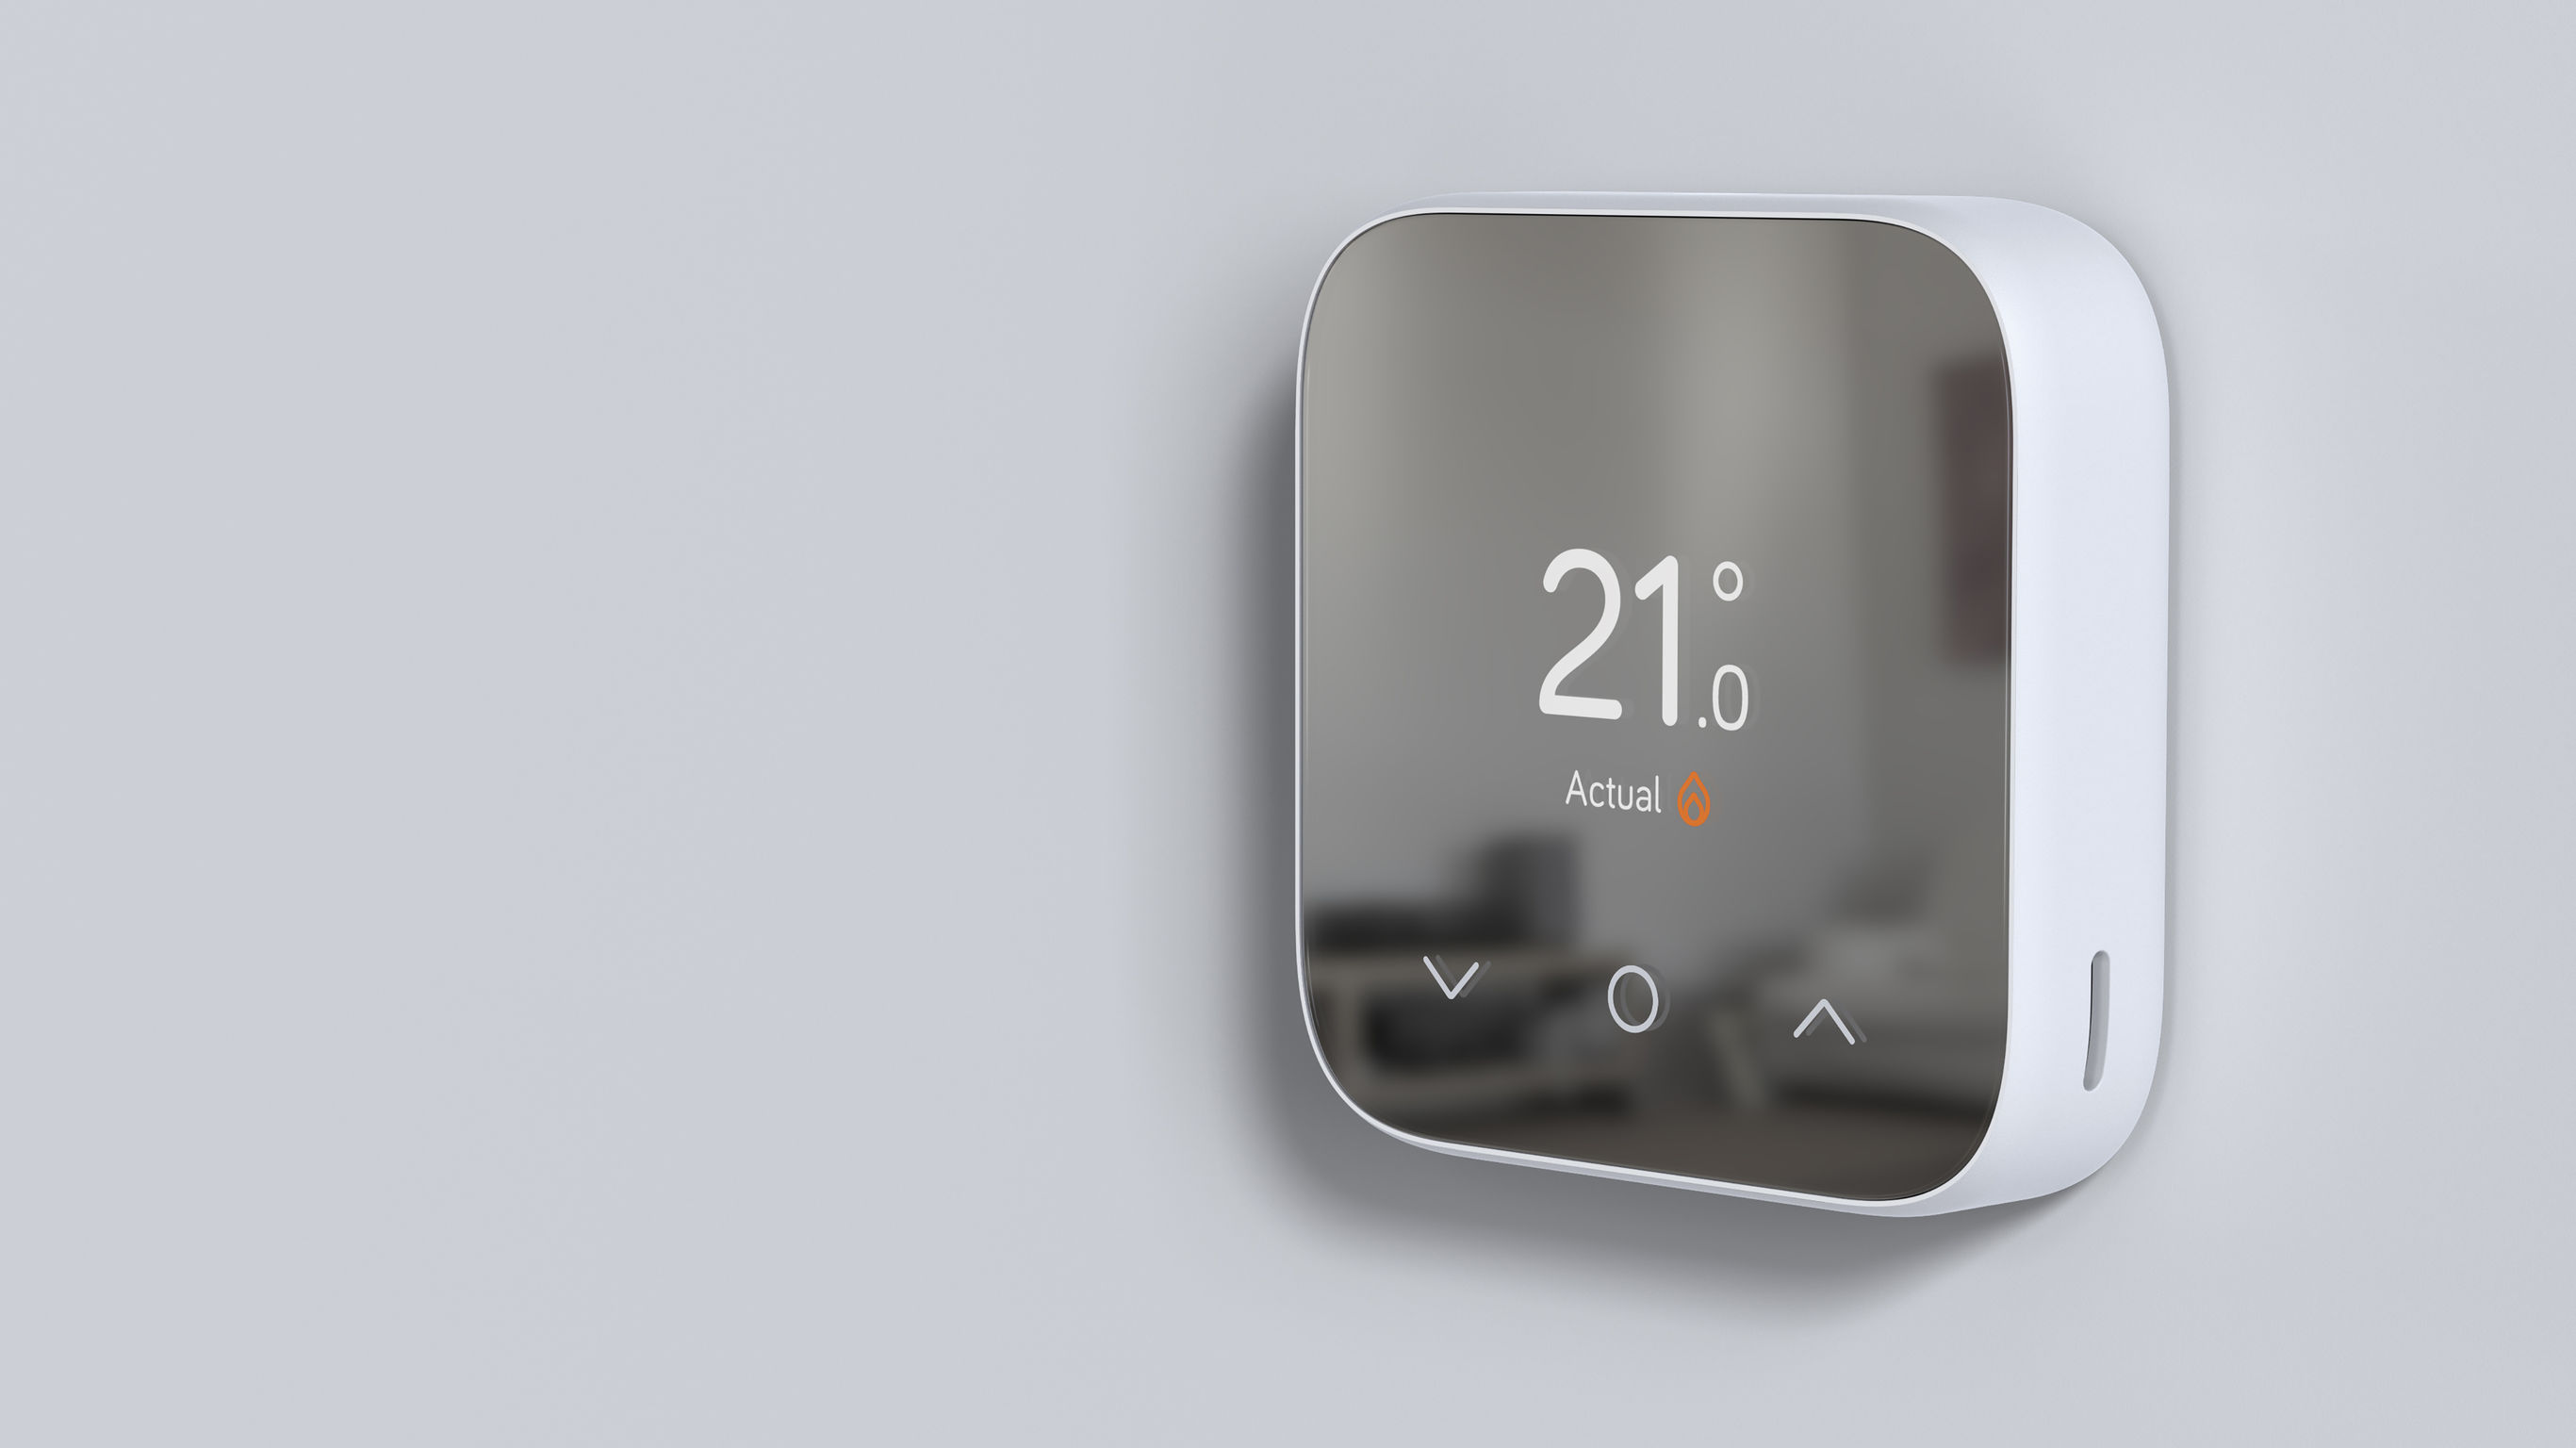
- Hive Thermostat: The centerpiece of the installation, the Hive thermostat serves as the control hub for your home’s heating and cooling system. Ensure that it is compatible with your existing HVAC setup.
- Screwdriver Set: A set of screwdrivers, including both flathead and Phillips head varieties, will be necessary for removing the old thermostat and securing the new base.
- Wire Labels: It’s helpful to have labels or masking tape on hand for identifying and organizing the wires from your existing thermostat.
- Level: A small bubble level can assist in ensuring that the Hive thermostat base is installed perfectly straight, enhancing its aesthetic appeal.
- Drill and Bits (if necessary): Depending on your wall type and the mounting requirements, a drill and appropriate bits may be needed for securing the base to the wall.
- Smartphone or Tablet: To complete the setup and configuration of your Hive thermostat, you’ll need a smartphone or tablet with internet connectivity to download the Hive app and connect the device to your home network.
- Internet Router: A stable internet connection is essential for the Hive thermostat to communicate with the Hive app and enable remote access and control.
By assembling these tools and materials, you’ll be well-prepared to embark on the installation process and set the stage for a successful integration of the Hive thermostat into your home. With everything in place, you’re ready to move on to the next step and begin the transformation of your home’s climate control system.
Step 2: Turn Off Power to Existing Thermostat
Before you proceed with the installation of your Hive thermostat, it’s crucial to ensure the safety of both yourself and the electrical components involved in the process. To begin, you’ll need to locate the power source for your existing thermostat and turn it off to prevent any potential electrical hazards.
Here’s a step-by-step guide to safely turning off the power to your existing thermostat:
- Locate the Circuit Breaker: Identify the circuit breaker in your home’s electrical panel that controls the power supply to your HVAC system. The circuit breaker should be clearly labeled for easy identification.
- Switch Off the Circuit: Once you’ve located the appropriate circuit breaker, switch it to the “Off” position to cut off power to the HVAC system. This action will ensure that there is no electricity flowing to the thermostat during the installation process.
- Verify Power Cutoff: After switching off the circuit, it’s advisable to double-check that the power to the thermostat has been successfully cut off. You can do this by attempting to adjust the temperature settings on your existing thermostat to confirm that it no longer responds.
By following these steps, you’ll effectively deactivate the power supply to your existing thermostat, creating a safe working environment for the subsequent stages of the installation process. It’s important to exercise caution and attentiveness during this step to prevent any electrical mishaps and ensure a smooth transition to the next phase of the installation.
With the power to the existing thermostat safely turned off, you’re now ready to proceed to the next step and begin the physical removal of the old thermostat in preparation for the installation of your Hive thermostat.
Step 3: Remove Old Thermostat
With the power to the existing thermostat safely turned off, it’s time to remove the old device from the wall to make way for the installation of your Hive thermostat. This step involves carefully detaching the existing thermostat and identifying the wires connected to it, setting the stage for the seamless integration of the new device.
Here’s a detailed guide on how to remove the old thermostat:
- Detach the Faceplate: Start by gently removing the faceplate or cover of the existing thermostat. In most cases, the faceplate can be easily lifted off or detached by unsnapping it from the base.
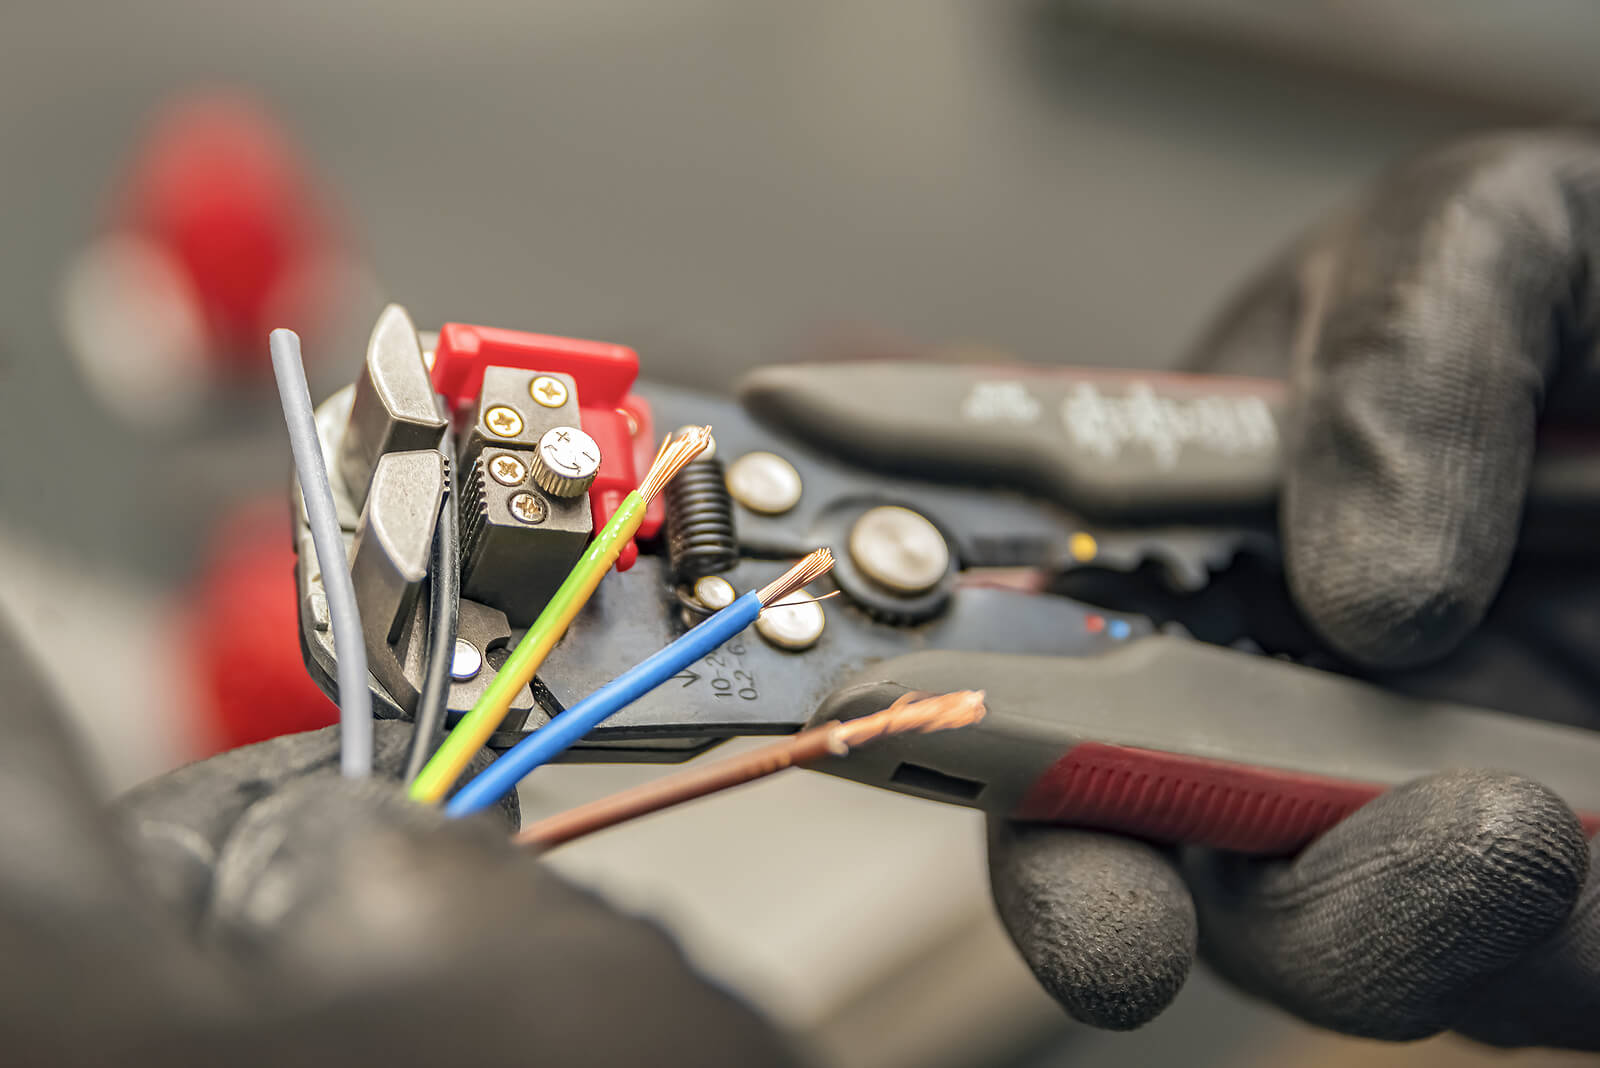
- Identify and Label Wires: Carefully examine the wires connected to the thermostat terminals. It’s essential to label each wire according to its corresponding terminal to ensure accurate reconnection later. You can use the wire labels or masking tape from your toolkit to mark each wire with its designated terminal letter (e.g., R, W, Y, G).
- Remove Mounting Screws: Once the wires are labeled, use a screwdriver to remove the mounting screws securing the thermostat base to the wall. Keep the screws in a safe place, as you may need them for installing the base of your Hive thermostat.
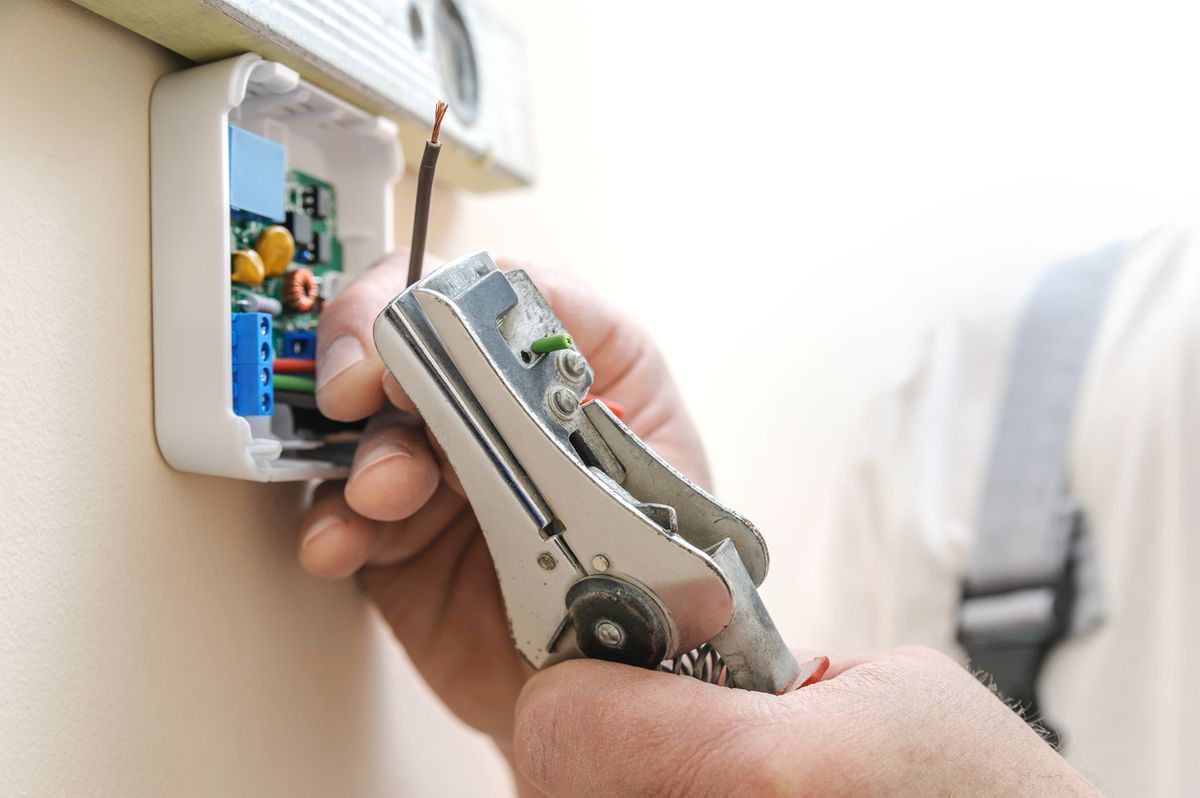
- Disconnect Wires: After removing the mounting screws, carefully pull the thermostat base away from the wall to expose the wiring. Take note of the wire colors and their corresponding labeled terminals. Gently disconnect the wires from the terminals, ensuring that they don’t fall back into the wall opening.
- Remove Existing Base: Once the wires are detached, remove the existing thermostat base from the wall, taking care not to damage the wires or the wall surface. Set the old thermostat and its base aside, as they will no longer be needed.
By following these steps, you’ll successfully remove the old thermostat, leaving behind a clean wall surface ready for the installation of your Hive thermostat. With the old device out of the way and the wires properly labeled, you’re now prepared to move on to the next step and begin the installation of the Hive thermostat base.
Step 4: Install Hive Thermostat Base
With the old thermostat removed and the wires labeled, it’s time to install the base of your Hive thermostat. This pivotal step sets the foundation for securely mounting the thermostat and establishing the connections that will enable seamless control of your home’s heating and cooling system.
Here’s a comprehensive guide to installing the Hive thermostat base:
- Select an Ideal Location: Choose a suitable location on the wall to install the Hive thermostat base. It’s recommended to position the base at eye level for easy access and visibility. Ensure that the chosen location is near the existing wiring and provides ample space for the thermostat’s dimensions.
- Mark Mounting Holes: Hold the base against the wall at the chosen location and use a pencil to mark the positions of the mounting screw holes. This step will guide the drilling of holes for secure attachment.
- Drill Mounting Holes (if necessary): If the wall material requires it, use a drill and appropriate drill bit to create pilot holes at the marked positions. Take care to drill to the appropriate depth to accommodate the wall anchors or mounting screws.
- Insert Wall Anchors (if necessary): If your wall surface necessitates the use of wall anchors, gently tap the anchors into the pilot holes until they sit flush with the wall surface. Wall anchors provide additional support for securing the thermostat base.
- Attach Base to Wall: Position the base over the drilled holes and align it with the markings on the wall. If using wall anchors, ensure that the base is aligned with the anchors. Use the provided screws to secure the base to the wall, tightening them until the base is firmly in place.
- Verify Level Alignment: Once the base is secured, use a bubble level to confirm that it is perfectly level. Adjust the base as needed to achieve a straight and aligned position, enhancing the aesthetic appeal of the installation.
By following these steps, you’ll successfully install the base of your Hive thermostat, laying the groundwork for the secure attachment of the thermostat and the subsequent connection of the wiring. With the base securely mounted and aligned, you’re now ready to proceed to the next step and connect the wires to your Hive thermostat.
When installing a Hive thermostat, make sure to turn off the power to your heating and cooling system before beginning the installation process to ensure safety.
Read more: How To Install A Smart Thermostat
Step 5: Connect Wires to Hive Thermostat
With the base of your Hive thermostat securely installed, the next crucial step is to connect the labeled wires from your HVAC system to the corresponding terminals on the thermostat base. Properly connecting the wires is essential for enabling the Hive thermostat to effectively control your home’s heating and cooling functions.
Here’s a detailed guide to connecting the wires to your Hive thermostat:
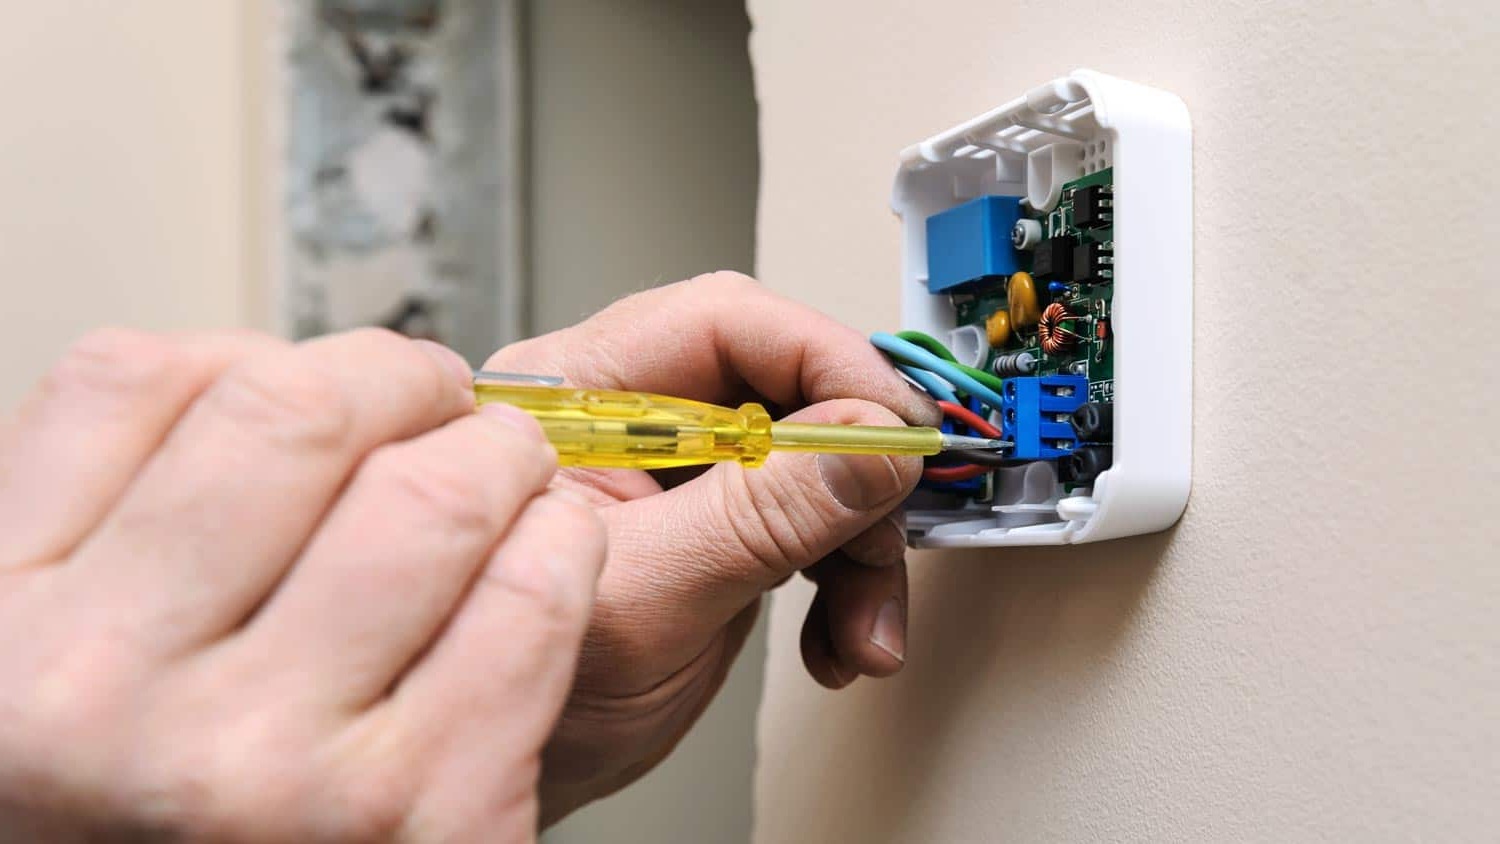
- Refer to Wire Labels: Retrieve the labeled wires from your toolkit, ensuring that each wire is clearly marked with its corresponding terminal letter (e.g., R, W, Y, G). This step helps to maintain clarity and accuracy during the connection process.
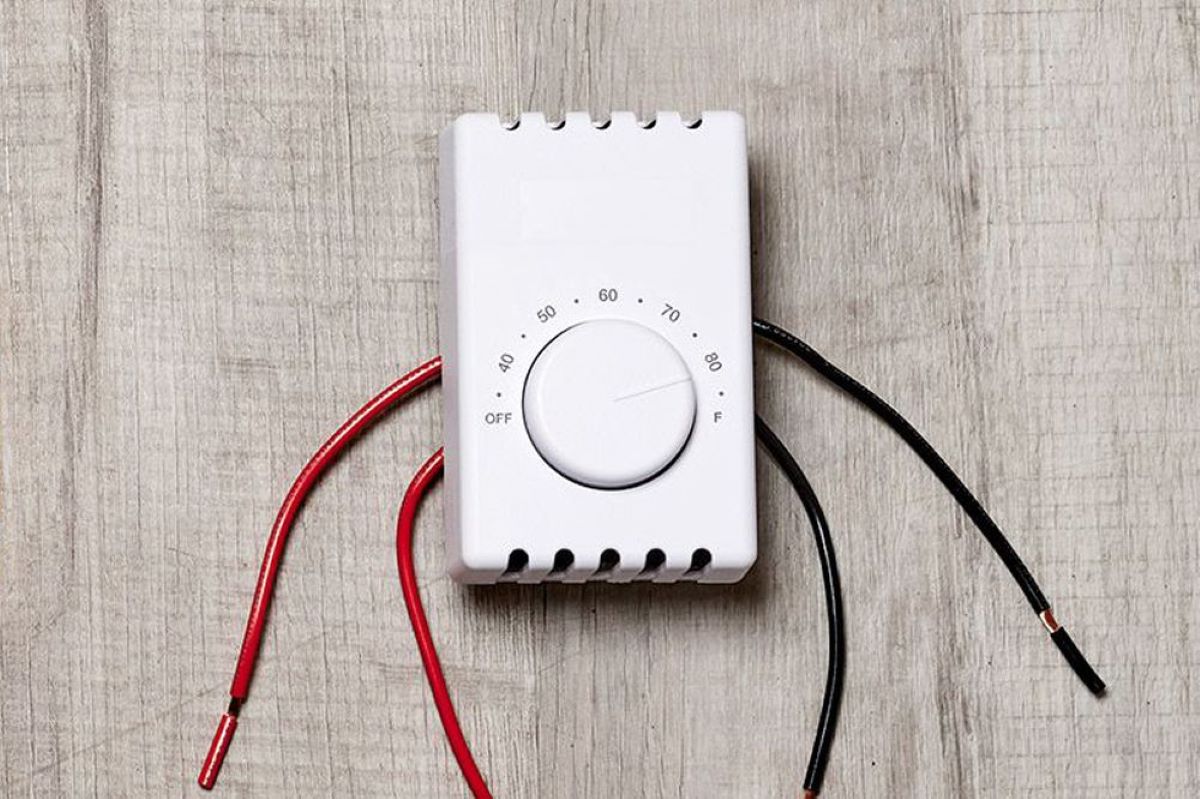
- Identify Terminal Designations: Familiarize yourself with the terminal designations on the Hive thermostat base, typically labeled R, W, Y, G, and C. Each terminal serves a specific function in the HVAC system and must be matched with the corresponding wire.
- Match and Connect Wires: Begin by carefully matching each labeled wire to its designated terminal on the Hive thermostat base. For example, the red wire (R) should be connected to the R terminal, the white wire (W) to the W terminal, and so forth. Gently insert each wire into its respective terminal, ensuring a secure and snug fit.
- Secure Terminal Screws: Once the wires are inserted into the terminals, use a screwdriver to tighten the terminal screws, securing the wires in place. It’s important to ensure that the connections are firm and stable to prevent any loose wiring or potential disconnections.
- Double-Check Connections: After securing the wires, double-check each connection to verify that the wires are correctly seated in their respective terminals. Confirm that there are no loose strands or exposed wire ends that could cause electrical issues.
- Tuck Excess Wiring: If there is excess wiring extending from the terminals, carefully tuck the wires into the wall opening behind the thermostat base. This helps maintain a neat and organized appearance while preventing interference with the attachment of the Hive thermostat.
By following these steps, you’ll successfully connect the labeled wires from your HVAC system to the Hive thermostat base, establishing the essential electrical connections for seamless communication and control. With the wiring properly connected, you’re now prepared to move on to the next step and attach the Hive thermostat to its base, bringing you closer to the completion of the installation process.
Step 6: Attach Hive Thermostat to Base
With the wiring securely connected to the base of your Hive thermostat, the next pivotal step is to attach the thermostat unit to its base. This action not only completes the physical installation but also initiates the integration of the thermostat with your home’s heating and cooling system, setting the stage for enhanced climate control and energy management.
Here’s a comprehensive guide to attaching the Hive thermostat to its base:
- Align the Thermostat: Carefully position the Hive thermostat unit over the base, ensuring that the alignment tabs on the thermostat unit correspond with the slots on the base. Gently press the thermostat unit onto the base, allowing it to securely snap into place.
- Confirm Secure Attachment: Once the thermostat unit is in position, verify that it is firmly attached to the base. Check for any visible gaps or misalignment, ensuring that the thermostat unit sits flush and stable on the base.
- Power On the HVAC System: With the thermostat attached, you can proceed to restore power to the HVAC system by switching the circuit breaker back to the “On” position. This action reactivates the heating and cooling functions, enabling the Hive thermostat to communicate with and control the system.
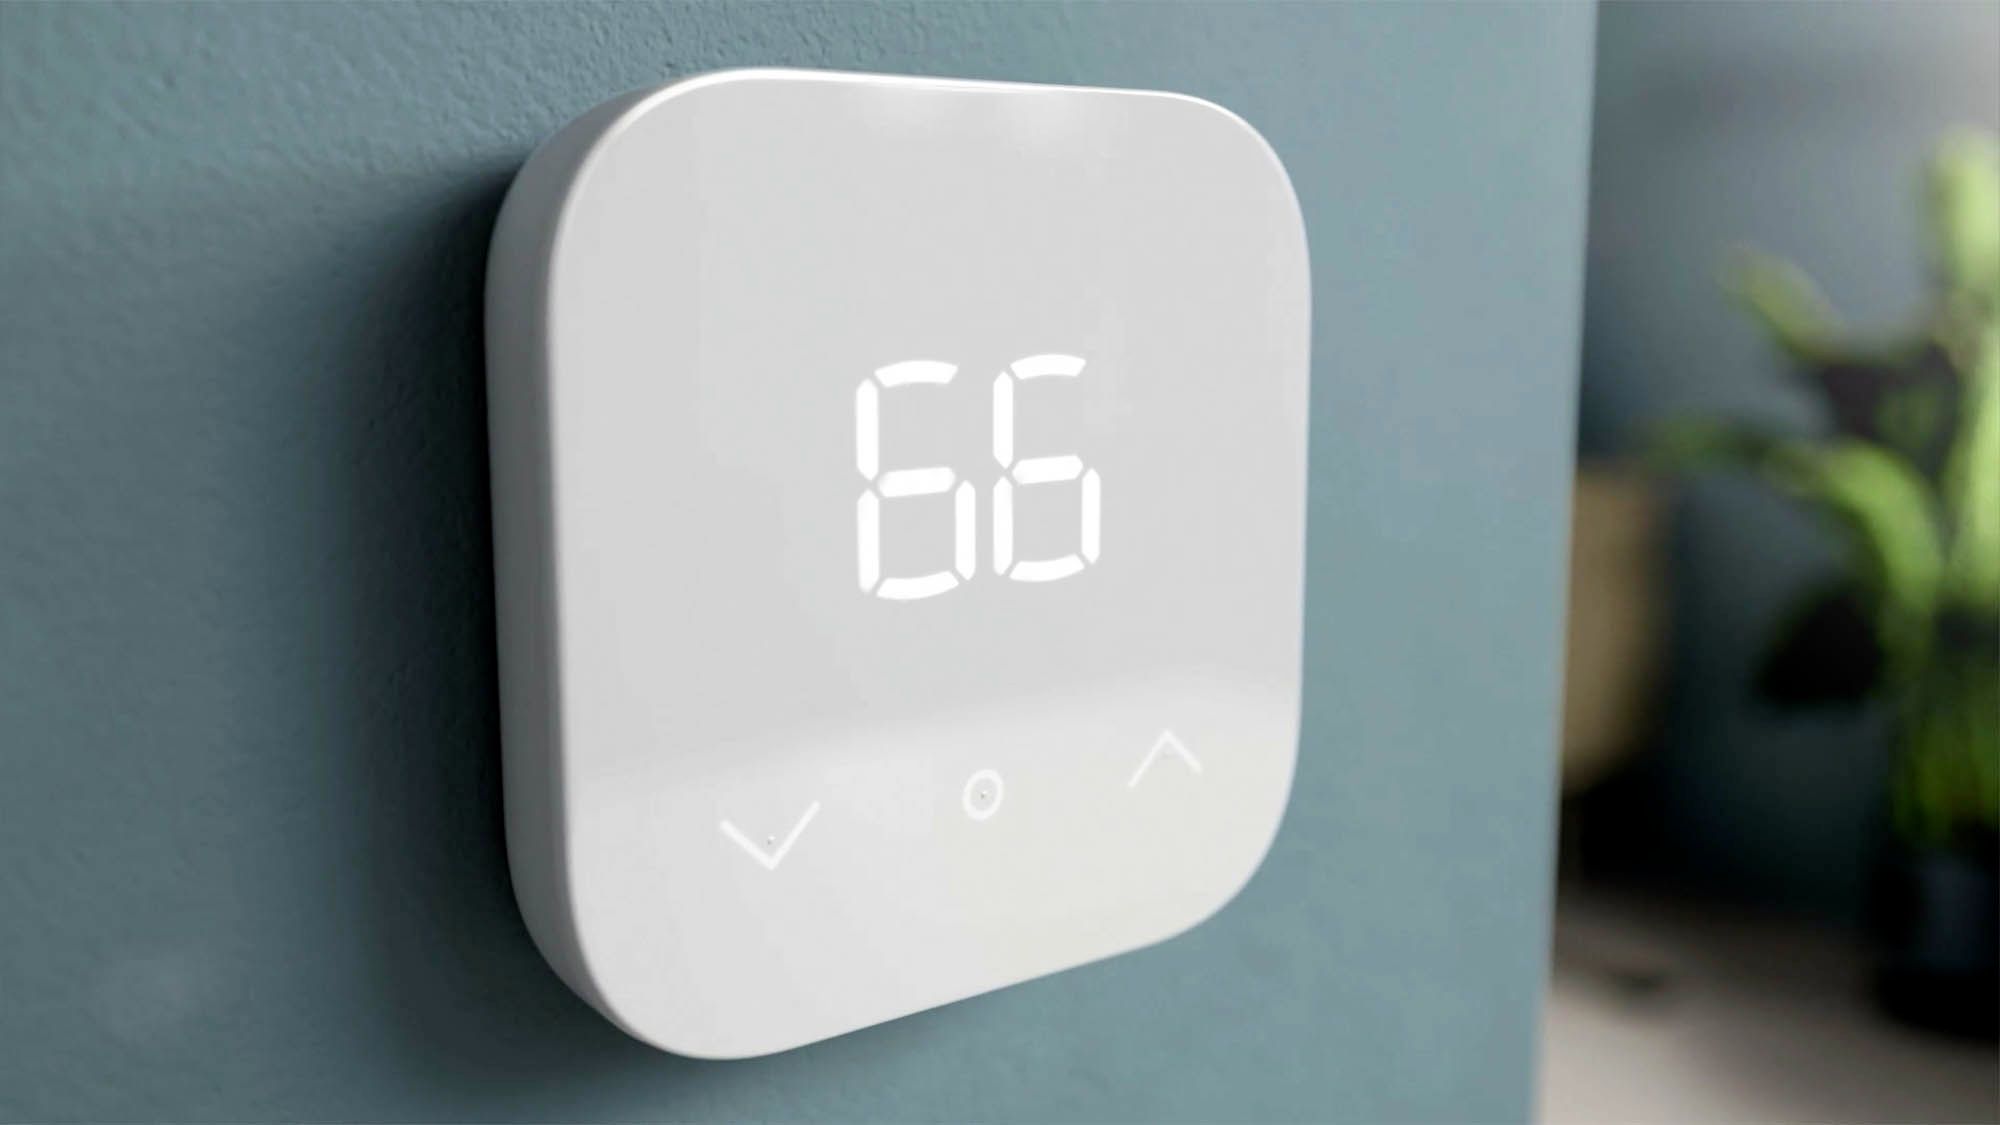
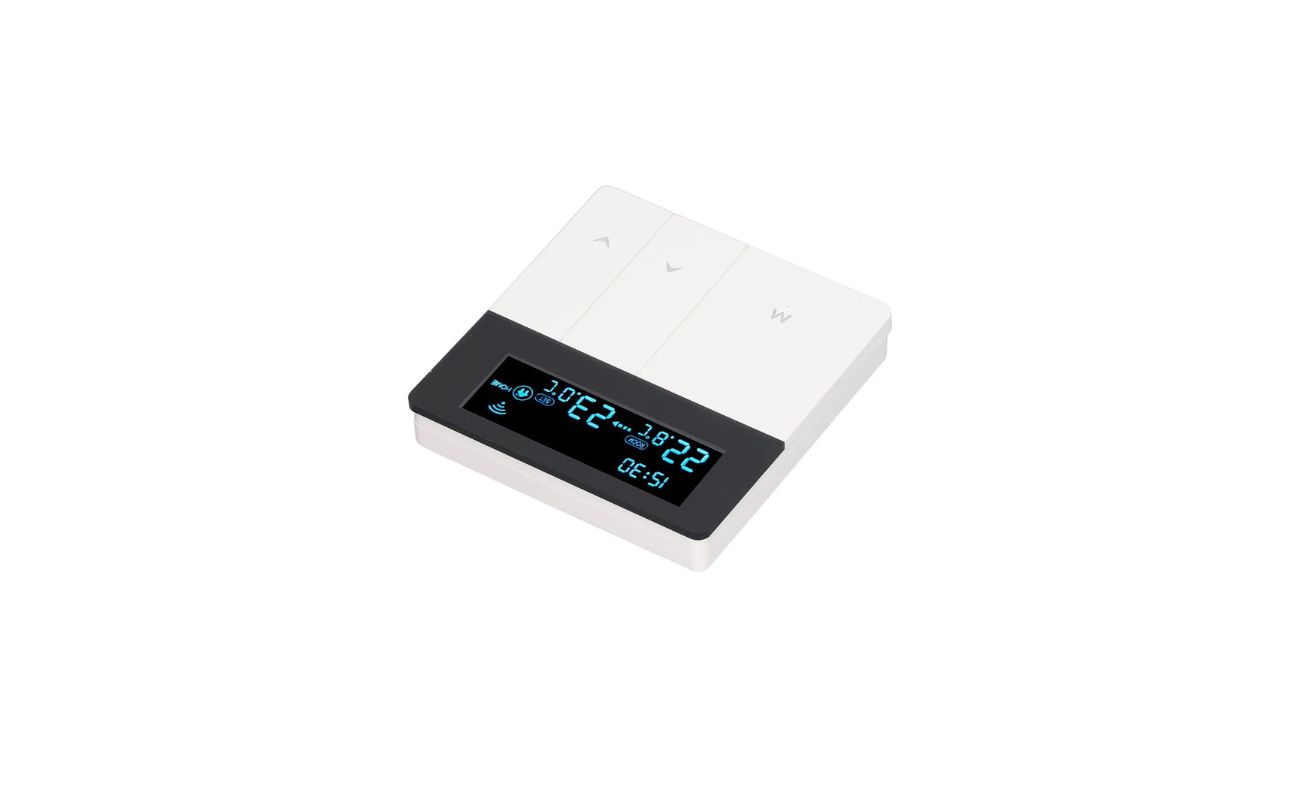
- Observe Thermostat Display: As the HVAC system powers on, observe the display on the Hive thermostat to confirm that it initializes and indicates readiness. You may see prompts or instructions on the display, guiding you through the initial setup and configuration process.
- Complete Setup via Hive App: To fully activate and configure your Hive thermostat, use your smartphone or tablet to download the Hive app and follow the on-screen instructions for connecting the thermostat to your home network. This step enables remote access and control of the thermostat, enhancing its functionality.
- Test Heating and Cooling: Once the setup is complete, test the heating and cooling functions by adjusting the temperature settings on the Hive thermostat. Observe the HVAC system’s response to ensure that the thermostat effectively communicates and triggers the desired changes.
By following these steps, you’ll successfully attach the Hive thermostat to its base, marking the completion of the physical installation process. With the thermostat in place and the setup finalized, you’re now poised to enjoy the benefits of seamless climate control and energy management facilitated by your newly installed Hive thermostat.
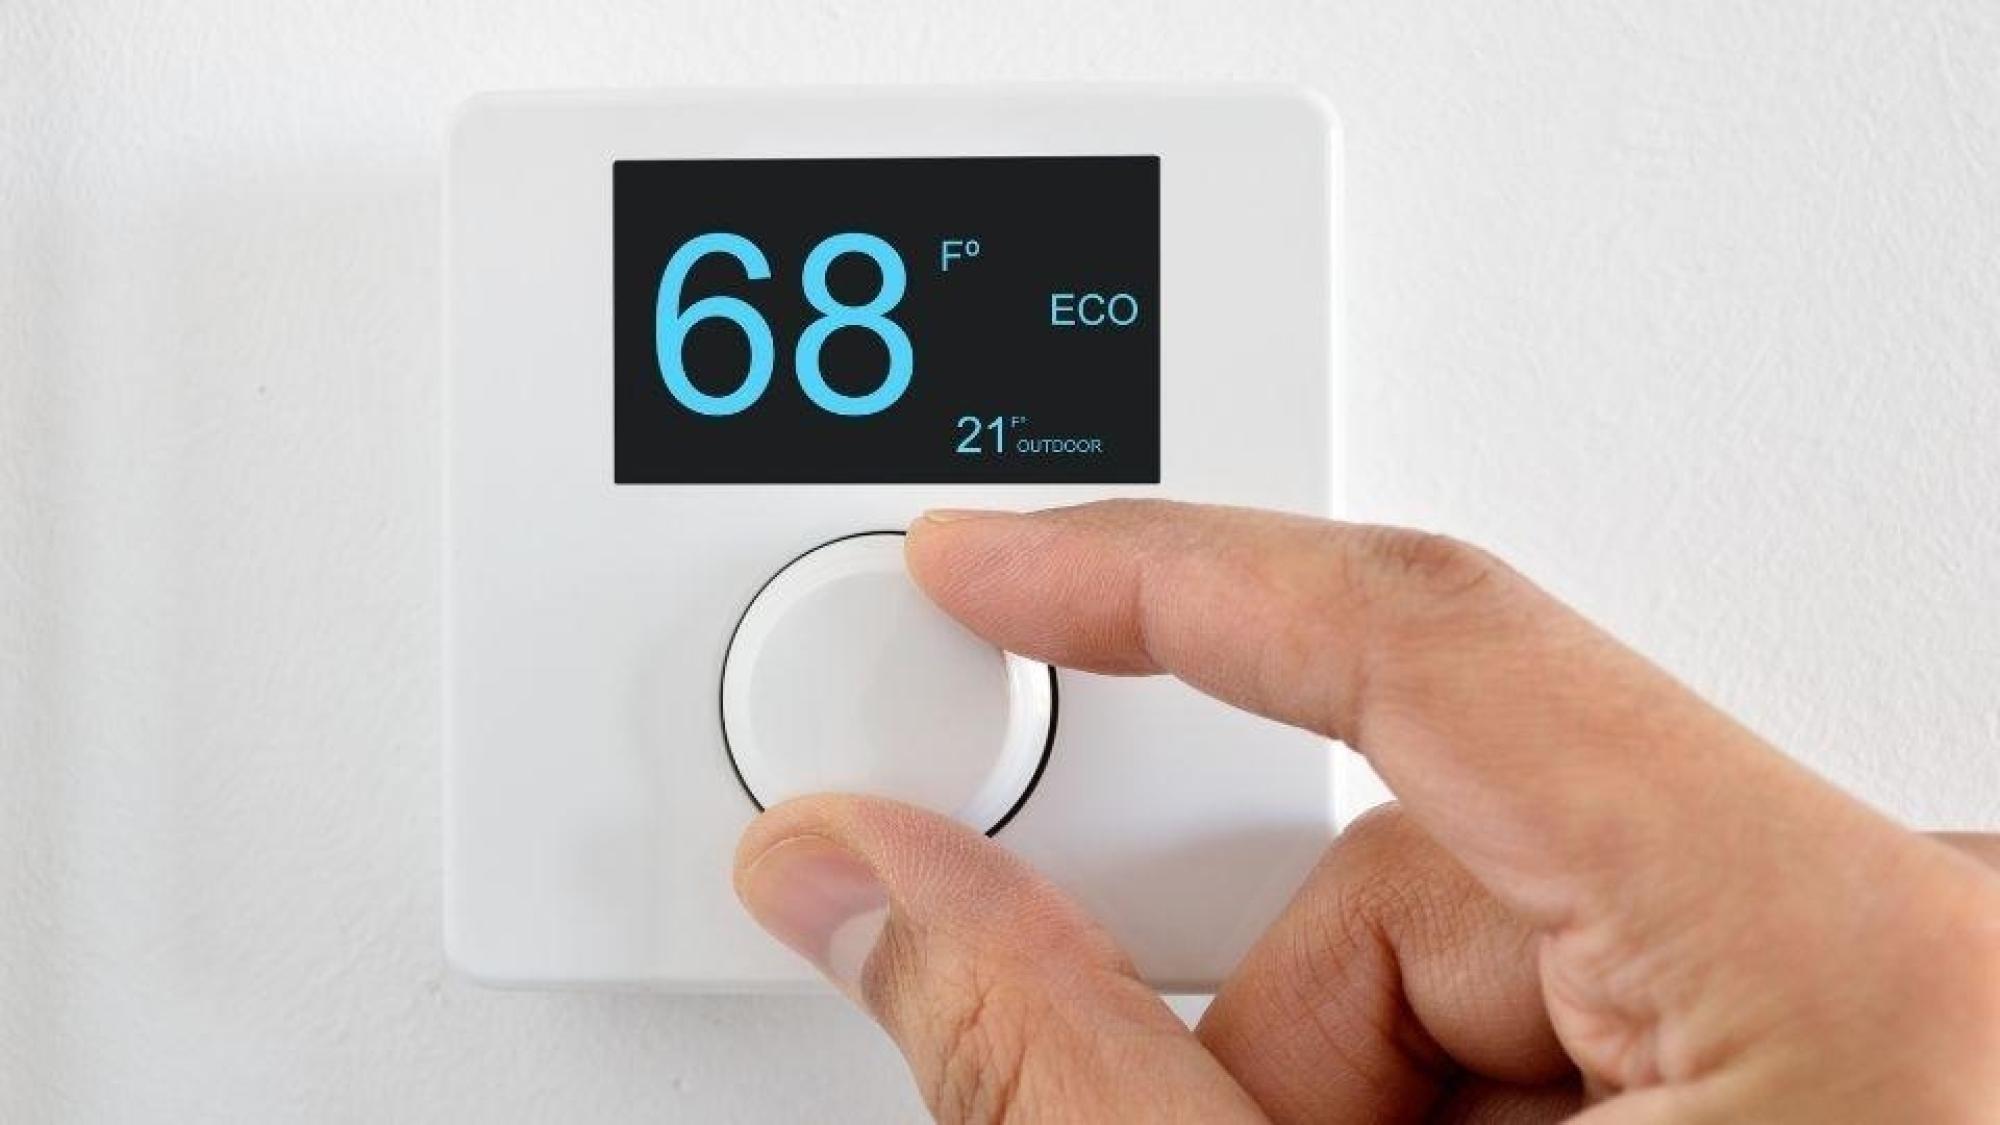
Step 7: Turn On Power and Set Up Hive Thermostat
As the final step in the installation process, it’s time to power on the HVAC system and initiate the setup of your Hive thermostat. By restoring power and configuring the thermostat settings, you’ll activate its functionality and gain the ability to remotely control and optimize your home’s climate and energy usage.
Here’s a detailed guide to turning on the power and setting up your Hive thermostat:
- Restore Power to HVAC System: Begin by switching the circuit breaker controlling the HVAC system back to the “On” position. This action reactivates the power supply to the heating and cooling components, enabling the Hive thermostat to communicate with and regulate the system.
- Initiate Hive Thermostat Setup: Upon restoring power, the Hive thermostat will power on and display prompts or instructions to guide you through the initial setup process. Follow the on-screen prompts to configure basic settings such as language, time, and date, ensuring that the thermostat is personalized to your preferences.
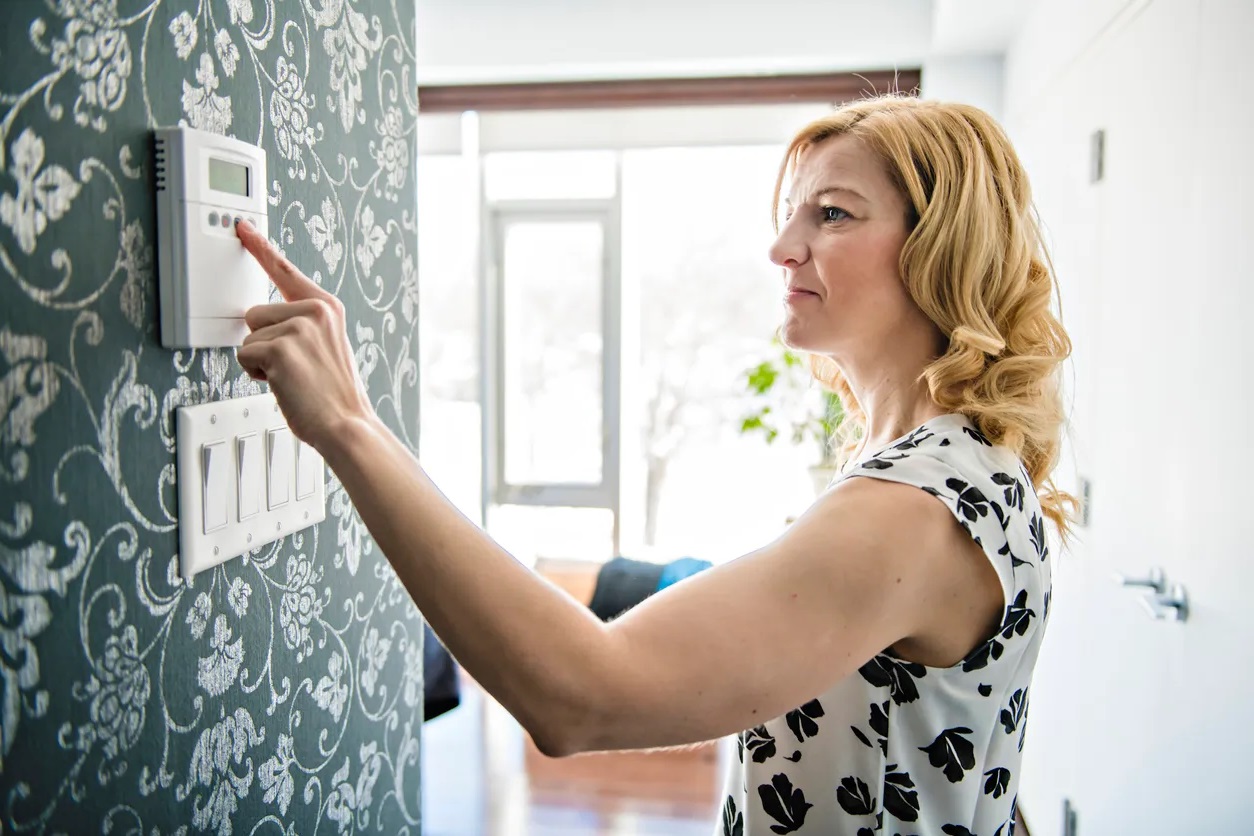
- Download and Open Hive App: To access the full range of features and remote control capabilities, download the Hive app on your smartphone or tablet. Once installed, open the app and follow the instructions to create an account and pair the app with your Hive thermostat.
- Connect Thermostat to Home Network: Using the Hive app, connect the thermostat to your home network to enable remote access and control. Follow the app’s prompts to input your network credentials and complete the connection process, ensuring that the thermostat is seamlessly integrated with your smart home ecosystem.
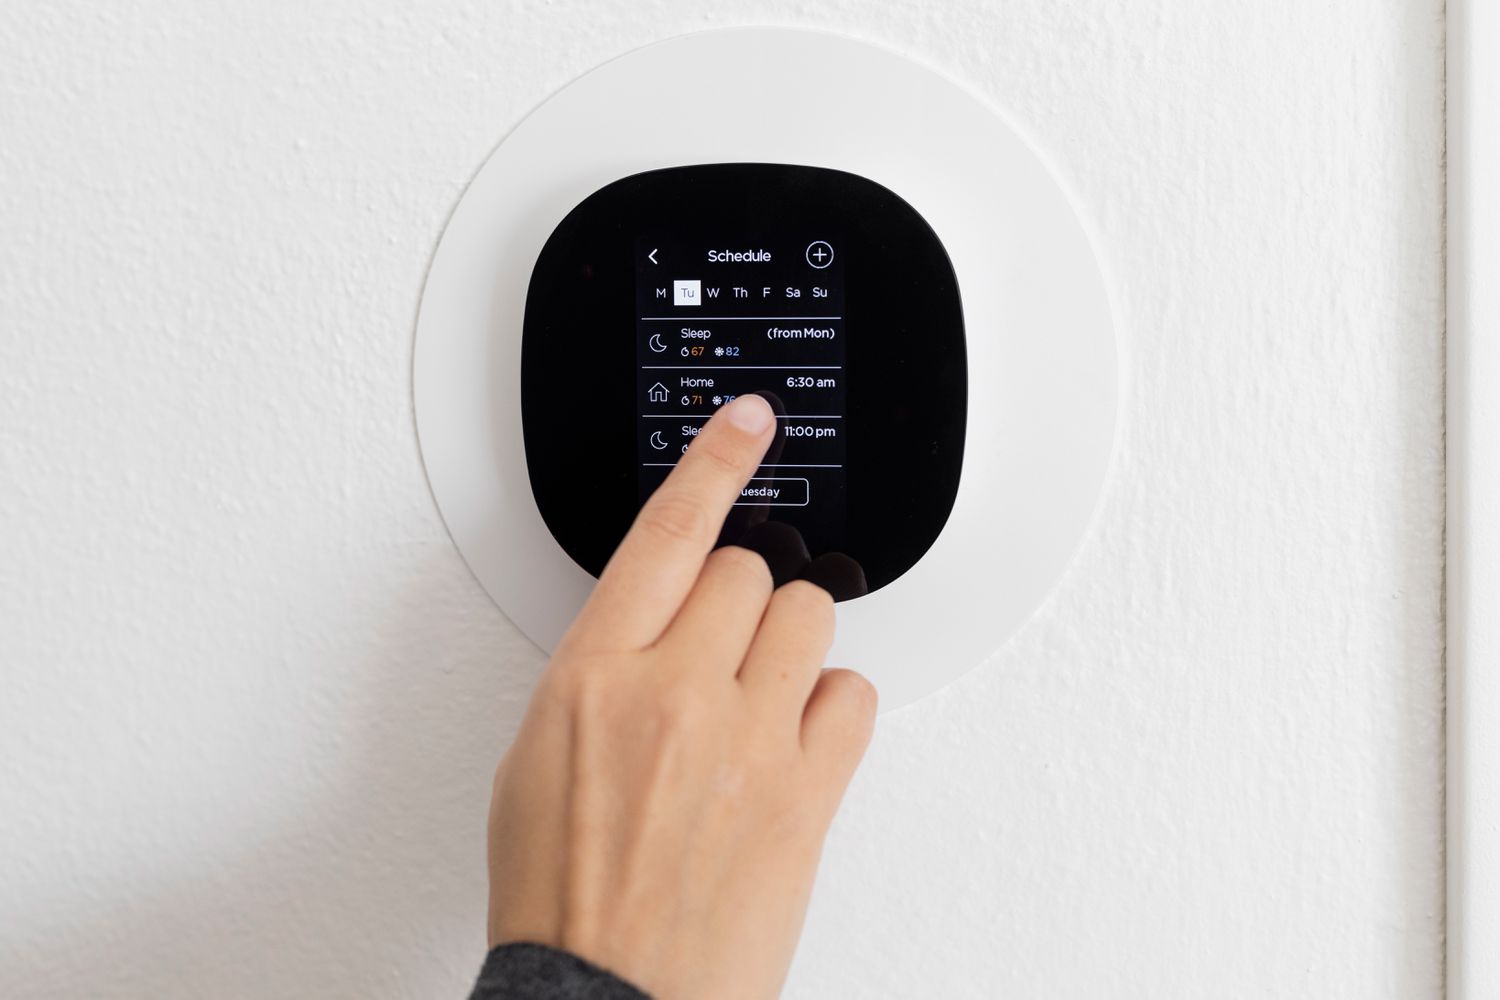
- Explore Temperature Control Options: With the Hive thermostat and app set up, explore the temperature control options and scheduling features available to tailor your home’s climate to your lifestyle. Take advantage of the thermostat’s smart capabilities to optimize energy usage and create personalized heating and cooling schedules.
- Verify Remote Access: After completing the setup, test the remote access and control functionality by adjusting the thermostat settings using the Hive app. Verify that you can monitor and adjust the temperature from anywhere, providing convenience and energy savings.
By following these steps, you’ll successfully turn on the power to the HVAC system and set up your Hive thermostat, unlocking its full potential for smart climate control and energy management. With the installation and setup process complete, you’re now empowered to enjoy the benefits of a seamlessly integrated and intelligently controlled home environment.
Conclusion
Congratulations on successfully installing your Hive thermostat and taking a significant step toward transforming your home into a smart and energy-efficient living space. By following the comprehensive installation process outlined in this guide, you’ve gained the ability to seamlessly control your home’s climate and optimize energy usage with the intuitive features of the Hive thermostat.
As you reflect on the installation journey, it’s important to recognize the impact of integrating a smart thermostat into your home. With its user-friendly interface, remote access capabilities, and energy-saving features, the Hive thermostat empowers you to create a comfortable living environment while reducing your energy costs. By leveraging its smart scheduling and temperature control options, you can tailor your home’s heating and cooling to align with your daily routine and preferences, enhancing both convenience and efficiency.
Furthermore, the successful installation of the Hive thermostat signifies your embrace of innovative home automation technology, positioning you at the forefront of the smart home revolution. Your commitment to leveraging advanced solutions for climate control reflects a proactive approach to enhancing your living space and contributing to a sustainable future through energy conservation.
As you embark on this new chapter of smart home living, remember that the installation of your Hive thermostat is just the beginning. Embrace the opportunity to explore the full range of features and functionalities offered by the thermostat and its accompanying app, allowing you to unlock the potential for personalized comfort and energy management.
With your Hive thermostat seamlessly integrated into your home, you’re now equipped to enjoy the benefits of a connected and intelligently controlled living environment. Embrace the convenience, efficiency, and comfort that the Hive thermostat brings to your home, and take pride in your proactive steps toward a smarter, more sustainable lifestyle.
Thank you for embarking on this installation journey with us, and may your newly installed Hive thermostat enrich your daily life with enhanced comfort and energy efficiency.
Frequently Asked Questions about How To Install A Hive Thermostat
Was this page helpful?
At Storables.com, we guarantee accurate and reliable information. Our content, validated by Expert Board Contributors, is crafted following stringent Editorial Policies. We're committed to providing you with well-researched, expert-backed insights for all your informational needs.


0 thoughts on “How To Install A Hive Thermostat”