Home>Home Appliances>Home Automation Appliances>How To Replace A Frigidaire Refrigerator Thermostat
Home Automation Appliances
How To Replace A Frigidaire Refrigerator Thermostat
Modified: October 19, 2024
Learn how to replace a Frigidaire refrigerator thermostat with our step-by-step guide. Keep your home automation appliances running smoothly!
(Many of the links in this article redirect to a specific reviewed product. Your purchase of these products through affiliate links helps to generate commission for Storables.com, at no extra cost. Learn more)
Introduction
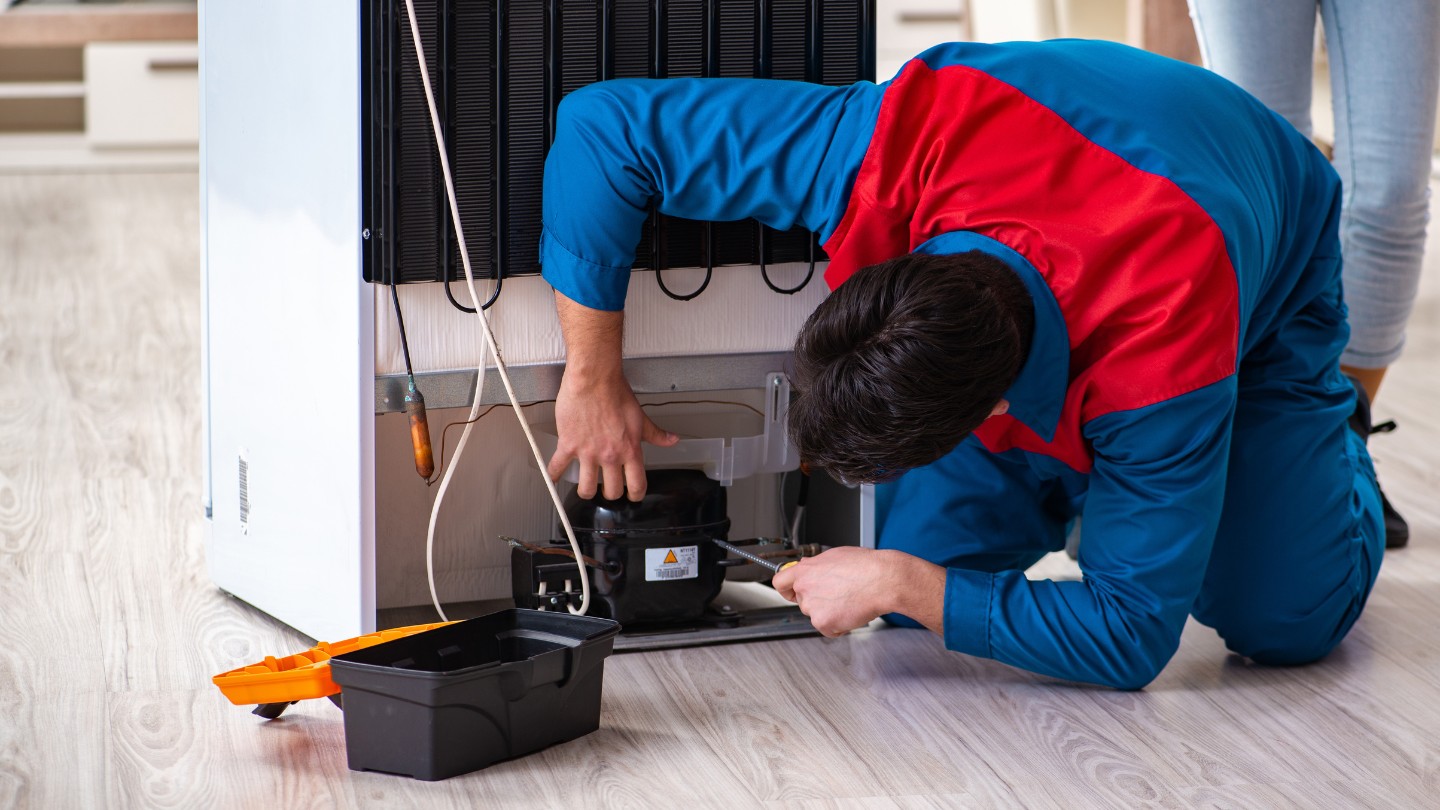
Welcome to the ultimate guide on replacing a Frigidaire refrigerator thermostat! If you've noticed that your refrigerator is not maintaining the desired temperature, it might be time to replace the thermostat. A malfunctioning thermostat can lead to inconsistent cooling, potentially compromising the freshness of your food items. Fear not, as we're here to walk you through the process, empowering you to tackle this task with confidence.
Whether you're a seasoned DIY enthusiast or a first-time fixer-upper, replacing a refrigerator thermostat is a manageable project that can save you time and money. With the right tools, a bit of patience, and the guidance provided here, you'll be well-equipped to successfully complete this task and restore your refrigerator to peak performance.
In the following sections, we'll outline the step-by-step process for replacing your Frigidaire refrigerator thermostat, ensuring that you have a clear understanding of each crucial stage. From unplugging the refrigerator to installing the new thermostat and reconnecting the wiring, we've got you covered. Additionally, we'll highlight the essential tools and materials you'll need to have on hand.
By the end of this guide, you'll feel empowered to take on this repair, potentially saving on costly service calls and enjoying the satisfaction of a job well done. So, let's roll up our sleeves and dive into the process of replacing your Frigidaire refrigerator thermostat!
Key Takeaways:
- Safety First!
Before attempting to replace a Frigidaire refrigerator thermostat, always remember to unplug the refrigerator to ensure a safe working environment and minimize the risk of electric shock. - DIY Confidence
With the right tools and step-by-step guidance, replacing a refrigerator thermostat is a manageable DIY project that can save time and money, empowering you to maintain your appliances with confidence.
Read more: How To Level A Frigidaire Refrigerator
Tools and Materials Needed
Before embarking on the journey of replacing your Frigidaire refrigerator thermostat, it's essential to gather the necessary tools and materials. By having these items at your disposal, you'll streamline the process and ensure a smooth and efficient repair experience.
Here's a comprehensive list of the tools and materials you'll need:
- Replacement Thermostat: Ensure that you have the correct replacement thermostat that is compatible with your specific Frigidaire refrigerator model. It's crucial to verify the compatibility to guarantee a seamless installation process.
- Phillips Head Screwdriver: This versatile tool will be used to remove screws and access the thermostat within the refrigerator.
- Flat Head Screwdriver: A flat head screwdriver is essential for prying and disconnecting certain components during the replacement process.
- Work Gloves: It's always a good practice to wear work gloves to protect your hands during the repair.
- Safety Goggles: To ensure eye protection, especially when handling electrical components, safety goggles are a must.
- Flashlight: A flashlight will come in handy for illuminating the interior of the refrigerator, especially if the lighting is inadequate.
- Electrical Tape: This will be used for securing and insulating electrical connections.
- Wire Cutters/Strippers: These tools will assist in safely disconnecting and reconnecting wires during the replacement process.
- Owner’s Manual: Keep the refrigerator's owner's manual accessible for reference, especially for specific instructions related to your model.
By ensuring that you have these tools and materials at your disposal, you'll be well-prepared to tackle the task of replacing your Frigidaire refrigerator thermostat. With everything in hand, you're ready to move on to the next step of the process: unplugging the refrigerator.
Step 1: Unplug the Refrigerator
Before beginning any repair or maintenance task on your refrigerator, it is crucial to prioritize safety. Unplugging the refrigerator from the power source is the first and most important step in this process. By disconnecting the power, you will eliminate the risk of electric shock and ensure a safe working environment.
Here’s a step-by-step guide on how to safely unplug your refrigerator:
- Locate the Power Cord: Depending on the model of your refrigerator, the power cord is typically located at the back of the appliance. It may be situated near the bottom or the side, so take a moment to identify its placement.
- Clear the Surrounding Area: Ensure that the area around the power outlet is clear of any obstructions or items that may impede your access to the power cord.
- Disconnect the Power Cord: Gently pull the power cord from the outlet, ensuring a smooth and steady removal. Avoid yanking the cord to prevent any damage to the electrical components.
- Verify Disconnection: Double-check that the refrigerator is completely unplugged by inspecting the power cord and confirming that it is no longer connected to the outlet.
Once the refrigerator is safely unplugged, you can proceed with confidence to the next steps of replacing the thermostat. Remember, prioritizing safety sets the foundation for a successful and secure repair process. With the refrigerator unplugged, you’re ready to move on to the next phase: removing the thermostat cover.
Step 2: Remove the Thermostat Cover
With the refrigerator safely unplugged, you can now proceed to remove the thermostat cover to gain access to the internal components. The thermostat cover shields the thermostat and its associated wiring, and removing it is a crucial step in the process of replacing the thermostat.
Follow these steps to effectively remove the thermostat cover:
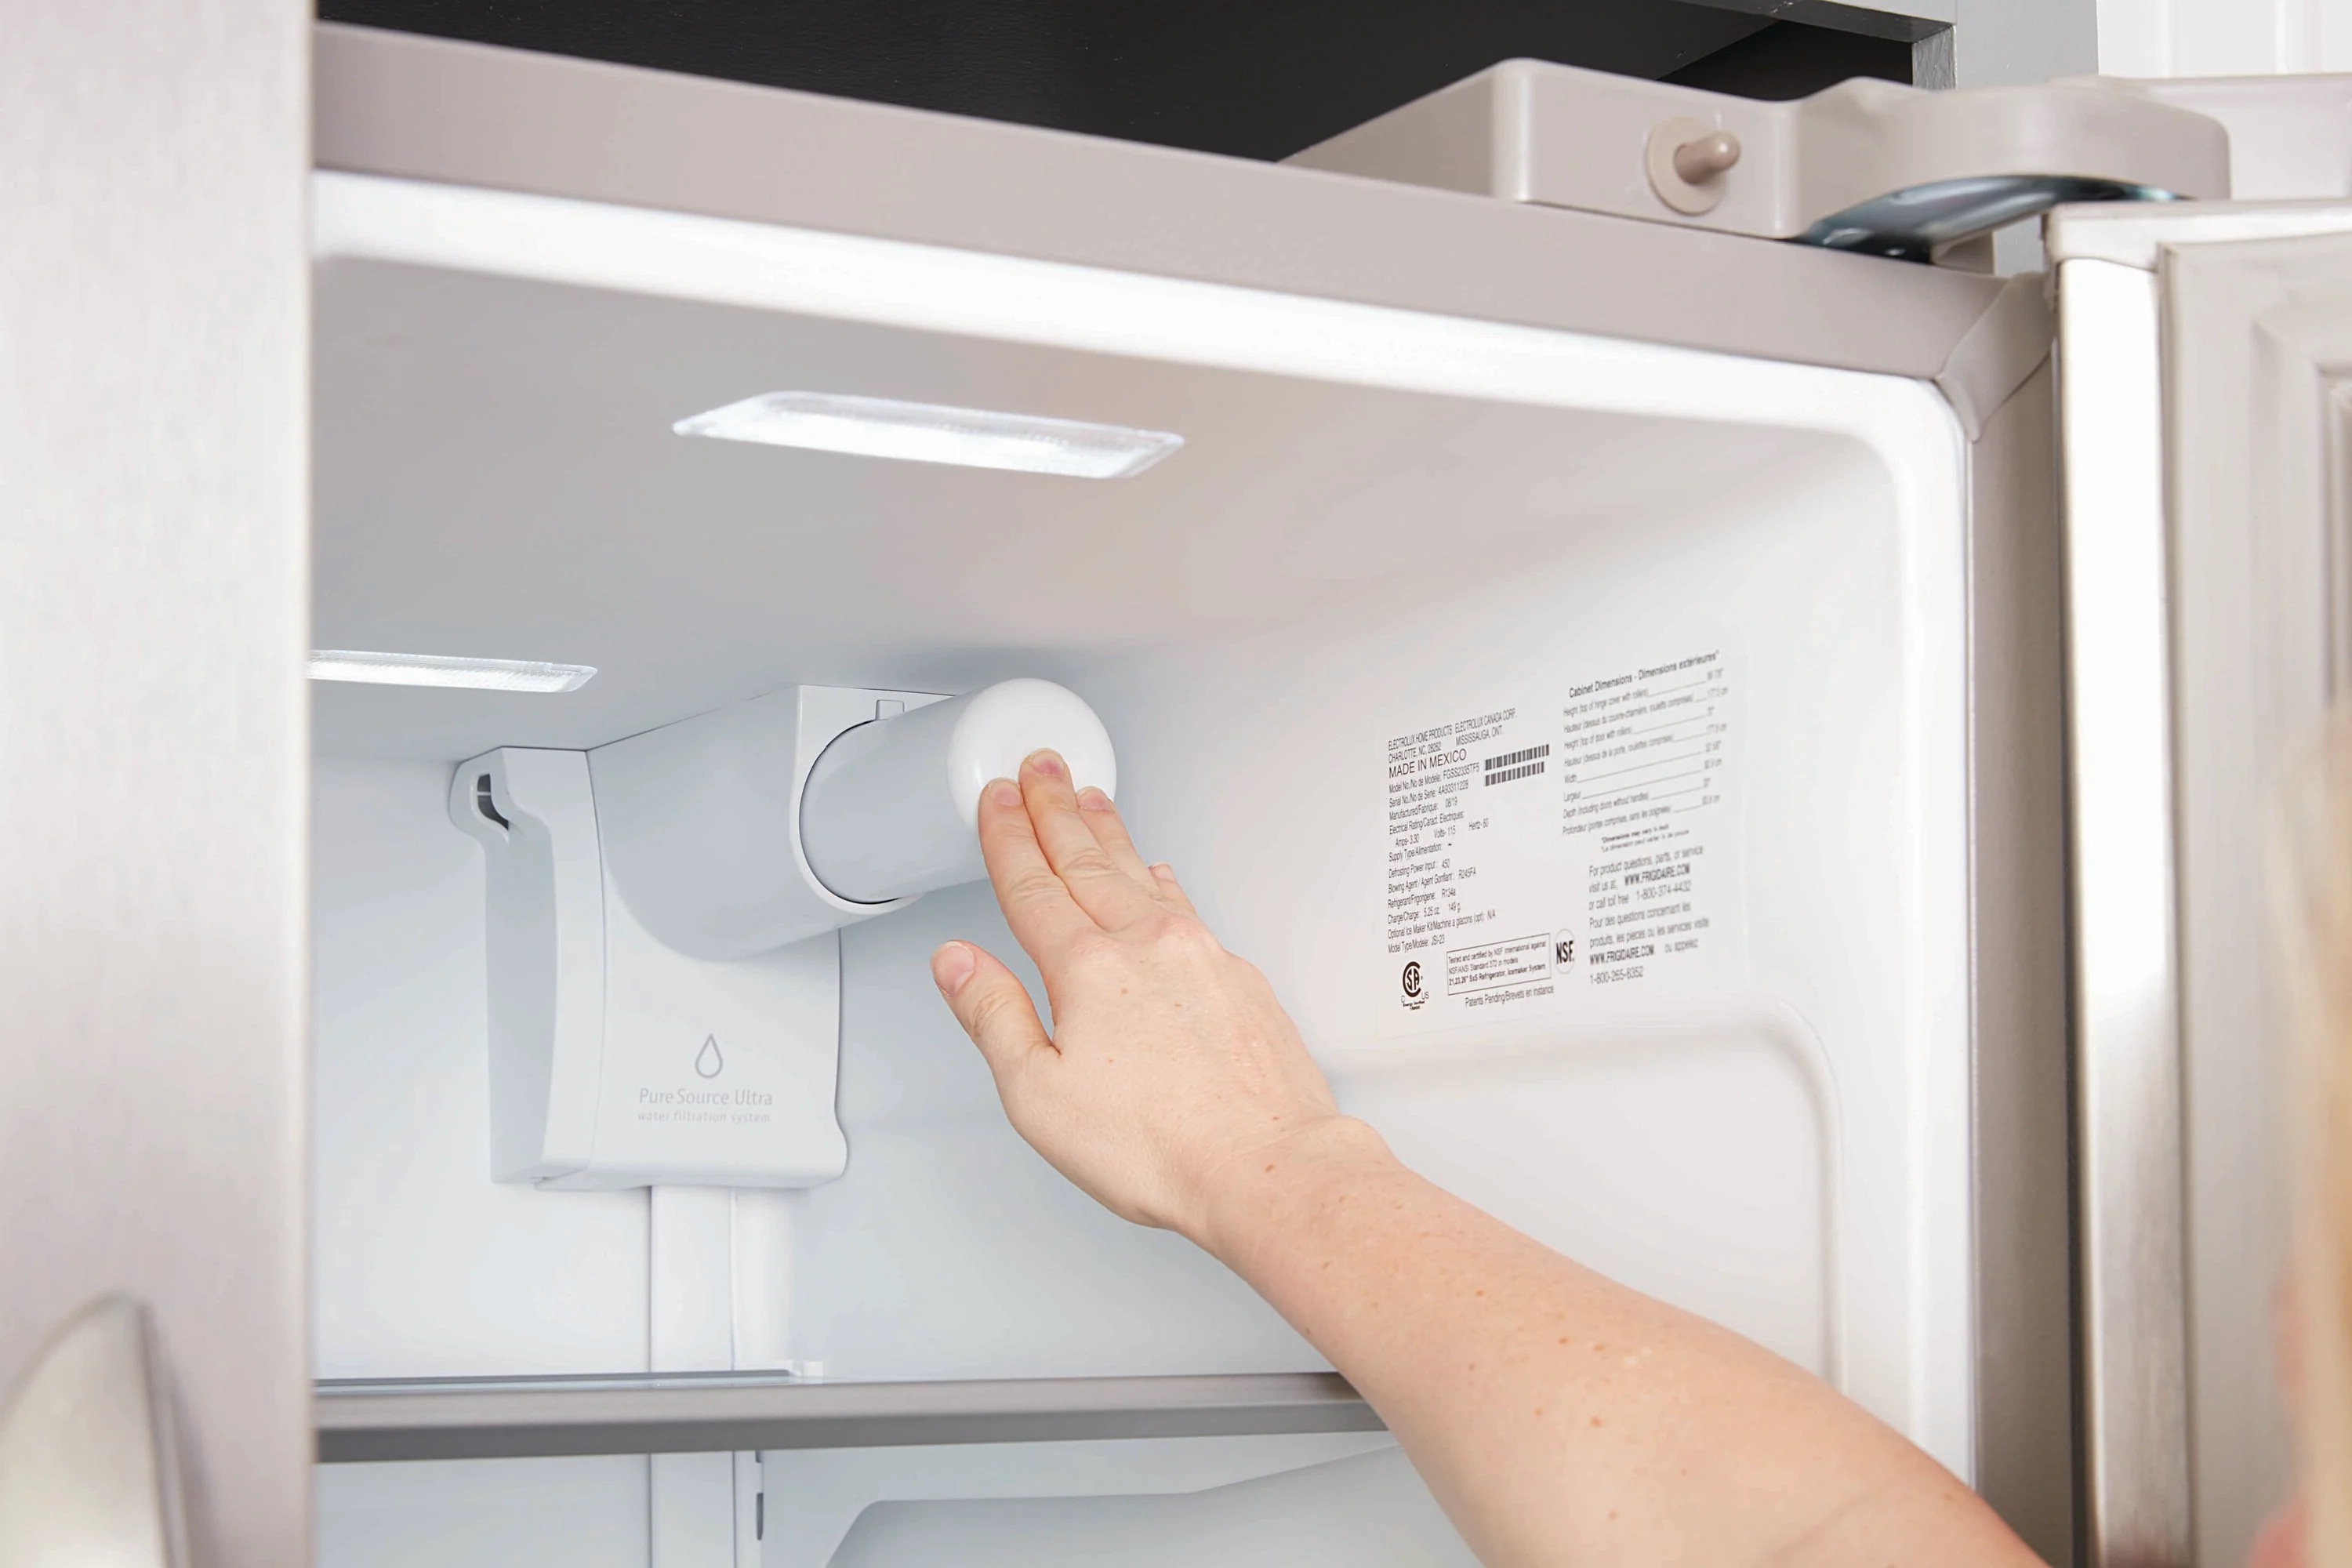
- Locate the Thermostat Cover: Depending on the model of your Frigidaire refrigerator, the thermostat cover is typically positioned in the upper portion of the refrigerator compartment. It may be secured with screws or clips, so take a moment to identify the fastening mechanism.
- Use the Appropriate Tool: If the cover is fastened with screws, utilize a Phillips head screwdriver to carefully remove the screws. In the case of clips, gently disengage them using a flat head screwdriver, taking care not to damage the surrounding components.
- Set Aside the Cover and Fasteners: As you detach the thermostat cover, keep the screws or clips in a secure place to prevent misplacement. The cover should be set aside in a safe location, as it will need to be reinstalled after the thermostat replacement.
- Inspect the Interior: With the thermostat cover removed, take a moment to visually inspect the interior of the compartment. Familiarize yourself with the layout and positioning of the thermostat and its wiring to prepare for the subsequent steps.
By successfully removing the thermostat cover, you’ve cleared the pathway to the thermostat and its associated components. This sets the stage for the next critical phase: disconnecting the wiring. Proceed with confidence, knowing that you’re making steady progress in the process of replacing your Frigidaire refrigerator thermostat.
Step 3: Disconnect the Wiring
As you venture further into the process of replacing your Frigidaire refrigerator thermostat, the next pivotal step involves disconnecting the wiring connected to the thermostat. This phase is crucial for ensuring a safe and seamless transition to the new thermostat.
Follow these essential steps to effectively disconnect the wiring:
- Identify the Wiring Connections: Within the exposed area after removing the thermostat cover, locate the wiring connections attached to the thermostat. Take note of the arrangement and positioning of the wires, as you’ll need to replicate this when installing the new thermostat.
- Label the Wires (Optional): If necessary, use adhesive labels or colored markers to tag each wire according to its placement. This extra step can simplify the reconnection process and minimize any potential confusion when installing the new thermostat.
- Disconnect the Wires: Using caution, carefully detach the wiring from the thermostat. Depending on the type of connections, you may need to gently pull the wires from their terminals or release them from securing clips. Exercise patience and precision to avoid damaging the wires or the terminal connections.
- Secure the Disconnected Wires: Once the wiring is detached, ensure that the wires are positioned in a safe and accessible manner, preventing them from accidentally falling back into the compartment. This preparation will facilitate a smooth installation of the new thermostat.
By successfully disconnecting the wiring, you’ve completed a critical phase in the process of replacing the thermostat. With the wiring safely disconnected and prepared for the next steps, you’re ready to proceed to the pivotal task of removing the old thermostat and preparing for the installation of the new one.
Read more: When To Replace A Thermostat
Step 4: Remove the Old Thermostat
As you progress through the process of replacing your Frigidaire refrigerator thermostat, the next significant step involves removing the old thermostat from its position within the appliance. This phase sets the stage for the installation of the new thermostat, ensuring that the transition is smooth and effective.
Follow these essential steps to effectively remove the old thermostat:
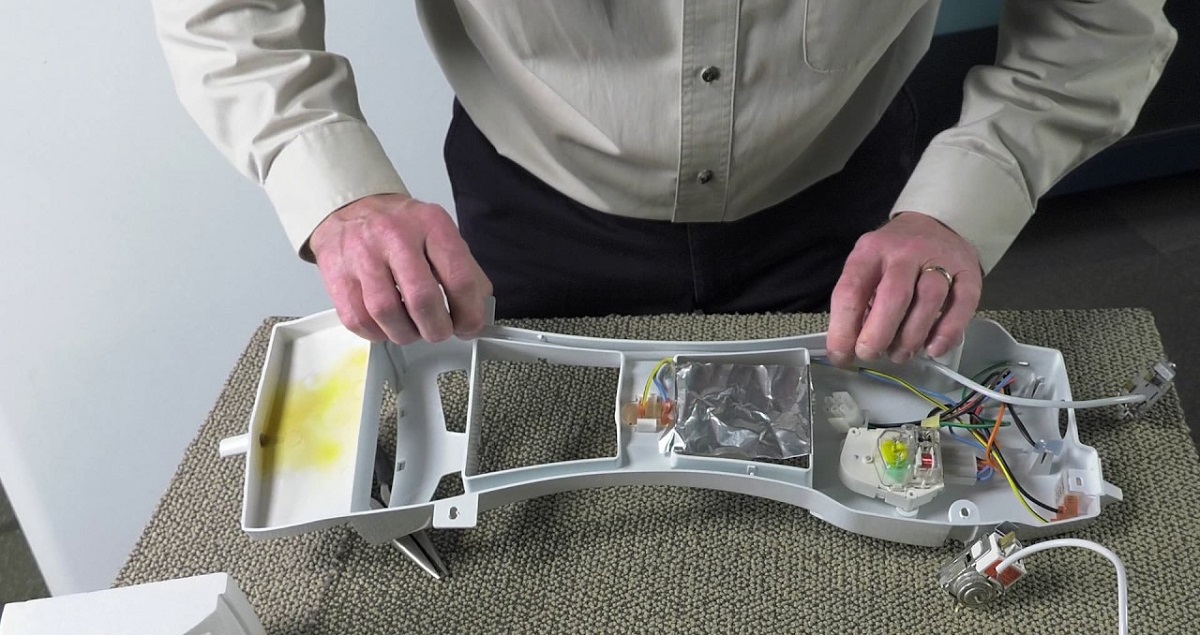
- Locate the Old Thermostat: Within the compartment, identify the existing thermostat and its mounting mechanism. Take note of its positioning and the method used to secure it in place.
- Release the Mounting Mechanism: Depending on the model, the thermostat may be secured with screws, clips, or other fastening devices. Utilize the appropriate tools to carefully release the mounting mechanism, ensuring that the thermostat is free from its position.
- Extract the Old Thermostat: With the mounting released, gently extract the old thermostat from its placement, taking care not to damage any surrounding components or wiring. Exercise patience and precision to maneuver the thermostat out of the compartment.
- Inspect the Compartment: Once the old thermostat is removed, take a moment to inspect the compartment to ensure that it is free from any debris or obstructions. This preparation will create a clean and accessible environment for the installation of the new thermostat.
By successfully removing the old thermostat, you’ve reached a pivotal stage in the process of replacing the thermostat. With the old unit safely extracted, you’re now prepared to proceed to the next crucial phase: installing the new thermostat and initiating the transition to enhanced cooling efficiency within your refrigerator.
Before replacing the thermostat, make sure to unplug the refrigerator and remove any food or shelves. Use a screwdriver to remove the control panel and disconnect the wires from the old thermostat. Install the new thermostat and reassemble the control panel.
Step 5: Install the New Thermostat
With the old thermostat successfully removed, it’s time to embark on the pivotal task of installing the new thermostat. This phase marks a significant transition toward restoring optimal cooling functionality within your Frigidaire refrigerator, ensuring that your food items remain fresh and properly preserved.
Follow these essential steps to effectively install the new thermostat:
- Position the New Thermostat: Carefully maneuver the new thermostat into the designated placement within the compartment, aligning it with the mounting points and ensuring a secure fit. Take note of the orientation and positioning to guarantee a proper installation.
- Secure the Mounting Mechanism: Utilize the appropriate fastening devices, such as screws or clips, to securely mount the new thermostat in its designated position. Ensure that the thermostat is firmly anchored, minimizing any potential movement or instability.
- Reconnect the Wiring: Referencing the labeled or previously noted wiring connections, carefully reconnect the wires to the corresponding terminals on the new thermostat. Exercise precision and caution to ensure that the connections are secure and properly seated.
- Verify the Installation: Conduct a thorough visual inspection to confirm that the new thermostat is securely installed and that the wiring connections are properly seated. Take a moment to ensure that the thermostat is positioned correctly and that all components are aligned as per the manufacturer’s specifications.
By effectively installing the new thermostat, you’ve taken a significant stride in the process of rejuvenating your refrigerator’s cooling functionality. With the new thermostat securely in place and the wiring connections reestablished, you’re now poised to proceed to the subsequent phase: reconnecting the wiring to prepare for the final stages of the replacement process.
Step 6: Reconnect the Wiring
As you approach the final stages of replacing the thermostat in your Frigidaire refrigerator, the critical task of reconnecting the wiring takes center stage. This phase is instrumental in establishing the essential electrical connections required for the proper functioning of the new thermostat, setting the foundation for reliable cooling performance.
Follow these essential steps to effectively reconnect the wiring:
- Retrieve the Disconnected Wires: Referencing the labeled or previously identified wiring connections, retrieve the disconnected wires and prepare them for reconnection to the new thermostat. Ensure that the wires are untangled and free from any obstructions.
- Align and Seat the Wires: Carefully align each wire with its corresponding terminal on the new thermostat, ensuring that the connections are secure and properly seated. Exercise precision and caution to prevent any accidental dislodging of the wires during the reconnection process.
- Secure the Wiring Connections: Once the wires are aligned and seated, utilize the appropriate securing mechanisms, such as terminal screws or clips, to firmly secure the wiring connections to the new thermostat. Verify that each connection is snug and stable, minimizing any potential movement.
- Inspect the Wiring Arrangement: Conduct a thorough visual inspection to confirm that the wiring connections are correctly established and that each wire is appropriately seated. Take a moment to ensure that the wiring arrangement aligns with the manufacturer’s specifications for the new thermostat.
By successfully reconnecting the wiring, you’ve solidified the crucial electrical connections necessary for the proper operation of the new thermostat. With the wiring securely reestablished, you’re now prepared to proceed to the penultimate phase of the replacement process: replacing the thermostat cover to encapsulate the internal components and wiring.
Step 7: Replace the Thermostat Cover
As you near the completion of the thermostat replacement process for your Frigidaire refrigerator, the pivotal task of replacing the thermostat cover emerges as the next essential step. The thermostat cover serves as a protective shield, encapsulating the internal components and wiring, and its proper placement is crucial for ensuring the integrity of the thermostat assembly.
Follow these essential steps to effectively replace the thermostat cover:
- Position the Thermostat Cover: Align the thermostat cover with the corresponding mounting points within the refrigerator compartment, ensuring that it is positioned correctly and oriented according to its original placement.
- Secure the Cover Fasteners: If the cover is fastened with screws, utilize a Phillips head screwdriver to carefully secure the screws in place, ensuring a snug fit without overtightening. In the case of clips, gently engage them to firmly secure the thermostat cover.
- Inspect the Encapsulated Components: Conduct a visual inspection to verify that the thermostat cover effectively encapsulates the internal components and wiring, providing a protective barrier against external elements. Ensure that the cover is flush and secure, minimizing any potential movement.
- Verify Proper Alignment: Take a moment to confirm that the thermostat cover is properly aligned and seated, maintaining a uniform and consistent position within the refrigerator compartment. Verify that all fasteners are securely in place.
By successfully replacing the thermostat cover, you’ve completed a crucial step in the process of restoring the integrity of the refrigerator’s internal components. With the thermostat cover securely reinstalled, you’re now ready to proceed to the final phase of the replacement process: plugging in the refrigerator and initiating the restoration of cooling functionality.
Step 8: Plug in the Refrigerator
As you approach the culmination of the thermostat replacement process for your Frigidaire refrigerator, the final and pivotal step involves plugging in the refrigerator to restore power and initiate the functionality of the new thermostat. This phase marks the transition from the repair process to the restoration of optimal cooling performance, ensuring that your refrigerator operates at its peak efficiency.
Follow these essential steps to effectively plug in the refrigerator:
- Locate the Power Cord: Position yourself near the power outlet where the refrigerator will be plugged in, ensuring that the outlet is easily accessible and free from any obstructions.
- Insert the Power Cord: Gently insert the refrigerator’s power cord into the power outlet, ensuring a secure and snug connection. Avoid applying excessive force to prevent any damage to the cord or the outlet.
- Verify Power Connection: Confirm that the power cord is fully inserted into the outlet and that it is securely seated. Take a moment to ensure that the connection is stable and that the cord is not at risk of dislodging.
- Power On the Refrigerator: Once the power cord is securely plugged in, locate the refrigerator’s power switch or control panel and initiate the power-on sequence. Depending on the model, this may involve pressing a power button or adjusting the temperature controls to activate the cooling system.
- Listen for Operational Sounds: As the refrigerator powers on, listen for the reassuring hum of the cooling system and the activation of the internal components. This auditory confirmation indicates that the refrigerator is operational and that the new thermostat is functioning as intended.
By successfully plugging in the refrigerator, you’ve reached the culmination of the thermostat replacement process, marking the transition to the restoration of cooling functionality. With the refrigerator powered on and the new thermostat in operation, you can now revel in the satisfaction of a successful repair, ensuring that your refrigerator is poised to maintain optimal cooling performance.
Conclusion
Congratulations on successfully completing the comprehensive process of replacing the thermostat in your Frigidaire refrigerator! By embarking on this repair journey, you’ve demonstrated the capability and resourcefulness to tackle essential maintenance tasks, ensuring the reliable functionality of your appliance.
Throughout this guide, you’ve navigated through each crucial step with precision and confidence, from unplugging the refrigerator and removing the thermostat cover to disconnecting and reconnecting the wiring, culminating in the installation of the new thermostat. Each phase of the process has contributed to the restoration of optimal cooling performance, safeguarding the freshness of your food items and enhancing the efficiency of your refrigerator.
As you plug in the refrigerator and initiate the power-on sequence, revel in the satisfaction of a job well done. The reassuring hum of the cooling system and the activation of the internal components signify the successful integration of the new thermostat, setting the stage for reliable and consistent cooling functionality.
By undertaking this repair, you’ve not only revitalized your refrigerator but also equipped yourself with valuable knowledge and hands-on experience. Your proactive approach to appliance maintenance empowers you to address potential issues promptly, ensuring the longevity and efficiency of your valuable home appliances.
Remember to keep the essential tools and materials accessible for future maintenance tasks, and don’t hesitate to explore other DIY repair endeavors with the confidence and expertise you’ve gained through this experience.
With your refrigerator now operating at its peak efficiency, you can relish the peace of mind that comes with a well-maintained appliance, providing reliable cooling for your perishable items and contributing to the comfort and convenience of your home.
Thank you for entrusting us to guide you through this rewarding repair journey. We hope this comprehensive resource has empowered you to navigate the process with confidence and proficiency, setting the stage for a seamlessly functioning refrigerator for years to come.
Frequently Asked Questions about How To Replace A Frigidaire Refrigerator Thermostat
Was this page helpful?
At Storables.com, we guarantee accurate and reliable information. Our content, validated by Expert Board Contributors, is crafted following stringent Editorial Policies. We're committed to providing you with well-researched, expert-backed insights for all your informational needs.


0 thoughts on “How To Replace A Frigidaire Refrigerator Thermostat”