Home>Home Appliances>Home Automation Appliances>How To Replace An HVAC Thermostat
Home Automation Appliances
How To Replace An HVAC Thermostat
Modified: February 18, 2024
Learn how to replace your HVAC thermostat with our step-by-step guide. Upgrade your home automation appliances with ease.
(Many of the links in this article redirect to a specific reviewed product. Your purchase of these products through affiliate links helps to generate commission for Storables.com, at no extra cost. Learn more)
**
Introduction
**
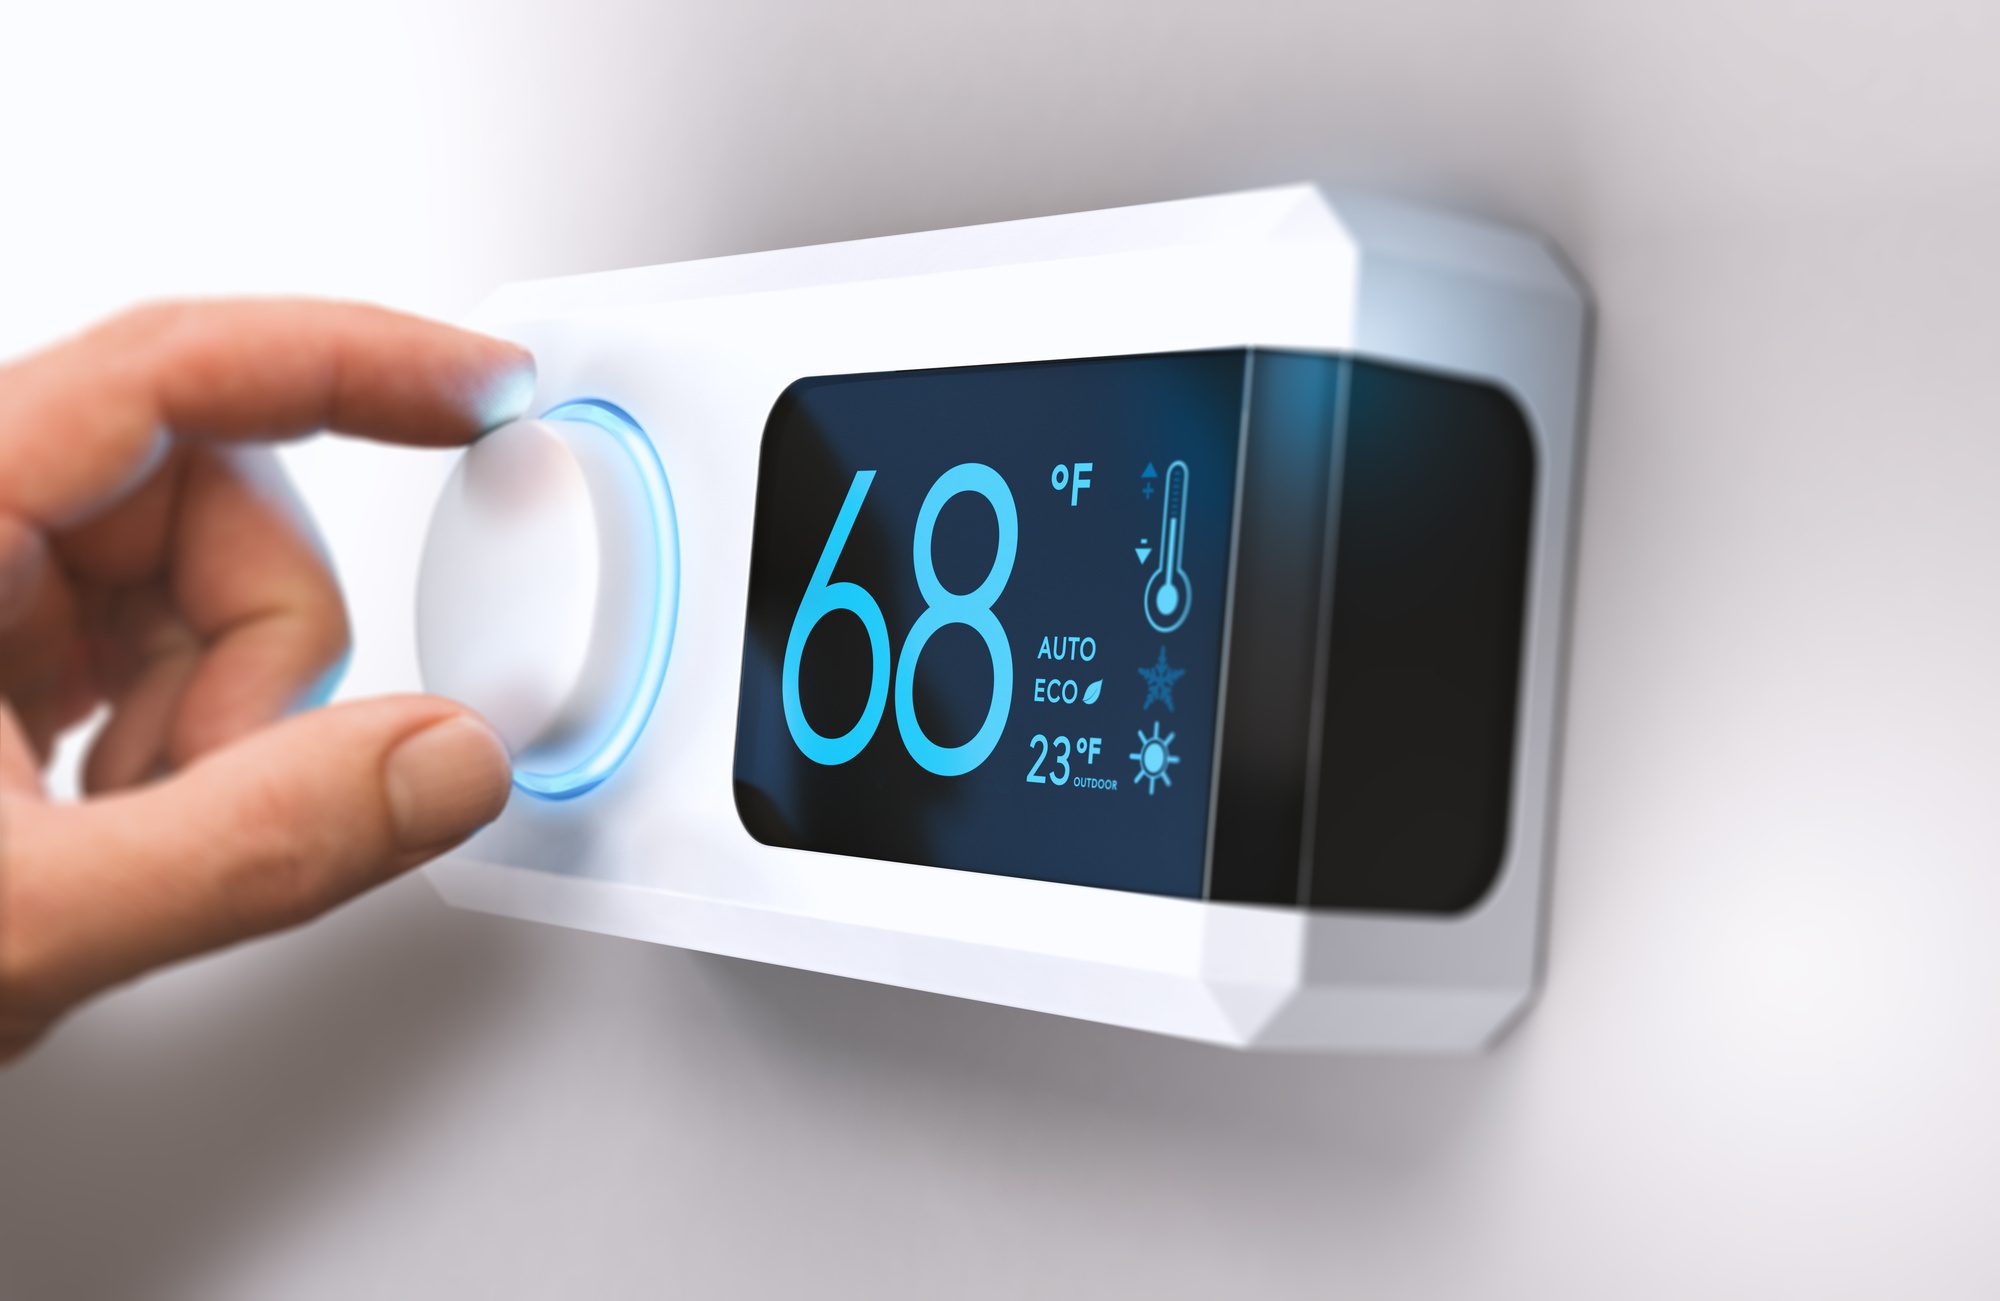
Replacing an HVAC thermostat is a practical and cost-effective way to enhance the comfort and energy efficiency of your home. Whether you're upgrading to a smart thermostat or simply replacing an outdated model, this DIY project can make a significant impact on your indoor climate control. By following a few simple steps and using the right tools, you can successfully replace your HVAC thermostat and enjoy a more convenient and customizable heating and cooling experience.
In this comprehensive guide, we will walk you through the process of replacing your HVAC thermostat, providing detailed instructions and essential tips to ensure a smooth and successful installation. From preparing the necessary tools and materials to testing the new thermostat, each step is designed to empower you with the knowledge and confidence needed to tackle this home improvement project. So, roll up your sleeves, gather your tools, and let's get started on upgrading your HVAC thermostat to create a more comfortable and efficient living environment.
Key Takeaways:
- Upgrading your HVAC thermostat is a DIY project that can enhance comfort and energy efficiency at home. With the right tools and steps, you can enjoy a more convenient and customizable indoor climate control experience.
- By replacing your HVAC thermostat, you can look forward to precise temperature control, convenient programming options, and potential energy savings. Embrace the DIY accomplishment and enjoy the positive impact on your daily life.
Read more: How To Diagnose A Bad HVAC Thermostat
Tools and Materials Needed
Before embarking on the thermostat replacement process, it’s essential to gather the necessary tools and materials to ensure a seamless installation. Here’s a comprehensive list of items you’ll need:
Tools:
- Screwdriver (flathead and Phillips)
- Drill and drill bits (if required for mounting)
- Level
- Wire stripper
- Pliers
- Electrical tape
- Smartphone or tablet (for smart thermostat setup)
Materials:
- New thermostat
- Batteries (if applicable)
- Mounting screws or anchors (if required)
- Label stickers (for wiring identification)
- Pen and paper (for note-taking)
- Voltage tester
- Replacement wire (if needed)
- Drywall patch (if any holes need repair)
Having these tools and materials on hand will streamline the installation process and help you address any unexpected challenges that may arise. Now that you’re equipped with the necessary items, it’s time to proceed to the next steps of replacing your HVAC thermostat.
Turn Off the Power
Before beginning any work on your HVAC system, it’s crucial to ensure your safety by turning off the power to the thermostat and HVAC unit. Follow these steps to safely disconnect the power:
- Locate the Circuit Breaker: Find the circuit breaker that controls the HVAC system and thermostat. It’s typically labeled as “HVAC,” “Heating,” or “Cooling” on the breaker panel.
- Switch Off the Power: Flip the corresponding circuit breaker to the “Off” position. This will cut off the electricity supply to the thermostat and HVAC unit, preventing any electrical mishaps during the replacement process.
- Verify the Power is Off: After switching off the circuit breaker, test the thermostat and HVAC unit to confirm that the power is indeed disconnected. You can do this by attempting to adjust the temperature settings on the thermostat and ensuring that the HVAC system does not respond.
By shutting off the power before proceeding, you’ll minimize the risk of electrical accidents and create a safe working environment for replacing the thermostat. Remember to exercise caution and double-check that the power is completely off before moving on to the next steps.
Remove the Old Thermostat
With the power safely turned off, you can now begin the process of removing the old thermostat. Follow these steps to dismantle the existing unit:
- Remove the Faceplate: Carefully detach the faceplate or cover of the thermostat from its base. In most cases, the faceplate can be gently pried off or unscrewed, revealing the inner wiring and mounting plate.
- Note the Wiring Configuration: Take note of the existing wiring connections on the thermostat. Use label stickers to mark each wire according to its terminal designation (e.g., R, C, W, Y, G) to ensure accurate reconnection later.
- Disconnect the Wires: Loosen the terminal screws and disconnect the wires from their respective terminals on the thermostat. Keep the wires separated and prevent them from falling back into the wall opening.
- Remove the Mounting Plate: Unscrew and remove the mounting plate of the old thermostat from the wall. Take this opportunity to inspect the wall for any damage or paint discoloration that may require touch-up or repair.
- Dispose of the Old Thermostat: Properly dispose of the old thermostat and its components according to local regulations. Many electronic recycling centers accept old thermostats to ensure responsible disposal.
By carefully removing the old thermostat and documenting the wiring setup, you’ll set the stage for a smooth transition to the new unit. Taking the time to label and organize the wires will simplify the installation of the replacement thermostat and minimize potential errors during reconnection.
When replacing an HVAC thermostat, make sure to turn off the power to the unit before starting. This will prevent any electrical accidents and ensure your safety.
Install the New Thermostat
Now that the old thermostat has been removed, it’s time to install the new unit. Follow these steps to seamlessly integrate the replacement thermostat:
- Mounting the Base Plate: Position the new thermostat’s base plate against the wall, ensuring it is level and securely aligned with the existing screw holes or anchors. Use a level to confirm that the base plate is straight before fastening it in place.
- Connect the Wires: Refer to the labels you created during the removal process to correctly connect the wires to the corresponding terminals on the new thermostat. Ensure each wire is securely fastened, and double-check the connections to prevent any loose or crossed wires.
- Attach the Faceplate: Once the wires are connected, snap or screw the faceplate of the new thermostat onto the mounted base. Ensure a snug fit to maintain the integrity of the unit’s installation.
- Insert Batteries (if applicable): If your new thermostat utilizes batteries, insert them according to the manufacturer’s instructions. This step is essential for powering the thermostat in the absence of a dedicated electrical connection.
- Power Up the Thermostat: Restore the power to the thermostat and HVAC system by switching the circuit breaker back to the “On” position. This will activate the new thermostat, allowing you to proceed with the setup and configuration process.
- Follow Manufacturer’s Setup Instructions: Depending on the type of thermostat you’ve installed, follow the manufacturer’s guidelines for initial setup. This may involve programming the thermostat, connecting it to a Wi-Fi network (for smart thermostats), and customizing temperature settings to suit your preferences.
By meticulously installing the new thermostat and adhering to the manufacturer’s instructions, you’ll ensure that the unit functions optimally and seamlessly integrates with your HVAC system. Paying attention to the details during this phase will set the stage for a reliable and efficient climate control experience in your home.
Read more: When To Replace A Thermostat
Turn On the Power
With the new thermostat successfully installed, it’s time to restore power to the system and ensure that everything is functioning as intended. Follow these steps to safely turn on the power and activate the HVAC system:
- Switch On the Circuit Breaker: Locate the circuit breaker that controls the HVAC system and thermostat. Flip the corresponding breaker to the “On” position to restore power to the newly installed thermostat and HVAC unit.
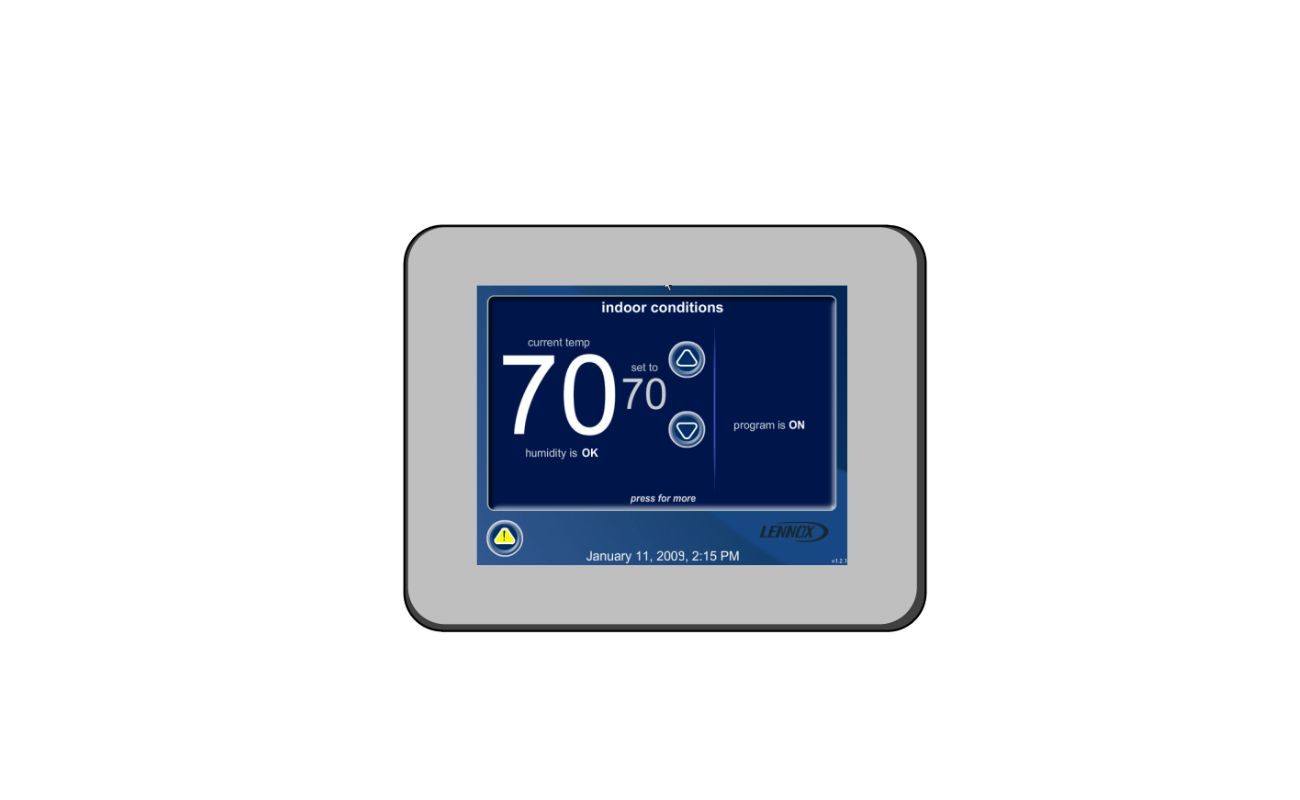
- Verify Power Restoration: After turning on the circuit breaker, confirm that the thermostat display illuminates, indicating that power has been successfully restored. Additionally, listen for any audible cues from the HVAC system, such as fans or compressors activating.
- Check Thermostat Functionality: Test the basic functionality of the new thermostat by adjusting the temperature settings and observing the HVAC system’s response. Verify that the thermostat accurately communicates with the HVAC unit to initiate heating, cooling, or fan operation as per your commands.
- Monitor for Any Issues: Keep an eye out for any unusual behavior or malfunctions as the HVAC system operates with the new thermostat. Look for discrepancies between the set temperature and the actual room temperature, as well as any irregular cycling or performance issues.
By methodically restoring power and assessing the functionality of the new thermostat and HVAC system, you can ensure that the installation was successful and that your home’s climate control is operating as expected. Addressing any issues promptly will help maintain a comfortable and efficient indoor environment.
Test the Thermostat
After turning on the power and ensuring the HVAC system’s functionality, it’s crucial to conduct thorough testing to validate the performance and accuracy of the new thermostat. Follow these steps to comprehensively test the thermostat:
- Temperature Calibration: Use a separate thermometer to measure the room temperature and compare it to the reading displayed on the new thermostat. This will help assess the accuracy of the thermostat’s temperature sensing and calibration.
- Heating and Cooling Modes: Activate both the heating and cooling modes on the thermostat to confirm that the HVAC system responds appropriately to temperature adjustments. Observe the system’s operation and ensure that it effectively delivers the desired heating or cooling output.
- Fan Operation: Test the fan operation by manually activating the fan setting on the thermostat. Verify that the fan engages and circulates air as expected, contributing to proper air distribution and comfort.
- Programmable Features (if applicable): If your new thermostat includes programmable features, such as scheduling or setback options, take the time to program and test these settings. Ensure that the thermostat accurately follows the programmed schedule and maintains the desired temperature levels at different times of the day.
- Smart Thermostat Functionality (if applicable): For smart thermostats, explore the full range of features, including remote access via a smartphone app, voice control, and integration with smart home systems. Verify that these advanced capabilities operate seamlessly and enhance your overall experience with the thermostat.
By conducting comprehensive testing of the new thermostat, you can ascertain its accuracy, reliability, and compatibility with your HVAC system. Identifying and addressing any discrepancies or performance issues during the testing phase will contribute to a smooth and trouble-free transition to the new thermostat.
Conclusion
Replacing an HVAC thermostat is a rewarding endeavor that can significantly improve your home’s comfort, energy efficiency, and overall climate control experience. By following the step-by-step process outlined in this guide, you’ve taken a proactive approach to upgrade your thermostat and enhance your living environment. From gathering the necessary tools and materials to meticulously installing and testing the new thermostat, you’ve demonstrated a commitment to optimizing your home’s heating and cooling systems.
With the new thermostat in place, you can look forward to enjoying precise temperature control, convenient programming options, and, if applicable, the advanced features of a smart thermostat. Whether you’ve chosen a basic programmable model or a cutting-edge smart thermostat, the benefits of improved comfort and potential energy savings are within reach.
As you settle into the enhanced climate control provided by your new thermostat, take pride in the DIY accomplishment and the positive impact it has on your daily life. By maintaining a comfortable indoor environment and potentially reducing energy consumption, your new thermostat serves as a valuable asset in your home.
Remember to refer to the manufacturer’s documentation for specific guidance on operating and maintaining your new thermostat. Regularly checking and updating the thermostat settings, especially if it’s a programmable or smart model, will help optimize its performance and maximize energy efficiency over time.
By embracing the process of replacing your HVAC thermostat, you’ve not only improved your home but also gained valuable insights into the operation and installation of this essential component of your heating and cooling system. As you enjoy the benefits of your upgraded thermostat, you can take pride in your ability to tackle home improvement projects that contribute to a more comfortable and efficient living space.
Frequently Asked Questions about How To Replace An HVAC Thermostat
Was this page helpful?
At Storables.com, we guarantee accurate and reliable information. Our content, validated by Expert Board Contributors, is crafted following stringent Editorial Policies. We're committed to providing you with well-researched, expert-backed insights for all your informational needs.


0 thoughts on “How To Replace An HVAC Thermostat”