Home>Home Appliances>Home Automation Appliances>How To Remove Honeywell T6 Pro Thermostat Cover
Home Automation Appliances
How To Remove Honeywell T6 Pro Thermostat Cover
Modified: October 19, 2024
Learn how to easily remove the cover of your Honeywell T6 Pro thermostat for quick maintenance and troubleshooting. Get expert tips for your home automation appliances.
(Many of the links in this article redirect to a specific reviewed product. Your purchase of these products through affiliate links helps to generate commission for Storables.com, at no extra cost. Learn more)
Introduction
Welcome to our guide on how to remove the cover of a Honeywell T6 Pro thermostat. The Honeywell T6 Pro is a popular choice for homeowners looking to enhance their home comfort and energy efficiency. However, there are times when you may need to remove the thermostat cover, either for routine maintenance or to access the wiring behind it. In this comprehensive guide, we will walk you through the step-by-step process of safely removing the cover of your Honeywell T6 Pro thermostat. By following these instructions, you will be able to access the inner components of the thermostat with ease, allowing for maintenance, troubleshooting, or upgrades.
Whether you are a seasoned DIY enthusiast or a first-time homeowner, removing the thermostat cover is a relatively straightforward task that can be completed with the right tools and a clear understanding of the process. With a little patience and attention to detail, you can successfully remove the cover of your Honeywell T6 Pro thermostat without any hassle. So, gather your tools and let's get started on this home improvement project!
Key Takeaways:
- Safely remove the cover of your Honeywell T6 Pro thermostat by following simple steps and using basic tools, ensuring you can access and maintain its internal components with ease.
- Prioritize safety by turning off the power before removing the thermostat cover, and handle the device and its components with care to prevent damage during the process.
Read also: 14 Best Honeywell T6 Pro Thermostat For 2025
Tools and Materials Needed
Before you begin the process of removing the cover of your Honeywell T6 Pro thermostat, it’s essential to gather the necessary tools and materials to ensure a smooth and efficient workflow. Here’s what you’ll need:
- Screwdriver: A small flathead or Phillips screwdriver will be required to detach the thermostat from the wall and remove the cover.
- Tape: Electrical tape may be needed to secure the wiring and prevent it from slipping back into the wall cavity.
- Step Stool or Ladder: Depending on the height of your thermostat, a step stool or ladder may be necessary to reach and work comfortably with the device.
- Labels: It’s helpful to have adhesive labels or masking tape and a marker to label the wiring terminals for easy reconnection.
- Flashlight: In case the area around the thermostat is dimly lit, a flashlight can aid in visibility during the removal process.
Additionally, it’s important to ensure that you have a clear understanding of your HVAC system and thermostat wiring before proceeding. If you are unsure about any aspect of the removal process, it’s advisable to consult the user manual for your specific thermostat model or seek professional assistance.
By gathering these tools and materials and familiarizing yourself with the layout of your thermostat and HVAC system, you’ll be well-prepared to proceed with confidence as we delve into the step-by-step process of removing the cover of your Honeywell T6 Pro thermostat.
Step 1: Turn Off the Power
Prior to beginning any work on your thermostat, it’s crucial to ensure that the power supply to the device is completely shut off. This precautionary measure is essential for your safety and to prevent any potential damage to the thermostat or HVAC system. Here’s how to safely turn off the power:
- Locate the Circuit Breaker: Identify the circuit breaker in your electrical panel that controls the power supply to the thermostat. The circuit breaker may be labeled for easy identification, often as “HVAC,” “Furnace,” or “Thermostat.”
- Switch Off the Circuit Breaker: Carefully switch the circuit breaker associated with the thermostat to the “Off” position. Confirm that the power has been successfully cut off by testing the thermostat to ensure it no longer displays any illumination or responds to inputs.
- Verify the Power Is Off: As an additional safety measure, use a non-contact voltage tester to confirm that there is no electrical current present at the thermostat’s wiring terminals. This will provide peace of mind before proceeding with the cover removal.
By following these steps to deactivate the power supply to your thermostat, you can work confidently knowing that the risk of electrical shock or damage to the device is minimized. Always exercise caution when working with electrical components and ensure that the power remains off throughout the duration of the cover removal process.
Step 2: Remove the Thermostat from the Wall
With the power supply safely turned off, you can proceed to remove the Honeywell T6 Pro thermostat from the wall. This step involves detaching the thermostat from its mounting base to gain access to the wiring and the cover. Here’s how to do it:
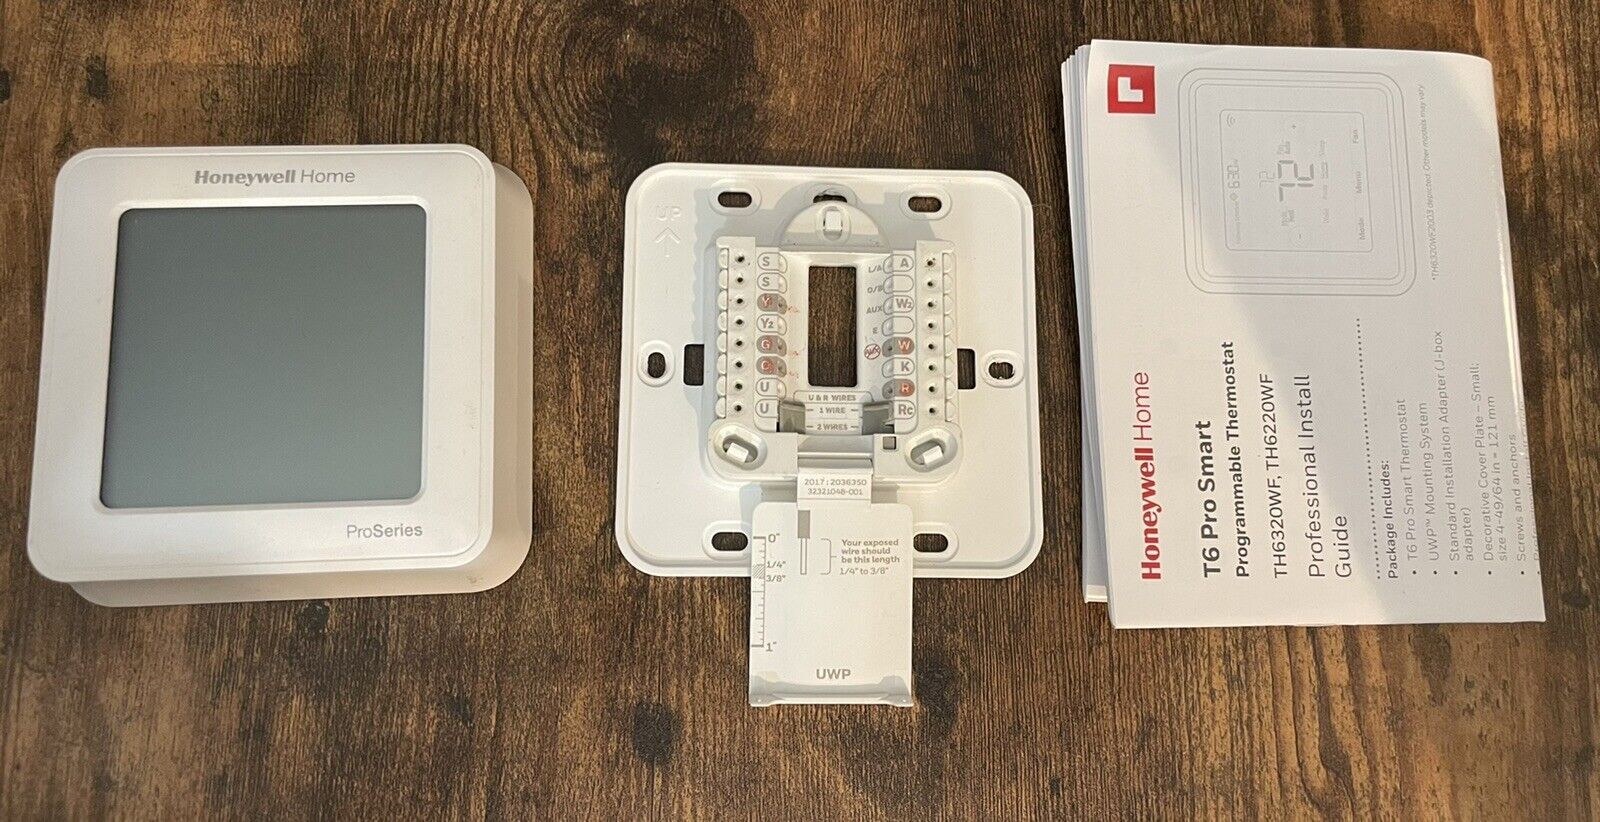
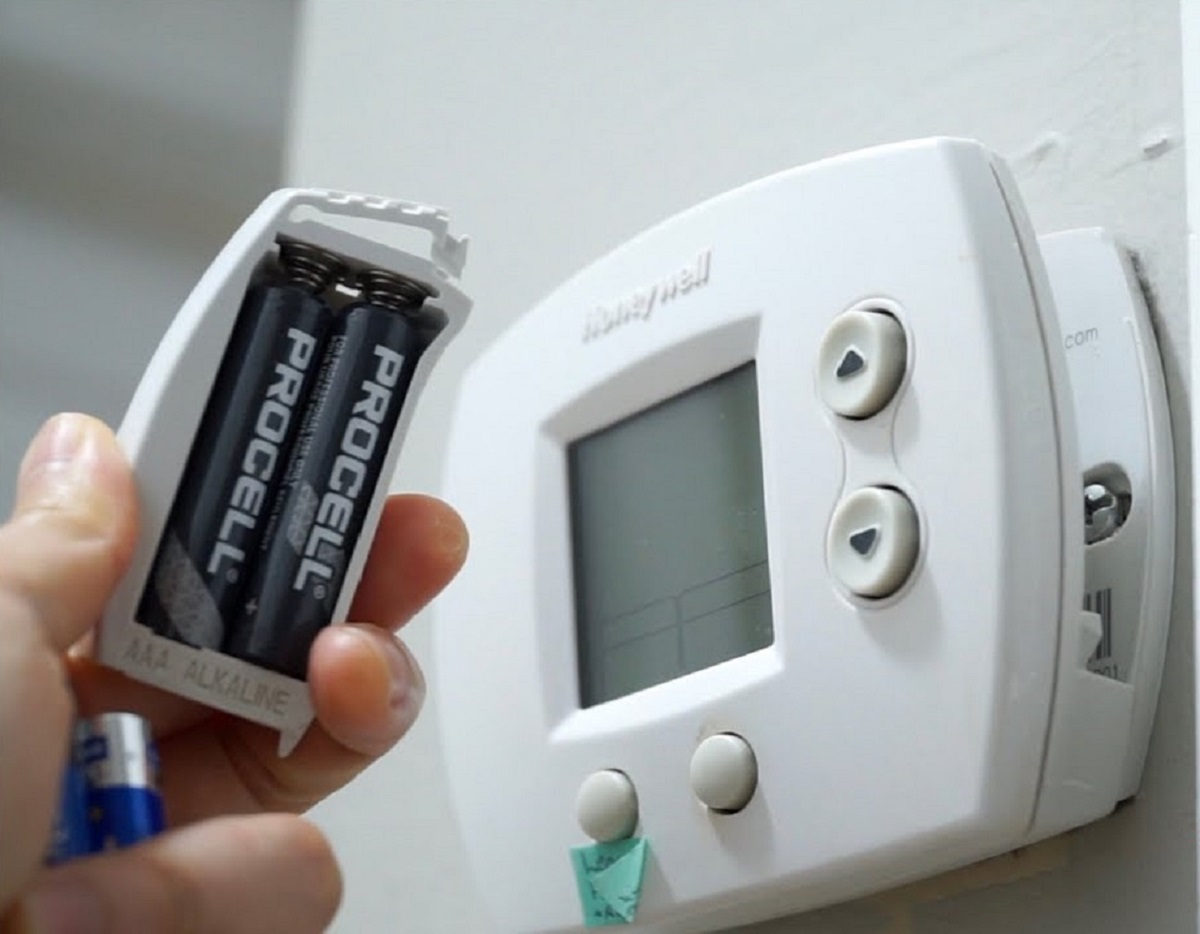
- Identify the Mounting Plate: The Honeywell T6 Pro thermostat is typically mounted on a rectangular plate that is secured to the wall. Locate the small tab or screw at the bottom of the thermostat where it meets the wall plate.
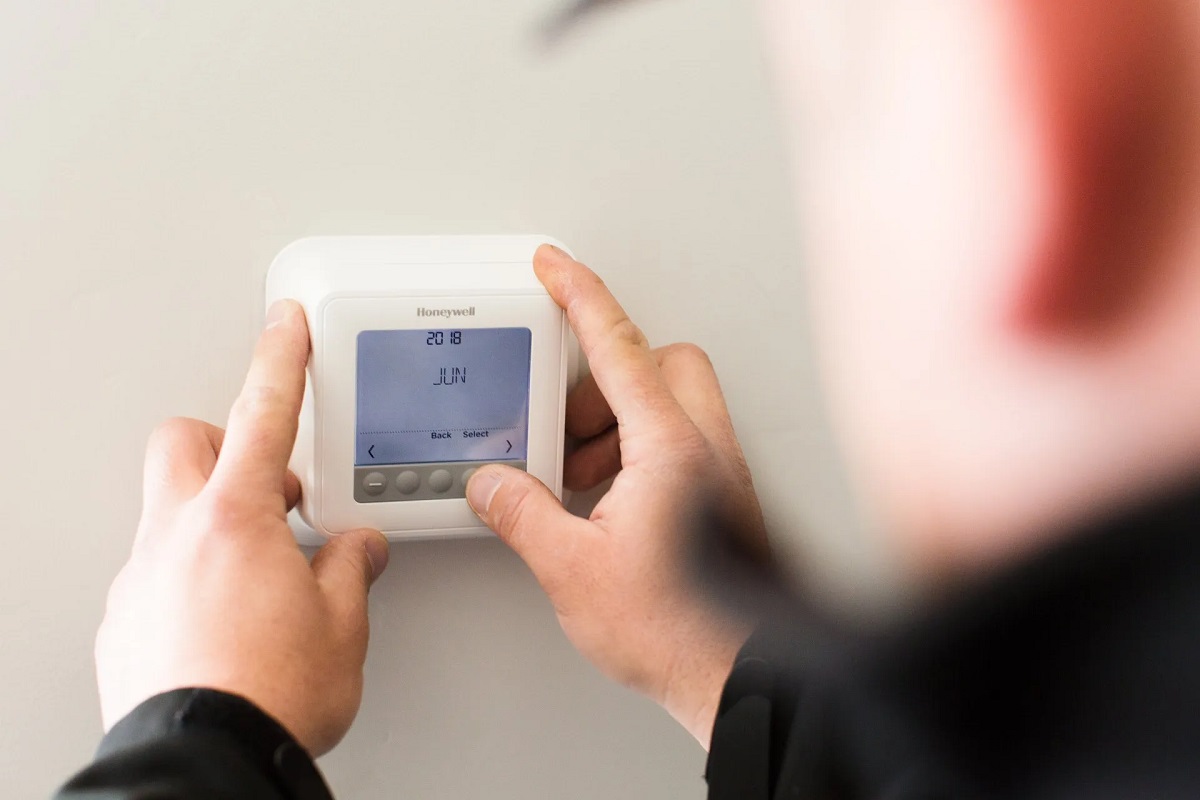
- Release the Thermostat: Depending on the model, you may need to gently press the tab or unscrew the fastener to release the thermostat from the wall plate. Carefully pull the thermostat away from the wall to expose the wiring and the base plate.
- Inspect the Wiring: Take a moment to observe the wiring terminals on the base plate. Note the placement and color of each wire, as you will need this information when reassembling the thermostat after the cover removal.
- Support the Thermostat: While the thermostat is disconnected from the wall, support it with one hand to prevent strain on the wiring and ensure that it remains secure during the cover removal process.
By following these steps, you can safely detach the Honeywell T6 Pro thermostat from the wall, allowing you to proceed with the next phase of removing the cover from the thermostat’s base.
To remove the Honeywell T6 Pro thermostat cover, gently pull the bottom of the cover away from the wall to release the clips, then lift the cover upwards to remove it.
Step 3: Detach the Cover from the Base
Now that the thermostat is removed from the wall and the wiring is accessible, the next step is to detach the cover from the base of the Honeywell T6 Pro thermostat. This process will provide access to the internal components and wiring for maintenance or troubleshooting. Here’s how to proceed:
- Identify the Latches or Fasteners: Examine the perimeter of the thermostat cover to locate the latches, tabs, or fasteners that secure it to the base. These may be positioned along the edges or at specific points on the cover.
- Release the Cover: Using gentle pressure, carefully disengage the latches or fasteners to release the cover from the base. Take care not to apply excessive force, as this could damage the cover or the base of the thermostat.
- Handle with Care: Once the cover is detached, set it aside in a safe location to prevent any accidental damage. Be mindful of any fragile components or wiring inside the cover, and avoid placing it in a high-traffic area to minimize the risk of damage.
- Inspect the Interior: With the cover removed, take a moment to inspect the interior of the thermostat. Check for any dust or debris that may have accumulated and gently clean the visible components if necessary. This is also a good opportunity to visually inspect the wiring for any signs of wear or damage.
By following these steps, you can safely detach the cover from the base of the Honeywell T6 Pro thermostat, gaining access to the internal components and wiring for maintenance or inspection. With the cover removed, you can proceed with any necessary maintenance tasks before reassembling the thermostat.
Read more: How To Unlock A T6 Pro Thermostat
Step 4: Reassemble the Thermostat
After completing any necessary maintenance or inspection tasks, it’s time to reassemble the Honeywell T6 Pro thermostat. This involves securely attaching the cover to the base and reconnecting the thermostat to the wall plate. Follow these steps to ensure a successful reassembly:
- Position the Cover: Align the cover with the base of the thermostat, ensuring that any latches, tabs, or fasteners are properly aligned for reattachment.
- Secure the Cover: Apply gentle pressure to the cover, engaging the latches or fasteners to secure it to the base. Take care to ensure that the cover is properly seated and aligned to prevent any gaps or misalignment.
- Reconnect the Thermostat: With the cover securely in place, carefully position the thermostat back onto the wall plate, aligning the mounting tabs or screws with the corresponding slots or holes on the plate.
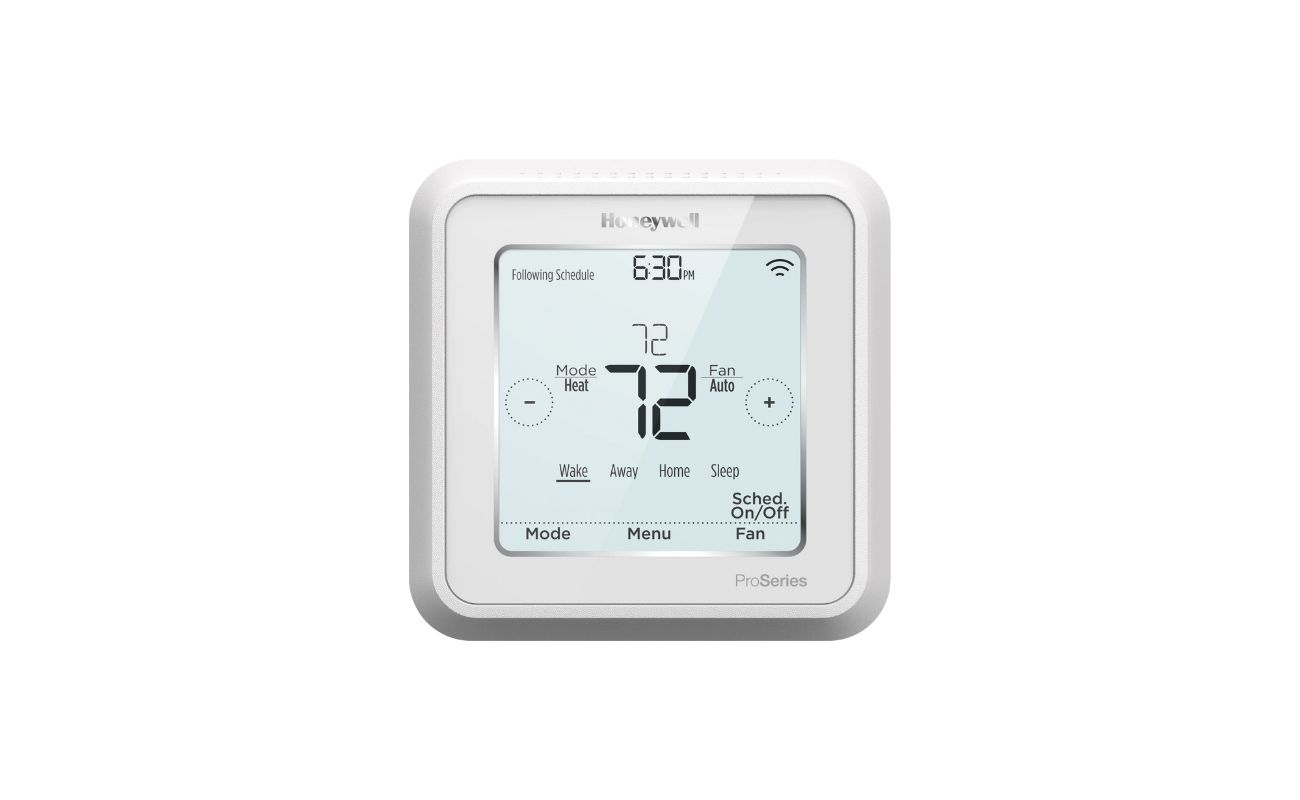
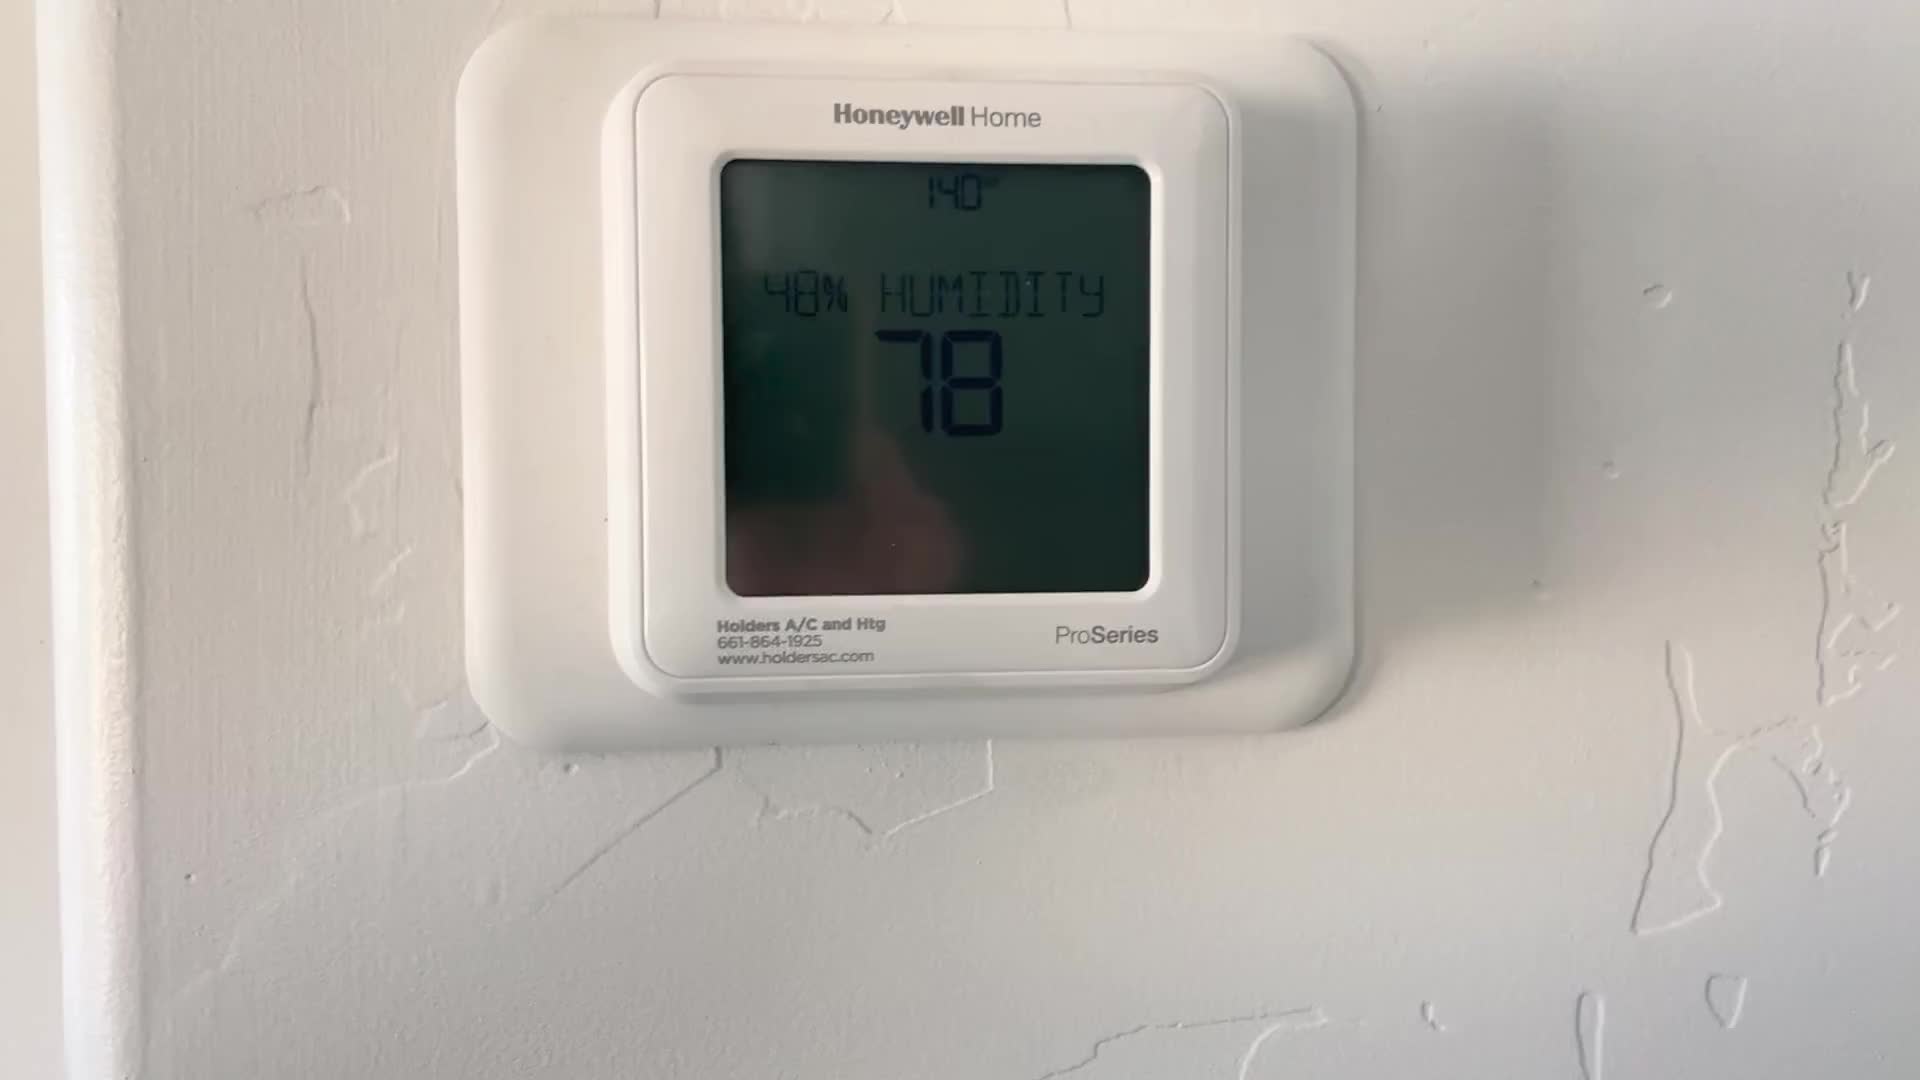
- Test the Thermostat: Once the thermostat is reconnected to the wall plate, restore power to the device by switching the circuit breaker back to the “On” position. Verify that the thermostat display illuminates and responds to inputs, indicating that it is functioning correctly.
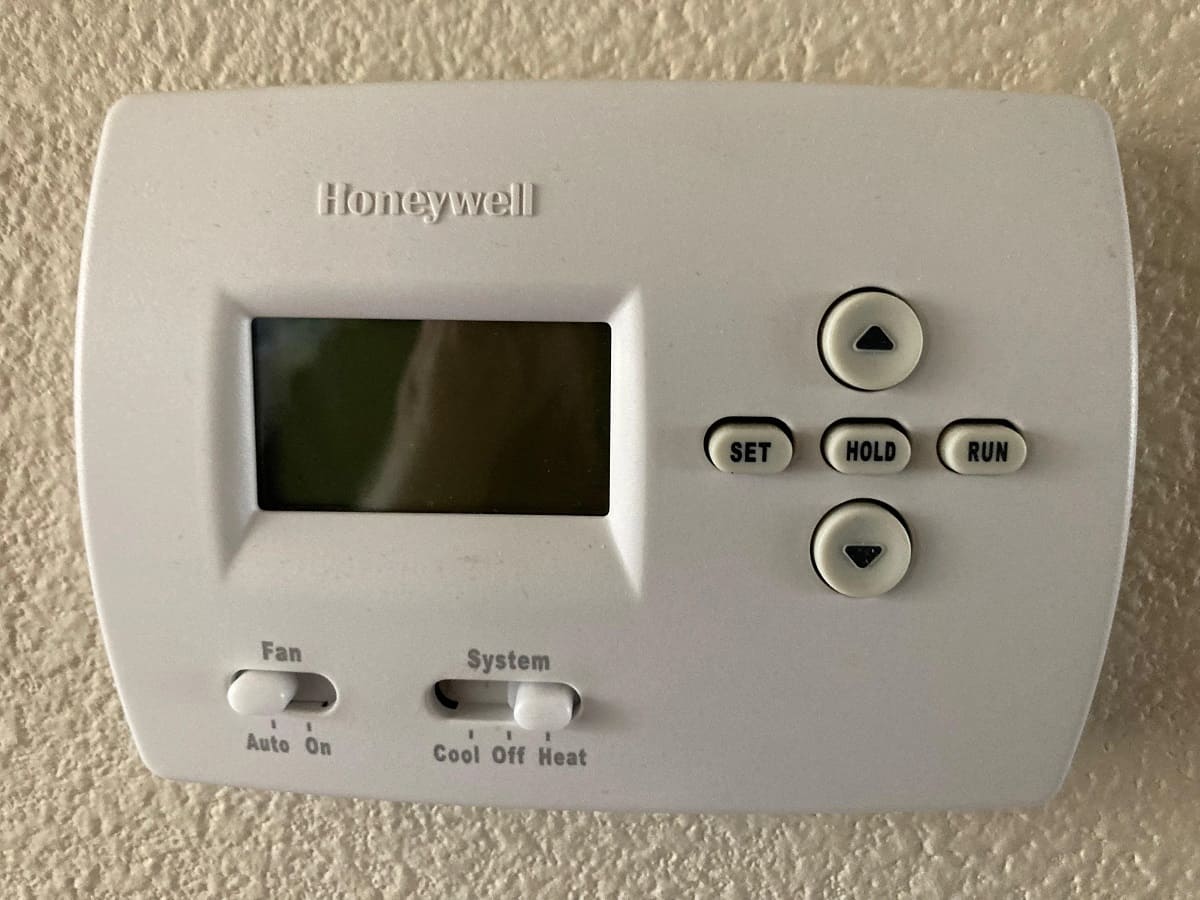
- Check the HVAC System: After reassembling the thermostat, test the heating and cooling functions of your HVAC system to ensure that it responds appropriately to temperature adjustments and commands from the thermostat.
By carefully following these steps, you can successfully reassemble the Honeywell T6 Pro thermostat, ensuring that the cover is securely attached to the base and the device is functioning as expected. With the thermostat reconnected and operational, you can enjoy the comfort and convenience it provides while knowing that you have the knowledge and skills to perform basic maintenance tasks when needed.
Conclusion
Congratulations! You have successfully learned how to remove the cover of a Honeywell T6 Pro thermostat. By following the step-by-step instructions provided in this guide, you have gained the knowledge and confidence to safely detach the thermostat from the wall, remove the cover, and perform basic maintenance tasks as needed. With the right tools, a cautious approach, and a clear understanding of the process, you can maintain and troubleshoot your thermostat with ease.
Remember, safety should always be a top priority when working with electrical devices. Before beginning any maintenance or removal tasks, ensure that the power supply to the thermostat is switched off at the circuit breaker to prevent the risk of electrical shock or damage. Additionally, take care to handle the thermostat and its components with gentleness and precision to avoid any accidental damage during the removal and reassembly process.
By familiarizing yourself with the layout of your thermostat, understanding the wiring connections, and following the guidelines outlined in this guide, you are well-equipped to tackle future maintenance tasks and confidently navigate the inner workings of your Honeywell T6 Pro thermostat. Whether it’s cleaning the internal components, inspecting the wiring, or performing routine checks, you now have the skills to maintain your thermostat in optimal condition.
As you reassemble the thermostat and restore power to the device, take pride in your newfound knowledge and ability to care for your home’s HVAC system. With your thermostat securely reattached to the wall and functioning as expected, you can enjoy a comfortable and energy-efficient home environment, knowing that you have the expertise to address any future maintenance needs that may arise.
Thank you for joining us on this journey to learn how to remove the cover of a Honeywell T6 Pro thermostat. We hope this guide has empowered you to confidently maintain and care for your thermostat, enhancing the comfort and functionality of your home.
Now that you've mastered removing the cover of your Honeywell T6 Pro thermostat, why not step up your home tech game? Our detailed guide on the latest in home automation gives you all the info you need for a smarter, more efficient living space. From voice-activated devices to energy-saving systems, get ready to transform your home into a haven of convenience and innovation.
Frequently Asked Questions about How To Remove Honeywell T6 Pro Thermostat Cover
Was this page helpful?
At Storables.com, we guarantee accurate and reliable information. Our content, validated by Expert Board Contributors, is crafted following stringent Editorial Policies. We're committed to providing you with well-researched, expert-backed insights for all your informational needs.


0 thoughts on “How To Remove Honeywell T6 Pro Thermostat Cover”