Home>Home Appliances>Home Automation Appliances>How To Replace Hot Water Tank Thermostat
Home Automation Appliances
How To Replace Hot Water Tank Thermostat
Modified: August 26, 2024
Learn how to replace a hot water tank thermostat for efficient home automation appliances. Follow our step-by-step guide for a hassle-free process.
(Many of the links in this article redirect to a specific reviewed product. Your purchase of these products through affiliate links helps to generate commission for Storables.com, at no extra cost. Learn more)
Introduction
Replacing a hot water tank thermostat is a common task for homeowners seeking to restore their water heater's optimal functionality. The thermostat plays a crucial role in regulating the water temperature, ensuring that you have a steady supply of hot water for various household needs. Over time, thermostats can malfunction, leading to issues such as insufficient hot water or water that is excessively hot. Fortunately, with the right tools, materials, and a systematic approach, you can replace the thermostat and restore your hot water tank to its full potential.
In this comprehensive guide, we will walk you through the step-by-step process of replacing a hot water tank thermostat, empowering you to tackle this task with confidence. It's important to note that while this DIY project can help you save on repair costs, it's essential to prioritize safety throughout the process. We'll start by highlighting crucial safety precautions to ensure a secure working environment. Additionally, we will outline the tools and materials you'll need to have on hand before embarking on the thermostat replacement.
Whether you're a seasoned DIY enthusiast or a homeowner looking to expand your home maintenance skills, this guide will equip you with the knowledge and insights necessary to effectively replace your hot water tank thermostat. By following these instructions and exercising caution, you can successfully address thermostat-related issues and enjoy the consistent, reliable hot water supply that is essential for everyday comfort and convenience. Let's dive into the process of replacing your hot water tank thermostat, ensuring that you can confidently navigate each step to achieve a fully functional and efficient water heating system.
Key Takeaways:
- Safety First
Before replacing a hot water tank thermostat, always prioritize safety by turning off the power and water supply, wearing protective gear, and ensuring a stable working platform. Safety precautions create a secure environment for the replacement process. - Precision and Testing
Replacing a thermostat requires precision in wiring and installation. Thoroughly testing the new thermostat ensures it regulates water temperature accurately, contributing to the efficient operation of the water heater.
Safety Precautions
Prior to initiating any work on your hot water tank thermostat, it is paramount to prioritize safety to prevent accidents and ensure a secure working environment. Here are essential safety precautions to adhere to:
- Turn off Power: Before starting the thermostat replacement process, switch off the power supply to the water heater at the breaker panel. This step is crucial to avoid the risk of electrical shocks while working on the thermostat.
- Turn off Water Supply: Locate the shut-off valve for the cold water supply to the hot water tank and turn it off. This will prevent water from entering the tank during the replacement process, minimizing the risk of leaks and water-related accidents.
- Allow Cooling Time: If the water heater has been in use, allow sufficient time for the water to cool down before proceeding with the thermostat replacement. Hot water can cause burns, so exercising caution is vital.
- Protective Gear: Wear appropriate protective gear, including gloves and safety goggles, to shield your hands and eyes from potential hazards during the replacement process.
- Stable Working Platform: Ensure that the area around the water heater is clear and that the heater itself is stable and secure. Working on an unstable or wobbly surface can lead to accidents and injuries.
- Follow Manufacturer Guidelines: Refer to the water heater’s manual for specific safety instructions and precautions provided by the manufacturer. Adhering to these guidelines can help prevent mishaps and ensure a smooth replacement process.
By adhering to these safety precautions, you can create a secure working environment and minimize the risk of accidents or injuries while replacing the hot water tank thermostat. Prioritizing safety not only protects you and those around you but also contributes to a successful and efficient thermostat replacement process.
Tools and Materials Needed
Before embarking on the replacement of your hot water tank thermostat, it’s essential to gather the necessary tools and materials to ensure a smooth and efficient process. Here’s a comprehensive list of the items you’ll need:
Tools:
- Screwdriver Set: A set of screwdrivers, including both flathead and Phillips head screwdrivers, will be essential for removing the panels and accessing the thermostat.
- Adjustable Wrench: An adjustable wrench will be required for loosening and tightening nuts and bolts during the replacement process.
- Electrical Tester: To ensure that the power supply to the water heater is completely switched off, an electrical tester will help verify that no electricity is flowing to the thermostat.
- Flashlight: A flashlight will aid in illuminating the area around the water heater, especially if the thermostat is located in a dimly lit space.
- Multimeter: This tool will be useful for testing the electrical connections and ensuring that the new thermostat is functioning correctly after installation.
Materials:
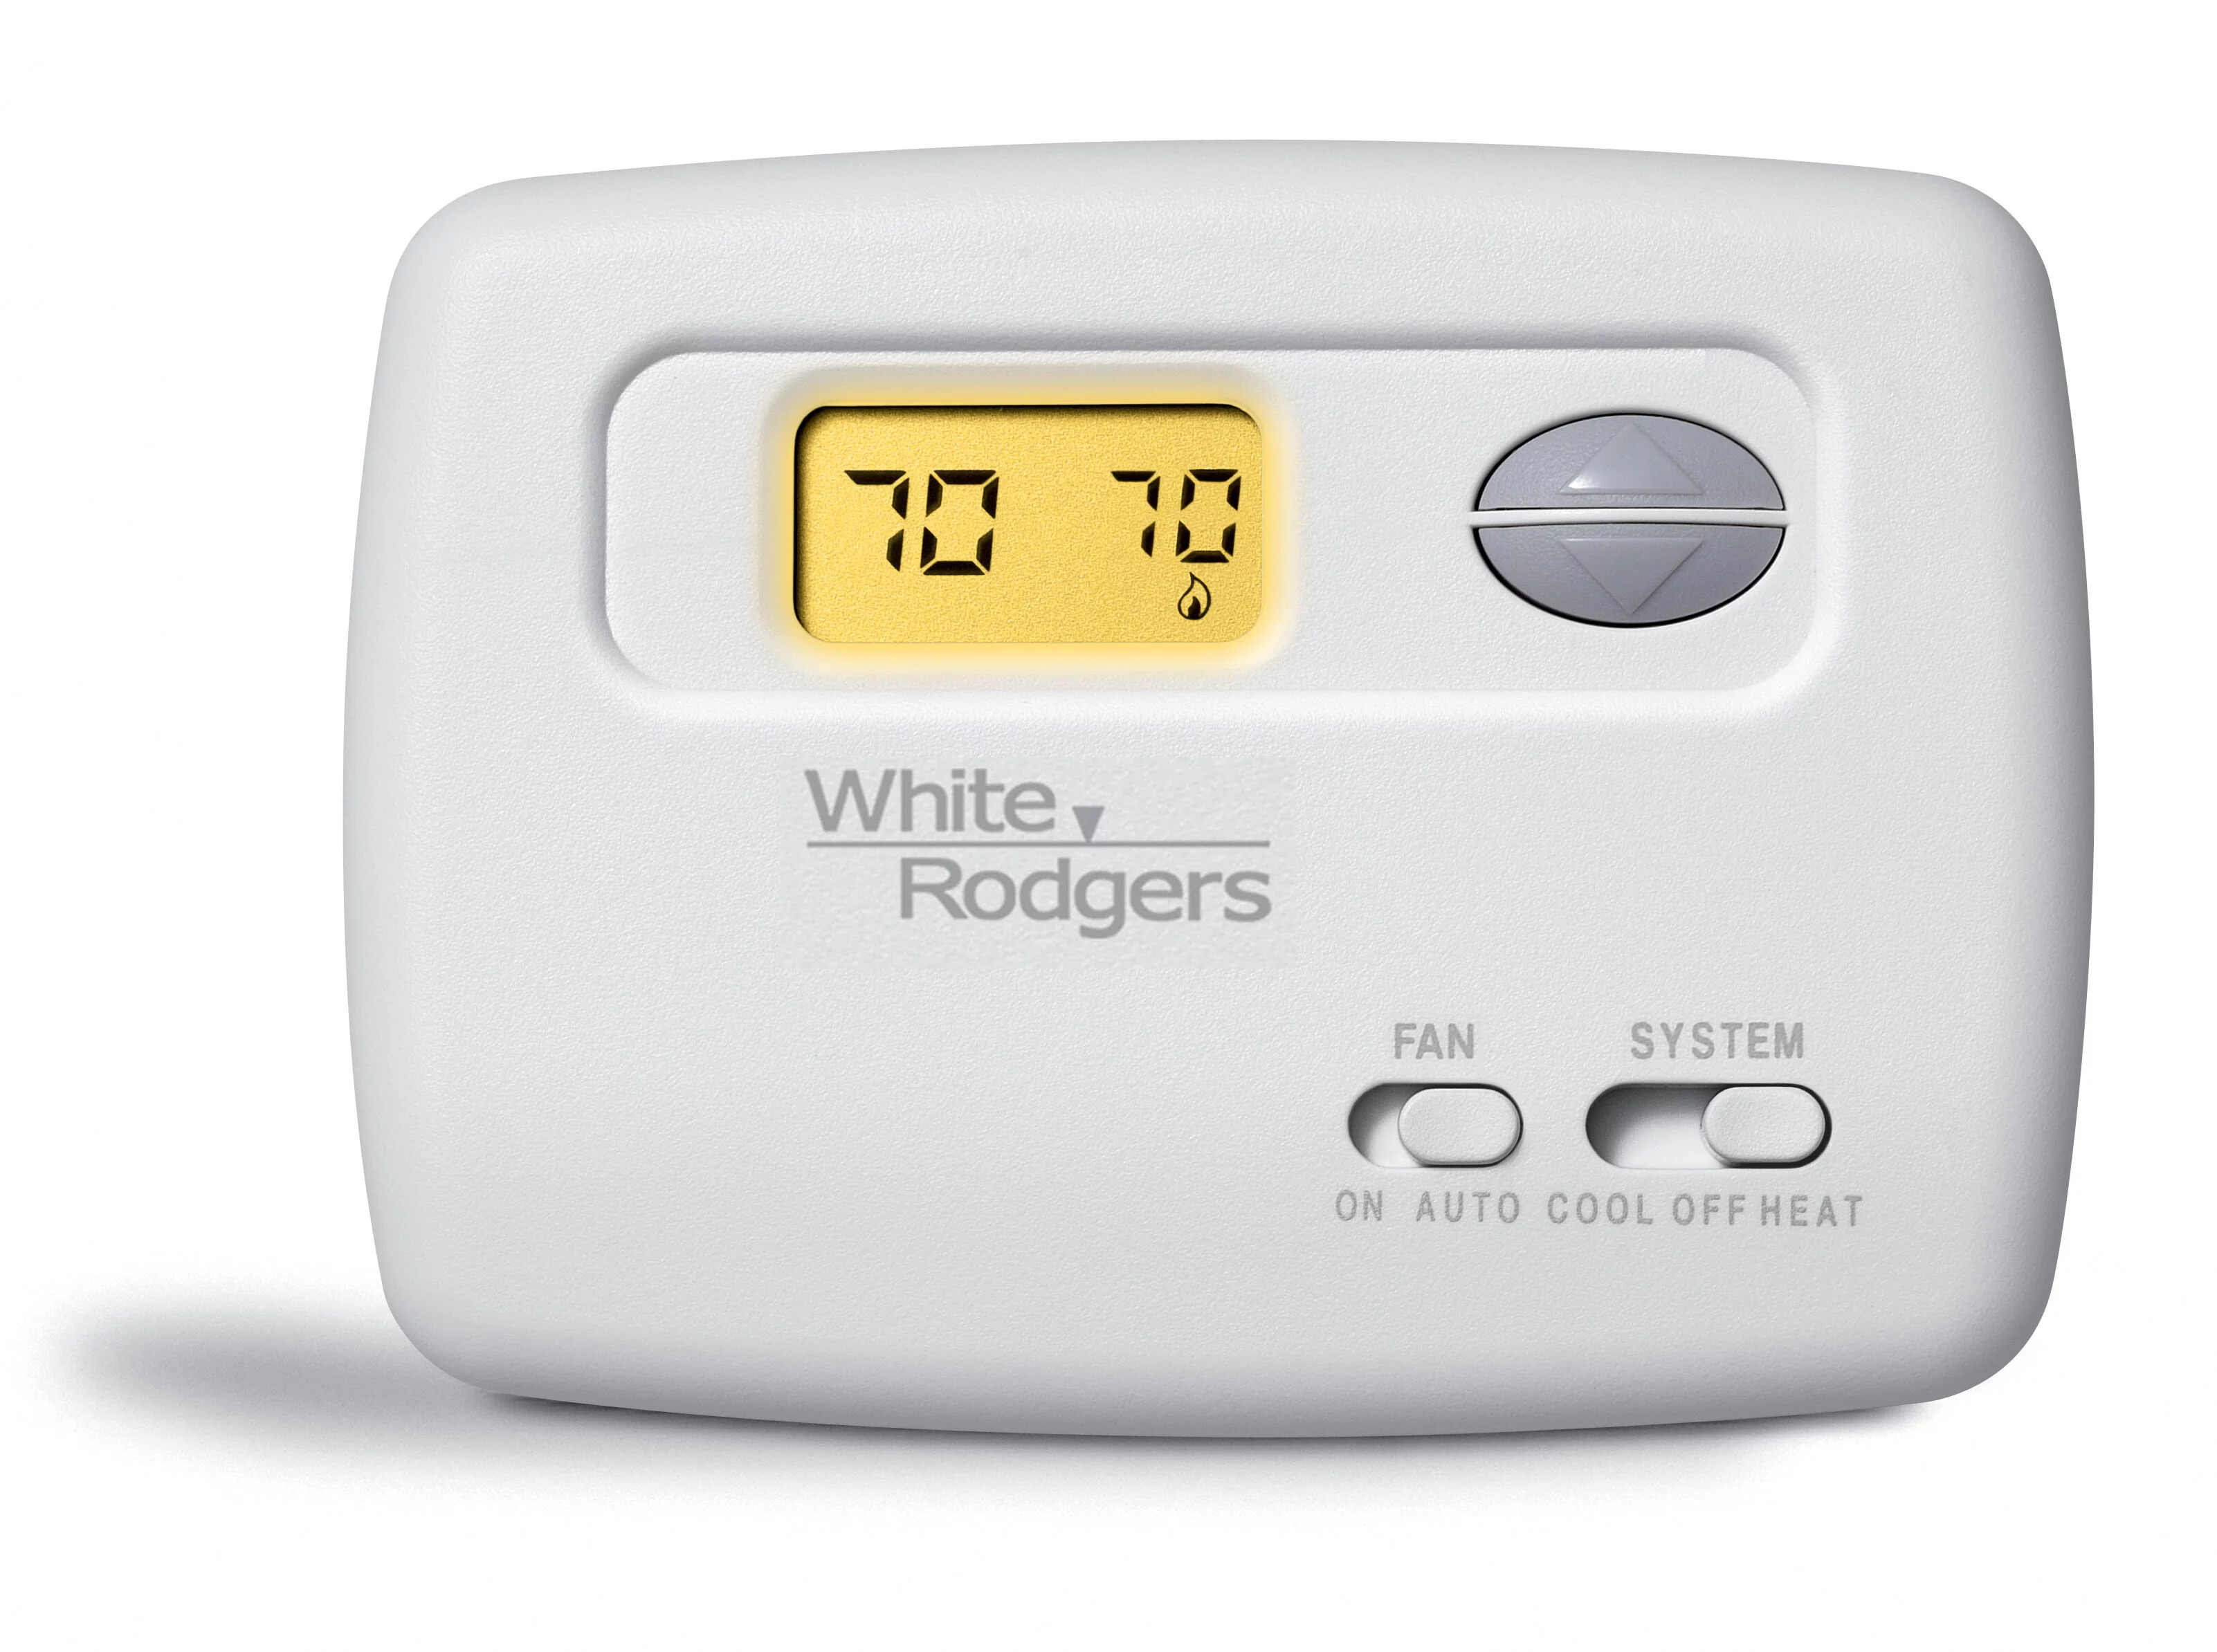
- New Thermostat: Acquire a compatible replacement thermostat for your specific hot water tank model. Ensure that the new thermostat matches the voltage and is designed for use with your type of water heater.
- Teflon Tape: Teflon tape will be needed to seal the threads when reconnecting any plumbing components during the thermostat replacement.
- Replacement Panels (if applicable): Depending on the design of your water heater, you may require replacement panels or covers to secure the thermostat compartment after the replacement.
- Cleaning Cloth: A clean cloth or rag will be useful for wiping any dust or debris from the thermostat compartment before installing the new thermostat.
By ensuring that you have the necessary tools and materials on hand, you can streamline the thermostat replacement process and address any unforeseen challenges that may arise during the procedure. With these items at your disposal, you’ll be well-prepared to embark on the task of replacing your hot water tank thermostat with confidence and efficiency.
Read more: How To Replace Toilet Tank Seal
Turn Off Power and Water Supply
Before initiating the replacement of your hot water tank thermostat, it is crucial to turn off the power supply and water source to the water heater to ensure a safe working environment. Follow these steps to safely deactivate the power and water supply:
Turning Off the Power:
Locate the circuit breaker or fuse that controls the power supply to the water heater in your electrical panel. Switch off the corresponding breaker or remove the fuse to cut off the electricity to the water heater. It’s essential to verify that the power is completely turned off before proceeding with the thermostat replacement. To ensure that no electricity is flowing to the water heater, use an electrical tester to check for the presence of current. This step is critical for preventing the risk of electrical shocks while working on the thermostat.
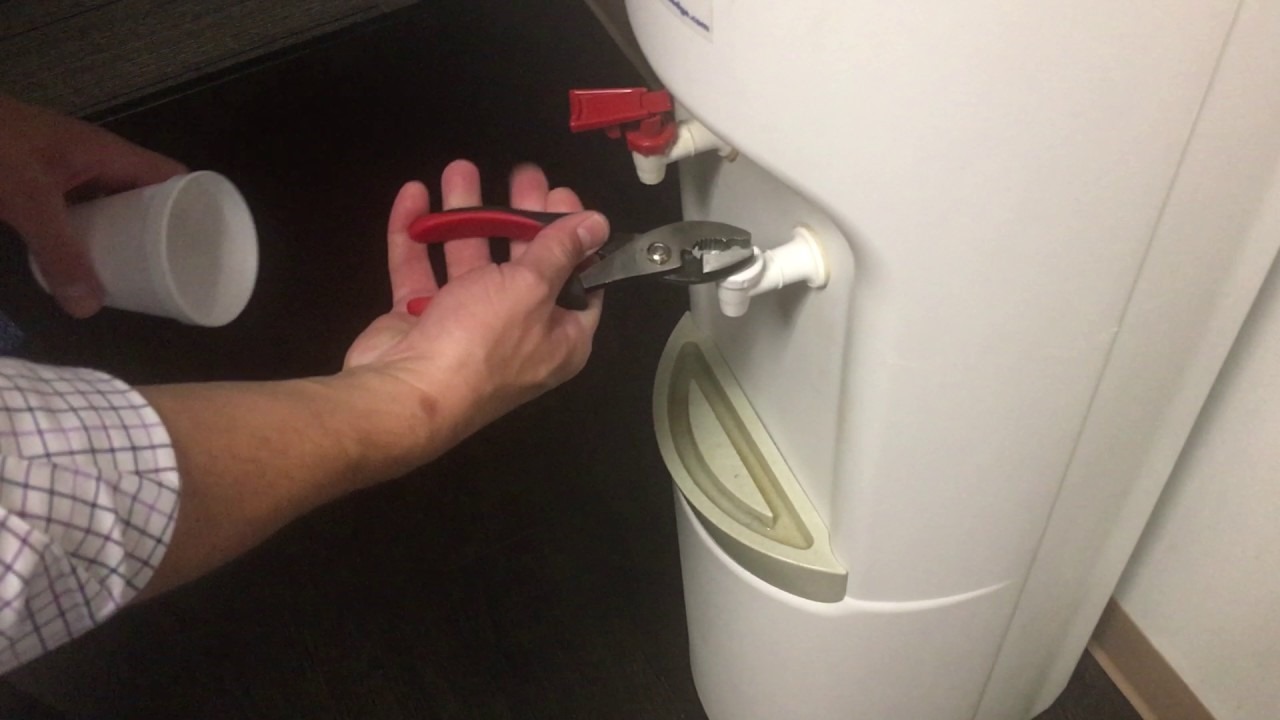
Turning Off the Water Supply:
Locate the shut-off valve for the cold water supply that feeds into the hot water tank. Turn the valve clockwise to shut off the water supply to the tank. This action will prevent water from entering the tank while you replace the thermostat, minimizing the risk of leaks and ensuring a dry working environment. It’s advisable to open a hot water tap in your home to relieve any pressure in the water heater and verify that the water supply has been effectively shut off.
By diligently turning off the power and water supply to your hot water tank, you create a safe and controlled environment for replacing the thermostat. These crucial preparatory steps lay the foundation for a smooth and secure thermostat replacement process, prioritizing your safety and the successful completion of the task at hand.
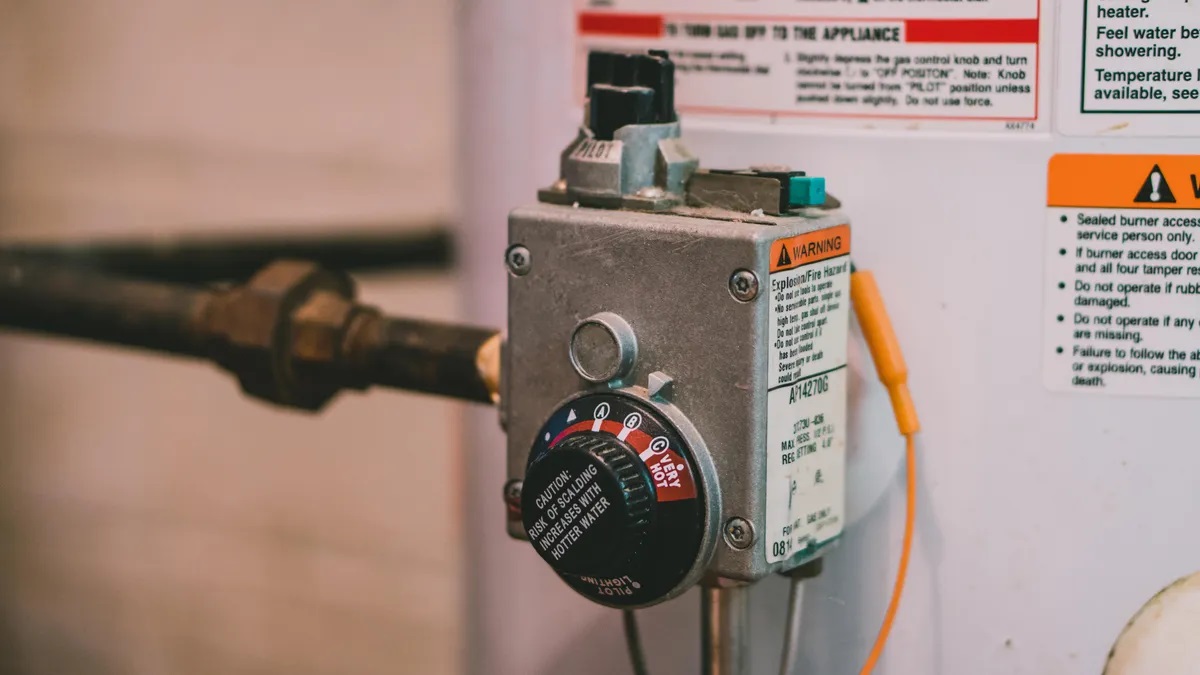
Access the Thermostat
Once you have safely deactivated the power and water supply to the hot water tank, the next step is to access the thermostat compartment. Follow these steps to gain access to the thermostat:
Read more: When To Replace A Thermostat
Locate the Thermostat Compartment:
Depending on the design of your water heater, the thermostat compartment may be located behind an access panel or cover. Identify the specific panels or covers that need to be removed to access the thermostat. In some cases, the upper and lower heating elements may also need to be removed to reach the thermostat compartment. Refer to your water heater’s manual for detailed instructions on accessing the thermostat.
Remove Access Panels or Covers:
Using the appropriate screwdriver, carefully remove the screws securing the access panels or covers to the water heater. Place the screws in a safe location to prevent misplacement. Once the screws are removed, gently take off the panels or covers to reveal the thermostat and its wiring within the compartment. Exercise caution to avoid damaging any components or wiring during this process.
Inspect the Thermostat Compartment:
Upon accessing the thermostat compartment, take a moment to inspect the area for any signs of damage, corrosion, or loose connections. Additionally, check for any debris or dust that may have accumulated within the compartment. Use a flashlight to ensure clear visibility as you prepare to remove the old thermostat and install the new one.
By successfully accessing the thermostat compartment, you have taken a crucial step toward replacing the thermostat in your hot water tank. This careful and methodical approach sets the stage for the subsequent steps in the replacement process, ensuring that you can proceed with confidence and precision as you work to restore your water heater’s functionality.
Remove the Old Thermostat
With the thermostat compartment accessible, the next phase involves removing the old thermostat from your hot water tank. Follow these steps to safely and effectively remove the old thermostat:
Read more: How To Make A Stock Tank Hot Tub
Identify the Wiring and Terminals:
Before disconnecting the old thermostat, take note of the wiring configuration and the terminals to which the wires are attached. It’s essential to ensure that you can replicate the wiring setup when installing the new thermostat. Consider taking a photograph or making a diagram to document the wiring arrangement for reference during the installation of the replacement thermostat.
Disconnect the Wiring:
Using caution, carefully disconnect the wires from the terminals on the old thermostat. Depending on the type of thermostat, the wires may be secured by screws or clips. Loosen the screws or release the clips to detach the wires. Handle the wires gently to avoid damaging them or causing any unintended disconnections elsewhere in the water heater’s electrical system.
Remove the Old Thermostat:
Once the wiring is disconnected, remove the old thermostat from its mounting bracket or housing within the thermostat compartment. Depending on the model, the thermostat may be secured by screws or other fastening mechanisms. Use the appropriate tools to carefully detach the thermostat from its position, ensuring that any associated gaskets or seals are also removed as needed.
Inspect the Old Thermostat:
After removing the old thermostat, take a moment to inspect it for any visible signs of damage, wear, or malfunction. Check the terminals, wiring connections, and the overall condition of the thermostat. This inspection can provide insights into the potential causes of the previous thermostat’s failure and help you make informed decisions during the installation of the replacement unit.
By successfully removing the old thermostat, you have completed a crucial phase in the process of replacing the thermostat in your hot water tank. This meticulous approach sets the stage for the subsequent installation of the new thermostat, ensuring that you can proceed with confidence and precision as you work to restore your water heater’s optimal performance.
Read more: What Is An Expansion Tank On A Water Heater
Install the New Thermostat
With the old thermostat removed, it’s time to proceed with the installation of the new thermostat in your hot water tank. Follow these steps to ensure a seamless and effective installation process:
Prepare the Mounting Area:
Before installing the new thermostat, ensure that the mounting area within the thermostat compartment is clean and free of any debris or residue. Wipe the mounting surface with a clean cloth to ensure a smooth and secure placement for the new thermostat. Additionally, inspect the gaskets or seals that will create a watertight seal when the new thermostat is installed.
Position the New Thermostat:
Place the new thermostat in the designated mounting position within the thermostat compartment. Align the thermostat with the mounting bracket or housing, ensuring that it sits securely in place. If the thermostat utilizes a gasket or seal, ensure that it is properly positioned to create a watertight seal when the thermostat is secured in place.
Connect the Wiring:
Refer to the documentation or diagram you prepared when removing the old thermostat to guide the reconnection of the wiring to the new thermostat. Carefully attach each wire to the corresponding terminal on the new thermostat, ensuring a secure connection. Tighten any screws or fasteners to firmly secure the wires in place, preventing any loose connections that could affect the thermostat’s functionality.
Read more: How To Install Water Pump With Pressure Tank
Secure the New Thermostat:
Once the wiring is connected, secure the new thermostat in place using the appropriate fasteners or mounting mechanisms. Ensure that the thermostat is firmly attached to the mounting bracket or housing, providing stability and proper alignment within the thermostat compartment. Verify that any associated gaskets or seals are properly positioned to create a watertight seal.
Verify Proper Alignment:
Before proceeding to reassemble the hot water tank, double-check the alignment and positioning of the new thermostat. Confirm that the wiring connections are secure and that the thermostat is firmly and correctly mounted within the compartment. This verification step ensures that the new thermostat is ready to regulate the water temperature effectively.
By successfully installing the new thermostat, you have reached a pivotal milestone in the process of replacing the thermostat in your hot water tank. This meticulous and systematic approach sets the stage for the subsequent reassembly of the water heater, marking significant progress toward restoring its optimal functionality and performance.
Reassemble the Hot Water Tank
After successfully installing the new thermostat, the next phase involves reassembling the components of your hot water tank to prepare it for operation. Follow these steps to ensure a seamless and effective reassembly process:
Replace Access Panels or Covers:
Begin by reattaching any access panels or covers that were removed to access the thermostat compartment. Align the panels or covers with their respective positions on the water heater and secure them in place using the appropriate screws or fasteners. Ensure that the panels fit snugly to maintain the integrity of the thermostat compartment.
Reinstall Heating Elements (if applicable):
If the removal of the old thermostat necessitated the disconnection of heating elements, carefully reinstall them in their designated locations within the water heater. Secure the heating elements according to the manufacturer’s specifications, ensuring that they are properly aligned and firmly attached to facilitate efficient water heating.
Secure Any Additional Components:
Check for any additional components, such as insulation or protective shields, that were temporarily removed during the thermostat replacement process. Reinstall these components to ensure that the water heater is fully equipped to operate safely and efficiently.
Check for Secure Connections:
Before proceeding, verify that all connections, including wiring, heating elements, and any other components, are securely fastened and properly aligned. This verification step is crucial for ensuring that the water heater’s components are in optimal working condition and that the thermostat replacement has been seamlessly integrated into the system.
Clean the Surrounding Area:
Take a moment to clean the area around the water heater, removing any debris, dust, or tools that may have accumulated during the replacement process. A clean and organized workspace contributes to a safe and efficient operation of the water heater.
By diligently reassembling the components of your hot water tank, you have completed a significant phase in the process of replacing the thermostat. This careful and methodical approach sets the stage for the subsequent steps in preparing the water heater for the restoration of its optimal functionality, ensuring that you can proceed with confidence and precision as you work to bring the system back online.
Turn On Power and Water Supply
With the thermostat replaced and the hot water tank reassembled, the next crucial step is to restore the power and water supply to the water heater. Follow these steps to safely reactivate the power and water supply:
Turn On the Power:
Return to the electrical panel and locate the breaker or fuse that controls the power supply to the water heater. Switch the corresponding breaker back to the “on” position or reinstall the fuse to restore the electricity to the water heater. It’s essential to verify that the power is successfully restored to the water heater, ensuring that it can function properly.
Turn On the Water Supply:
Locate the shut-off valve for the cold water supply that feeds into the hot water tank. Turn the valve counterclockwise to reopen the water supply to the tank. This action allows water to flow into the tank, replenishing the supply and preparing the water heater for operation. Once the water supply is restored, monitor the tank for any signs of leaks or irregularities.
Allow Time for Heating:
After restoring the power and water supply, allow the water heater sufficient time to heat the water to the desired temperature. This period may vary depending on the capacity of the tank and the initial temperature of the water. Monitor the water heater to ensure that it is functioning as expected and that the new thermostat is regulating the water temperature effectively.
Read more: How To Replace Hot Tub Pump
Check for Proper Operation:
Once the water heater has had time to heat the water, verify that it is producing hot water at the expected temperature. Test hot water faucets or fixtures in your home to ensure that the water is consistently heated to the desired level. This step confirms that the new thermostat is functioning correctly and that the water heater is operating as intended.
By safely turning on the power and water supply to the water heater, you have completed a pivotal phase in the process of replacing the thermostat. This careful and methodical approach sets the stage for the final step of testing the new thermostat, ensuring that you can proceed with confidence and precision as you work to bring the water heater back online and restore its optimal functionality.
Testing the New Thermostat
After restoring the power and water supply to the water heater, it’s essential to conduct thorough testing to ensure that the new thermostat is functioning as intended. Follow these steps to effectively test the new thermostat and verify its performance:
Monitor Water Temperature:
Observe the water heater’s operation over the next several hours, paying close attention to the temperature of the hot water produced. Use a thermometer to measure the water temperature at hot water fixtures in your home to ensure that it aligns with the thermostat’s set temperature. This monitoring period allows you to assess the thermostat’s ability to regulate the water temperature accurately.
Adjust Thermostat Settings (if applicable):
If your new thermostat allows for temperature adjustments, consider testing its functionality by making minor adjustments to the set temperature. Observe how the water heater responds to these changes and ensure that the adjusted temperature is reflected in the hot water supply. This step is crucial for evaluating the thermostat’s responsiveness and precision in maintaining the desired water temperature.
Read more: How Hot Is Water From Water Dispenser
Check for Consistent Hot Water Supply:
Test various hot water fixtures in your home to confirm that the water heater consistently delivers hot water at the expected temperature. Verify that the hot water supply remains steady and reliable, indicating that the new thermostat is effectively regulating the water temperature throughout the system. This comprehensive check ensures that the thermostat is seamlessly integrated into the water heater’s operation.
Verify Proper Cycling:
Observe the water heater’s cycling pattern, noting how it heats water and maintains the set temperature. The cycling process should align with the water demand in your household, with the thermostat activating the heating elements as needed to ensure a continuous supply of hot water. This verification step confirms that the thermostat’s cycling behavior is in line with the water heater’s operational requirements.
Document and Address Any Issues:
Record the results of your testing and make note of any irregularities or concerns related to the new thermostat’s performance. If you encounter any issues during testing, such as inconsistent water temperature or unusual cycling behavior, consider consulting the thermostat’s manual or seeking professional assistance to address these issues promptly.
By thoroughly testing the new thermostat, you can gain confidence in its functionality and ensure that it is effectively regulating the water temperature within your hot water tank. This meticulous approach allows you to verify the thermostat’s performance and make any necessary adjustments to optimize its operation, ultimately contributing to the restoration of your water heater’s optimal functionality.
Conclusion
Replacing a hot water tank thermostat is a valuable skill that empowers homeowners to maintain and restore the efficient operation of their water heating systems. By following the comprehensive steps outlined in this guide, you have successfully navigated the process of replacing the thermostat in your hot water tank, prioritizing safety, precision, and thorough testing to ensure optimal performance.
Throughout this journey, you demonstrated a commitment to safety by diligently deactivating the power and water supply to the water heater, creating a secure working environment for the thermostat replacement. The careful removal of the old thermostat and the meticulous installation of the new unit reflect your dedication to precision and attention to detail, essential qualities for successful DIY projects.
As you reassembled the hot water tank and restored the power and water supply, you exhibited a methodical approach, ensuring that each component was securely in place and that the water heater was ready to resume its essential function. The comprehensive testing of the new thermostat further underscored your commitment to achieving optimal performance and reliability, confirming that the water heater can consistently deliver hot water at the desired temperature.
By embracing this DIY endeavor, you have not only enhanced your home maintenance skills but also gained a deeper understanding of the critical role that the thermostat plays in maintaining a reliable hot water supply. Your dedication to completing this task with precision and care reflects your commitment to the comfort and functionality of your home.
As you reflect on this experience, remember that the successful replacement of a hot water tank thermostat is a testament to your ability to tackle essential home maintenance tasks with confidence and proficiency. By prioritizing safety, precision, and thorough testing, you have contributed to the efficient operation of your water heating system, ensuring a consistent supply of hot water for your household’s needs.
As you celebrate the successful completion of this project, take pride in your accomplishment and the valuable skills you have acquired. Whether it’s addressing maintenance tasks or embracing new DIY projects, your dedication to creating a safe, functional, and comfortable home environment is a testament to your resourcefulness and commitment to excellence.
Frequently Asked Questions about How To Replace Hot Water Tank Thermostat
Was this page helpful?
At Storables.com, we guarantee accurate and reliable information. Our content, validated by Expert Board Contributors, is crafted following stringent Editorial Policies. We're committed to providing you with well-researched, expert-backed insights for all your informational needs.
0 thoughts on “How To Replace Hot Water Tank Thermostat”