Home>Home Appliances>Home Automation Appliances>How To Set Lights On A Timer With Alexa

Home Automation Appliances
How To Set Lights On A Timer With Alexa
Published: December 31, 2023
Learn how to easily set your lights on a timer with Alexa for convenient home automation. Control your home automation appliances effortlessly. Discover step-by-step instructions.
(Many of the links in this article redirect to a specific reviewed product. Your purchase of these products through affiliate links helps to generate commission for Storables.com, at no extra cost. Learn more)
Introduction
Welcome to the future of home automation! With the advancement of technology, setting lights on a timer with Alexa has become a seamless and convenient process. Gone are the days of manually flipping switches or adjusting dimmers; now, you can effortlessly program your smart lights to turn on and off at specific times, all with the power of your voice and the intelligence of Alexa.
In this comprehensive guide, we will walk you through the step-by-step process of setting up your smart lights, connecting them to Alexa, and creating a custom routine to automate your lighting. Whether you're looking to enhance the ambiance of your living space, improve energy efficiency, or simply add a touch of modernity to your home, this tutorial will equip you with the knowledge and skills to achieve your goal.
By the end of this article, you will have a clear understanding of how to integrate your smart lights with Alexa, allowing you to enjoy the convenience and comfort of automated lighting. So, let's embark on this journey into the world of smart home technology and discover how you can effortlessly set lights on a timer with Alexa.
Key Takeaways:
- Set your smart lights on a timer with Alexa for hands-free control and personalized lighting experiences, creating the perfect ambiance for any occasion.
- Seamlessly integrate your smart lights with Alexa to enjoy the convenience and comfort of automated lighting, enhancing your living space with modern technology.
Read more: How To Set Porch Light Timer
Setting up the Smart Lights
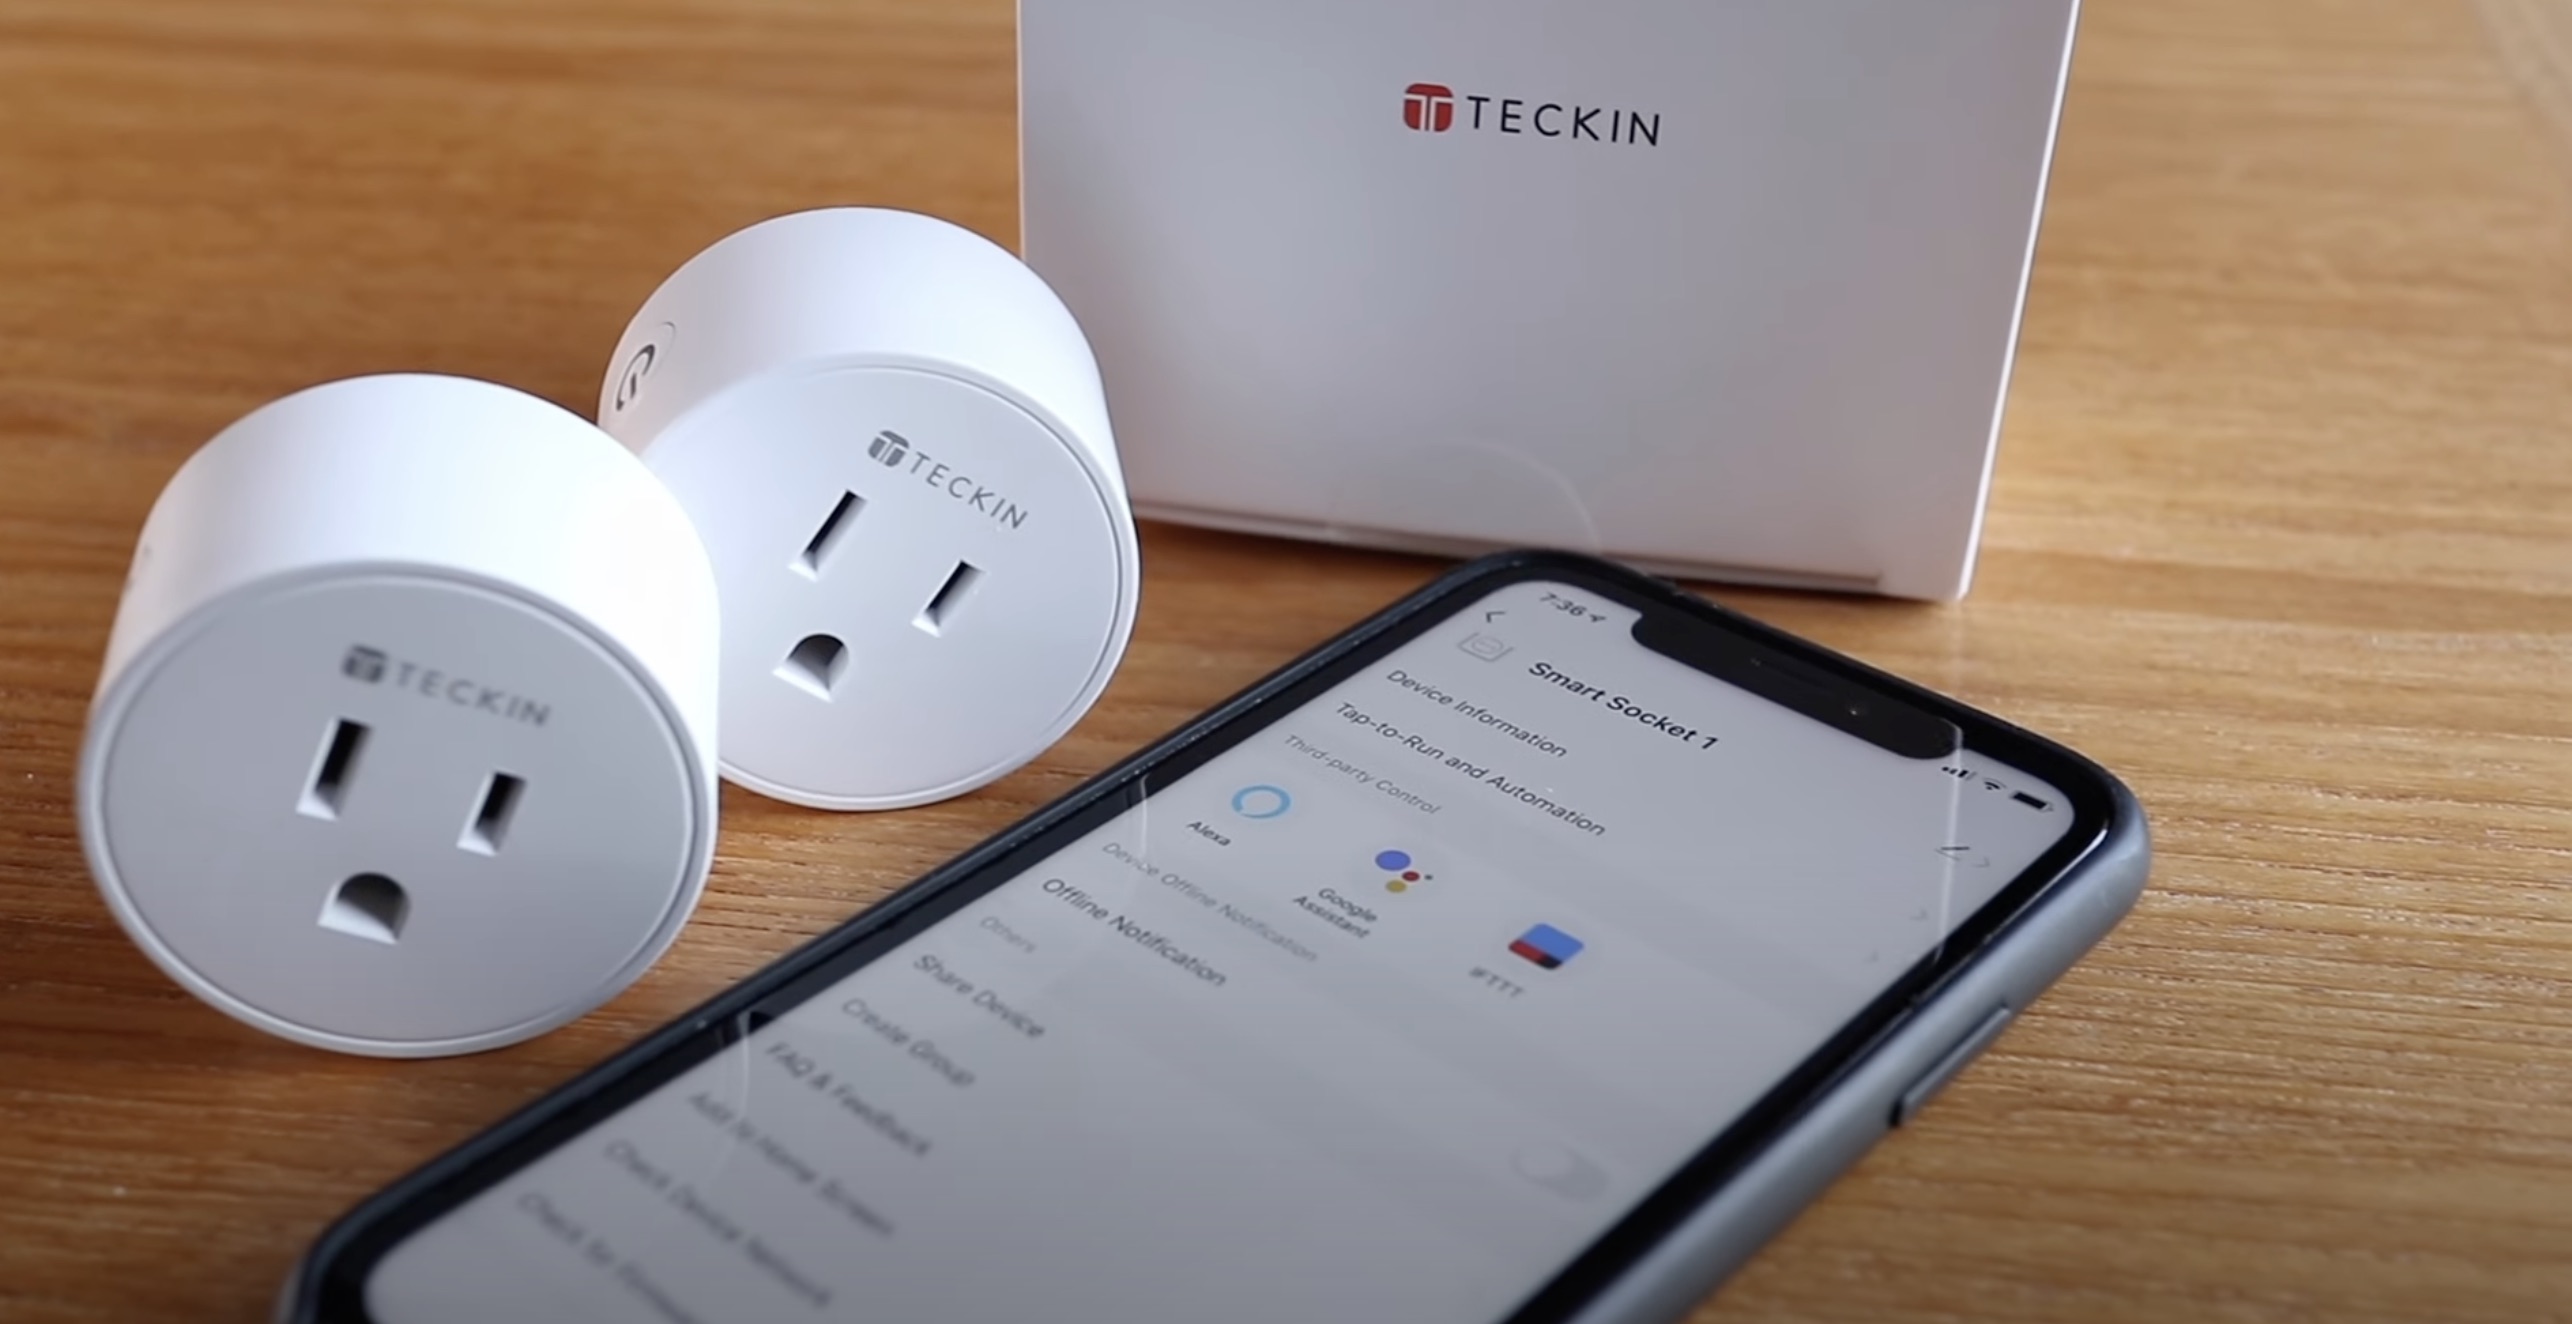
Before diving into the process of setting lights on a timer with Alexa, it is essential to ensure that your smart lights are properly installed and configured. Whether you have smart bulbs, smart switches, or smart plugs, the initial setup is crucial for seamless integration with Alexa.
1. Choose the Right Smart Lights: Select smart lights that are compatible with Alexa. This may include popular brands such as Philips Hue, LIFX, or TP-Link Kasa. Ensure that the smart lights are designed to work with voice commands and can be controlled remotely via a dedicated app.
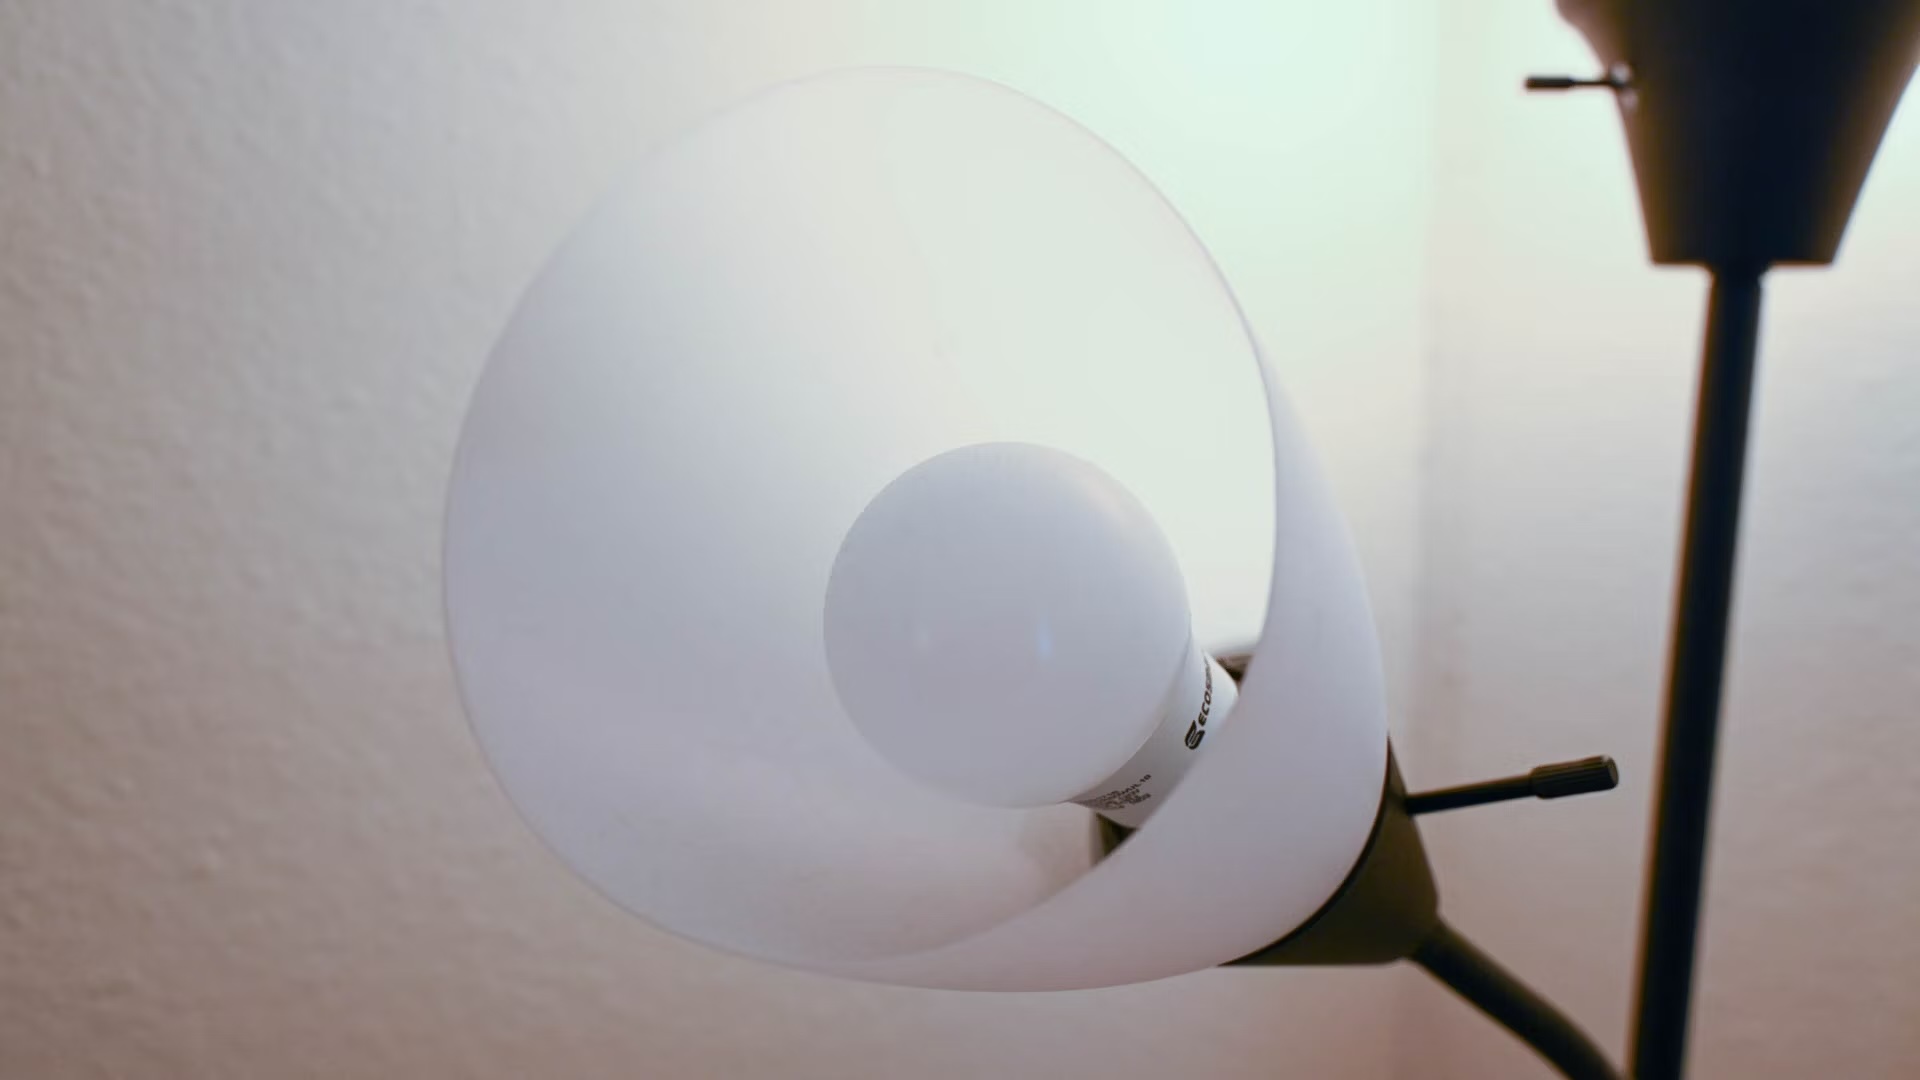
2. Install the Smart Lights: Follow the manufacturer’s instructions to install the smart lights in the desired fixtures or outlets. Whether you’re replacing existing bulbs with smart bulbs or integrating smart switches, make sure the installation is secure and the lights are functioning correctly.
3. Connect the Smart Lights to Wi-Fi: Most smart lights require a Wi-Fi connection for remote access and voice control. Use the accompanying app to connect the smart lights to your home Wi-Fi network. This typically involves creating an account, scanning for the smart lights, and following the on-screen instructions to complete the setup.
4. Test the Smart Lights: Once the smart lights are installed and connected to Wi-Fi, test their functionality using the manufacturer’s app. Ensure that you can turn the lights on and off, adjust brightness and color (if applicable), and explore any additional features offered by the smart lights.
By completing these steps, you will have successfully set up your smart lights, laying the foundation for integrating them with Alexa. With the hardware in place and functioning as intended, you are now ready to proceed to the next phase: connecting Alexa to the smart lights.
Connecting Alexa to the Smart Lights
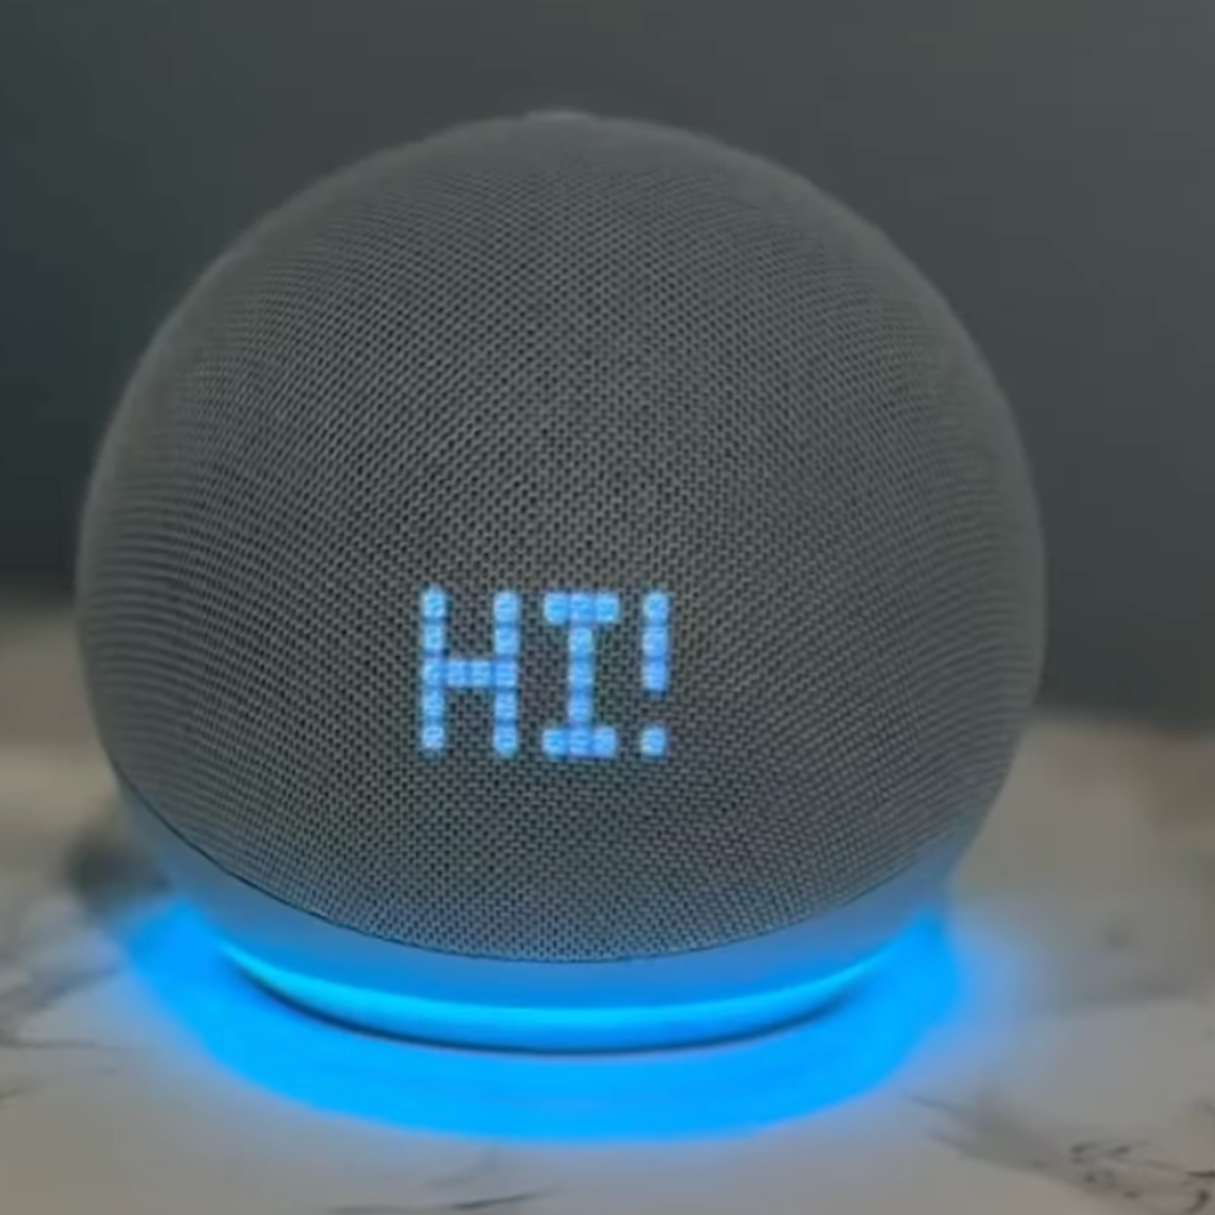
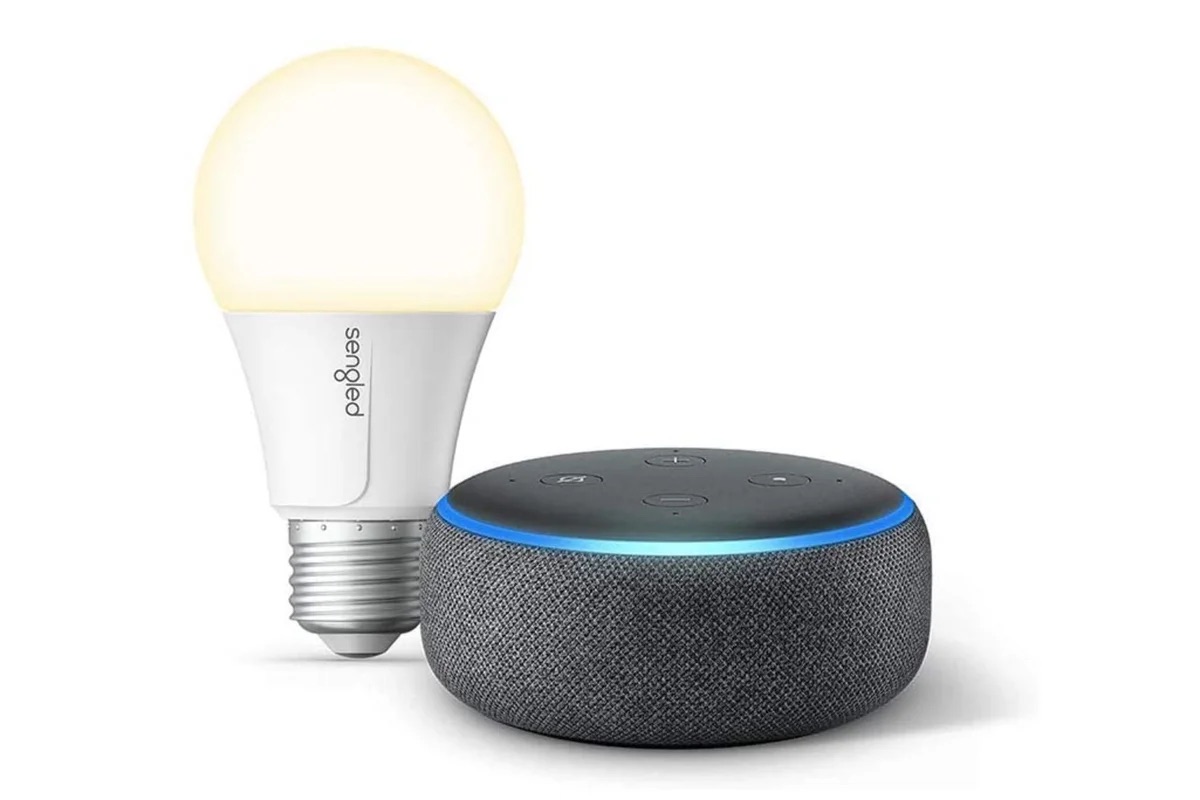
Now that your smart lights are installed and operational, the next step is to connect them to Alexa for seamless voice control and automation. Alexa, the virtual assistant developed by Amazon, offers a user-friendly interface for integrating smart home devices, including smart lights. Follow these steps to establish a connection between Alexa and your smart lights:
1. Enable the Alexa Skill: Begin by opening the Alexa app on your smartphone or accessing the Alexa web interface. Navigate to the “Skills & Games” section and search for the skill associated with your smart lights. For example, if you are using Philips Hue smart lights, search for the “Philips Hue” skill and enable it.
2. Discover Devices: Once the skill is enabled, use the Alexa app to discover the smart lights. This process involves scanning for compatible devices within your home network. Alexa will identify the smart lights and add them to the list of controllable devices within the app.
3. Organize Smart Light Groups (Optional): If you have multiple smart lights in different rooms or areas of your home, consider organizing them into groups within the Alexa app. This allows you to control entire rooms or zones with a single voice command. For example, you can create a group called “Living Room Lights” and include all relevant smart lights in that group.
4. Test Voice Commands: With the smart lights successfully added to the Alexa app, test voice commands to ensure that Alexa can control them as intended. Use phrases such as “Alexa, turn on the [light name]” or “Alexa, dim the [light group name]” to verify the responsiveness of the smart lights to voice commands.
By following these steps, you have established a direct link between Alexa and your smart lights, allowing for effortless voice control and integration with other Alexa-compatible devices. With the connection in place, you are now ready to create custom routines that will enable you to set your lights on a timer with Alexa.
To set lights on a timer with Alexa, first make sure your smart lights are compatible with Alexa. Then, open the Alexa app, go to Devices, select the smart lights, and create a routine to schedule when you want the lights to turn on and off.
Creating a Routine in the Alexa App
With Alexa and your smart lights seamlessly connected, you can now create custom routines to automate your lighting based on specific triggers, schedules, or voice commands. Routines enable you to set your lights on a timer with Alexa, allowing for hands-free control and personalized lighting experiences. Follow these steps to create a routine in the Alexa app:
1. Access Routines: Open the Alexa app and navigate to the “Routines” section. Here, you can view existing routines and create new ones to tailor your smart home experience.
2. Add a New Routine: Select the option to create a new routine. Begin by choosing a trigger for the routine. This can include voice commands, schedules, sunrise/sunset triggers, or the activation of other smart devices. For the purpose of setting lights on a timer, you may opt for a schedule trigger to specify the time when the routine should activate.
3. Select Actions: Once the trigger is defined, specify the actions that the routine should perform. In this case, you will select the smart lights that you want to control as part of the routine. Choose the desired brightness level, color (if applicable), and whether the lights should turn on or off when the routine is activated.
4. Refine the Routine (Optional): For added flexibility, you can refine the routine by incorporating additional actions or conditions. For example, you may want the routine to play a specific music playlist, adjust the thermostat, or provide a spoken Alexa announcement when the lights turn on at a scheduled time.
5. Save and Test the Routine: Once the routine is configured, save it within the Alexa app. Test the routine by either activating it manually or waiting for the scheduled trigger to initiate the actions. Verify that the smart lights respond as intended and that the routine functions seamlessly.
By creating a routine in the Alexa app, you have established a personalized automation that enables you to set your lights on a timer with Alexa. Whether you prefer a gradual morning illumination, an automatic evening dimming, or any other tailored lighting schedule, routines provide the flexibility to customize your smart lighting experience with ease and precision.
Testing the Timer
After setting up your smart lights, connecting them to Alexa, and creating a customized routine, it’s essential to thoroughly test the timer functionality to ensure that your lighting automation operates seamlessly and reliably. Testing the timer involves verifying that the scheduled lighting actions, triggered by your routine, are executed accurately and in accordance with your preferences. Follow these steps to test the timer and confirm that your smart lights respond as intended:
1. Scheduled Activation: If you have set a specific time for your smart lights to turn on or off as part of your routine, observe the scheduled activation to confirm that the lights respond promptly and in accordance with the defined parameters. For example, if you have scheduled the lights to turn on at 7:00 AM as part of a morning routine, ensure that they illuminate at the specified time without any delays.
2. Brightness and Color: If your smart lights offer adjustable brightness levels and color settings, pay attention to these parameters during the testing phase. Verify that the lights achieve the desired brightness and color output as defined in your routine. This is particularly important for creating the ideal ambiance and mood within your living space.
3. Voice Command Verification: If your routine is triggered by a specific voice command, such as “Alexa, activate evening lights,” test the voice command to confirm that Alexa interprets and executes the associated routine accurately. Voice command testing ensures that your hands-free control over the lighting timer operates seamlessly.
4. Routine Flexibility: Explore the flexibility of your routine by experimenting with adjustments to the scheduled activation time, brightness levels, or additional actions. Testing the routine’s adaptability allows you to fine-tune your lighting automation to suit changing preferences or lifestyle patterns.
By thoroughly testing the timer functionality of your smart lights and routine, you can gain confidence in the reliability and precision of your automated lighting system. Any adjustments or refinements can be made based on the testing outcomes, ensuring that your smart lights effectively cater to your specific lighting requirements and preferences.
Read more: How To Set Outdoor Light Timer
Conclusion
Congratulations! You have successfully embarked on a journey into the realm of smart home technology and learned how to set lights on a timer with Alexa. By following the steps outlined in this guide, you have gained the knowledge and skills to seamlessly integrate your smart lights with Alexa, enabling convenient voice control and personalized automation of your lighting.
Through the process of setting up your smart lights, connecting them to Alexa, and creating a customized routine, you have unlocked a new level of convenience and comfort within your living space. The ability to schedule lighting actions, adjust brightness levels, and set the ambiance with a simple voice command empowers you to tailor your lighting experience to suit your lifestyle and preferences.
As you continue to explore the possibilities of smart home technology, consider expanding your automation capabilities by incorporating additional smart devices, such as smart thermostats, security cameras, or entertainment systems, into your Alexa ecosystem. The seamless integration of diverse smart devices allows you to create comprehensive routines and scenarios that enhance the overall efficiency and enjoyment of your home environment.
Remember to stay informed about the latest advancements in smart home technology and the compatibility of new devices with Alexa. As the ecosystem continues to evolve, new features and integrations may further enrich your smart home experience, offering innovative ways to interact with and control your environment.
With your newfound expertise in setting lights on a timer with Alexa, you are well-equipped to embrace the convenience and sophistication of smart home automation. Whether you’re optimizing energy usage, enhancing security, or simply enjoying the modernity of voice-controlled lighting, the possibilities are endless within the realm of smart home technology.
Embrace the future of home automation, and let your smart lights illuminate your life with unparalleled convenience and personalized elegance.
Frequently Asked Questions about How To Set Lights On A Timer With Alexa
Was this page helpful?
At Storables.com, we guarantee accurate and reliable information. Our content, validated by Expert Board Contributors, is crafted following stringent Editorial Policies. We're committed to providing you with well-researched, expert-backed insights for all your informational needs.

0 thoughts on “How To Set Lights On A Timer With Alexa”