Home>Furniture & Design>Interior Design Trends>How To Clean Picture Frame Glass
Interior Design Trends
How To Clean Picture Frame Glass
Modified: October 19, 2024
Learn the best techniques for cleaning picture frame glass and keeping it sparkling clear. Discover the latest interior design trends for showcasing your artwork in style.
(Many of the links in this article redirect to a specific reviewed product. Your purchase of these products through affiliate links helps to generate commission for Storables.com, at no extra cost. Learn more)
Introduction
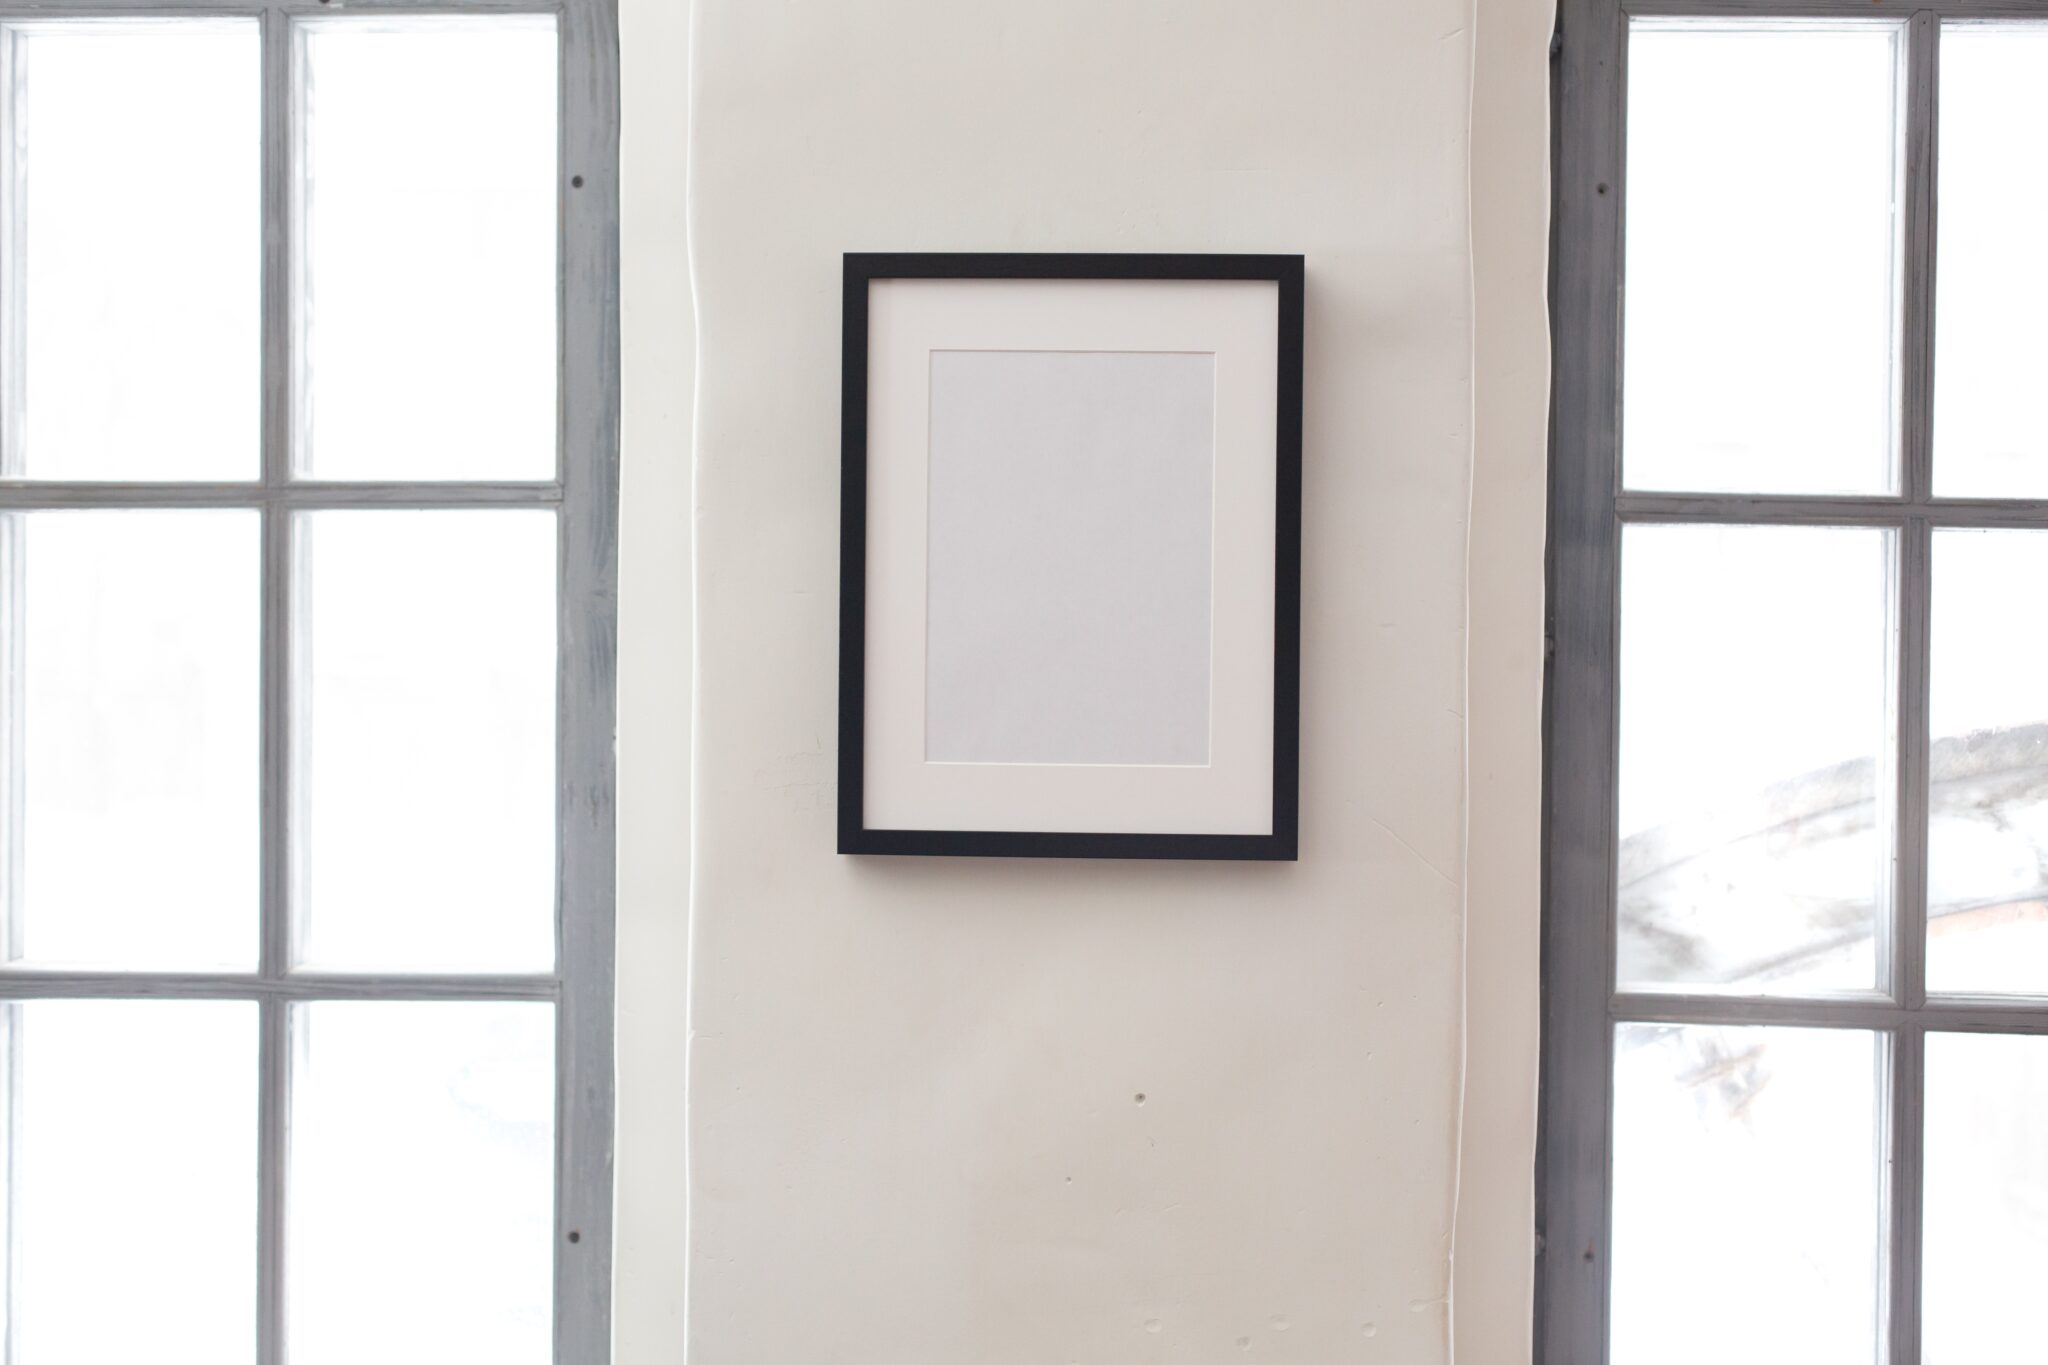
Cleaning picture frame glass is an essential aspect of maintaining the beauty and integrity of your cherished photographs and artwork. Over time, dust, fingerprints, and other debris can accumulate on the glass, diminishing the visual impact of the displayed images. By regularly cleaning the glass, you can ensure that your pictures remain vibrant and clear, allowing their true essence to shine through.
Properly cleaning picture frame glass not only enhances the aesthetic appeal of your displayed artwork but also safeguards it from potential damage. Dust and grime can gradually degrade the quality of the images, leading to discoloration and deterioration. Additionally, neglecting to clean the glass can result in a buildup of stubborn stains that may become increasingly challenging to remove over time.
In this comprehensive guide, we will walk you through the step-by-step process of effectively cleaning picture frame glass. By following these simple yet crucial steps, you can preserve the pristine condition of your cherished photographs and artwork, allowing them to be enjoyed for years to come.
Let's delve into the essential supplies you will need to gather before embarking on the glass-cleaning process.
Key Takeaways:
- Keep your cherished photographs and artwork vibrant by regularly cleaning picture frame glass. Gather supplies, remove the glass, clean with care, and reassemble the frame for a pristine display.
- Cleaning picture frame glass preserves the beauty of your artwork and protects it from damage. With patience and attention to detail, achieve a streak-free finish and honor the memories captured in each photograph.
Read more: How To Clean Picture Frames
Gather Your Supplies
Before you begin the process of cleaning picture frame glass, it's essential to gather the necessary supplies. Having the right tools at your disposal will ensure that you can effectively remove dirt, grime, and fingerprints from the glass surface without causing any damage. Here's a detailed list of the supplies you will need:
-
Lint-Free Cloths: Select soft, lint-free cloths to avoid leaving behind any fibers or residue on the glass. Microfiber cloths are an excellent choice for this purpose, as they are gentle on the glass and highly effective at trapping dust and dirt particles.
-
Mild Glass Cleaner: Choose a gentle, ammonia-free glass cleaner specifically formulated for cleaning delicate surfaces. Avoid using harsh chemicals or abrasive cleaners, as these can potentially damage the glass or leave streaks behind.
-
Distilled Water: Using distilled water helps prevent the formation of water spots or mineral deposits on the glass. It ensures a streak-free finish, especially when combined with a suitable glass cleaner.
-
Spray Bottle: A clean spray bottle will be useful for dispensing the glass cleaner onto the cloth in a controlled manner. This allows for even distribution of the cleaner and prevents oversaturation of the glass surface.
-
Soft Brush or Compressed Air: To remove any loose dust or debris from the frame and crevices, a soft brush or a can of compressed air can be used. This step is crucial for ensuring that no additional dirt falls onto the glass during the cleaning process.
-
Gloves (Optional): If you prefer to wear gloves while handling the glass and cleaning supplies, choose a pair of non-abrasive, lint-free gloves to protect the glass from fingerprints and smudges.
By assembling these supplies, you will be well-equipped to embark on the process of cleaning the picture frame glass effectively and safely. With the right tools at your disposal, you can proceed to the next steps with confidence, knowing that you have everything you need to achieve a pristine, streak-free finish.
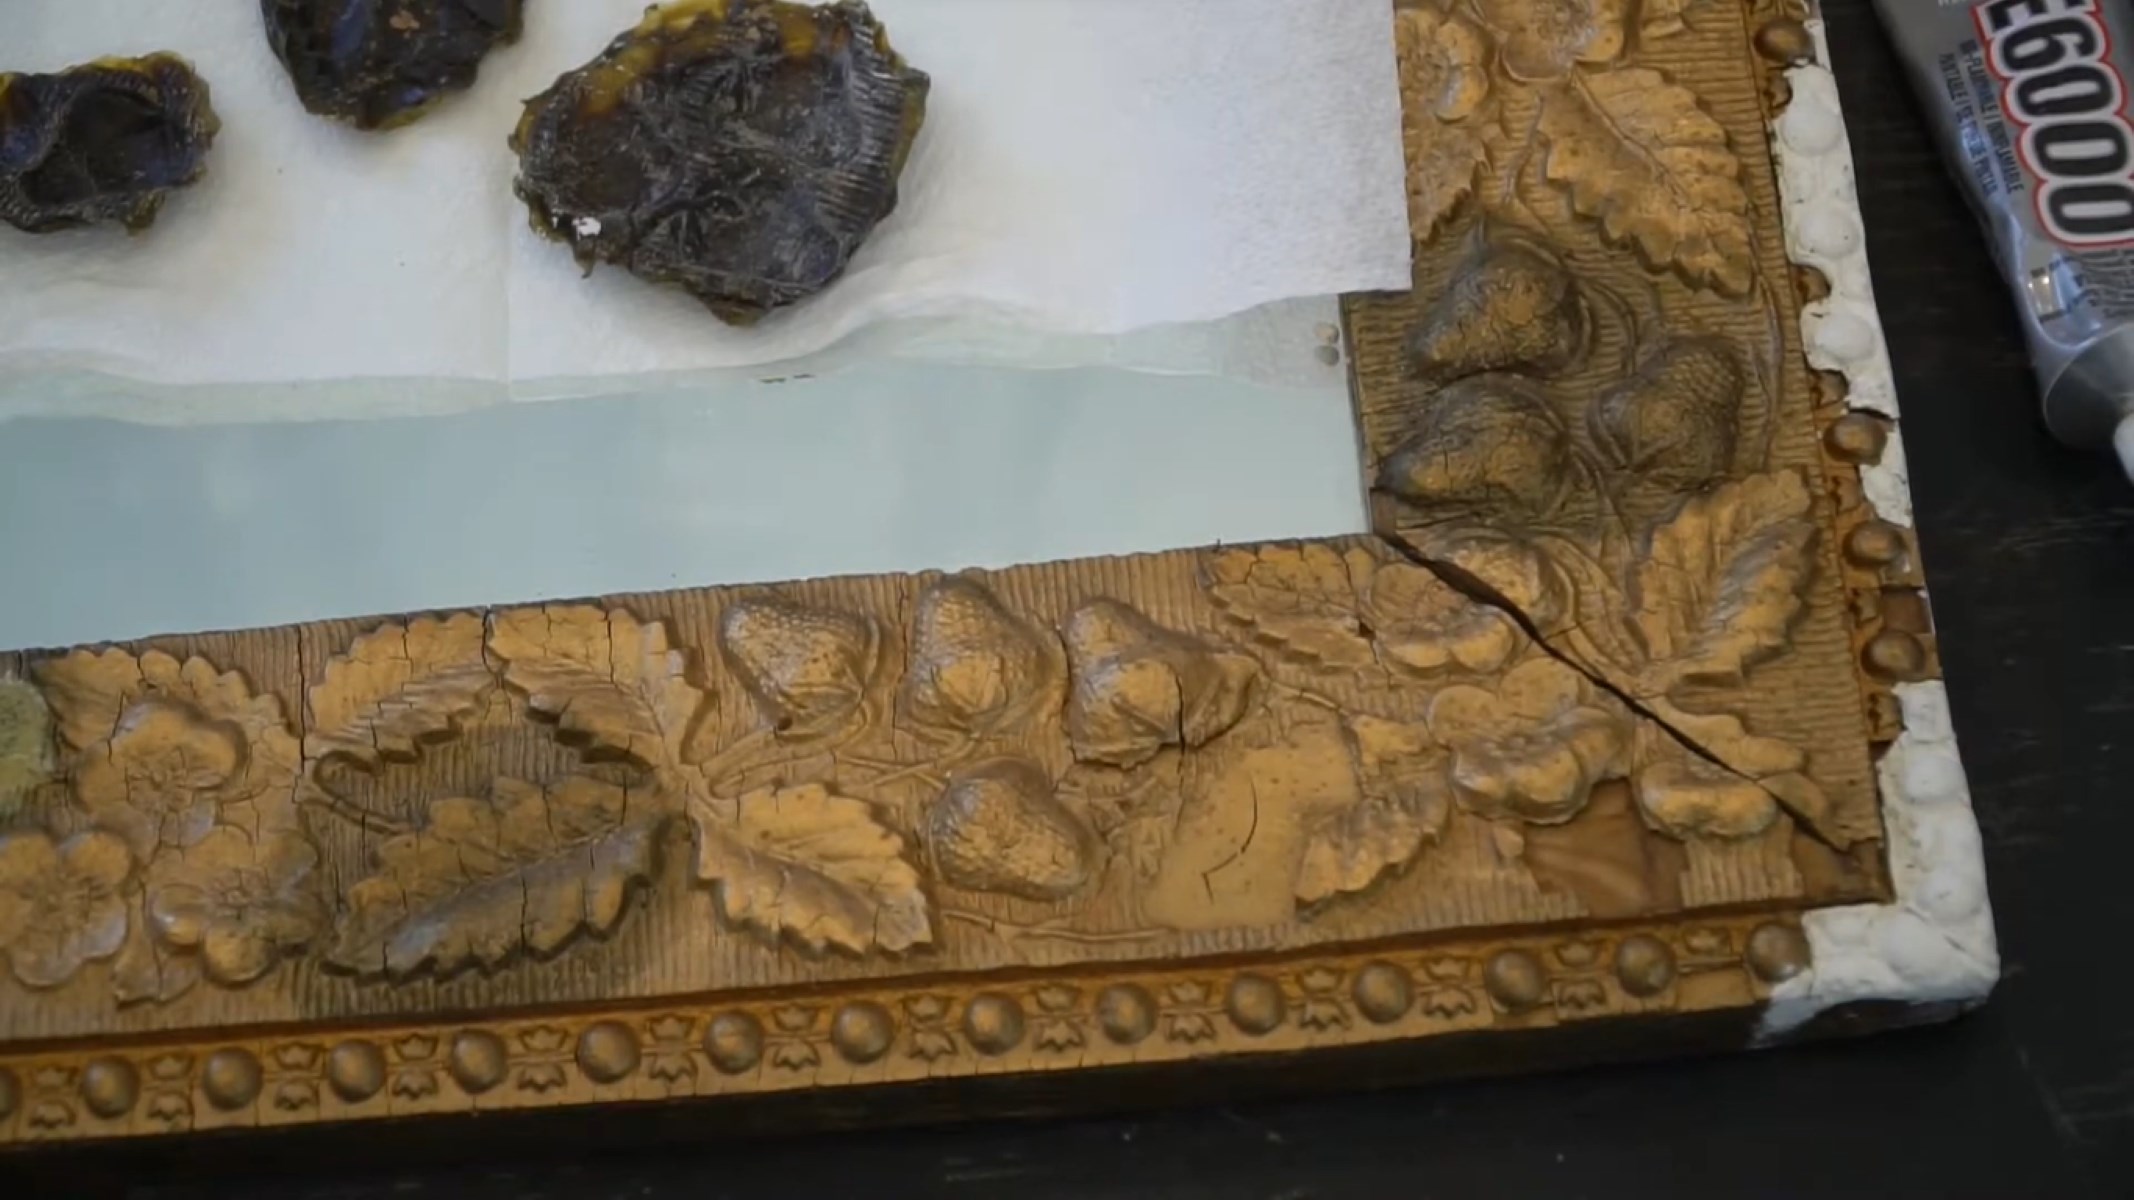
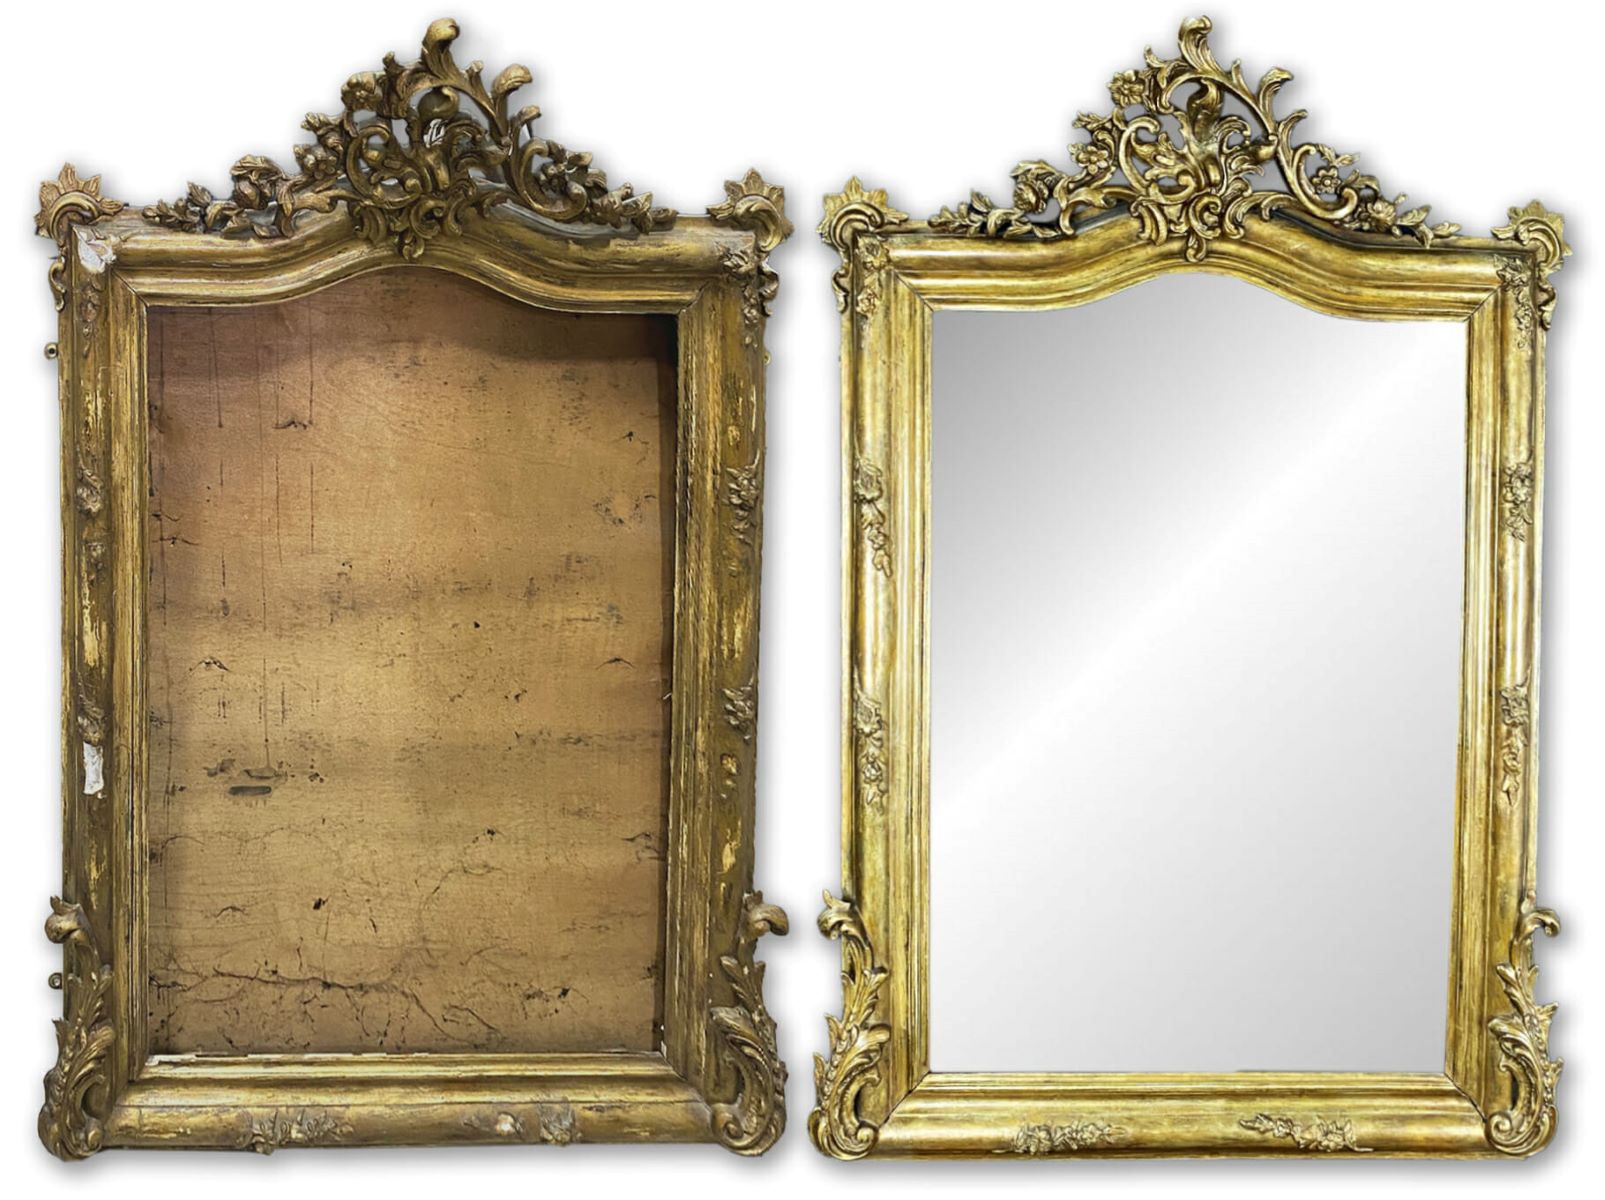
Remove the Glass from the Frame
Carefully removing the glass from the frame is a crucial step in the process of cleaning picture frame glass. By taking the time to execute this task with precision, you can ensure that the glass is thoroughly cleaned without risking damage to the frame or the delicate edges of the glass.
-
Prepare a Clean Workspace: Find a flat, stable surface to work on, preferably covered with a soft cloth or towel to protect the glass and frame from scratches or accidental impacts. Ensure that the workspace is well-lit to allow for clear visibility during the removal process.
-
Inspect the Frame: Before proceeding, carefully examine the frame to identify the method of securing the glass. Most frames are equipped with flexible tabs, metal clips, or spring clips that hold the glass and backing in place. Gently release these fasteners to access the glass.
-
Handle with Care: When handling the frame, use gentle and deliberate movements to avoid causing any unnecessary stress to the glass or the frame itself. If the frame contains multiple layers, such as a mat or backing board, carefully remove these components to access the glass.
-
Support the Glass: Once the fasteners are loosened, carefully lift the glass from the frame, supporting it with both hands to distribute the weight evenly. Avoid placing undue pressure on any specific area of the glass, as this can increase the risk of breakage or damage.
-
Secure the Glass Safely: After the glass is removed, place it on a clean, soft surface, such as a towel or a clean, lint-free cloth, to prevent it from coming into contact with abrasive materials or debris. Ensure that the glass is positioned securely to prevent accidental slipping or sliding.
By following these steps, you can safely remove the glass from the frame, setting the stage for the next phase of the cleaning process. With the glass carefully extracted, you can proceed to the subsequent steps with confidence, knowing that you have taken the necessary precautions to protect both the glass and the frame from potential harm.
Use a microfiber cloth and a mixture of water and vinegar to gently wipe the glass in a circular motion. Avoid using harsh chemicals or abrasive materials to prevent scratching the glass.
Clean the Glass
With the glass carefully removed from the frame, it's time to focus on the crucial step of cleaning the glass surface. This process requires attention to detail and a gentle touch to ensure that the glass is thoroughly cleansed without sustaining any damage. Follow these steps to achieve a pristine, streak-free finish:
-
Prepare the Glass: Before applying any cleaning solution, inspect the glass for any stubborn spots or residue. If there are visible marks or dried-on debris, use a soft brush or can of compressed air to gently dislodge the particles. This initial step helps prevent the risk of scratching the glass during the cleaning process.
-
Apply the Cleaner: Using a gentle, ammonia-free glass cleaner, lightly mist the solution onto a lint-free cloth. Avoid spraying the cleaner directly onto the glass, as this can lead to oversaturation and potential streaking. Ensure that the cloth is damp but not dripping with the cleaning solution.
-
Clean in Sections: Begin cleaning the glass in small, manageable sections to ensure thorough coverage and prevent the cleaner from drying on the surface. Use gentle, circular motions to remove any dirt, fingerprints, or smudges from the glass. Pay particular attention to the edges and corners, where dust and grime tend to accumulate.
-
Address Stubborn Stains: For persistent stains or marks, apply slightly more pressure while cleaning, but avoid using abrasive materials or harsh scrubbing motions. If necessary, reapply the cleaner to the cloth and focus on the affected areas until the stains are effectively removed.
-
Dry and Inspect: Once the glass is cleaned, use a separate dry, lint-free cloth to gently dry the surface, ensuring that no streaks or moisture remain. Take a moment to inspect the glass from various angles to confirm that it is free from any residual marks or streaks.
By following these meticulous steps, you can effectively clean the picture frame glass, restoring its clarity and vibrancy. With the glass now immaculately cleansed, you can proceed to reassemble the frame, knowing that your cherished photographs and artwork will be showcased in their best light.
Reassemble the Frame
After successfully cleaning the picture frame glass, the next crucial step is to reassemble the frame, ensuring that the glass is securely placed back in its original position. This process requires attention to detail and a gentle touch to prevent any accidental damage to the freshly cleaned glass. Follow these steps to seamlessly reassemble the frame and prepare it for displaying your cherished photographs and artwork:
-
Inspect the Frame Components: Before reassembly, carefully examine the frame components, including any mats, backing boards, or spacers that were removed along with the glass. Ensure that these elements are clean and free from any dust or debris that could potentially transfer onto the glass once reassembled.
-
Position the Glass: With the frame components inspected, gently place the cleaned glass back into the frame, aligning it carefully to ensure a proper fit. Take care to support the glass evenly, avoiding any unnecessary pressure or force that could lead to breakage or misalignment.
-
Secure the Fasteners: Once the glass is in place, reattach the flexible tabs, metal clips, or spring clips to secure the glass within the frame. Use gentle, deliberate movements to avoid placing undue stress on the glass or the frame. Ensure that the fasteners are snug but not overly tight, as excessive pressure can potentially damage the glass or the frame.
-
Reinstall Additional Components: If the frame includes mats, backing boards, or spacers, carefully reposition these elements, ensuring that they provide adequate support and protection for the displayed artwork. Take care to align these components evenly to maintain a balanced and professional presentation.
-
Inspect for Flaws: Once the frame is reassembled, take a moment to inspect the glass for any signs of streaks, smudges, or missed spots. If necessary, gently wipe the glass with a clean, dry cloth to address any remaining imperfections, ensuring that the surface is pristine and ready for display.
By following these meticulous steps, you can successfully reassemble the frame, safeguarding the freshly cleaned glass and preparing it to showcase your beloved photographs and artwork. With the frame now securely reassembled, you can confidently display your images, knowing that they are presented in their best possible light, free from the distractions of dust, smudges, or grime.
Read more: How Thick Is Picture Frame Glass
Conclusion
In conclusion, the process of cleaning picture frame glass is a vital aspect of preserving the beauty and integrity of cherished photographs and artwork. By following the step-by-step guide outlined in this article, you can ensure that your displayed images remain vibrant, clear, and free from the detrimental effects of dust, grime, and fingerprints.
Regularly cleaning the glass not only enhances the aesthetic appeal of the displayed artwork but also serves as a protective measure against potential damage. Dust and debris can gradually degrade the quality of images, leading to discoloration and deterioration over time. By incorporating glass-cleaning into your regular maintenance routine, you can safeguard your cherished photographs and artwork, allowing them to be enjoyed for years to come.
The meticulous process of gathering the necessary supplies, removing the glass from the frame, cleaning the glass with precision, and reassembling the frame ensures that the delicate glass surface is handled with care and attention to detail. By utilizing lint-free cloths, a mild glass cleaner, distilled water, and gentle cleaning techniques, you can achieve a pristine, streak-free finish while safeguarding the glass from potential damage.
As you embark on the journey of cleaning picture frame glass, remember that patience and attention to detail are key. Taking the time to execute each step with precision will result in a beautifully cleansed glass surface, allowing your cherished photographs and artwork to shine without the distractions of dust, smudges, or grime.
By incorporating the knowledge and techniques shared in this guide, you can elevate the presentation of your displayed images, ensuring that they are showcased in their best possible light. The process of cleaning picture frame glass not only enhances the visual impact of your artwork but also demonstrates your commitment to preserving and honoring the memories captured within each photograph.
With the glass now immaculately cleansed and the frame securely reassembled, you can take pride in knowing that your cherished images are displayed in a manner that truly reflects their significance and beauty. Embrace the art of glass-cleaning as a means of honoring the stories and memories captured within each frame, allowing them to be appreciated for generations to come.
Frequently Asked Questions about How To Clean Picture Frame Glass
Was this page helpful?
At Storables.com, we guarantee accurate and reliable information. Our content, validated by Expert Board Contributors, is crafted following stringent Editorial Policies. We're committed to providing you with well-researched, expert-backed insights for all your informational needs.


0 thoughts on “How To Clean Picture Frame Glass”