Home>Gardening & Outdoor>Outdoor Recreation & Activities>How To Paint A Ping Pong Table
Outdoor Recreation & Activities
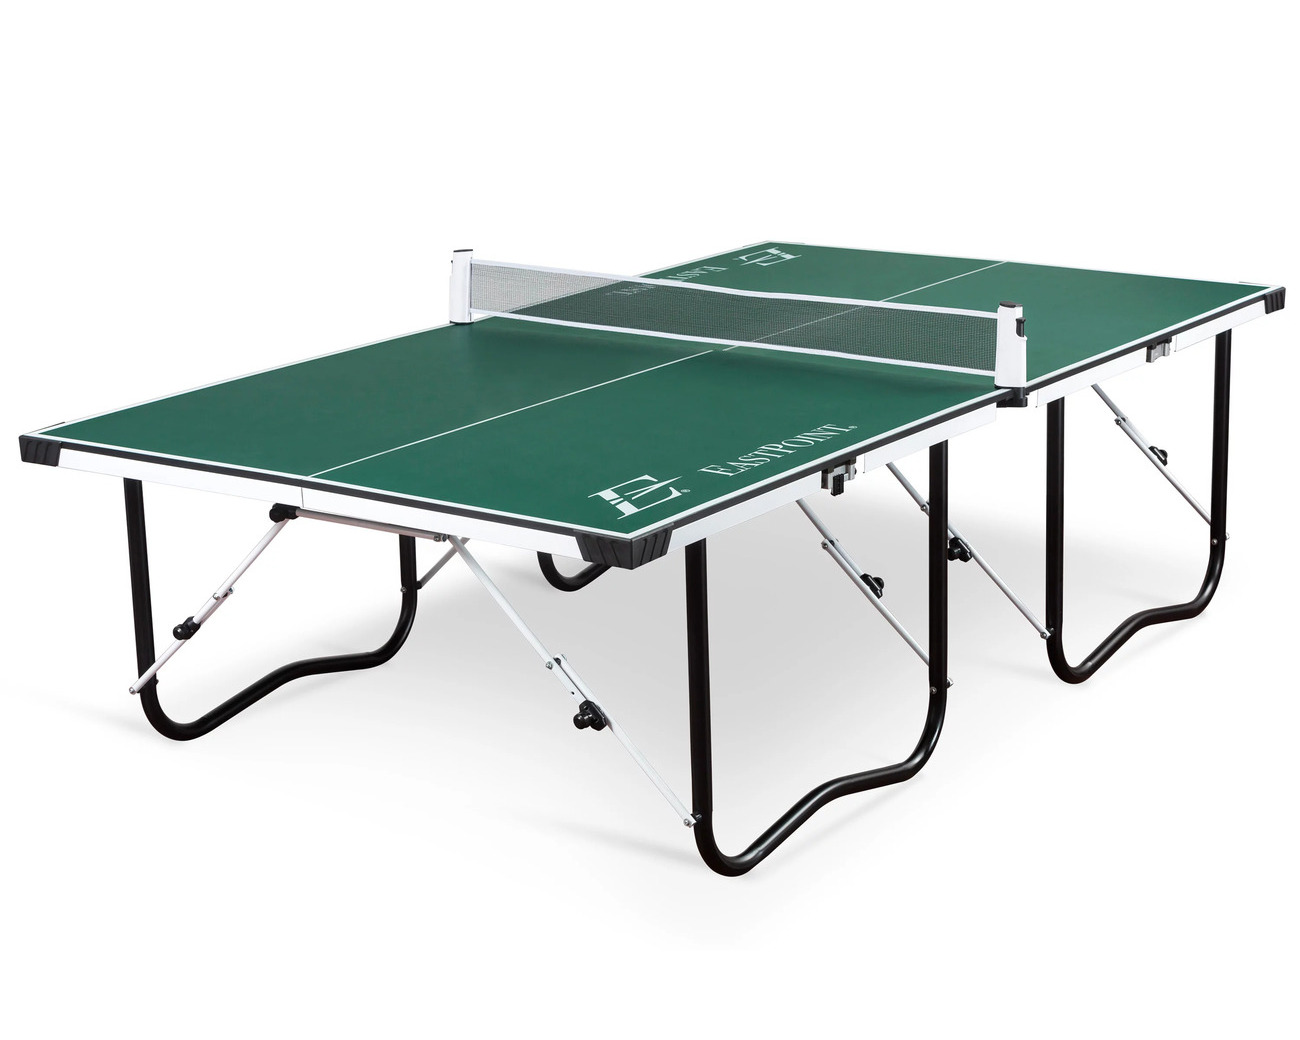
How To Paint A Ping Pong Table
Published: January 20, 2024
Learn how to paint a ping pong table to revamp your outdoor recreation area. Follow our step-by-step guide for a fun and easy DIY project.
(Many of the links in this article redirect to a specific reviewed product. Your purchase of these products through affiliate links helps to generate commission for Storables.com, at no extra cost. Learn more)
Introduction
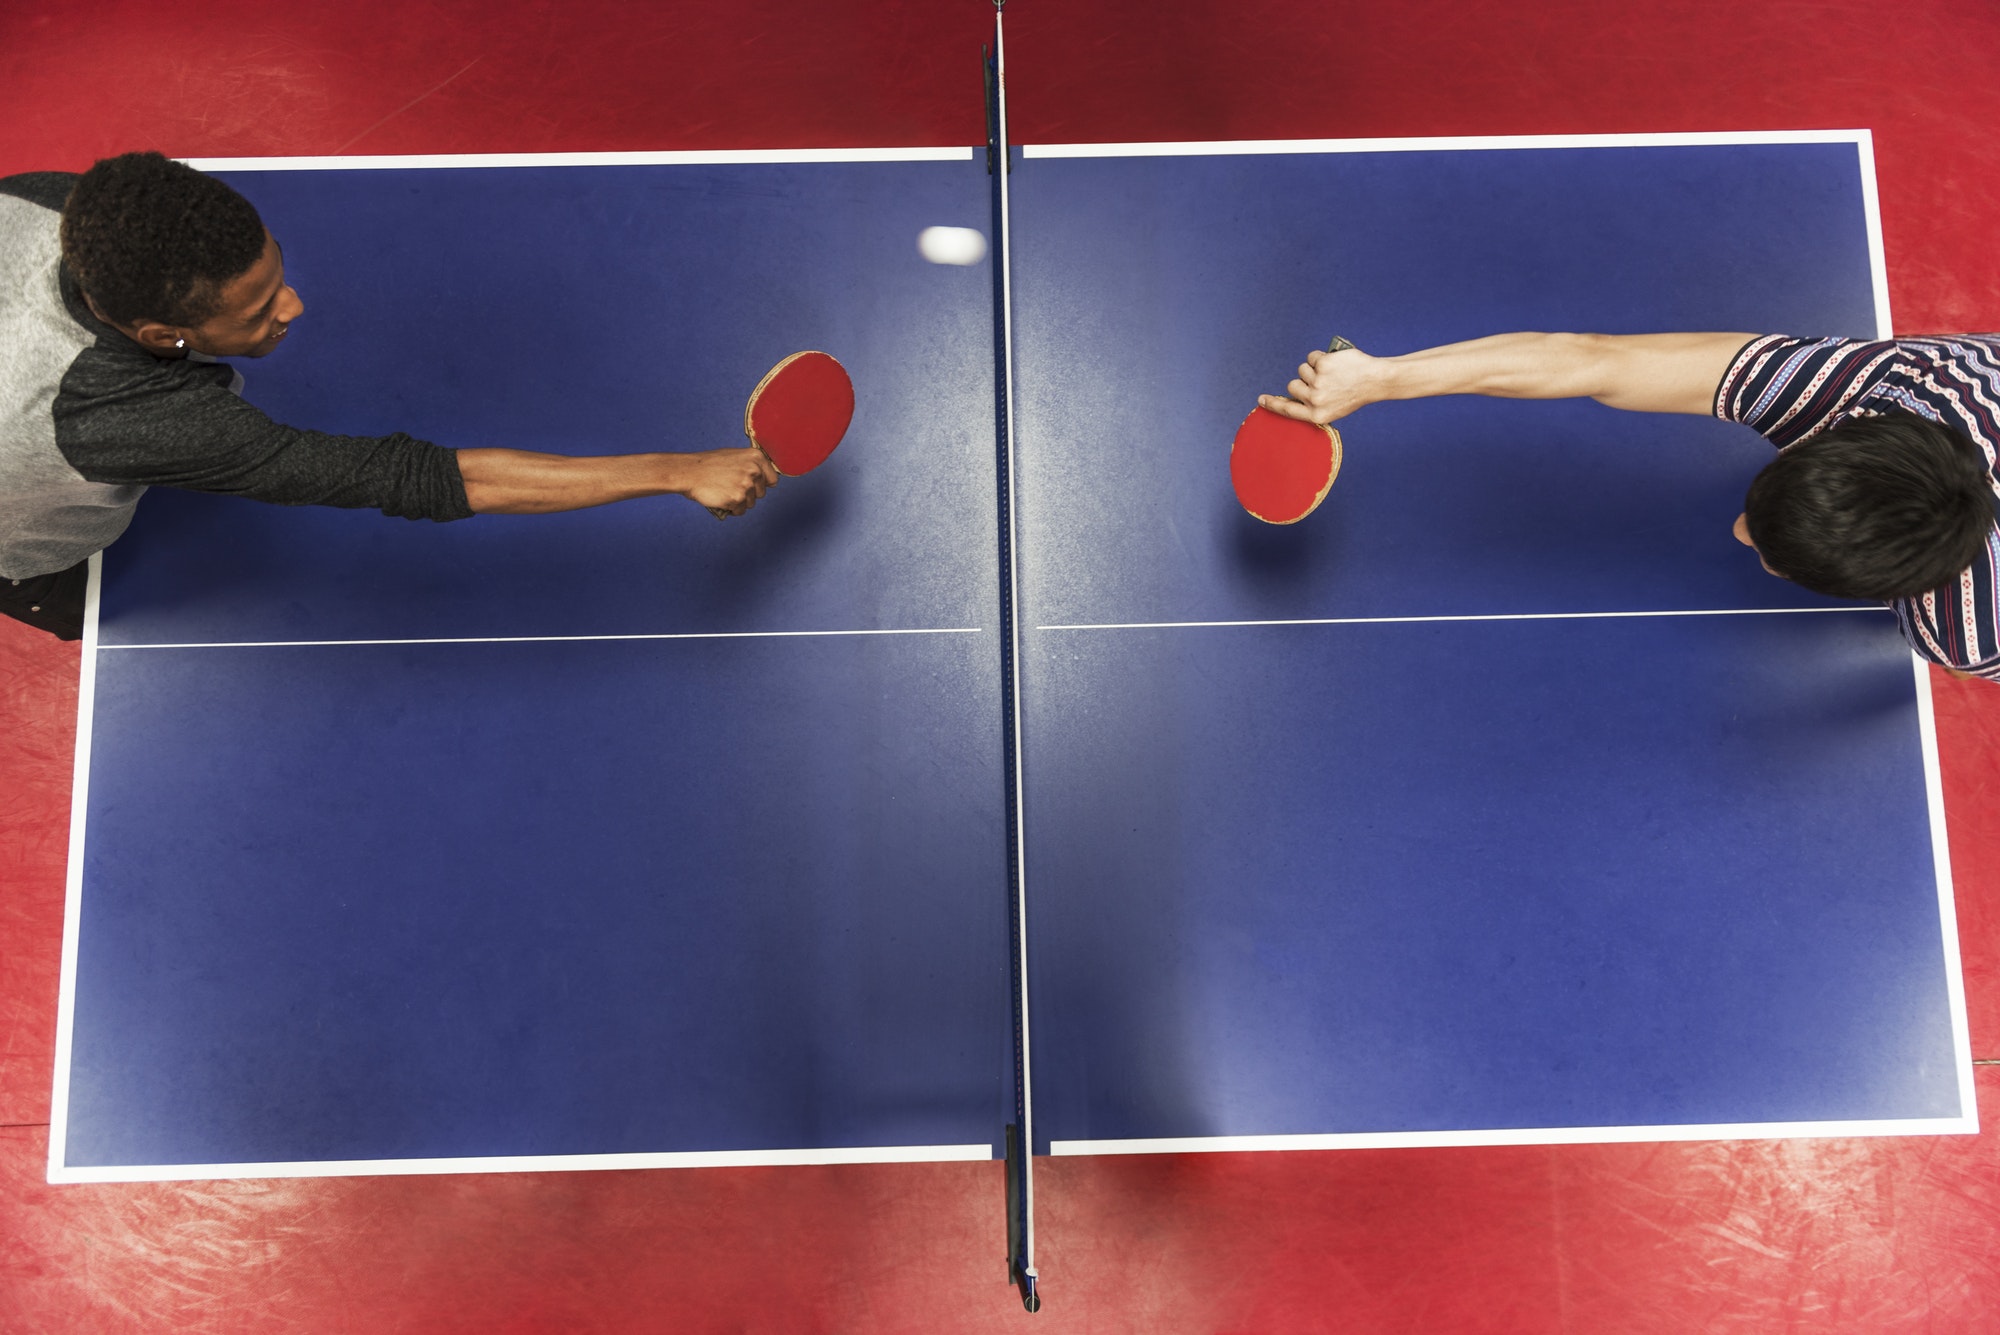
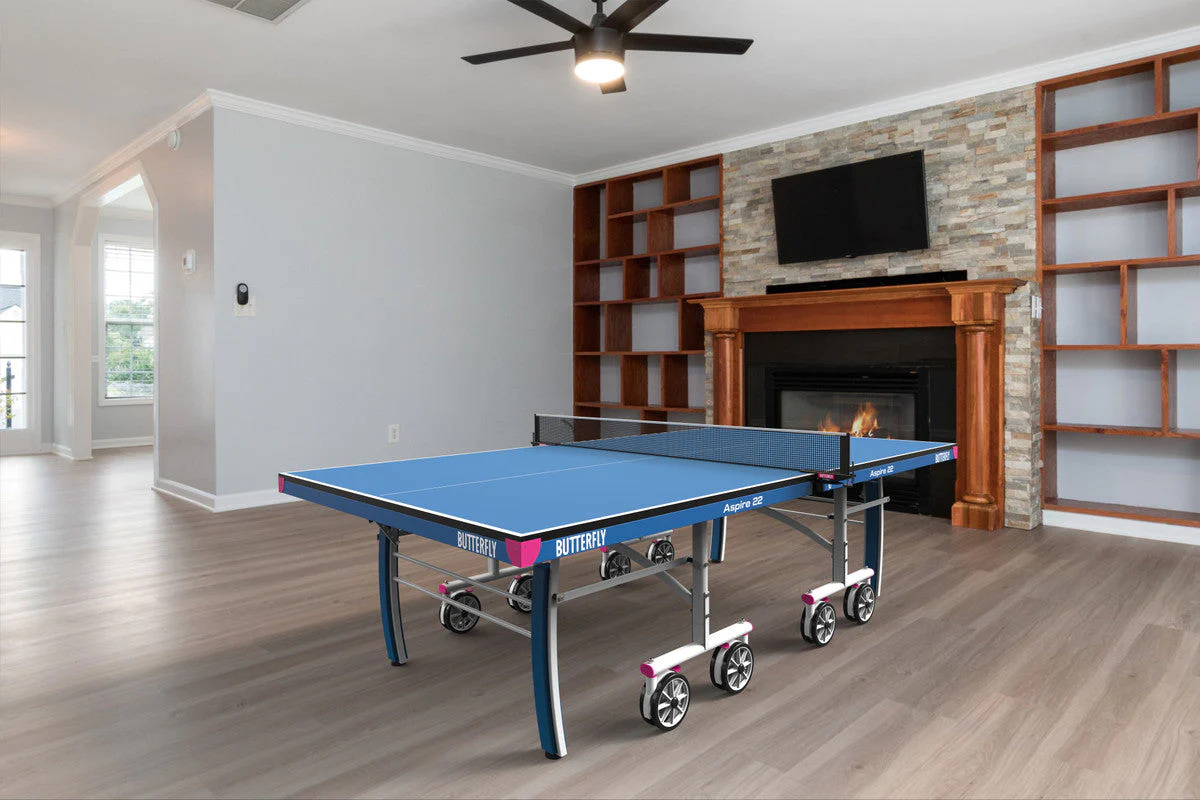
Are you ready to elevate your ping pong game to the next level? One fantastic way to do so is by giving your ping pong table a fresh new look with a vibrant coat of paint. Not only will this rejuvenate its appearance, but it can also add a personalized touch to your gaming space. Whether you want to revamp a weathered table or simply add a pop of color, painting a ping pong table can be a fun and rewarding project for players of all skill levels.
In this comprehensive guide, we'll walk you through the step-by-step process of transforming your ping pong table into a stunning centerpiece. From gathering the essential materials to adding the finishing touches, you'll learn the ins and outs of this creative endeavor. So, roll up your sleeves and get ready to unleash your inner artist as we delve into the art of painting a ping pong table!
Key Takeaways:
- Elevate your ping pong game by giving your table a fresh coat of paint. Follow the steps to transform it into a vibrant centerpiece, adding a personalized touch to your gaming space.
- With meticulous preparation, precise painting, and thoughtful finishing touches, you can revitalize your ping pong table and showcase your creativity and passion for the game. Enjoy countless games on your newly revitalized table!
Read more: How Large Is A Ping Pong Table
Materials Needed
Before diving into the painting process, it’s crucial to gather all the necessary materials to ensure a smooth and successful project. Here’s a comprehensive list of items you’ll need:
- High-quality paint suitable for wood surfaces
- Primer specifically designed for use on wooden tables
- Sandpaper with a medium grit (80-120) for smoothing the table surface
- Clean rags or tack cloth for wiping down the table
- Painter’s tape to protect the edges and lines of the table
- Paintbrushes in various sizes for precise application
- Paint roller and tray for larger surface areas
- Protective gloves and a face mask for safety
- Drop cloths or plastic sheeting to protect the surrounding area
- Optional: Stencils or painter’s tape for creating designs or patterns
- Clear polyurethane sealant for added protection and durability
- Screwdriver (if removing the net and posts)
- Cleaner or degreaser for thorough table surface preparation
By ensuring that you have all these materials on hand, you’ll be fully equipped to embark on your ping pong table painting journey with confidence.
Preparing the Table
Before you can start applying a fresh coat of paint, it’s essential to properly prepare the ping pong table to ensure optimal adhesion and a professional finish. Follow these steps to get your table ready for its stunning makeover:
- Clean the Surface: Begin by thoroughly cleaning the table surface to remove any dirt, dust, or residue. Use a cleaner or degreaser to ensure that the surface is free of any contaminants that could affect the paint’s adherence.
- Remove the Net and Posts: If your table has a removable net and posts, carefully detach them from the table to create a clear painting area. This step will also prevent any paint from accidentally getting on the net or posts.
- Sand the Surface: Using medium-grit sandpaper, gently sand the entire surface of the table. This step helps to smooth out any imperfections, rough patches, or old paint, promoting better adhesion for the new paint and primer.
- Clean Again: After sanding, wipe down the table with a clean rag or tack cloth to remove any sanding residue. This step is crucial to ensure a clean and smooth surface for the primer and paint application.
- Protect the Surrounding Area: Lay down drop cloths or plastic sheeting to safeguard the surrounding floor and area from any paint splatters or spills. This precaution will help maintain a tidy workspace throughout the painting process.
- Tape Off Edges: Use painter’s tape to carefully mask off any areas of the table that you don’t want to paint, such as the edges, lines, or any specific design elements. This step ensures clean and precise lines for a professional-looking finish.
By diligently completing these preparation steps, you’ll set the stage for a successful and visually stunning painting experience. With the table meticulously prepped, you’re now ready to move on to the next phase: priming the table.
Priming the Table
Priming the ping pong table is a crucial step that sets the foundation for a durable and long-lasting paint job. The primer not only helps the paint adhere better to the surface but also provides an added layer of protection for the table. Here’s a detailed guide on how to prime your ping pong table effectively:
- Choose the Right Primer: Select a high-quality primer specifically designed for use on wooden surfaces. Ensure that the primer is compatible with the type of paint you’ll be using for the best results.
- Apply the Primer: Using a paintbrush or roller, evenly apply the primer to the entire surface of the table. Work in manageable sections to ensure thorough coverage and avoid missing any spots.
- Allow for Drying Time: Follow the manufacturer’s instructions regarding the drying time for the primer. It’s essential to allow sufficient time for the primer to dry completely before proceeding to the next step.
- Inspect for Uniform Coverage: Once the primer has dried, inspect the table surface to ensure that the primer has been applied uniformly. Look for any areas that may require additional priming and touch them up as needed.
- Sand the Primed Surface (Optional): If the primer has raised the wood grain or created any roughness, lightly sand the primed surface with fine-grit sandpaper. This step will help smoothen the surface in preparation for the paint application.
- Clean the Surface: After sanding (if applicable), wipe down the table with a clean rag to remove any sanding residue and ensure a smooth, clean surface for the paint.
By diligently following these steps, you’ll lay the groundwork for a flawless paint application. The primer not only enhances the adhesion of the paint but also contributes to the overall durability and longevity of the paint job. With the table properly primed, you’re now ready to infuse it with a burst of color through the painting process.
Before painting a ping pong table, make sure to sand the surface to remove any existing finish. Use a primer to ensure the paint adheres well, and then apply several thin coats of paint for a smooth and durable finish.
Painting the Table
Now comes the exciting part – infusing your ping pong table with a fresh burst of color! Painting the table is where your creativity can truly shine, transforming a plain surface into a vibrant centerpiece. Follow these steps to ensure a smooth and successful painting process:
- Choose the Right Paint: Select a high-quality paint that is suitable for wooden surfaces. Consider using a paint specifically designed for furniture or indoor use, as it will provide durability and a smooth finish.
- Apply the First Coat: Using a paintbrush or roller, apply the first coat of paint to the entire surface of the table. Work in even strokes, ensuring comprehensive coverage while maintaining a consistent thickness of the paint layer.
- Allow for Drying Time: After applying the first coat, allow the paint to dry completely before proceeding to the next coat. Follow the manufacturer’s recommended drying time to ensure optimal results.
- Apply Additional Coats (If Needed): Depending on the desired color intensity and the coverage of the first coat, you may need to apply additional coats of paint. Apply each subsequent coat in the same manner as the first, allowing for proper drying time between coats.
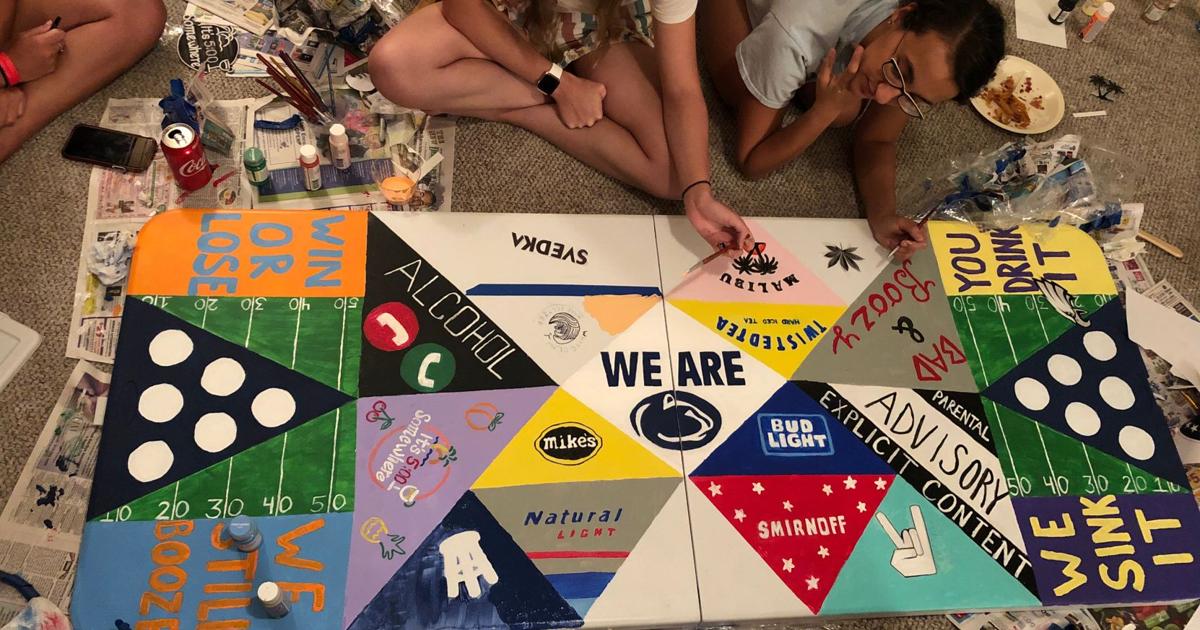
- Optional: Add Designs or Patterns: If you want to add a personal touch or decorative flair to your table, consider incorporating designs or patterns using stencils or painter’s tape. This step allows for creative customization and can make your table truly unique.
- Inspect for Uniform Coverage: Once the final coat has dried, carefully inspect the table surface to ensure that the paint has been applied uniformly. Look for any areas that may require touch-ups and address them as needed.
By following these steps, you’ll breathe new life into your ping pong table, transforming it into a captivating focal point for your gaming space. With the painting process complete, it’s time to add the finishing touches that will enhance the table’s appearance and durability.
Read more: How To Refinish A Ping Pong Table
Adding Finishing Touches
With the painting process complete, adding the finishing touches will elevate the overall appearance and durability of your newly painted ping pong table. Follow these steps to ensure that your table is not only visually stunning but also well-protected for countless games to come:
- Apply a Clear Sealant: To protect the painted surface and enhance its durability, consider applying a clear polyurethane sealant. This additional layer of protection will guard against scratches, moisture, and wear, prolonging the life of the paint job.
- Follow Manufacturer’s Instructions: When applying the sealant, carefully follow the manufacturer’s instructions regarding application methods, drying times, and any additional coats that may be recommended for optimal protection.
- Reattach the Net and Posts: If you removed the net and posts before painting, now is the time to reattach them to the table. Ensure that they are securely fastened and aligned properly for a seamless gaming experience.
- Inspect for Quality: Once the sealant has dried, inspect the table surface to ensure that the finishing touches have been applied uniformly and that the table is ready for use.
- Clean Up: Remove any painter’s tape and protective coverings from the surrounding area, and tidy up your workspace. Dispose of any used materials responsibly and ensure that the area is clean and organized.
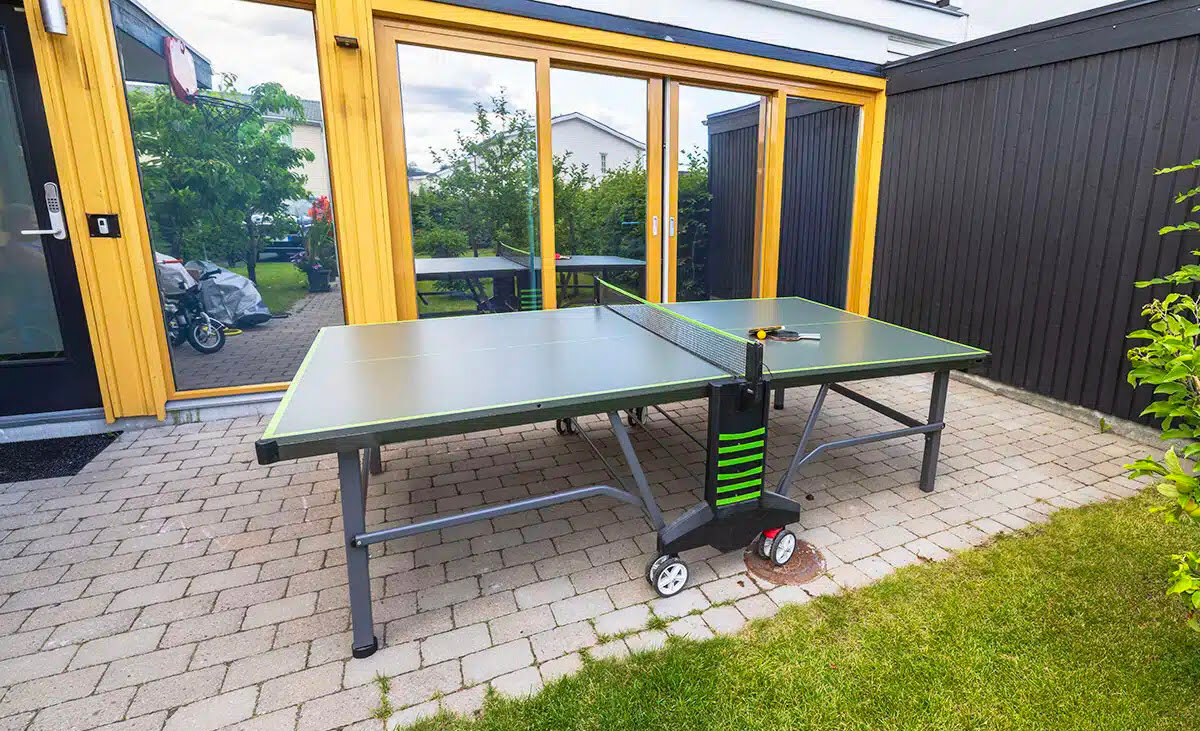
- Enjoy Your Newly Painted Table: With the finishing touches in place, it’s time to step back and admire your handiwork. Your freshly painted ping pong table is now ready to take center stage and elevate your gaming experience to new heights.
By completing these final steps, you’ll not only enhance the visual appeal of your ping pong table but also ensure that it is well-protected and ready for countless games and gatherings. With the finishing touches complete, take a moment to revel in the transformation you’ve achieved, and get ready to showcase your revamped table to friends and family.
Conclusion
Congratulations on successfully transforming your ping pong table into a personalized masterpiece! By embarking on this creative journey, you’ve not only revitalized the appearance of your table but also added a touch of individuality to your gaming space. Through meticulous preparation, precise painting, and thoughtful finishing touches, you’ve brought new life to a familiar piece of furniture.
As you prepare to enjoy countless games on your freshly painted table, take pride in the effort and artistry you’ve invested in this project. Your attention to detail and dedication to the process have resulted in a visually stunning and durable surface that will serve as the backdrop for memorable matches and lively gatherings.
Remember, the key to maintaining the beauty and longevity of your newly painted table lies in proper care and maintenance. Regularly clean the surface with a gentle, non-abrasive cleaner to preserve the vibrant colors and protective sealant. Additionally, handle the table with care to prevent scratches or damage to the painted surface.
Whether you’ve chosen a bold, eye-catching color or a subtle, classic shade, your painted ping pong table is a reflection of your creativity and passion for the game. Let it stand as a testament to your ability to infuse everyday objects with personality and flair.
So, gather your paddles, invite your friends, and prepare for hours of exhilarating gameplay on your newly revitalized ping pong table. May it continue to be a source of joy, competition, and camaraderie for years to come!
Frequently Asked Questions about How To Paint A Ping Pong Table
Was this page helpful?
At Storables.com, we guarantee accurate and reliable information. Our content, validated by Expert Board Contributors, is crafted following stringent Editorial Policies. We're committed to providing you with well-researched, expert-backed insights for all your informational needs.

0 thoughts on “How To Paint A Ping Pong Table”