Home>Home Appliances>Kitchen Appliances>How To Dehydrate Herbs In A Dehydrator

Kitchen Appliances
How To Dehydrate Herbs In A Dehydrator
Modified: January 5, 2024
Learn how to dehydrate herbs in a dehydrator with our easy guide. Discover the best kitchen appliances for preserving herbs at home. Ideal for any home cook!
(Many of the links in this article redirect to a specific reviewed product. Your purchase of these products through affiliate links helps to generate commission for Storables.com, at no extra cost. Learn more)
Introduction
So, you've decided to take your culinary skills to the next level by harnessing the power of dehydrated herbs. Whether you're an aspiring home chef or a seasoned cooking enthusiast, incorporating dehydrated herbs into your culinary creations can elevate the flavors of your dishes to new heights. By dehydrating your own herbs, you can ensure a fresh and potent supply of seasonings that will add depth and complexity to your favorite recipes.
In this comprehensive guide, we'll delve into the art of dehydrating herbs using a dehydrator, a versatile kitchen appliance that can unlock a world of culinary possibilities. From selecting the finest herbs to mastering the dehydration process, you'll gain the knowledge and confidence to embark on this flavorful journey.
Join me as we explore the nuances of dehydrating herbs in a dehydrator, uncovering the secrets to preserving their vibrant flavors and aromas. Whether you're a novice or a seasoned pro, this guide will equip you with the expertise to harness the full potential of your dehydrator and create a pantry stocked with aromatic, homemade herb seasonings. Let's embark on this aromatic adventure together!
Key Takeaways:
- Preserve the vibrant flavors of herbs by dehydrating them in a dehydrator. Choose, prepare, and load herbs carefully for optimal results. Store them in airtight containers to enjoy aromatic, homemade seasonings.
- Dehydrating herbs unlocks a world of culinary possibilities. Select fresh herbs, load them evenly in the dehydrator, and store them properly for future use. Experiment with herb combinations and temperature settings to elevate your culinary creations.
Read more: How To Dehydrate Kiwi In A Dehydrator
Choosing and Preparing Herbs
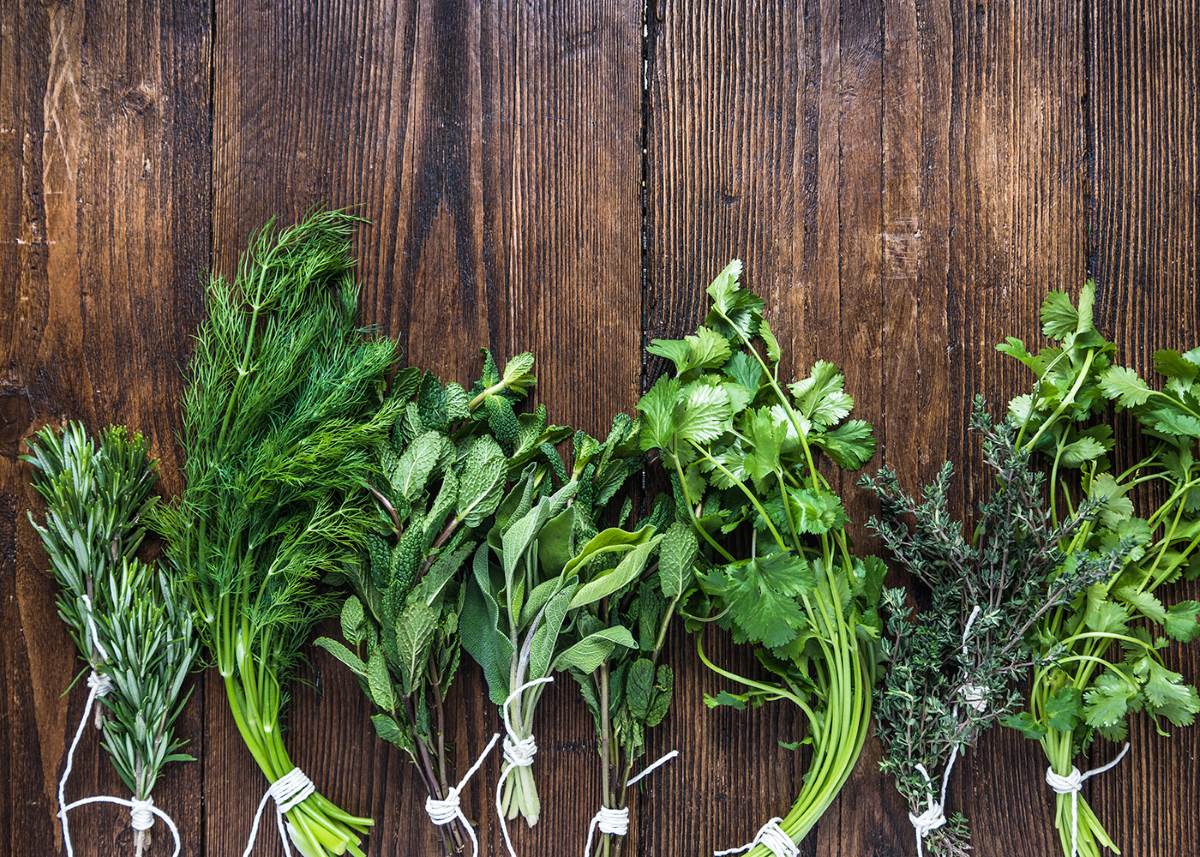
Before diving into the dehydrating process, it’s crucial to select the freshest herbs available. Whether you have an herb garden or purchase them from a local market, opt for herbs at their peak, free from blemishes or signs of wilting. Popular choices for dehydrating include basil, rosemary, thyme, oregano, parsley, and mint, but feel free to experiment with your favorite varieties.
Once you’ve gathered your chosen herbs, it’s time to prepare them for dehydration. Start by gently rinsing the herbs under cool water to remove any dirt or impurities. Pat them dry with paper towels or allow them to air dry completely. Next, carefully remove the leaves from the stems, as the stems can be tough and less flavorful when dehydrated. Discard any discolored or damaged leaves, ensuring that only the finest, freshest foliage makes its way into the dehydrator.
For optimal results, consider the following tips when preparing your herbs:
- Handle the herbs gently to avoid bruising or damaging the delicate leaves.
- Use a sharp knife or herb scissors to efficiently separate the leaves from the stems.
- Allow the herbs to air dry if time permits, as excess moisture can prolong the dehydration process.
- Consider the flavor profiles of different herbs and how they can complement your culinary creations.
By carefully choosing and preparing your herbs, you set the stage for a successful dehydration process, ensuring that the vibrant flavors and essential oils are preserved to enhance your culinary endeavors.
Loading the Dehydrator
With your freshly prepared herbs in hand, it’s time to arrange them in the dehydrator for optimal airflow and even drying. Most dehydrators feature multiple trays or racks, providing ample space to accommodate an array of herbs. Here are some essential steps to ensure efficient loading of your dehydrator:
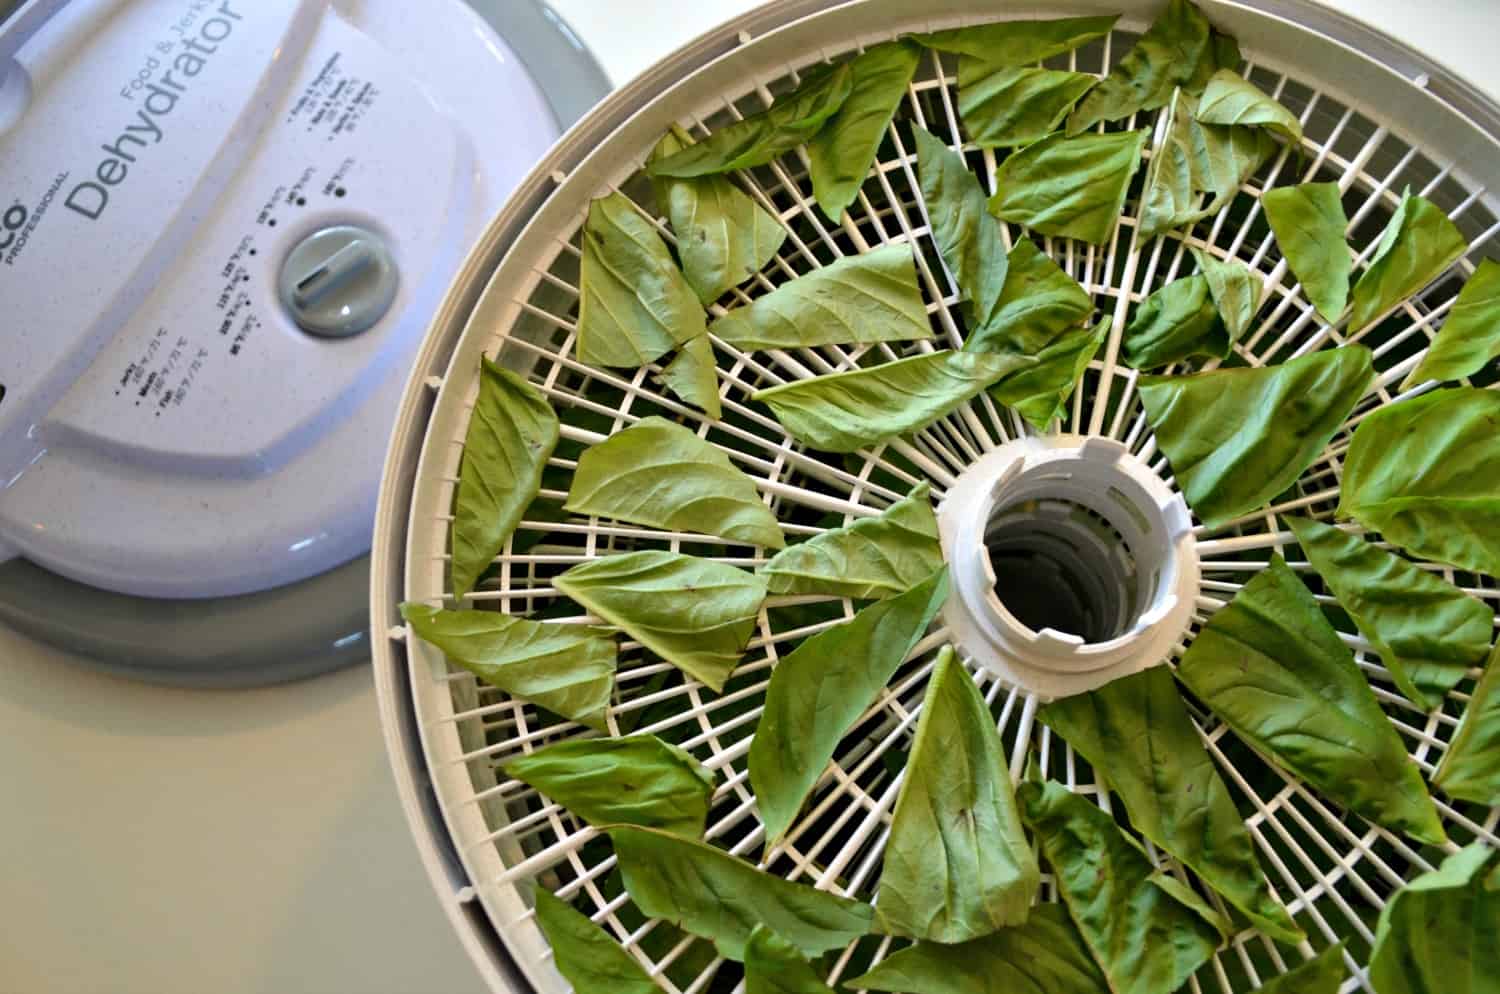
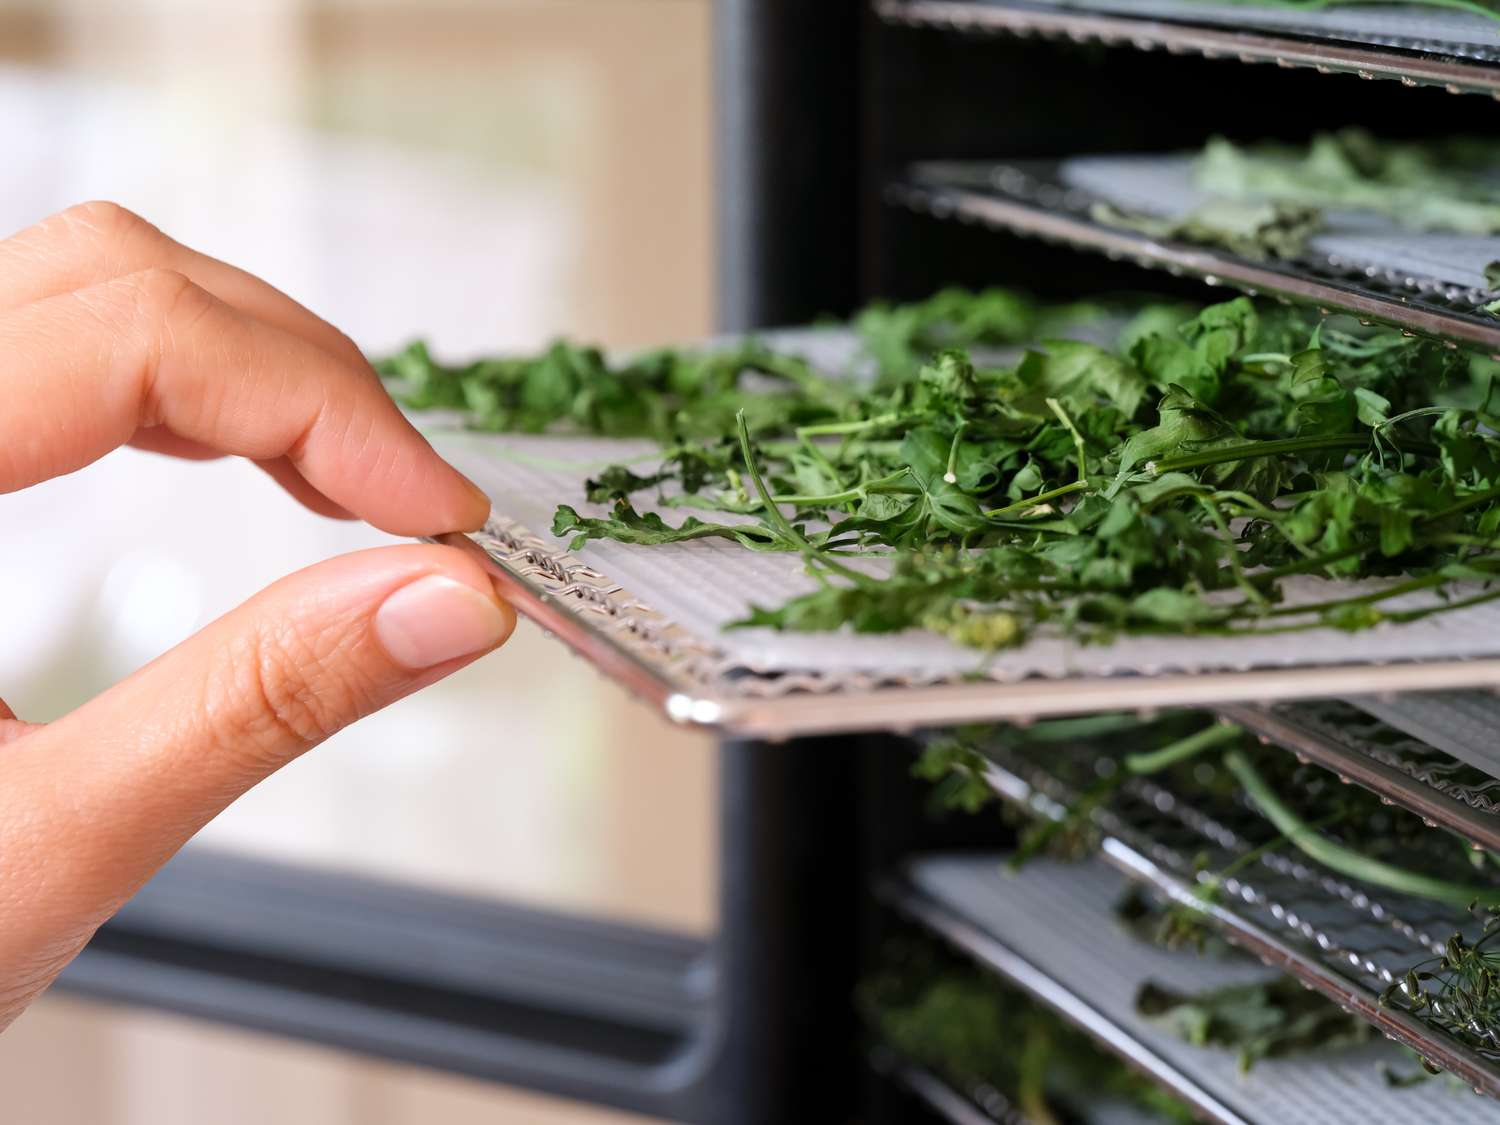
- Arrange the Herbs: Lay the prepared herb leaves in a single layer on the dehydrator trays, ensuring that they are not overlapping. This allows for consistent airflow around each leaf, promoting even dehydration.
- Space Optimization: Utilize the available space in the dehydrator by arranging the herbs in a strategic manner. If your dehydrator features adjustable trays, consider removing or repositioning them to accommodate larger bunches of herbs.
- Air Circulation: Ensure that there is ample space between the herb leaves to facilitate proper air circulation. Adequate airflow is essential for the dehydration process, as it prevents moisture from becoming trapped between the leaves.
- Layering: If you have multiple trays, you can stack them in the dehydrator. However, it’s essential to rotate the trays periodically during the dehydration process to promote uniform drying.
By carefully loading the dehydrator with your prepared herbs, you set the stage for a successful dehydration process, allowing the herbs to transform into flavorful, shelf-stable seasonings that will enhance your culinary creations.
Setting the Temperature and Time
Once your dehydrator is loaded with the prepared herbs, it’s time to set the temperature and time settings to initiate the dehydration process. Different herbs may require varying temperatures and durations to achieve optimal results, so it’s essential to tailor the settings to suit the specific herbs you are dehydrating.
Consider the following guidelines when setting the temperature and time for dehydrating herbs:
- Low and Gentle Heat: Herbs are delicate and can lose their essential oils and flavors if exposed to high temperatures. Set the dehydrator to a low temperature, typically between 95°F and 115°F (35°C to 46°C), to gently remove moisture while preserving the herbs’ aromatic properties.
- Duration: The dehydration time can vary depending on factors such as the herb type, humidity levels, and the moisture content of the herbs. In general, most herbs require approximately 1 to 4 hours to fully dehydrate. Keep a close eye on the herbs as they dry, adjusting the duration as needed to achieve the desired results.
- Optimal Conditions: Aim to dehydrate the herbs in a dry, well-ventilated area to expedite the process. Avoid exposing the herbs to direct sunlight during dehydration, as this can degrade their color and flavor.
By carefully selecting the temperature and duration for the dehydration process, you can preserve the vibrant colors, essential oils, and flavors of the herbs, ensuring that they retain their potency and aromatic qualities for future culinary endeavors.
After washing the herbs, remove the leaves from the stems and spread them in a single layer on the dehydrator trays. Set the temperature to 95-115°F (35-46°C) and dry for 1-4 hours, checking regularly for dryness.
Checking for Dryness
As the dehydrator works its magic, it’s important to periodically check the herbs for dryness to ensure that they reach the desired state of crispness and potency. Properly dehydrated herbs should feel dry to the touch and crumble easily, indicating that the moisture has been effectively removed. Here are some essential steps for assessing the dryness of your herbs:
- Visual Inspection: Carefully examine the herbs as they dehydrate, looking for signs of moisture and wilting. Properly dehydrated herbs will appear shriveled and brittle, with vibrant colors retained.
- Touch Test: Gently touch the herbs to assess their dryness. They should feel crisp and brittle, indicating that the moisture content has been sufficiently reduced. If the herbs still feel soft or pliable, they require additional dehydration time.
- Fragrance Evaluation: Take a moment to inhale the aroma of the herbs. Properly dehydrated herbs will emit a concentrated, potent fragrance, indicating that their essential oils have been preserved. If the herbs lack a strong aroma, they may require further dehydration.
It’s important to exercise patience and attentiveness during the dehydration process, as achieving the ideal level of dryness is essential for preserving the herbs’ flavors and aromas. Once the herbs have reached the desired state of dryness, it’s time to proceed with the next crucial step: storing the dehydrated herbs for future use.
Read more: How To Dehydrate Tomatoes In A Dehydrator
Storing Dehydrated Herbs
After the herbs have been successfully dehydrated, it’s imperative to store them properly to maintain their flavor, aroma, and potency over an extended period. By following appropriate storage practices, you can ensure that your dehydrated herbs remain a valuable addition to your culinary arsenal. Consider the following guidelines for storing dehydrated herbs:
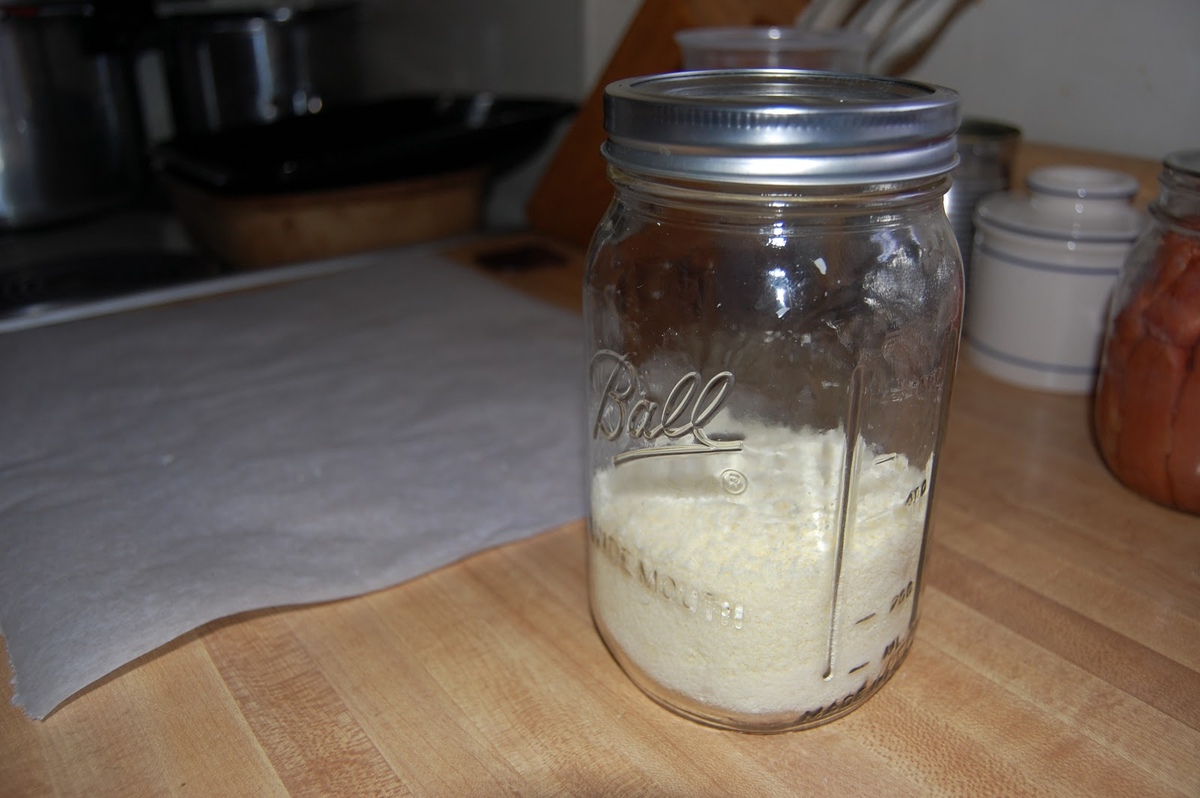
- Container Selection: Choose airtight containers such as glass jars, resealable bags, or vacuum-sealed pouches to store the dehydrated herbs. These containers help prevent exposure to moisture, light, and air, which can compromise the herbs’ quality.
- Labeling: Clearly label each container with the name of the herb and the date of dehydration. Proper labeling ensures that you can easily identify and track the freshness of your herb collection.
- Storage Location: Store the containers of dehydrated herbs in a cool, dry, and dark environment. Avoid placing them near sources of heat or sunlight, as exposure to these elements can diminish the herbs’ flavor and potency.
- Protection from Moisture: To further safeguard the dehydrated herbs, consider adding a desiccant packet to the storage containers. These packets help absorb any residual moisture, preserving the herbs’ crispness and flavor.
By adhering to these storage practices, you can prolong the shelf life of your dehydrated herbs, ensuring that they remain vibrant and aromatic until you’re ready to infuse them into your culinary creations.
Tips for Dehydrating Herbs
Dehydrating herbs is a rewarding endeavor that allows you to capture the essence of fresh herbs in a shelf-stable form. To optimize the dehydrating process and achieve exceptional results, consider the following valuable tips and techniques:
- Harvest at the Right Time: For homegrown herbs, harvest them at their peak, typically before they flower. This is when the essential oils and flavors are most concentrated.
- Prevent Overcrowding: When loading the dehydrator trays, ensure that the herb leaves are arranged in a single layer without overlapping. This promotes efficient airflow and even drying.
- Monitor the Dehydration Process: Periodically check the herbs for dryness, using visual and tactile assessments to determine when they have reached the desired state. Avoid overdrying, as this can diminish the herbs’ flavors.
- Consider Herb-Specific Temperatures: Different herbs may benefit from specific temperature ranges during dehydration. Research optimal temperature settings for the herbs you are dehydrating to preserve their unique flavors and aromas.
- Utilize Herb Stems and Trim: While the leaves are the primary focus for dehydration, consider using the herb stems and trimmings to infuse stocks, soups, or teas with additional flavor before discarding them.
- Experiment with Herb Combinations: Create custom herb blends by dehydrating complementary herbs together. This allows you to craft unique seasoning mixes tailored to your culinary preferences.
- Embrace Creative Applications: Beyond culinary uses, consider incorporating dehydrated herbs into homemade potpourri, sachets, or infused oils for aromatic and decorative purposes.
By implementing these tips, you can elevate your herb-dehydrating endeavors, resulting in a bountiful supply of flavorful, aromatic herbs that enhance your culinary creations and enrich your home with their captivating scents.
Conclusion
Congratulations! You’ve embarked on a flavorful journey into the art of dehydrating herbs using a dehydrator, unlocking a world of culinary possibilities and aromatic delights. By carefully selecting, preparing, dehydrating, and storing your herbs, you’ve equipped yourself with the skills to preserve their vibrant flavors and aromas for future culinary endeavors.
As you continue to explore the realm of dehydrated herbs, remember that patience and attentiveness are key elements in achieving exceptional results. Whether you’re infusing your favorite dishes with the essence of freshly dehydrated herbs or crafting custom seasoning blends, your newfound expertise will undoubtedly elevate your culinary creations to new heights.
Embrace the versatility of dehydrated herbs, from enhancing savory dishes to embellishing homemade crafts with their aromatic allure. Let your creativity flourish as you experiment with herb combinations, temperature settings, and innovative applications, infusing your home with the captivating scents of your herb-infused creations.
As you savor the fruits of your dehydrating efforts, may your culinary adventures be enriched by the vibrant flavors and fragrant aromas of your homemade herb seasonings. Whether you’re a seasoned chef or an aspiring home cook, the art of dehydrating herbs in a dehydrator offers a delightful way to preserve nature’s bounty and elevate your culinary repertoire. So, embrace the aromatic art of herb dehydration and savor the boundless possibilities that await in your flavorful culinary journey.
Frequently Asked Questions about How To Dehydrate Herbs In A Dehydrator
Was this page helpful?
At Storables.com, we guarantee accurate and reliable information. Our content, validated by Expert Board Contributors, is crafted following stringent Editorial Policies. We're committed to providing you with well-researched, expert-backed insights for all your informational needs.


0 thoughts on “How To Dehydrate Herbs In A Dehydrator”