Home>Home Appliances>Kitchen Appliances>How To Set Clock On Ge Glass Top Stove
Kitchen Appliances
How To Set Clock On Ge Glass Top Stove
Published: February 5, 2024
Learn how to set the clock on your GE glass top stove for efficient kitchen appliance management. Follow our step-by-step guide for easy setup.
(Many of the links in this article redirect to a specific reviewed product. Your purchase of these products through affiliate links helps to generate commission for Storables.com, at no extra cost. Learn more)
Introduction
Setting the clock on your GE glass top stove is a simple yet essential task that ensures your appliance is always in sync with your daily routine. Whether you've recently installed the stove or experienced a power outage, knowing how to set the clock can save you time and frustration. By following a few straightforward steps, you can quickly and accurately adjust the time display to match your local time zone.
A properly set clock not only enhances the aesthetic appeal of your kitchen but also plays a practical role in timing your cooking processes. Imagine effortlessly glancing at the stove to check the time while preparing a delicious meal, without the need to rely on external clocks or devices. Additionally, a correctly set clock can be a subtle yet impactful element in maintaining the overall efficiency and functionality of your kitchen.
In the following guide, we will walk you through the process of accessing the clock setting on your GE glass top stove, setting the time to the precise hour and minute, and confirming the accuracy of the newly adjusted time display. By the end of this tutorial, you'll be equipped with the knowledge and confidence to effortlessly manage the clock on your GE glass top stove, ensuring that it remains a reliable and convenient companion in your culinary adventures.
Key Takeaways:
- Mastering the art of setting the clock on your GE glass top stove ensures it becomes a reliable timekeeping resource in your kitchen, seamlessly integrating into your daily culinary routines.
- By following simple steps to access, adjust, and confirm the time on your GE glass top stove, you can effortlessly manage its clock, enhancing both functionality and aesthetic appeal in your kitchen.
Read more: How To Set Clock On GE Glass Top Stove
Step 1: Accessing the Clock Setting
Accessing the clock setting on your GE glass top stove is the initial and crucial step in ensuring that the time displayed aligns with your local time zone. This process may vary slightly depending on the specific model of your stove, but the fundamental steps remain consistent across most GE glass top stoves.
-
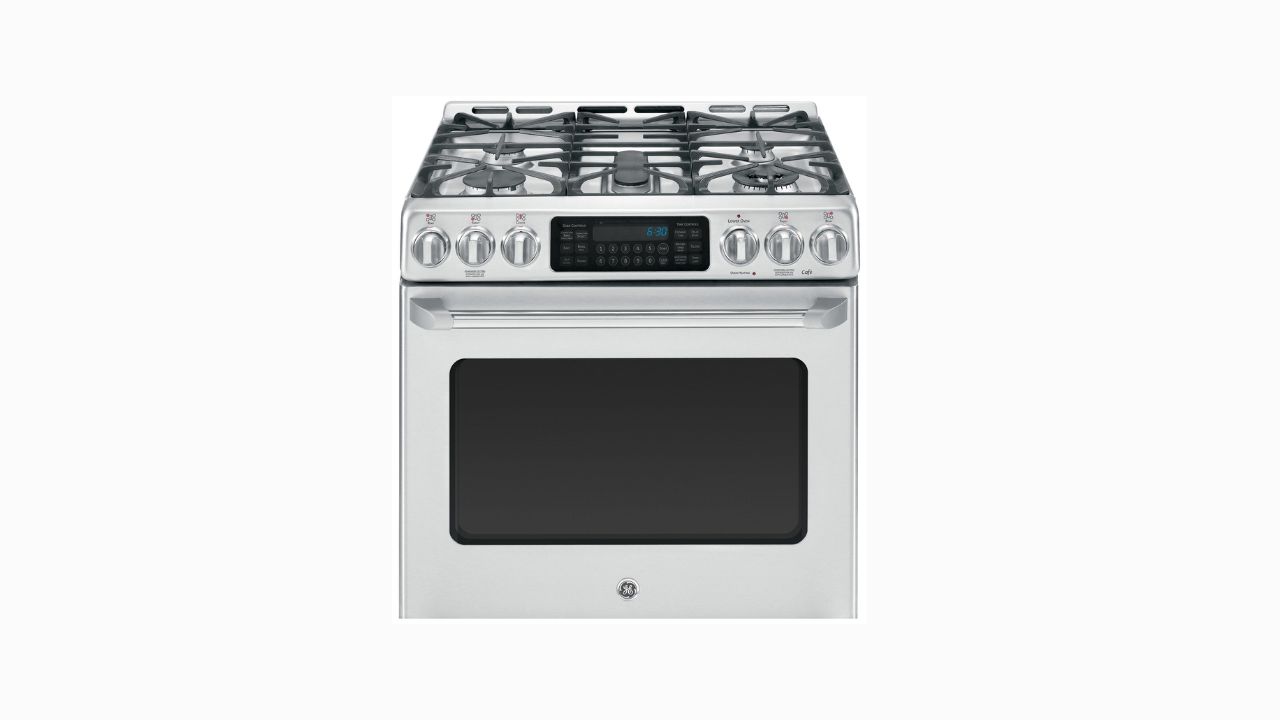
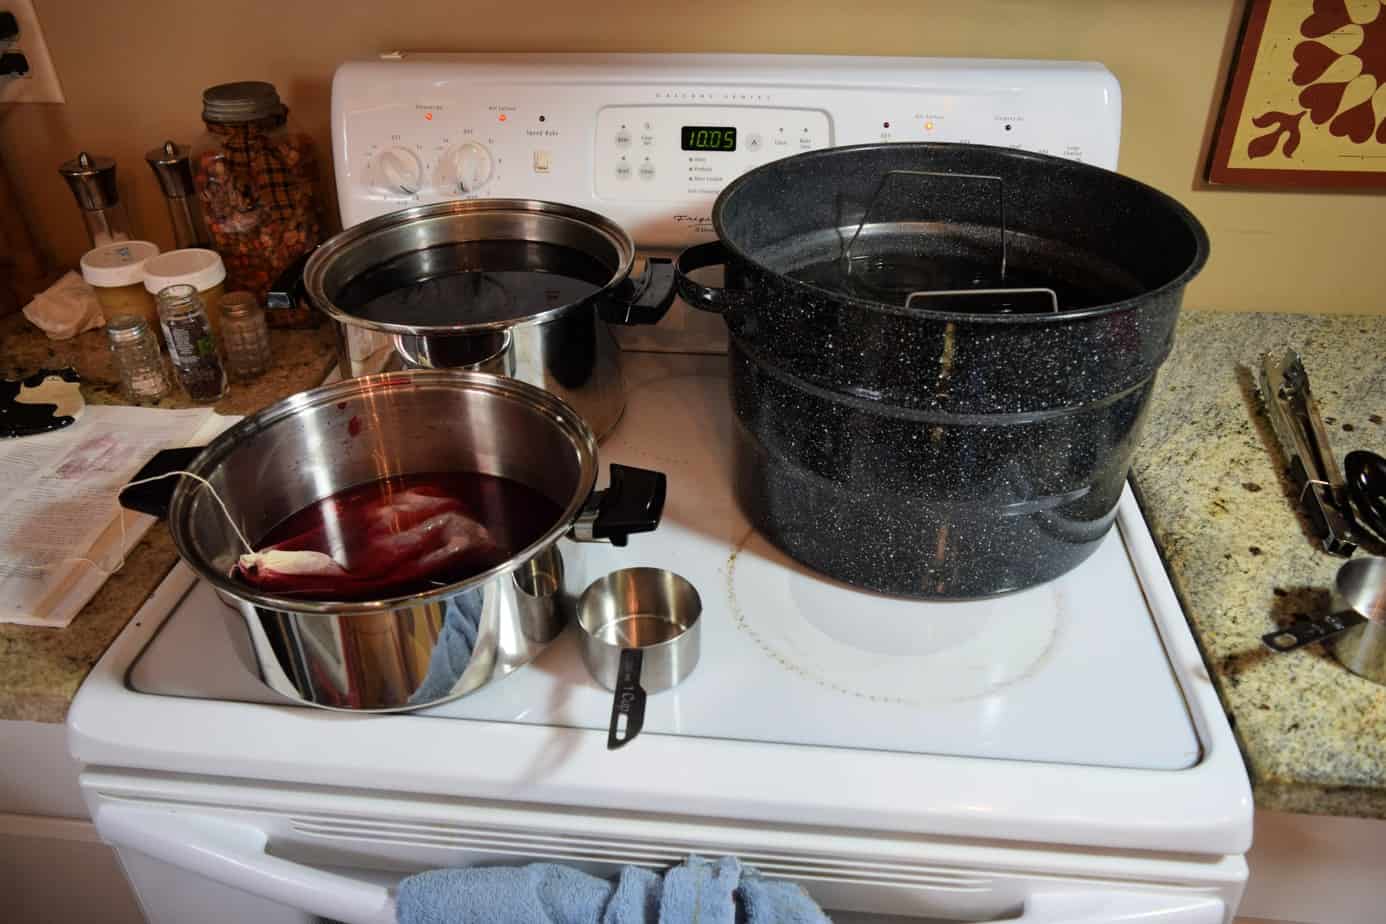
Locate the Control Panel: The control panel of your GE glass top stove is where you'll find the interface for accessing various settings, including the clock. Typically, the control panel is positioned at the front of the stove, within easy reach for convenient access. It may feature a digital display and touch-sensitive buttons or physical knobs for navigation.
-
Identify the Clock Icon: Look for the clock icon or any button labeled "Clock" or "Set Clock" on the control panel. This icon or button is designed to provide direct access to the clock setting function. It's often represented by a simple outline of a clock or may be accompanied by the word "Clock" for clarity.
-
Press the Clock Button: Once you've located the clock icon or the designated button for setting the clock, gently press it to initiate the clock adjustment mode. This action prompts the stove to enter the setting interface, allowing you to modify the time display according to your preferences.
-
Navigate the Menu (If Applicable): In some GE glass top stove models, accessing the clock setting may involve navigating through a menu system on the digital display. If this applies to your stove, follow the on-screen prompts or use the control panel buttons to access the clock setting submenu.
-
Prepare for Time Adjustment: After successfully accessing the clock setting, you're now ready to proceed with setting the precise time on your GE glass top stove. This preparation phase sets the stage for the subsequent steps, ensuring a seamless and accurate adjustment of the displayed time.
By following these steps, you can confidently access the clock setting on your GE glass top stove, laying the groundwork for accurately setting the time to match your local time zone. With the initial phase completed, you're now poised to delve into the next step of setting the time with precision and ease.
Step 2: Setting the Time
Setting the time on your GE glass top stove is a straightforward process that ensures the displayed time aligns with your local time zone. Once you have accessed the clock setting, the next step involves precisely setting the hour and minute to reflect the current time. Follow these detailed steps to seamlessly adjust the time on your GE glass top stove:
-
Select the Hour: Upon accessing the clock setting, you will typically encounter separate controls for adjusting the hour and minute. Begin by selecting the hour setting, which may involve pressing a dedicated button or using the control panel interface to navigate to the hour adjustment mode.
-
Adjust the Hour: Once you have entered the hour adjustment mode, use the designated controls to increase or decrease the hour display until it accurately corresponds to the current hour in your local time zone. Pay close attention to AM and PM indicators if your stove utilizes a 12-hour time format.
-
Navigate to the Minute Setting: After setting the hour, navigate to the minute adjustment mode using the control panel interface. This step allows you to fine-tune the time display by adjusting the minutes to match the precise minute of the current time.
-
Fine-Tune the Minutes: Similar to adjusting the hour, use the provided controls to incrementally adjust the minutes until the displayed time accurately reflects the current minute in your local time zone.
-
Confirm the Time: Once you have meticulously set the hour and minute, take a moment to confirm the accuracy of the displayed time. Ensure that the time aligns with the current time in your location, accounting for any time variances such as daylight saving time if applicable.
-
Save the Settings (If Necessary): Some GE glass top stoves may require you to save the adjusted time settings explicitly. If prompted to do so, follow the on-screen instructions or use the designated controls to save the newly set time, ensuring that your adjustments are securely stored.
By following these detailed steps, you can effectively set the time on your GE glass top stove with precision and confidence. Once the time is accurately adjusted, your stove's clock becomes a reliable and convenient reference for timing your culinary endeavors, seamlessly integrating into your daily routine.
With the time now accurately set on your GE glass top stove, you're ready to proceed with the final step of confirming the time to ensure that your adjustments have been successfully implemented.
To set the clock on a GE glass top stove, press the “Clock” button, then use the “+” and “-” buttons to adjust the time. Press “Start” to confirm.
Step 3: Confirming the Time
Confirming the time on your GE glass top stove is a crucial step that validates the accuracy of the adjustments made during the time-setting process. By confirming the time, you ensure that the displayed hour and minute align precisely with the current time in your local time zone. This verification not only enhances the functionality of your stove but also provides you with the confidence that your culinary activities are synchronized with the correct time.
To confirm the time on your GE glass top stove, follow these essential steps:
-
Visual Verification: Take a moment to visually compare the displayed time on your stove with the current time from a reliable external source, such as a wall clock, smartphone, or any other trusted timekeeping device. This visual comparison allows you to quickly assess whether the stove's time display matches the actual time, providing an initial indication of the accuracy of your adjustments.
-
Time Synchronization: If available, consider synchronizing the time on your GE glass top stove with an authoritative time source, such as an online timekeeping service or a radio-controlled clock. This synchronization ensures that your stove's clock remains consistently aligned with the most precise time reference, minimizing any potential discrepancies that may arise over time.
-
Observing Time Variations: Pay attention to any time variations that may occur due to factors such as daylight saving time or regional time adjustments. Ensure that your stove's clock accounts for these variations, especially if it features automatic time adjustments, to maintain accurate timekeeping throughout the year.
-
Functional Testing: Perform a functional test by utilizing the stove's clock as a reference for timing a brief cooking activity or setting a countdown. This practical test allows you to assess the real-time functionality of the clock in a culinary context, confirming its reliability and accuracy in aiding your cooking endeavors.
-
Consistency Check: Regularly revisit the clock display on your GE glass top stove to ensure that the time remains consistent and continues to reflect the correct hour and minute. By periodically checking the time consistency, you can promptly address any deviations and uphold the reliability of your stove's clock as a dependable timekeeping resource.
By diligently confirming the time on your GE glass top stove through these comprehensive steps, you establish a reliable and accurate time reference within your kitchen environment. This confirmation process not only validates the precision of your time adjustments but also ensures that your stove's clock remains a dependable companion in your culinary pursuits.
With the time on your GE glass top stove successfully confirmed, you can now enjoy the convenience of a precisely set clock that seamlessly integrates into your daily cooking routines, enhancing both the functionality and aesthetic appeal of your kitchen.
Conclusion
In conclusion, mastering the art of setting the clock on your GE glass top stove empowers you to seamlessly integrate this essential kitchen appliance into your daily culinary endeavors. By following the intuitive steps outlined in this guide, you have gained the knowledge and confidence to access the clock setting, precisely adjust the time, and confirm the accuracy of the displayed time. As a result, your GE glass top stove now stands as a reliable and convenient timekeeping resource within your kitchen environment.
The process of accessing the clock setting serves as the initial gateway to ensuring that the time displayed on your stove aligns with your local time zone. By identifying the control panel and navigating to the clock setting interface, you have successfully laid the groundwork for seamlessly setting the precise time on your GE glass top stove.
Setting the time itself involves a meticulous yet straightforward series of steps, allowing you to adjust the hour and minute with precision. By navigating the control panel and fine-tuning the time display, you have effectively synchronized your stove's clock with the current time, transforming it into a dependable reference for timing your culinary activities.
The crucial step of confirming the time further solidifies the reliability and accuracy of your stove's clock. Through visual verification, time synchronization, and functional testing, you have ensured that the displayed time remains consistent and aligned with the most precise time references, enhancing the functionality and practicality of your GE glass top stove.
By seamlessly integrating the time-setting process into your routine, you have unlocked the full potential of your GE glass top stove as a reliable timekeeping companion. Whether you're preparing a gourmet meal, timing a culinary masterpiece, or simply glancing at the clock for a quick reference, the accurately set clock on your stove now stands as a seamless and convenient element within your kitchen environment.
With the knowledge and proficiency gained from this guide, you are well-equipped to effortlessly manage the clock on your GE glass top stove, ensuring that it remains a reliable and convenient companion in your culinary adventures. As you continue to harness the capabilities of your kitchen appliances, the precisely set clock on your GE glass top stove stands as a testament to your mastery of culinary efficiency and convenience.
Frequently Asked Questions about How To Set Clock On Ge Glass Top Stove
Was this page helpful?
At Storables.com, we guarantee accurate and reliable information. Our content, validated by Expert Board Contributors, is crafted following stringent Editorial Policies. We're committed to providing you with well-researched, expert-backed insights for all your informational needs.


0 thoughts on “How To Set Clock On Ge Glass Top Stove”