Home>Home Appliances>Laundry Appliances>How To Clean The Filter In An LG Top Load Washing Machine
Laundry Appliances
How To Clean The Filter In An LG Top Load Washing Machine
Modified: August 17, 2024
Learn how to properly clean the filter in your LG top load washing machine for optimal performance and longevity. Follow these simple steps to maintain your laundry appliances.
(Many of the links in this article redirect to a specific reviewed product. Your purchase of these products through affiliate links helps to generate commission for Storables.com, at no extra cost. Learn more)
Introduction
Cleaning the filter in your LG top load washing machine is an essential maintenance task that ensures the optimal performance and longevity of your appliance. Over time, debris, lint, and other particles can accumulate in the filter, leading to potential drainage issues and reduced washing efficiency. By regularly cleaning the filter, you can prevent clogs, improve water drainage, and maintain the overall functionality of your washing machine.
This comprehensive guide will walk you through the step-by-step process of cleaning the filter in your LG top load washing machine. Whether you're a seasoned homeowner or a first-time appliance owner, this tutorial will equip you with the knowledge and confidence to perform this maintenance task with ease. With just a few simple tools and a little bit of time, you can ensure that your washing machine continues to operate at its best, delivering clean and fresh laundry with every cycle.
By following the instructions outlined in this guide, you'll not only maintain the efficiency of your LG top load washing machine but also potentially extend its lifespan, saving you time and money in the long run. So, let's roll up our sleeves and delve into the process of cleaning the filter, empowering you to keep your washing machine in top-notch condition.
Key Takeaways:
- Regularly cleaning the filter in your LG top load washing machine with simple tools and materials ensures optimal performance, prevents clogs, and extends the appliance’s lifespan, saving time and money in the long run.
- By following the step-by-step process of locating, removing, cleaning, and reinstalling the filter, you can maintain your LG top load washing machine with confidence, ensuring clean and fresh laundry with every cycle.
Read more: How to Clean Filter on LG Top Load Washer
Tools and Materials Needed
Before embarking on the task of cleaning the filter in your LG top load washing machine, it's essential to gather the necessary tools and materials. By having these items on hand, you'll be well-prepared to tackle the maintenance process efficiently. Here's what you'll need:
-
Gloves: To protect your hands from any accumulated debris or sharp edges within the filter compartment, a pair of gloves is essential. Additionally, gloves can help maintain hygiene during the cleaning process.
-
Pliers: A pair of pliers will be useful for gently removing the filter from its housing. This tool provides a firm grip, allowing you to carefully extract the filter without causing any damage.
-
Soft Brush or Cloth: Having a soft-bristled brush or a clean cloth is crucial for effectively removing any lint, dirt, or residue from the filter. The gentle nature of these tools ensures that the filter is cleaned thoroughly without being damaged.
-
Bucket or Container: A bucket or container will come in handy for collecting any water that may be trapped in the filter housing. This will prevent spillage and help maintain a tidy workspace during the cleaning process.
-
Mild Detergent: Using a mild detergent or soap can aid in dislodging stubborn grime or buildup from the filter. It's important to opt for a gentle cleaning solution to avoid damaging the filter or its components.
-
Clean Water: Access to clean water is essential for rinsing the filter thoroughly after cleaning. This ensures that all traces of detergent and debris are removed, leaving the filter pristine and ready for reinstallation.
By ensuring that you have these tools and materials at your disposal, you'll be well-equipped to carry out the filter cleaning process effectively. With these items in hand, you can proceed with confidence, knowing that you have everything you need to maintain your LG top load washing machine in optimal condition.
Step 1: Turn Off the Washing Machine
Before beginning the process of cleaning the filter in your LG top load washing machine, it is crucial to ensure that the appliance is completely powered off. This step is essential for safety and to prevent any potential mishaps during the maintenance procedure.
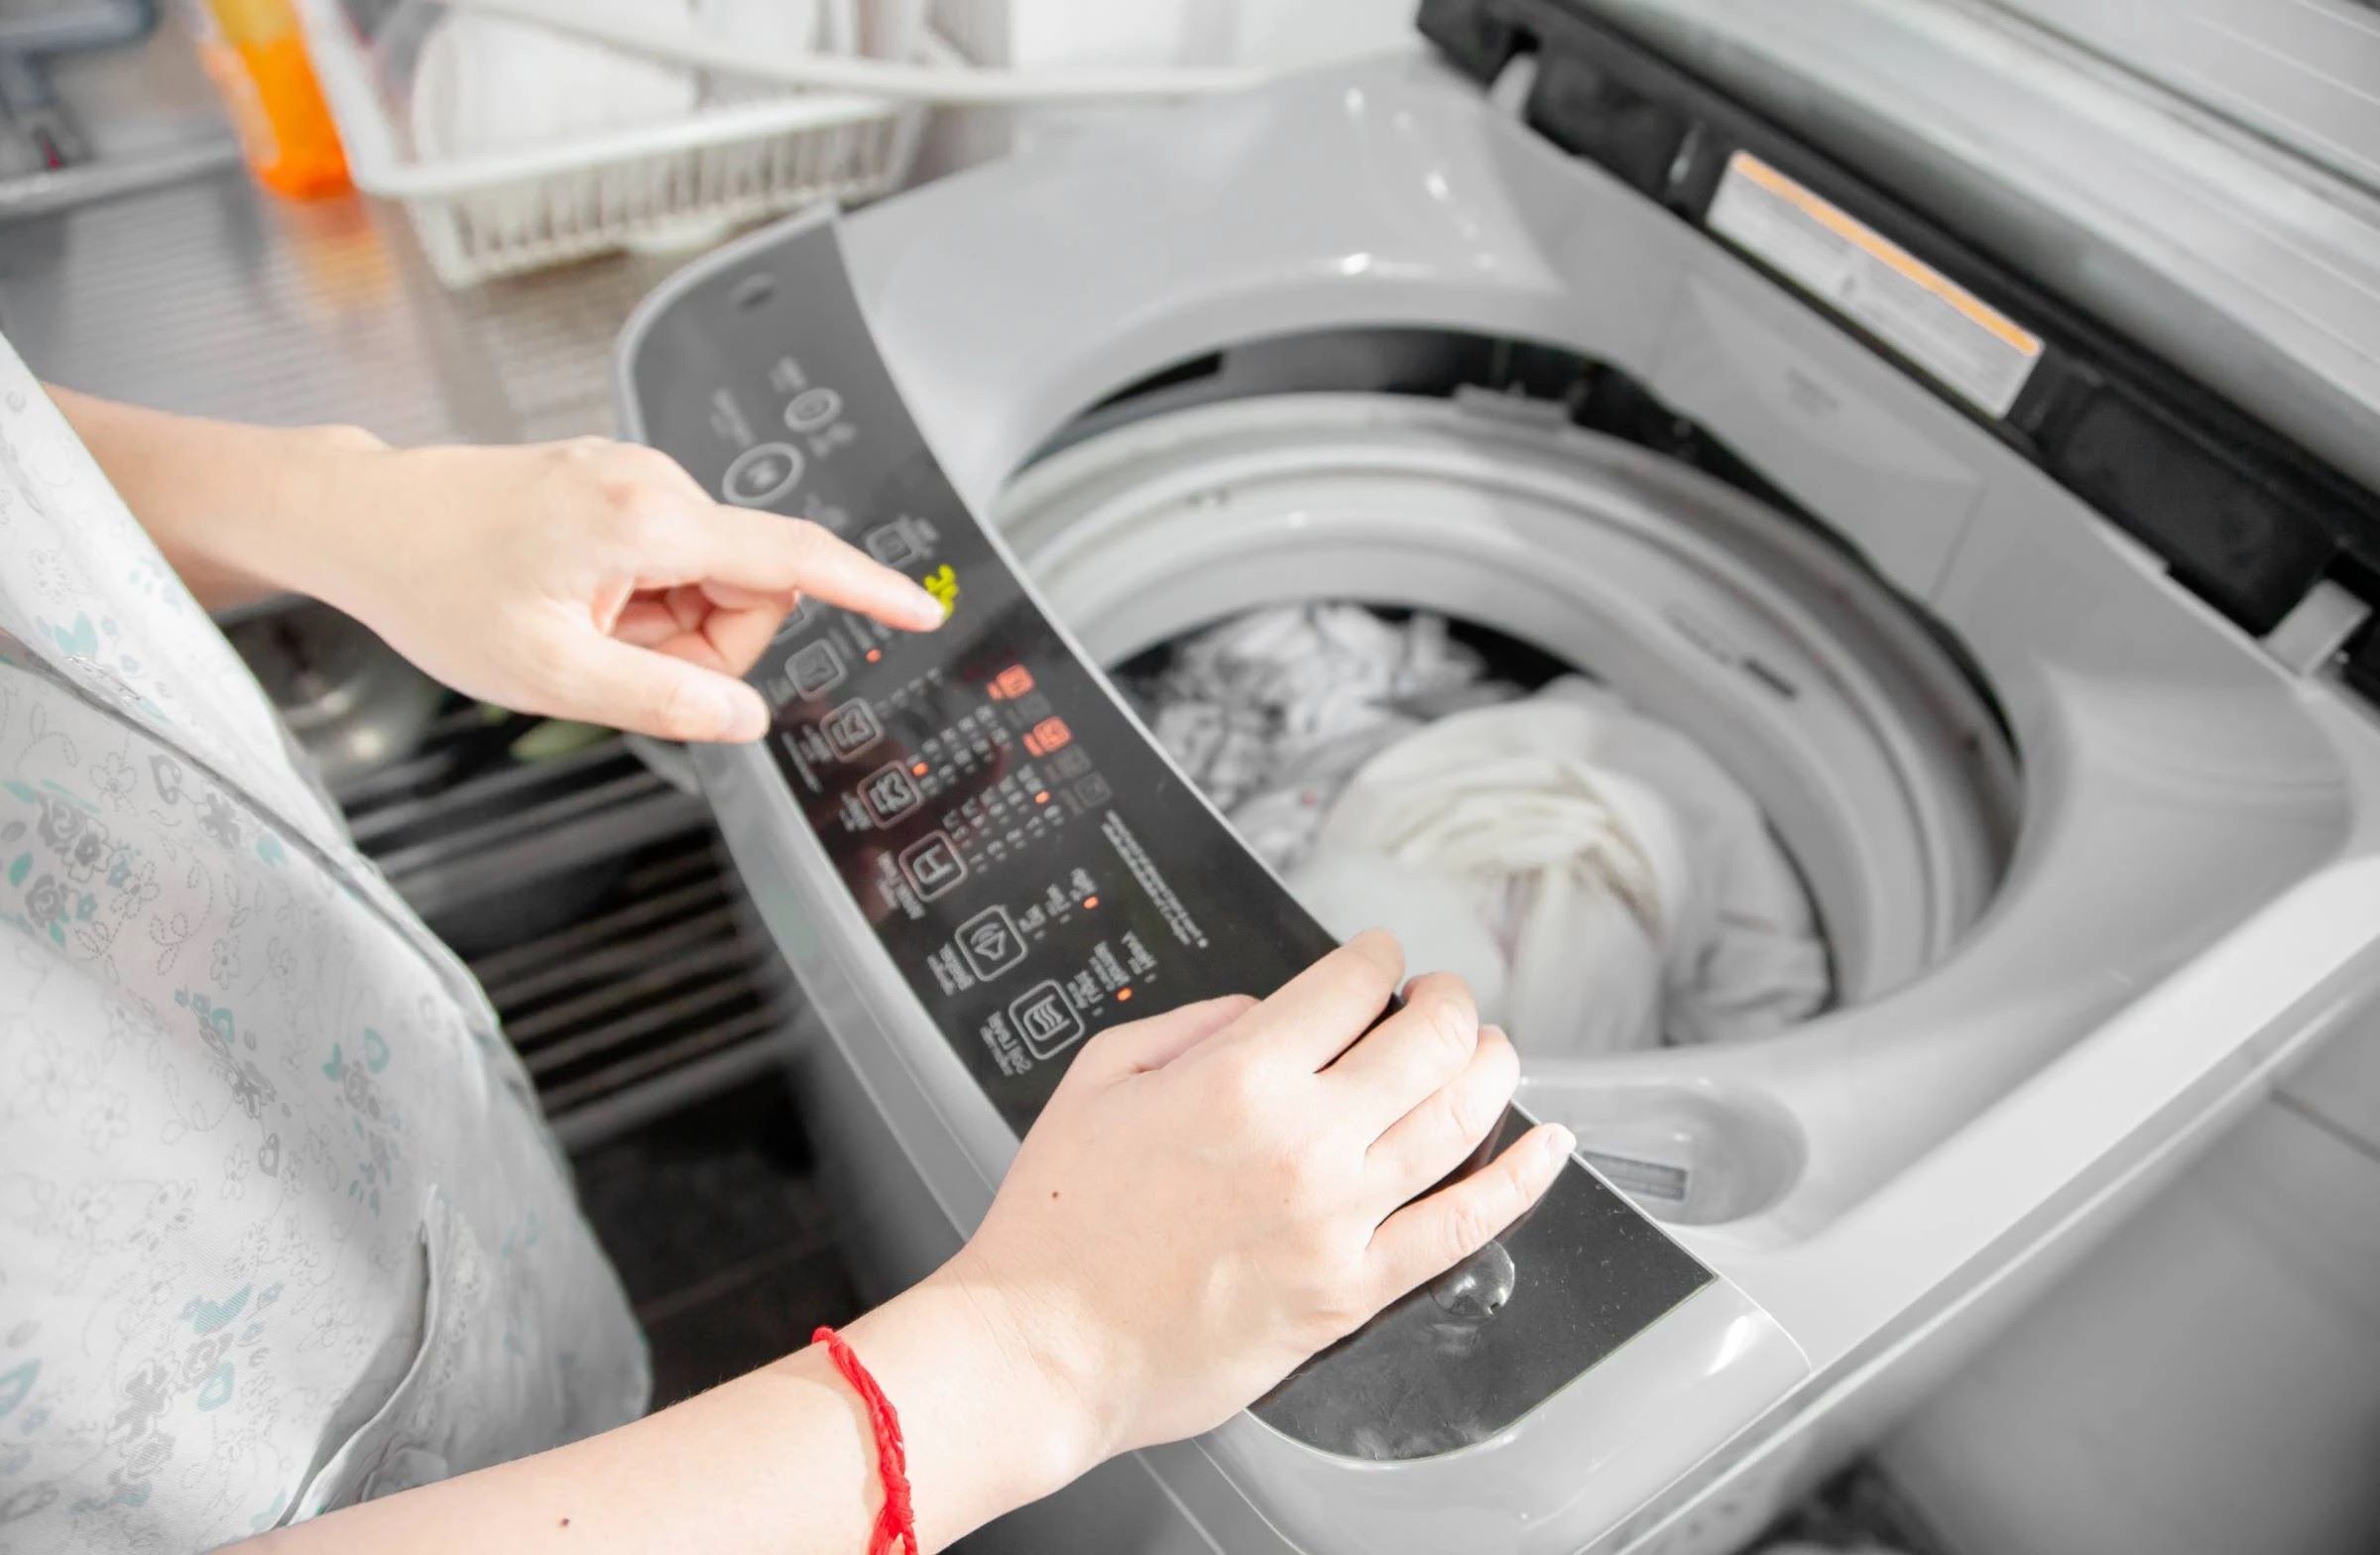
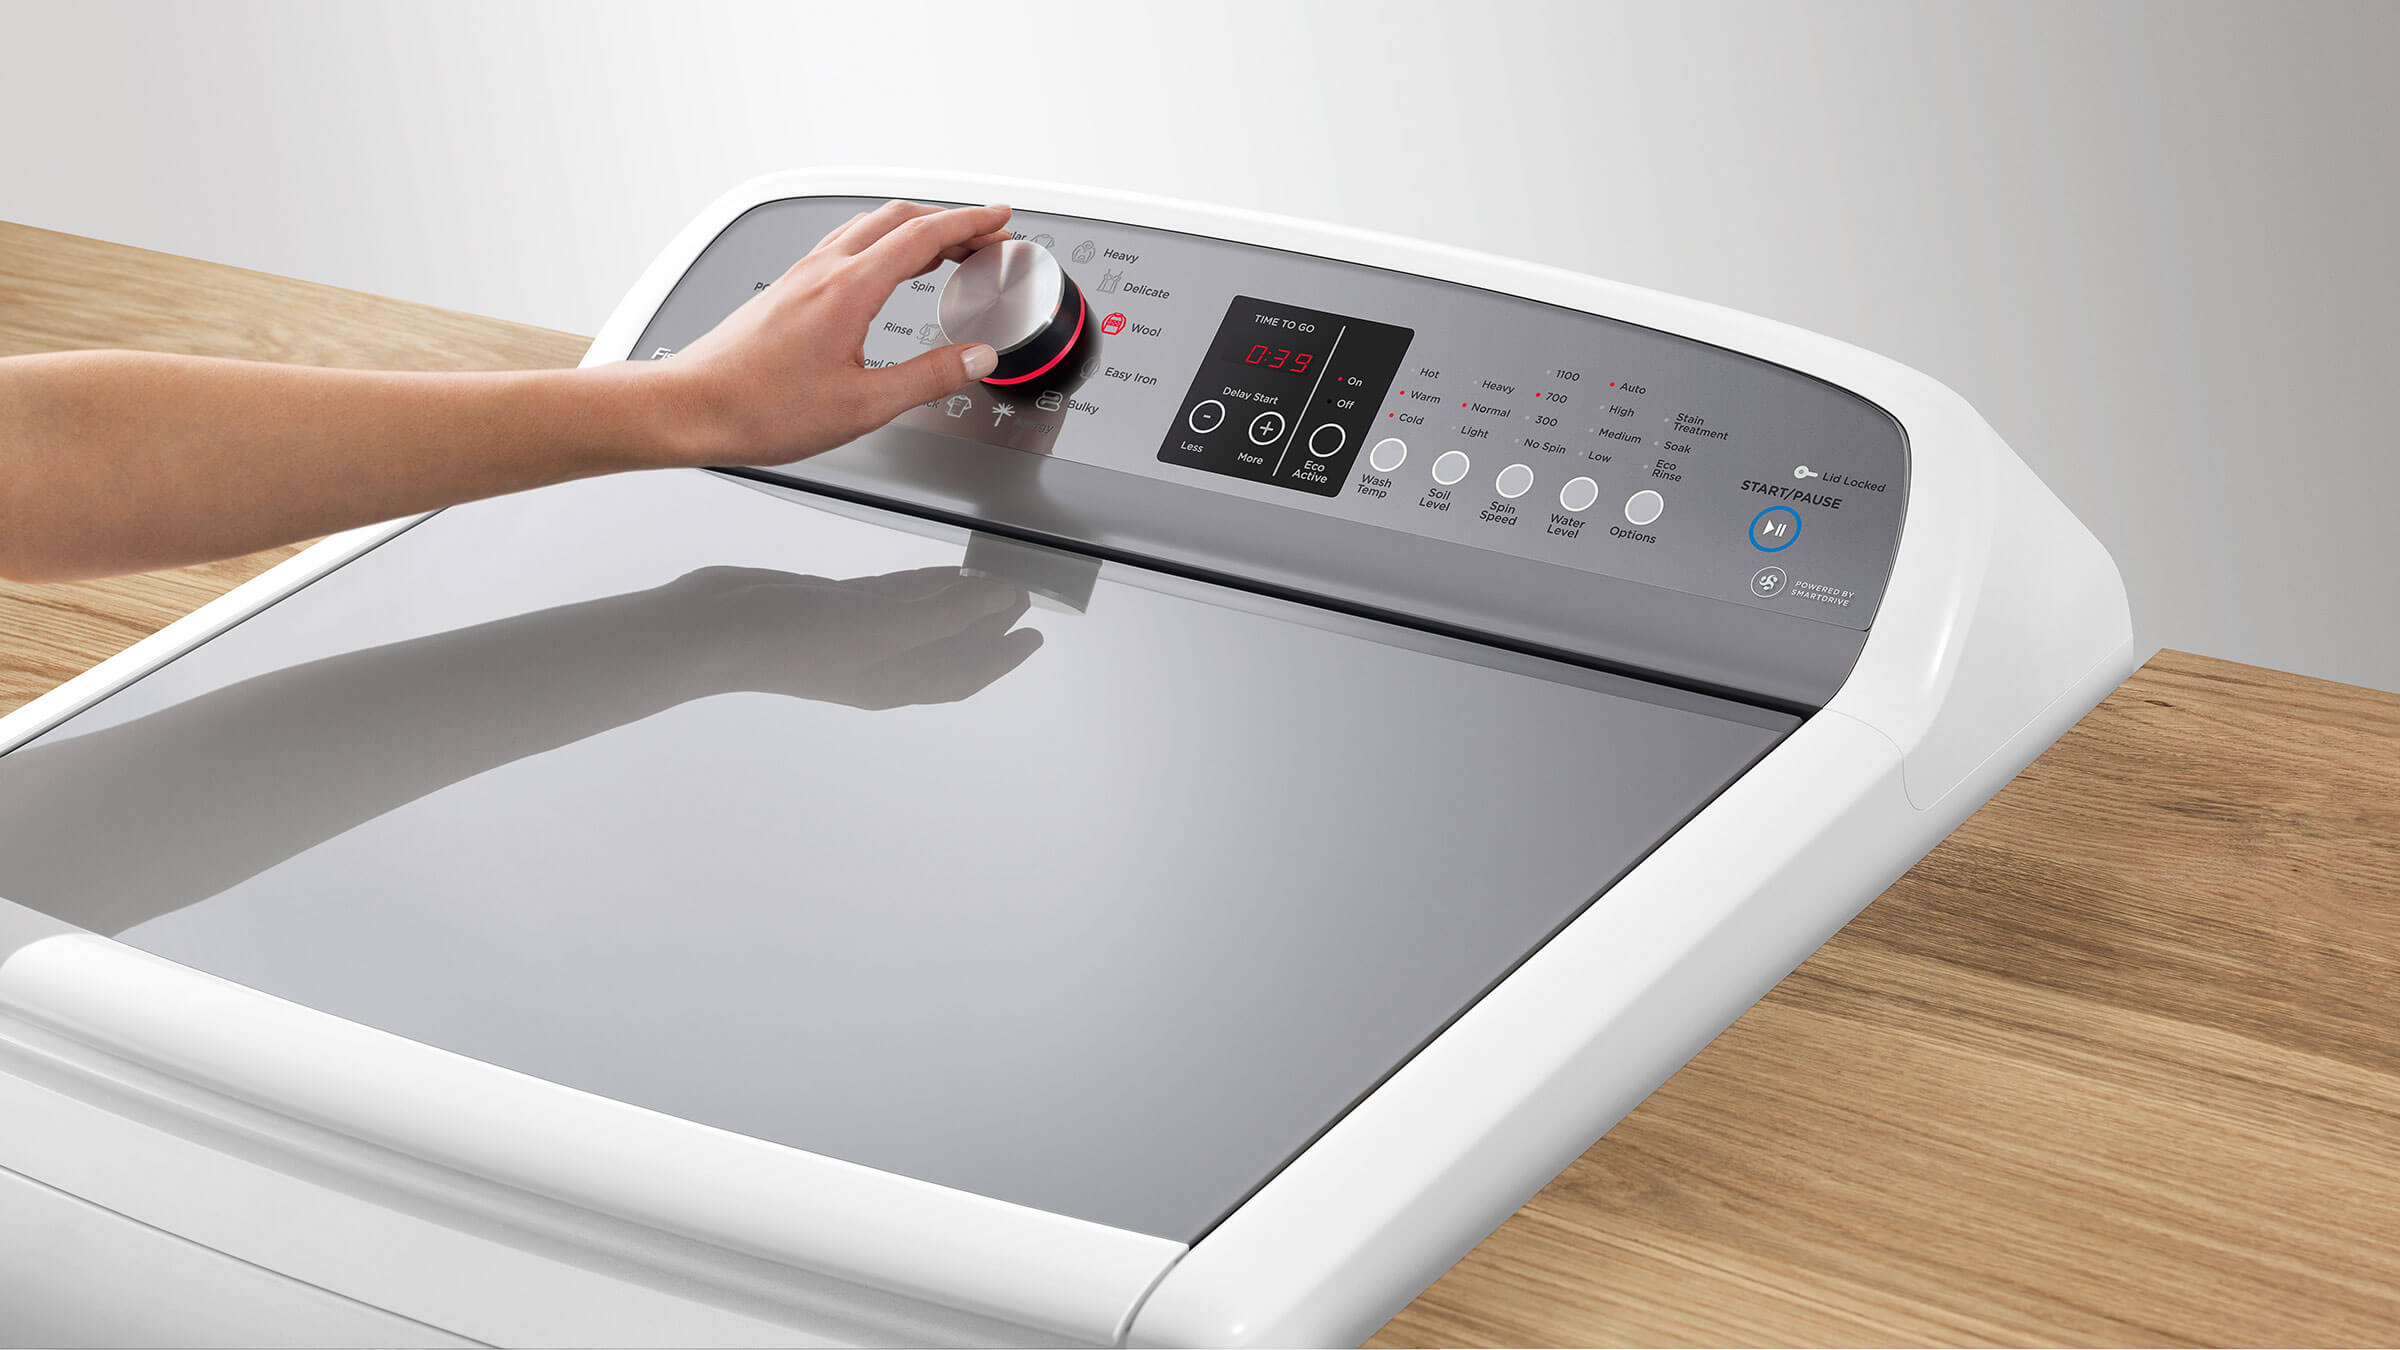
To turn off the washing machine, start by pressing the "Power" button on the control panel. If your washing machine is in the middle of a cycle, allow it to complete the current operation before proceeding. Once the machine has powered down, unplug it from the electrical outlet to eliminate any risk of electric shock or accidental activation while working on the filter.
By disconnecting the power supply, you create a safe environment to access and clean the filter without any electrical hazards. Additionally, turning off the washing machine allows the internal components to cool down, reducing the risk of burns or injuries while handling the filter and its housing.
Ensuring that the washing machine is powered off and unplugged is a fundamental safety measure that should never be overlooked. It sets the stage for a secure and controlled maintenance process, giving you the peace of mind to focus on effectively cleaning the filter without any distractions or safety concerns.
Once the washing machine is safely powered off and disconnected from the electrical supply, you can proceed to the next step of locating the filter and preparing for its removal. This initial precautionary measure lays the groundwork for a smooth and secure filter cleaning process, allowing you to maintain your LG top load washing machine with confidence and peace of mind.
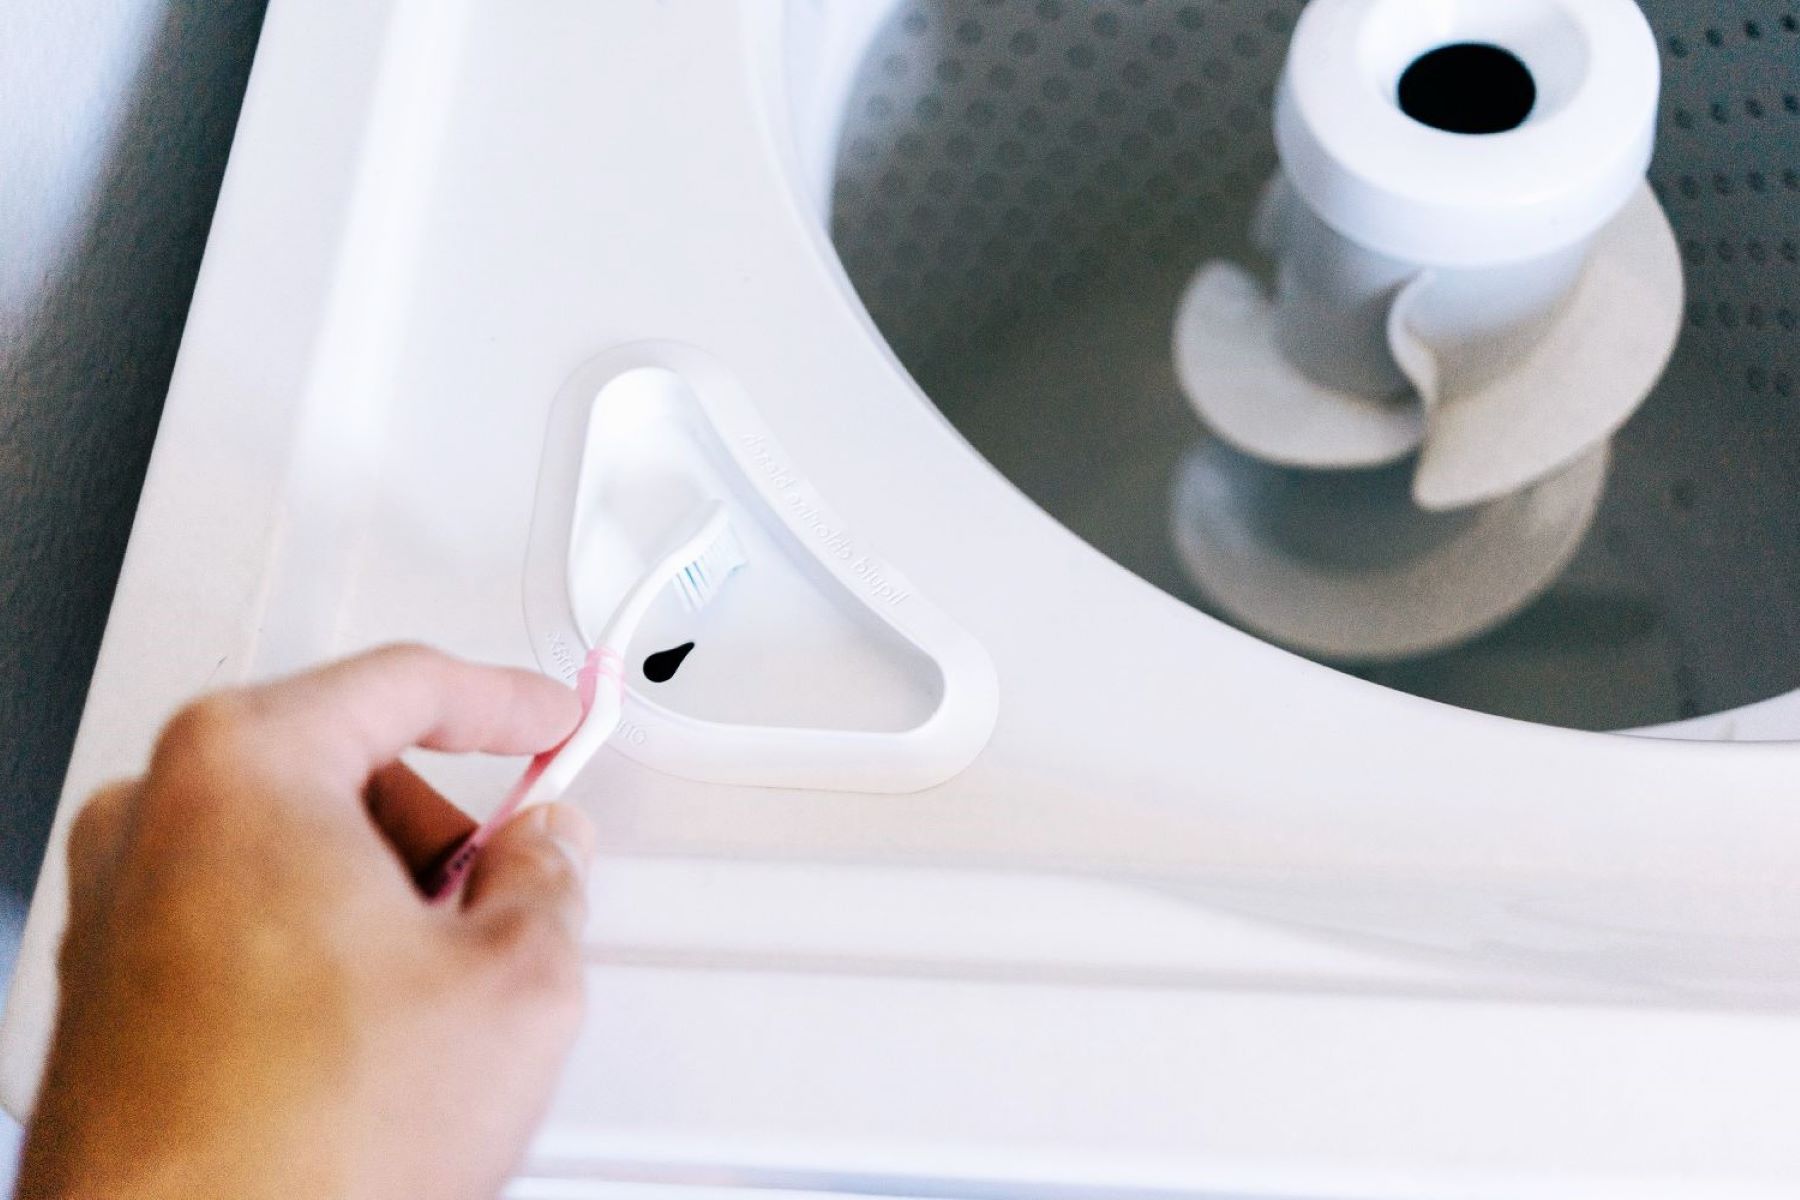
Step 2: Locate the Filter
Locating the filter in your LG top load washing machine is a crucial step in the maintenance process. The filter is responsible for trapping lint, debris, and other particles that may be present in the laundry or within the washing machine itself. By identifying the filter and its housing, you can effectively access and clean this essential component, ensuring the continued efficiency of your appliance.
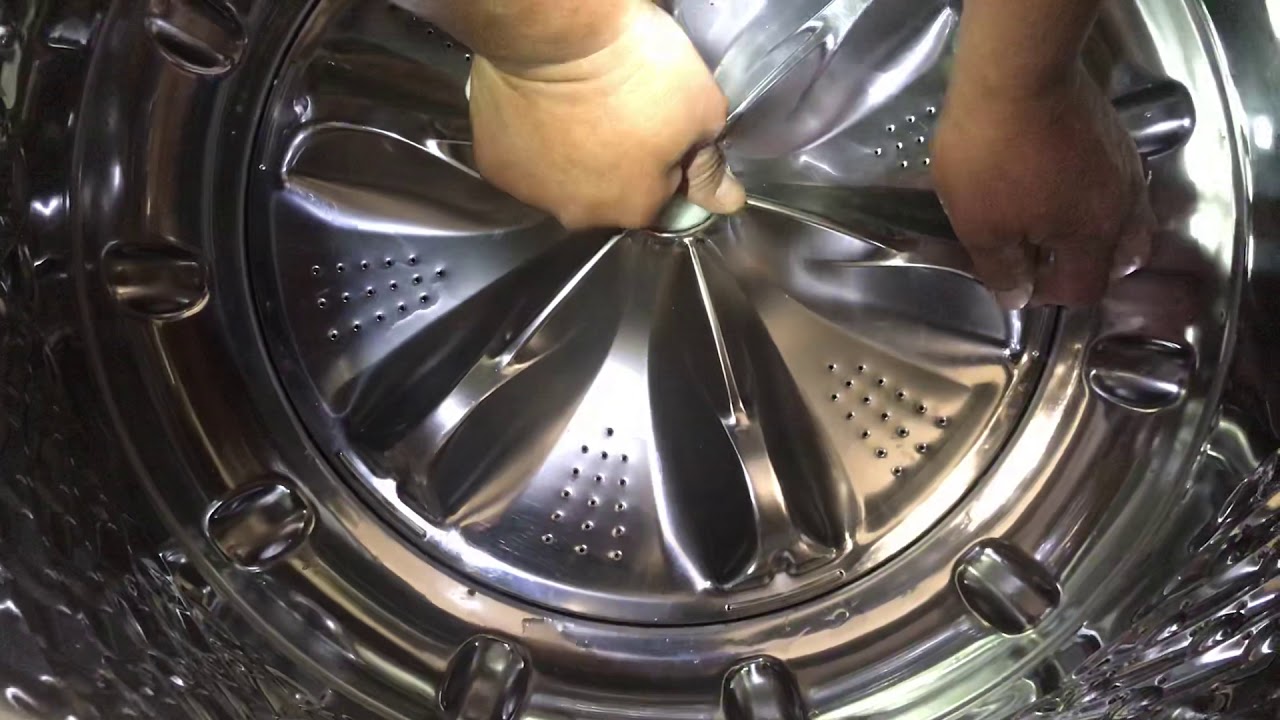
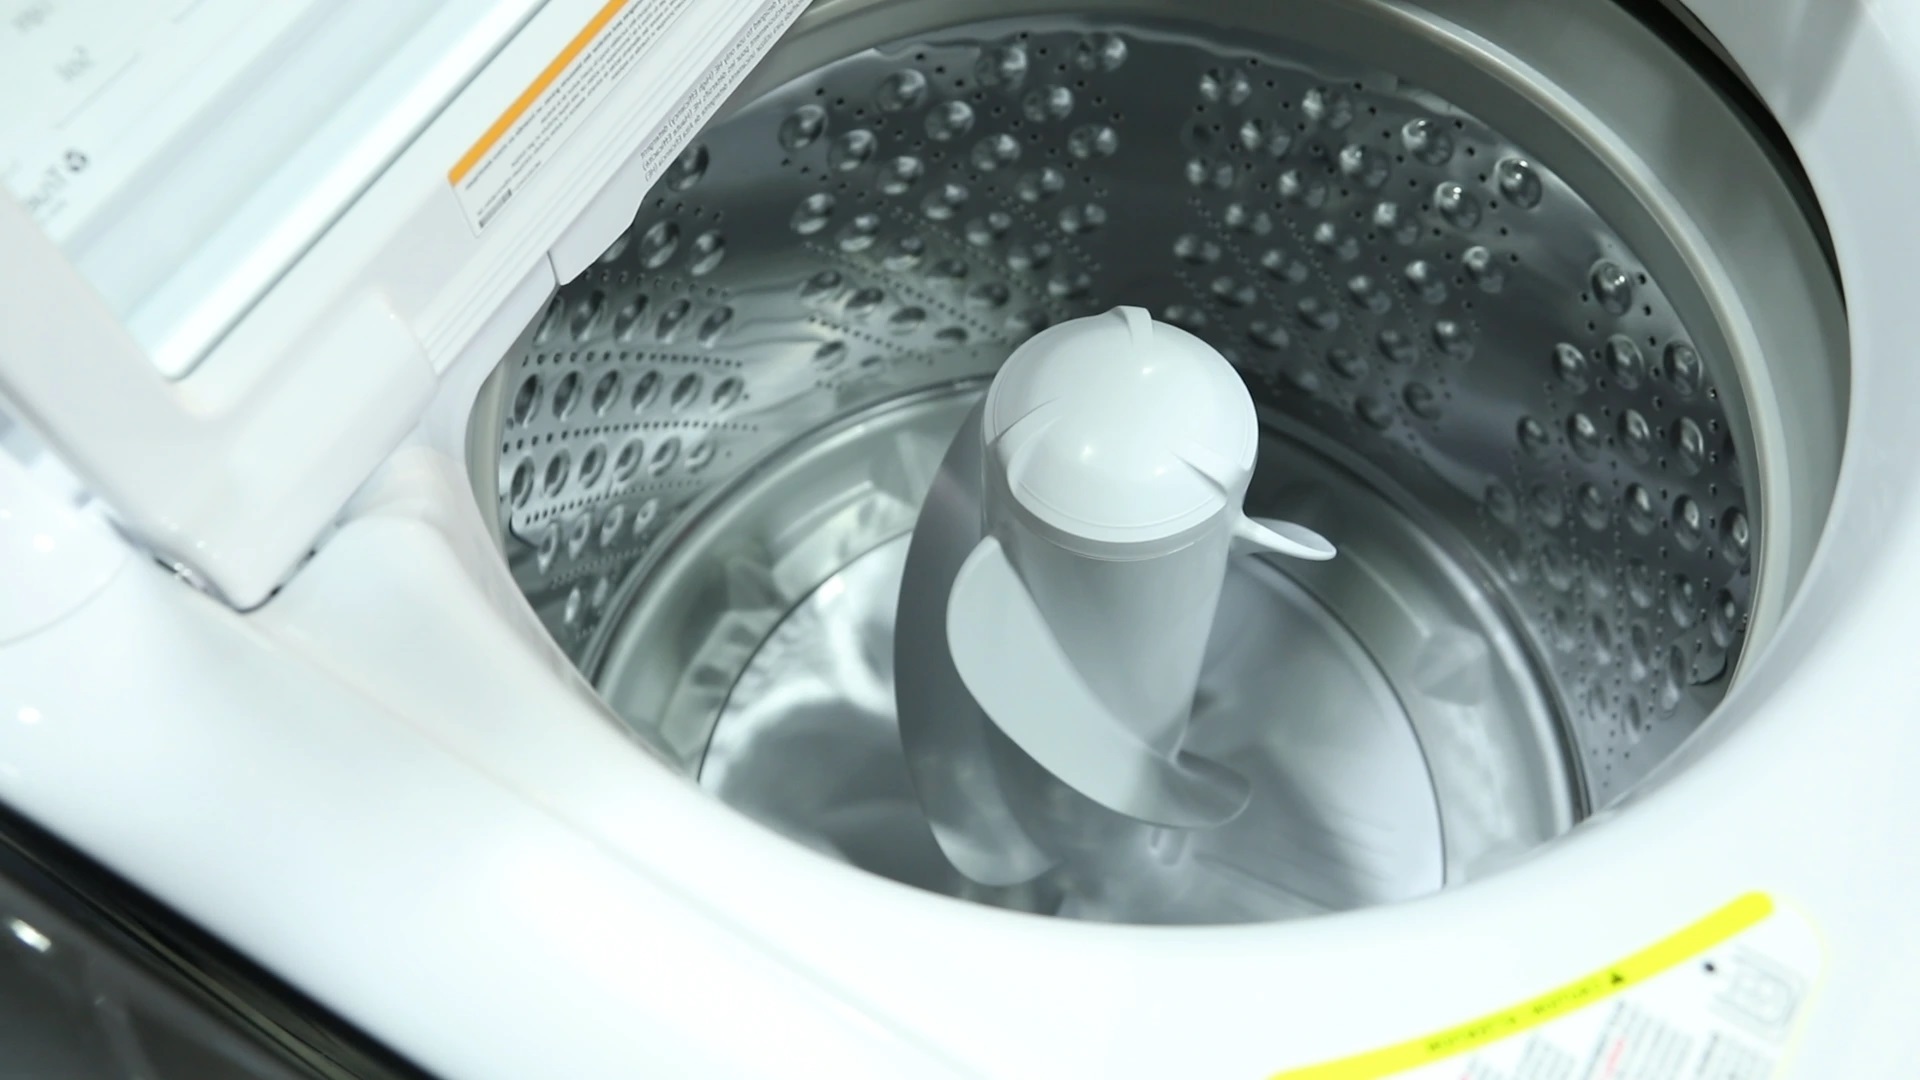
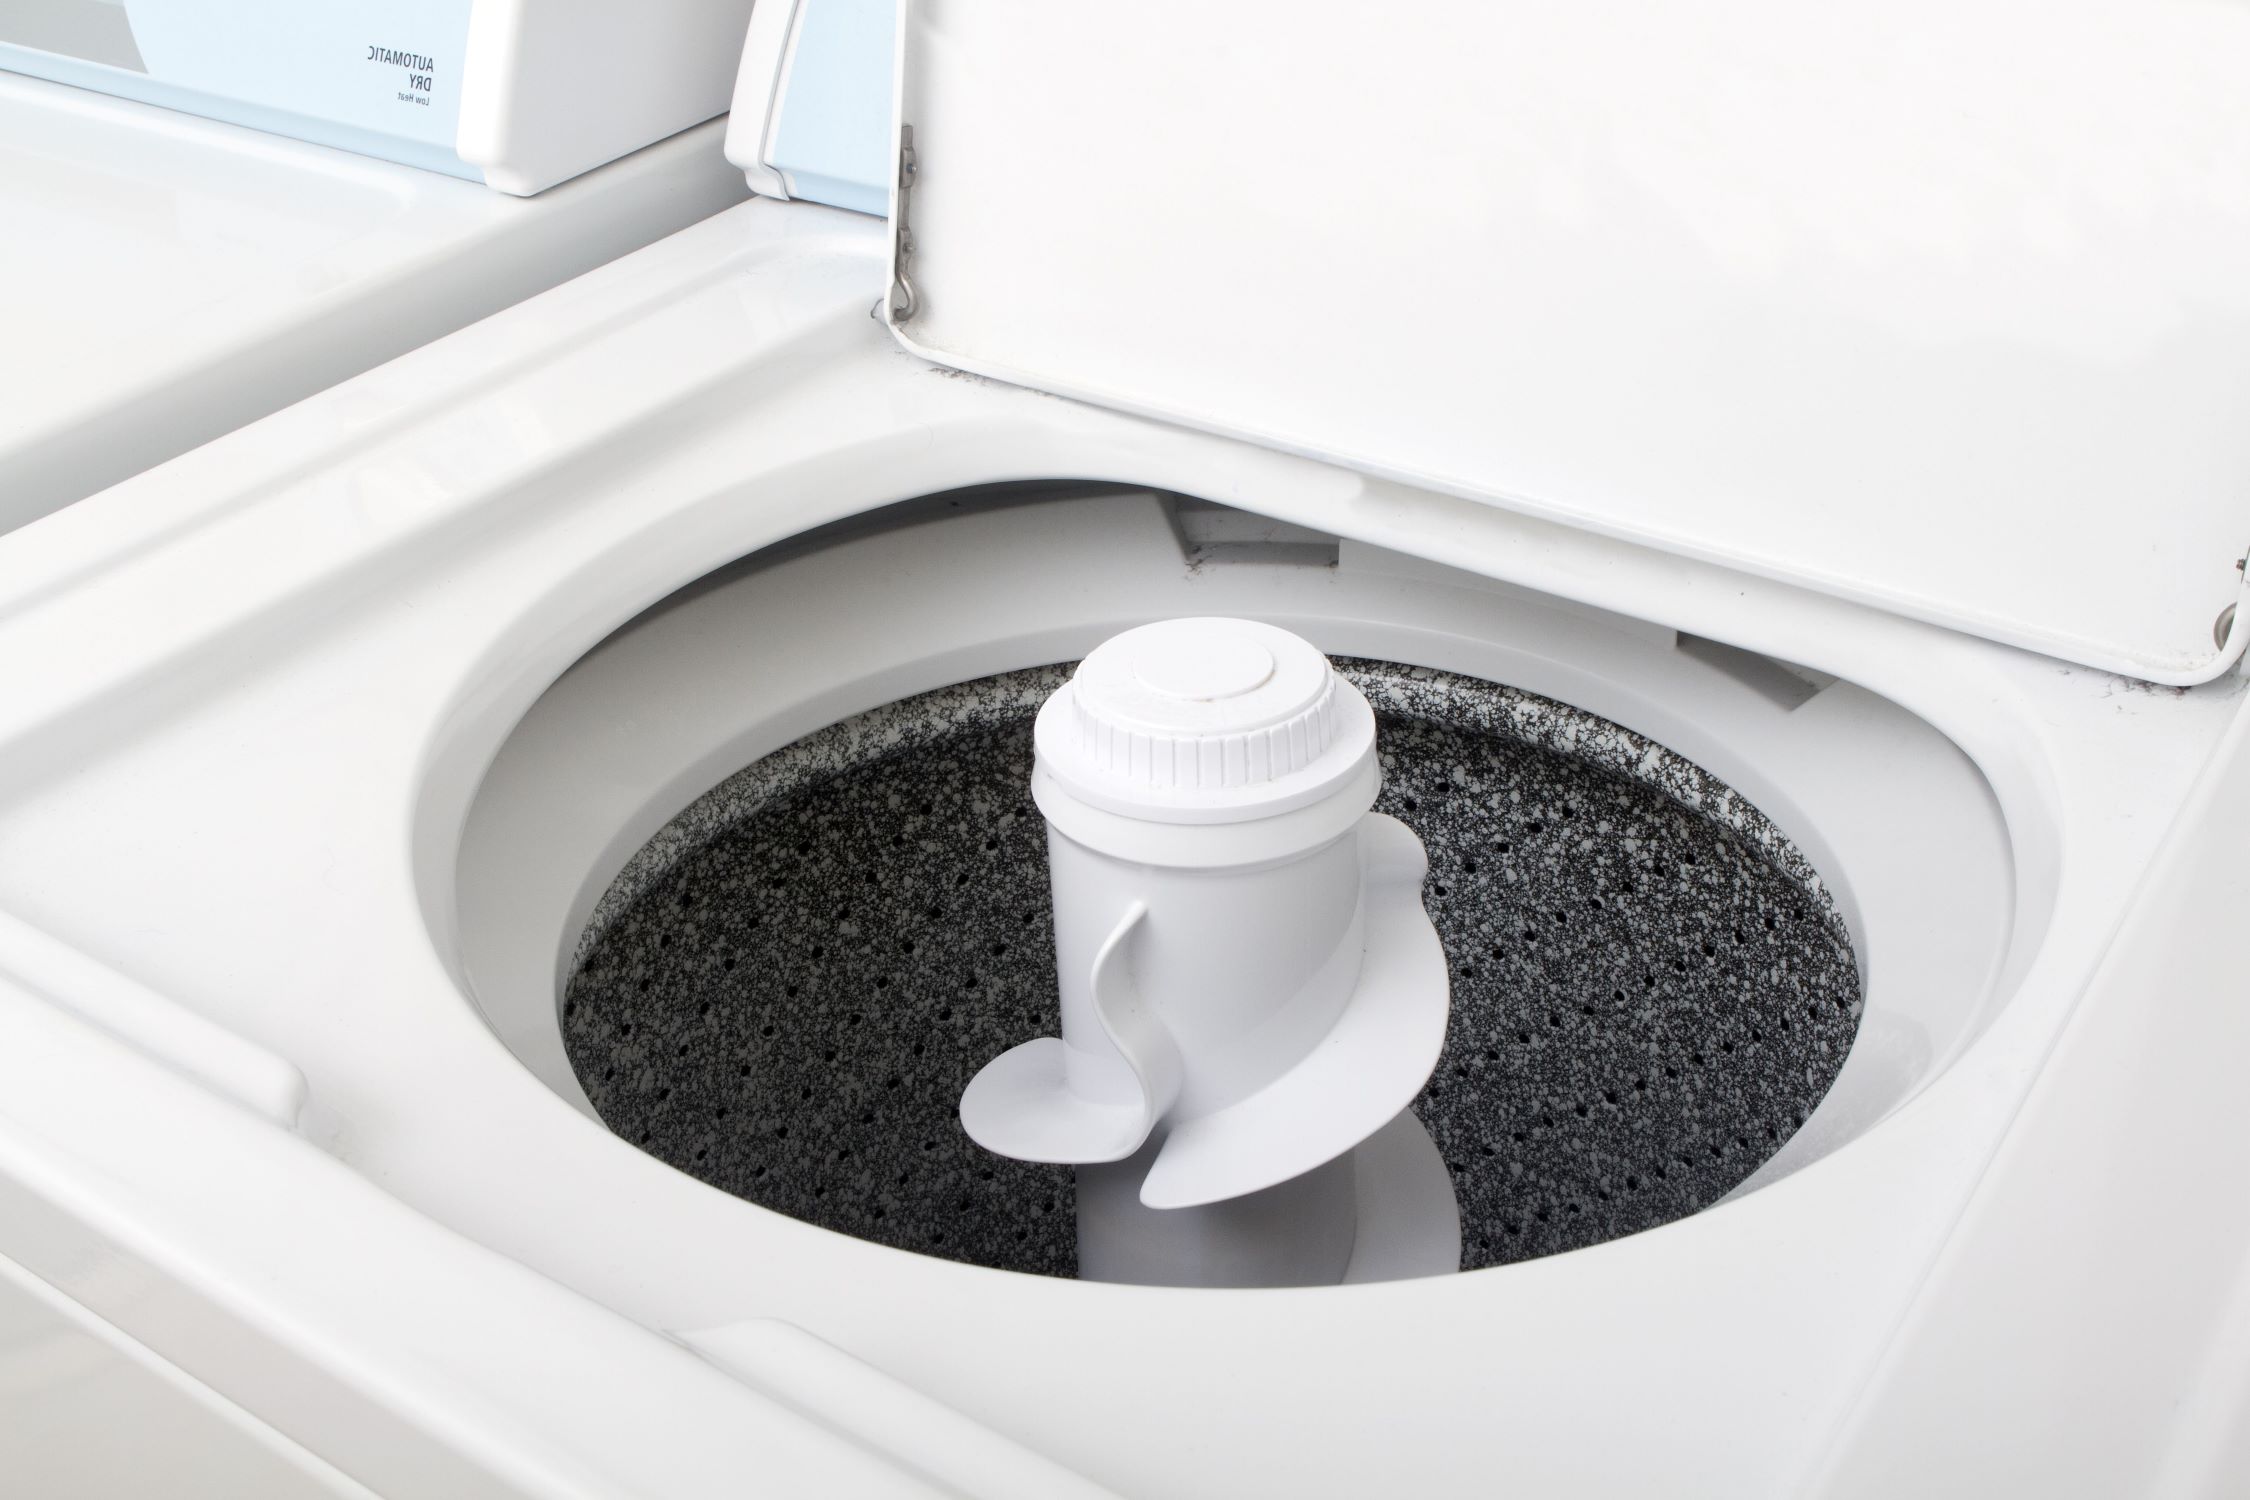
To begin, carefully examine the interior of the washing machine, focusing on the area where the agitator is located. The agitator is the central column or spindle that moves the laundry during the wash cycle. In many LG top load washing machines, the filter is situated near the agitator, typically beneath the washtub.
In some models, the filter may be concealed beneath a cover or panel, requiring you to remove it to access the filter compartment. If your washing machine features a removable agitator, you may need to lift or unscrew it to reveal the filter housing underneath. Refer to the user manual specific to your LG top load washing machine for detailed instructions on accessing the filter.
Once you have located the filter housing, take a moment to inspect its surroundings. Clear any visible debris or obstructions that may have accumulated near the filter, ensuring a clean and unobstructed workspace for the subsequent steps of the maintenance process.
It's important to approach this step with patience and attentiveness, as the precise location of the filter can vary based on the model and design of your LG top load washing machine. By carefully following the user manual and conducting a thorough visual inspection, you can confidently pinpoint the filter and prepare for its removal and cleaning.
Identifying the filter's location sets the stage for the upcoming steps of the maintenance process, allowing you to proceed with precision and confidence. With the filter within reach, you are ready to move on to the next phase of the maintenance procedure, where you will carefully extract the filter for thorough cleaning and maintenance.
To clean the filter in an LG top load washing machine, first unplug the machine. Locate the filter near the bottom front of the machine. Twist and pull out the filter, then remove any debris. Rinse the filter with water and reinsert it back into the machine.
Step 3: Remove the Filter
With the filter housing identified and the workspace prepared, the next crucial step in the maintenance process is to remove the filter from its compartment. This step requires precision and care to ensure that the filter is extracted without causing any damage to the appliance or its components.
If your LG top load washing machine features a removable agitator, you may need to lift or unscrew it to access the filter housing underneath. Once the agitator is removed, you can proceed to the filter removal process. In some models, the filter may be situated beneath a cover or panel, which can be gently lifted or unscrewed to reveal the filter compartment.
Using a pair of pliers, carefully grip the filter and gently pull it out of its housing. It's important to exercise caution and avoid applying excessive force, as this can lead to damage to the filter or its surrounding components. If the filter appears to be stuck, avoid using excessive force and refer to the user manual for model-specific guidance on safely removing the filter.
As you extract the filter, be mindful of any water that may be trapped within the housing. To prevent spillage, have a bucket or container ready to collect any residual water that may drain from the filter compartment. This proactive measure helps maintain a tidy workspace and prevents water from seeping onto the floor or surrounding areas.
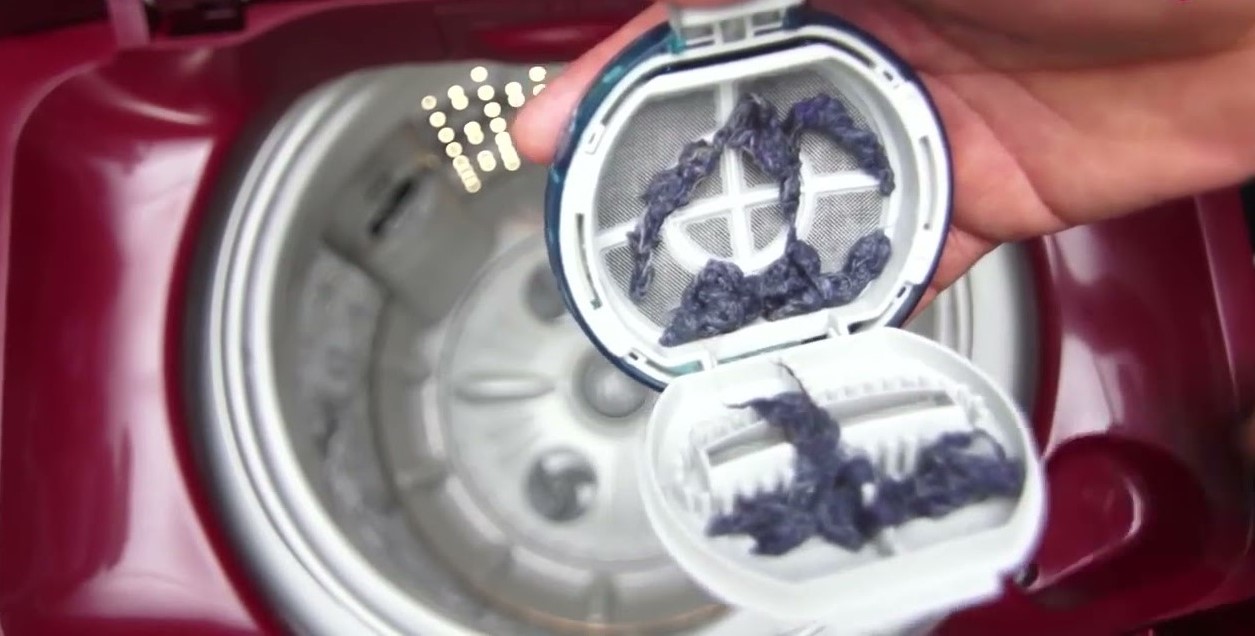
Once the filter is successfully removed, take a moment to inspect it for any visible debris, lint, or residue. By visually assessing the condition of the filter, you can gain insight into the level of buildup and determine the extent of cleaning required. This visual inspection sets the stage for the subsequent cleaning process, allowing you to address any accumulated debris effectively.
By following these steps with precision and care, you can safely remove the filter from your LG top load washing machine, setting the stage for the upcoming cleaning process. With the filter in hand, you are ready to proceed to the next phase of the maintenance procedure, where you will thoroughly clean the filter to ensure its optimal functionality and performance.
Read more: How To Clean Maytag Top Load Washer Filter
Step 4: Clean the Filter
With the filter successfully removed from the LG top load washing machine, it's time to embark on the crucial task of cleaning this essential component. The cleaning process is pivotal in ensuring that the filter operates at its best, effectively trapping debris and maintaining the overall efficiency of the appliance. By following these steps, you can effectively clean the filter and restore it to optimal functionality.
Begin by visually inspecting the filter for any visible debris, lint, or residue. Use a soft-bristled brush or a clean cloth to gently dislodge and remove any accumulated particles from the filter's surface. Take care to address all areas of the filter, including its mesh or screen, ensuring that any trapped debris is effectively loosened and removed.
Next, prepare a cleaning solution by mixing a small amount of mild detergent or soap with clean water. Dip the brush or cloth into the cleaning solution and carefully scrub the filter, paying close attention to any stubborn areas of buildup. The gentle cleaning solution helps dislodge grime and residue, allowing for thorough cleaning without causing damage to the filter.
After scrubbing the filter, rinse it thoroughly with clean water to remove any traces of detergent or loosened debris. Ensure that all cleaning solution is completely washed away, leaving the filter pristine and free from any cleaning residues. This step is crucial in preparing the filter for reinstallation, ensuring that it operates efficiently without any lingering cleaning agents.
Once the filter is cleaned and rinsed, allow it to air dry completely before reinstalling it in the washing machine. Placing a dried filter back into the appliance prevents the introduction of moisture, ensuring that the filter functions optimally without any potential issues related to dampness.
By following these steps, you can effectively clean the filter in your LG top load washing machine, ensuring that it continues to operate at its best. This maintenance task not only enhances the appliance's performance but also contributes to the longevity of the washing machine, allowing you to enjoy clean and fresh laundry with every cycle. With the filter thoroughly cleaned, you are ready to proceed to the next phase of the maintenance process, where you will reinstall the filter and test the washing machine to ensure its optimal functionality.
Step 5: Reinstall the Filter
After thoroughly cleaning and drying the filter from your LG top load washing machine, the next critical step is to carefully reinstall it in its designated compartment. Proper reinstallation ensures that the filter functions optimally, maintaining the efficiency and performance of the appliance. Follow these detailed steps to securely and effectively reinstall the filter:
-
Inspect the Filter Housing: Before reinstalling the filter, take a moment to inspect the filter housing within the washing machine. Clear any residual debris or water that may have accumulated in the compartment during the filter removal and cleaning process. Ensuring a clean and dry housing sets the stage for the secure reinstallation of the filter.
-
Position the Filter: With the filter housing prepared, carefully position the cleaned and dried filter back into its designated compartment. Take note of any alignment indicators or markings that guide the proper orientation of the filter within the housing. Ensure that the filter sits securely and snugly in place, ready to fulfill its essential function during the washing machine's operation.
-
Secure the Filter: Once the filter is positioned correctly, gently press it into place to ensure a secure fit within the housing. Avoid using excessive force, as the filter should slide into position smoothly. Confirm that the filter is firmly seated and does not wobble or shift within the compartment, indicating a successful and secure reinstallation.
-
Replace any Cover or Panel: If your LG top load washing machine features a cover or panel that conceals the filter compartment, carefully replace it to secure the filter in its designated space. Ensure that the cover or panel is fastened securely, providing protection and stability to the filter within the housing.
-
Reassemble the Agitator (if applicable): If the filter is located beneath a removable agitator, carefully reassemble the agitator according to the manufacturer's instructions. Ensure that the agitator is securely attached and aligned, allowing for the proper functioning of the washing machine during subsequent cycles.
By following these meticulous steps, you can confidently and effectively reinstall the filter in your LG top load washing machine, ensuring that it operates at its best. A securely installed filter contributes to the appliance's overall efficiency, allowing for optimal performance and the continued delivery of clean and fresh laundry. With the filter successfully reinstalled, you are ready to proceed to the final phase of the maintenance process, where you will test the washing machine to confirm its optimal functionality.
Step 6: Test the Washing Machine
With the filter successfully reinstalled in your LG top load washing machine, the final and pivotal step in the maintenance process is to test the appliance to confirm its optimal functionality. Testing the washing machine allows you to ensure that the filter is securely in place and that the appliance operates efficiently, ready to tackle your laundry needs. Follow these detailed steps to effectively test the washing machine:
-
Power On the Washing Machine: Plug the washing machine back into the electrical outlet and power it on. Ensure that the appliance is securely connected to the power supply, setting the stage for a comprehensive test of its functionality.
-
Select a Test Cycle: Choose a test cycle on the washing machine's control panel, such as a regular or quick wash setting. This allows you to initiate a complete cycle, providing an opportunity to observe the appliance's performance with the reinstalled filter.
-
Monitor the Water Drainage: As the test cycle progresses, pay close attention to the water drainage from the washing machine. Observe the efficiency of the drainage process, ensuring that water flows smoothly and consistently without any signs of obstruction or slow drainage.
-
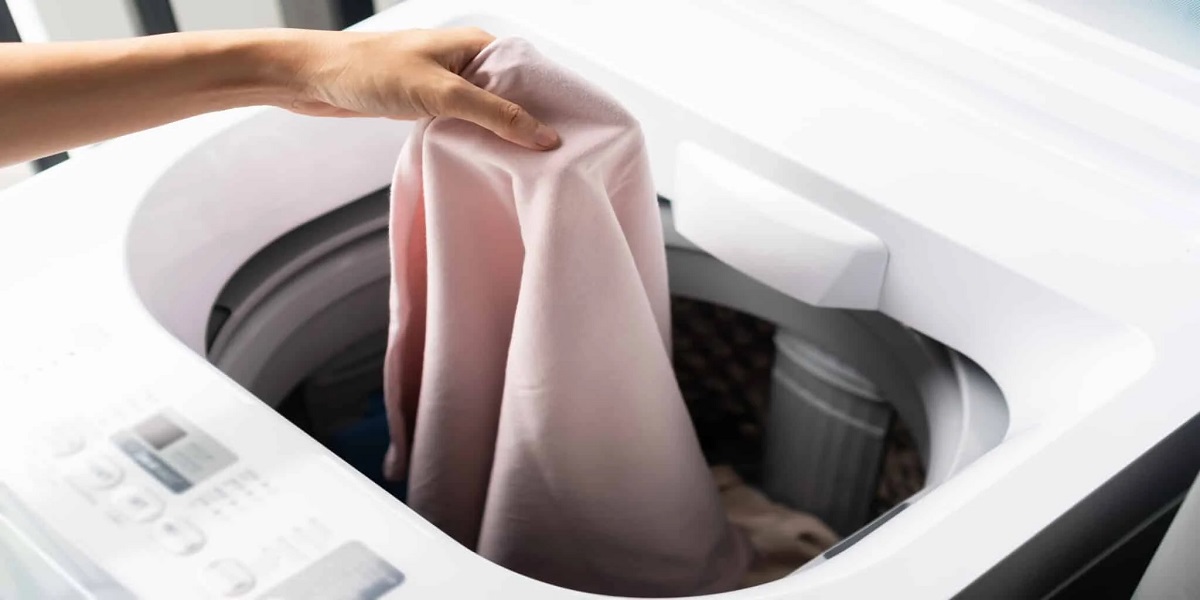
Assess the Washing Performance: Throughout the test cycle, monitor the washing machine's performance in cleaning the laundry. Confirm that the appliance effectively agitates and cleans the clothes, demonstrating its continued efficiency with the reinstalled filter.
-
Listen for Unusual Noises: While the test cycle is in progress, listen for any unusual noises or vibrations that may indicate issues with the washing machine's operation. A well-functioning appliance operates smoothly and quietly, indicating that the filter is securely in place and allowing for optimal performance.
-
Confirm Completion of the Cycle: Once the test cycle is complete, confirm that the washing machine finishes the cycle without any interruptions or error messages. This indicates that the appliance successfully operates with the reinstalled filter, ready to handle regular laundry loads.
By meticulously testing the washing machine, you can confirm that the filter is securely in place and that the appliance operates at its best. This comprehensive test ensures that the maintenance process has been successful, allowing you to rely on your LG top load washing machine for clean and efficient laundry care. With the test completed, you can rest assured that the appliance is ready to deliver exceptional performance, thanks to the thorough maintenance of its essential filter.
Frequently Asked Questions about How To Clean The Filter In An LG Top Load Washing Machine
Was this page helpful?
At Storables.com, we guarantee accurate and reliable information. Our content, validated by Expert Board Contributors, is crafted following stringent Editorial Policies. We're committed to providing you with well-researched, expert-backed insights for all your informational needs.


0 thoughts on “How To Clean The Filter In An LG Top Load Washing Machine”