Home>Home Maintenance>How To Check Air Conditioner In Car
Home Maintenance
How To Check Air Conditioner In Car
Modified: August 23, 2024
Learn how to check the air conditioner in your car with these simple home maintenance tips. Keep your vehicle cool and comfortable all summer long.
(Many of the links in this article redirect to a specific reviewed product. Your purchase of these products through affiliate links helps to generate commission for Storables.com, at no extra cost. Learn more)
Introduction
Welcome to our comprehensive guide on how to check the air conditioner in your car. With summer temperatures on the rise, it’s crucial to ensure that your car’s AC system is in optimal working condition. A malfunctioning air conditioner can not only make your drives uncomfortable but also compromise your safety on the road. By following the steps outlined in this article, you can easily assess the performance of your car’s AC system and detect any potential issues that may need attention. Whether you’re planning a long road trip or simply want to beat the heat during your daily commute, this guide will help you keep your car’s air conditioner running smoothly.
Key Takeaways:
- Keep your car’s air conditioner running smoothly by following these simple steps: turn on the car and AC, check for cool air output, inspect vents, monitor air strength and temperature, and listen for unusual sounds.
- Regularly inspect and maintain your car’s AC system to ensure optimal cooling performance. Look for signs of leakage, evaluate cooling efficiency, and check the cabin air filter for cleanliness.
Read more: How To Check An Air Conditioner Compressor
Step 1: Turn on the car
The first step in checking your car’s air conditioner is to start the engine and let it run for a few minutes. This allows the engine to reach its normal operating temperature and ensures that all components are functioning properly. It’s important to note that the AC system relies on the engine’s cooling system to remove excess heat, so it needs to be running for an accurate assessment.
Once you’ve started the car, make sure all windows are closed to prevent any outside air from entering the cabin. This will help create an accurate environment for testing the AC system. You can also turn on the fan to its highest setting, which will provide a clear indication of the air output and cooling efficiency.
During this step, it’s helpful to pay attention to any unusual noises coming from the engine or AC system. Unusual sounds like grinding, squealing, or rattling could indicate a mechanical issue that needs to be addressed. If you notice any of these sounds, it’s best to consult a professional mechanic for further inspection.
Step 2: Turn on the air conditioner
After letting the car run for a few minutes, it’s time to turn on the air conditioner. Locate the AC controls on your dashboard, which may vary depending on the make and model of your car. Typically, you’ll find a button or switch labeled “AC” or an icon representing the air conditioner. Press or slide the control to activate the AC system.
As you turn on the air conditioner, pay attention to the indicator lights on the controls. In most cars, a light will illuminate to indicate that the AC system is operational. If the light doesn’t come on, it could be a sign of a faulty control switch or electrical issue. In such cases, it’s recommended to have your car inspected by a qualified technician.
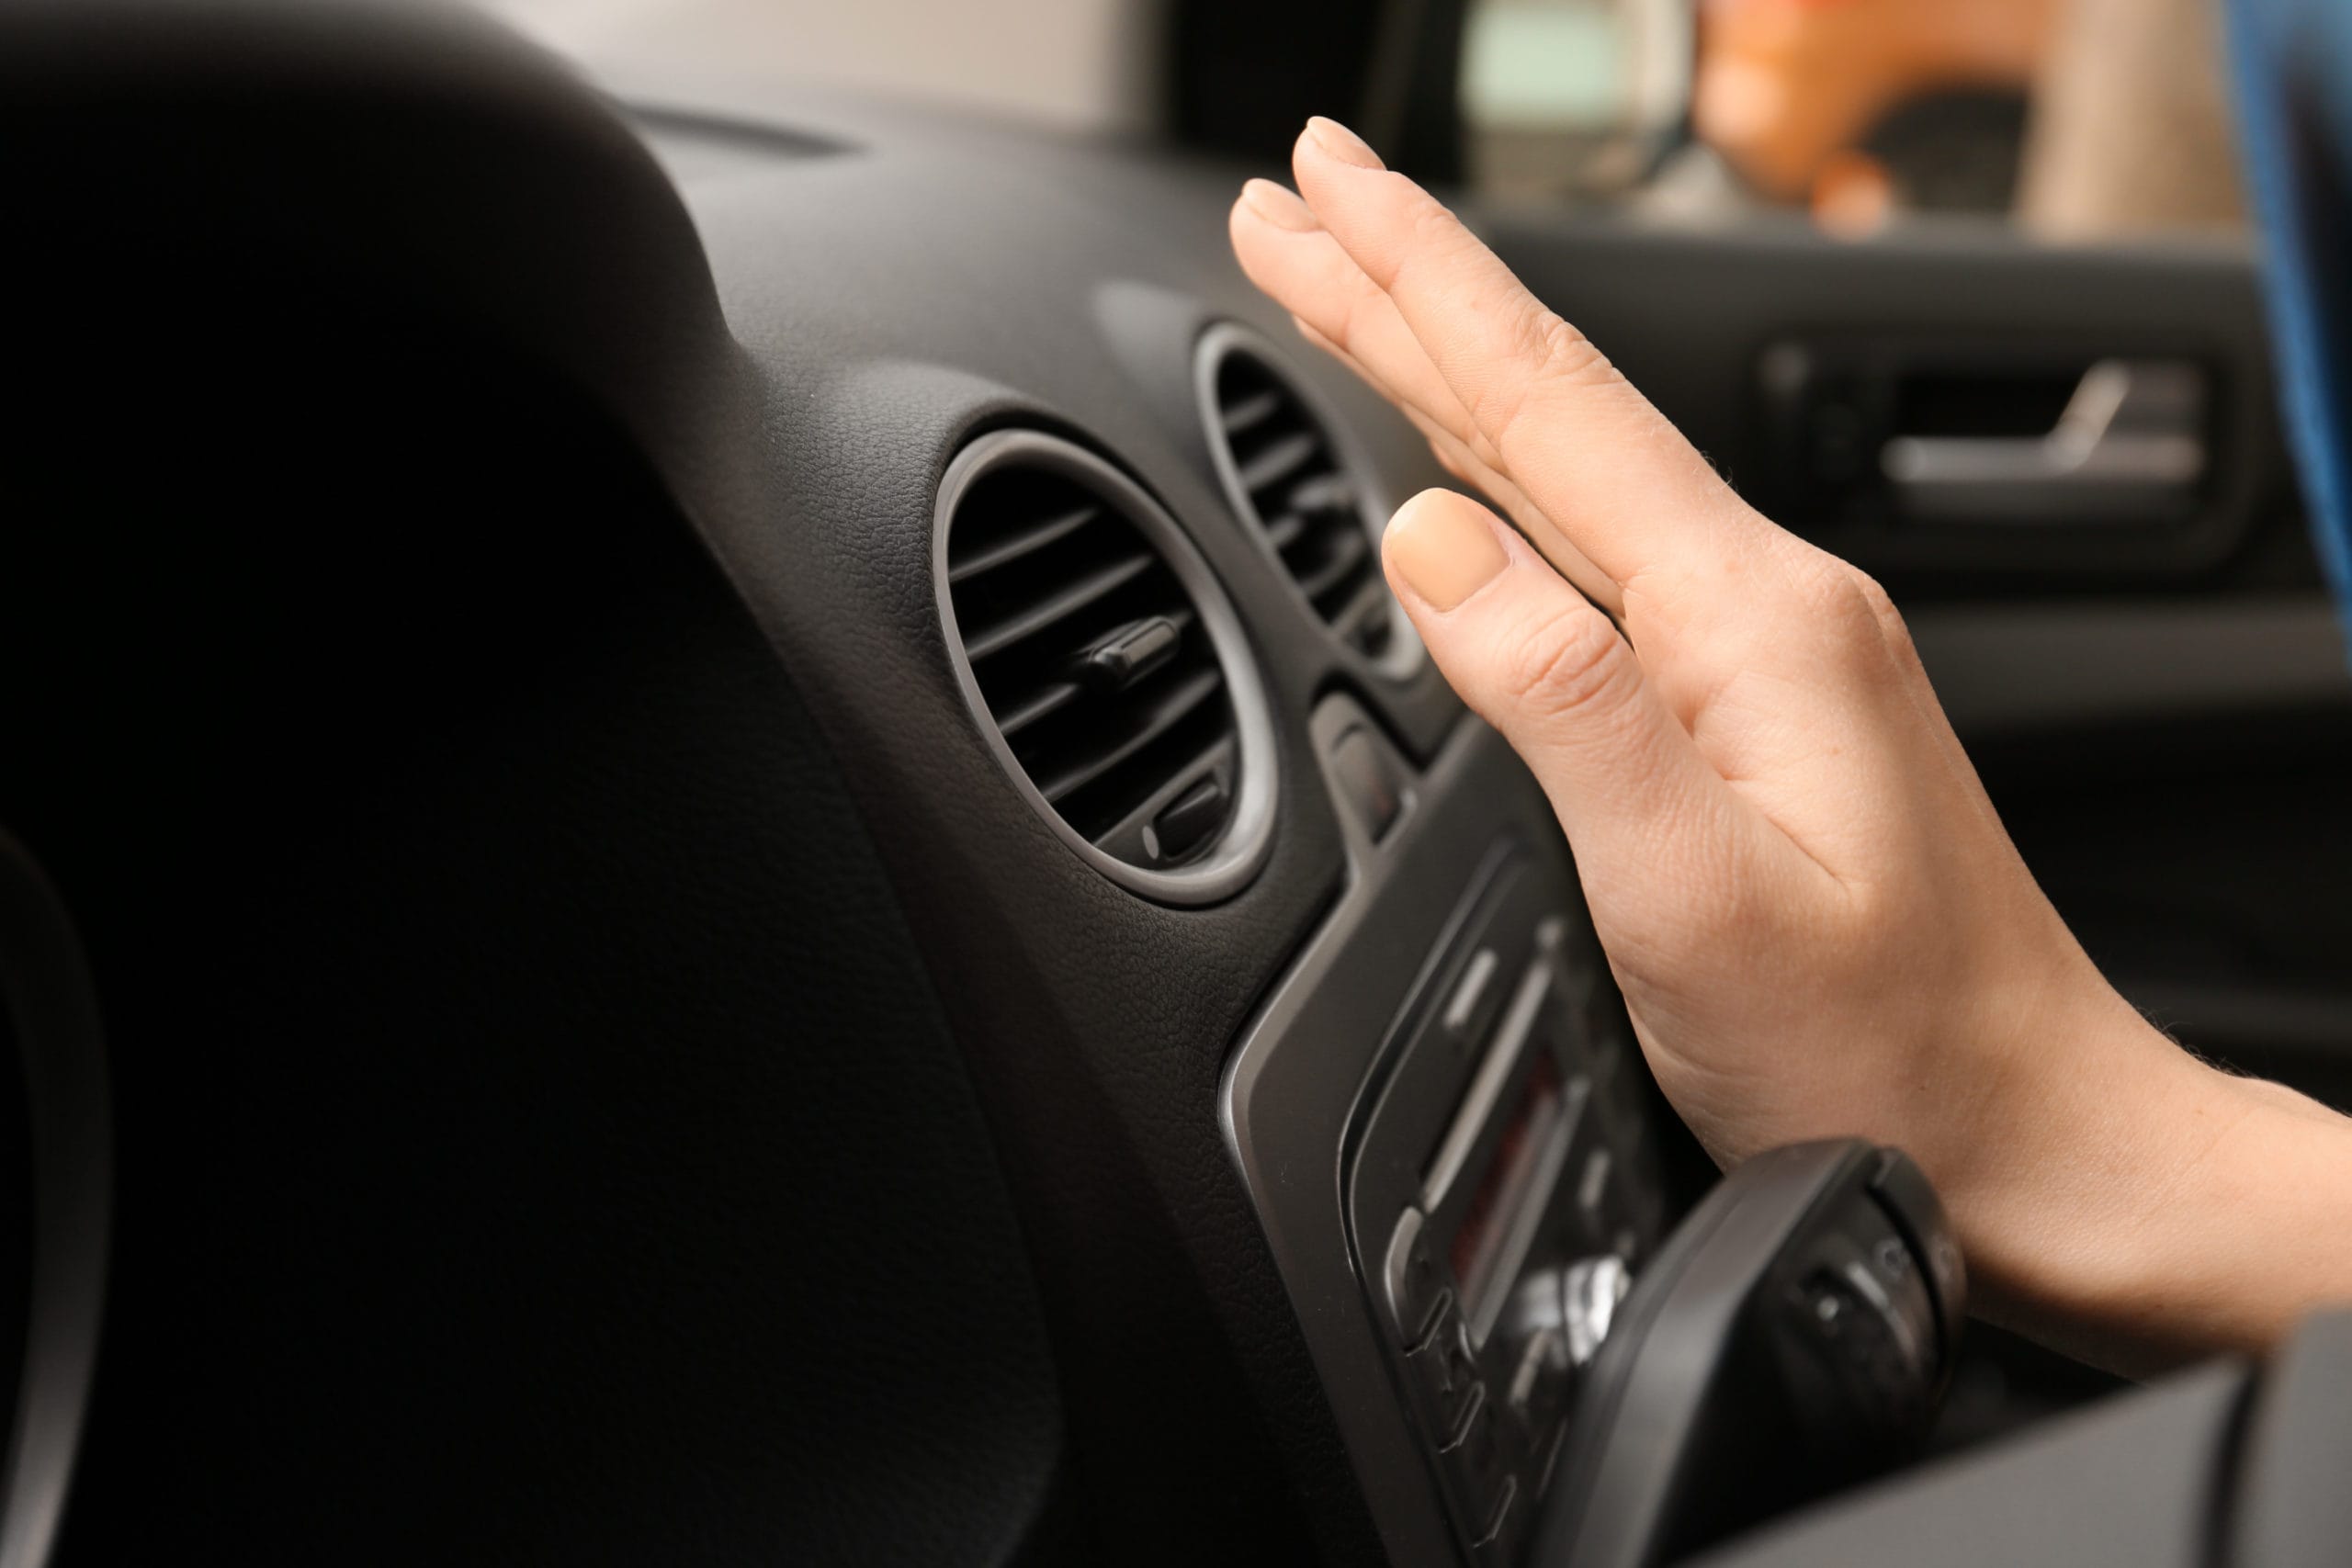
Once the air conditioner is activated, you should feel cool air coming out of the vents. Place your hand close to the air vents and assess the air temperature. The air should be noticeably cooler than the ambient temperature inside the car. If the air doesn’t feel cold or if it’s warm, it could indicate a problem with the AC system that requires attention.
During this step, it’s important to remember that the air conditioning system may take a few moments to reach its maximum cooling capacity. If the air is initially warm but gradually gets cooler, it’s likely that the AC system is functioning correctly.
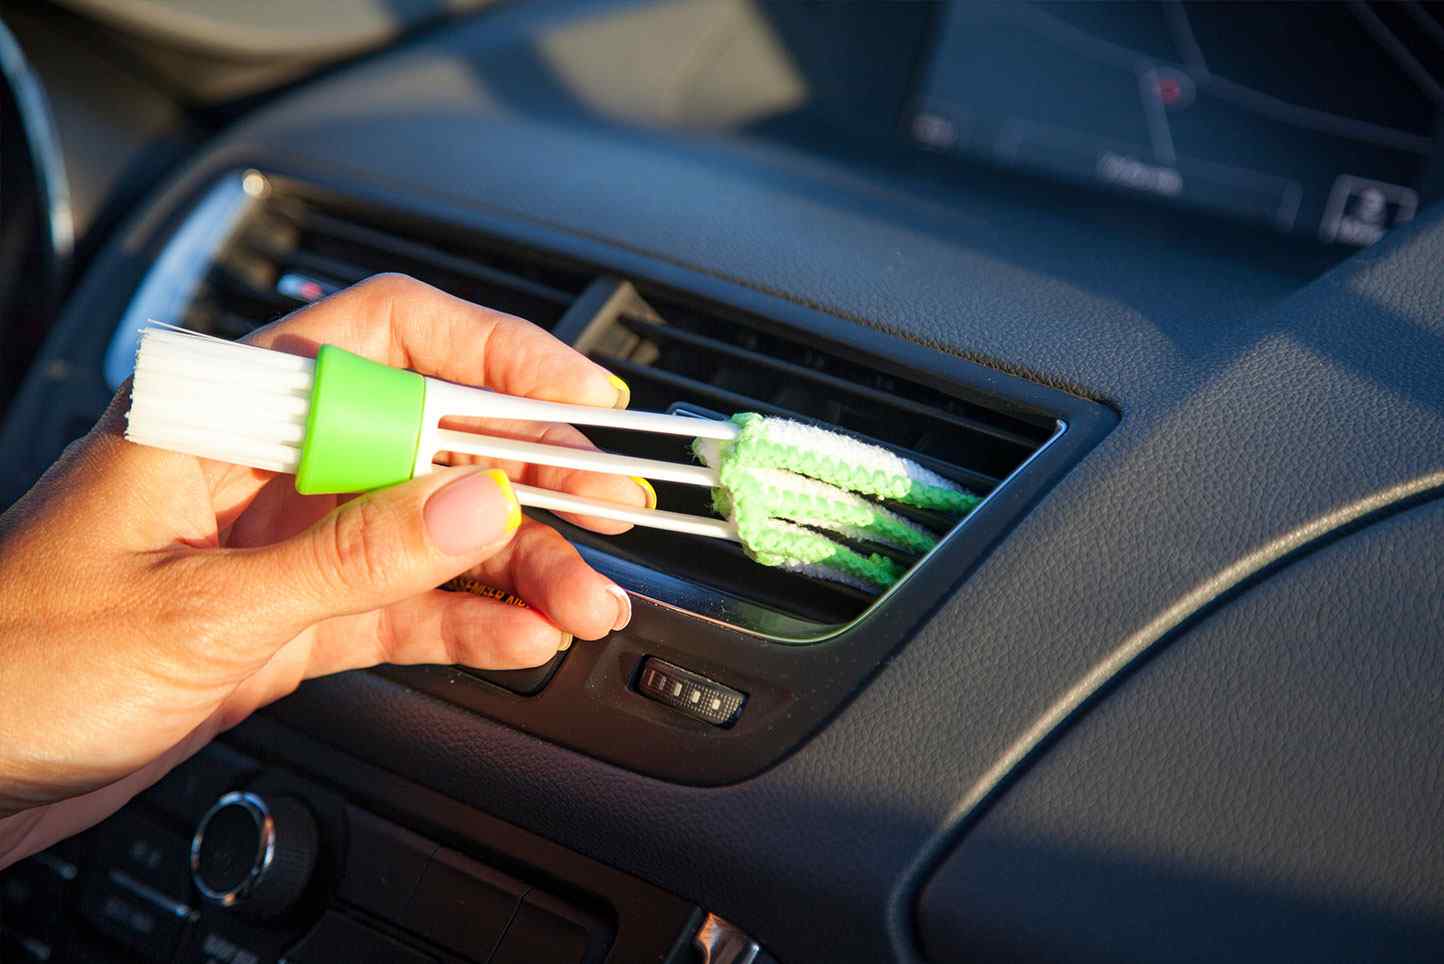
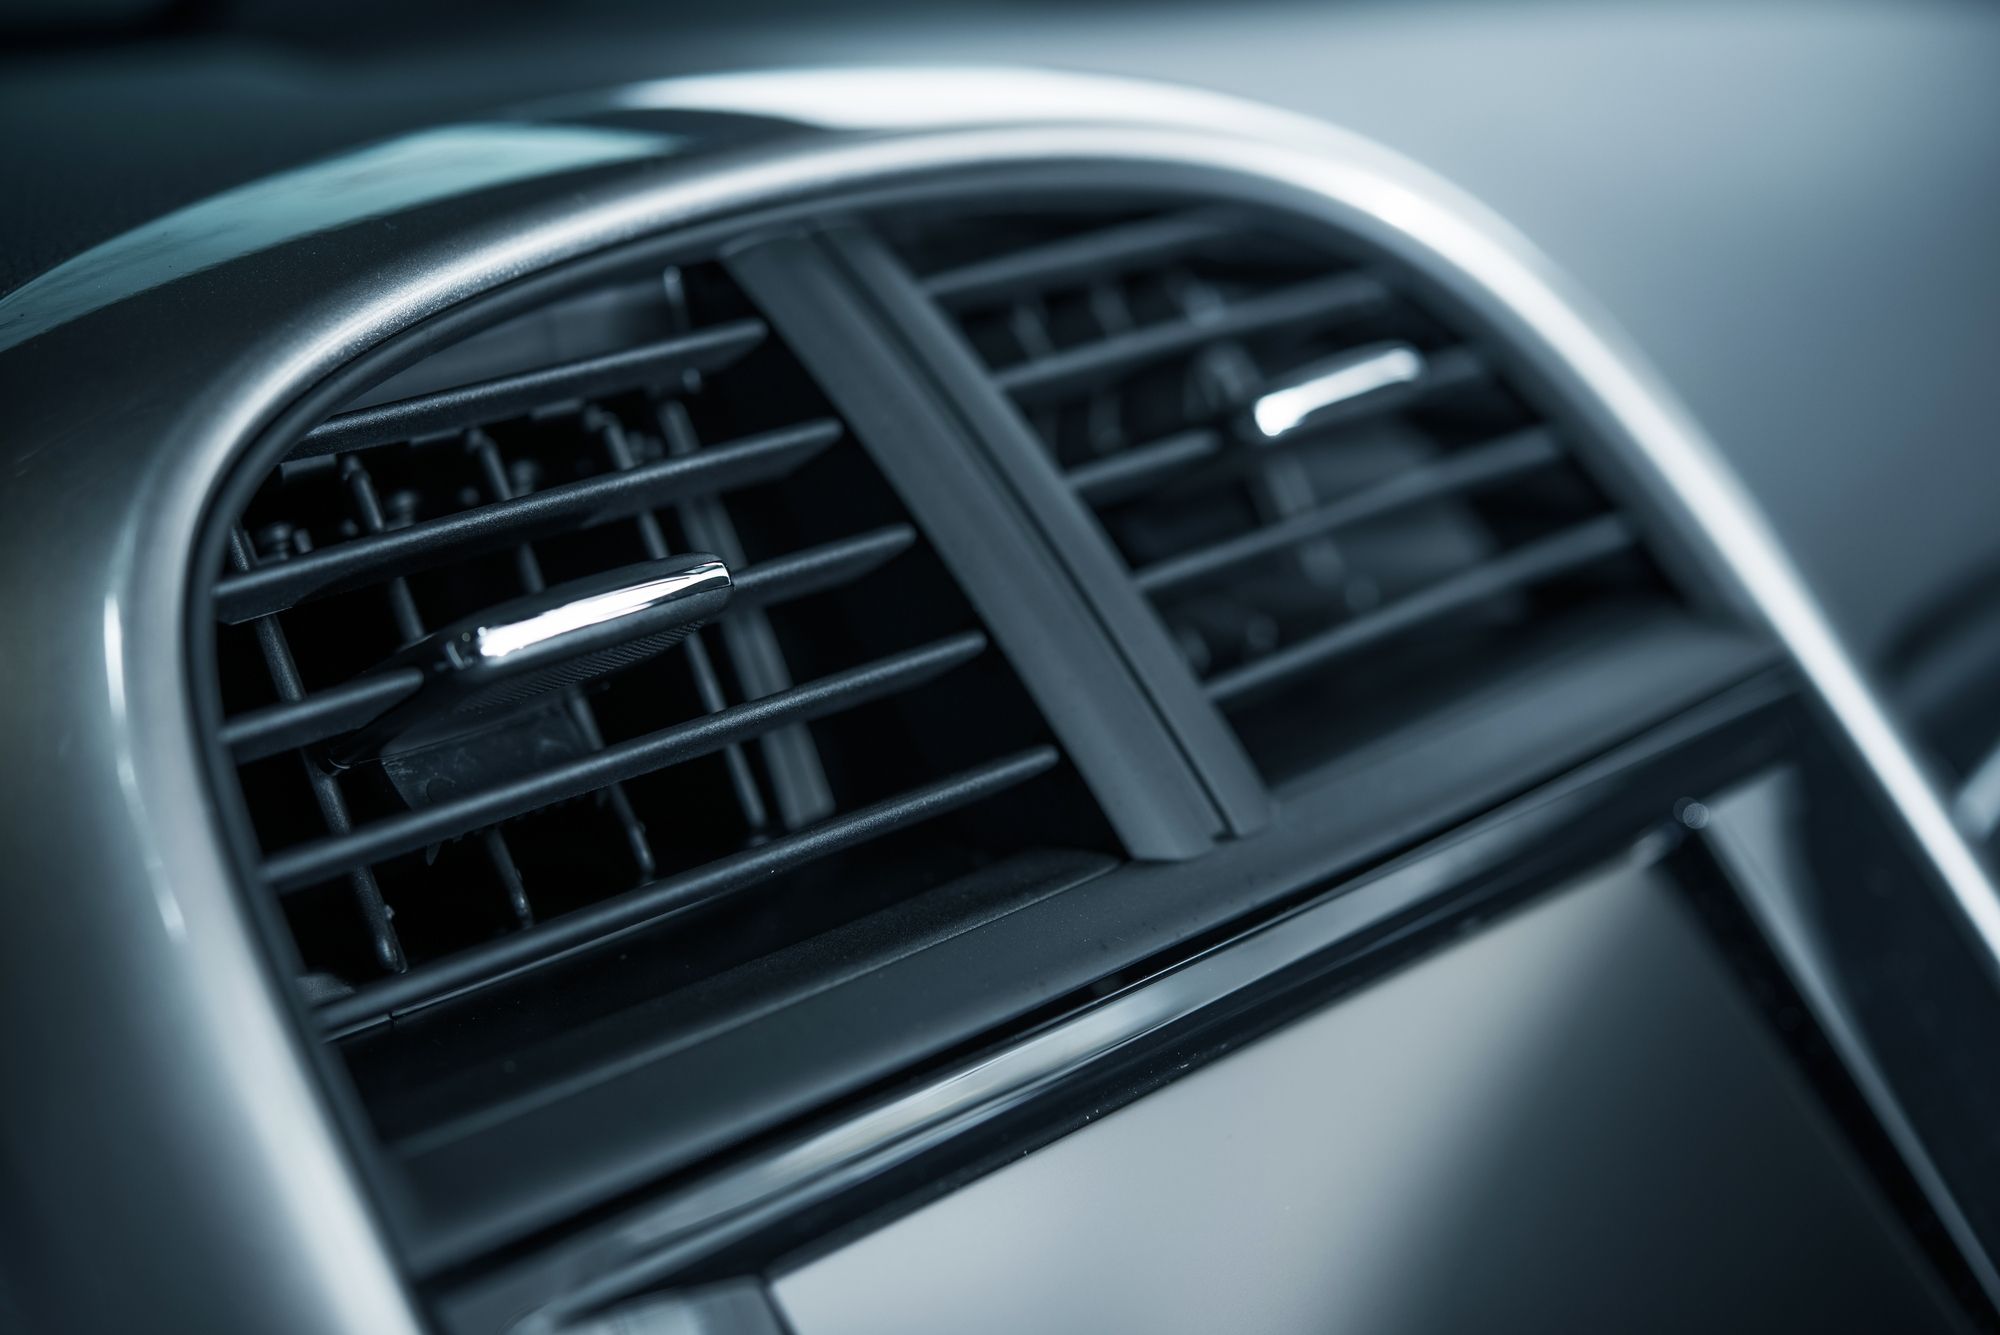
Step 3: Check the air vents
Once you’ve turned on the air conditioner and confirmed that cool air is being emitted, the next step is to check the air vents. Take a close look at each vent and ensure that they are all open and unobstructed. Sometimes, dust, debris, or objects can block the vents, reducing the airflow and overall cooling performance.
Use your hand or a small flashlight to inspect the vents for any visible obstructions. Clear away any dust or debris that may have accumulated in the vents over time. Additionally, check the vent louvers to ensure that they are in the correct position for maximum airflow. Some cars have adjustable vents, so you can direct the airflow towards yourself or other passengers for personalized comfort.
If you notice that there are physical obstructions blocking the vent openings, such as leaves or foreign objects, remove them carefully. It’s important to maintain clear and unrestricted airflow through the vents to ensure efficient cooling.
During this step, pay attention to the airflow from each vent. It should be consistent and strong. If you notice that some vents have weak airflow or no airflow at all, it could indicate a problem with the ductwork or vent controls. In such cases, it’s advisable to seek professional assistance to diagnose and rectify the issue.
Step 4: Monitor the air output
After checking the air vents, it’s crucial to monitor the air output from the air conditioner. Observe the strength and intensity of the airflow to ensure it’s at the desired level. The air should be blowing out with enough force to provide efficient cooling throughout the car’s cabin.
If you notice weak or insufficient airflow, it may indicate a problem with the blower motor or a clogged air filter. Inadequate airflow can result in reduced cooling performance and discomfort during hot weather. In such cases, it’s recommended to have the system inspected by a professional to identify and resolve the underlying issue.
Another aspect to consider while monitoring the air output is the temperature of the air. It should be consistently cool, providing a comfortable and refreshing environment inside the car. If the air does not feel cold or if it fluctuates in temperature, there may be a problem with the refrigerant levels or the AC system’s components. Consulting a qualified technician will help diagnose and address any potential issues.
In some cases, you may notice that the air output has an unpleasant smell. This could be due to a dirty cabin air filter, mold or mildew growth in the AC system, or a build-up of bacteria. Regular maintenance, such as replacing the cabin air filter and utilizing AC cleaning and deodorizing products, can help address these issues and improve the air quality inside your vehicle.
Monitoring the air output while the air conditioner is running is an essential step in assessing the performance of your car’s AC system. Identifying any irregularities in airflow or air temperature will help you take the necessary steps to maintain optimal cooling efficiency in your vehicle.
Step 5: Listen for unusual sounds
While the air conditioner is running, it’s important to listen for any unusual sounds coming from the system. Unusual noises can be an indication of a potential problem that needs to be addressed. Here are some sounds and their possible causes:
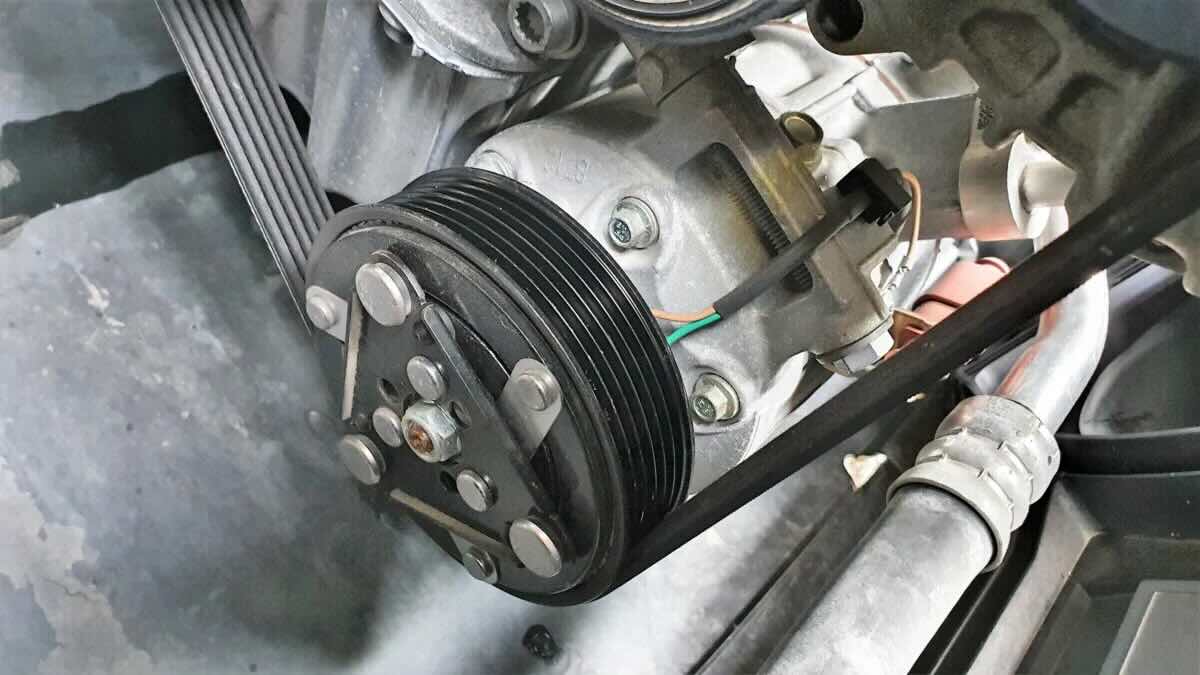
- Grinding or squealing: These sounds may indicate a problem with the air conditioner’s compressor or belt. A worn-out or faulty compressor may need to be replaced, while a loose or damaged belt may require tightening or replacement.
- Hissing or bubbling: If you hear hissing or bubbling sounds, it could be a sign of a refrigerant leak. Refrigerant leaks not only affect the performance of your AC system but can also be harmful to the environment. It’s important to have the leak identified and repaired by a professional technician.
- Rattling or vibrating: Loose or damaged components within the AC system can cause rattling or vibrating sounds. It could be a loose fan or a faulty motor. Ignoring these sounds can lead to more significant issues down the line, so it’s best to have them inspected and repaired promptly.
- Clicking: Clicking sounds may indicate a problem with the AC system’s electrical components. Faulty relays or switches can create clicking noises. These issues should be addressed by a professional technician to ensure proper functioning of the AC system.
If you detect any of these unusual sounds coming from your car’s air conditioner, it’s essential to have it examined by a qualified technician. They can diagnose the problem and perform the necessary repairs to restore your AC system’s performance and ensure your comfort while driving.
Listening for any abnormal sounds during this step helps identify potential issues early on, allowing for timely maintenance and preventing further damage to the AC system.
Check the air conditioner in your car by turning it on and feeling for cold air coming out of the vents. Listen for any unusual noises and check for any strange smells. If the air isn’t cold or there are strange signs, it may need to be checked by a professional.
Step 6: Evaluate the cooling efficiency
Assessing the cooling efficiency of your car’s air conditioner is an important step in determining its overall performance. Evaluating the AC system’s ability to cool the interior of your car effectively will help you identify any potential issues that may be affecting its functioning. Here’s how you can evaluate the cooling efficiency:
- Take note of the temperature inside your car before turning on the air conditioner. This will help you gauge the temperature difference achieved by the AC system.
- Turn on the air conditioner and set it to its maximum cooling setting.
- Allow the AC system to run for a few minutes to reach its optimal cooling capacity.
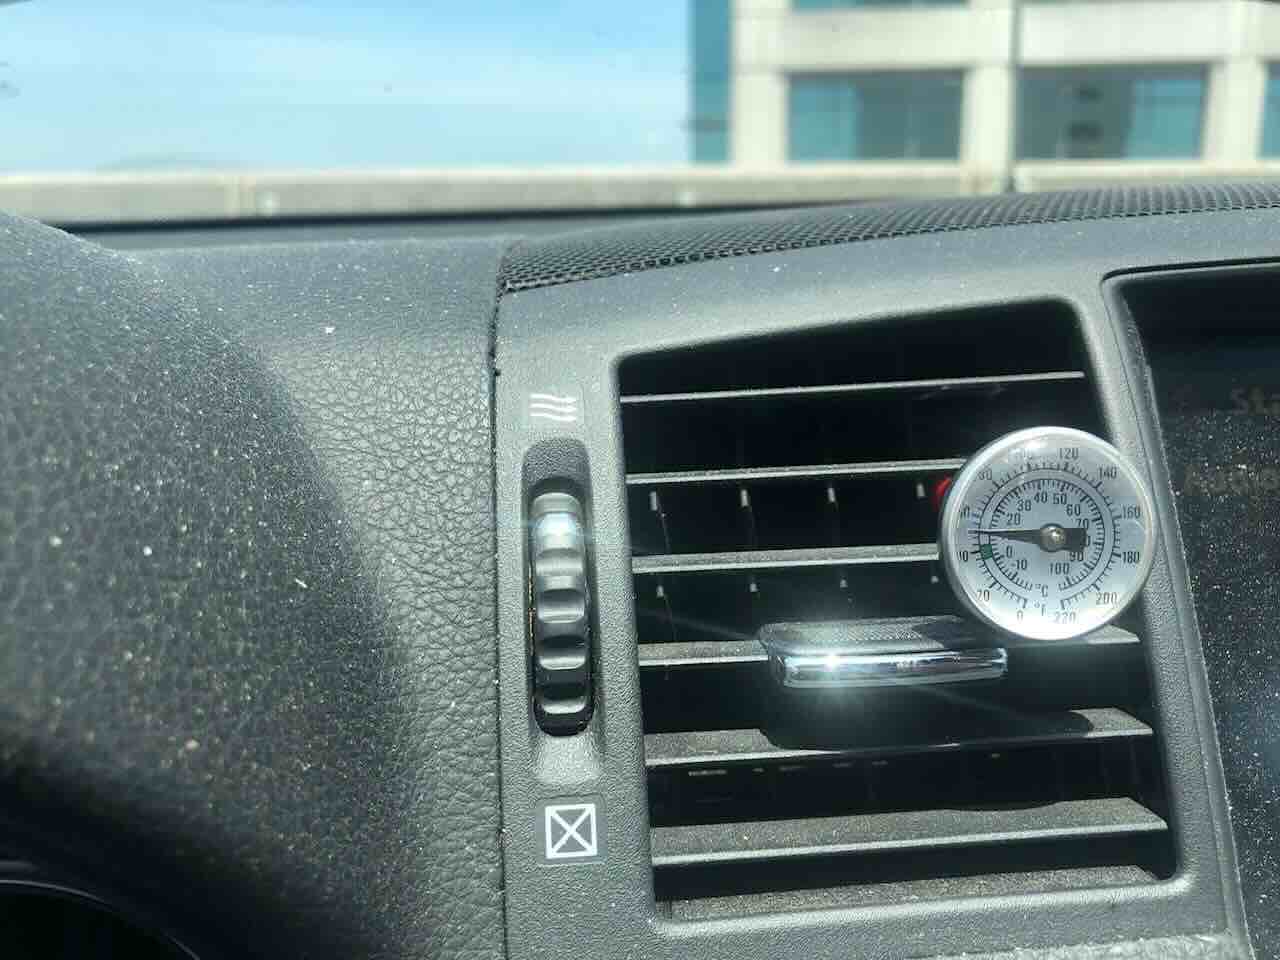
- Using a thermometer, measure the temperature of the air being emitted from the vents. It should be significantly cooler than the interior temperature of your car.
- Compare the temperature difference between the air coming out of the vents and the initial ambient temperature inside your car. A temperature drop of around 15-20 degrees Fahrenheit (8-11 degrees Celsius) is generally considered to indicate a properly functioning AC system.
If you notice that the temperature drop is minimal or non-existent, it could be a sign of an underlying issue with the AC system. Possible causes for reduced cooling efficiency include low refrigerant levels, a malfunctioning compressor, or a clogged evaporator coil. Seeking professional assistance is recommended to diagnose and rectify these problems.
Additionally, it’s important to remember that the cooling efficiency can also be affected by external factors such as extreme heat or humidity. In such conditions, the AC system may take longer to cool the interior of your car, and the overall performance may be slightly reduced.
By evaluating the cooling efficiency of your car’s air conditioner, you can identify any potential issues and take the necessary steps to maintain optimal cooling performance for a comfortable driving experience.
Step 7: Check for any strange smells
As you assess your car’s air conditioner, it’s important to pay attention to any unusual odors emanating from the system. Strange smells can indicate potential problems that require attention. Here are some common odors and their possible causes:
- Musty or moldy smell: A persistent musty or moldy odor often indicates the presence of mold or mildew growth within the AC system. This can occur due to moisture build-up in the evaporator coil or a clogged drain tube. Cleaning the evaporator coil and replacing the cabin air filter can help address this issue.
- Sour or pungent smell: A sour or pungent odor may indicate the growth of bacteria or fungi in the AC system. This can happen when moisture is trapped in the system, providing a breeding ground for microorganisms. Cleaning and disinfecting the AC system can help eliminate these odors and improve air quality.
- Burning or electrical smell: If you notice a burning or electrical smell coming from the air vents, it could be a sign of a faulty electrical component or wiring issue. It’s essential to have a professional inspect and repair the electrical system to avoid any potential safety hazards.
- Chemical or sweet smell: A chemical or sweet odor can indicate a refrigerant leak. Refrigerant has a distinct smell, often described as sweet or chemical-like. If you detect this odor, it’s important to have the leak identified and repaired promptly by a qualified technician.
If you encounter any of these unusual smells from your car’s air conditioner, it’s advisable to have it checked by a professional technician. They can identify the source of the odor and perform the necessary repairs or maintenance to eliminate the problem.
Regularly checking for strange smells allows you to address potential issues early on and ensure that your car’s air conditioner provides clean and fresh air while driving.
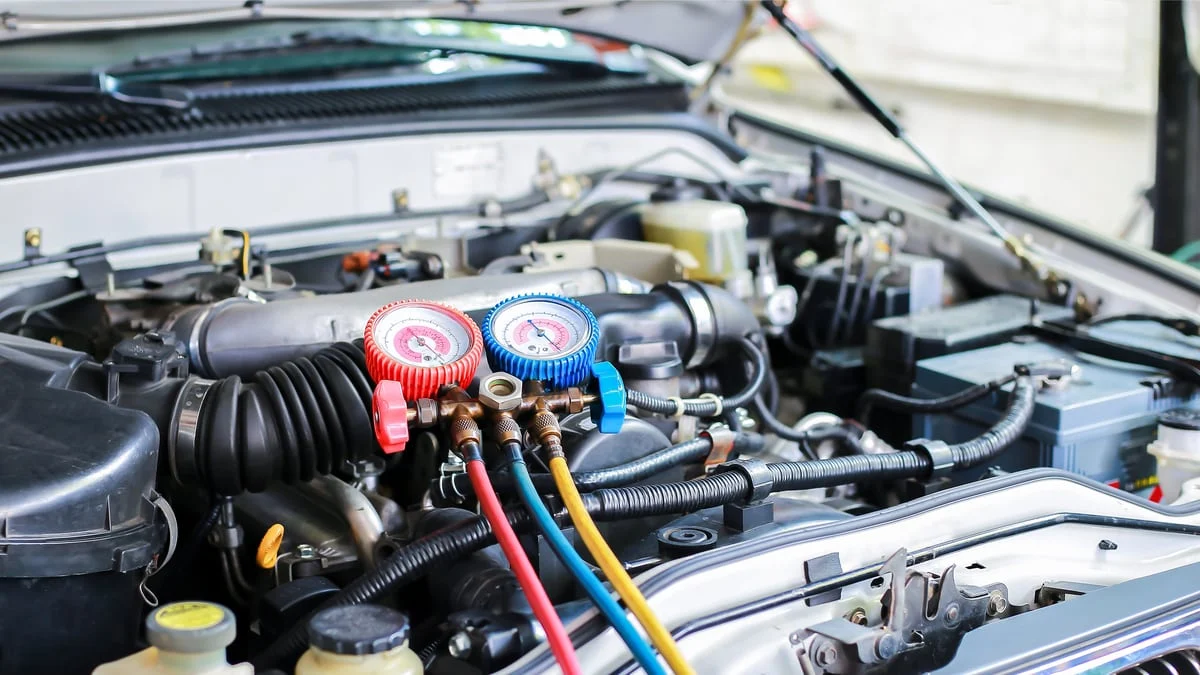
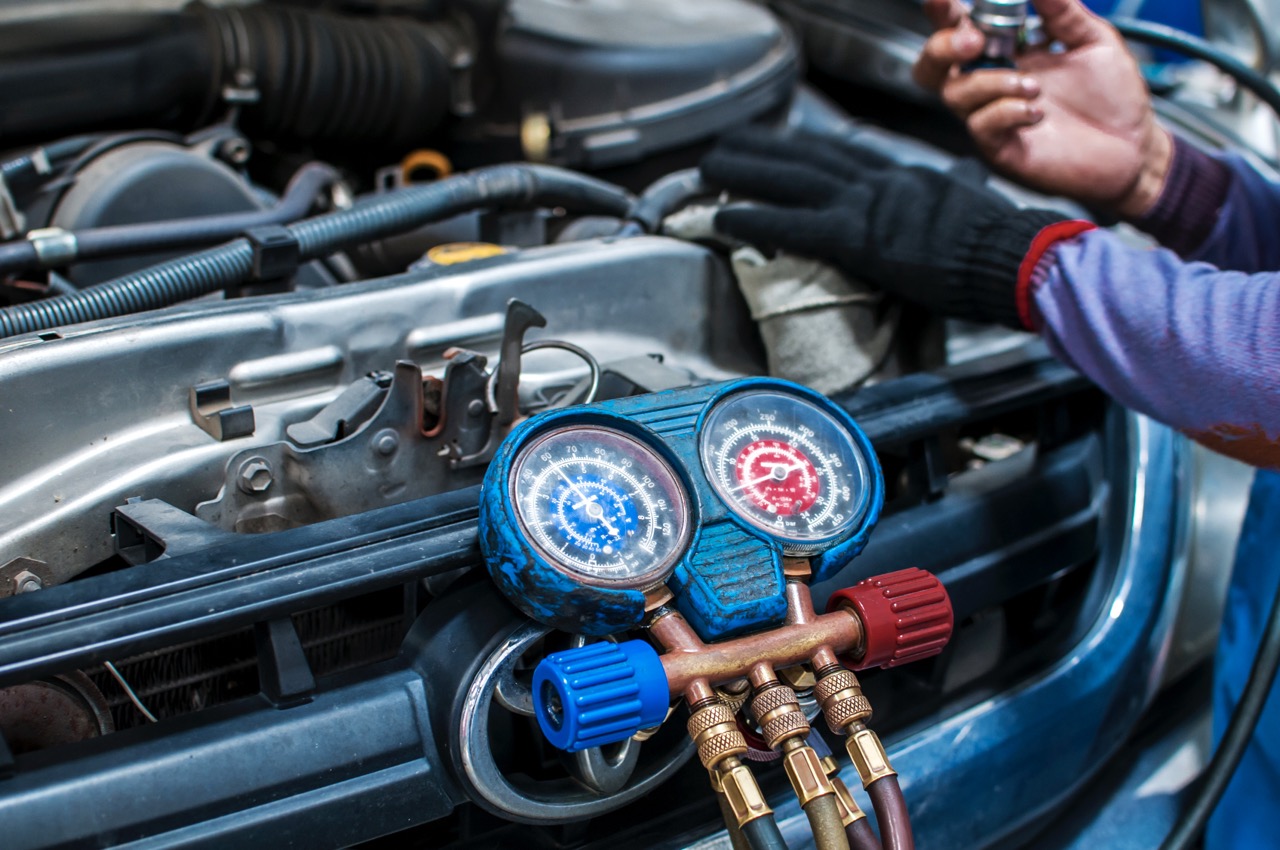
Step 8: Inspect the refrigerant levels
Inspecting the refrigerant levels of your car’s air conditioning system is an important step in ensuring optimal cooling performance. Refrigerant is the substance responsible for absorbing the heat from the air and providing cool air inside the car’s cabin. Here’s how you can inspect the refrigerant levels:
- Locate the AC system’s refrigerant lines or hoses under the hood of your car. They are usually identifiable by their metal construction and connected to the AC compressor.
- Inspect the refrigerant lines for any signs of damage, such as leakage or corrosion. A refrigerant leak can lead to reduced cooling efficiency and potential damage to the AC system.
- Refer to your car’s manufacturer’s manual or consult a professional technician to determine the specific type and amount of refrigerant required for your vehicle.
- If you suspect that the refrigerant levels are low, it’s recommended to have the system checked by a qualified technician. They can perform a pressure test to accurately measure the refrigerant levels and identify any leaks or other issues, which can then be repaired accordingly.
It’s important to note that handling refrigerant requires specialized equipment and expertise. Attempting to add refrigerant yourself without the proper knowledge and tools can lead to potential safety hazards and further damage to the AC system. Therefore, it’s best to leave refrigerant inspection and replenishment to professionals.
Regularly inspecting the refrigerant levels ensures that your car’s air conditioning system is working efficiently and providing optimal cooling performance. Addressing any refrigerant-related issues promptly can help avoid more significant problems and ensure your comfort while driving.
Step 9: Look for signs of leakage
Checking for signs of leakage is an essential step in assessing the health of your car’s air conditioning system. Refrigerant leaks can lead to reduced cooling performance and potential damage to the AC system. Here’s how you can look for signs of leakage:
- Inspect the area around the AC system’s components, such as the compressor, hoses, and fittings. Look for any visible signs of oil stains, wet spots, or drips. These could be indications of a refrigerant leak.
- Pay attention to any oily residue or stains on the ground beneath your car, especially near the front end. Refrigerant leaks often leave behind a slick, oily residue that can help pinpoint the location of the leak.
- Check for frost or ice buildup on the AC system’s components. Excessive frost or ice on the evaporator coil or refrigerant lines can indicate a refrigerant leak or an issue with the system’s pressure.
- Inspect the AC system’s refrigerant lines and hoses for any physical damage or corrosion. Damaged or corroded components can increase the likelihood of refrigerant leaks.
- If you suspect a refrigerant leak or notice any of the above signs, it’s crucial to have your AC system inspected by a professional technician. They can perform a thorough evaluation, identify the source of the leak, and provide the necessary repairs to restore the system’s functionality.
It’s important to address refrigerant leaks promptly to prevent further damage to the AC system and ensure optimal cooling performance. Attempting to fix a refrigerant leak yourself without the required knowledge and equipment is not recommended, as it can lead to safety hazards and improper repairs.
Regularly looking for signs of leakage helps maintain the integrity of your car’s air conditioning system, ensuring that it operates efficiently and provides you with cool and comfortable driving experiences.
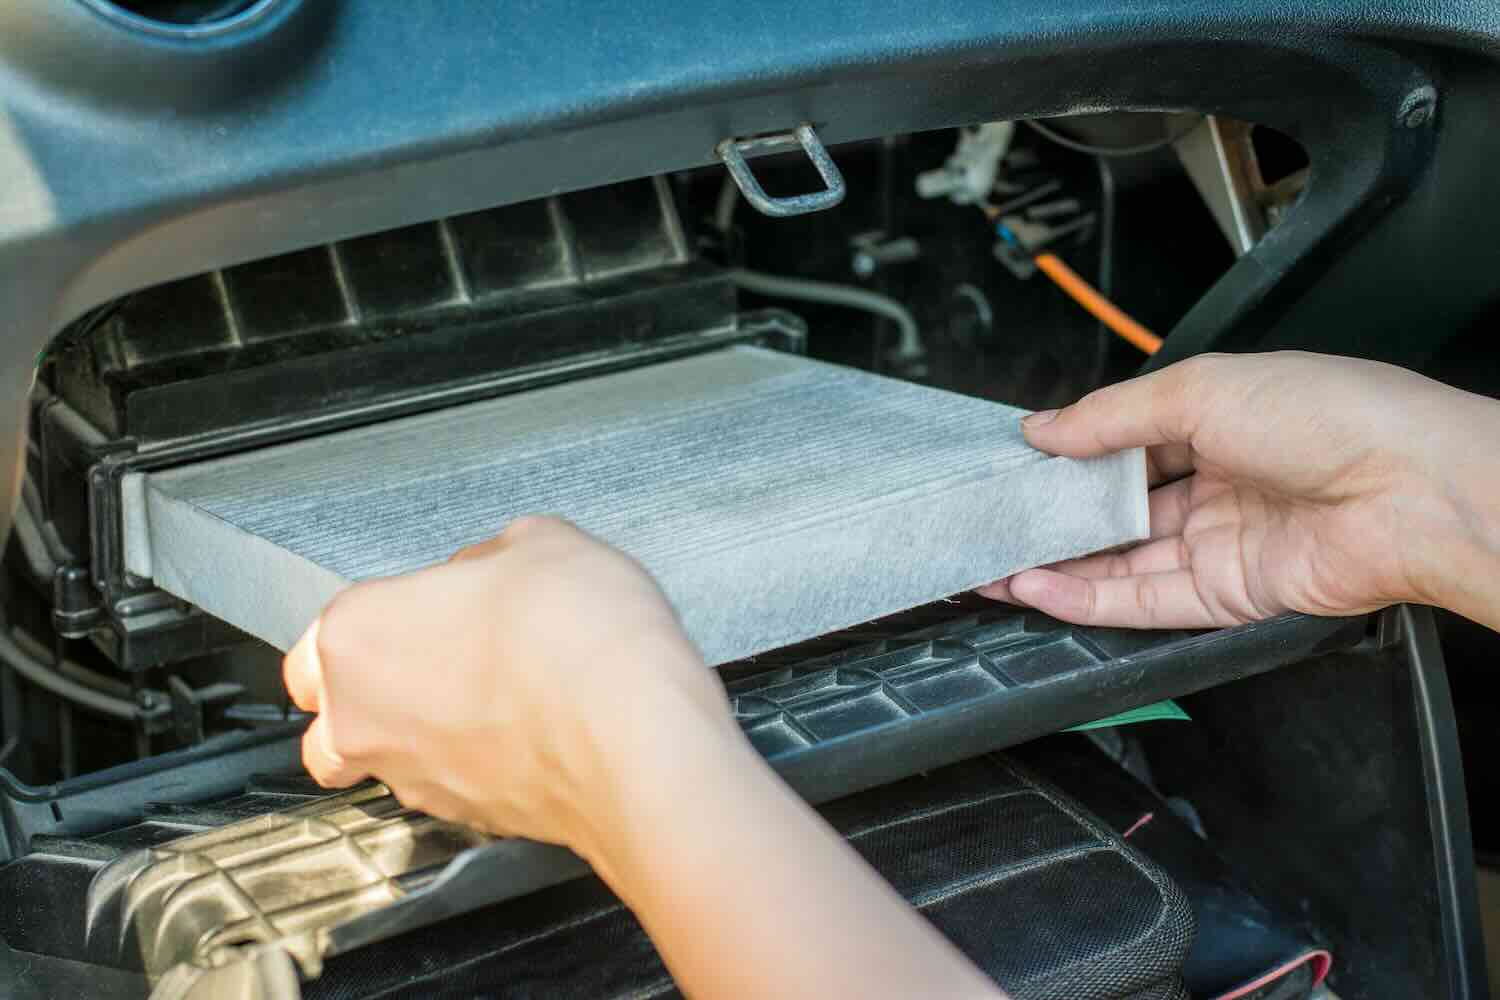
Step 10: Check the cabin air filter
The cabin air filter plays a crucial role in maintaining the air quality inside your car’s cabin by filtering out dust, pollen, and other contaminants. A clogged or dirty cabin air filter can restrict airflow and reduce the efficiency of your air conditioning system. Here’s how you can check the cabin air filter:
- Locate the cabin air filter housing, which is usually located behind the glove box or beneath the dashboard on the passenger side of the car. Refer to your car’s manufacturer’s manual if you’re unsure about the exact location.
- Remove the cabin air filter housing cover to access the filter. This can be done by releasing the clips or unscrewing the retaining screws, depending on your car’s design.
- Inspect the cabin air filter for any signs of dirt, debris, or clogging. If the filter appears dirty or clogged, it’s time for a replacement.
- If the filter is reusable, follow the manufacturer’s instructions to clean and reinstall it. However, if it’s disposable, it’s best to replace it with a new one to ensure optimal filtration and airflow.
- Reinstall the cabin air filter housing cover securely, making sure it’s properly aligned and fastened.
Regularly checking and replacing the cabin air filter not only helps maintain the air quality inside your car but also improves the efficiency of your air conditioning system. A clean and unclogged filter allows for better airflow, resulting in enhanced cooling performance.
The frequency of cabin air filter replacement may vary depending on driving conditions and climate. It’s recommended to check the filter at least once a year or follow the manufacturer’s recommended maintenance schedule.
By keeping your cabin air filter clean and in good condition, you can ensure that your car’s air conditioning system operates at its best, providing you with clean and fresh air during your drives.
Conclusion
Maintaining a properly functioning air conditioner in your car is crucial for a comfortable and enjoyable driving experience, especially during hot summer months. By following the steps outlined in this comprehensive guide, you can easily check the performance of your car’s AC system and address any potential issues that may arise. Let’s recap the steps:
- Turn on the car and let it run.
- Activate the air conditioner and check for cool air output.
- Inspect the air vents for any obstructions.
- Monitor the strength and temperature of the air output.
- Listen for any unusual sounds coming from the system.
- Evaluate the cooling efficiency by measuring the temperature difference.
- Check for any strange smells, indicating potential issues.
- Inspect the refrigerant levels and look for signs of leakage.
- Examine the cabin air filter and clean or replace it as needed.
By following these steps, you can identify any problems with your car’s air conditioner and take the necessary actions, whether it’s DIY maintenance or seeking professional assistance. Timely inspections and maintenance help ensure optimal cooling performance and prevent potential breakdowns that may leave you stranded on a scorching day.
Remember, if you encounter any complex or severe issues with your car’s air conditioning system, it’s always recommended to consult a qualified technician who has the expertise and equipment to diagnose and repair the problem accurately.
So, stay cool and comfortable on the road by giving your car’s air conditioner some attention. With proper maintenance and care, your AC system will continue to keep you refreshed during your drives throughout the year.
Frequently Asked Questions about How To Check Air Conditioner In Car
Was this page helpful?
At Storables.com, we guarantee accurate and reliable information. Our content, validated by Expert Board Contributors, is crafted following stringent Editorial Policies. We're committed to providing you with well-researched, expert-backed insights for all your informational needs.