Home>Home Maintenance>How To Clean A Car Air Conditioner
Home Maintenance
How To Clean A Car Air Conditioner
Modified: August 30, 2024
Learn how to clean your car air conditioner at home! This home maintenance guide will help you keep your car cool and fresh, saving you time and money.
(Many of the links in this article redirect to a specific reviewed product. Your purchase of these products through affiliate links helps to generate commission for Storables.com, at no extra cost. Learn more)
Introduction
Welcome to our comprehensive guide on how to clean a car air conditioner. Keeping your car’s air conditioner clean is essential for maintaining its performance and ensuring the circulation of clean and cool air. Over time, dust, dirt, and debris can accumulate in the air conditioner system, leading to reduced efficiency and potential malfunctions.
In this article, we will take you through a step-by-step process on how to clean your car’s air conditioner. We will provide you with valuable tips, techniques, and necessary tools to make the cleaning process easy and effective.
Regularly cleaning your car’s air conditioner not only improves its performance but also contributes to better air quality inside the vehicle. Clean air improves passengers’ comfort and reduces the risk of respiratory issues and allergies caused by allergens and pollutants trapped in the system.
Without further ado, let’s dive into the cleaning process and ensure your car’s air conditioner is running smoothly and providing optimal cooling.
Key Takeaways:
- Regularly cleaning your car’s air conditioner with simple tools like a brush and vacuum can improve its performance and provide cleaner air for a more comfortable and healthier driving experience.
- By following the step-by-step guide to clean your car’s air conditioner, you can ensure optimal cooling and maintain a refreshing environment inside your vehicle, contributing to a safer and more enjoyable driving experience.
Read more: How To Fix A Car Air Conditioner
Step 1: Gather the Necessary Tools and Supplies
Before you begin cleaning your car’s air conditioner, it is essential to gather all the necessary tools and supplies. Having everything prepared beforehand will make the cleaning process more efficient and smooth. Here are the items you will need:
- Protective gloves
- Safety goggles
- Face mask
- Screwdriver
- Soft brush or toothbrush
- Vacuum cleaner with a brush attachment
- Can of compressed air
- Clean cloth or microfiber towel
- Water spray bottle
- Cleaning solution (mild detergent or vinegar and water mixture)
With these tools and supplies on hand, you will be fully equipped to tackle the cleaning process efficiently and effectively.
Step 2: Turn off the Car and Open the Hood
Before you start working on your car’s air conditioner, it is crucial to turn off the car’s engine and allow it to cool down. This will prevent any accidental injuries and ensure your safety throughout the cleaning process.
Once the car is turned off and cooled, locate the hood release lever, usually located near the driver’s side footwell or under the dashboard. Pull the lever to release the hood, and then carefully lift the hood and prop it open with the support rod provided.
Opening the hood will give you access to the engine compartment and the air conditioner components. Take a moment to familiarize yourself with the layout of the engine compartment and locate the air conditioner components, such as the condenser and evaporator.
It’s important to note that the location of the air conditioner components may vary depending on the make and model of your car. If you are unsure, refer to your car’s owner’s manual for specific instructions or consult a professional mechanic.
Once you have identified the air conditioner components, you are ready to move on to the next step in the cleaning process.
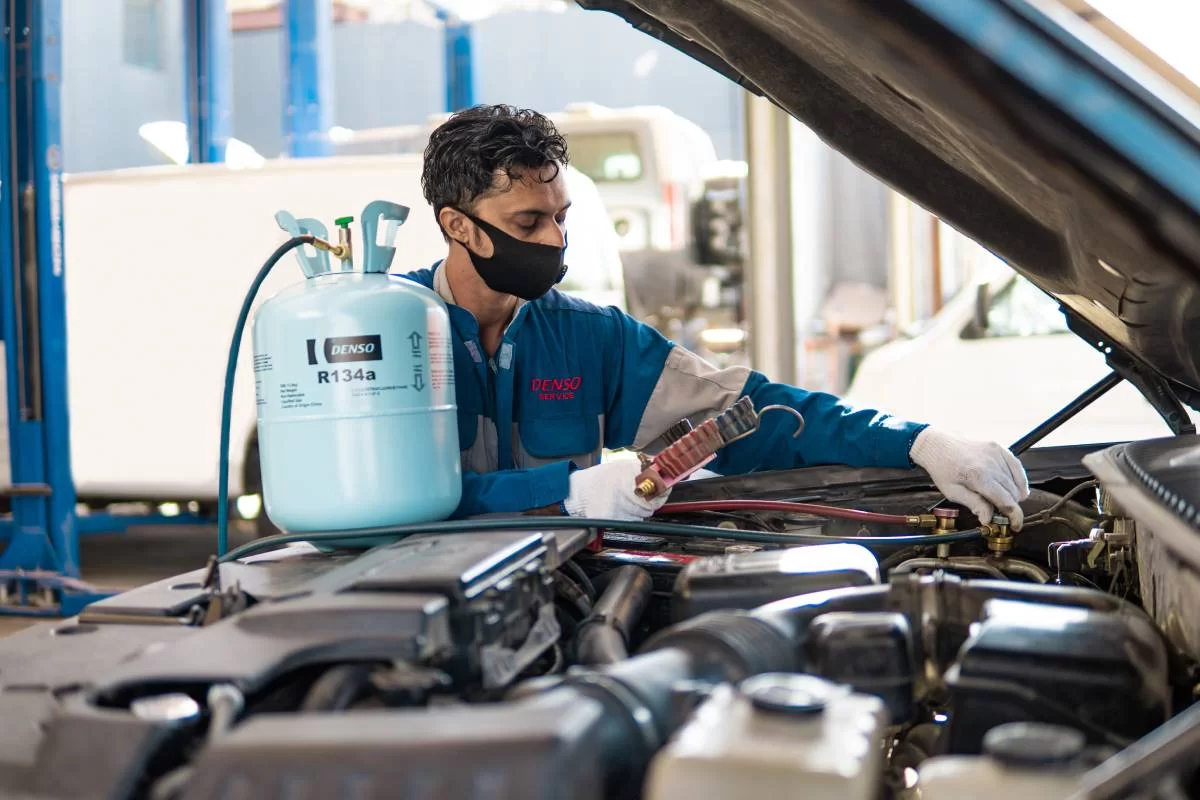
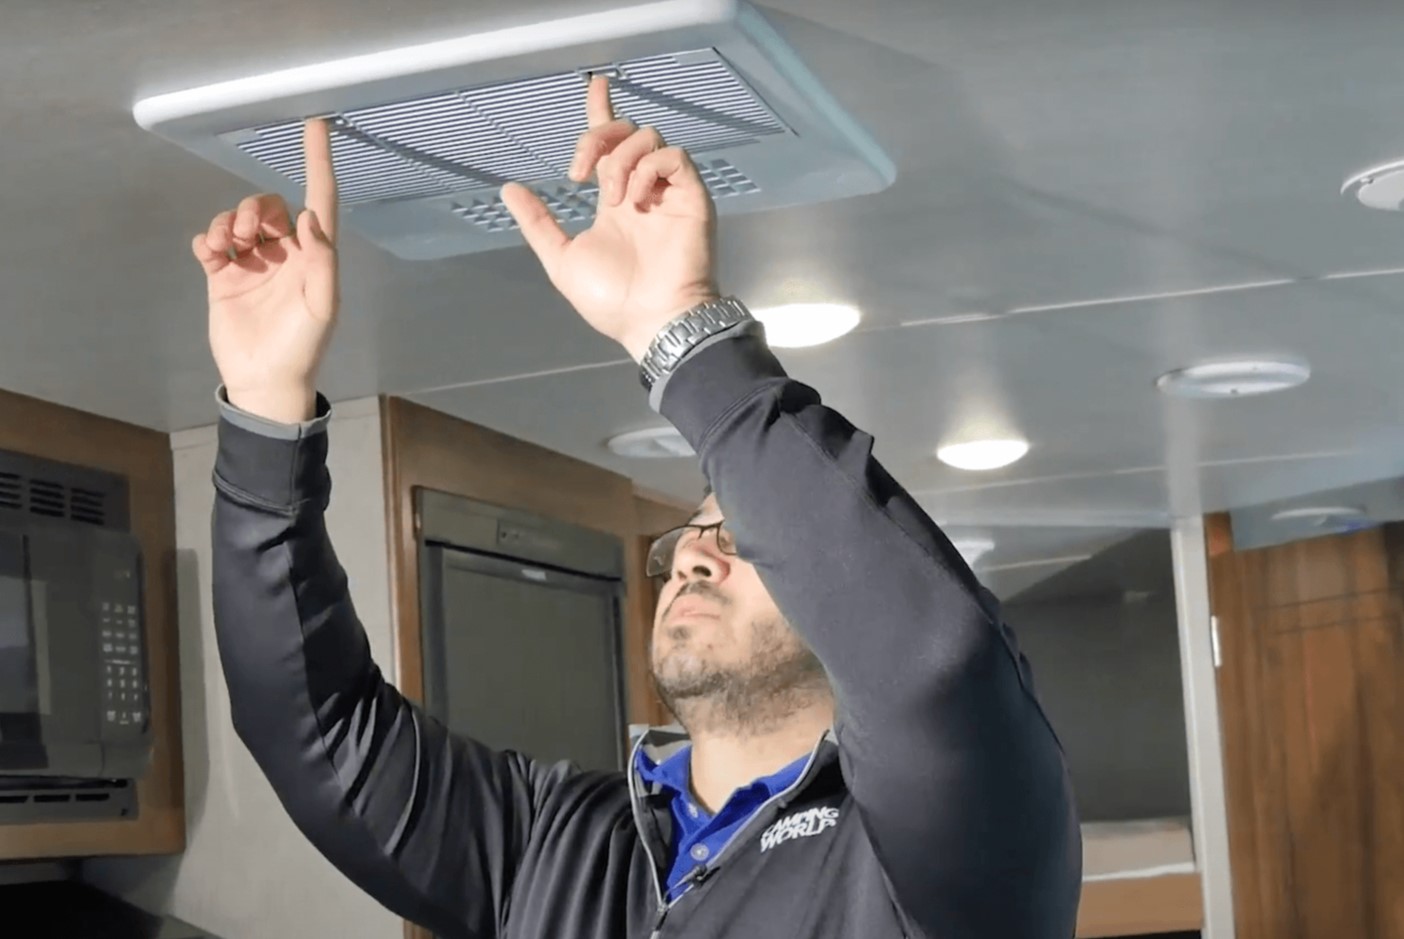
Step 3: Locate the Air Conditioner Components
Now that you have opened the hood of your car, it’s time to locate the air conditioner components that you will be cleaning. The main components you need to identify are the condenser and the evaporator.
The condenser is typically located near the front of the engine compartment and resembles a small radiator. It plays a crucial role in dissipating heat from the refrigerant, allowing it to cool down and provide cold air to the car’s interior.
The evaporator, on the other hand, is usually located inside the car’s cabin, typically behind the dashboard. It is responsible for absorbing heat from the air passing through it, thereby cooling down the air that is eventually blown into the car.
Take a close look at these components and inspect them for any visible signs of debris, dust, or dirt buildup. In some cases, you may even notice leaves or other foreign objects lodged in the fins of the condenser or evaporator.
Identifying and examining these components will give you a better understanding of how your car’s air conditioner works and allow you to target specific areas that require cleaning. This knowledge will be beneficial when you move on to the next steps of the cleaning process.
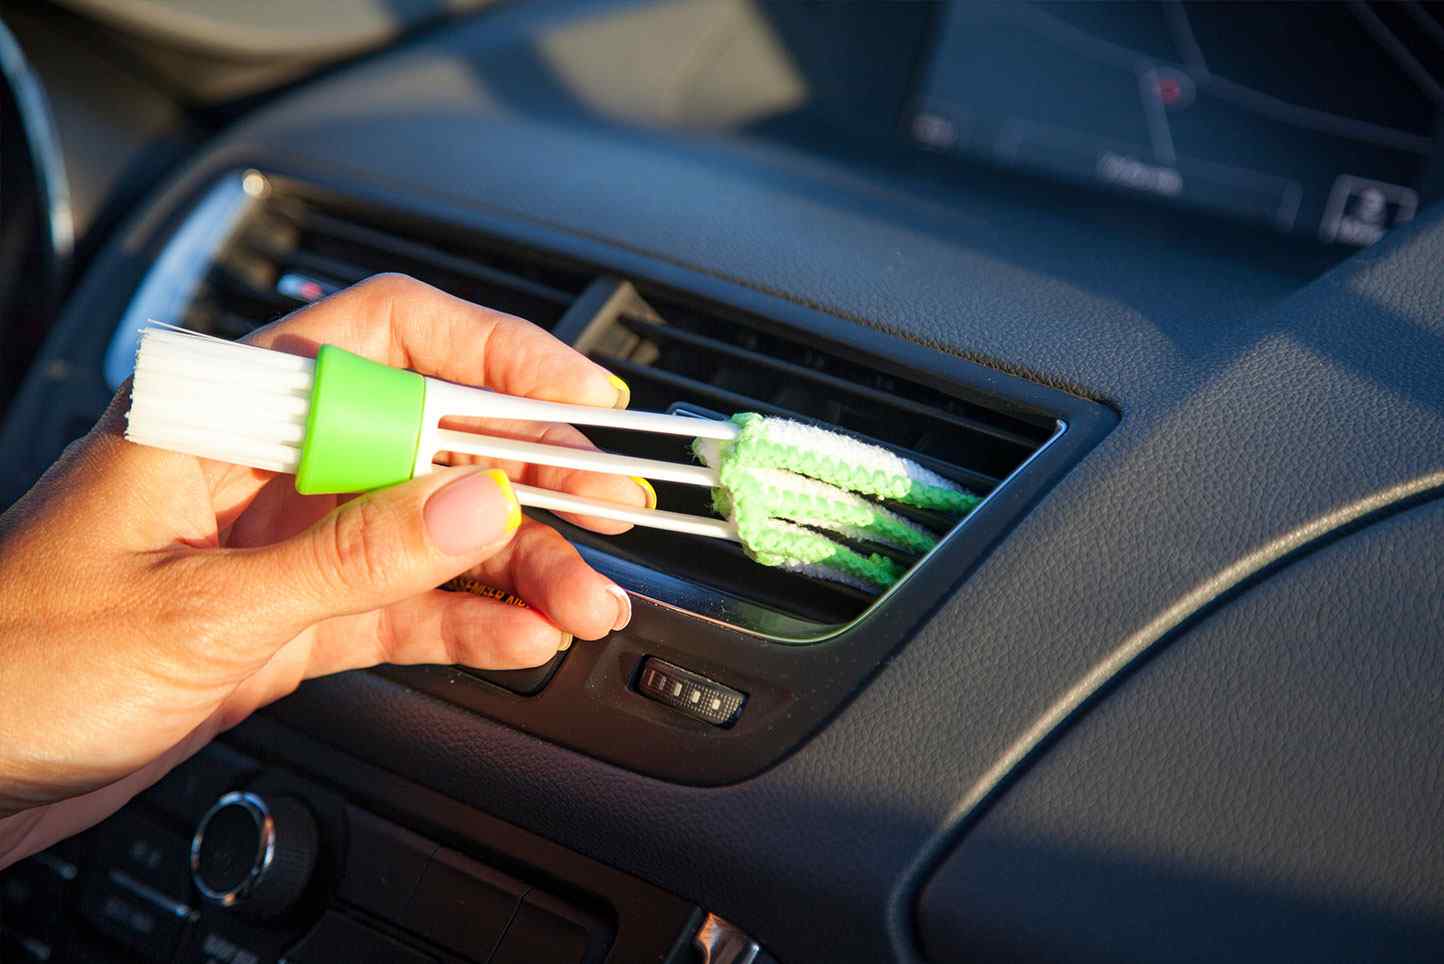
Step 4: Remove Debris from the Exterior Condenser
Now that you have identified the condenser, it’s time to remove any debris, such as leaves, bugs, or dirt, that may have accumulated on its exterior. This step is crucial for ensuring that the condenser can function optimally and efficiently.
Begin by using a soft brush or toothbrush to gently brush away any loose debris from the surface of the condenser. Be careful not to apply too much pressure or bend the delicate fins of the condenser.
If the debris is stubborn or hard to remove with a brush, you can use a vacuum cleaner with a brush attachment to suck up the dirt and dust. Move the brush attachment across the surface of the condenser, paying attention to the areas where debris may be trapped.
Another effective method is to use a can of compressed air to blow away the debris. Hold the can upright, and with short bursts of air, direct the nozzle towards the condenser. This will dislodge any stubborn dirt or leaves stuck between the fins.
After removing as much debris as possible from the condenser, take a clean cloth or microfiber towel and wipe down the surface to ensure it is clean and free of any remaining particles.
It is important to note that cleaning the condenser’s exterior is only the first step. To maintain a well-functioning air conditioner, it is necessary to clean the interior components as well, which we will address in the following steps.
With the exterior debris cleared, you can now proceed to the next step of cleaning the evaporator coils inside the car’s cabin.
Read more: How To Check Air Conditioner In Car
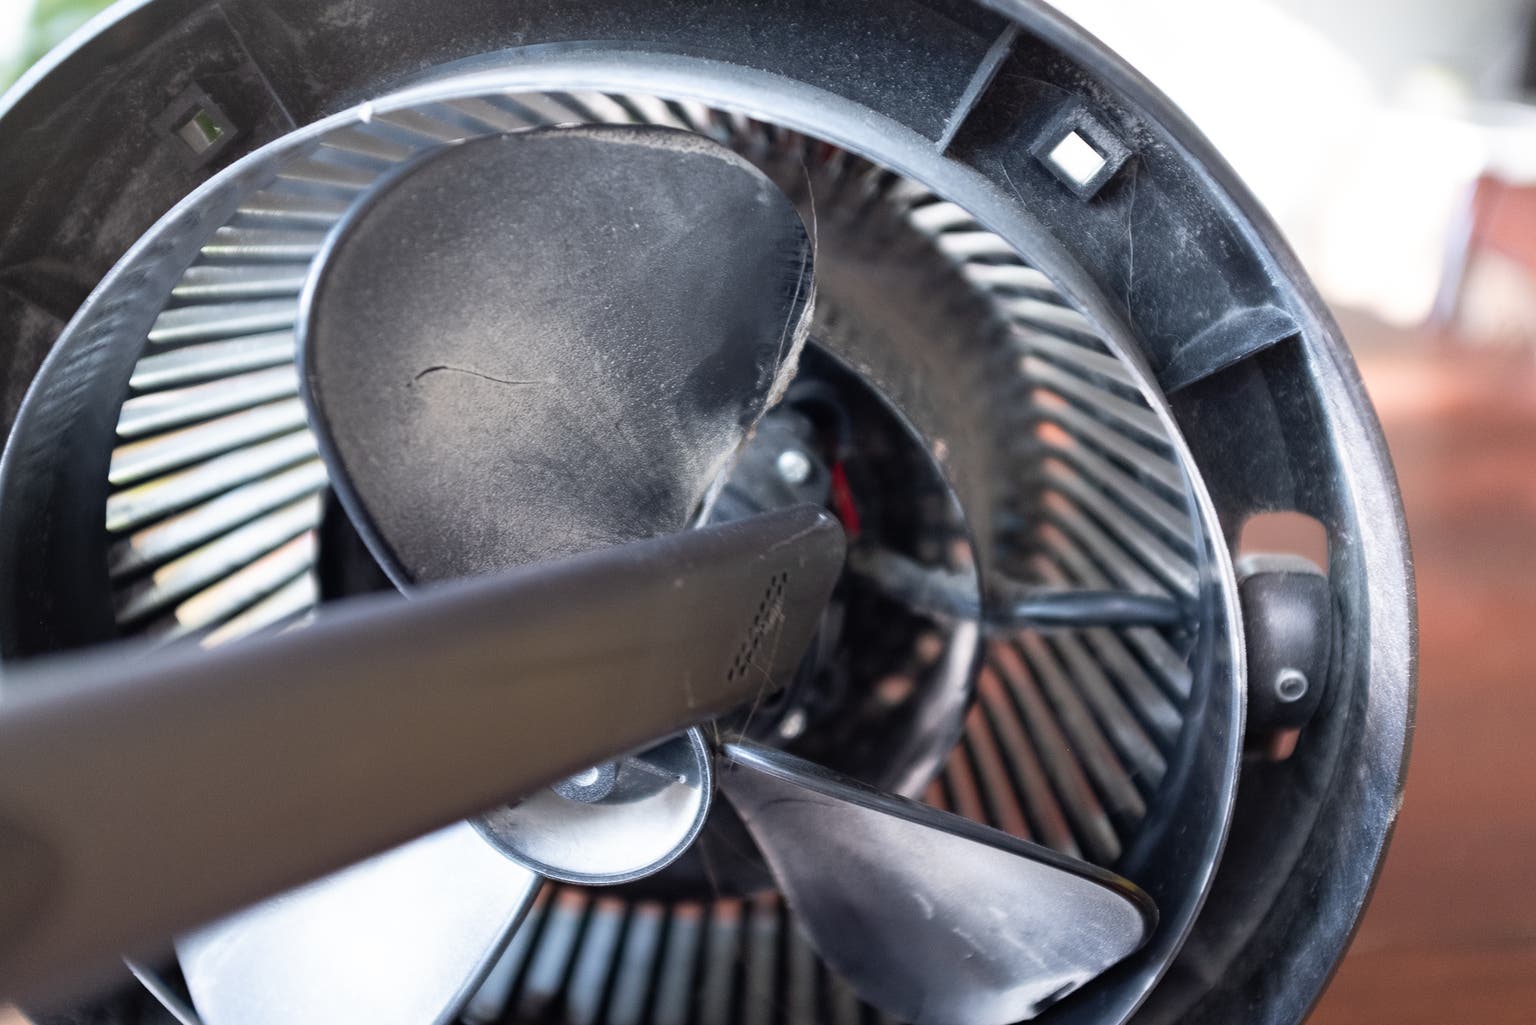
Step 5: Clean the Evaporator Coils
Now that you have addressed the exterior of the condenser, it’s time to move inside the car and focus on cleaning the evaporator coils. The evaporator coils are responsible for cooling the air that is blown into the car’s cabin.
To access the evaporator coils, you may need to remove some panels or covers located beneath the dashboard or behind the glove compartment. Refer to your car’s owner’s manual or consult a professional if you are unsure about the specific steps for your vehicle.
Once you have gained access to the evaporator coils, inspect them for any signs of dirt, dust, or debris buildup. It is common for these coils to accumulate layers of grime over time, which can restrict airflow and reduce the cooling efficiency of your car’s air conditioner.
To clean the evaporator coils, start by using a soft brush or toothbrush to gently loosen any dirt or dust. Be careful not to apply excessive force that could damage the coils. Then, use a vacuum cleaner with a brush attachment to carefully remove the loosened debris from the coils.
If the coils are heavily soiled or have stubborn buildup, you can use a mixture of mild detergent and water or a vinegar and water solution to clean them. Dampen a clean cloth or sponge with the cleaning solution and gently wipe the coils, being mindful not to saturate them with excess moisture.
It’s important to be cautious when cleaning the evaporator coils, as they are delicate and can be easily damaged. If you are unsure or uncomfortable performing this task yourself, it is advised to seek professional assistance.
Once you have thoroughly cleaned the evaporator coils, allow them to dry completely before reassembling any panels or covers. This will help prevent the growth of mold or mildew in the air conditioning system.
With the evaporator coils now clean, let’s move on to the next step of cleaning the air conditioner filters.
Regularly clean or replace the cabin air filter in your car to keep the air conditioner working efficiently. This will help prevent dust and debris from clogging the system and ensure better air quality inside the car.
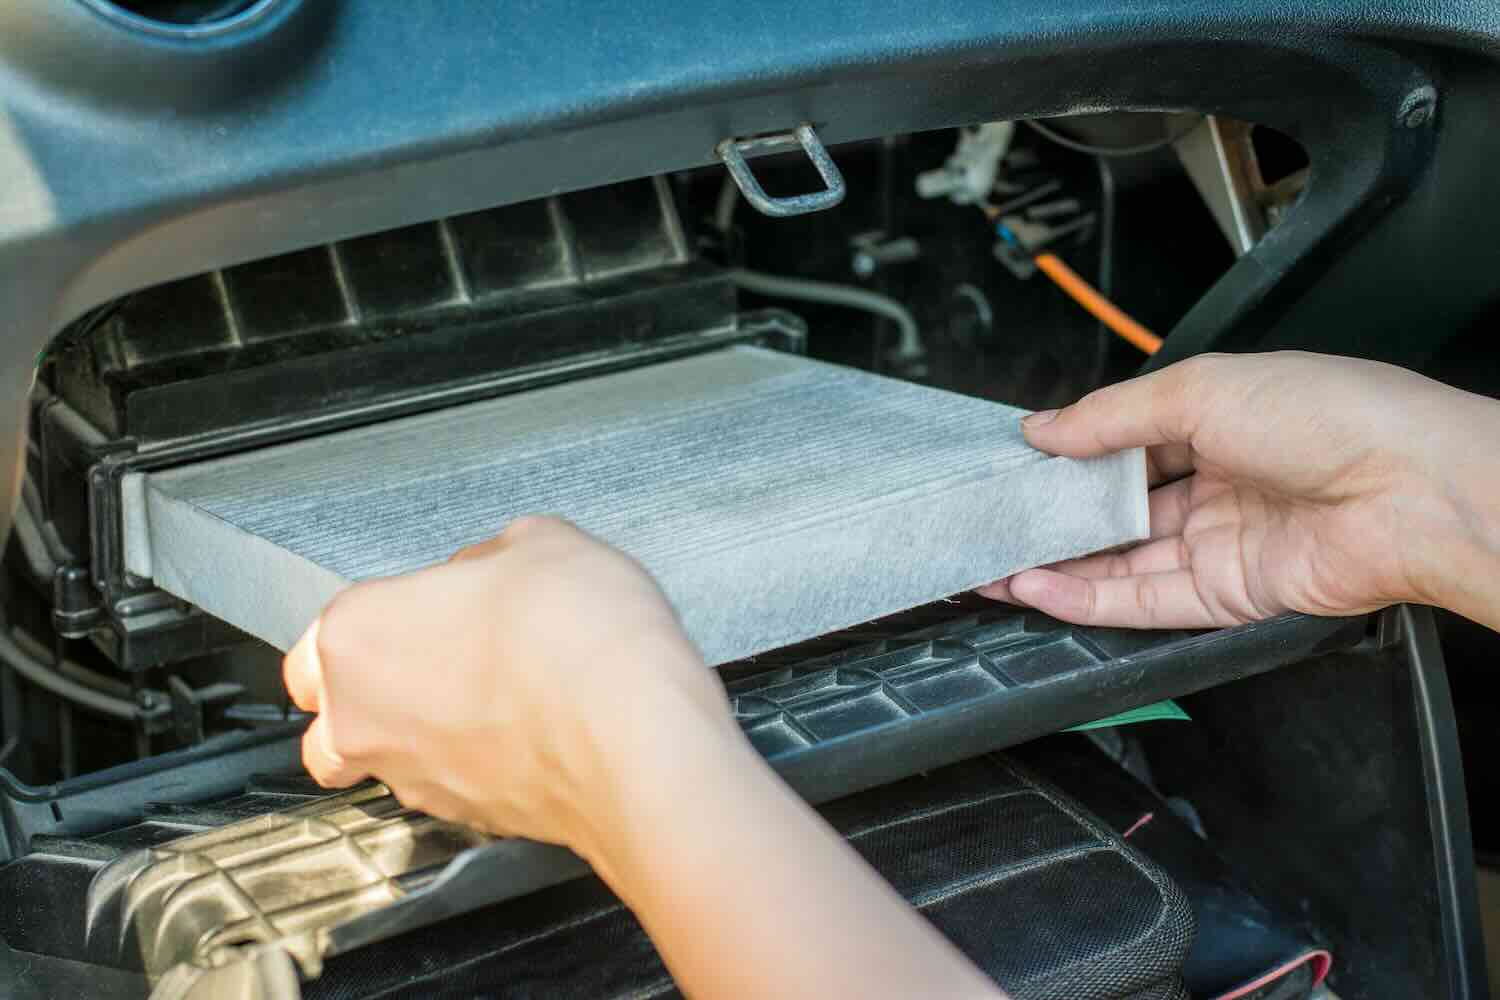
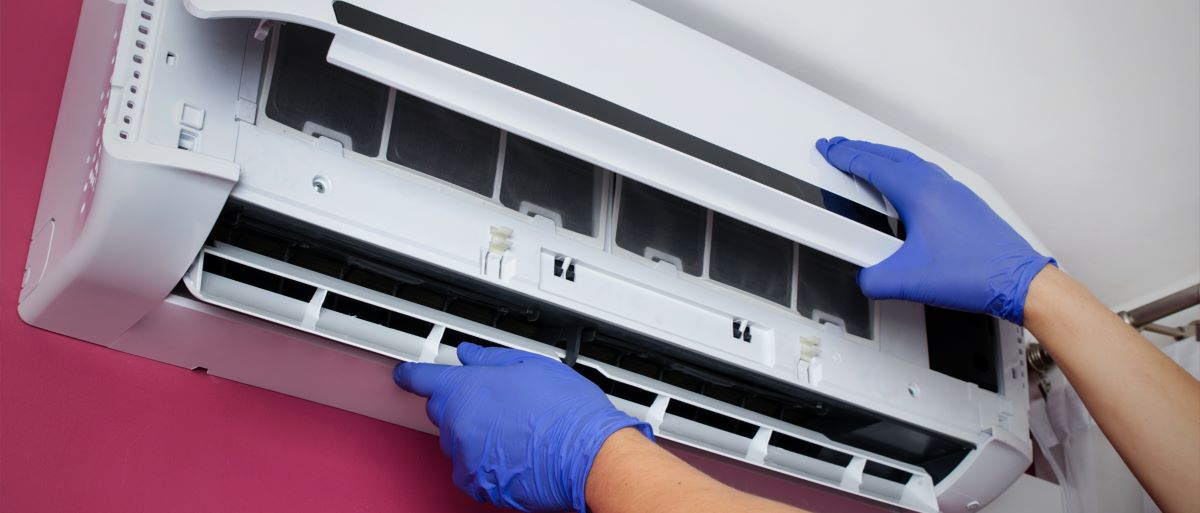
Step 6: Clean the Air Conditioner Filters
Now that you have addressed the condenser and evaporator coils, it’s time to focus on the air conditioner filters. The filters play a crucial role in capturing dust, pollen, and other airborne particles before they enter your car’s cabin.
Locate the air conditioner filters, which are typically located behind a removable panel on the dashboard or beneath the glove compartment. Refer to your car’s owner’s manual for specific instructions on how to access the filters for your vehicle.
Once you have accessed the filters, carefully remove them from their housing. Take note of their position and orientation, as this will be important when reinstalling them later.
Inspect the filters for any visible dirt, debris, or blockages. If they appear clogged or heavily soiled, it’s time to clean them. Begin by gently tapping the filters on a hard surface or use a soft brush to remove any loose dust and debris.
Next, rinse the filters with water to remove stubborn dirt. If the filters are washable, use a mild detergent and lukewarm water to give them a thorough cleaning. Gently scrub the filters with a soft brush or sponge, being careful not to damage their delicate structure.
After washing the filters, rinse them thoroughly to remove any soap residue. Once they are clean, gently pat them dry with a clean cloth or allow them to air dry completely before reinstallation.
If your car’s air conditioner filters are not washable or have become worn out, it is recommended to replace them with new filters. This will ensure optimal air quality and enhance the performance of your car’s air conditioner.
With the filters cleaned or replaced, you’re ready to move on to the next step of cleaning the condenser fins.
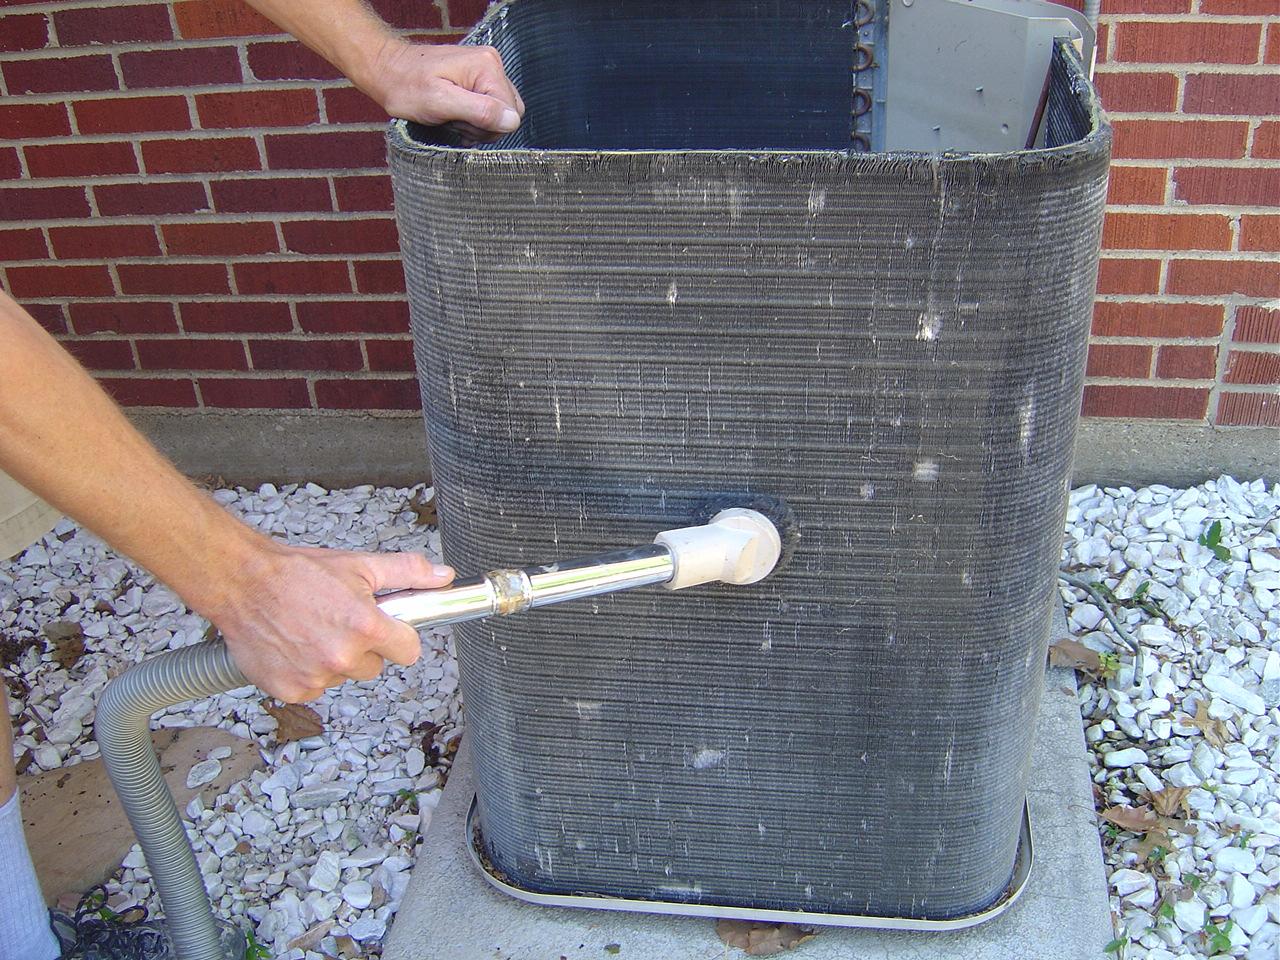
Step 7: Clean the Condenser Fins
Now that you have cleaned the air conditioner filters, it’s time to shift your attention back to the condenser. Specifically, you’ll want to focus on cleaning the delicate condenser fins to ensure optimal airflow and cooling performance.
Inspect the condenser fins for any visible debris, dust, or dirt buildup. These fins are thin metallic blades that are prone to collecting dirt and can become clogged over time, hindering proper air circulation.
Using a soft brush or toothbrush, gently brush along the condenser fins in a back-and-forth motion to dislodge any loose debris. Be sure to brush gently to avoid bending or damaging the fins.
If you notice stubborn buildup or dirt trapped in between the fins, you can use a can of compressed air to blow them clean. Hold the can upright and direct short bursts of air into the condenser fins, aiming to dislodge the debris.
Alternatively, you can use a water spray bottle to mist the fins with a mild detergent or vinegar and water solution. Allow the solution to sit for a few minutes to help loosen the dirt, and then rinse the fins thoroughly with water.
Be cautious when using water to clean the condenser fins, as excessive moisture can cause damage. Ensure that the water spray is not too forceful and avoid spraying other components of the air conditioner system.
Once you have cleaned the condenser fins, take a moment to inspect them for any bent or damaged fins. If you notice any bent fins, gently straighten them using a fin comb or a thin, flat tool. Bent fins can obstruct airflow and reduce the efficiency of the air conditioner.
With the condenser fins cleaned and straightened, your car’s air conditioner is now better equipped to deliver quality and refreshing airflow. Let’s move on to the next step to ensure the proper functioning of the drain tube.
Step 8: Check and Clean the Drain Tube
As you near the end of the cleaning process for your car’s air conditioner, it’s important to turn your attention to the drain tube. The drain tube is responsible for removing condensation and excess moisture from the air conditioner system.
Locate the drain tube, which is typically found near the bottom of the evaporator housing or beneath the car. It is a small rubber or plastic tube that protrudes from the air conditioner system.
Start by visually inspecting the drain tube for any signs of clogs or blockages. A clogged drain tube can prevent proper drainage, leading to water buildup and potential damage to your car’s interior.
Using a clean cloth or a small wire brush, gently clean the opening of the drain tube to remove any dirt, debris, or mold that may have accumulated. Take care not to push any debris further into the tube, as this can worsen the clog.
If the drain tube appears to be severely clogged, you can use a small amount of compressed air or a thin, flexible rod to carefully remove the blockage. Be cautious not to exert too much pressure or damage the tube.
It’s important to note that each car’s air conditioner system may have a different drain tube setup, so consult your owner’s manual or seek professional guidance if you are unsure about the exact process for your vehicle.
With the drain tube cleaned and any blockages removed, your car’s air conditioner will be free to drain the condensation properly, preventing water damage and maintaining a comfortable interior environment.
With the cleaning process now complete, let’s move on to the final step: reassembling the components and testing the air conditioner for optimal performance.
Read more: Why Is The Car Air Conditioner Not Cooling
Step 9: Reassemble and Test the Air Conditioner
Congratulations! You have successfully completed the cleaning process for your car’s air conditioner. Now it’s time to reassemble the components and test the air conditioner for optimal performance.
Start by reattaching any panels, covers, or housing that you removed earlier to access the condenser, evaporator coils, and filters. Ensure that everything is securely fastened and in its proper place.
Next, reinstall the clean or new air conditioner filters back into their housing. Make sure they are properly aligned and correctly positioned based on the manufacturer’s instructions.
Once you have reassembled the components, it’s time to test the air conditioner. Start by turning on the car’s engine and adjusting the temperature and fan settings to the desired level.
Pay close attention to the airflow and cooling performance of the air conditioner. Is the air blowing strong and cool? Are there any unusual noises or odors coming from the system? These factors can indicate the effectiveness of the cleaning process and any potential issues that may require further attention.
If you notice any problems or have concerns about the performance of your car’s air conditioner after cleaning, it is recommended to consult a professional mechanic or air conditioning specialist for further diagnosis and assistance.
Remember, regular maintenance and cleaning of your car’s air conditioner are essential to keep it running efficiently and providing optimal cooling during those hot summer months.
By following this step-by-step guide, you have taken a proactive approach towards improving the performance of your car’s air conditioner and ensuring a comfortable and refreshing driving experience.
Thank you for taking the time to clean your car’s air conditioner with us, and safe travels!
Conclusion
Cleaning your car’s air conditioner is a vital maintenance task that ensures optimal performance and improves the overall air quality inside your vehicle. Regular cleaning helps remove dirt, dust, and debris from essential components like the condenser, evaporator coils, filters, and drain tube.
Throughout this comprehensive guide, we have provided you with step-by-step instructions and valuable tips on how to clean your car’s air conditioner. From gathering the necessary tools and supplies to reassembling and testing the air conditioner, each step has been designed to help you maintain the efficiency and longevity of your system.
By taking the time to clean your car’s air conditioner, you not only improve its cooling performance but also create a healthier environment inside your vehicle. Clean air reduces the risk of respiratory issues and allergies by removing pollutants and allergens from circulation.
Remember to follow safety precautions throughout the cleaning process, such as wearing protective gloves, safety goggles, and a face mask. Additionally, always refer to your car’s owner’s manual for specific instructions and consult a professional if you are unsure or uncomfortable performing certain tasks.
Now that you have completed the cleaning process, make it a habit to regularly maintain your car’s air conditioner. Regular cleaning, along with routine inspections and professional servicing when needed, will keep your air conditioner running efficiently and delivering cool and clean air for your comfort.
Thank you for joining us in this journey to clean your car’s air conditioner. We hope that this guide has been informative and helpful. Safe travels and enjoy the refreshing air in your freshly cleaned car!
Frequently Asked Questions about How To Clean A Car Air Conditioner
Was this page helpful?
At Storables.com, we guarantee accurate and reliable information. Our content, validated by Expert Board Contributors, is crafted following stringent Editorial Policies. We're committed to providing you with well-researched, expert-backed insights for all your informational needs.