Home>Home Maintenance>How To Change An Air Conditioner Filter In A Car
Home Maintenance
How To Change An Air Conditioner Filter In A Car
Modified: October 20, 2024
Learn the simple steps to change the air conditioner filter in your car for optimal home maintenance. Keep your vehicle cool and clean!
(Many of the links in this article redirect to a specific reviewed product. Your purchase of these products through affiliate links helps to generate commission for Storables.com, at no extra cost. Learn more)
Introduction
Welcome to our comprehensive guide on how to change an air conditioner filter in a car. Regularly changing the air conditioner filter is crucial for maintaining good air quality in your vehicle and ensuring that your air conditioning system operates efficiently. Over time, the filter can become clogged with dust, pollen, and other airborne particles, which can not only reduce the effectiveness of your air conditioner but also negatively impact your health.
This step-by-step guide will walk you through the process of changing your car’s air conditioner filter so that you can enjoy clean and fresh air while driving. By following these simple steps and performing regular maintenance, you can improve the longevity and performance of your vehicle’s air conditioning system.
Before we begin, please note that the specific steps and locations of the air conditioner filter may vary depending on the make and model of your car. Therefore, it’s always a good idea to consult your vehicle’s owner’s manual for the most accurate information. Now, let’s get started!
Key Takeaways:
- Regularly changing your car’s air conditioner filter is crucial for clean air and efficient cooling. Follow the step-by-step guide and maintenance tips to ensure a healthier and more comfortable driving experience.
- Gather the necessary tools, locate the filter, remove and clean the housing, and install the new filter properly. Test the air conditioner for optimal functionality and follow maintenance tips for a well-maintained air conditioning system.
Step 1: Gather necessary tools and materials
Before you begin the process of changing your car’s air conditioner filter, it’s essential to gather all the necessary tools and materials. This ensures that you have everything you need on hand and minimizes any potential interruptions during the process. Here’s a list of the items you’ll need:
- A new air conditioner filter: Be sure to select the correct filter size and type for your specific vehicle. You can find this information in your car’s owner’s manual or by consulting with a professional at an auto parts store.
- Gloves: It’s a good idea to wear gloves to protect your hands during the process, especially if the filter is dirty or if you have any allergies.
- A screwdriver or socket set: Depending on your car’s make and model, you may need a screwdriver or socket set to remove the screws or clips that hold the filter housing in place.
- A vacuum cleaner or compressed air: This will come in handy for cleaning any dust or debris that may have accumulated in the filter housing.
- A rag or towel: Having a rag or towel nearby is useful for wiping down any surfaces that may get dirty during the process.
Once you have gathered all these tools and materials, you’re ready to move on to the next step: locating the air conditioner filter in your car.
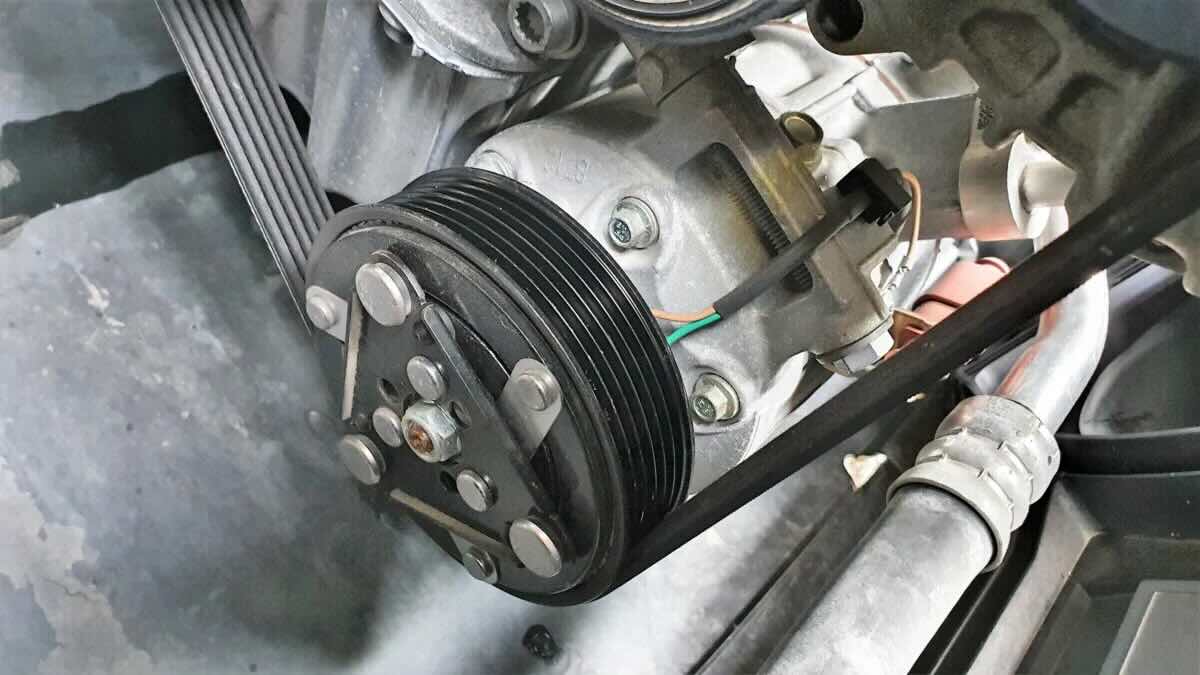
Step 2: Locate the air conditioner filter in your car
Locating the air conditioner filter in your car is an important step in the process of changing it. The filter is typically located within the air intake system, which is responsible for drawing in outside air to cool and ventilate the vehicle’s interior. Here’s how to find the air conditioner filter:
- Refer to your car’s owner’s manual: The owner’s manual will provide you with the most accurate information about the location of the air conditioner filter in your specific make and model of car. It will usually include a diagram or description to help you identify the filter’s location.
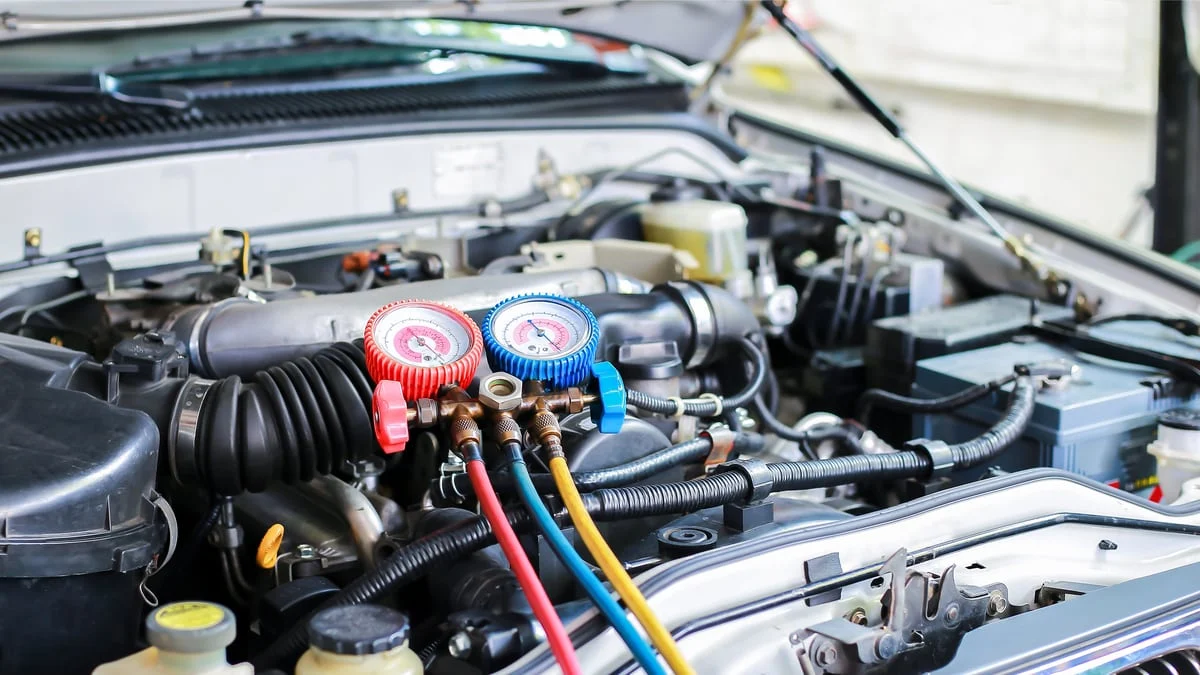
- Check the engine compartment: In many vehicles, the air conditioner filter is housed within a plastic box or housing near the engine. Look for a rectangular or square-shaped box with clips or screws holding it in place.
- Inspect the glove compartment or dashboard: Some cars have the air conditioner filter located behind the glove compartment or beneath the dashboard. Open the glove compartment or look for access panels in the dashboard to find the filter.
- Look under the car: In a few car models, the air conditioner filter may be located underneath the vehicle, near the firewall. This is more common in older vehicles or certain SUVs and trucks.
Remember, the exact location of the air conditioner filter may vary depending on your car’s make and model. Take your time to thoroughly search for it, and if needed, consult with a professional or refer to online forums specific to your vehicle for additional guidance.
Once you have located the air conditioner filter, you can proceed to the next step: removing the old filter.
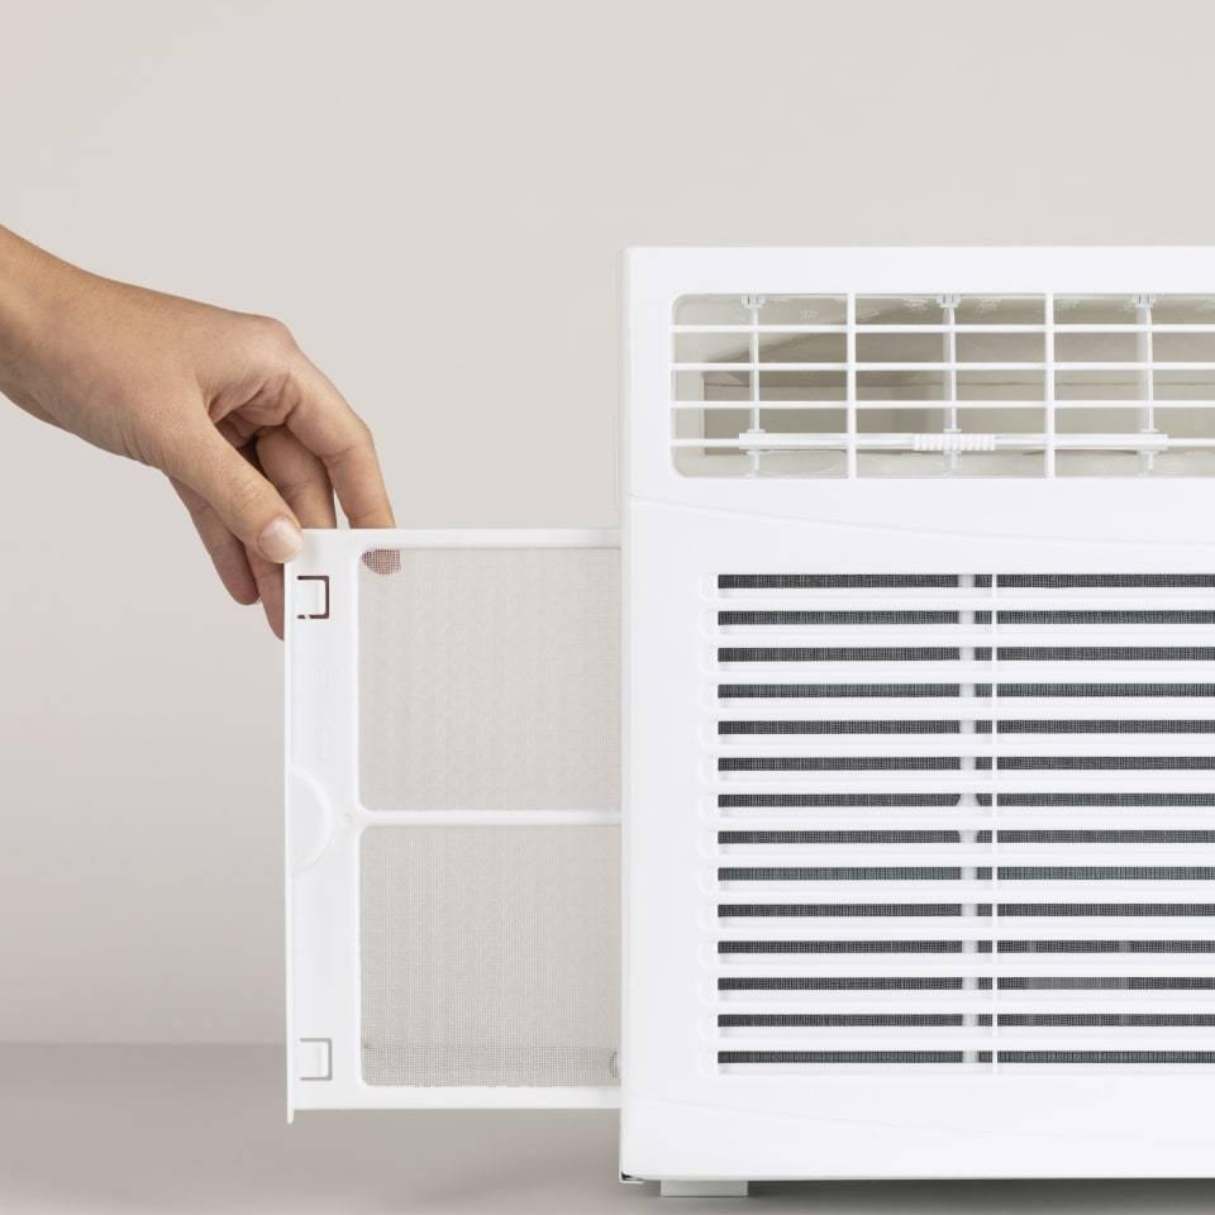
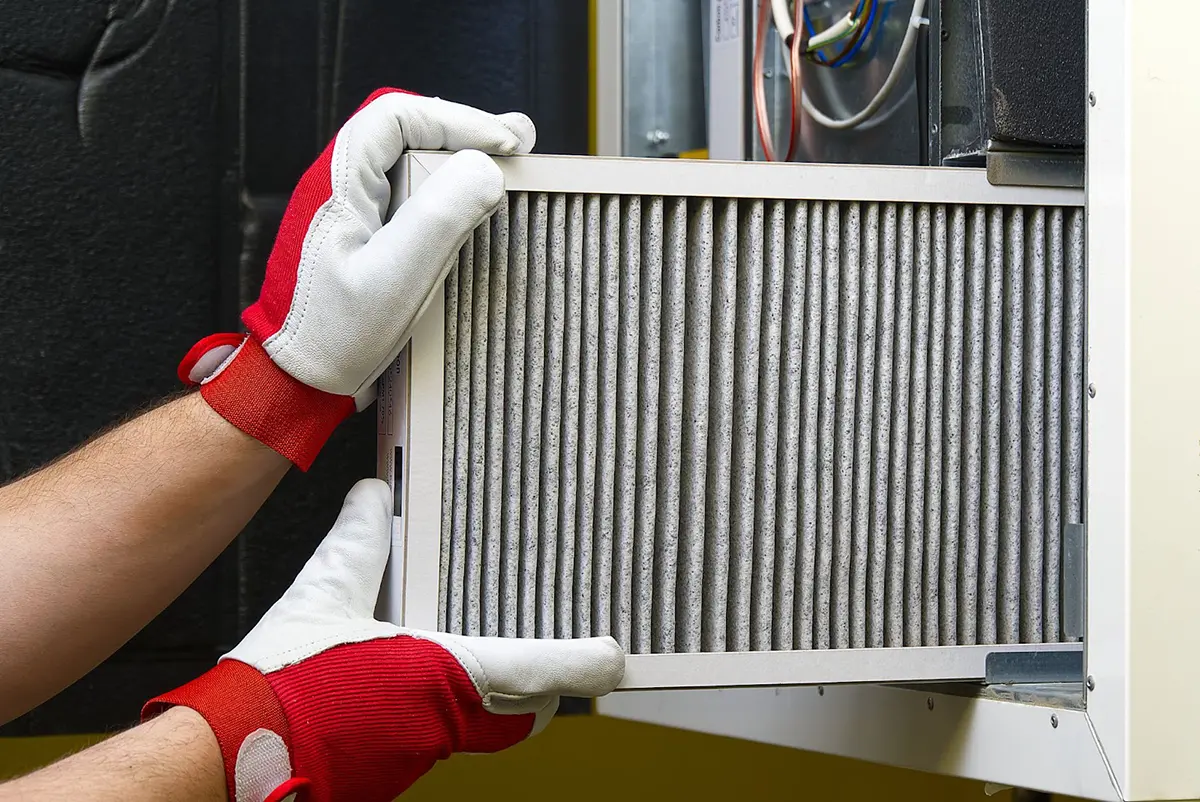
Step 3: Remove the old filter
Now that you have located the air conditioner filter in your car, it’s time to remove the old filter. Follow these steps to safely and effectively remove the old filter:
- Prepare the work area: Ensure that the area surrounding the filter housing is clean and free from any loose debris. This will prevent any dirt or contaminants from entering the air intake system during the filter replacement process.
- Open the filter housing: Depending on your car’s make and model, you may need to remove screws, clips, or latches to open the filter housing. Use the appropriate tools, such as a screwdriver or socket set, to carefully loosen and remove any fasteners holding the housing in place.
- Remove the old filter: Once the filter housing is open, you should have clear access to the old filter. Carefully slide it out of the housing, taking note of its orientation for proper alignment when installing the new filter.
- Inspect the old filter: Take a moment to inspect the old filter for any signs of damage, excessive dirt, or clogging. If the filter appears significantly dirty or damaged, it’s definitely time for a replacement.
During the removal process, be mindful of any sensors or electrical connections attached to the filter housing. If applicable, detach these components carefully to avoid any accidental damage. Take note of their proper placement and orientation for reinstallation later.
Once you have successfully removed the old filter, you can proceed to the next step: cleaning the filter housing.
Step 4: Clean the filter housing
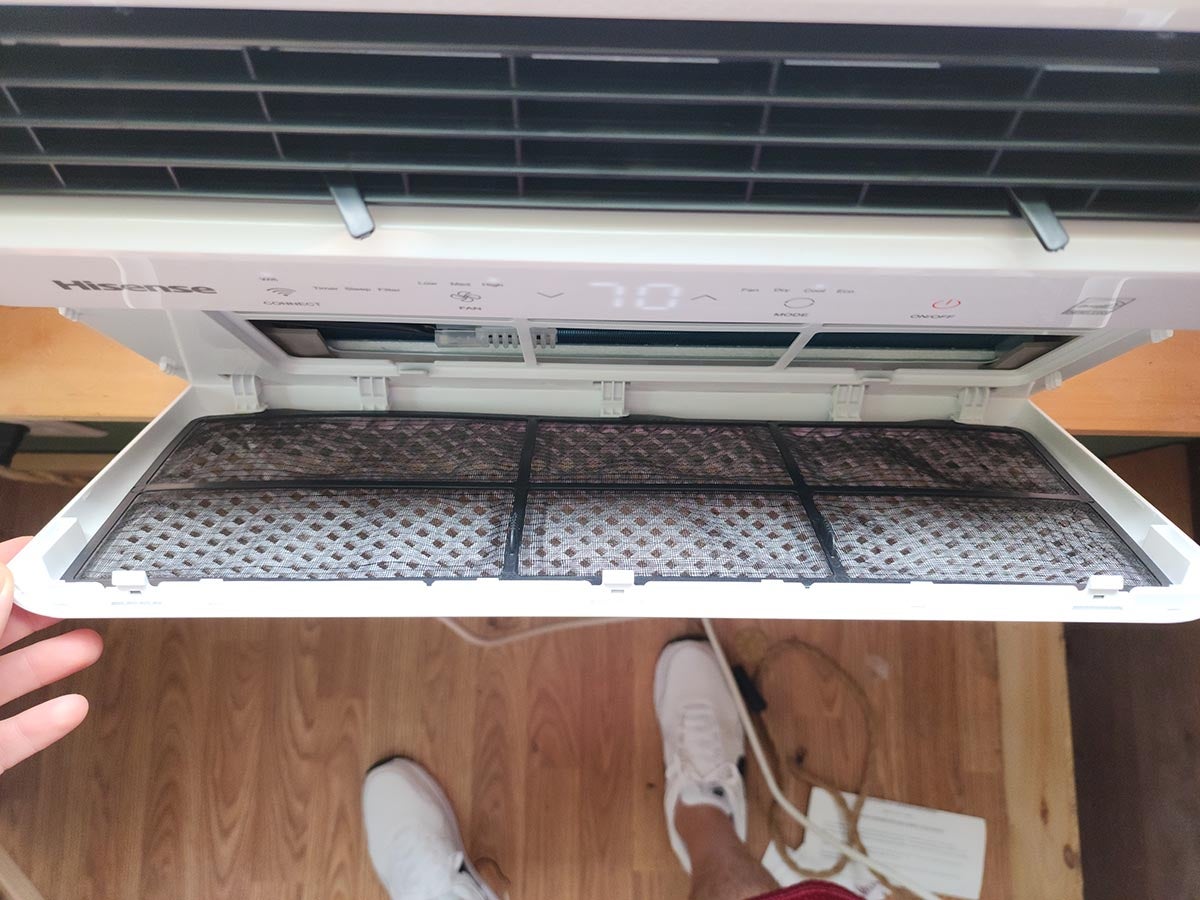
After removing the old air conditioner filter, it’s crucial to clean the filter housing to ensure optimal performance of the new filter. Over time, dust and debris can accumulate in the housing, which can hinder airflow and reduce the effectiveness of your air conditioning system. Follow these steps to clean the filter housing:
- Inspect the housing: Take a close look at the filter housing and check for any visible dirt, debris, or blockages. Use a flashlight if necessary to get a clear view of the interior.
- Remove loose dirt and debris: Using a vacuum cleaner or compressed air, carefully remove any loose dirt or debris from the housing. Be thorough but gentle to avoid damaging any delicate components.
- Wipe down the housing: Take a damp cloth or towel and gently wipe down the inner surfaces of the housing. This will help remove any remaining dirt or dust particles that the vacuum or compressed air might have missed.
- Dry the housing: Allow the housing to air dry completely before proceeding to the next step. This will prevent any moisture from entering the air intake system and potentially causing damage.
It’s essential to ensure that the filter housing is completely clean and free from any obstructions before installing the new filter. This will maximize airflow and maintain the efficiency of your car’s air conditioning system.
Once you have finished cleaning the filter housing, you can move on to the next step: installing the new air conditioner filter.
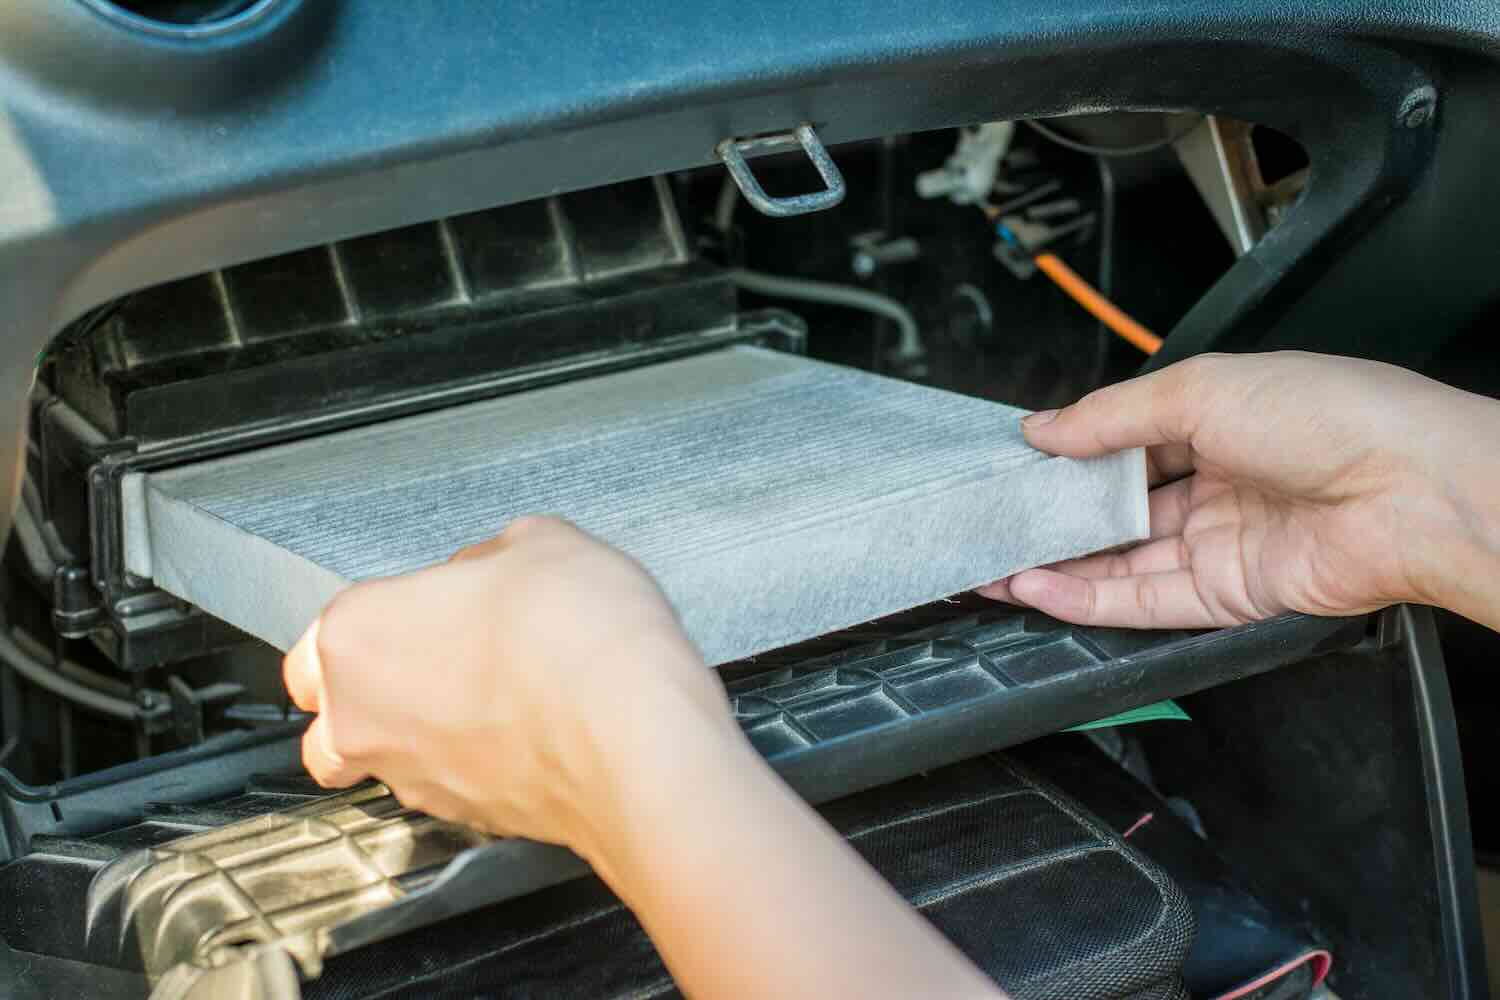
To change an air conditioner filter in a car, locate the filter housing under the dashboard or hood. Remove the old filter and replace it with a new one, making sure it’s facing the right direction. This will help improve air quality and AC performance.
Step 5: Install the new filter
Now that you have cleaned the filter housing, it’s time to install the new air conditioner filter. Follow these steps to ensure a proper fit and installation:
- Check the orientation: Take note of the orientation of the old filter before removing it, as it will serve as a reference for installing the new filter. Most filters have indicators or arrows that indicate the proper airflow direction, so make sure to align the new filter accordingly.
- Place the new filter in the housing: Slide the new filter into the housing, making sure it fits securely and snugly. Double-check that the filter’s airflow direction arrows or indicators are facing in the correct direction.
- Close the filter housing: If the filter housing has any clips, screws, or latches, secure them tightly to ensure that the housing is properly sealed. This helps prevent any unfiltered air from entering the system.
- Reattach any sensors or electrical connections: If you had to detach any sensors or electrical connections during the removal process, now is the time to reattach them. Make sure they are firmly connected and properly positioned.
When installing the new filter, be gentle and avoid bending or damaging it. It’s essential to have a properly installed filter for optimal airflow and air quality in your car’s air conditioning system.
With the new filter securely in place, you’re ready to move on to the next step: reassembling the filter housing.
Step 6: Reassemble the filter housing
After installing the new air conditioner filter in your car, it’s time to reassemble the filter housing. Follow these steps to ensure that the housing is properly closed and secured:
- Align the housing: Align the filter housing with its original position in your car. Make sure all the edges and corners are properly aligned.
- Secure the housing: If the housing uses clips, screws, or latches, fasten them tightly to secure the housing in place. Check each fastening point to ensure the housing is securely closed.
- Double-check the seal: Carefully examine the edges of the filter housing to ensure a proper seal. There should be no gaps or loose areas that could allow unfiltered air to enter the system.
- Test the housing: Give the filter housing a gentle shake or tap to ensure it doesn’t move or rattle. If it feels loose, double-check the fastenings to ensure a secure fit.
Ensuring that the filter housing is properly reassembled and securely closed is crucial in preventing any contaminants from bypassing the filter and entering your car’s air conditioning system. It helps maintain the efficiency and effectiveness of the filter in providing clean, fresh air to your vehicle’s interior.
With the filter housing reassembled, you’re now ready to move on to the next step: testing the air conditioner to ensure proper functionality.
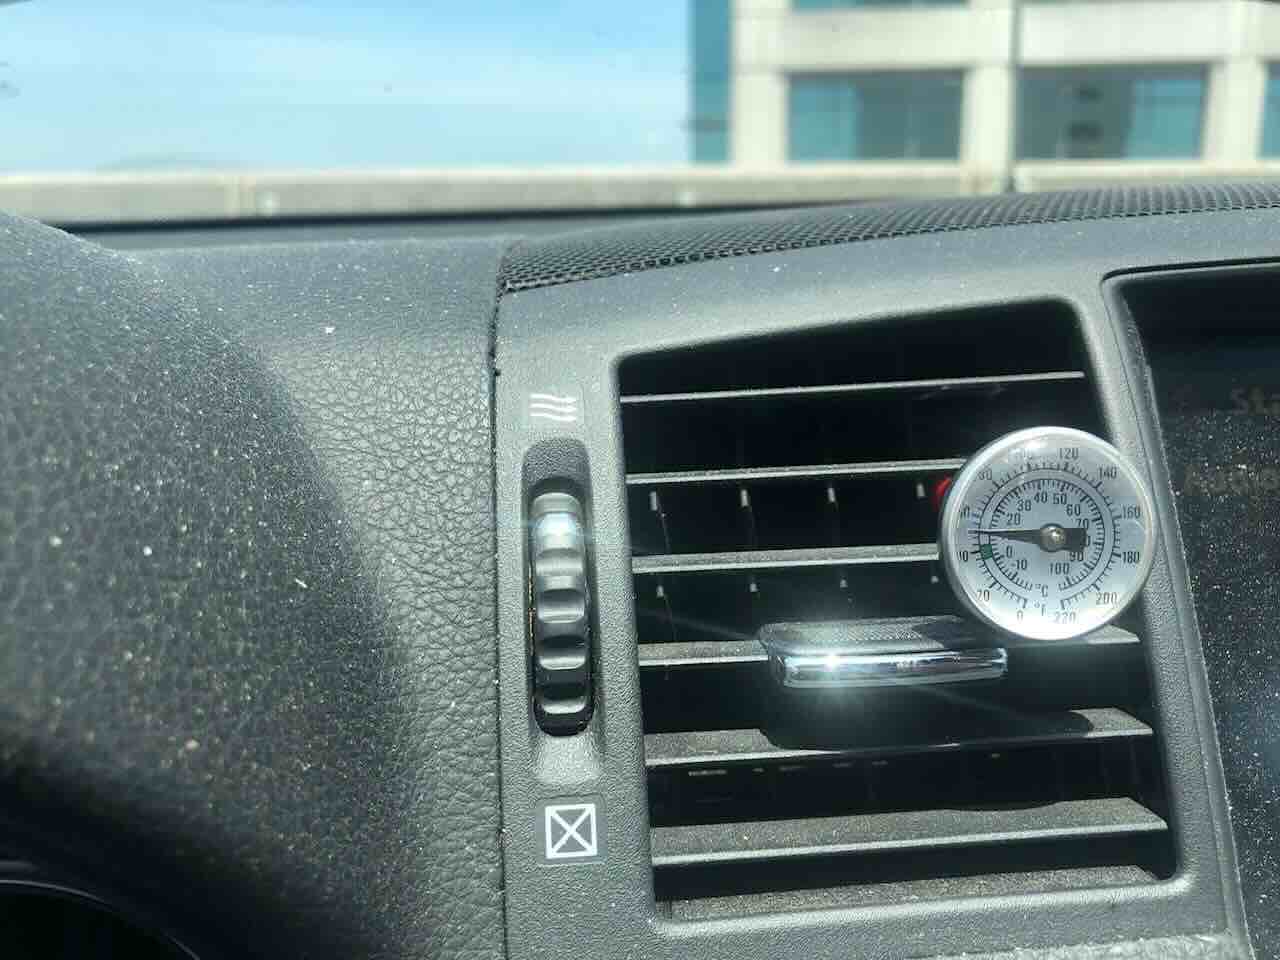
Step 7: Test the air conditioner
Once you have successfully reassembled the filter housing, it’s crucial to test the air conditioner to ensure its proper functionality. Follow these steps to test the air conditioner:
- Start the engine: Start your car’s engine and let it run for a few minutes to allow the air conditioning system to activate.
- Set the temperature and fan speed: Adjust the temperature and fan speed to your desired settings. It’s best to set it to a cool temperature and medium fan speed for the initial test.
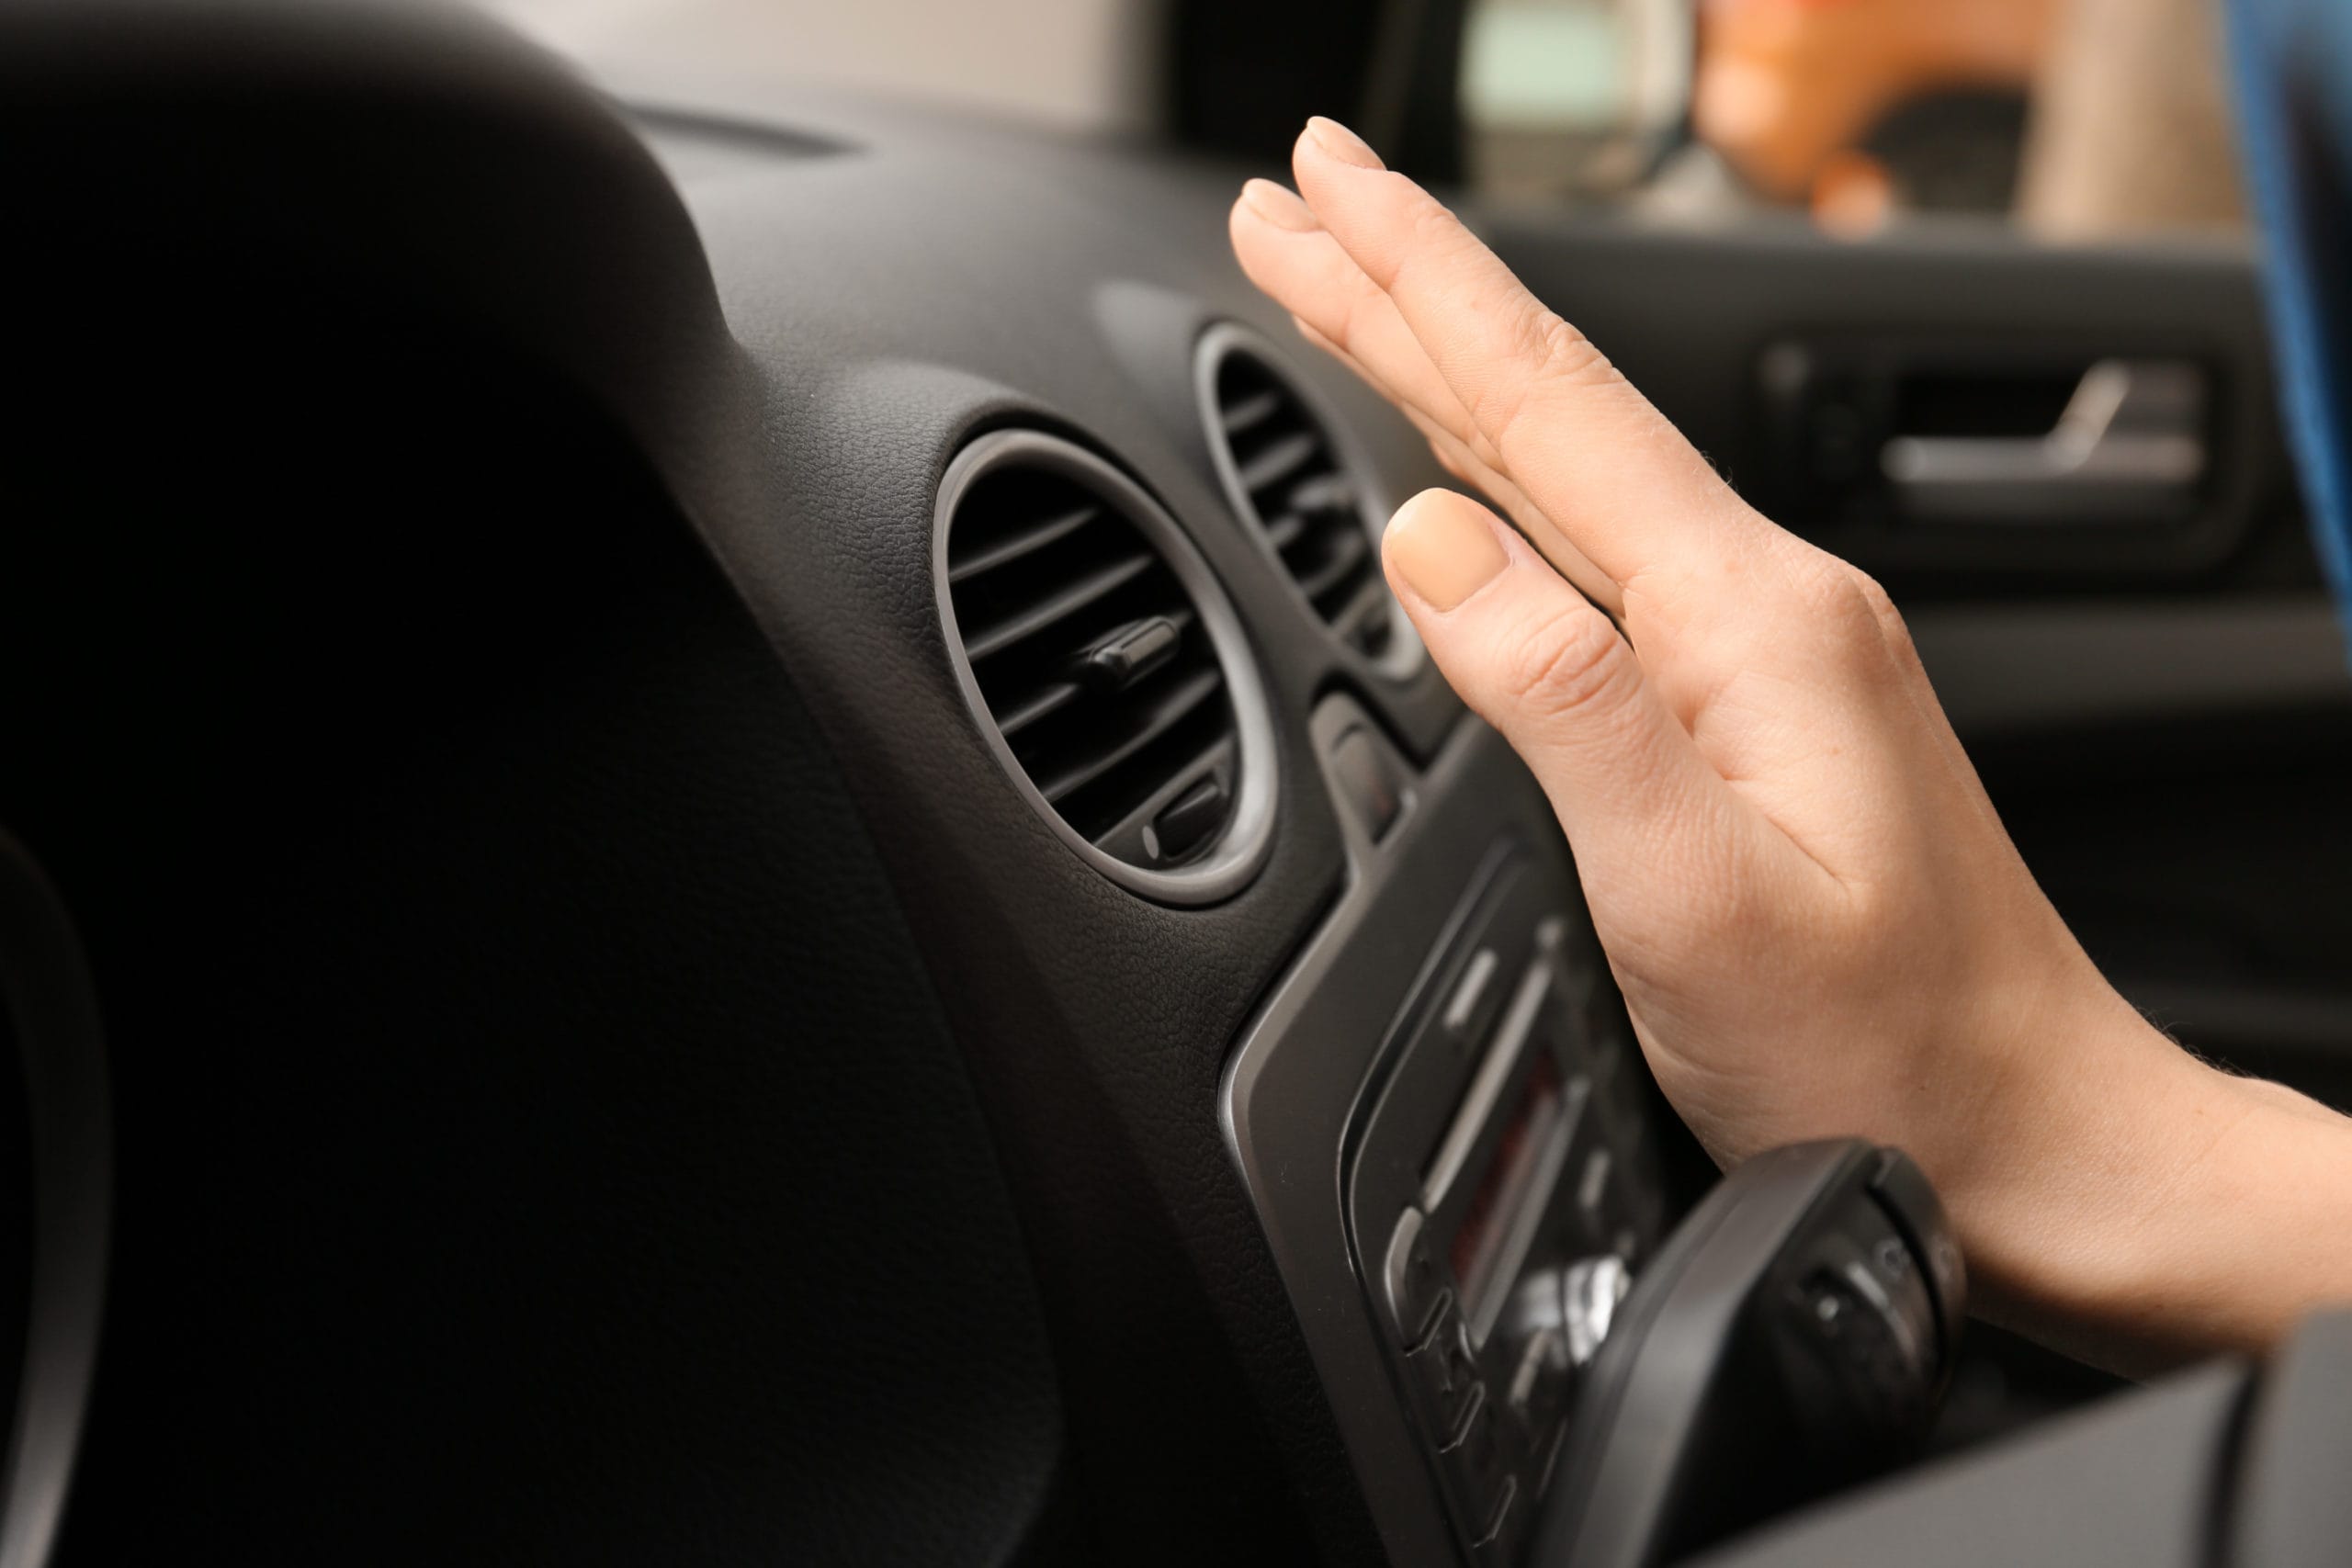
- Listen and feel for airflow: Pay attention to the airflow coming from the vents. It should be strong and consistent. Place your hand in front of the vents to feel the air temperature—it should be noticeably cooler than the ambient temperature.
- Check for any unusual noises or odors: Listen for any unusual noises, such as rattling or squeaking, which may indicate a problem with the air conditioning system. Additionally, check for any unusual odors that could indicate a dirty or clogged filter.
If you notice any issues during the testing process, such as weak airflow, warm air, strange noises, or unpleasant odors, it may be an indication that further inspection or maintenance is necessary. In such cases, it’s recommended to consult a professional mechanic or HVAC technician for diagnosis and repairs.
However, if the air conditioner is functioning properly and providing cool, fresh air, congratulations! You have successfully changed the air conditioner filter in your car. Regularly testing and maintaining your car’s air conditioning system ensures optimal performance and helps you stay comfortable during your drives.
Now let’s move on to the final step: maintenance tips for your car’s air conditioner filter.
Step 8: Maintenance tips for your car’s air conditioner filter
After changing the air conditioner filter in your car, it’s important to stay proactive in maintaining the filter and the overall health of your air conditioning system. Here are some maintenance tips to keep your car’s air conditioner filter in top shape:
- Regularly inspect and replace the filter: It’s recommended to inspect the air conditioner filter every 12,000 to 15,000 miles or at least once a year. If the filter appears dirty, clogged, or damaged, it’s time for a replacement.
- Change the filter if you notice reduced airflow or unusual odors: If you notice a decrease in airflow or detect unpleasant odors coming from your car’s air conditioning system, it may indicate a dirty or clogged filter. In such cases, it’s best to change the filter even if it hasn’t reached the recommended inspection interval.
- Keep your car clean: Regularly clean the interior of your car, including the dashboard, vents, and surrounding areas. This helps prevent dust and debris from accumulating and clogging the air conditioner filter.
- Avoid driving in dusty or polluted areas when possible: If you live in an area with high levels of dust, pollution, or pollen, try to minimize your exposure by closing the windows and using recirculation mode on your air conditioning system. This helps reduce the amount of contaminants entering the cabin and the filter.
- Consider upgrading to a high-efficiency filter: If you frequently drive in areas with high levels of pollution or have allergies, consider upgrading to a high-efficiency cabin air filter. These filters are designed to capture finer particles and provide even better air quality.
- Follow the manufacturer’s recommendations: Always refer to your car’s owner’s manual for specific maintenance guidelines and recommendations regarding the air conditioner filter and the air conditioning system as a whole. This ensures that you’re following the manufacturer’s instructions and keeping your warranty intact.
By following these maintenance tips, you can ensure that your car’s air conditioner filter remains clean and efficient, prolonging the lifespan of your air conditioning system and providing you with clean, fresh air during your drives.
With these steps and tips in mind, you are now equipped to effectively change the air conditioner filter in your car and maintain its optimal performance. Enjoy the benefits of a clean and efficient air conditioning system on your next road trip!
If you have any further questions or concerns, don’t hesitate to consult with a professional mechanic or refer to your vehicle’s owner’s manual for additional guidance.
Safe travels!
Read more: How To Clean A Car Air Conditioner
Conclusion
Changing the air conditioner filter in your car is an important maintenance task that can significantly improve the air quality and performance of your vehicle’s air conditioning system. By following the step-by-step guide outlined above, you can confidently and successfully change the filter on your own.
Regularly inspecting and replacing the air conditioner filter, as well as practicing proper maintenance, ensures clean and fresh air circulation inside your car’s cabin. It helps filter out dust, pollen, and other airborne particles, providing a healthier and more comfortable driving experience for you and your passengers.
Remember to gather all the necessary tools and materials, locate the air conditioner filter in your car, remove the old filter, clean the filter housing, install the new filter properly, reassemble the filter housing securely, and test the air conditioner for optimal functionality. Additionally, by following maintenance tips such as regular inspection, keeping the car clean, and avoiding dusty or polluted areas, you can further enhance the longevity and effectiveness of your air conditioning system.
If you ever encounter any difficulties or are uncertain about the process, it’s always a good idea to consult a professional mechanic or refer to your car’s owner’s manual for specific instructions and guidelines.
Now, venture forth with confidence and enjoy the benefits of a well-maintained air conditioning system in your car. Breathe in the clean, cool air as you hit the road!
Safe travels!
Frequently Asked Questions about How To Change An Air Conditioner Filter In A Car
Was this page helpful?
At Storables.com, we guarantee accurate and reliable information. Our content, validated by Expert Board Contributors, is crafted following stringent Editorial Policies. We're committed to providing you with well-researched, expert-backed insights for all your informational needs.