Home>Home Maintenance>How To Clean The Exterior Of An Air Conditioning Unit
Home Maintenance
How To Clean The Exterior Of An Air Conditioning Unit
Modified: March 6, 2024
Learn how to clean and maintain your air conditioning unit's exterior with our comprehensive guide on home maintenance.
(Many of the links in this article redirect to a specific reviewed product. Your purchase of these products through affiliate links helps to generate commission for Storables.com, at no extra cost. Learn more)
Introduction
Having a well-maintained air conditioning unit is crucial for both the comfort and energy efficiency of your home. While most homeowners focus on cleaning the interior filters and vents, it’s equally important to clean the exterior of your unit. Over time, dirt, debris, and even vegetation can accumulate on the outside, hindering the airflow and overall performance of your air conditioner.
In this article, we will guide you through the process of cleaning the exterior of an air conditioning unit. By following these steps, you can improve the efficiency of your unit, extend its lifespan, and reduce the risk of costly repairs. Before we dive into the details, let’s go over a few safety precautions that you should keep in mind when working with your air conditioner.
Key Takeaways:
- Regularly cleaning the exterior of your air conditioning unit improves efficiency, extends lifespan, and reduces the risk of costly repairs. Prioritize safety, gather supplies, and follow a systematic approach for effective cleaning.
- By following safety precautions, gathering necessary supplies, and systematically cleaning the exterior, you can ensure optimal airflow, prevent damage, and maintain the functionality of your air conditioning unit. Regular maintenance prolongs its lifespan and ensures efficient operation.
Safety Precautions
Prior to starting any maintenance work on your air conditioning unit, it’s essential to prioritize safety. Here are some important safety precautions to follow:
- Turn off the power: Before you begin cleaning the exterior of your air conditioning unit, make sure to shut off the power supply. This can be done by switching off the circuit breaker or disconnecting the unit from the electrical panel.
- Wear protective gear: To protect yourself from potential hazards, wear safety goggles, gloves, and long sleeves. This will prevent any injuries from sharp objects or debris that may be present around the unit.
- Use a stable ladder: If your air conditioning unit is located at a height that requires a ladder to reach, ensure that you use a stable ladder and position it on a level surface. Have someone hold the ladder steady while you work.
- Avoid direct contact with electrical components: When cleaning or inspecting the unit, avoid touching any electrical components. Even when the power is turned off, there may still be residual electricity present.
- Be cautious of moving parts: Take care when working around the fan blades and other moving parts of the unit. It’s best to avoid touching them to prevent any accidental injuries.
By following these safety precautions, you can ensure a safe working environment while maintaining your air conditioning unit.
Gather the Necessary Supplies
Before you begin cleaning the exterior of your air conditioning unit, gather all the necessary supplies. Having everything you need at hand will save you time and make the cleaning process more efficient. Here are the supplies you’ll need:
- Water hose with a spray nozzle attachment: This will be used to rinse off dirt and debris from the unit.
- Mild detergent or air conditioner coil cleaner: Choose a cleaning solution that is specifically designed for air conditioner coils. Avoid using harsh chemicals or abrasive cleaners, as they can damage the unit.
- Bristle brush or soft cloth: Use a brush with soft bristles or a microfiber cloth to clean the fins and coils of the unit.
- Foaming cleaner for fan blades: To effectively remove dirt and grime from the fan blades, you can use a foaming cleaner designed for this purpose.
- Gloves and safety goggles: Protect your hands and eyes by wearing gloves and safety goggles throughout the cleaning process.
- Bucket or container: You’ll need a bucket or container to mix the cleaning solution and hold the water for rinsing.
- Screwdriver or nut driver: Depending on the model of your air conditioning unit, you may need a screwdriver or nut driver to remove the outer cover.
Once you have gathered all these supplies, you’re ready to move on to the next step – shutting off the power to the unit.
Shut off the Power
Before you begin cleaning the exterior of your air conditioning unit, it’s crucial to shut off the power to prevent any accidents or injuries. Here’s how you can safely turn off the power:
- Locate the circuit breaker: Find the circuit breaker that controls the power supply to your air conditioning unit. Typically, it will be labeled as “AC” or “Air Conditioner” on the breaker panel.
- Turn off the circuit breaker: Once you have identified the correct breaker, flip it to the “off” position to cut off the power supply. Double-check that the power is truly off by testing the unit’s controls or by using a voltage tester.
- Disconnect the unit from the electrical panel: Alternatively, if your air conditioner has a disconnect switch or box near the unit, you can use that to disconnect the power supply. Simply flip the switch to the “off” position.
By shutting off the power, you eliminate the risk of electric shock while working on the exterior of your air conditioning unit. Once you have confirmed that the power is off, you can proceed to remove any debris that has accumulated on the exterior.
Remove Debris from the Exterior
With the power to your air conditioning unit safely turned off, it’s time to remove any debris that has accumulated on the exterior. Over time, leaves, twigs, dirt, and other debris can build up, obstructing the airflow and reducing the efficiency of your unit. Follow these steps to clean the exterior:
- Remove the outer cover: Depending on the design of your air conditioning unit, you may need to unscrew or unlatch the outer cover. Refer to your unit’s manual or consult a professional if you’re unsure how to remove the cover.
- Inspect the area: Once the cover is off, inspect the interior of the unit for any visible debris. Use a soft brush or cloth to gently remove any loose dirt or debris.
- Vacuum the area: If there is significant debris present, you can use a vacuum cleaner with a brush attachment to carefully suction off the dirt and debris. Take care not to damage any of the components.
- Rinse the exterior: After removing the larger debris, use a water hose with a gentle spray nozzle attachment to rinse off any remaining dirt or dust. Start from the top and work your way down, ensuring that you cover all sides of the unit.
- Pay attention to the fins: The fins, also known as the condenser coils, are vulnerable to damage. Be gentle when rinsing around the fins and avoid using excessive force that may bend or dent them.
By removing debris from the exterior, you allow for proper airflow and ensure that your air conditioning unit operates efficiently. Once the exterior is clean, it’s time to move on to cleaning the fins and coils.
Read more: How To Clean Air Conditioning Filter
Clean the Fins and Coils
The fins and coils of your air conditioning unit play a crucial role in transferring heat and allowing for efficient cooling. Over time, these components can become clogged with dirt and debris, hindering their performance. Follow these steps to effectively clean the fins and coils:
- Apply a cleaning solution: Prepare a mild detergent solution or use an air conditioner coil cleaner as recommended by the manufacturer. Apply the solution to the fins and coils, ensuring that they are thoroughly coated.
- Let it sit: Allow the cleaning solution to sit on the fins and coils for a few minutes. This will help to loosen any dirt or grime that has accumulated.
- Gently scrub: Using a soft bristle brush or a cloth, gently scrub the fins and coils to remove any stuck-on dirt. Be careful not to apply too much pressure to avoid bending or damaging the fins.
- Rinse thoroughly: After scrubbing, rinse the fins and coils with a water hose, starting from the top and working your way down. Ensure that the water pressure is not too high to prevent any damage to the delicate components.
- Repeat if necessary: If there is still visible dirt or debris on the fins and coils, you may need to repeat the cleaning process. This will ensure that the components are thoroughly cleaned and free from obstructions.
Cleaning the fins and coils of your air conditioning unit helps to maintain proper airflow and prevents overheating. Once you have cleaned these components, it’s important to check for any bent fins that may impede the unit’s performance.
Straighten Bent Fins
Bent fins on your air conditioning unit can restrict airflow and cause your unit to work harder to cool your home. It’s important to straighten these fins to optimize the performance of your air conditioner. Here’s how you can do it:
- Inspect the fins: Carefully examine the fins to identify any bent or misaligned sections. These can occur due to accidental contact or normal wear and tear.
- Use a fin comb: Purchase a fin comb from a hardware store or online. These tools are specifically designed to straighten bent fins. Choose a fin comb with the appropriate size according to the spacing of the fins on your unit.
- Gently comb the fins: Place the fin comb over the bent section of the fins, and slowly and gently comb through the fins in an up-and-down motion. This will help to straighten the bent fins without causing any further damage.
- Repeat as needed: If there are multiple bent fins, continue to use the fin comb to straighten them one by one. Take your time and be careful not to apply excessive pressure.
Straightening the bent fins will improve the airflow and overall efficiency of your air conditioning unit. Once you have finished straightening the fins, it’s time to move on to cleaning the fan blades.
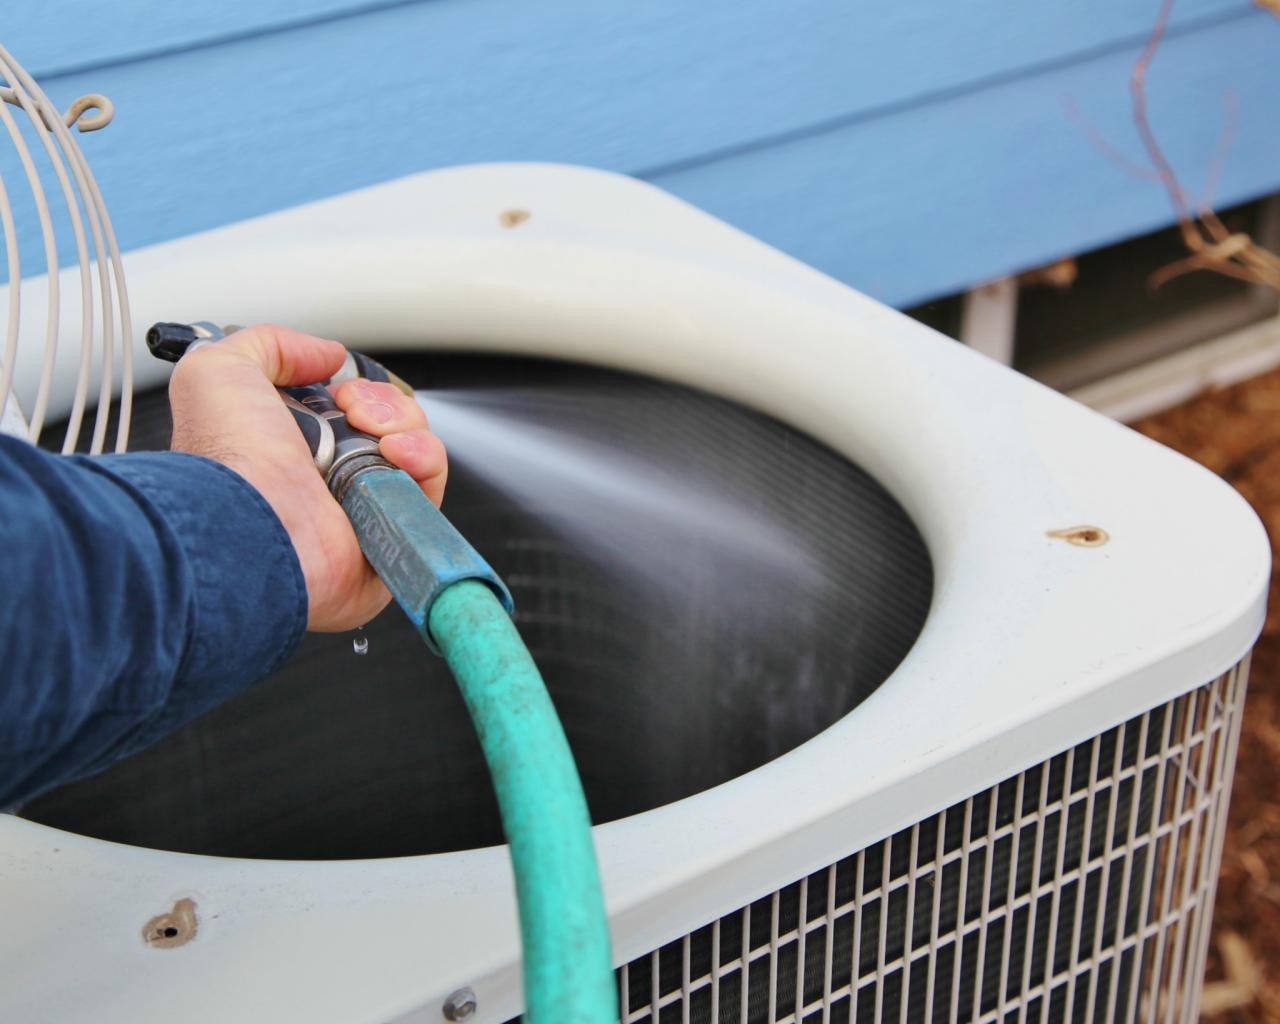
Regularly clean the exterior of your air conditioning unit by using a hose to gently spray off dirt and debris. Avoid using high pressure, as it can damage the fins. Keep the area around the unit clear of debris and vegetation to ensure proper airflow.
Clean the Fan Blades
The fan blades of your air conditioning unit can accumulate dust and dirt over time, affecting their performance and potentially causing unnecessary noise. It’s important to clean the fan blades regularly to ensure optimal airflow and efficient operation. Follow these steps to clean the fan blades:
- Access the fan blades: Depending on the design of your air conditioning unit, you may need to remove the outer cover or access panel to reach the fan blades. Refer to your unit’s manual or consult a professional if you’re unsure how to access the blades.
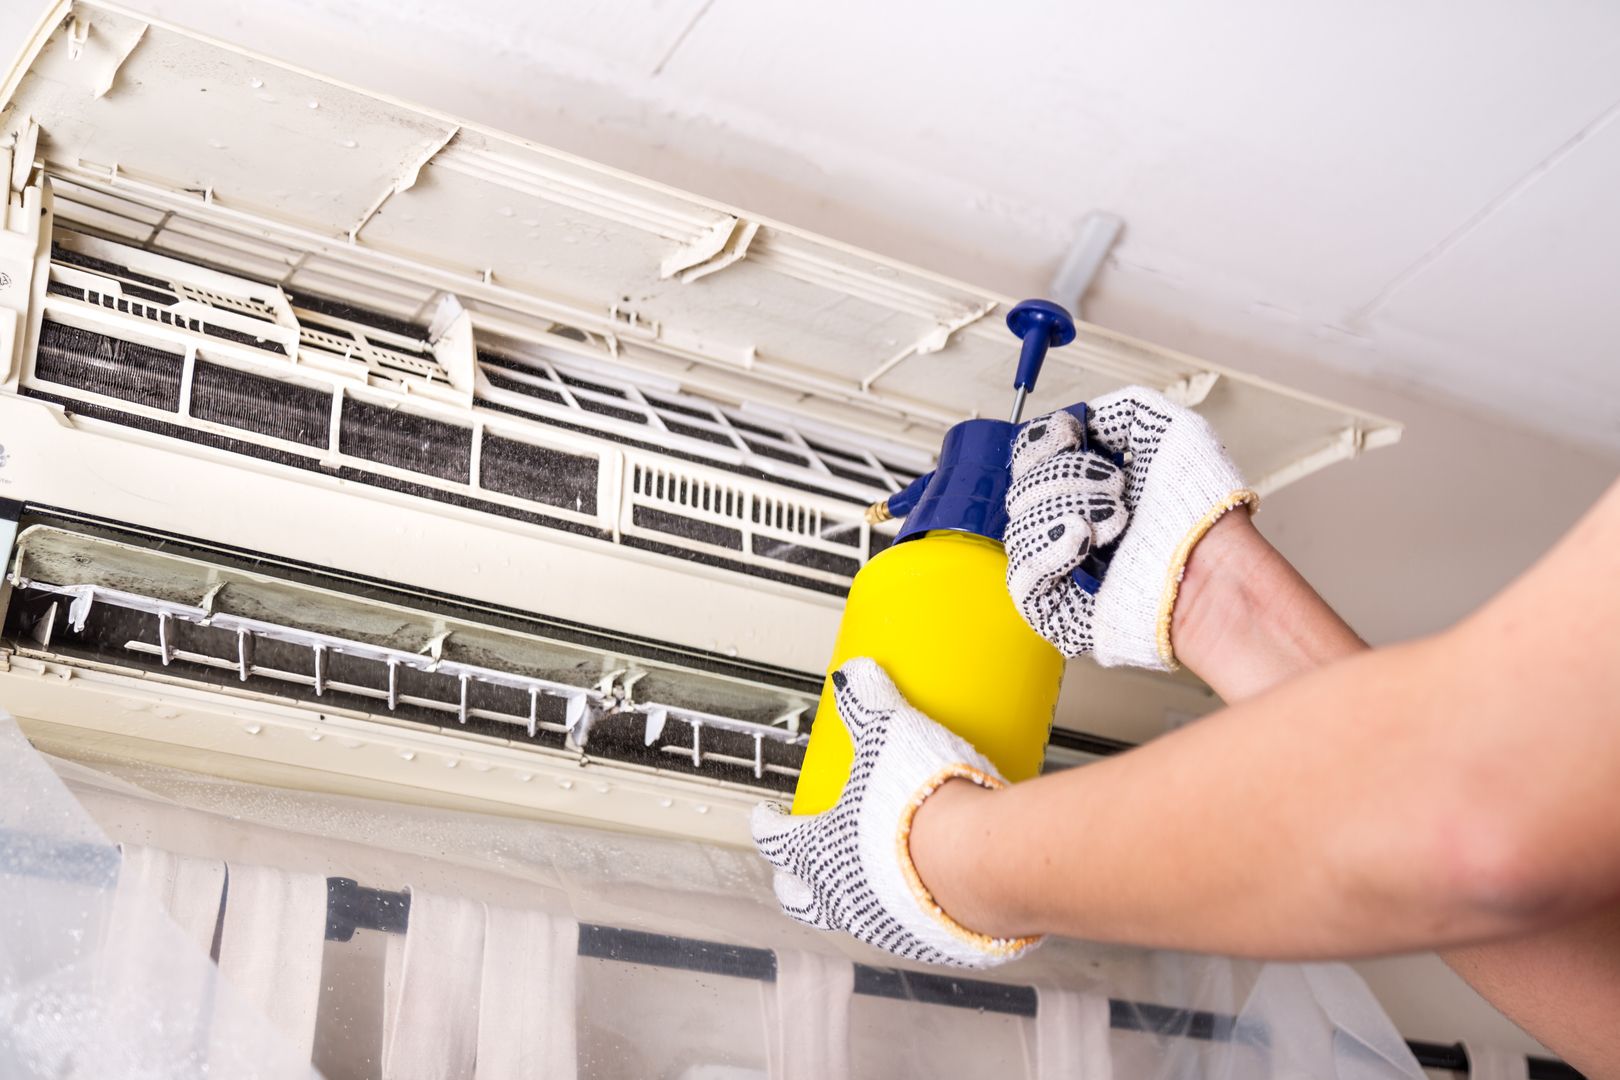
- Spray foaming cleaner: Apply a foaming cleaner specifically designed for fan blades to the blades. Follow the instructions on the cleaner’s packaging for the best results.
- Allow the cleaner to penetrate: Let the foaming cleaner sit on the fan blades for a few minutes to allow it to penetrate and loosen any dirt or grime.
- Wipe the blades: Using a soft cloth or sponge, carefully wipe the fan blades to remove the loosened dirt and grime. Be gentle to avoid bending or damaging the blades.
- Rinse the blades: After wiping the blades, rinse them with clean water to remove any remaining cleaner or residue. Ensure that the water does not get inside the unit’s motor or electrical components.
- Inspect for balance: While cleaning the fan blades, take a moment to inspect them for any signs of imbalance. If you notice any significant wobbling or bending, it’s important to address the issue promptly to prevent further damage.
Cleaning the fan blades will not only improve the performance of your air conditioning unit but also help to reduce noise levels. Once you have finished cleaning the fan blades, make sure to remove any grass or vegetation that may have grown around the unit.
Remove Grass and Vegetation
Grass, weeds, and other vegetation can grow around your air conditioning unit, obstructing the airflow and causing potential damage to the system. It’s important to regularly remove any grass and vegetation to ensure optimal performance and prevent any issues. Follow these steps to remove grass and vegetation from around your air conditioning unit:
- Clear the area: Start by clearing any debris, leaves, or other loose materials from around the unit. Use a rake or broom to sweep away any dirt or debris near the base of the unit.
- Gently trim the grass and vegetation: Using a pair of shears or a trimmer, carefully trim any grass or vegetation that is growing too close to the unit. Take care not to damage any parts of the unit while trimming.
- Remove grass and vegetation roots: Dig around the base of the unit to remove any grass or vegetation roots that may be entangled or growing too close to the unit. Be gentle to avoid damaging any of the unit’s components.
- Create a barrier: To prevent grass and vegetation from growing back too close to the unit, consider creating a barrier such as a layer of mulch or stones around the base. This will help to discourage the growth of unwanted plants.
- Maintain regular landscaping: To prevent future issues with grass and vegetation, make sure to regularly maintain your landscaping. Trim the grass and vegetation around the unit on a routine basis to keep it clear and free from obstruction.
By removing grass and vegetation from around your air conditioning unit, you ensure proper airflow and reduce the risk of damage to the system. Next, it’s important to address the condensate drain line to ensure it is clean and free from clogs.
Read more: How To Clean Air Conditioning Coils
Clean the Condensate Drain Line
The condensate drain line in your air conditioning unit is responsible for removing excess moisture and humidity. Over time, the drain line can become clogged with dirt, algae, and debris, leading to potential issues and water damage. Follow these steps to clean the condensate drain line:
- Locate the drain line: The condensate drain line is typically located near the indoor air handler unit or attached to the exterior of the unit. Refer to your unit’s manual or consult a professional if you’re unsure about the location.
- Check for clogs: Inspect the drain line for any signs of clogs or blockages. Look for standing water, a slow flow of water, or any debris that may have accumulated.
- Clear the drain line: If you notice a clog or blockage, use a wet/dry vacuum or a small brush to clear the debris. Gently insert the vacuum hose or brush into the drain line and remove any obstructions.
- Flush the drain line: Once you have cleared the clog, flush the drain line with a mixture of equal parts water and vinegar. This will help to kill any bacteria or algae that may be present in the line.
- Repeat if necessary: If the drain line is heavily clogged, you may need to repeat the clearing and flushing process until the water flows freely through the line.
Cleaning the condensate drain line is important to ensure proper drainage and prevent water damage to your air conditioning unit. Once the drain line is clean, it’s important to check the unit for any leaks or signs of damage.
Check for any Leaks or Damage
Checking your air conditioning unit for leaks or damage is an essential step in maintaining its functionality and preventing costly repairs. Follow these steps to thoroughly inspect your unit:
- Inspect the refrigerant lines: Check the refrigerant lines for any signs of leakage, such as oil stains, wet spots, or a hissing sound. If you suspect a refrigerant leak, it’s important to contact a professional for repairs.
- Examine the electrical connections: Inspect the electrical connections for any frayed wires, loose connections, or signs of overheating. Ensure that all connections are secure and in good condition.
- Check for damaged insulation: Inspect the insulation around the refrigerant lines, as well as any exposed electrical wires, for any signs of damage. Replace any insulation that is cracked or deteriorated.
- Look for physical damage: Check the unit for any physical damage, such as dents, rust, or bent components. Address any damage promptly to prevent further issues.
- Inspect the fan motor: Observe the fan motor for any unusual noises, overheating, or excessive vibrations. These may indicate a problem with the motor and should be addressed by a professional.
By conducting a thorough inspection of your air conditioning unit, you can identify and address any leaks or damage before they escalate into major issues. Once you have completed the inspection, it’s time to reassemble the unit.
Reassemble the Unit
Now that you have completed the necessary cleaning and inspection tasks, it’s time to reassemble your air conditioning unit. Follow these steps to ensure everything is put back together properly:
- Replace the outer cover: If you removed the outer cover during the cleaning process, carefully position it back onto the unit. Make sure it is securely fastened and aligned correctly.
- Tighten any screws or fasteners: If you used any screws or fasteners to secure the outer cover or access panels, double-check that they are tightened properly but not overly tightened, as this may cause damage.
- Reconnect the power supply: Before restoring power to the unit, make sure all connections are secure and in their proper place. If you disconnected the unit from the electrical panel, reconnect it now.
Take a moment to ensure that everything looks and feels secure and in its correct position. Once you are satisfied, you can proceed to restore power to the unit and test its functionality.
Restore Power and Test the AC Unit
After reassembling the unit, it’s time to restore power and test the functionality of your air conditioning system. Follow these steps to properly restore power and ensure that everything is working as it should:
- Turn on the power supply: Go to your circuit breaker panel and switch the circuit breaker that controls the power to your air conditioning unit back to the “on” position. Double-check that the power is restored by testing the controls or using a voltage tester.
- Set the thermostat: Adjust the thermostat to a desired temperature and switch the system to the cooling mode. Wait a few moments to see if the air conditioning unit starts up and begins to blow cool air.
- Listen for unusual noises: Pay attention to any unusual noises coming from the unit such as rattling, grinding, or squealing. These may indicate a problem that requires further investigation or professional assistance.
- Observe the airflow: Ensure that the airflow from the unit’s vents is consistent and strong. If the airflow feels weak or if it’s not cooling adequately, there may be an issue with the system that needs to be addressed.
- Monitor for abnormal behavior: Keep an eye on the unit for any abnormal behavior such as frequent cycling on and off, excessive condensation, or unusual odors. These may indicate a malfunction that requires professional attention.
If everything appears to be in good working order, congratulations! You have successfully cleaned the exterior of your air conditioning unit and restored its functionality. Regular maintenance and cleaning will help prolong the lifespan of your unit and ensure its efficient operation.
Read more: How To Clean AC Air Filter
Conclusion
Regularly cleaning the exterior of your air conditioning unit is essential for maintaining its efficiency, prolonging its lifespan, and ensuring optimal performance. By following the steps outlined in this guide, you can effectively clean the exterior of your unit and address common issues that may arise.
Remember to always prioritize safety by shutting off the power, wearing protective gear, and being cautious around electrical components and moving parts. Gathering the necessary supplies beforehand and following a systematic approach will make the cleaning process more efficient and effective.
Removing debris from the exterior, cleaning the fins and coils, straightening bent fins, and cleaning the fan blades are crucial steps in ensuring proper airflow and cooling. Additionally, removing grass and vegetation, cleaning the condensate drain line, and checking for any leaks or damage will help prevent issues and maintain the system’s functionality.
After reassembling the unit, restoring power, and testing the AC system, you can enjoy the benefits of a well-maintained air conditioner, including improved cooling efficiency and reduced risk of breakdowns.
Remember, if you encounter any major issues or are unsure about any aspect of the cleaning process, it’s always best to consult a professional HVAC technician for assistance.
By incorporating regular cleaning and maintenance into your home maintenance routine, you can ensure that your air conditioning unit operates at its best and keeps you cool and comfortable during hot summer days for years to come.
Frequently Asked Questions about How To Clean The Exterior Of An Air Conditioning Unit
Was this page helpful?
At Storables.com, we guarantee accurate and reliable information. Our content, validated by Expert Board Contributors, is crafted following stringent Editorial Policies. We're committed to providing you with well-researched, expert-backed insights for all your informational needs.