Home>Home Maintenance>How To Connect AC Maintenance Service Gauges
Home Maintenance
How To Connect AC Maintenance Service Gauges
Modified: March 23, 2024
Learn how to connect AC maintenance service gauges for your home maintenance needs. Ensure efficient cooling and troubleshooting with our step-by-step guide.
(Many of the links in this article redirect to a specific reviewed product. Your purchase of these products through affiliate links helps to generate commission for Storables.com, at no extra cost. Learn more)
Introduction
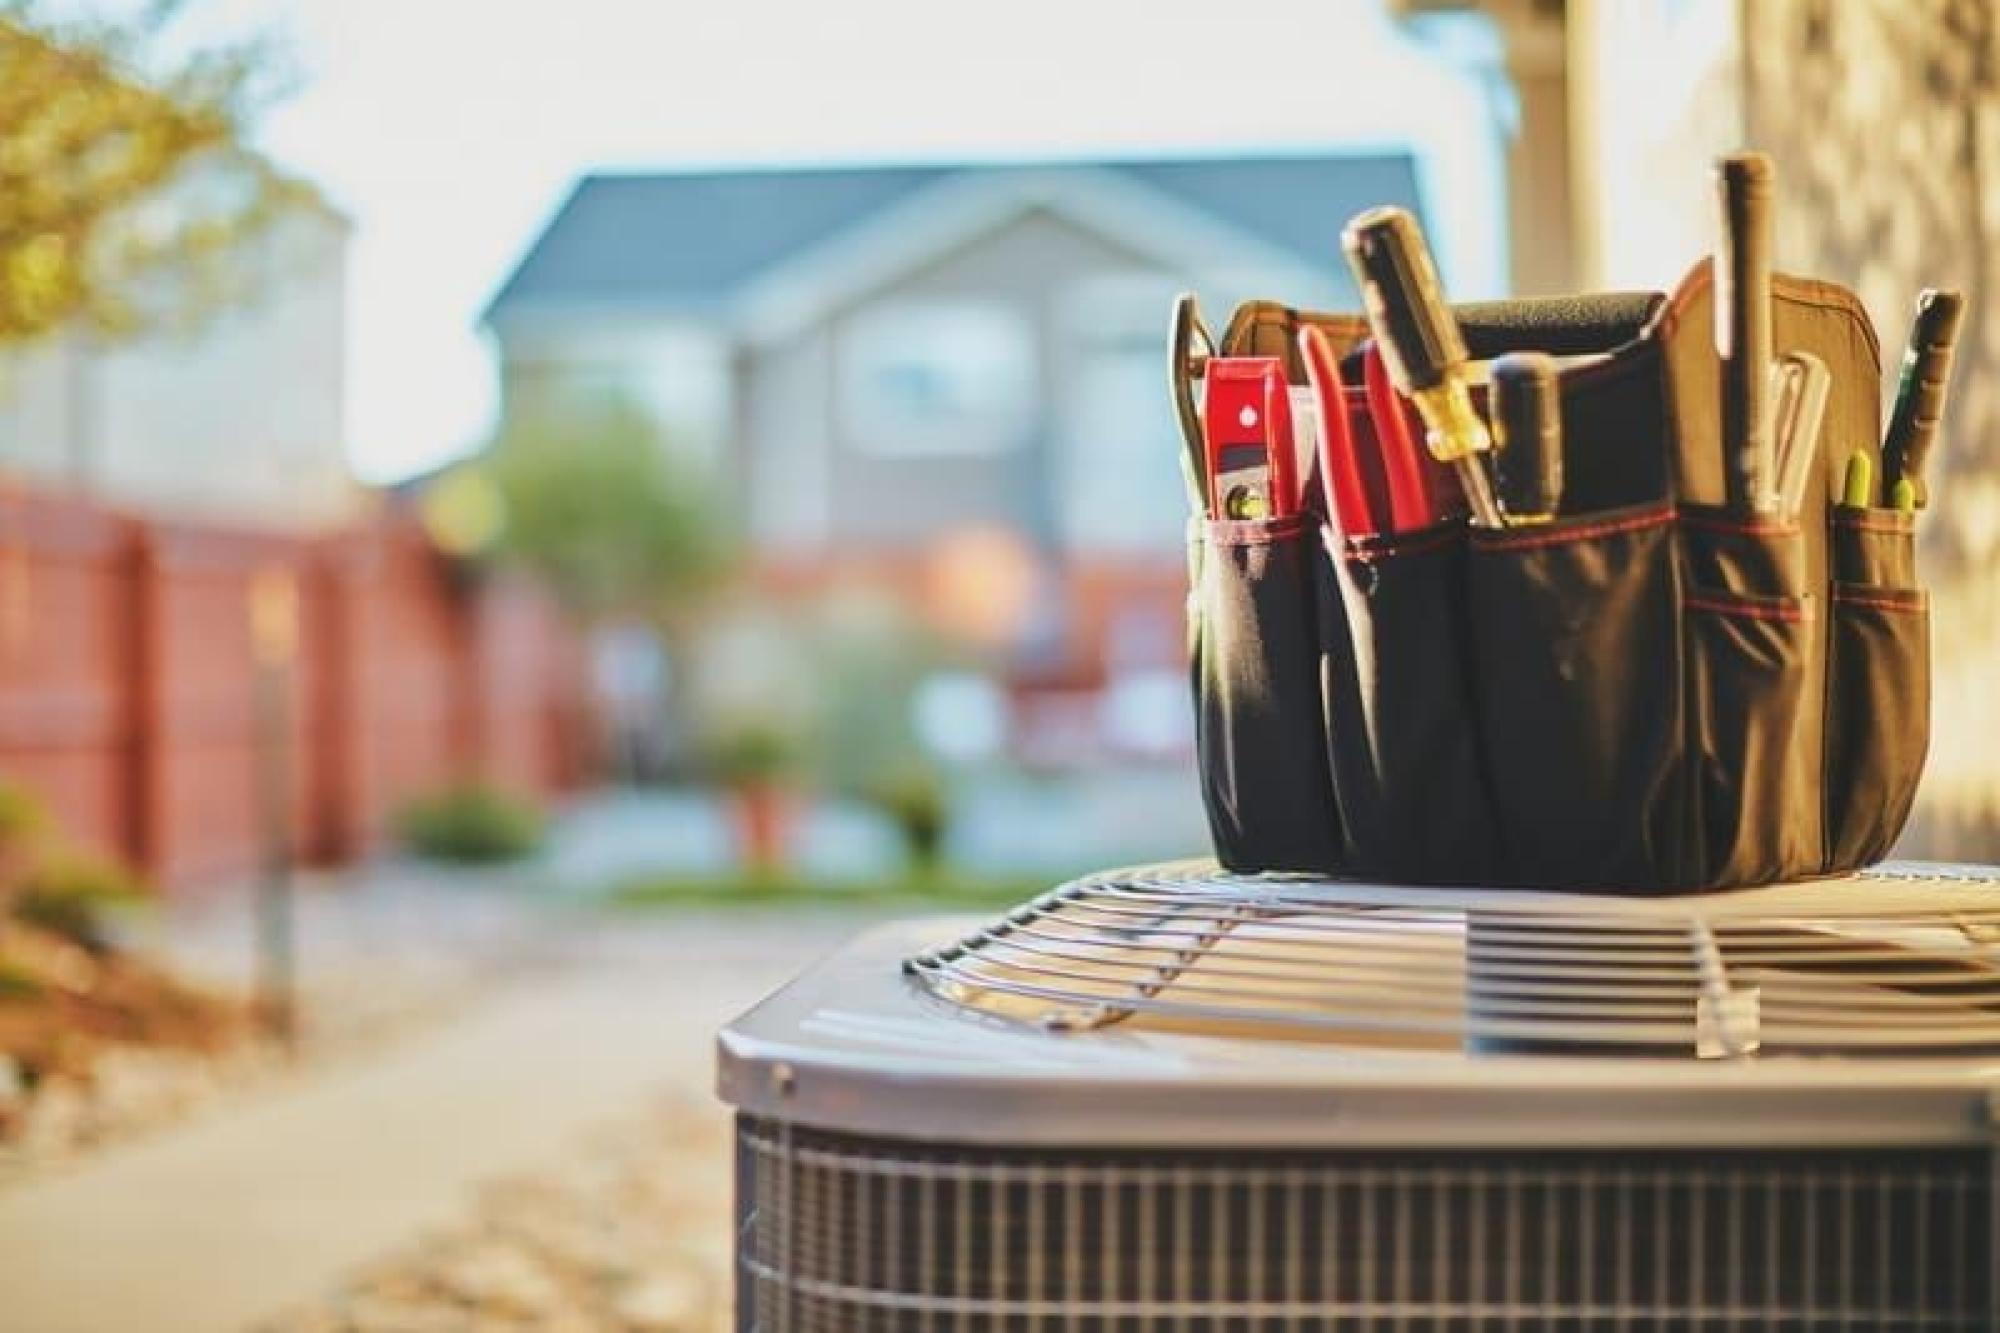
Welcome to our comprehensive guide on how to connect AC maintenance service gauges. When it comes to maintaining your air conditioning system, using gauges is essential for accurate diagnosis and troubleshooting. AC maintenance service gauges help measure the pressure and temperature of the refrigerant in your system, allowing you to identify any potential issues and take appropriate actions.
Whether you are a professional HVAC technician or a homeowner looking to perform basic maintenance tasks, learning how to use AC maintenance service gauges can save you time and money. In this article, we will provide you with a step-by-step guide on how to connect AC maintenance service gauges and interpret the readings to ensure your AC system is running efficiently.
Before we dive into the process, it’s important to note that handling AC systems can be dangerous if not done properly. If you don’t have sufficient knowledge or experience, it is always recommended to seek the assistance of a qualified professional. With that being said, let’s get started!
Key Takeaways:
- Connecting AC maintenance service gauges is crucial for accurate diagnosis and troubleshooting of your AC system. It helps measure pressure and temperature, enabling you to identify and address potential issues.
- Reading and interpreting gauge readings provides valuable insights into your AC system’s performance. This allows you to perform maintenance tasks such as recharging refrigerant and cleaning filters, ensuring optimal efficiency.
Read more: How To Service AC Unit
Step 1: Gather the Necessary Materials
Before you begin connecting AC maintenance service gauges, it’s important to gather all the necessary materials. Having the right tools and equipment will ensure a smooth and efficient process. Here’s a list of the items you’ll need:
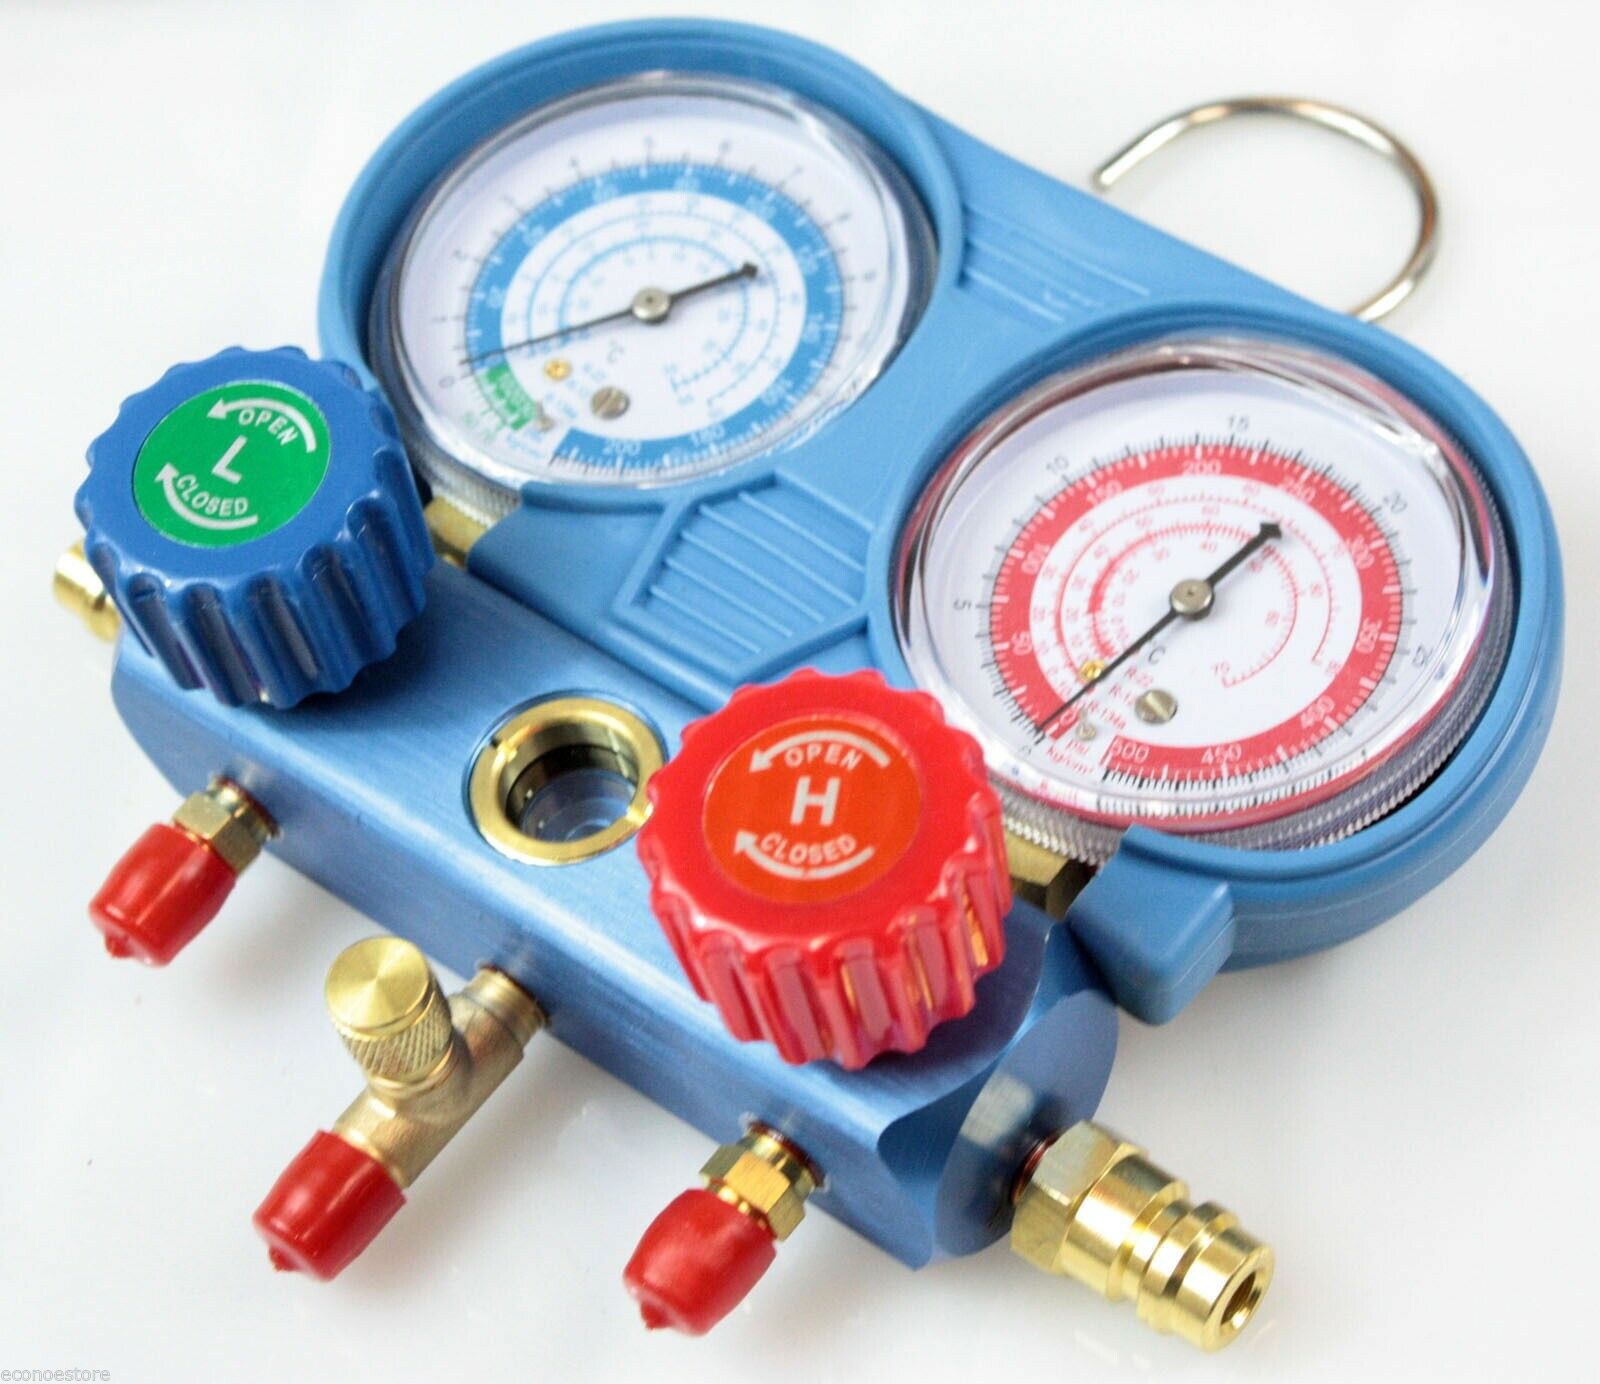
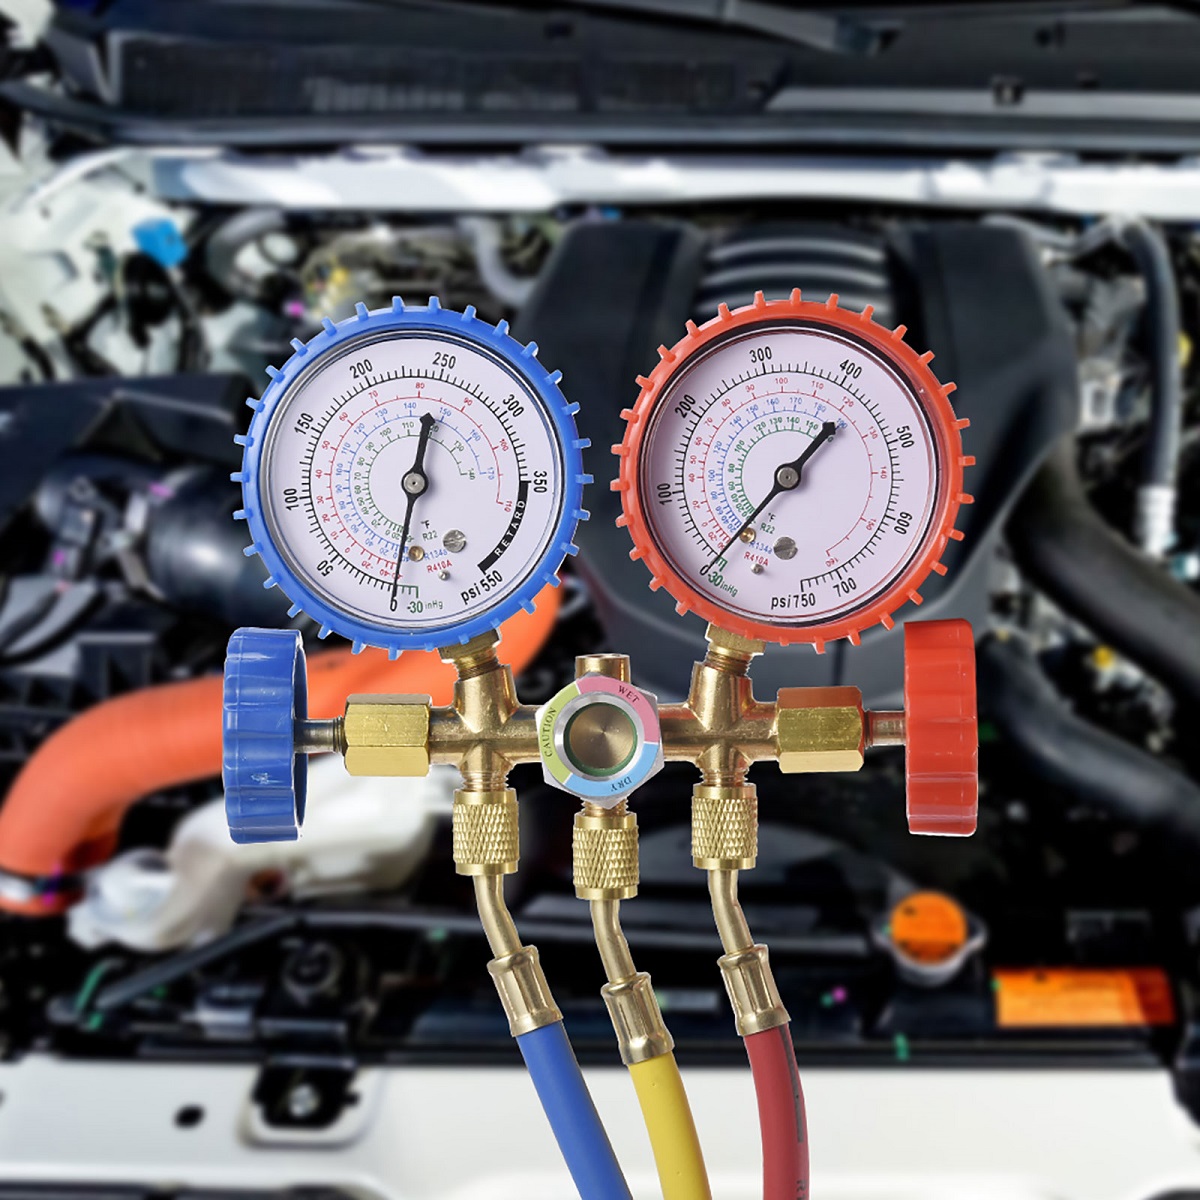
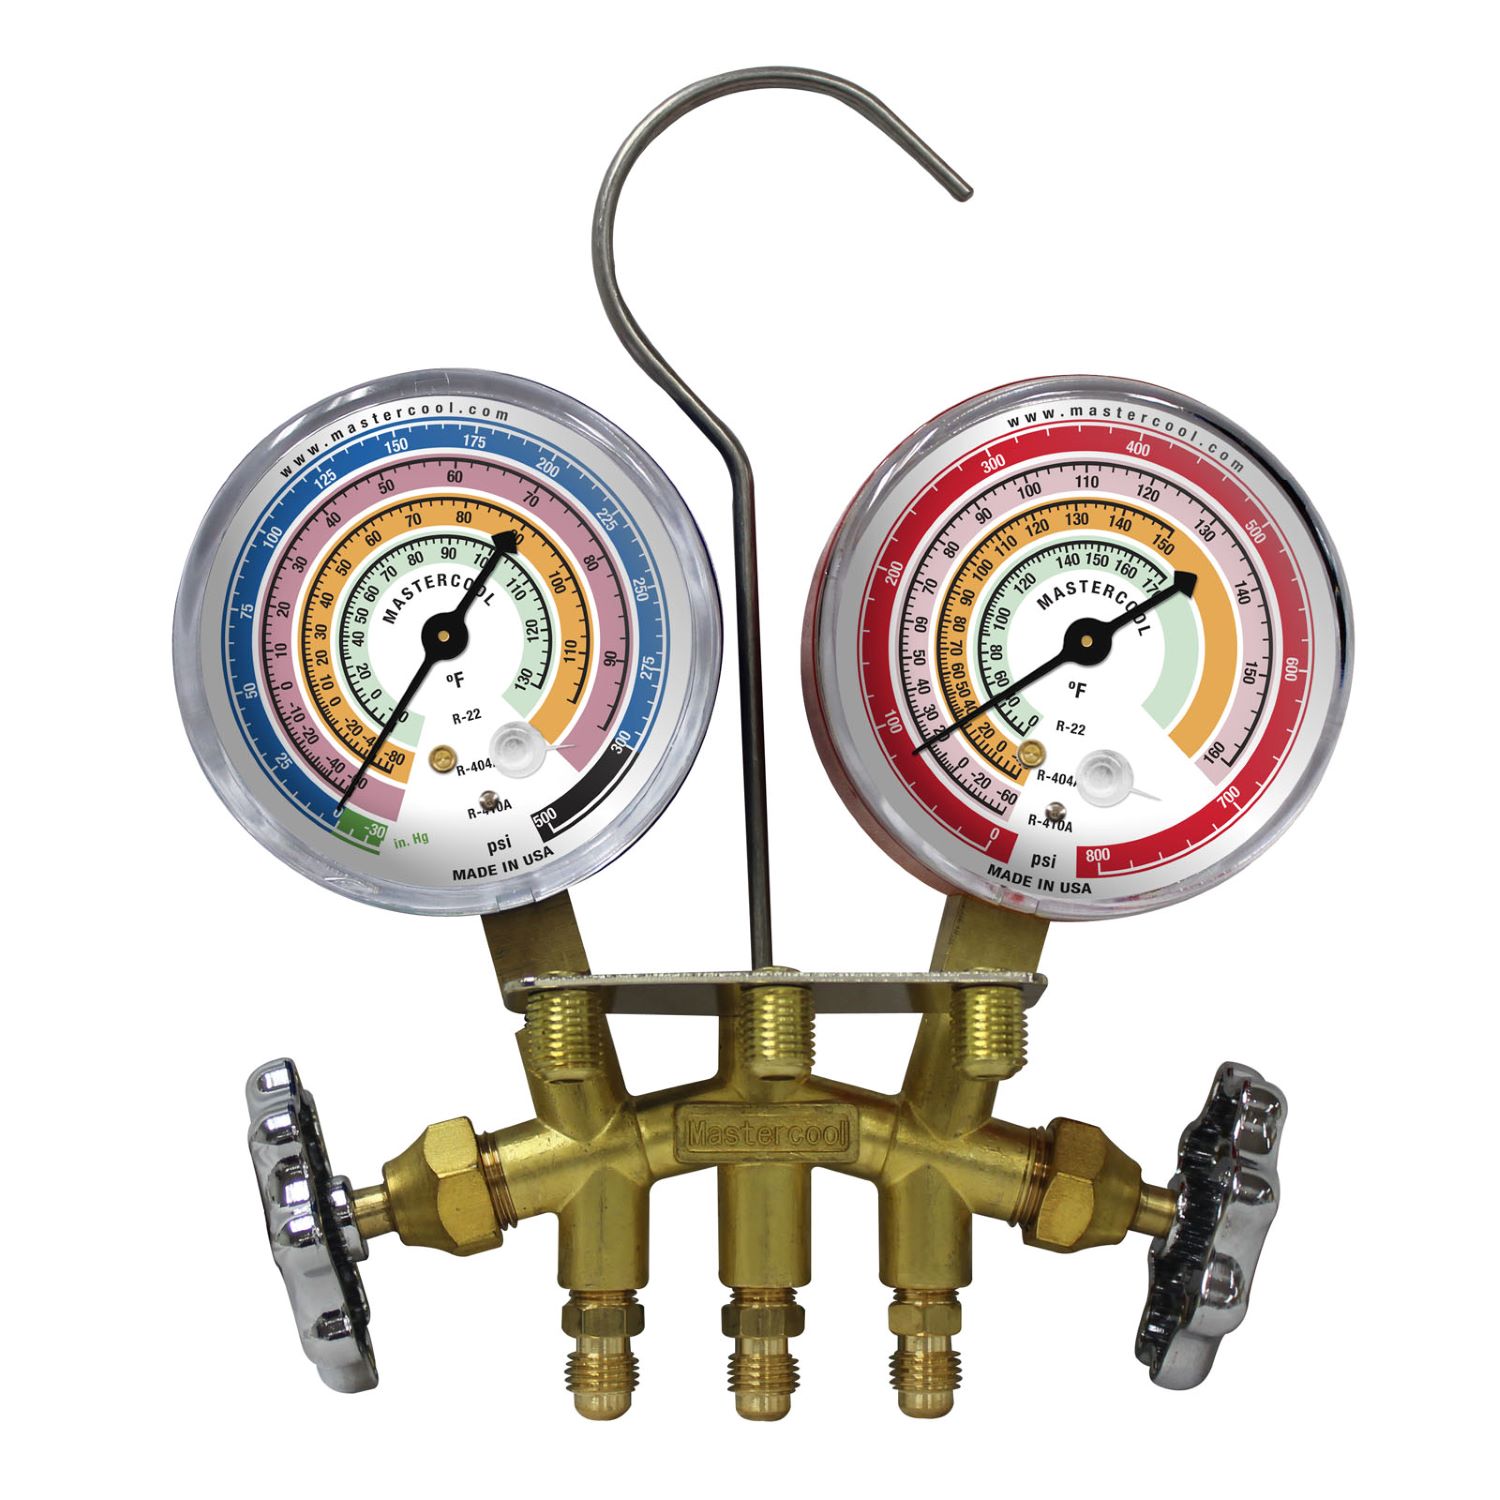
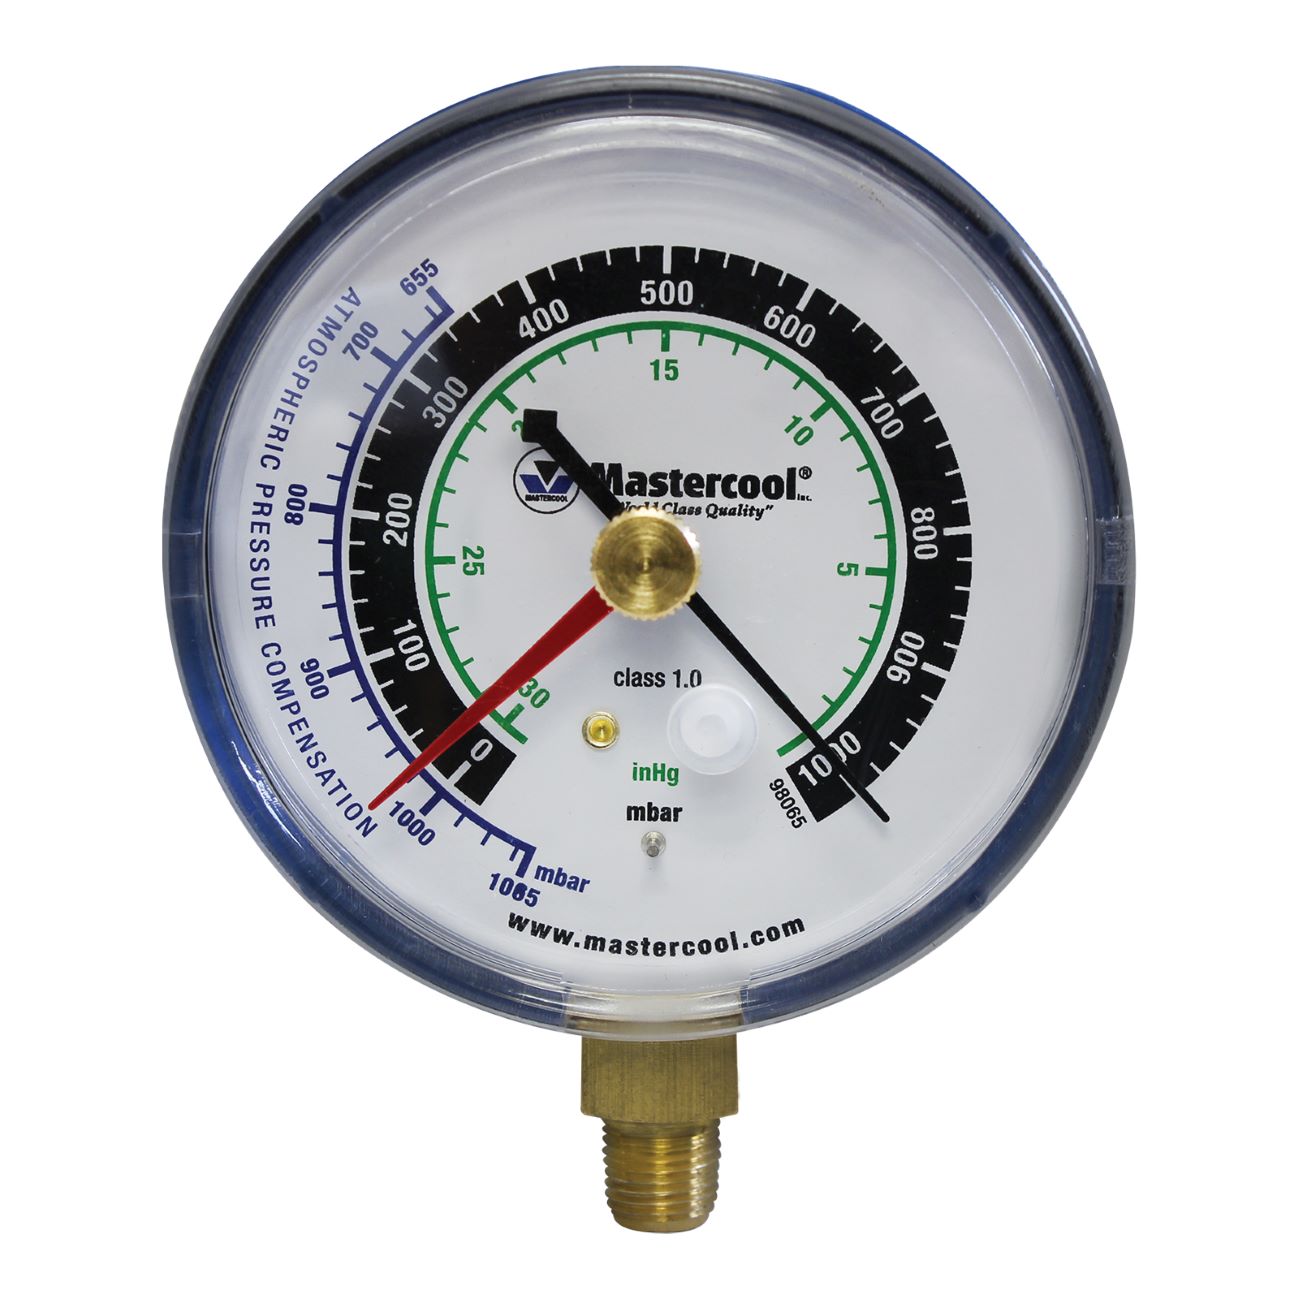
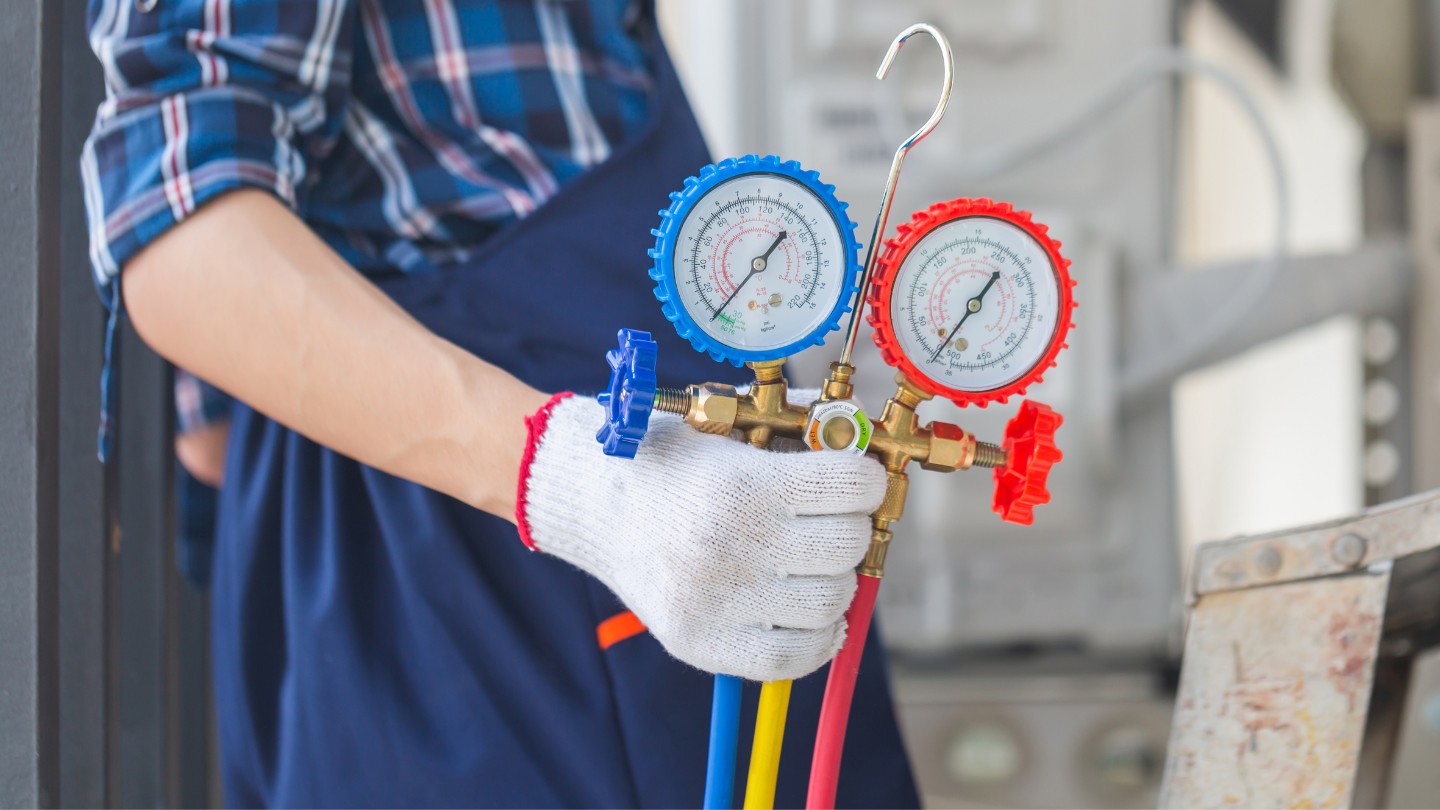
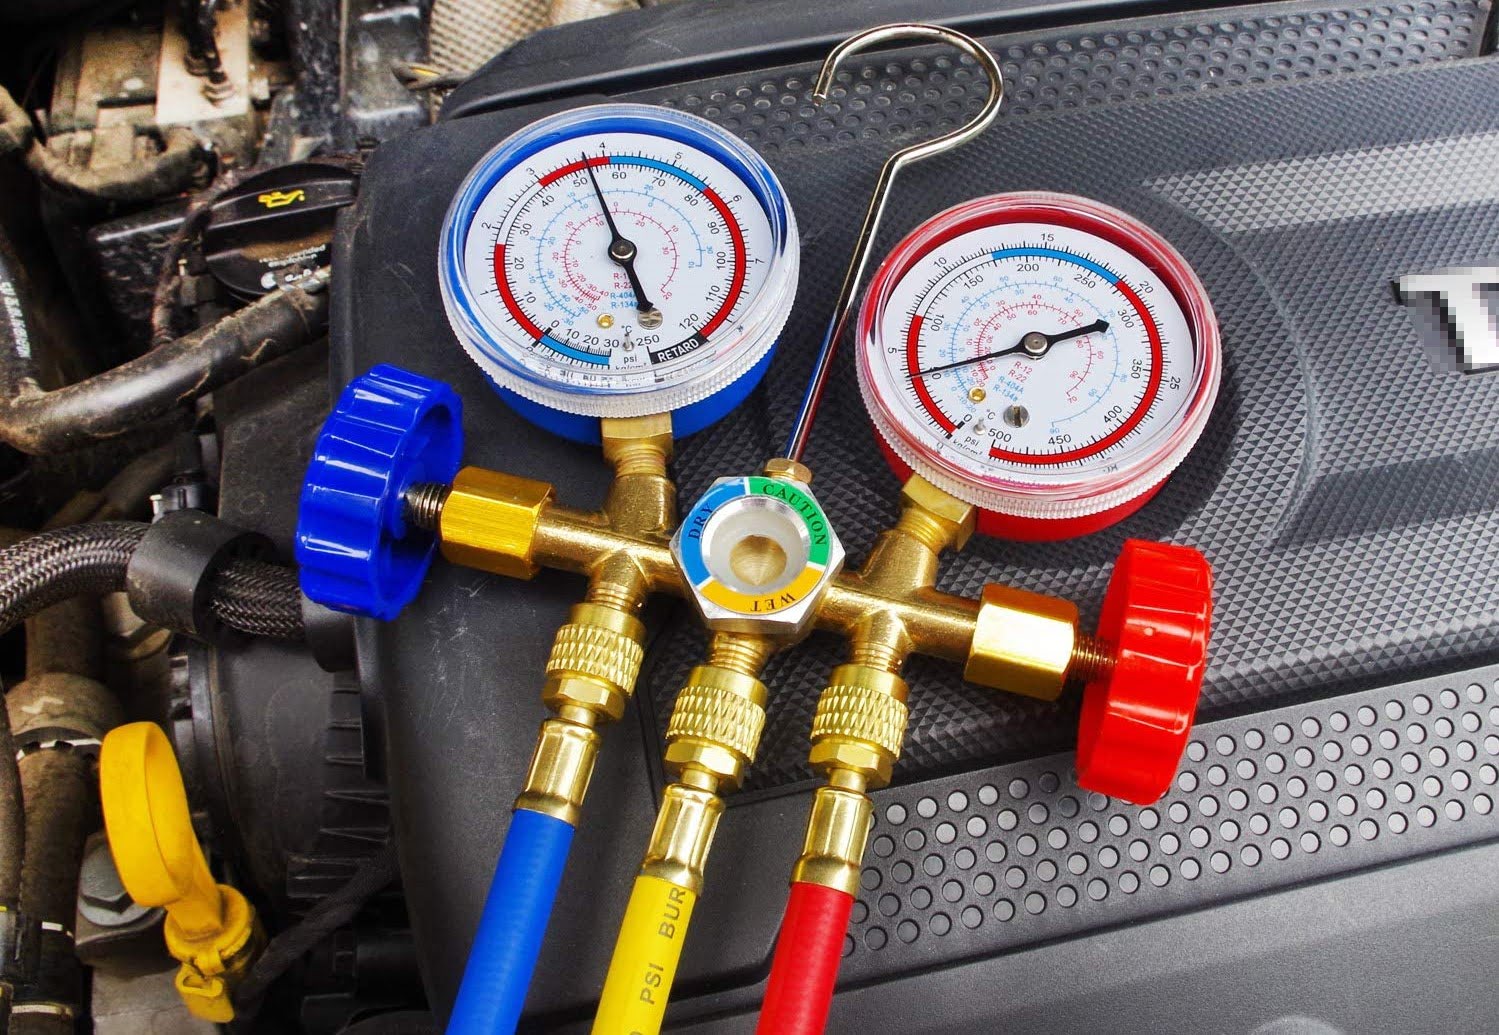
- AC maintenance service gauges: These are the main tools you’ll use to measure the pressure and temperature of the refrigerant in your AC system. There are various types of gauges available, including analog and digital options. Choose a set of gauges that is compatible with your AC system and meets your specific requirements.
- Refrigerant can tap: This tool is used to connect the gauges to the refrigerant canister. It allows you to add or remove refrigerant from the system.
- Wrench or adjustable pliers: You’ll need these tools to loosen and tighten the fittings when connecting the gauges to the AC system. Make sure you have the right size wrench or pliers for the job.
- Refrigerant hoses: These hoses are used to connect the gauges to the AC system. Ensure that the hoses are the correct length and have the appropriate fittings to fit your gauges and system.
- Safety goggles and gloves: Safety should always be a priority when working with AC systems. Wear protective goggles to shield your eyes from any potential hazards, and gloves to protect your hands from refrigerant and sharp objects.
- Manufacturer’s manual: Consult the manufacturer’s manual for your AC system to familiarize yourself with the specific procedures and safety guidelines.
Once you have gathered all the necessary materials, you are ready to move on to the next step: understanding the types of AC maintenance service gauges.
Step 2: Understand the Types of AC Maintenance Service Gauges
Before you start using AC maintenance service gauges, it’s important to have a good understanding of the different types available. This will help you choose the right gauges for your AC system and ensure accurate readings. Here are the two main types of AC maintenance service gauges:
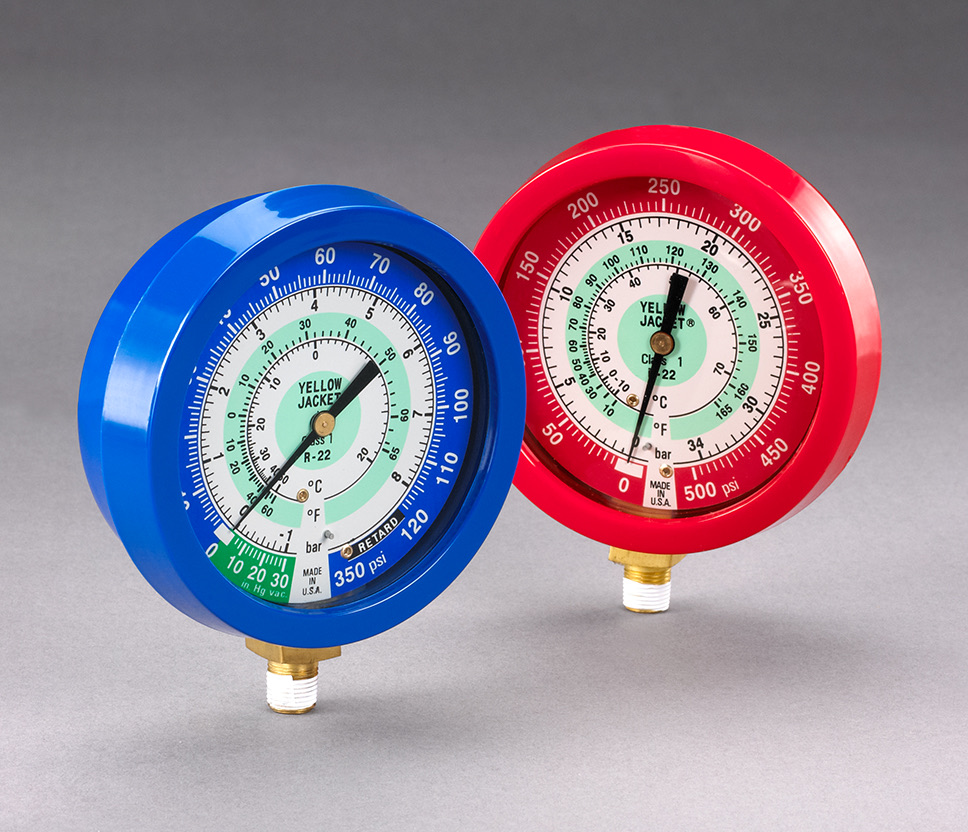
- Analog Gauges: Analog gauges have been used for many years and are still widely used in the HVAC industry. They consist of pressure and temperature dials that provide readings in a traditional analog format. Analog gauges are generally reliable, durable, and easy to read.
- Digital Gauges: Digital gauges have gained popularity due to their advanced features and ease of use. These gauges have a digital display that shows precise pressure and temperature readings. They often come with additional features like auto-ranging and built-in diagnostics. Digital gauges are great for technicians who require more accuracy and convenience.
When selecting AC maintenance service gauges, consider the specific needs of your AC system and your own preferences as a technician. Both analog and digital gauges can provide accurate readings, so choose the type that suits your requirements best.
It’s also essential to choose gauges that are compatible with the refrigerant type and pressure levels of your AC system. Different refrigerants require different gauge sets, so make sure to check the manufacturer’s specifications for the correct gauge compatibility.
Now that you have a good understanding of the types of AC maintenance service gauges available, it’s time to move on to the next step: familiarizing yourself with the gauge connections.
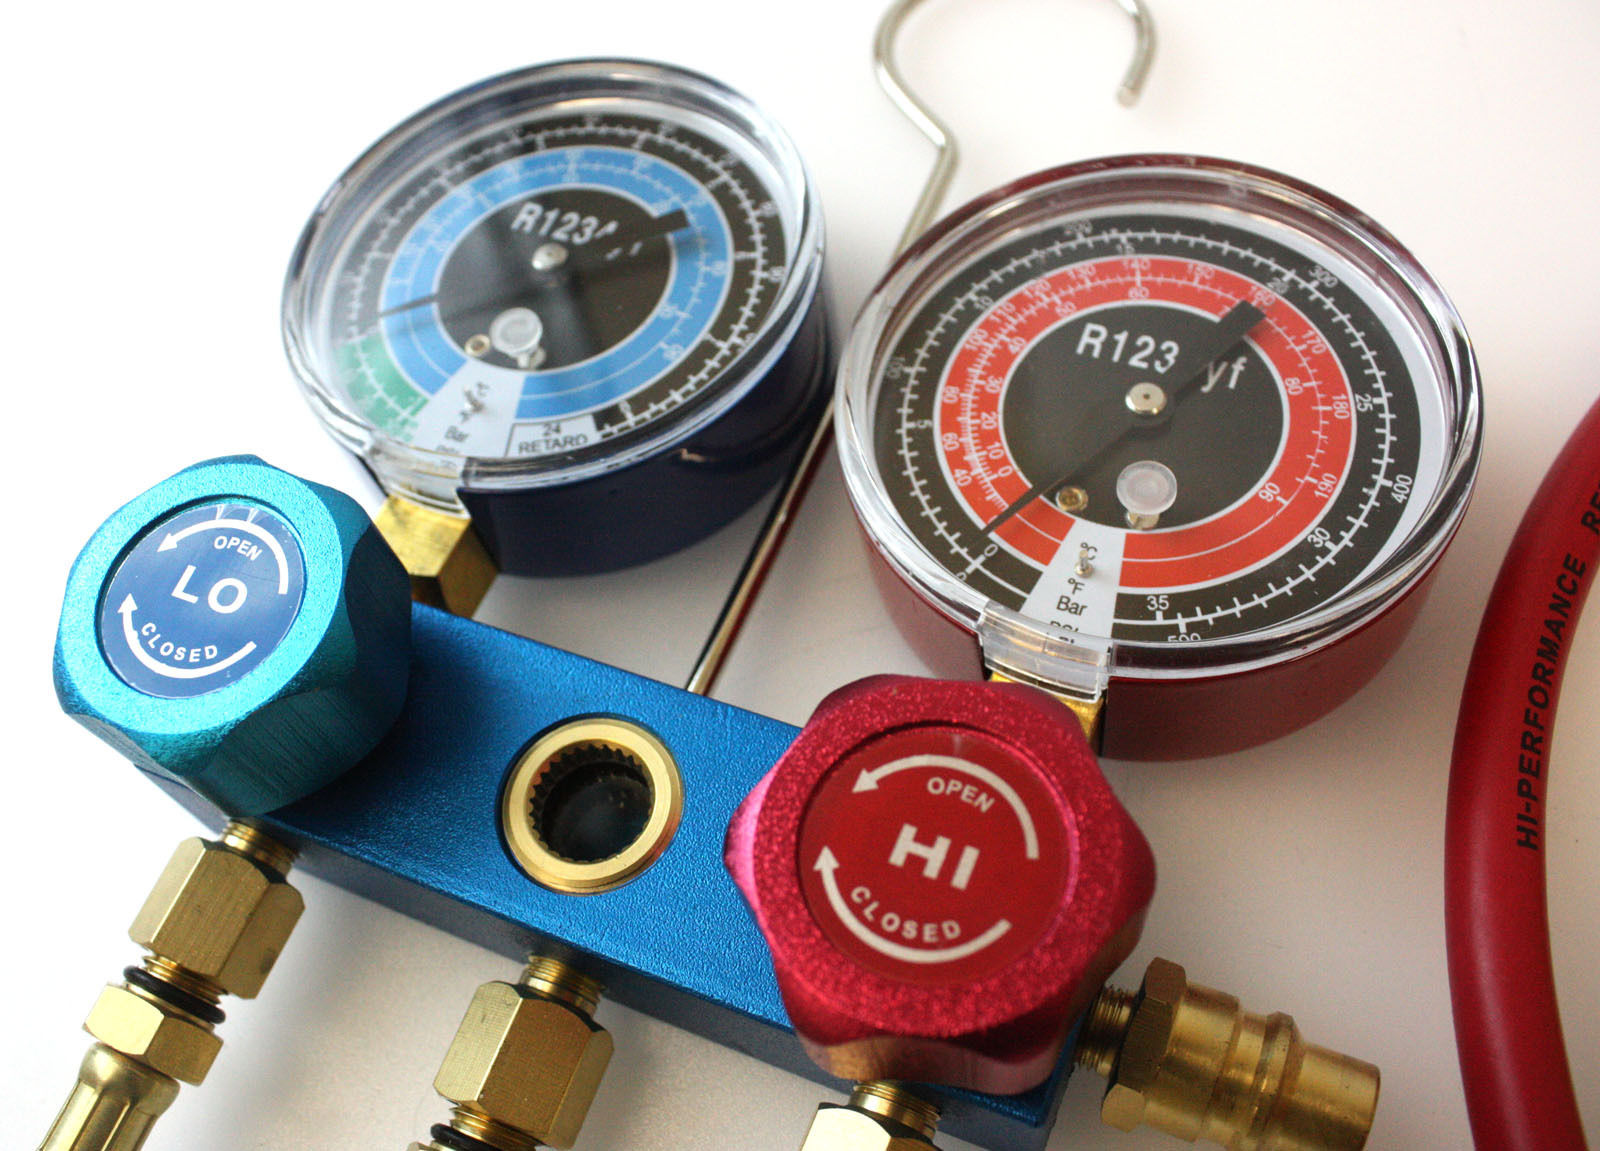
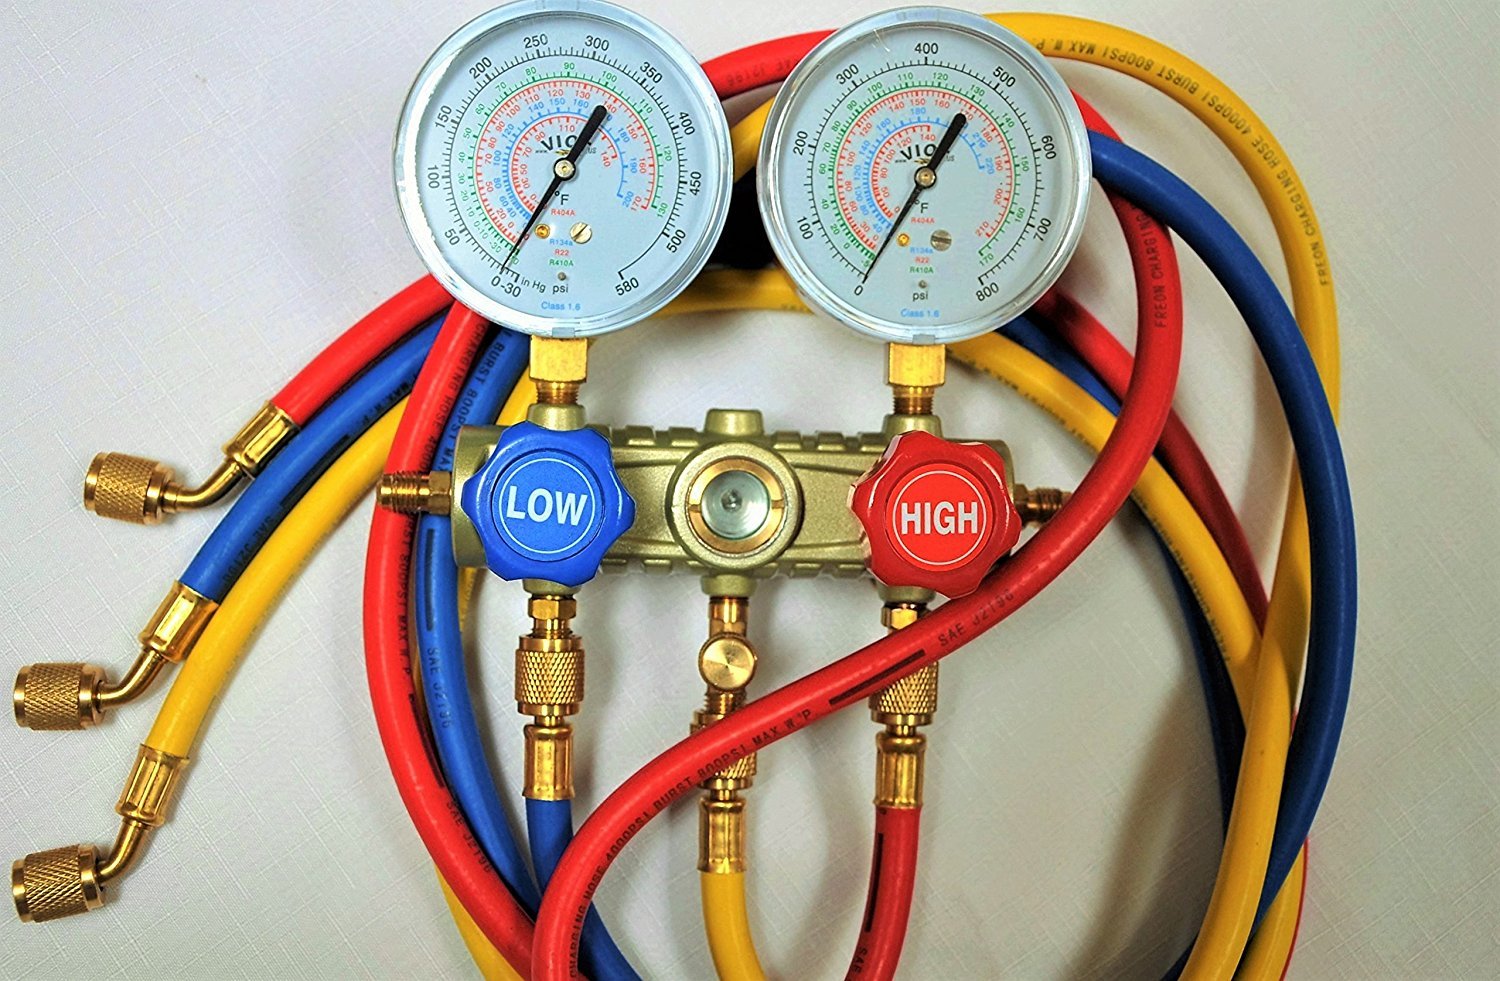
Step 3: Familiarize Yourself with the Gauge Connections
Before you can connect AC maintenance service gauges to your AC system, it’s essential to familiarize yourself with the gauge connections. Understanding how the gauges connect to the different parts of your AC system will ensure a proper and secure attachment. Here are the key gauge connections you need to know:
- High-pressure side connection: This connection is used to measure the high-pressure side of the AC system. It is typically located on the smaller refrigerant line coming from the condenser. The high-pressure side connection is often marked with “H” or “HP” for easy identification.
- Low-pressure side connection: This connection is used to measure the low-pressure side of the AC system. It is usually located on the larger refrigerant line returning to the compressor. The low-pressure side connection is often marked with “L” or “LP” for easy identification.
- Vacuum connection: Some gauges may have a separate vacuum connection. This connection is used for vacuuming the system and removing any moisture or contaminants before recharging with refrigerant.
Make sure to refer to the manufacturer’s manual for your specific gauges to understand the exact location and labeling of the connections. It’s also important to note that the gauge fittings should be securely tightened to prevent any refrigerant leaks during the process.
Now that you’re familiar with the gauge connections, you’re ready to move on to the next step: attaching the gauges to the AC system.
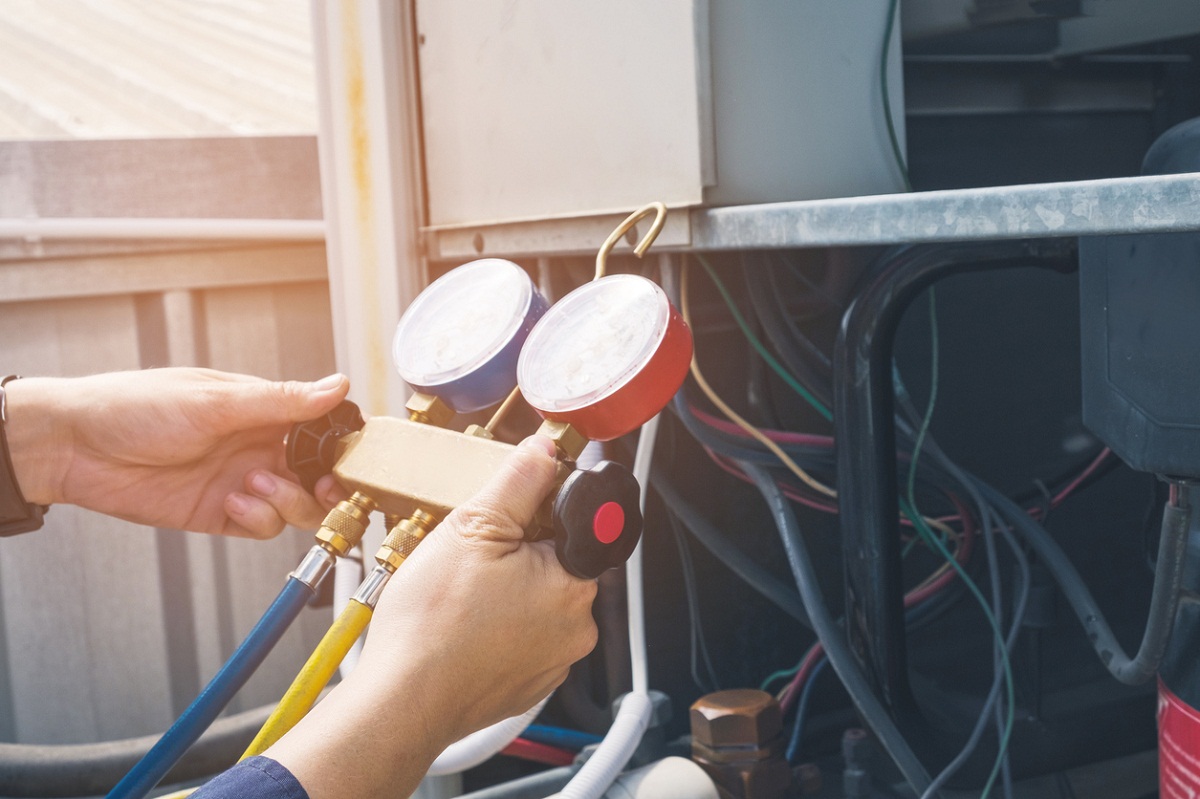
Step 4: Attach the Gauges to the AC System
Now that you are familiar with the gauge connections, it’s time to attach the AC maintenance service gauges to your AC system. Proper attachment ensures accurate readings and allows you to monitor the pressure and temperature levels. Here’s how you can attach the gauges:
- Ensure that the AC system is turned off and that the pressure in the system is equalized. This can be done by waiting for a few minutes after turning off the system.
- Locate the high-pressure side connection on your AC system. This connection is usually located on the smaller refrigerant line coming from the condenser and is marked with “H” or “HP”.
- Attach the high-pressure hose from the AC maintenance service gauges to the high-pressure side connection. Ensure that the connection is secure by tightening the fittings with a wrench or adjustable pliers.
- Next, locate the low-pressure side connection on your AC system. This connection is typically found on the larger refrigerant line returning to the compressor and is marked with “L” or “LP”.
- Attach the low-pressure hose from the AC maintenance service gauges to the low-pressure side connection. Again, make sure the connection is secure by tightening the fittings.
- If your gauges have a separate vacuum connection, connect the vacuum hose to the designated port on the AC system.
Once all the gauges and hoses are properly attached, double-check the connections to ensure they are secure and leak-free. It’s crucial to have a tight and reliable connection to get accurate readings and prevent refrigerant leaks.
With the gauges successfully attached to your AC system, you’re now ready to move on to the next step: reading the gauges and interpreting the results.
When connecting AC maintenance service gauges, always make sure to follow the manufacturer’s instructions and use the correct fittings to avoid damaging the system.
Read more: How Often Should You Service Your AC
Step 5: Read the Gauges and Interpret the Results
Once the AC maintenance service gauges are properly connected to your AC system, it’s time to read the gauges and interpret the results. The readings will provide valuable information about the pressure and temperature of the refrigerant, allowing you to assess the performance of your AC system. Here’s how you can read the gauges and interpret the results:
- Turn on the AC system and allow it to run for a few minutes to stabilize.
- Observe the pressure readings on both the high-pressure and low-pressure gauges. The readings will vary depending on the ambient temperature and the specifications of your AC system.
- Compare the pressure readings to the recommended pressure values specified by the manufacturer. These values can be found in the AC system’s manual or obtained from the manufacturer directly.
- Consider the temperature readings on the temperature scales of the gauges. These readings will help you assess the efficiency of the AC system and identify any potential issues.
- Look for any abnormalities or significant deviations from the recommended pressure and temperature values. These deviations could indicate a refrigerant leak, an improper charge, or other system malfunctions.
- Interpret the results based on your knowledge and experience in HVAC maintenance. Determine if additional maintenance or troubleshooting is required based on the readings.
It’s important to note that interpreting the results requires expertise in HVAC systems and their components. If you’re unsure about the readings or need assistance, it’s recommended to consult with a qualified HVAC technician.
By reading and interpreting the gauges correctly, you can gain insights into the performance of your AC system and take appropriate actions to ensure optimal efficiency.
Now that you know how to read the gauges and interpret the results, let’s move on to step 6: performing maintenance or troubleshooting tasks based on gauge readings.
Step 6: Perform Maintenance or Troubleshooting Tasks Based on Gauge Readings
After reading and interpreting the AC maintenance service gauge readings, you may need to perform maintenance or troubleshooting tasks based on the results. It’s crucial to address any abnormalities or issues in order to ensure the optimal functioning of your AC system. Here are some potential tasks you may need to perform:
- Recharge the refrigerant: If the pressure readings are too low, it may indicate a refrigerant leak or an undercharged system. In this case, you may need to recharge the refrigerant to the recommended levels. Consult the manufacturer’s guidelines or seek professional help to perform this task.
- Evacuate and vacuum the system: If the pressure readings are too high or there are other signs of system malfunction, it may be necessary to evacuate and vacuum the system. This process removes any moisture or contaminants from the AC system before recharging it with refrigerant. Professional assistance is recommended for this task.
- Clean or replace filters: If the gauge readings indicate poor airflow or system inefficiencies, it may be due to dirty or clogged filters. Clean or replace the filters as per the manufacturer’s recommendations to improve system performance.
- Inspect and clean the condenser and evaporator coils: Over time, dust and debris can accumulate on the condenser and evaporator coils, reducing their efficiency. Based on the readings, consider inspecting and cleaning these coils to improve heat transfer and overall performance.
- Check for refrigerant leaks: If the gauge readings are fluctuating or consistently low, it may indicate a refrigerant leak. Perform a leak detection test using appropriate methods such as electronic leak detectors or bubble solutions, and repair any identified leaks promptly.
- Perform other system checks: Depending on the specific gauge readings and troubleshooting analysis, you may need to perform additional system checks. This can include examining electrical connections, checking for proper airflow, and inspecting ductwork for any obstructions or leaks.
Remember, it’s important to exercise caution and follow proper procedures when performing maintenance or troubleshooting tasks. If you are unsure of how to proceed or encounter complex issues, it’s always best to consult with a qualified HVAC technician.
Now that you know how to perform maintenance or troubleshooting tasks based on gauge readings, let’s move on to the final step: safely disconnecting the gauges.
Step 7: Disconnect the Gauges Safely
Once you have completed the necessary maintenance or troubleshooting tasks based on the gauge readings, it’s important to disconnect the AC maintenance service gauges safely. Proper disconnection ensures the integrity of the system and prevents any refrigerant leaks or accidents. Here’s how you can safely disconnect the gauges:
- Turn off the AC system to stop the flow of refrigerant through the gauges.
- Release the pressure in the gauges by slowly opening the pressure relief valve if available. This will prevent any sudden release of pressure.
- Disconnect the high-pressure hose from the high-pressure side connection, and the low-pressure hose from the low-pressure side connection. Use a wrench or adjustable pliers to loosen the fittings and remove the hoses carefully.
- If you used a vacuum hose, disconnect it from the vacuum connection, if applicable.
- Once the hoses are removed, inspect the connections for any signs of leaks or damage. If you notice any issues, address them before reattaching the gauges in the future.
- Securely close the valve on each gauge to prevent any refrigerant leaks.
- Properly store the AC maintenance service gauges and hoses in a clean and safe place. Protect them from moisture, extreme temperatures, and any potential damage.
It’s essential to follow proper safety guidelines throughout the disconnection process. Wear safety goggles and gloves to protect yourself from any potential hazards, and handle the gauges and hoses with care.
With the gauges safely disconnected, you have successfully completed the AC maintenance service gauge connection process. Regular maintenance and monitoring using AC maintenance service gauges will help keep your AC system in optimal condition.
Remember, if you encounter any complex issues or are unsure about any steps in the process, it’s always best to consult with a qualified HVAC technician to ensure the safety and efficiency of your AC system.
With this final step completed, you should now have a good understanding of how to connect, read, and interpret AC maintenance service gauges. By following these steps and practicing proper maintenance techniques, you can keep your AC system running smoothly and enjoy cool and comfortable indoor environments.
Thank you for reading our comprehensive guide, and we hope this information has been helpful to you!
Conclusion
Congratulations! You have now learned how to connect AC maintenance service gauges effectively. By following the step-by-step guide provided in this article, you can ensure the proper maintenance and troubleshooting of your AC system. Connecting AC maintenance service gauges allows you to accurately measure the pressure and temperature of the refrigerant, enabling you to identify any issues and take appropriate actions.
We began by emphasizing the importance of gathering the necessary materials and understanding the types of AC maintenance service gauges available. By familiarizing yourself with gauge connections, you can confidently attach the gauges to the AC system, ensuring accurate readings.
After connecting the gauges, you learned how to read and interpret the gauge readings. These readings provide valuable insights into the performance of your AC system, enabling you to identify any abnormalities or inefficiencies.
Based on the gauge readings, you can then perform maintenance or troubleshooting tasks such as recharging the refrigerant, cleaning filters and coils, checking for leaks, and conducting other system checks. These tasks are essential to maintain the optimal efficiency and functionality of your AC system.
Finally, we discussed the importance of safely disconnecting the gauges to prevent any refrigerant leaks or accidents. By following the proper disconnection procedure, you can ensure the integrity of the AC system and the safety of yourself and others.
Remember, while this guide provides a comprehensive overview, it is always advisable to seek the assistance of a qualified HVAC technician for complex issues or if you are not confident in performing the tasks yourself.
By regularly using AC maintenance service gauges and following the steps outlined in this guide, you can take control of the maintenance and performance of your AC system. Keeping your AC system in optimal condition ensures a comfortable indoor environment and can help minimize energy costs.
Thank you for reading our guide, and we hope this information has been helpful to you in your journey to maintain and troubleshoot your AC system effectively.
Frequently Asked Questions about How To Connect AC Maintenance Service Gauges
Was this page helpful?
At Storables.com, we guarantee accurate and reliable information. Our content, validated by Expert Board Contributors, is crafted following stringent Editorial Policies. We're committed to providing you with well-researched, expert-backed insights for all your informational needs.