Home>Articles>How To Clean A Window AC Unit To Keep It Running All Summer Long
Articles
How To Clean A Window AC Unit To Keep It Running All Summer Long
Modified: August 27, 2024
Discover the best techniques and tips for cleaning your window AC unit to ensure optimal performance all summer long. Read our insightful articles for step-by-step instructions and expert advice.
(Many of the links in this article redirect to a specific reviewed product. Your purchase of these products through affiliate links helps to generate commission for Storables.com, at no extra cost. Learn more)
Introduction
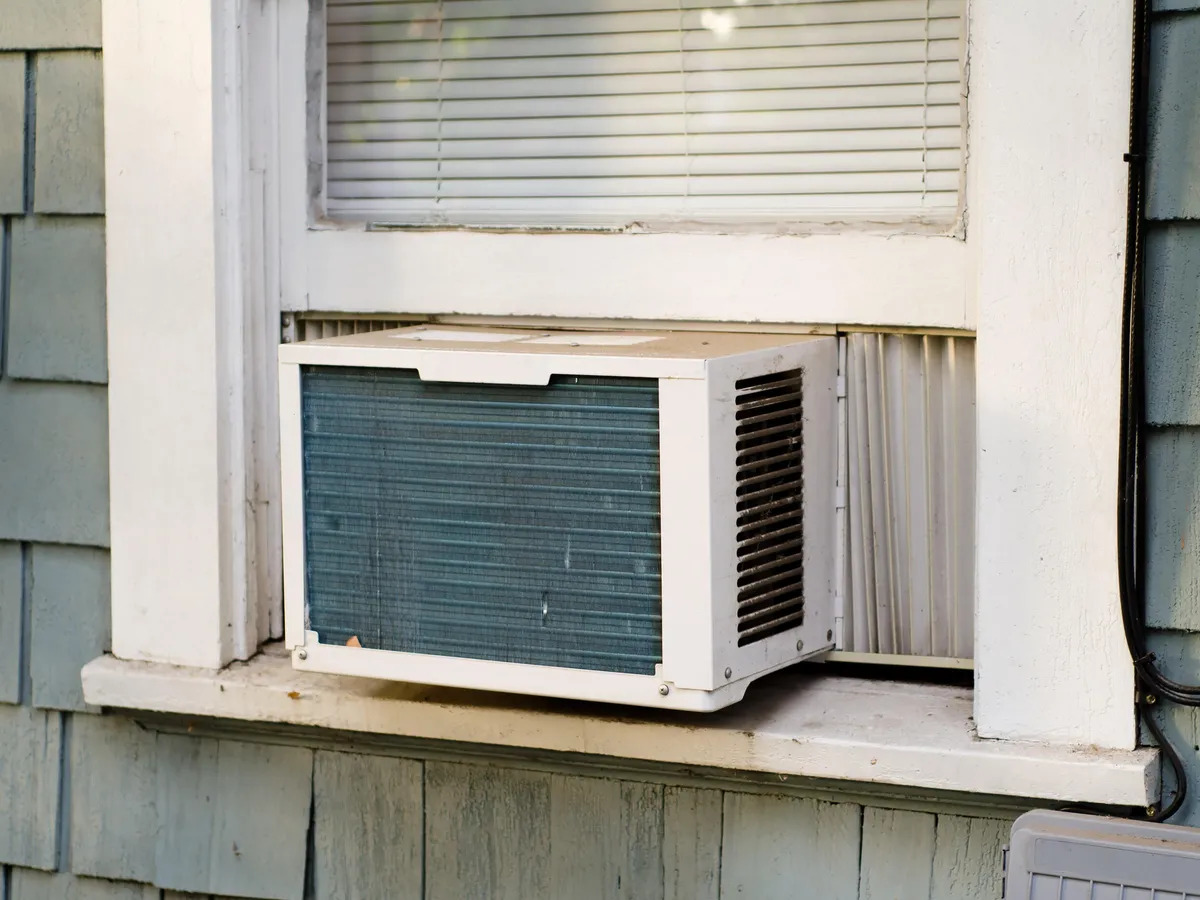
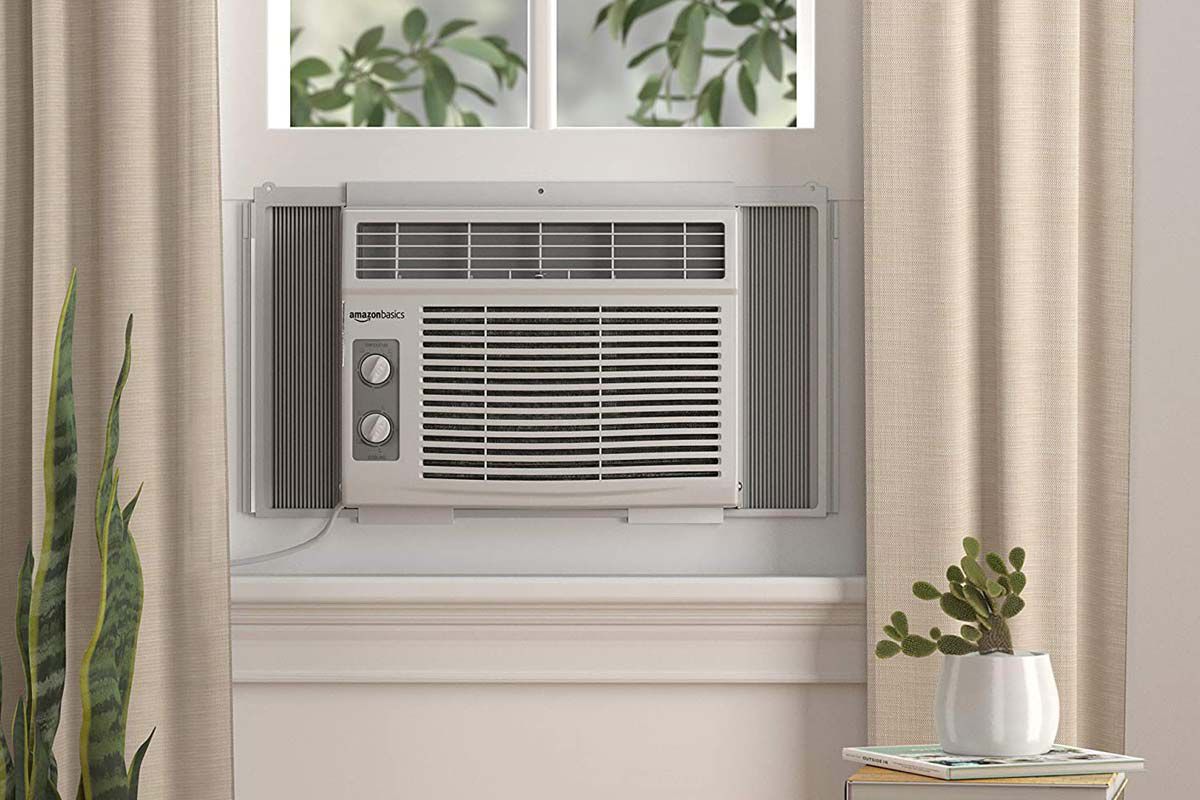
As the summer months approach, it’s time to start thinking about keeping our homes cool and comfortable. For many people, a window air conditioning unit is a popular choice for cooling a specific room or area. But in order to keep your window AC unit running efficiently and effectively, regular maintenance is essential. One of the most important maintenance tasks is cleaning the unit regularly.
Cleaning your window AC unit not only ensures that it continues to cool your space effectively, but it also helps to extend its lifespan and improve its energy efficiency. Over time, dust, dirt, and debris can accumulate on the unit’s filters, coils, and fan blades, compromising its performance and potentially causing it to overheat or malfunction. By regularly cleaning your window AC unit, you can prevent these issues and enjoy cool air all summer long.
In this article, we will provide you with a step-by-step guide on how to clean your window AC unit properly. By following these steps and investing a little time and effort, you can keep your air conditioner running smoothly and efficiently, and ensure a comfortable and cool environment in your home.
Key Takeaways:
- Regularly cleaning your window AC unit is crucial for improved air quality, enhanced energy efficiency, extended lifespan, prevention of mold and mildew, and optimized cooling performance.
- Proper maintenance, including cleaning the air filter, exterior surfaces, fan blades, evaporator coils, and condenser coils, along with inspecting and cleaning the drainage system, ensures optimal performance and a cool, comfortable environment all summer long.
Read more: How Long Should AC Run In 90 Degree Weather
Why You Should Clean Your Window AC Unit Regularly
Cleaning your window AC unit on a regular basis is vital for several reasons. Not only does it improve the overall performance and efficiency of your air conditioner, but it also helps maintain a healthy and hygienic indoor environment. Here are some compelling reasons why you should make cleaning your window AC unit a priority:
- Improved Air Quality: Over time, dirt, dust, and allergens can accumulate on the filters and surfaces of your AC unit. When the air conditioner is running, these particles can be circulated back into the room, affecting the air quality and potentially triggering respiratory issues. Regular cleaning helps remove these contaminants, ensuring cleaner and healthier air for you and your family.
- Enhanced Energy Efficiency: A clean window AC unit operates more efficiently, using less energy to cool your space. When dust and debris accumulate on the coils and fan blades, the unit has to work harder to achieve the desired temperature, leading to increased energy consumption. By cleaning these components, you can ensure proper airflow and maximize energy efficiency.
- Extended Lifespan: Neglecting to clean your AC unit can have a negative impact on its lifespan. When dirt and debris accumulate on the internal components, it can cause them to overheat, putting unnecessary strain on the unit. Regular cleaning helps prevent overheating and can extend the lifespan of your window AC unit, saving you money on costly repairs or replacements.
- Prevention of Mold and Mildew: Moisture and condensation can sometimes build up within the AC unit, creating an ideal environment for mold and mildew growth. These can not only cause unpleasant odors but also pose health risks. Regular cleaning and maintenance can help prevent the growth of mold and mildew, ensuring a clean and odor-free environment.
- Optimized Cooling Performance: When your AC unit is clean and free from debris, it can operate at its optimal level, providing effective cooling throughout the space. A dirty unit with clogged filters and coils may struggle to push out cool air, resulting in inadequate cooling and discomfort. Regular cleaning ensures that your window AC unit performs at its best.
By understanding the importance of regular cleaning and maintenance, you can ensure that your window AC unit operates efficiently, provides clean air, and lasts longer. In the following sections, we will guide you through the step-by-step process of cleaning your window AC unit to keep it running smoothly all summer long.
Tools and Materials You Will Need
Before you start cleaning your window AC unit, it’s important to gather the necessary tools and materials. Having everything on hand will make the cleaning process smoother and more efficient. Here’s a list of the tools and materials you will need:
- Screwdriver: You may need a screwdriver to remove any screws or fasteners holding the AC unit in place.
- Vacuum Cleaner: A vacuum cleaner with various nozzle attachments will be handy for removing loose dirt and debris from the unit’s interior and exterior surfaces.
- Mild Detergent: Use a mild detergent or a specialized AC coil cleaner to clean the air filters, coils, and other components. Make sure to read and follow the manufacturer’s instructions before using any cleaning product.
- Water Spray Bottle: Fill a spray bottle with water to moisten the coils and other components before cleaning.
- Bristle Brush: A soft-bristle brush can help you loosen and remove stubborn dirt and debris from the air filters and other surfaces.
- Gloves and Safety Goggles: It’s important to protect your hands and eyes during the cleaning process. Wear gloves and safety goggles to avoid any potential injuries.
- Old Towels or Rags: Keep some old towels or rags nearby to wipe down surfaces and absorb excess water.
- Plastic Bag: Have a plastic bag ready to collect any debris or dirt that you remove from the unit.
- Outdoor Hose: If you have access to an outdoor water source, a hose with a spray attachment can be helpful for rinsing off the unit’s exterior surfaces.
By gathering these tools and materials beforehand, you’ll ensure that you have everything you need to clean your window AC unit effectively and efficiently. Now that you’re prepared, let’s move on to the step-by-step cleaning process.
Step 1: Shut Off the Power
Before you begin cleaning your window AC unit, it’s crucial to ensure your safety by shutting off the power. This will prevent any accidents or injuries while you work on the unit. Follow these steps to properly shut off the power:
- Unplug the Unit: Locate the electrical plug that powers your window AC unit. Unplug it from the wall socket to cut off the power supply.
- Turn Off the Breaker: In some cases, the AC unit may be connected to a dedicated circuit breaker. Locate the breaker panel in your home and identify the breaker that controls the AC unit. Flip the switch to the “off” position to disconnect the power supply.
- Double-Check the Power: Once you have unplugged the unit and turned off the breaker, use a voltage tester to verify that there is no power running to the AC unit. This step is crucial for your safety. If the voltage tester indicates the presence of power, double-check your connections or seek professional assistance.
By shutting off the power, you reduce the risk of electric shock and create a safe environment for cleaning your window AC unit. Once you have confirmed that the power is off, you can move on to the next step of removing the unit from the window.
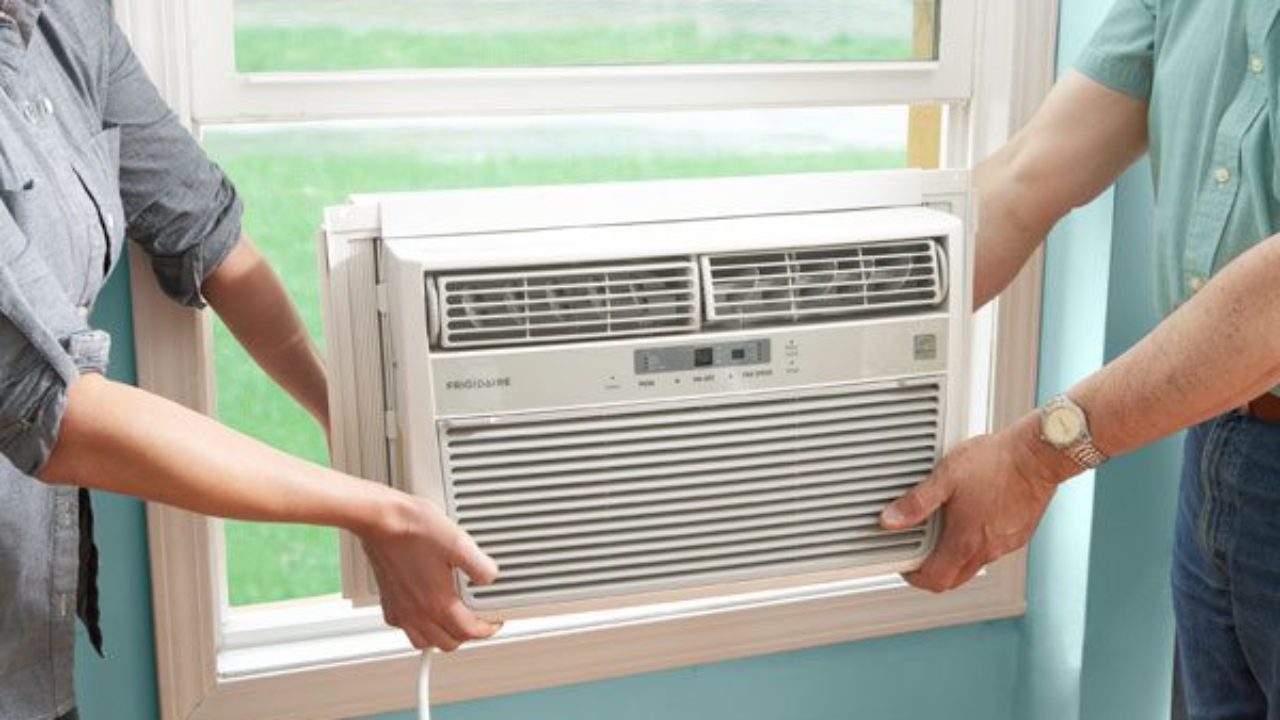
Step 2: Remove the AC Unit from the Window
Now that you have ensured the power is shut off, it’s time to remove the window AC unit from its position. This step allows for easier access to all the components that need cleaning. Follow these steps to safely remove the unit:
- Carefully Lift the Unit: Window AC units can be heavy, so it’s important to use caution when lifting. Have a friend or family member assist you if needed. Grip the unit from both sides and lift it carefully, ensuring a secure hold.
- Consult the Manual: Refer to the specific instructions provided by the manufacturer for removing the unit from the window. Each model may have a different method of installation and removal. Follow the instructions carefully to avoid causing any damage to the unit or window.
- Remove Window Support Brackets: If your window AC unit is secured using support brackets, remove them according to the manufacturer’s instructions. These brackets are typically attached to the window frame or wall and help support the weight of the unit. Use a screwdriver or wrench to loosen and remove any screws or fasteners.
- Slide the Unit Out: Once the support brackets are removed, carefully slide the unit out of the window. Take your time to ensure a smooth and steady movement to prevent any accidents or damage.
- Inspect the Unit and Window: Before moving on to the cleaning process, take a moment to inspect the AC unit and the window. Check for any visible signs of wear, damage, or loose parts. If you notice any issues, consult with a professional technician for repairs or replacements.
By removing the window AC unit from the window, you create a safer and more accessible space to clean all the components thoroughly. Take your time and be cautious during this process to avoid any mishaps. Once the unit is removed, you can proceed to the next step of cleaning the air filter.
Read more: How Many Watts To Run Rv AC
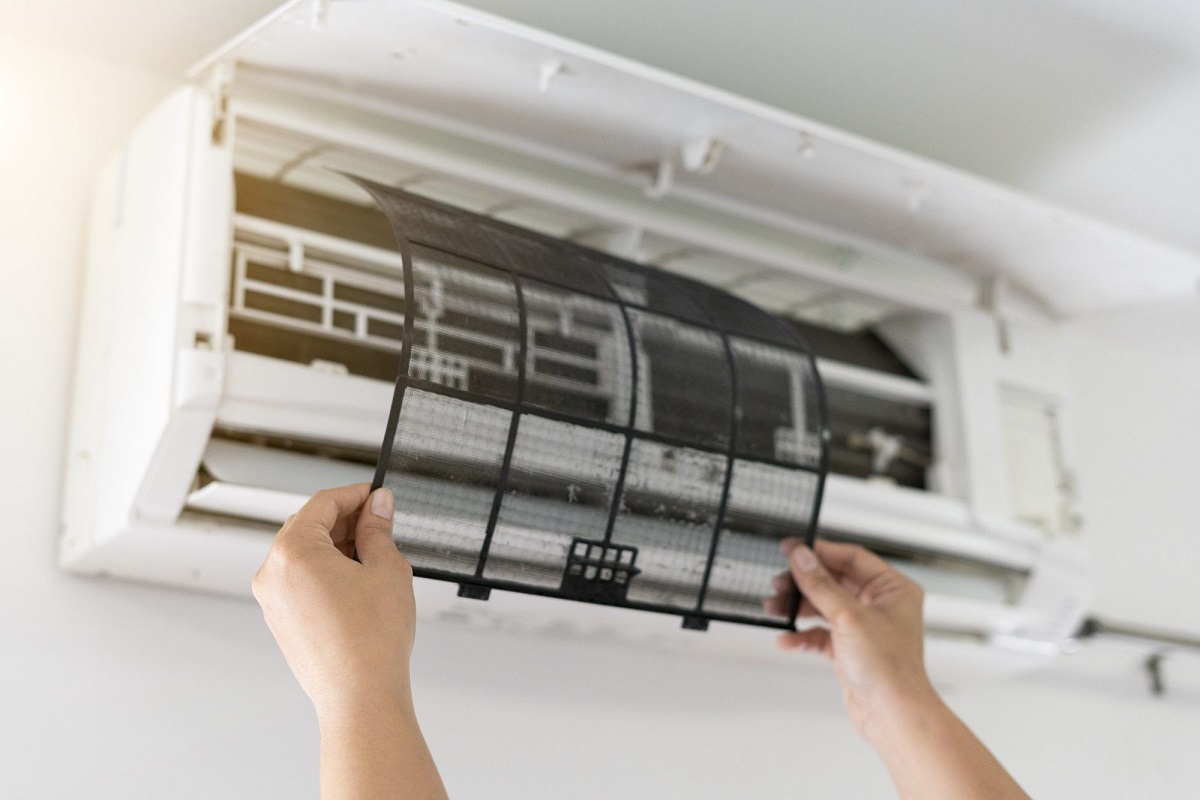
Step 3: Clean the Air Filter
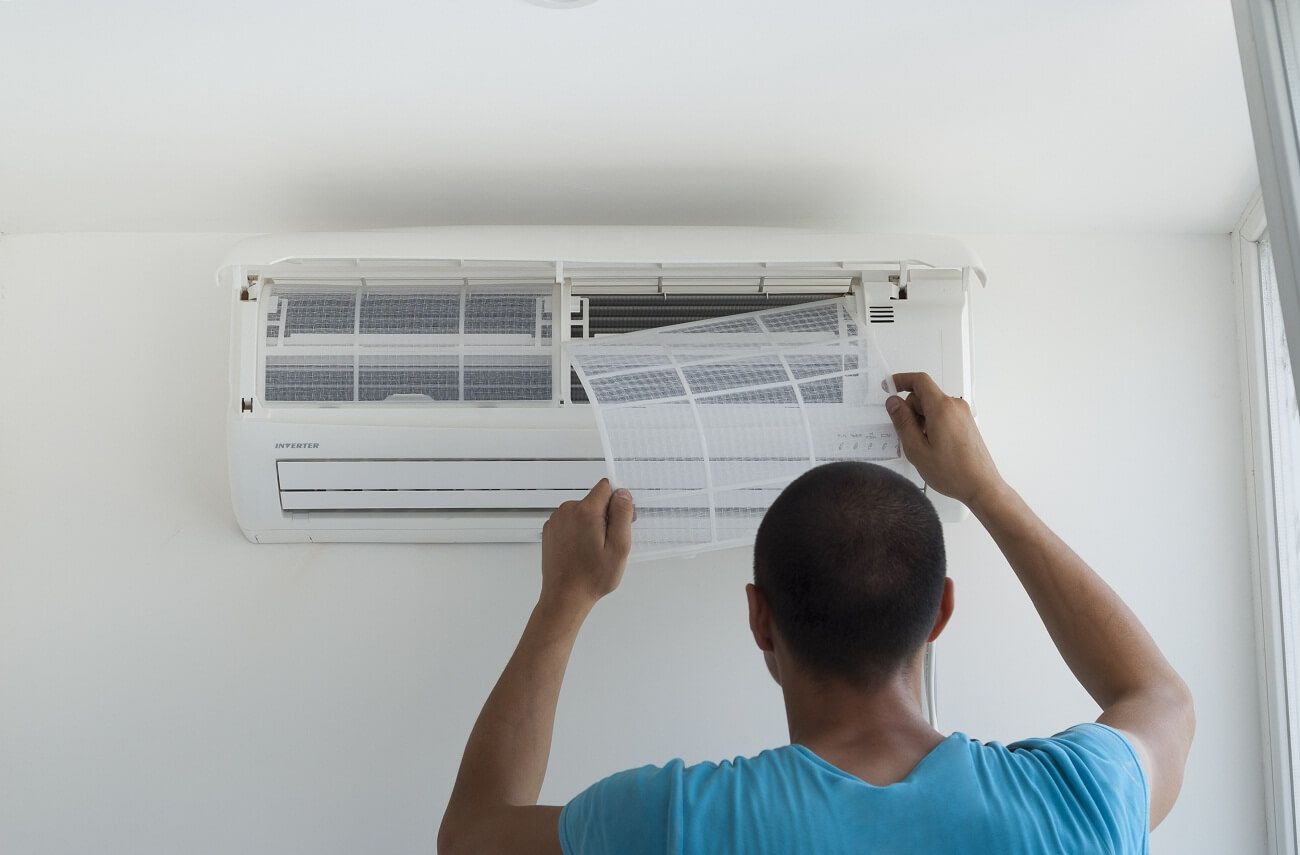
The air filter in your window AC unit is responsible for trapping dust, dirt, and other airborne particles. Over time, these particles can clog the filter, obstructing airflow and reducing the unit’s cooling efficiency. Cleaning the air filter regularly is essential for maintaining optimal performance. Follow these steps to clean the air filter:
- Locate the Air Filter: The air filter is usually located behind a grille on the front of the AC unit. Consult the manufacturer’s manual if you’re unsure about its exact location.
- Remove the Filter: Carefully remove the filter from its housing. Depending on the model, the filter might be held in place by tabs, clips, or screws. Take note of how the filter is installed so that you can easily put it back in later.
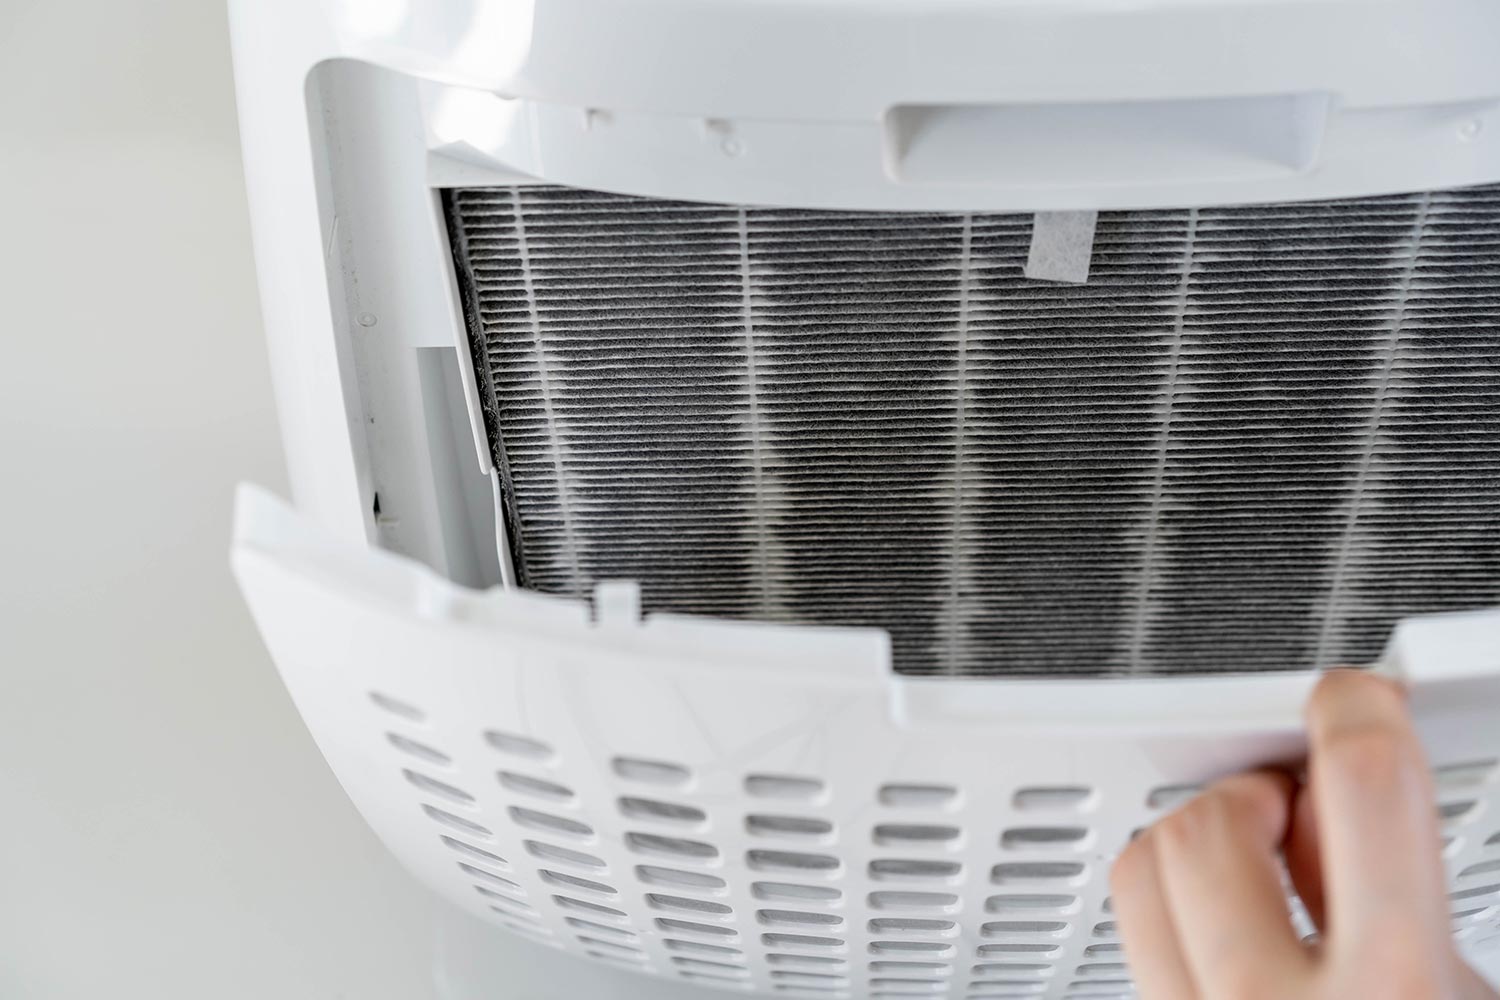
- Inspect the Filter: Examine the filter for any visible dirt, dust, or debris. If the filter appears significantly dirty or clogged, it’s time to clean it. A good rule of thumb is to clean the filter every month during heavy use and every two to three months during regular use.
- Clean the Filter: There are a few methods you can use to clean the filter. The first option is to vacuum the filter using a brush attachment to remove loose debris. Another method is to wash the filter with mild detergent and lukewarm water. Gently scrub the filter with a soft brush to loosen dirt and rinse it thoroughly. Allow the filter to air dry completely before reinstalling it.
- Replace or Reinstall the Filter: If the air filter is non-reusable or damaged, it’s important to replace it with a new one. If the filter is in good condition after cleaning, carefully reinstall it in the same position it was removed. Make sure it fits securely in the housing.
- Regularly Maintain the Air Filter: Cleaning the air filter is not a one-time task. To maintain proper airflow and efficiency, make it a habit to clean or replace the filter according to the manufacturer’s recommendations. Mark a calendar or set a reminder to ensure you stay on top of the maintenance schedule.
By cleaning the air filter regularly, you can improve the airflow and cooling performance of your window AC unit. It’s a simple yet essential step in maintaining the efficiency and longevity of the appliance. With the air filter taken care of, let’s move on to the next step: cleaning the exterior surfaces of the AC unit.
Step 4: Clean the Exterior Surfaces
While cleaning the interior components of your window AC unit is crucial for optimal performance, it’s also important to give attention to the exterior surfaces. Dust, dirt, and other contaminants can accumulate on the outer casing, vents, and other exposed areas, hindering the airflow and overall efficiency of the unit. Follow these steps to clean the exterior surfaces:
- Prepare the Cleaning Solution: Mix a mild detergent or AC coil cleaner with warm water in a bucket or spray bottle. Follow the manufacturer’s instructions for the appropriate dilution ratio.
- Dampen a Cloth or Sponge: Dip a soft cloth or sponge into the cleaning solution and wring out any excess liquid. You want the cloth to be damp, not soaking wet.
- Gently Wipe the Surfaces: Starting from the top, gently wipe the exterior surfaces of the AC unit, including the casing, vents, and control panel. Pay close attention to areas that tend to accumulate more dirt or dust, such as the front grille. Use circular motions and apply light pressure to remove stubborn grime.
- Don’t Forget the Vents: Use a small brush or a toothbrush to clean the vents. This will help remove any clogged dirt or debris that may affect proper airflow. Be gentle and avoid bending or damaging the delicate fins.
- Rinse with Clean Water: Once you have wiped down all the surfaces, rinse the cloth or sponge with clean water and wring out any excess. Use the damp cloth to wipe away any remaining cleaning solution from the unit.
- Dry the Surfaces: Take a clean, dry cloth or towel and gently pat dry all the surfaces of the AC unit. Make sure it’s completely dry before proceeding to the next step.
By cleaning the exterior surfaces, you remove dirt and debris that can hinder airflow and reduce the cooling efficiency of your window AC unit. It also helps keep the unit looking clean and well-maintained. With the exterior surfaces clean, let’s move on to the next step: cleaning the fan blades.
Regularly clean or replace the air filter in your window AC unit to ensure proper airflow and efficiency. This will help keep it running smoothly all summer long.
Step 5: Clean the Fan Blades
The fan blades in your window AC unit play a vital role in circulating air and maintaining effective cooling. Over time, dust, dirt, and debris can accumulate on the blades, impacting their performance and causing the unit to work harder. Cleaning the fan blades regularly is essential to keep your window AC unit running smoothly. Follow these steps to clean the fan blades:
- Access the Fan Blades: Depending on the model of your AC unit, you may need to remove a protective cover or grille to access the fan blades. Consult the user manual or manufacturer’s instructions to determine the specific steps for accessing the blades.
- Secure the Blades: Once you have access to the fan blades, take precautions to ensure they don’t move while you clean them. Use a piece of tape or a bungee cord to secure the blades in place. This will prevent them from spinning and potentially causing injury during the cleaning process.
- Remove Loose Debris: Use a vacuum cleaner with a brush attachment to remove any loose dirt or debris from the fan blades. Ensure that you reach all sides of the blades and remove any buildup that may affect the unit’s performance.
- Clean with a Damp Cloth: Dampen a soft cloth or sponge with water and gently wipe down each fan blade. Be careful not to bend or damage the blades during cleaning. If there are stubborn stains or grime, you can use a mild detergent solution to help remove them. Wipe the blades in a curved motion, following the shape of the blades, to clean all sides effectively.
- Remove Excess Moisture: After cleaning, use a dry cloth or towel to remove any excess moisture from the fan blades. Make sure they are completely dry before removing the tape or cord securing them.
- Inspect for Damage: Take a moment to inspect the fan blades for any signs of damage, such as cracks or chips. If you notice any issues, contact a professional technician for further assessment and repairs. Operating a unit with damaged fan blades can lead to further damage or inefficient cooling.
- Reassemble the Unit: Once the fan blades are clean and dry, follow the manufacturer’s instructions to reassemble any protective coverings or grilles that were removed.
By cleaning the fan blades, you ensure smooth and efficient airflow in your window AC unit. Removing accumulated dirt and debris from the blades helps maintain optimal cooling performance and extends the lifespan of the appliance. With the fan blades clean, we can move on to the next step: cleaning the evaporator coils.
Step 6: Clean the Evaporator Coils
The evaporator coils in your window AC unit are responsible for absorbing heat from the air, allowing cool air to be circulated into your space. Over time, these coils can become dirty or covered in debris, hindering their ability to effectively cool the air. Cleaning the evaporator coils regularly is crucial to maintain the efficiency and performance of your window AC unit. Follow these steps to clean the evaporator coils:
- Locate the Evaporator Coils: The evaporator coils are typically located inside the AC unit, near the front or back. Consult the manufacturer’s manual or instructions to find the exact location.
- Shut Off the Power: Before cleaning the evaporator coils, ensure that the power to the AC unit is switched off. Refer back to Step 1 for instructions on how to shut off the power safely.
- Remove the Access Panel: In some models, an access panel needs to be removed to access the evaporator coils. Follow the manufacturer’s instructions to remove the panel without causing any damage.
- Inspect the Coils: Take a moment to visually inspect the evaporator coils. Look for dirt, dust, or any debris that may have accumulated on the surface. If the coils appear significantly dirty or clogged, they will need to be cleaned.
- Clean the Coils: Using a soft brush or a coil cleaning brush, gently brush off any loose dirt or debris from the evaporator coils. Be cautious not to bend or damage the delicate coils. Take your time and ensure that you remove as much debris as possible.
- Use a Coil Cleaner: If the coils are still dirty after brushing, you may need to use a coil cleaner. Follow the manufacturer’s instructions to apply the coil cleaner to the coils. Allow the cleaner to sit on the coils for the recommended amount of time.
- Rinse the Coils: After the designated time has passed, use a spray bottle filled with water to gently rinse the coils. Be careful not to spray water directly onto any electrical components. Aim the water at an angle to wash away the cleaning solution and any remaining dirt or debris.
- Dry the Coils: After rinsing, allow the coils to air dry completely. Ensure that they are completely dry before proceeding to the next step.
- Reassemble the Unit: Once the evaporator coils are clean and dry, follow the manufacturer’s instructions to reassemble any access panels that were removed.
By cleaning the evaporator coils, you improve the cooling efficiency of your window AC unit. Removing dirt and debris from the coils allows them to function optimally, resulting in cooler and more comfortable air in your space. Now that the evaporator coils are clean, we can move on to the next step: cleaning the condenser coils.
Read more: How To Seal Window AC Unit
Step 7: Clean the Condenser Coils
The condenser coils in your window AC unit are responsible for releasing heat that has been absorbed from the air. Over time, these coils can become dirty or covered in debris, which can hinder the unit’s cooling efficiency. Cleaning the condenser coils regularly is essential to ensure optimal performance and energy efficiency. Follow these steps to clean the condenser coils:
- Locate the Condenser Coils: The condenser coils are usually located on the back or side of your window AC unit, outside your home. Consult the manufacturer’s manual or instructions to find the precise location of the condenser coils.
- Shut Off the Power: Before cleaning the condenser coils, ensure that the power to the AC unit is switched off. Refer back to Step 1 for instructions on how to shut off the power safely.
- Remove Debris: Inspect the area around the condenser coils and remove any visible debris, such as leaves, grass, or twigs. Use gloves and a brush to carefully clear away any obstructions.
- Use a Vacuum Attachment: Attach a soft brush or coil cleaning brush to a vacuum cleaner. Gently use the brush attachment to remove loose dirt, dust, and debris from the surface of the condenser coils. Be careful not to bend or damage the delicate fins of the coils.
- Apply a Coil Cleaner: If the condenser coils are heavily soiled, you may need to use a specialized coil cleaner. Follow the manufacturer’s instructions to spray the coil cleaner onto the coils. Allow the cleaner to sit on the coils for the recommended amount of time to break down any debris.
- Rinse the Coils: After the designated time has passed, use a gentle stream of water from a hose or a spray bottle to rinse off the condenser coils. Start from the top and aim the water downward to wash away any remaining dirt or cleaning solution. Be careful not to use excessive water pressure, as this can damage the coils.
- Inspect for Bent Fins: While rinsing the coils, check for any bent or misaligned fins. Use a fin comb or a small, flat tool to carefully straighten any bent fins. This will help improve airflow through the coils.
- Dry the Coils: Allow the condenser coils to air dry completely after rinsing. Once dry, check to ensure that there is no moisture remaining on the coils or surrounding areas.
- Reassemble the Unit: Once the condenser coils are clean and dry, follow the manufacturer’s instructions to reassemble any protective covers or grilles that were removed.
Cleaning the condenser coils helps maintain the cooling efficiency of your window AC unit, allowing it to function optimally. By removing dirt and debris from these coils, you can ensure that your AC unit operates at its best and provides you with cool and comfortable air. With the condenser coils cleaned, we can move on to the next step: inspecting and cleaning the drainage system.
Step 8: Inspect and Clean the Drainage System
The drainage system of your window AC unit is responsible for removing excess moisture that is produced during the cooling process. Over time, the drain line and drain pan can become clogged with dirt, debris, or algae, causing water to back up and potentially damage the unit. Inspecting and cleaning the drainage system regularly is crucial to ensure proper function and prevent any issues. Follow these steps to inspect and clean the drainage system:
- Locate the Drain Line and Drain Pan: The drain line and drain pan are typically located underneath the evaporator coil or inside the AC unit. Consult the manufacturer’s manual or instructions to find their exact location.
- Inspect the Drain Line: Inspect the drain line for any signs of clogs or blockages. Look for dirt, algae growth, or debris that may be obstructing the flow of water. If you notice any issues, it’s time to clean the drain line.
- Clean the Drain Line: Use a mixture of equal parts water and vinegar to create a cleaning solution. Pour the solution into the drain line and let it sit for a few minutes to break down any clogs or debris. Afterward, flush the drain line with clean water to remove the loosened dirt or algae. Repeat this process until the water flows freely through the drain line.
- Inspect the Drain Pan: Carefully remove the drain pan from the AC unit and inspect it for any standing water, dirt, or debris. Empty the drain pan and clean it with a mild detergent or vinegar solution. Scrub the pan gently with a soft brush to remove any residue. Rinse it thoroughly with clean water and dry it completely before reassembling.
- Check for Proper Drainage: After cleaning the drain line and drain pan, ensure that the AC unit has proper drainage. Turn on the power and observe if water is flowing out of the drain line without any backups or leaks. If you notice any issues, it’s recommended to seek professional assistance for further inspection and repairs.
Inspecting and cleaning the drainage system is essential in preventing water damage and maintaining the proper functioning of your window AC unit. By keeping the drain line and drain pan clean and clear, you ensure that excess moisture is effectively drained away. With the drainage system inspected and cleaned, we can move on to the next step: reinstalling the AC unit in the window.
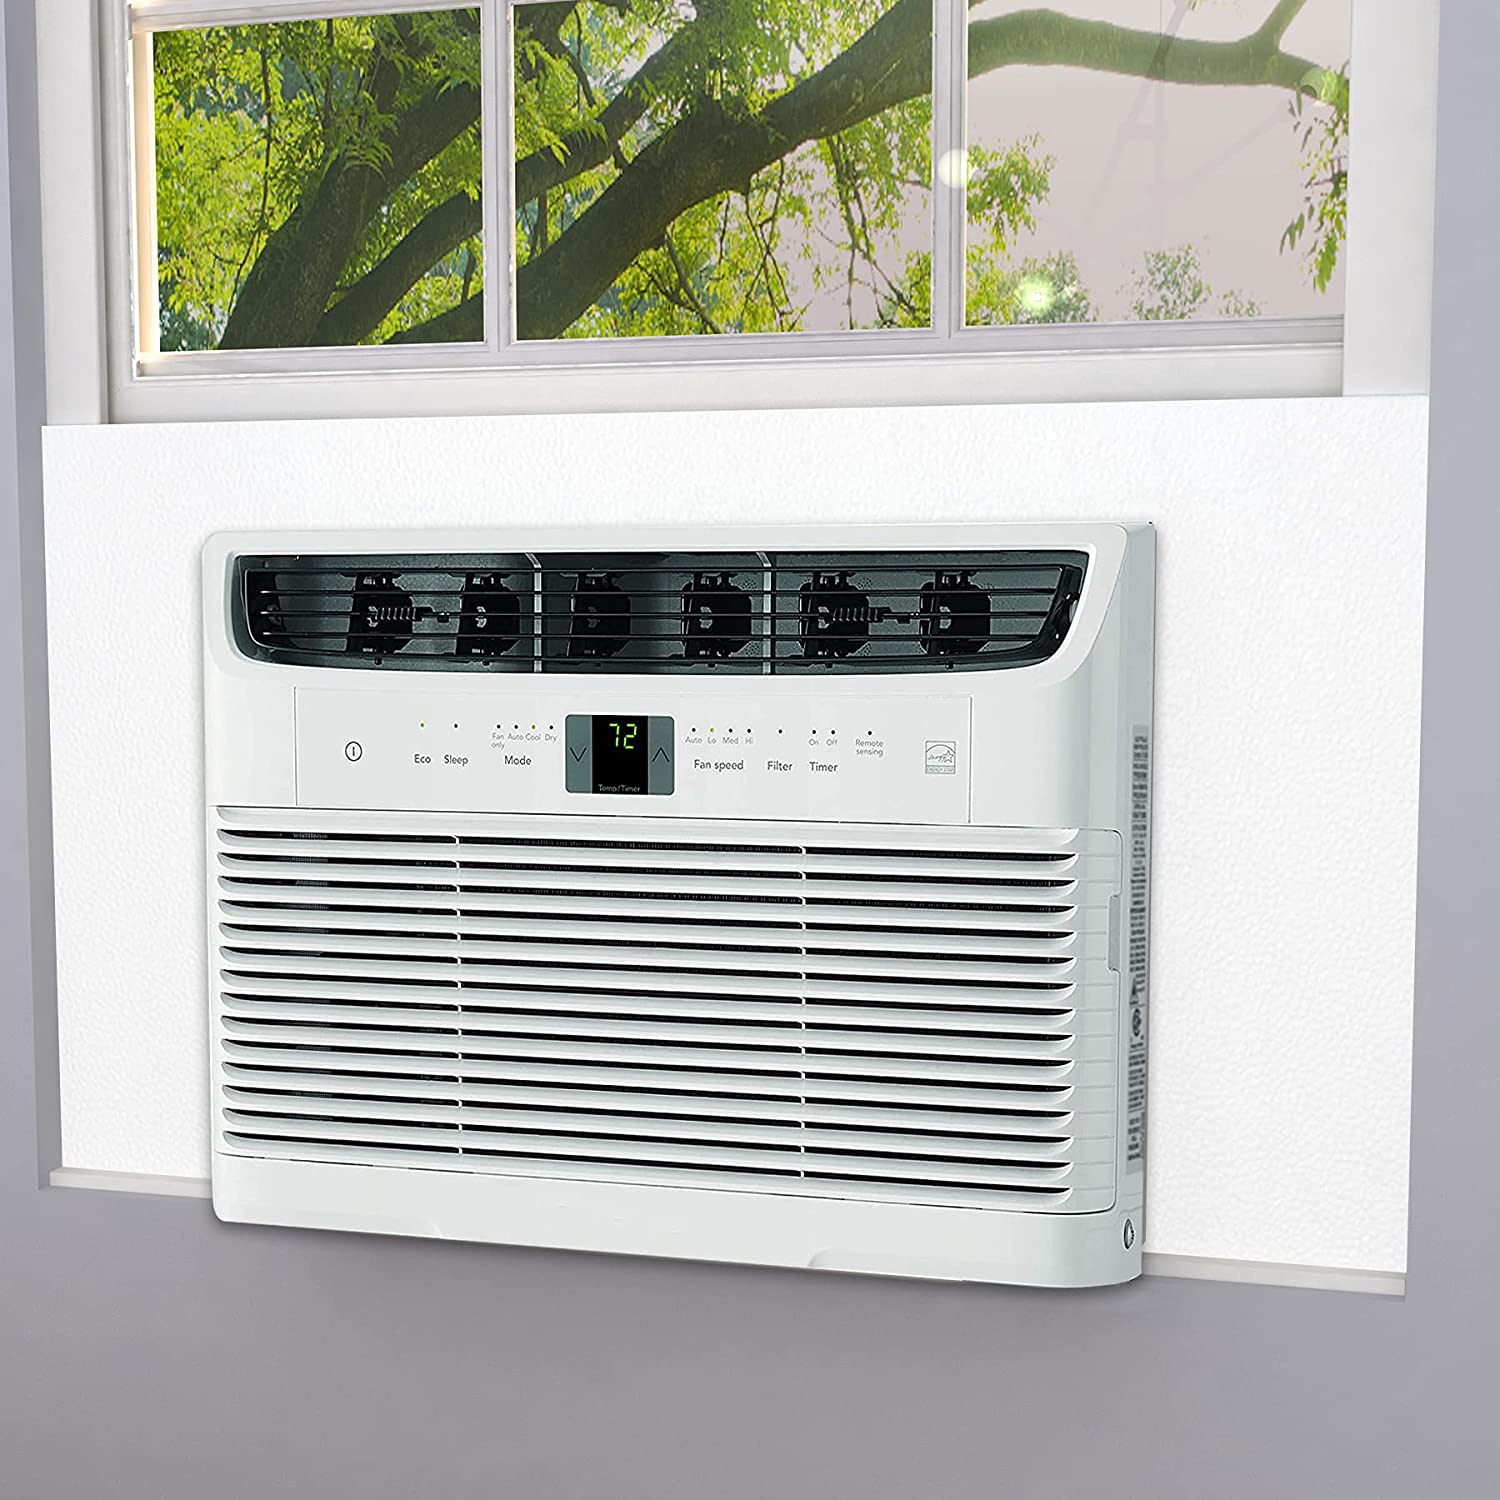
Step 9: Reinstall the AC Unit in the Window
Now that you have cleaned and maintained the internal components of your window AC unit, it’s time to reinstall it back into the window. Follow these steps to safely and securely reinstall the AC unit:
- Prepare the Window Opening: Ensure that the window opening is clean and free from any debris or obstructions. Remove any screens or window coverings that may interfere with the installation process.
- Position the Unit: Carefully place the AC unit back into the window opening, ensuring that it is centered and level. Make sure the unit is correctly positioned and aligned with the window frame.
- Secure the Unit: Once the unit is in place, follow the manufacturer’s instructions to secure it safely. This may involve attaching support brackets, extending side panels, or securing the unit with screws or fasteners.
- Seal Any Gaps: To prevent air leaks and improve energy efficiency, use weather stripping or foam insulation to seal any gaps between the window frame and the AC unit. This will help keep the cool air inside the room and prevent hot air from entering.
- Check for Stability: Ensure that the AC unit is stable and securely installed in the window. Shake the unit gently to check for any movement or looseness. If necessary, make any necessary adjustments or tighten the screws to ensure a stable installation.
- Plug in and Test: Once the unit is securely installed, plug it back into the power source. Turn on the unit and test its operation to ensure that it is functioning correctly. Check for proper cooling, airflow, and any unusual noises or smells.
- Adjust Temperature and Fan Settings: Set the desired temperature and fan settings according to your preference. Allow the AC unit to run for a few minutes to ensure everything is functioning properly.
By properly reinstalling the AC unit in the window, you ensure a secure and efficient setup. Take your time to ensure that the unit is firmly positioned and all components are correctly attached. Once the unit is reinstalled and tested, you can enjoy the cool and comfortable air it provides.
Step 10: Test the Unit
After completing all the cleaning and maintenance steps for your window AC unit, it’s important to conduct a thorough test to ensure that everything is functioning as expected. Testing the unit allows you to verify its cooling performance, airflow, and overall efficiency. Follow these steps to properly test your window AC unit:
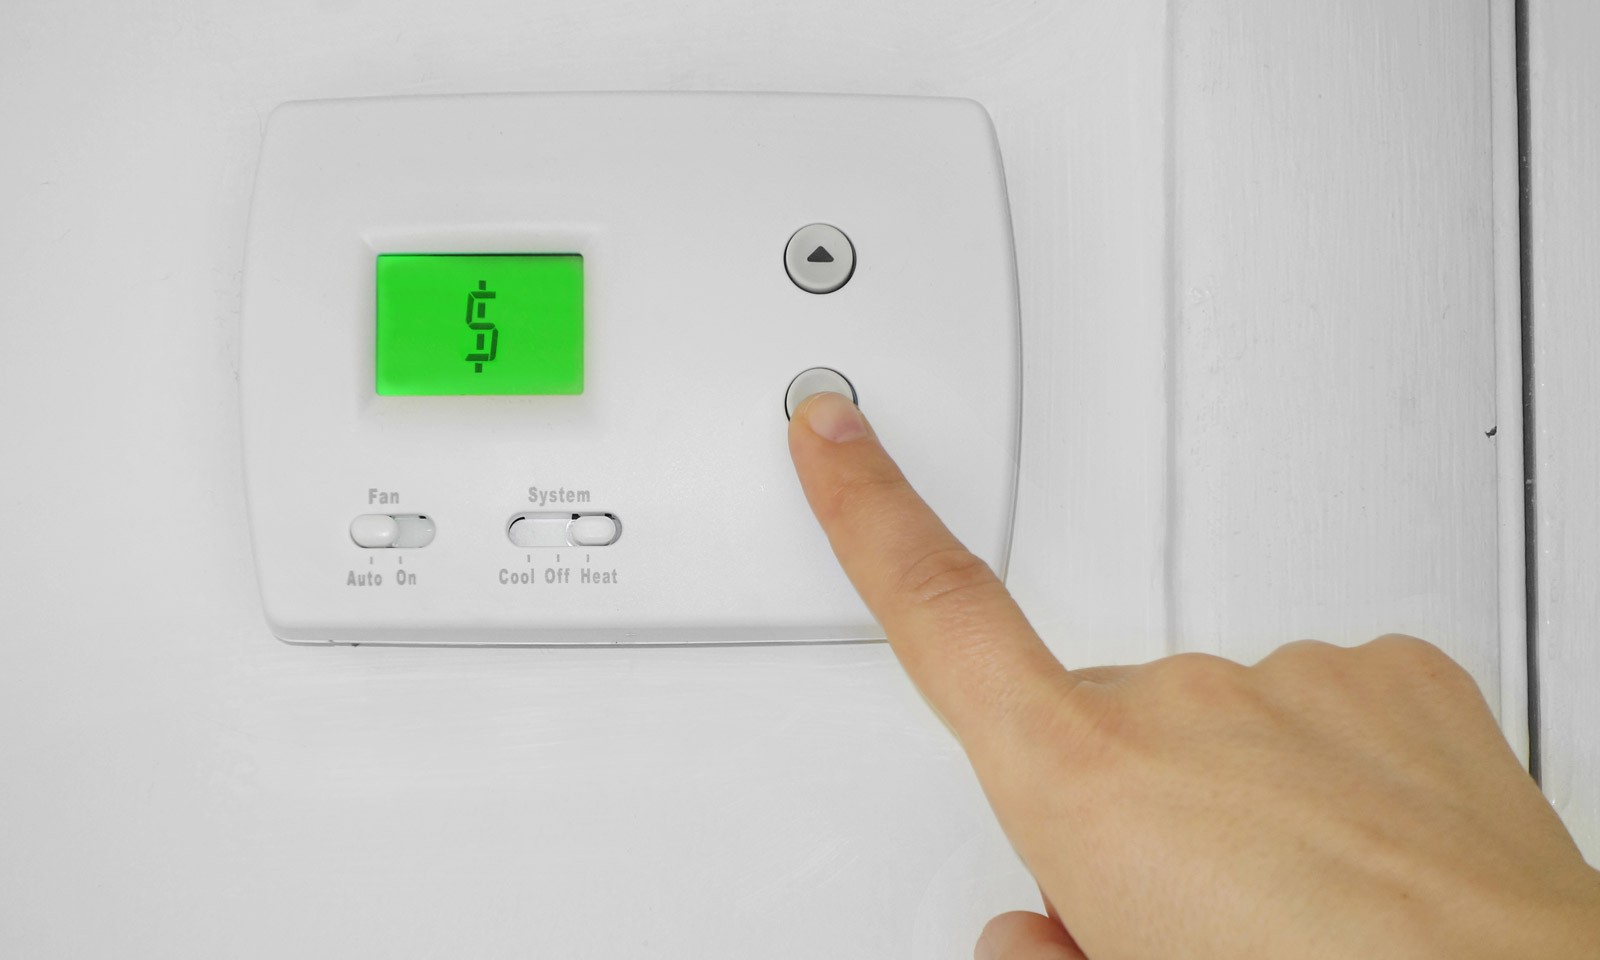
- Turn on the Unit: Start by turning on the power to the AC unit. Use the control panel or remote to set the desired temperature and fan speed.
- Listen for Unusual Noises: Pay close attention to any unusual noises coming from the unit. Squeaking, rattling, or grinding sounds could indicate an issue that requires further inspection or maintenance.
- Observe the Airflow: Stand in front of the AC unit and check the airflow. Ensure that the air is flowing smoothly and evenly. If the airflow feels weak or uneven, it may indicate a clogged filter or other obstruction that needs to be addressed.
- Monitor the Cooling: Set your desired temperature and wait for the unit to cool the room. Observe if the unit is maintaining the set temperature effectively. If you notice that the room is not cooling as expected, it may be necessary to recheck the cleanliness of the coils or seek professional assistance.
- Check for Proper Cycling: Watch as the unit cycles on and off. The AC unit should cycle on when the temperature rises above the set point and turn off when the desired temperature is reached. If you notice that the unit frequently turns on and off rapidly or runs constantly, it may require further inspection or adjustment.
- Monitor Energy Consumption: Keep an eye on the energy consumption of the unit. If you notice a significant increase in energy usage compared to previous periods, it may indicate a problem or inefficiency that should be investigated.
- Take Note of Any Issues: If you encounter any issues or abnormalities during the test, make note of them. This information will be helpful if you need to contact a professional technician for assistance or follow-up maintenance.
Testing your window AC unit allows you to ensure that it is functioning optimally, providing efficient cooling and airflow. By closely monitoring its performance, you can detect any potential issues early on and take the necessary steps to address them. With the unit successfully tested, you can now enjoy a cool and comfortable environment all summer long.
Read more: How To Remove A Window AC Unit
Conclusion
Cleaning and maintaining your window AC unit is essential for optimal performance, energy efficiency, and longevity. By following the step-by-step guide outlined in this article, you can effectively clean and maintain your unit and ensure that it keeps you cool and comfortable all summer long.
Regularly cleaning the air filter, exterior surfaces, fan blades, evaporator coils, and condenser coils helps to remove dirt, dust, and debris that can hinder airflow and reduce cooling efficiency. Additionally, inspecting and cleaning the drainage system ensures proper water drainage and prevents water damage.
Reinstalling the AC unit securely in the window and conducting a thorough test allows you to verify its proper functioning. By testing the unit, you can ensure that it cools effectively, provides consistent airflow, and operates efficiently without any issues or unusual noises.
Remember to follow safety precautions and refer to the manufacturer’s instructions throughout the cleaning and maintenance process. If you encounter any complex issues or are unsure about any steps, it’s always recommended to seek professional assistance.
By dedicating time and effort to clean and maintain your window AC unit regularly, you can extend its lifespan, improve its energy efficiency, and enjoy the benefits of a cool and comfortable living space for years to come.
Frequently Asked Questions about How To Clean A Window AC Unit To Keep It Running All Summer Long
Was this page helpful?
At Storables.com, we guarantee accurate and reliable information. Our content, validated by Expert Board Contributors, is crafted following stringent Editorial Policies. We're committed to providing you with well-researched, expert-backed insights for all your informational needs.


0 thoughts on “How To Clean A Window AC Unit To Keep It Running All Summer Long”