Home>Home Maintenance>How To Fix A Portable Air Conditioner
Home Maintenance
How To Fix A Portable Air Conditioner
Modified: March 7, 2024
Learn how to fix a portable air conditioner with our expert home maintenance tips. Keep your home cool and comfortable all summer long.
(Many of the links in this article redirect to a specific reviewed product. Your purchase of these products through affiliate links helps to generate commission for Storables.com, at no extra cost. Learn more)
Introduction
Welcome to our comprehensive guide on how to fix a portable air conditioner. Portable air conditioners are a convenient and cost-effective way to cool your home during the hot summer months. However, like any appliance, they can experience issues that may hinder their performance or even cause them to stop working altogether. But fear not, with a little bit of troubleshooting and some basic maintenance, you can often get your portable air conditioner up and running again without having to call in a professional. In this article, we will walk you through some common problems that you may encounter with your portable air conditioner and provide step-by-step instructions on how to fix them.
Before we dive into the troubleshooting steps, it’s important to note that safety should always be your top priority. Make sure to unplug your portable air conditioner before attempting any repairs or maintenance tasks. Additionally, refer to your manufacturer’s manual for specific instructions and guidelines as each unit may have slightly different features and requirements.
Now, let’s get started with identifying some of the common problems you may face with your portable air conditioner and how to address them.
Key Takeaways:
- Keep your portable air conditioner running smoothly by cleaning the air filter every 2-4 weeks and clearing the condensate drain line every few months. Regular maintenance improves cooling efficiency and extends the unit’s lifespan.
- Ensure proper ventilation and test the power supply to troubleshoot common issues with your portable air conditioner. Regular maintenance and basic repairs can often resolve problems without the need for professional help.
Read more: How To Make A Portable Air Conditioner
Common Problems with Portable Air Conditioners
While portable air conditioners are designed to provide cooling relief, they can encounter a few common issues that can diminish their effectiveness. Here are some of the most common problems you may experience:
- Inadequate Cooling: One of the most common issues with portable air conditioners is inadequate cooling. If you find that your unit is not cooling the room as effectively as it used to, it could be due to a variety of factors. One potential cause is a dirty air filter, which can restrict airflow and reduce cooling efficiency. Another possibility is a blockage in the exhaust hose or condensate drain line, which can impede proper airflow and drainage.
- Leaking Water: Another problem that portable air conditioners may encounter is water leakage. If you notice water pooling around your unit, it could be a sign of a blocked condensate drain line or a malfunctioning condensate pump. Additionally, excess humidity in the room can cause condensation to form on the unit, leading to water leakage.
- Noise Issues: Portable air conditioners can sometimes produce excessive noise, which can be disruptive and bothersome. The noise could be the result of a worn-out fan belt, loose components, or a damaged fan motor.
- Poor Ventilation: Inadequate ventilation is another common problem that can affect the performance of a portable air conditioner. If the exhaust hose is not properly installed or if there are obstructions blocking the airflow, it can cause the unit to work harder and reduce its cooling capacity.
- Electrical Problems: In some cases, portable air conditioners may experience electrical issues such as power surges, faulty wiring, or a malfunctioning thermostat. These problems can disrupt the unit’s functionality and prevent it from cooling the room effectively.
Now that we’ve identified some of the common problems associated with portable air conditioners, let’s move on to the steps you can take to resolve these issues and get your unit back in optimal working condition.
Tools and Materials Needed
Before you begin troubleshooting and fixing your portable air conditioner, it’s helpful to gather the necessary tools and materials. Here’s a list of items that you may need:
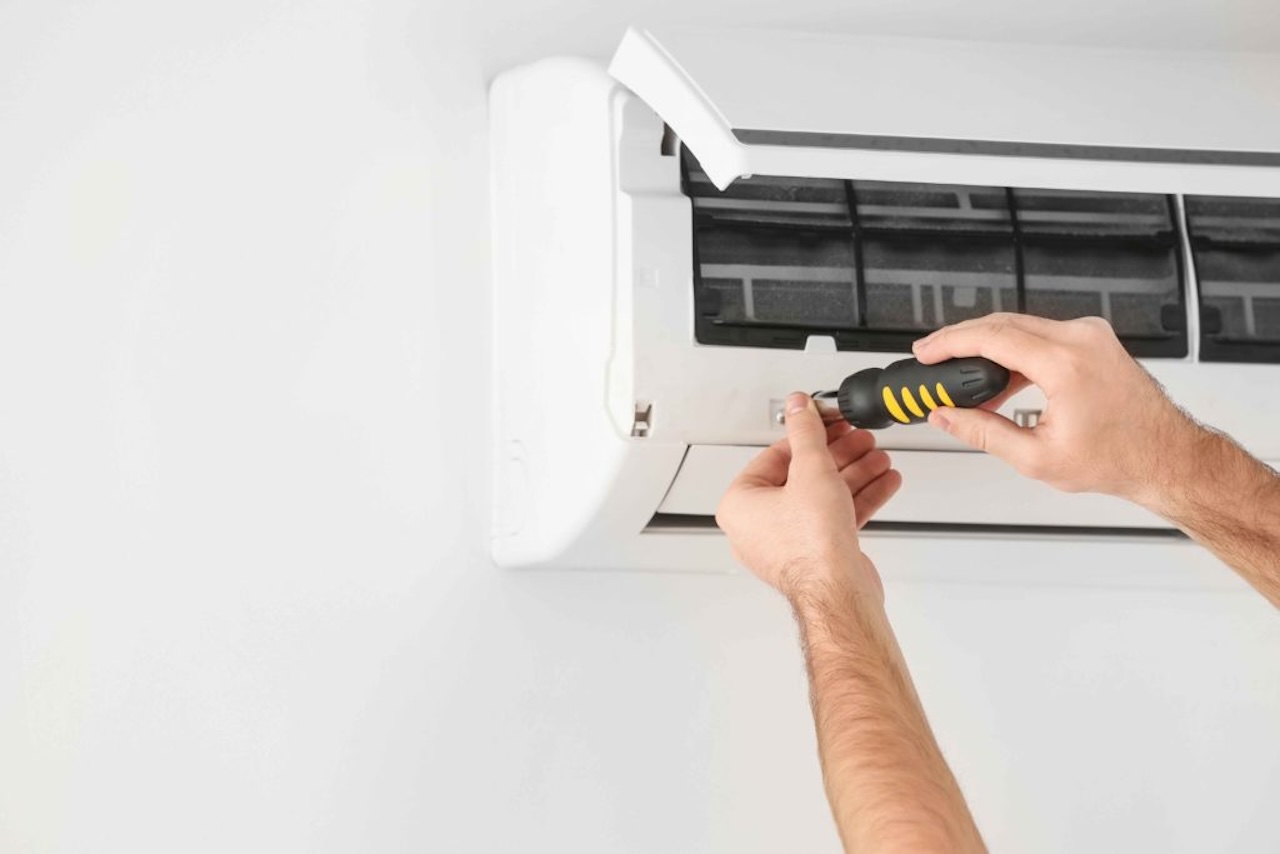
- Screwdriver: A screwdriver is a versatile tool that may be needed to remove screws and access different components of your portable air conditioner.
- Cleaning Supplies: To effectively clean your unit, you may need some basic cleaning supplies such as a soft cloth, a brush, and a mild detergent or cleaning solution.
- Vacuum Cleaner: A vacuum cleaner with a brush attachment can be useful for removing dust and debris from the unit’s filters, vents, and other components.
- Condensate Pump (if applicable): If your portable air conditioner has a built-in condensate pump, you may need to have a replacement pump on hand in case the existing one is malfunctioning.
- Replacement Parts: Depending on the specific issue you’re facing, you may need to purchase some replacement parts for your portable air conditioner. This can include things like a new air filter, exhaust hose, or condensate drain line.
- Waterproof Container: If you need to drain water from the unit’s condensate drain line, you’ll want to have a waterproof container or basin to collect the water.
- Manufacturer’s Manual: It’s always handy to have the manufacturer’s manual available for reference as it provides specific instructions and guidelines for your particular portable air conditioner model.
Remember, not every troubleshooting and repair task will require all of these tools and materials. The specific needs will depend on the problem you’re facing and the recommendations of your manufacturer’s manual. Now that you’re equipped with the necessary tools and materials, let’s move on to the step-by-step instructions for fixing common issues with your portable air conditioner.
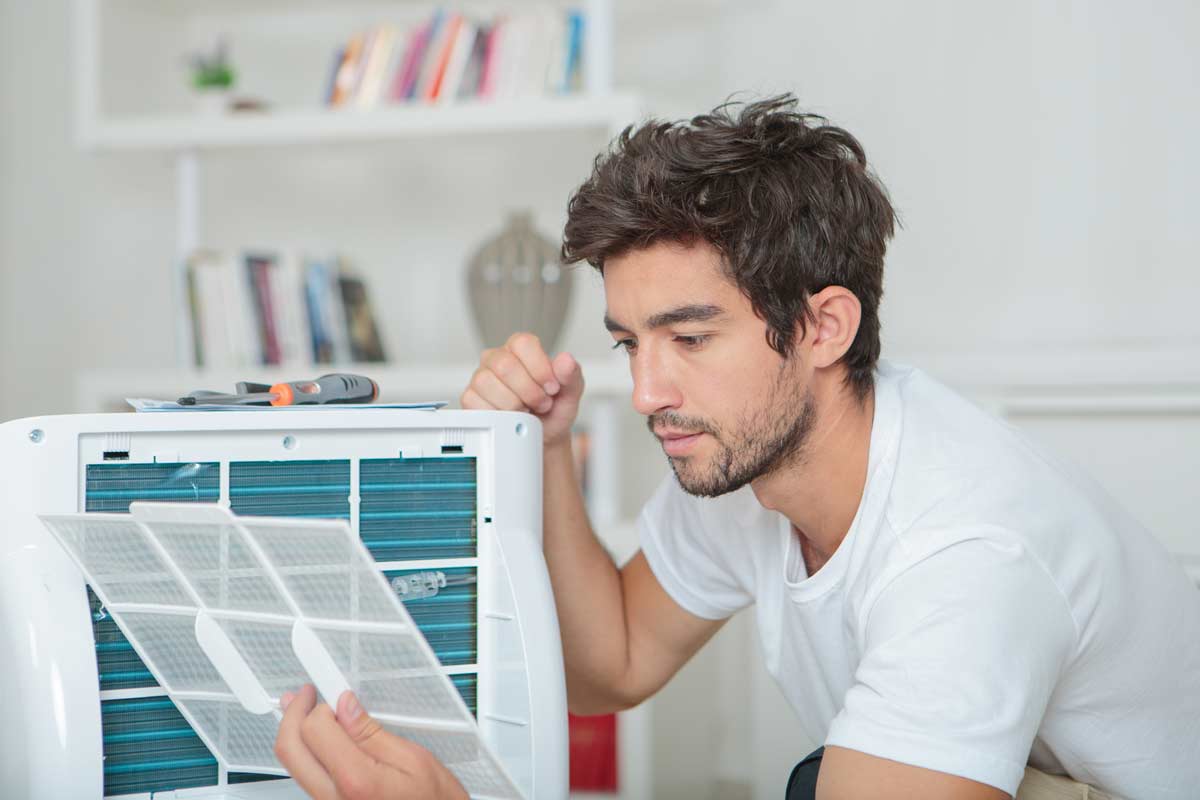
Step 1: Clean the Air Filter
A dirty air filter is one of the most common reasons for inadequate cooling in portable air conditioners. Over time, the air filter can become clogged with dust, dirt, and debris, restricting proper airflow and reducing the unit’s cooling efficiency. Cleaning the air filter is a simple but important maintenance task that should be performed regularly. Here’s how you can do it:
- Turn off and unplug the portable air conditioner.
- Locate the air filter. In most portable air conditioners, the air filter is located behind a cover or grille on the front or side of the unit.
- Remove the cover or grille by unscrewing the screws or gently pulling it away. Set the screws and cover aside in a safe place.
- Take out the air filter from its housing. Depending on your model, the filter may be reusable or disposable. If it’s reusable, examine the filter for any signs of damage or excessive dirt buildup.
- If the filter is reusable, gently brush off any loose dirt and debris. Alternatively, you can rinse the filter with mild soap and water, then allow it to dry completely before reinstalling it.
- If the filter is disposable, replace it with a new one following the manufacturer’s instructions. Disposable filters are typically made of fiberglass and cannot be cleaned or reused.
- Once the filter is clean or replaced, carefully insert it back into its housing, ensuring it is properly aligned.
- Reattach the cover or grille, securing it with the screws you removed earlier.
- Plug in the portable air conditioner and turn it on. You should notice improved airflow and cooling performance now that the air filter is clean.
Cleaning the air filter should be done every 2-4 weeks, or more frequently if you use the portable air conditioner in a dusty environment. Regular maintenance of the air filter will not only improve the cooling efficiency but also prolong the lifespan of your unit. Now that you have cleaned the air filter, let’s move on to the next step in troubleshooting your portable air conditioner.
Step 2: Check for Leaks or Blockages
If your portable air conditioner is leaking water or not draining properly, it’s important to check for any leaks or blockages that may be causing the issue. Here’s how you can do it:
- Turn off and unplug the portable air conditioner.
- Inspect the unit for any visible leaks. Look for water pooling around the base or any signs of moisture on the exterior. If you notice any leaks, it’s an indication that there might be a problem with the unit’s condensate drain line.
- Locate the condensate drain line. It is usually a small plastic tube coming from the back or bottom of the unit.
- Check for any blockages in the condensate drain line. Debris and dirt can accumulate in the drain line over time, impeding proper water drainage. Clear any blockages by gently inserting a thin, flexible brush or pipe cleaner into the drain line and carefully removing any debris.
- Ensure that the condensate drain line is properly positioned and not kinked or twisted. A kinked or twisted drain line can obstruct the flow of water and cause leaks. Straighten out any kinks or twists and ensure that the drain line has a downward slope to allow for proper drainage.
- If your portable air conditioner has a condensate pump, check if it’s functioning properly. A malfunctioning condensate pump can lead to water leakage. Refer to the manufacturer’s manual for instructions on how to troubleshoot or replace the pump if necessary.
- Once you have checked for leaks and blockages, plug in the portable air conditioner again and turn it on. Monitor for any signs of leaks or excessive moisture. If the issue persists, you may need to consult a professional for further assistance.
Regularly checking for leaks and blockages and addressing them promptly can prevent water damage to your unit and ensure smooth operation. Now that you have checked for leaks and blockages, let’s move on to the next step in troubleshooting your portable air conditioner.
Read more: How To Hide A Portable Air Conditioner
Step 3: Clear the Condensate Drain Line
A clogged condensate drain line can cause water to back up and result in water leakage or flooding from your portable air conditioner. It’s crucial to regularly clear the condensate drain line to ensure proper drainage and prevent any issues. Follow these steps to clear the condensate drain line:
- Turn off and unplug the portable air conditioner.
- Locate the condensate drain line. It is usually a small plastic tube coming from the back or bottom of the unit.
- Prepare a waterproof container or basin to catch any water that may come out during the clearing process.
- Gently detach the condensate drain line from the unit. Be cautious as some water may drain out.
- Inspect the condensate drain line for any visible clogs or blockages. If a clog is visible, attempt to remove it by using a thin, flexible brush, pipe cleaner, or a small amount of compressed air. You can also try using a mixture of equal parts vinegar and water to dissolve the clog.
- If the clog is stubborn and cannot be removed from one end, you can try accessing the other end of the drain line (usually located outside the building) and clearing it from there. Use caution and proper tools if needed.
- Once the clog is cleared, reattach the condensate drain line to the unit, ensuring that it is securely and tightly connected.
- Plug in the portable air conditioner and turn it on. Monitor for any signs of water leakage or overflow. If there are no issues, the condensate drain line should be clear and functioning properly.
It is recommended to clear the condensate drain line at least once every few months or as per the manufacturer’s instructions. Regular maintenance of the drain line will prevent blockages and ensure efficient water drainage. Now that you have cleared the condensate drain line, let’s move on to the next step in troubleshooting your portable air conditioner.
Clean or replace the air filter regularly to ensure proper airflow and cooling efficiency in your portable air conditioner. This will also help prevent dust and debris from building up and causing damage to the unit.
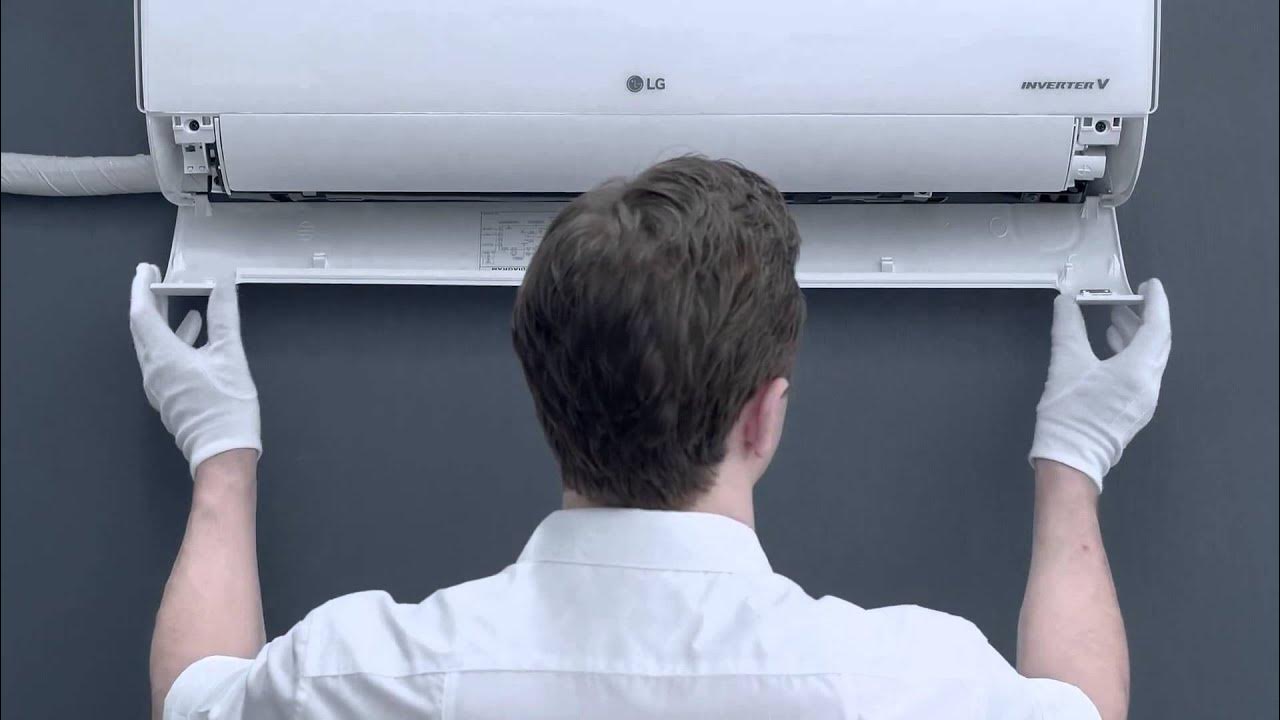
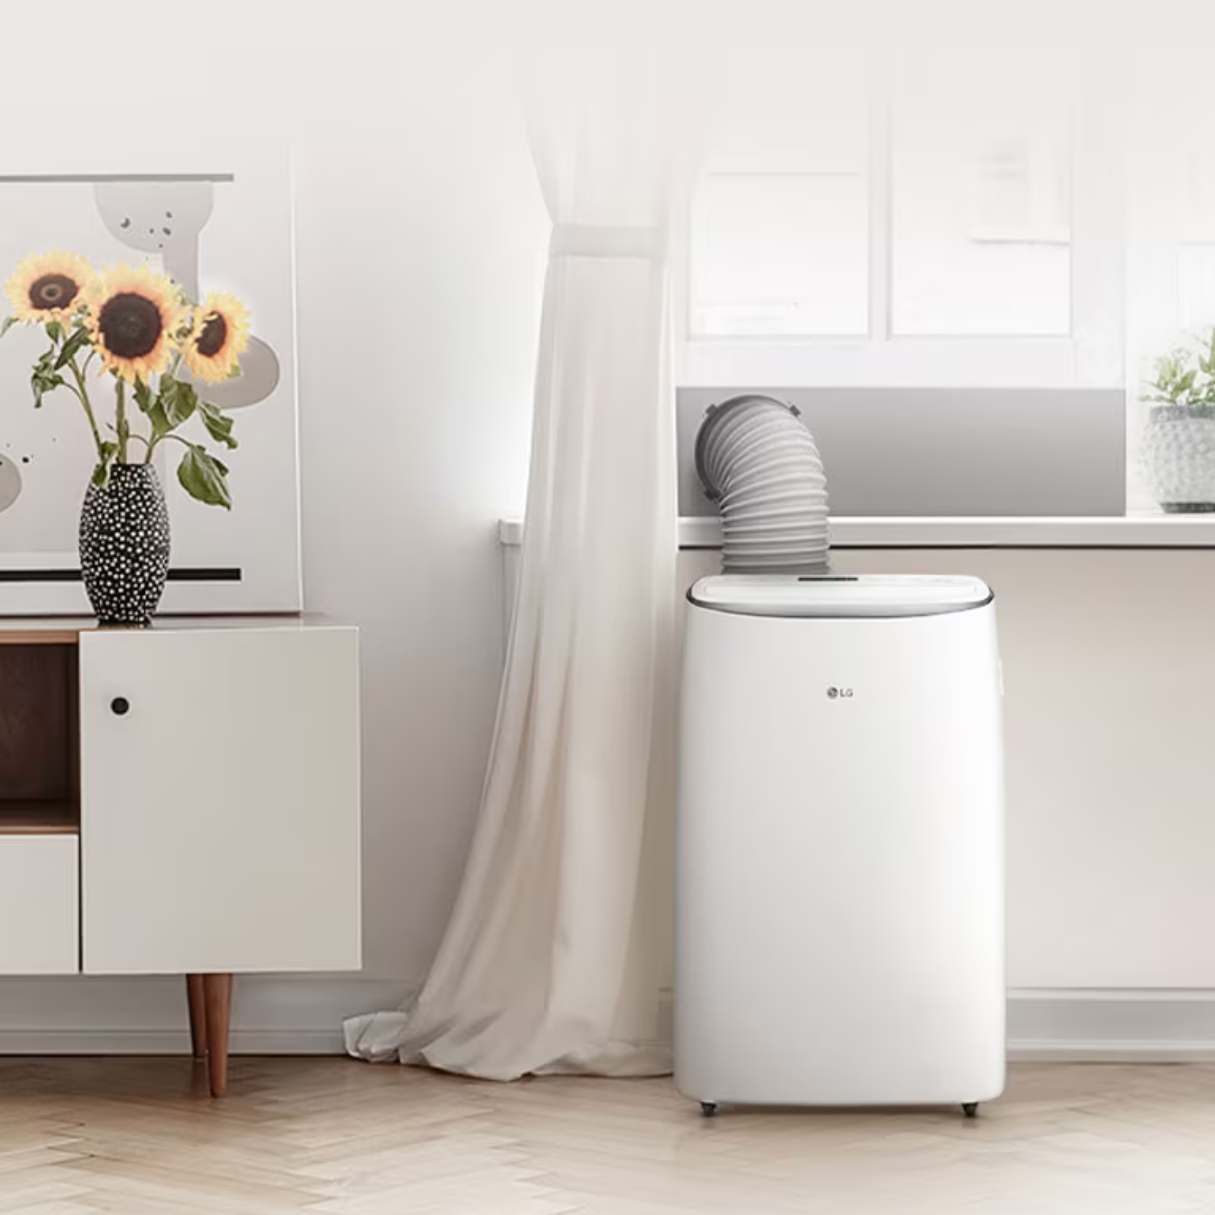
Step 4: Inspect and Clean the Exhaust Hose
The exhaust hose plays a crucial role in venting hot air out of your portable air conditioner. Over time, it can become clogged with dust, debris, and even lint, hindering proper airflow and reducing the unit’s cooling efficiency. Regularly inspecting and cleaning the exhaust hose is essential to maintain optimal performance. Follow these steps to inspect and clean the exhaust hose:
- Turn off and unplug the portable air conditioner.
- Locate the exhaust hose, which is typically a flexible tube connected to the back of the unit.
- Remove the exhaust hose from both the unit and the window vent attachment, if applicable. Use caution as the hose may still contain hot air.
- Inspect the hose for any visible dust, debris, or blockages. If you notice a significant buildup, use a vacuum cleaner with a brush attachment to gently remove the debris. Alternatively, you can use a soft brush or cloth to manually clean the inside and outside of the hose.
- Check for any damages or cracks in the hose. A damaged or worn-out hose can cause air leaks, reducing the cooling efficiency of your portable air conditioner. If you find any cracks or damages, consider replacing the hose with a new one.
- Once cleaned and inspected thoroughly, reattach the exhaust hose to the unit and secure it tightly.
- If your portable air conditioner uses a window vent attachment, make sure to clean and inspect it as well. Remove any dust, debris, or blockages from the vents or filters to ensure proper airflow.
- Plug in the portable air conditioner and turn it on. Verify that the airflow is strong and there are no air leaks or obstructions in the exhaust hose.
Regularly cleaning and inspecting the exhaust hose will not only improve the cooling efficiency of your portable air conditioner but also prevent overheating and potential damage to the unit. Now that you have inspected and cleaned the exhaust hose, let’s move on to the next step in troubleshooting your portable air conditioner.
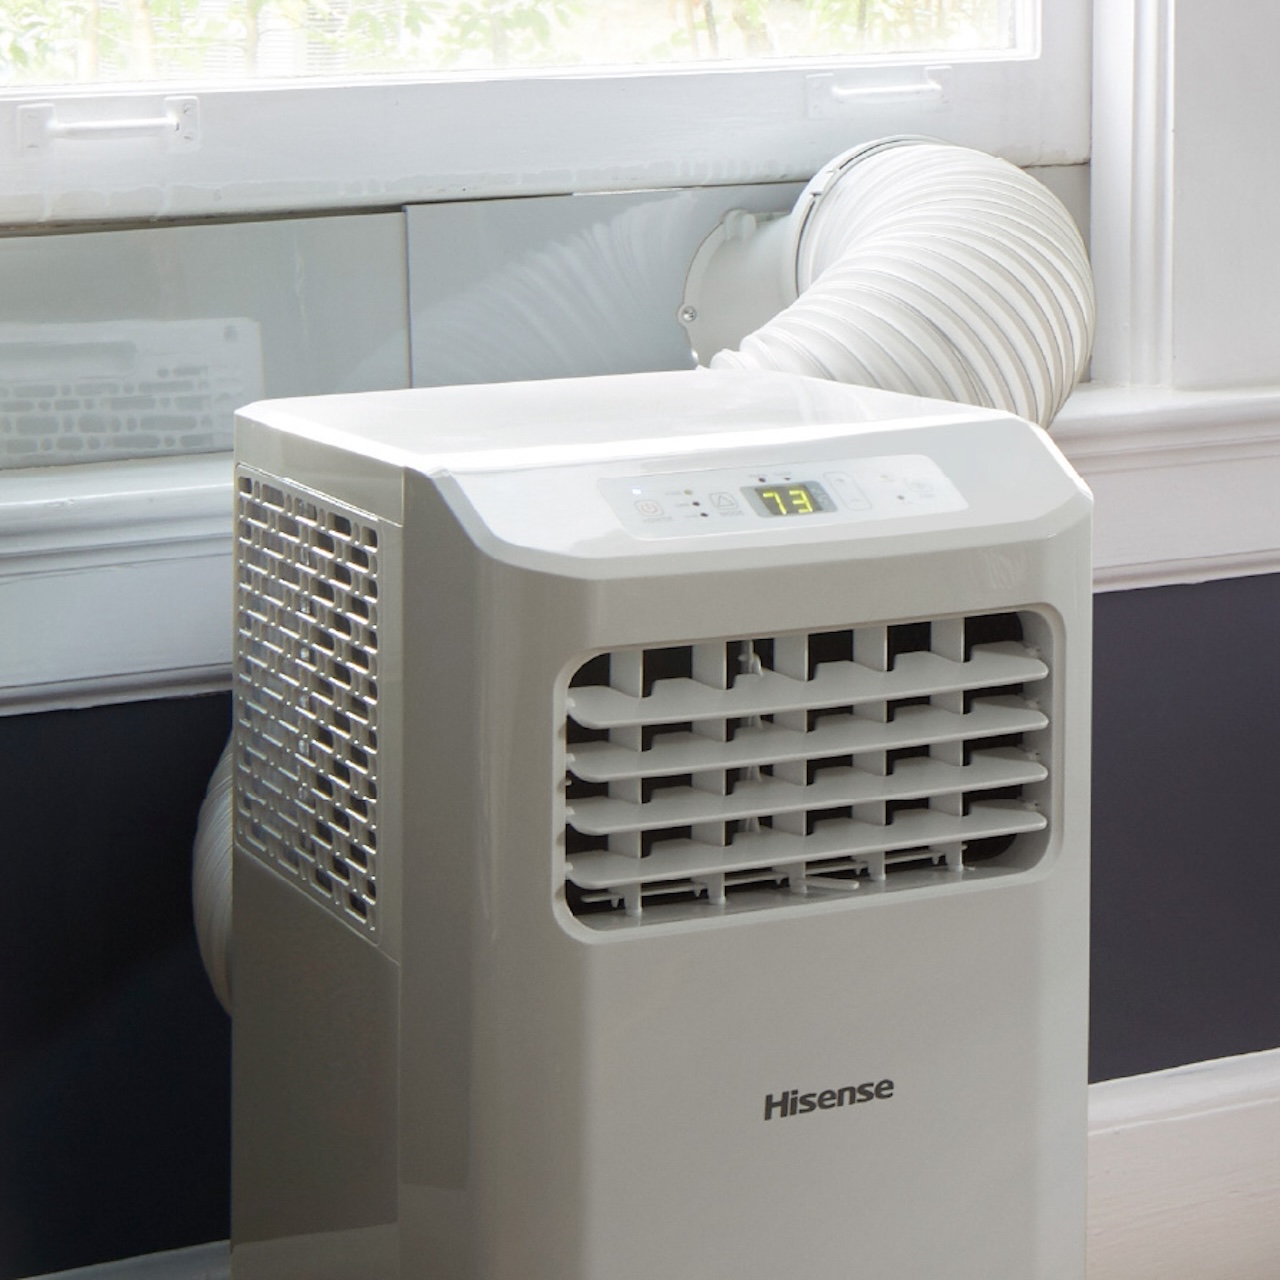
Step 5: Ensure Proper Ventilation
Proper ventilation is crucial for the optimal performance of your portable air conditioner. If the unit is not ventilated properly, it can lead to reduced cooling efficiency and potential overheating. Follow these steps to ensure proper ventilation for your portable air conditioner:
- Position the portable air conditioner near a window or an opening where the exhaust hose can be connected.
- Ensure that the exhaust hose is properly connected to the unit and the window vent attachment. The connection should be secure and airtight to prevent any air leaks.
- Avoid any sharp bends or kinks in the exhaust hose. A smooth, straight path allows for proper airflow.
- Make sure that the window vent attachment is tightly sealed to the window. This prevents warm air from entering the room and helps to maintain a stable temperature.
- Check for any obstructions near the intake and exhaust vents of the portable air conditioner. Furniture, curtains, or other objects can block the airflow and reduce cooling efficiency. Clear any obstructions to ensure proper ventilation.
- Consider using a window seal kit or insulation tape to seal any gaps around the exhaust hose and window vent attachment. This minimizes air leaks and improves the efficiency of your portable air conditioner.
- Keep the area around the portable air conditioner clean and free from dust and debris. Regularly dust and vacuum the surroundings to prevent blockages and to maintain proper airflow.
- Monitor the temperature of the room and adjust the settings on your portable air conditioner accordingly. An ideal temperature range is typically between 68°F and 72°F for cooling efficiency.
- If you notice any issues with ventilation or if the cooling performance is still inadequate, consider consulting a professional for further inspection and advice.
By ensuring proper ventilation, you maximize the cooling effectiveness of your portable air conditioner and create a comfortable environment in your home. Now that you have ensured proper ventilation, let’s move on to the next step in troubleshooting your portable air conditioner.
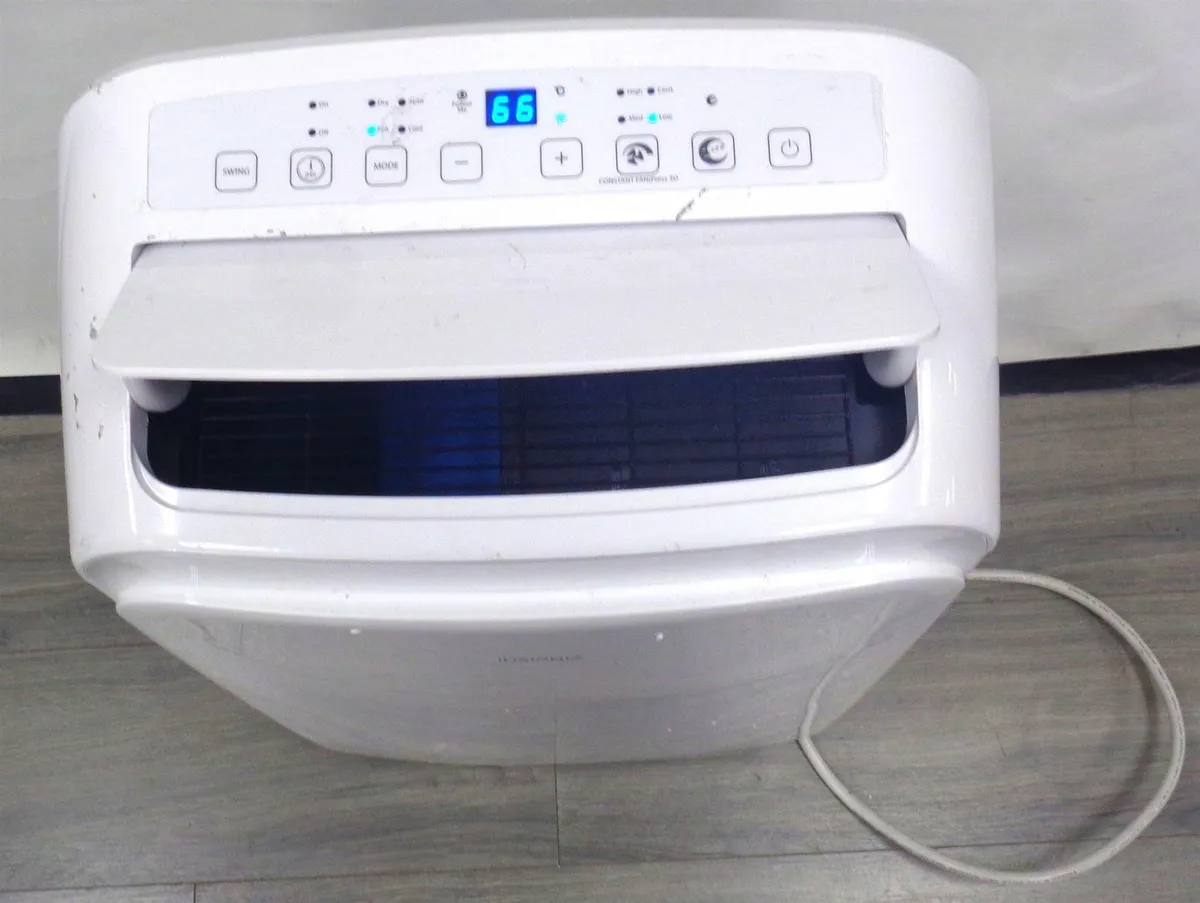
Step 6: Check the Thermostat
The thermostat in your portable air conditioner is responsible for regulating the desired temperature and ensuring that the unit operates efficiently. If you’re experiencing issues with temperature control or inconsistent cooling, it’s essential to check the thermostat. Follow these steps to check the thermostat:
- Turn off and unplug the portable air conditioner.
- Locate the thermostat control panel on your unit.
- Make sure the thermostat is set to the desired temperature. Adjust the temperature settings to see if the unit responds accordingly.
- Inspect the thermostat and remove any accumulated dust or debris using a soft cloth or brush. Dust and debris can interfere with accurate temperature readings and affect the unit’s performance.
- If your portable air conditioner has a digital thermostat, check the display for any error codes or indicators of malfunction. Refer to the manufacturer’s manual to understand the meaning of specific error codes and troubleshoot accordingly.
- Consider resetting the thermostat settings to factory defaults. This can be done by referring to the manufacturer’s manual for instructions on how to reset the thermostat.
- Plug in the portable air conditioner and turn it on. Observe if the unit is maintaining the desired temperature and if the cooling is consistent.
- If the thermostat issues persist or you suspect a malfunction, it’s recommended to contact a professional technician or the manufacturer’s customer service for further assistance.
Ensuring the proper functioning of the thermostat is vital for accurate temperature control and efficient cooling. By checking and maintaining the thermostat, you can optimize the performance of your portable air conditioner. Now that you have checked the thermostat, let’s move on to the final step in troubleshooting your portable air conditioner.
Read more: How To Install A Portable Air Conditioner
Step 7: Test the Power Supply
If your portable air conditioner is not turning on or experiencing electrical issues, it’s important to check the power supply. A faulty power supply can prevent the unit from functioning properly. Follow these steps to test the power supply of your portable air conditioner:
- Turn off and unplug the portable air conditioner.
- Inspect the power cord for any visible damage or frayed wires. If you notice any issues, do not use the unit and consult a professional for proper repairs.
- Ensure that the power outlet you are using is functional. Plug in another device to verify if the outlet is supplying power. If the outlet is not working, check the circuit breaker or fuse box to see if a circuit has been tripped or a fuse blown.
- Plug the portable air conditioner into a different power outlet. This helps confirm whether the issue lies with the original power outlet or the unit itself.
- Check if the power buttons and switches on the unit are in the correct position. Some units have separate power switches on the unit itself or on the remote control.
- Inspect the control panel for any error codes or indicators of electrical issues. Refer to the manufacturer’s manual to understand the meaning of specific error codes and troubleshooting steps.
- Consider performing a hard reset on the portable air conditioner. To do this, unplug the unit from the power source, wait for 5 minutes, then plug it back in and power it on.
- If the unit still does not turn on or you suspect a power supply problem, it is recommended to contact a professional technician or the manufacturer’s customer service for further assistance.
Ensuring a reliable power supply is crucial for the proper functioning of your portable air conditioner. By testing the power supply, you can identify and address any electrical issues that may be affecting the unit. Now that you have tested the power supply, let’s conclude our troubleshooting guide for portable air conditioners.
Conclusion
Congratulations! You have now gone through the troubleshooting steps to fix common issues with your portable air conditioner. By following these steps, you can address problems such as inadequate cooling, water leakage, noise issues, poor ventilation, thermostat malfunctions, and power supply problems. By taking the time to maintain and perform basic repairs, you can get your portable air conditioner back to optimal working condition without the need for professional help.
Remember, safety should always be a priority when working with electrical appliances. Make sure to unplug your portable air conditioner before attempting any repairs or maintenance tasks, and refer to the manufacturer’s manual for specific instructions and safety precautions.
Regular maintenance plays a crucial role in prolonging the lifespan of your portable air conditioner. It’s recommended to clean the air filter every 2-4 weeks, clear the condensate drain line every few months, inspect and clean the exhaust hose periodically, ensure proper ventilation, check the thermostat, and test the power supply. By incorporating these tasks into your routine, you can improve the efficiency and reliability of your portable air conditioner.
If you have completed all the troubleshooting steps and are still experiencing issues with your portable air conditioner, it may be necessary to consult a professional technician or contact the manufacturer’s customer service for further assistance and repairs.
Stay cool and enjoy the comfort of your well-functioning portable air conditioner throughout the summer months!
Frequently Asked Questions about How To Fix A Portable Air Conditioner
Was this page helpful?
At Storables.com, we guarantee accurate and reliable information. Our content, validated by Expert Board Contributors, is crafted following stringent Editorial Policies. We're committed to providing you with well-researched, expert-backed insights for all your informational needs.