Home>Home Maintenance>How To Install A Portable Air Conditioner
Home Maintenance
How To Install A Portable Air Conditioner
Modified: October 20, 2024
Learn how to install a portable air conditioner easily at home with our step-by-step guide. Stay cool during the summer with our home-maintenance tips!
(Many of the links in this article redirect to a specific reviewed product. Your purchase of these products through affiliate links helps to generate commission for Storables.com, at no extra cost. Learn more)
Introduction
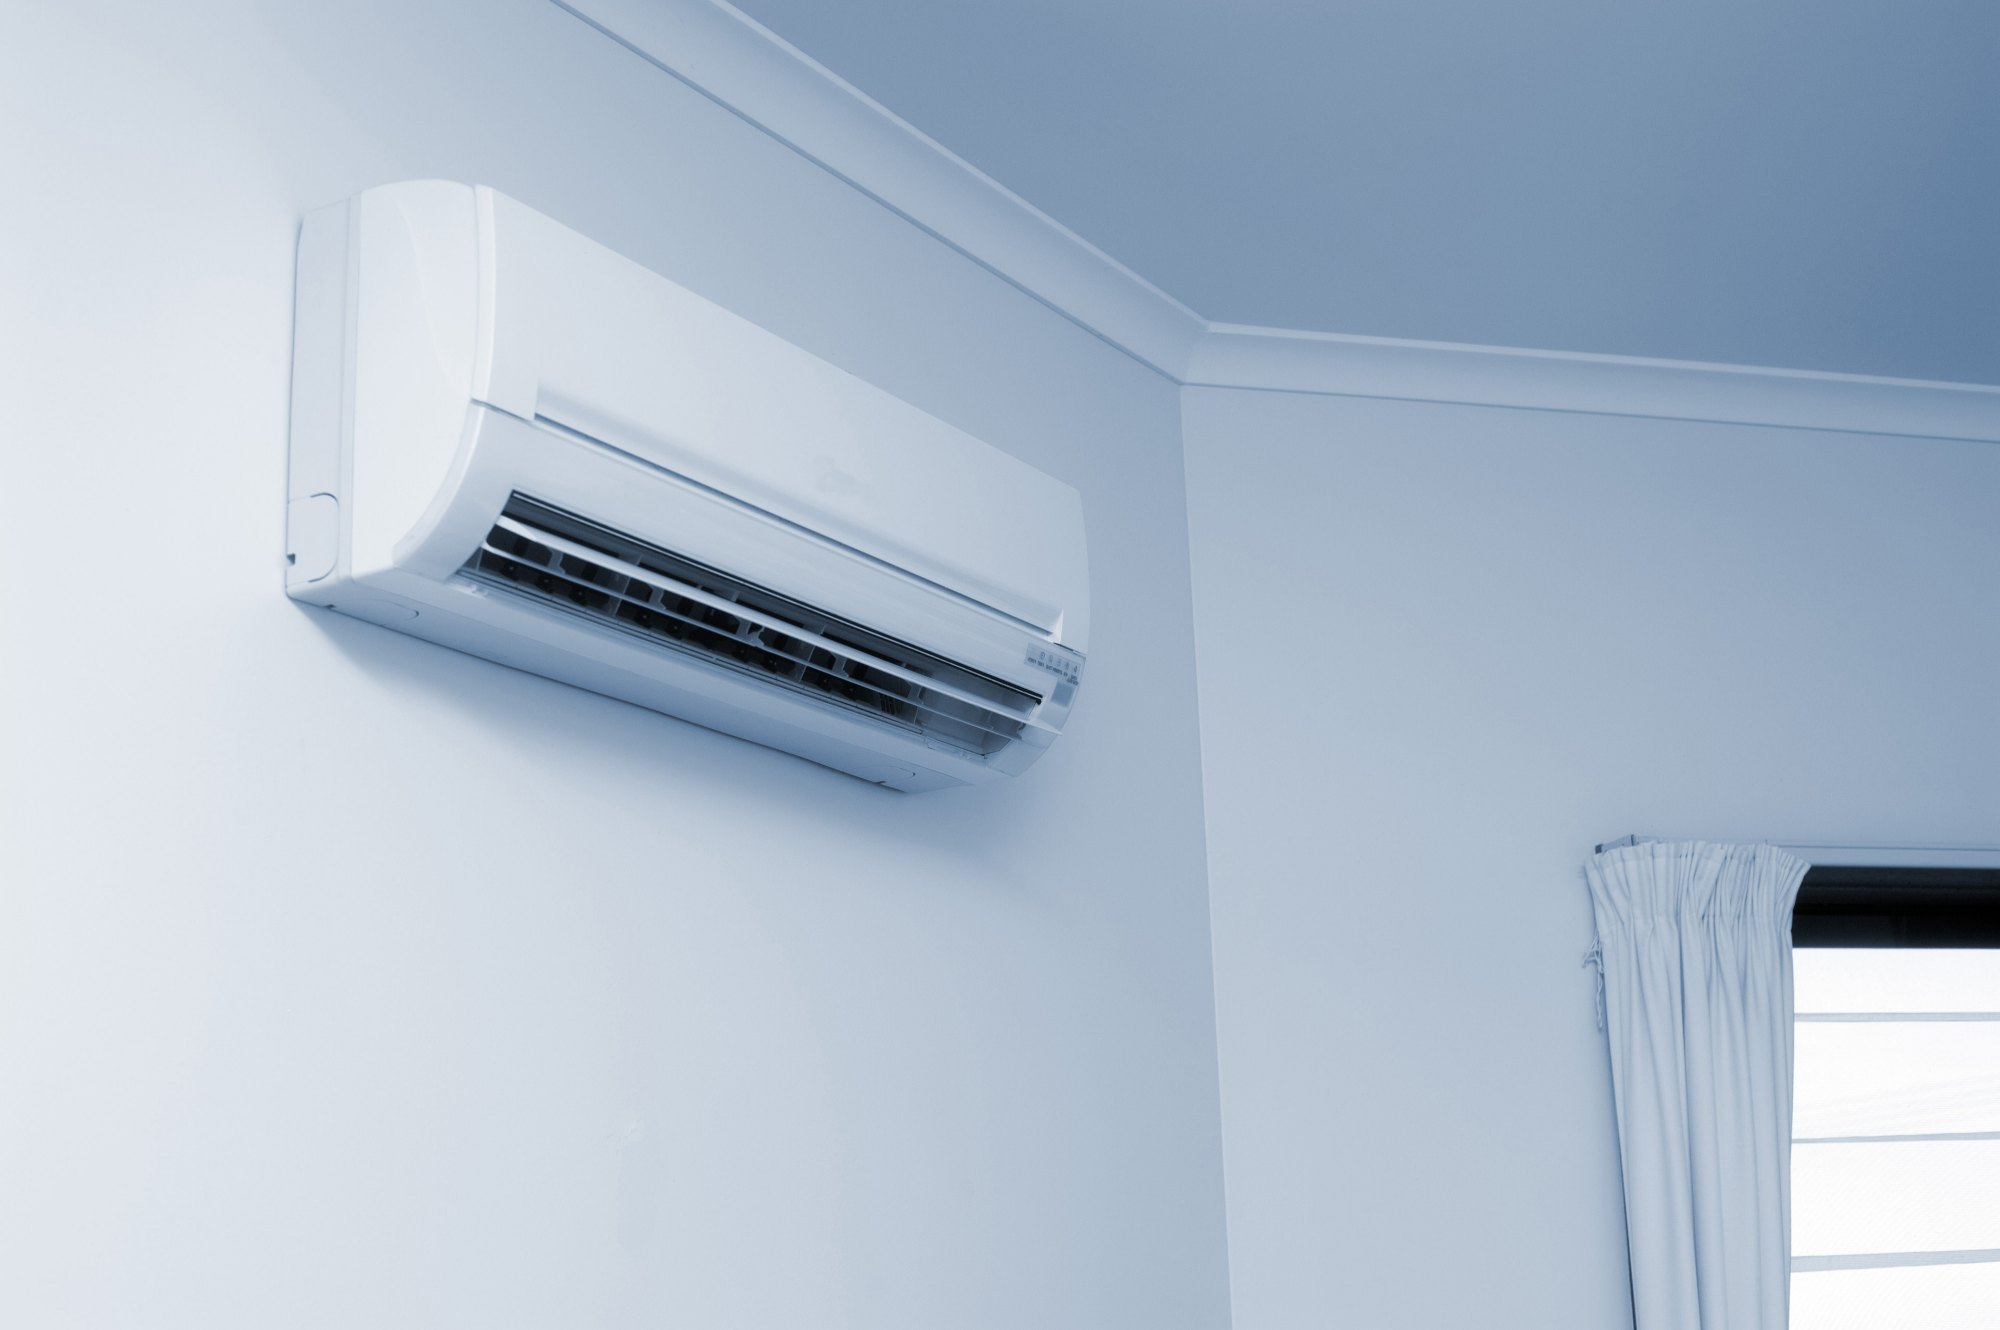
Welcome to our comprehensive guide on how to install a portable air conditioner. As the scorching summer heat becomes unbearable, many homeowners turn to portable air conditioners as a convenient and cost-effective cooling solution. Unlike traditional window or central air conditioning units, portable air conditioners offer flexibility and portability, allowing you to cool specific rooms or areas as needed.
Installing a portable air conditioner may seem like a daunting task, but with the right knowledge and step-by-step instructions, you can have your unit up and running in no time. In this guide, we will walk you through the entire installation process, from selecting the right location to troubleshooting common issues.
Before we dive into the installation process, let’s take a moment to understand how portable air conditioners work. These units are designed to cool the air in a specific area by extracting warm air and moisture from the room. They use refrigeration principles to remove heat from the air and expel it outside through an exhaust hose.
One of the great advantages of portable air conditioners is their mobility. You can easily move them from one room to another, making them ideal for apartments, small offices, or areas where installing a permanent cooling system is not feasible. Additionally, portable air conditioners are more energy-efficient than central air conditioning units, allowing you to save on your energy bills.
Now that you have a basic understanding of portable air conditioner units, let’s move on to the installation process. The first step is to select the right location for your unit.
Key Takeaways:
- Installing a portable air conditioner involves selecting the right location, assembling the exhaust hose and window kit, connecting to a power source, and setting up the unit for optimal cooling. Proper maintenance and troubleshooting common issues are essential for efficient operation.
- Understanding how portable air conditioners work, selecting the right location, and following the step-by-step installation process are crucial for efficient cooling. Regular maintenance, troubleshooting, and seeking professional assistance when needed ensure continued performance.
Understanding Portable Air Conditioners
Before you begin the installation process, it’s important to have a good understanding of how portable air conditioners work. This knowledge will help you make informed decisions when selecting a unit and ensure proper operation.
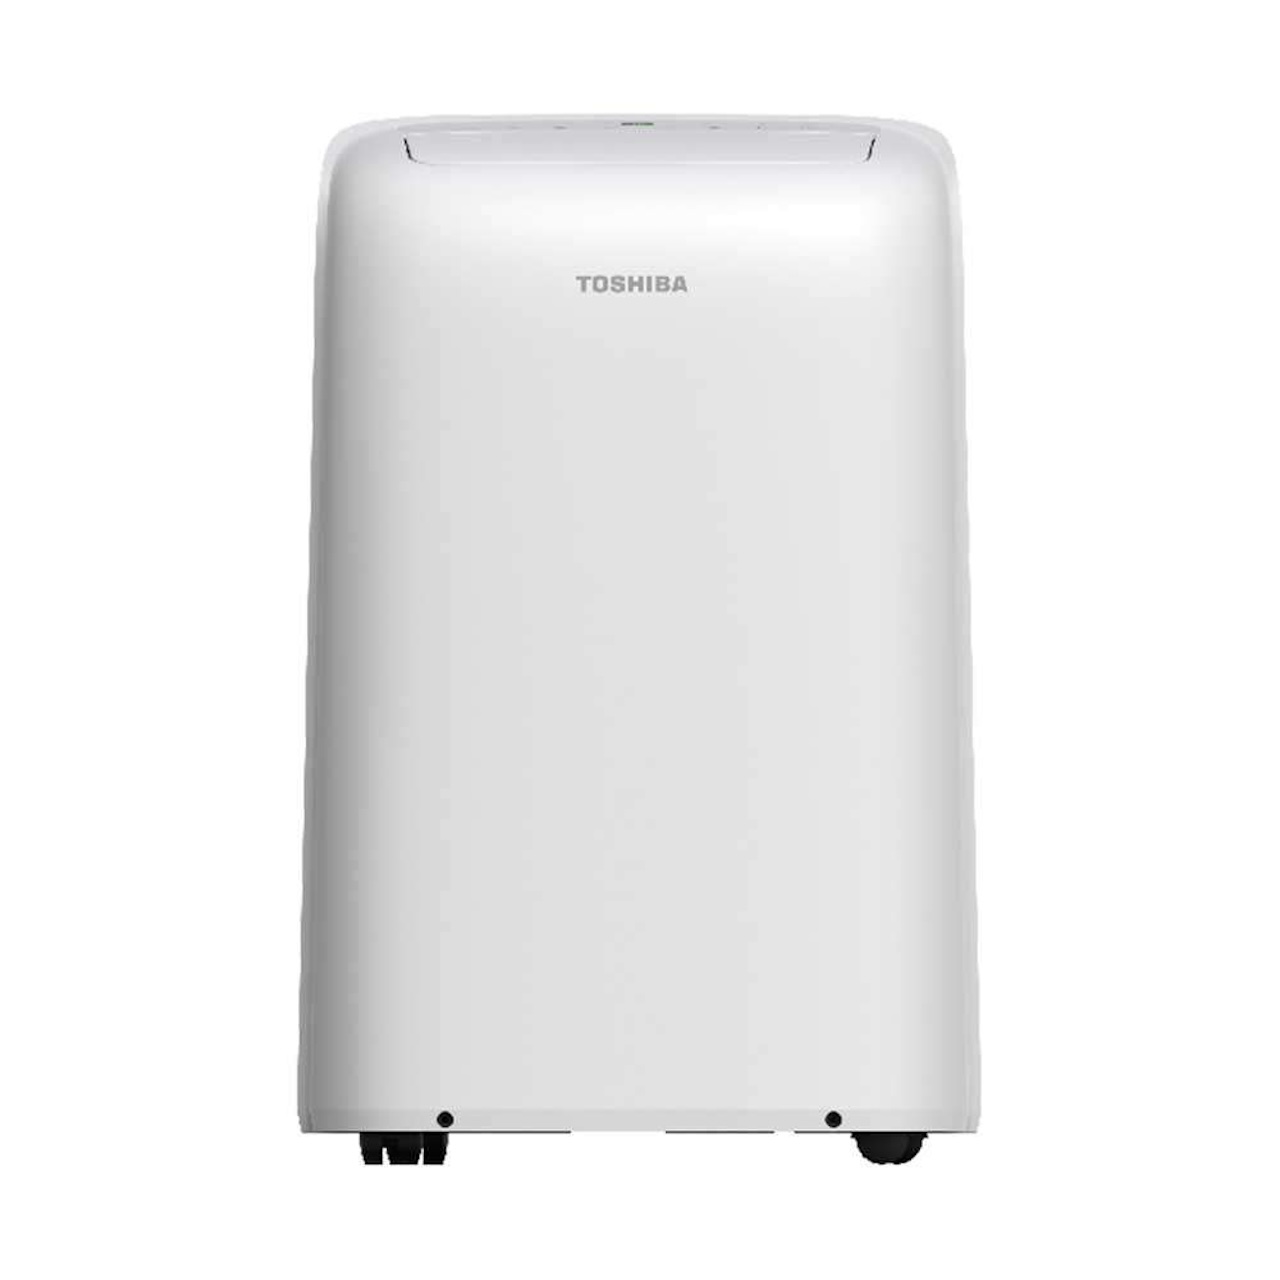
Portable air conditioners consist of three main components: the compressor, the condenser, and the evaporator. The compressor is responsible for compressing refrigerant gas, which then flows to the condenser. The condenser releases heat from the refrigerant, causing it to condense into a liquid. The liquid refrigerant then flows to the evaporator, where it absorbs heat from the room. The evaporator releases cool air back into the room, while the refrigerant, now in a gaseous state, returns to the compressor to start the cycle again.
One important feature to consider when choosing a portable air conditioner is its cooling capacity, measured in British Thermal Units (BTUs). The higher the BTU rating, the more powerful the unit will be in cooling a space. However, it’s crucial to select a unit that is appropriate for the size of the room you intend to cool. An undersized unit will struggle to cool the room efficiently, while an oversized unit may cycle on and off frequently, wasting energy.
Another factor to consider is the energy efficiency of the unit. Look for models with a high Energy Efficiency Ratio (EER) or Seasonal Energy Efficiency Ratio (SEER) rating. These ratings indicate how efficiently the unit converts electrical energy into cooling power. Choosing an energy-efficient unit can help you minimize your energy consumption and lower your utility bills.
Most portable air conditioners come with adjustable vents or louvers that allow you to direct the airflow in a specific direction. This feature is useful for ensuring even cooling throughout the room and maximizing the unit’s performance.
Some portable air conditioners also come with additional features such as built-in timers, remote controls, and multiple fan speeds. These features can enhance your comfort and convenience, allowing you to program the unit to turn on or off at specific times and adjust the airflow to your liking.
Lastly, consider the noise level of the unit. Portable air conditioners can generate noise while in operation, and this can be a concern if you plan to install the unit in a bedroom, office, or other areas where noise sensitivity is a factor. Look for models with lower decibel ratings to ensure a quieter cooling experience.
Now that you have a better understanding of portable air conditioners, let’s move on to selecting the right location for installation.
Selecting the Right Location
Choosing the proper location for your portable air conditioner is crucial for efficient cooling and optimal performance. Before you begin the installation process, consider the following factors to ensure you select the best spot:
- Room Size: Measure the square footage of the room where you plan to install the portable air conditioner. This will help you determine the appropriate cooling capacity needed for the unit. Keep in mind that larger rooms may require a higher BTU rating to effectively cool the space.
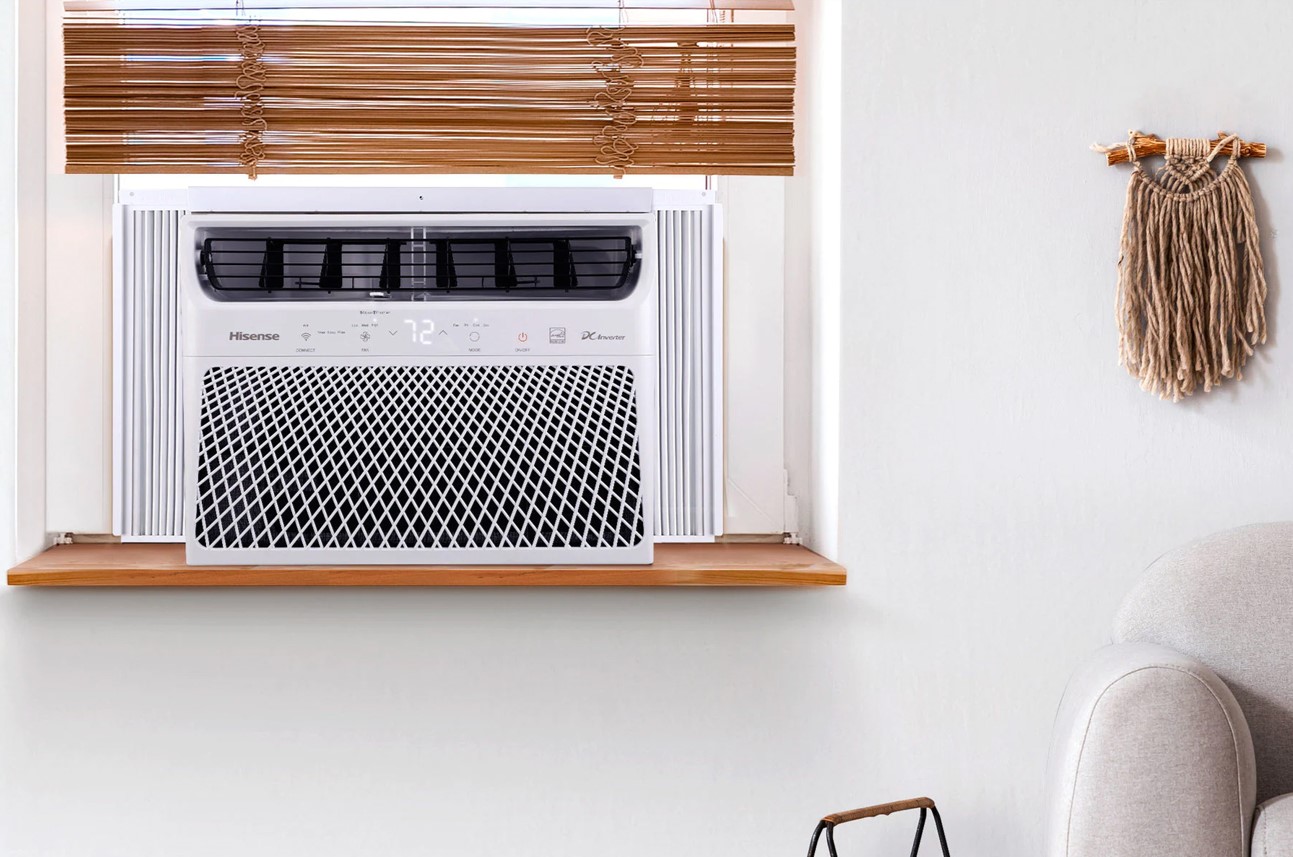
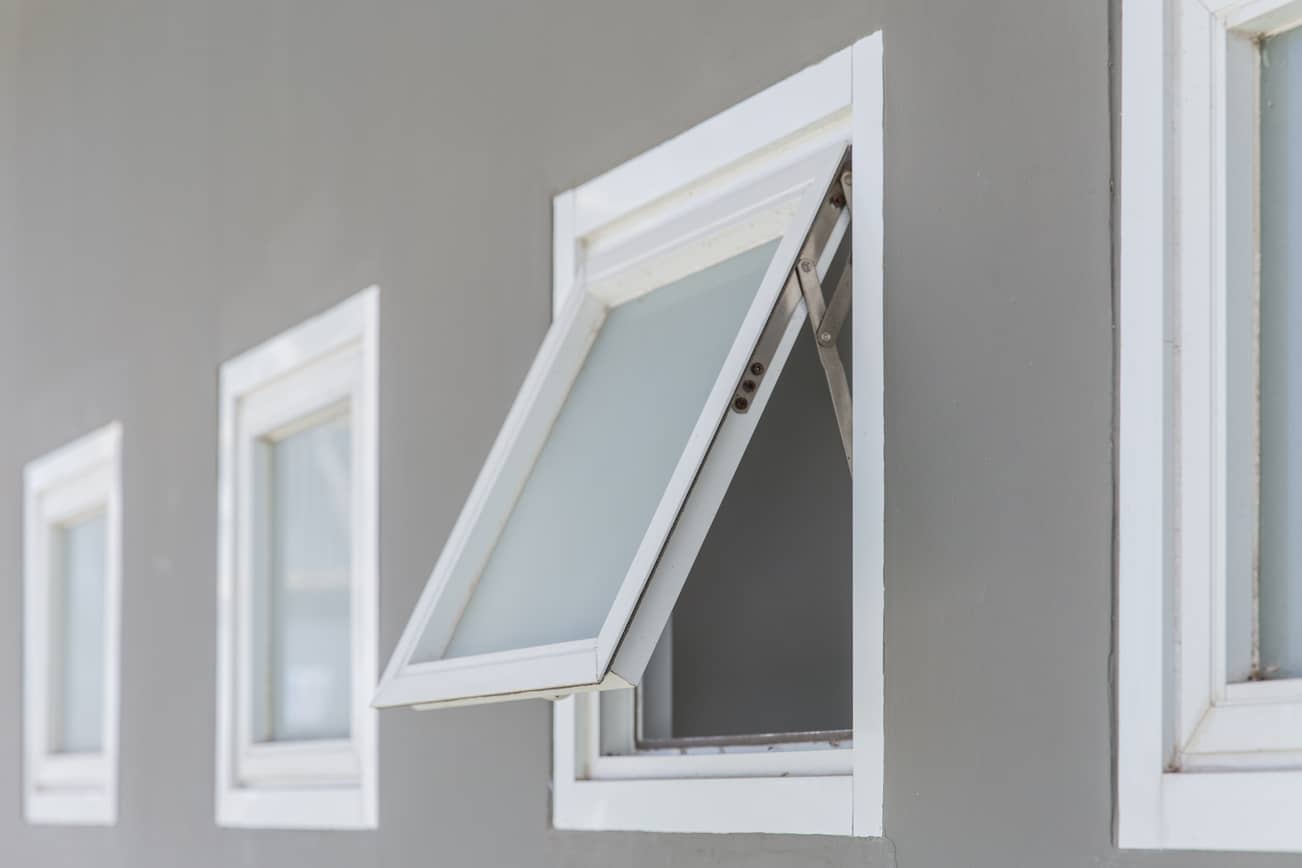
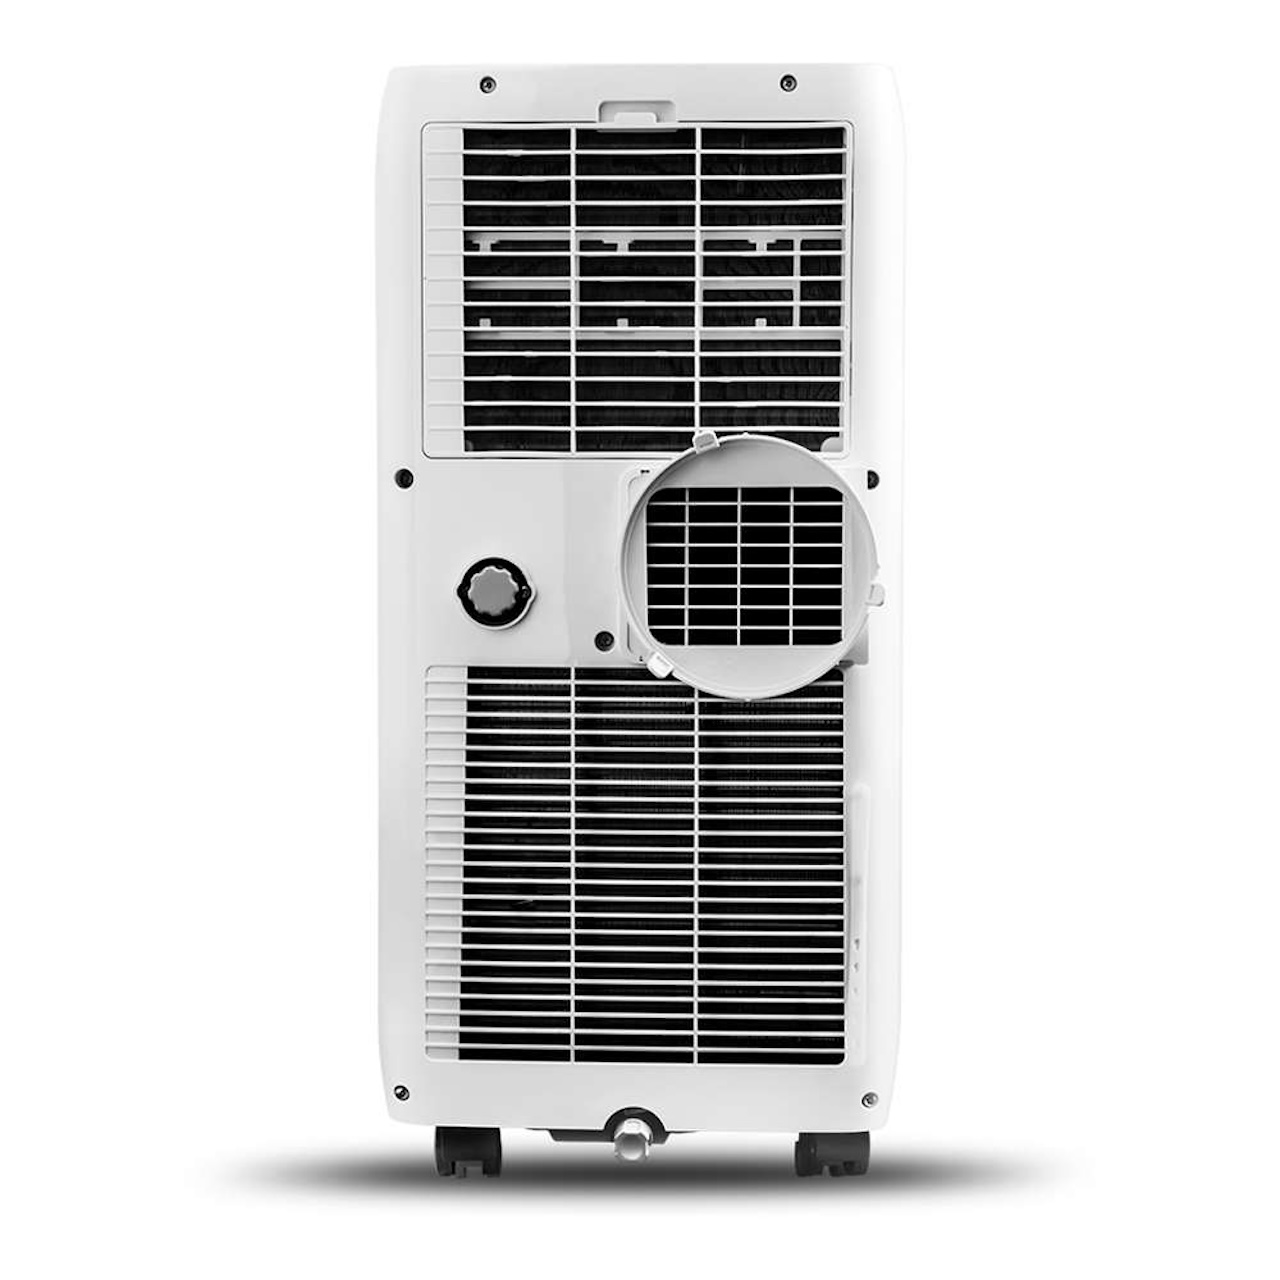
- Window Accessibility: Most portable air conditioners vent hot air through an exhaust hose that needs to be connected to a window or opening. Ensure that there is a suitable window nearby or a venting alternative, such as a sliding glass door or a vent kit designed for vertical installation.
- Power Source: Consider the availability of an electrical outlet near the installation location. The cord length of the air conditioner should be long enough to reach the outlet without the need for extension cords, which can be a safety hazard.
- Clearance Space: Make sure there is ample space around the unit for proper airflow. Portable air conditioners require adequate ventilation to function effectively. Check the manufacturer’s guidelines for the recommended clearance distances, both on the sides and the back of the unit.
- Heat Sources: Avoid placing the portable air conditioner near heat-emitting sources such as lamps, electronics, or direct sunlight. These heat sources can interfere with the unit’s cooling performance and cause it to work harder to reach the desired temperature.
- Noise Considerations: Take into account the noise level of the unit and the location’s sensitivity to noise. If you plan to install the air conditioner in a bedroom or an area where noise is a concern, look for models with lower noise ratings.
- Room Layout: Consider the layout of the room and the airflow patterns within it. Ideally, place the portable air conditioner in a central location to ensure even distribution of cool air throughout the space.
Once you have identified the ideal location, check the window or opening to ensure it can accommodate the venting requirements of the portable air conditioner. Measure the window dimensions or the opening and compare them to the dimensions provided by the manufacturer to ensure a proper fit.
Now that you have chosen the right location, let’s move on to assembling the exhaust hose and window kit.
Assembling the Exhaust Hose and Window Kit
Assembling the exhaust hose and window kit is a critical step in the installation process of your portable air conditioner. The exhaust hose is responsible for venting hot air from the unit to the outside, while the window kit seals the opening and provides a secure connection for the hose. Follow the steps below to correctly assemble these components:
- Unpack the Contents: Remove the contents of the package and ensure that you have all the necessary components, including the exhaust hose, window bracket, window panel, and any additional adapters or accessories that may be included.
- Extend the Exhaust Hose: Extend the exhaust hose to its full length, following the manufacturer’s instructions. Avoid bending or kinking the hose, as this can restrict airflow and decrease the unit’s performance.
- Attach the Hose to the Air Conditioner: Connect one end of the exhaust hose securely to the air conditioner’s exhaust outlet. Twist or slide the hose onto the outlet until it locks in place.
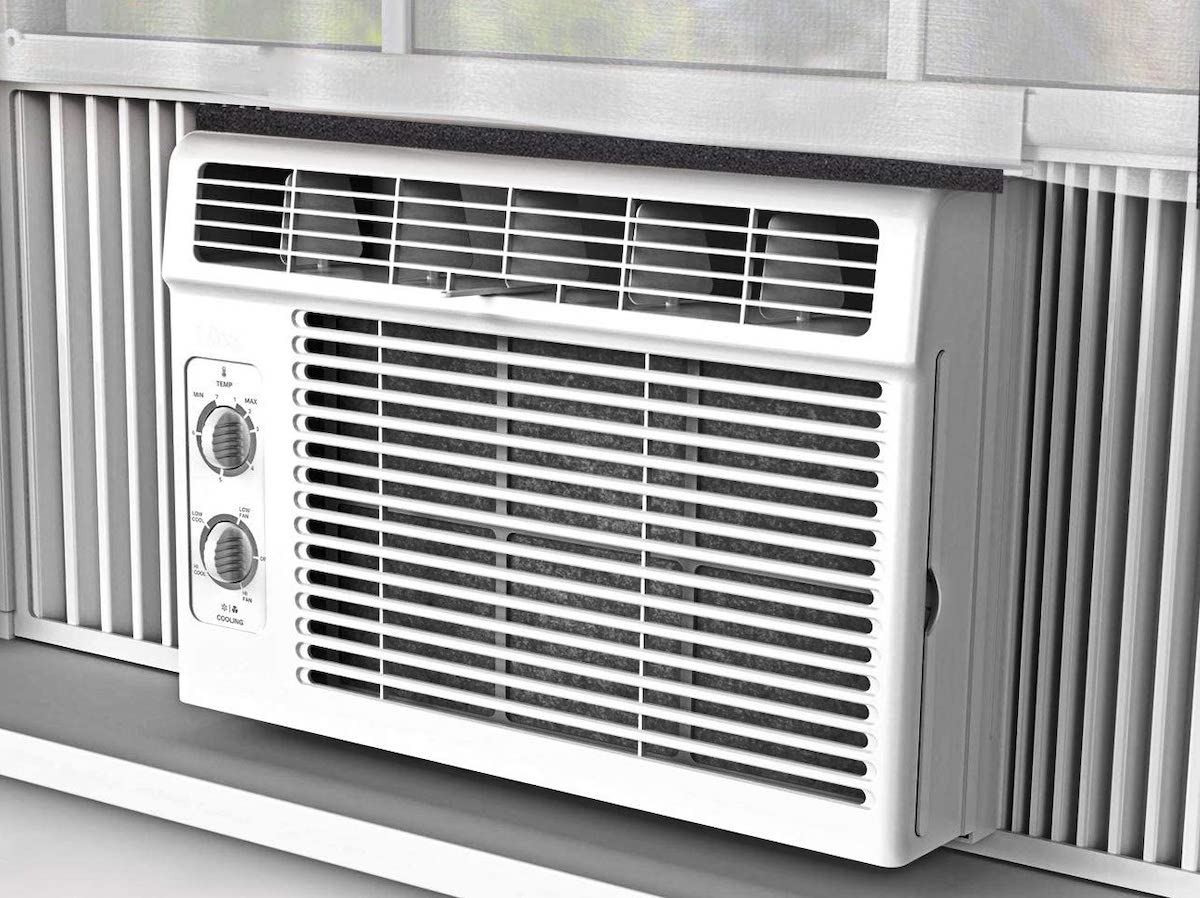
- Secure the Window Bracket: Attach the window bracket to the supplied window panel. The window bracket is usually adjustable and can accommodate different window sizes. Follow the manufacturer’s instructions for proper installation.
- Position the Window Panel: Open the window where you plan to install the portable air conditioner. Place the window panel in the window opening and adjust it to fit securely. Close the window firmly to hold the window panel in place.
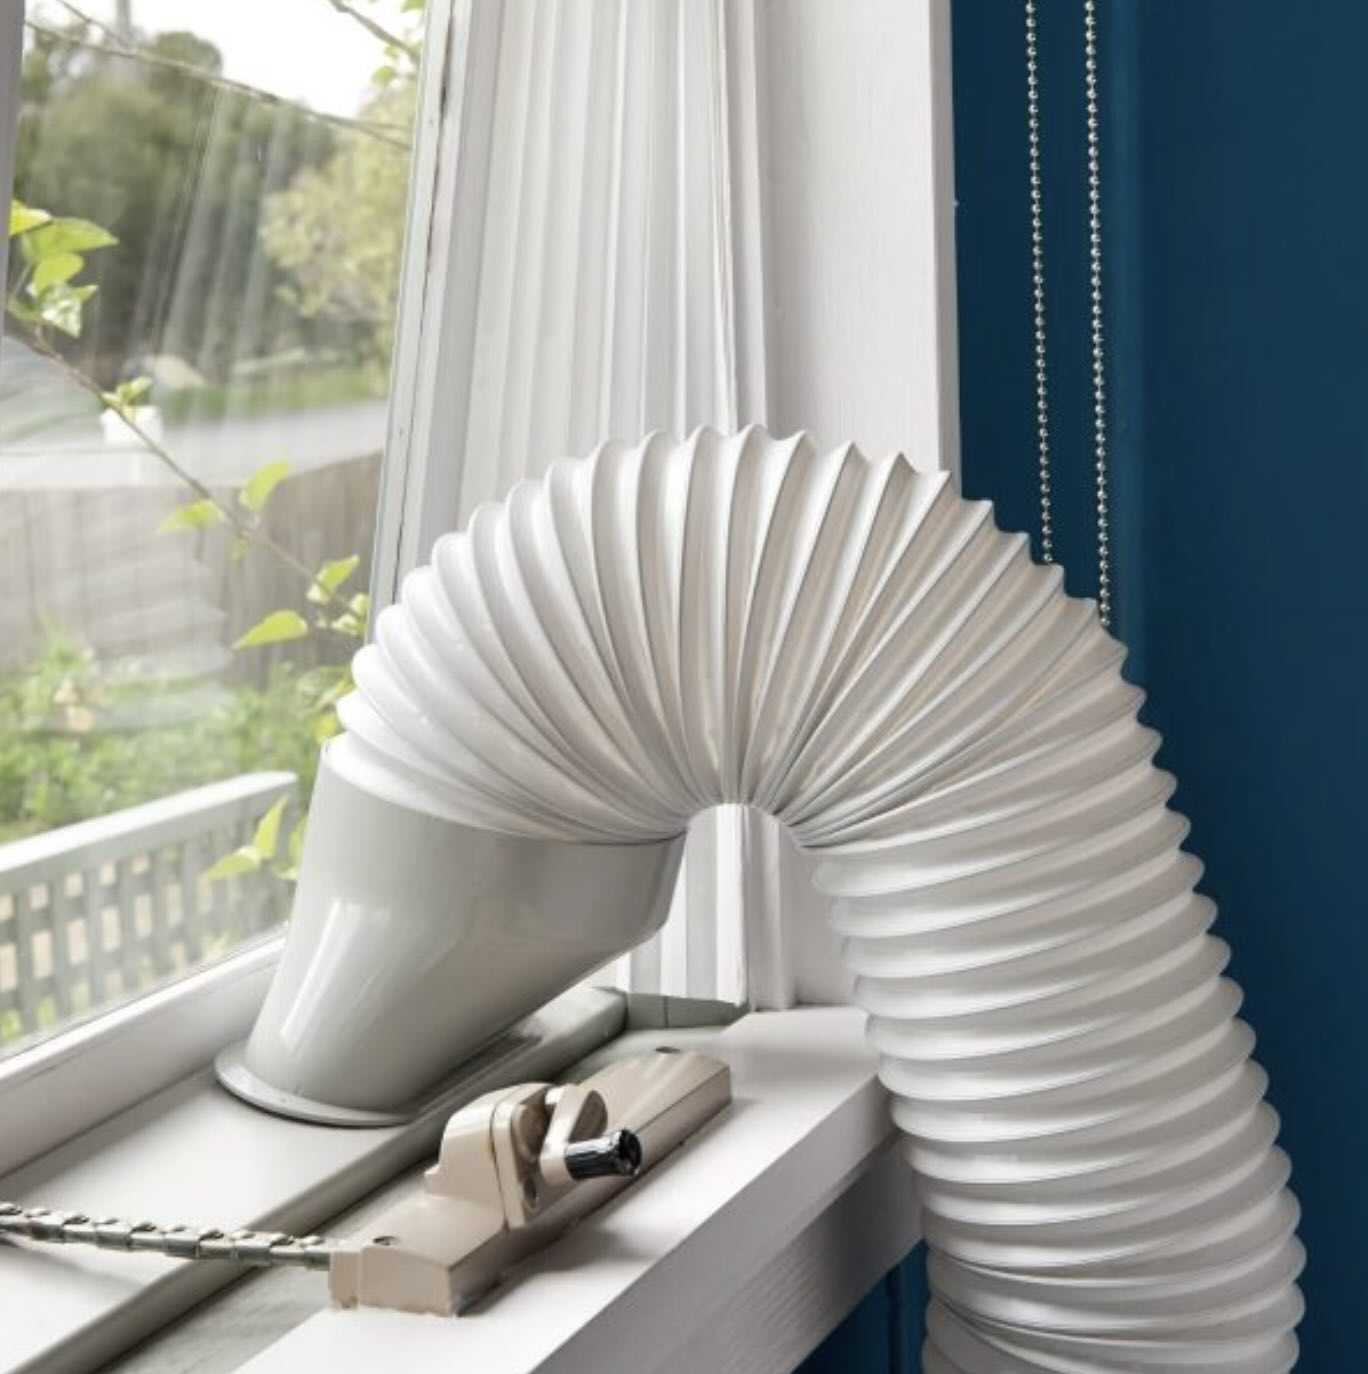
- Connect the Exhaust Hose: Extend the exhaust hose through the window panel and attach it securely to the window bracket. Some window kits may require additional tape or foam to seal any gaps around the hose and window opening. Make sure the connection is tight to prevent hot air from leaking back into the room.
- Seal Any Gaps: Inspect the window panel and window bracket for any gaps or openings. Use weatherstripping, foam tape, or any other sealant provided by the manufacturer to seal and insulate the area around the window panel. This will prevent drafts and maintain proper cooling efficiency.
Once you have successfully assembled the exhaust hose and window kit, move on to connecting the portable air conditioner to a power source.
Connecting to Power
After assembling the exhaust hose and window kit, it’s time to connect your portable air conditioner to a power source. Here’s a step-by-step guide on how to do it correctly:
- Locate an Electrical Outlet: Find a suitable electrical outlet near the installation location of your portable air conditioner. Ensure that the outlet can handle the power requirements of the unit.
- Check the Cord Length: Make sure the power cord of the air conditioner is long enough to reach the outlet without excessive stretching or the need for extension cords. Using extension cords can be a safety hazard, so it’s best to avoid them if possible.
- Ensure Proper Voltage: Ensure that the outlet provides the correct voltage for your portable air conditioner. Most units require a standard 115-volt outlet, but double-check the manufacturer’s specifications to confirm the voltage requirement.
- Plug in the Unit: Insert the plug of the portable air conditioner into the electrical outlet. Ensure that it fits securely and is pushed in completely.
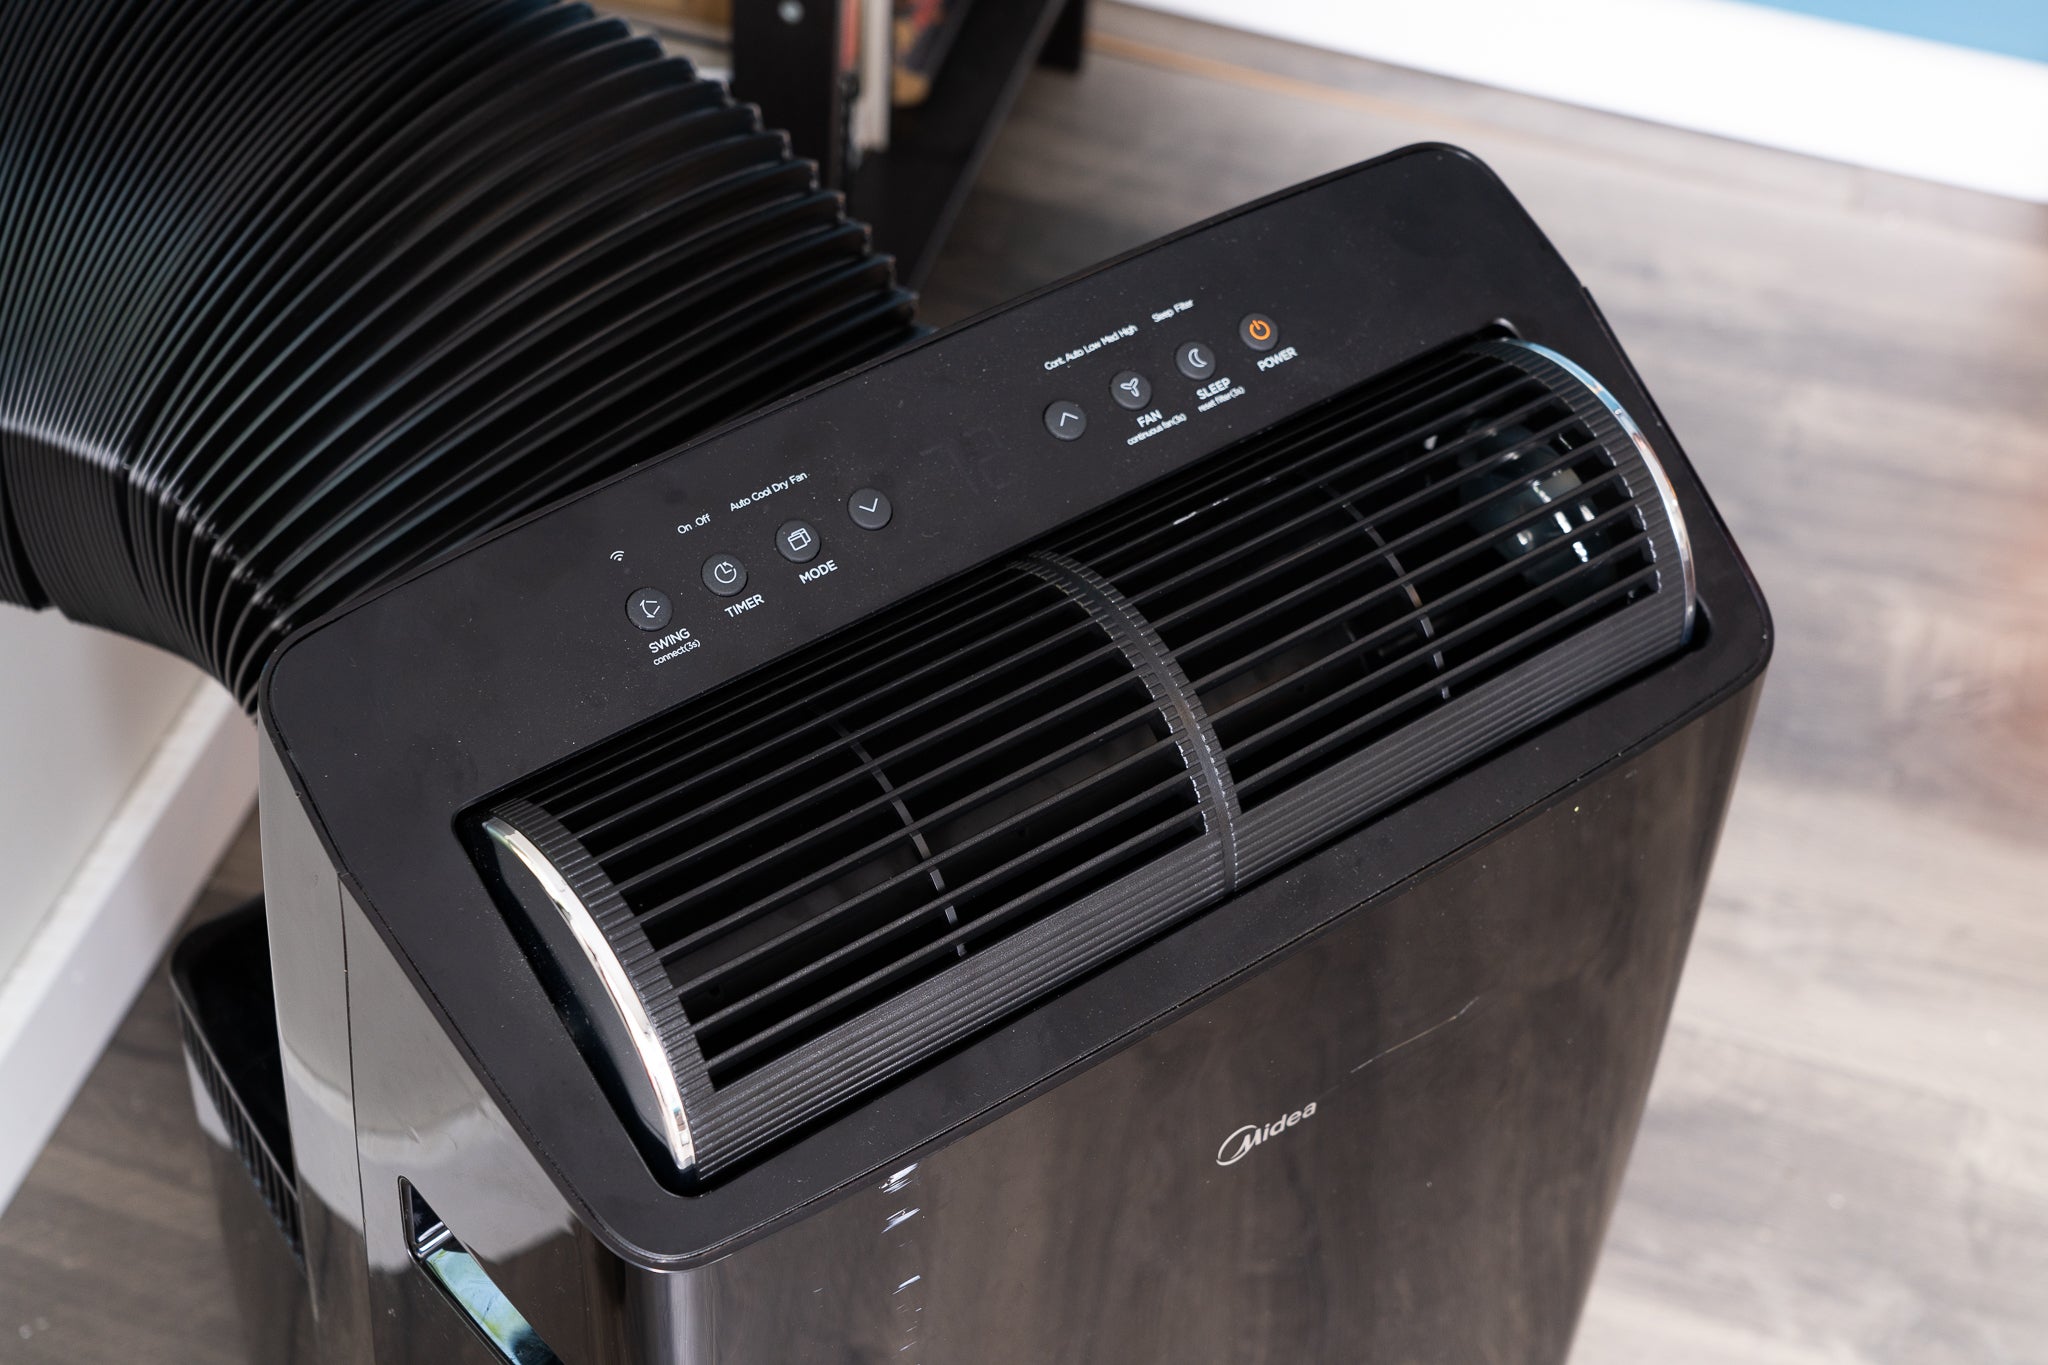
- Power On the Air Conditioner: Locate the power button or switch on the unit and turn it on. The air conditioner may have a digital control panel or a remote control for operation. Follow the manufacturer’s instructions to set your desired temperature and fan speed.
- Allow for Proper Start-Up: After turning on the air conditioner, allow a few minutes for the unit to start up and begin cooling. Depending on the model, it may take a little time for the air conditioner to reach the desired temperature.
- Test the Airflow: Check that the cool air is coming out of the unit and that it is being directed towards the desired area. Adjust the louvers or vents to ensure proper airflow throughout the room.
It’s important to note that portable air conditioners require a dedicated power source. Avoid plugging the unit into an outlet that is shared with other high-powered electrical devices, as this can lead to circuit overloads or tripped breakers.
Additionally, always follow the manufacturer’s instructions and safety guidelines when it comes to electrical connections and power usage. If you have any doubts or concerns, consult a professional electrician for assistance.
With your portable air conditioner connected to a power source, it’s time to move on to the next step: setting up the unit for optimal cooling.
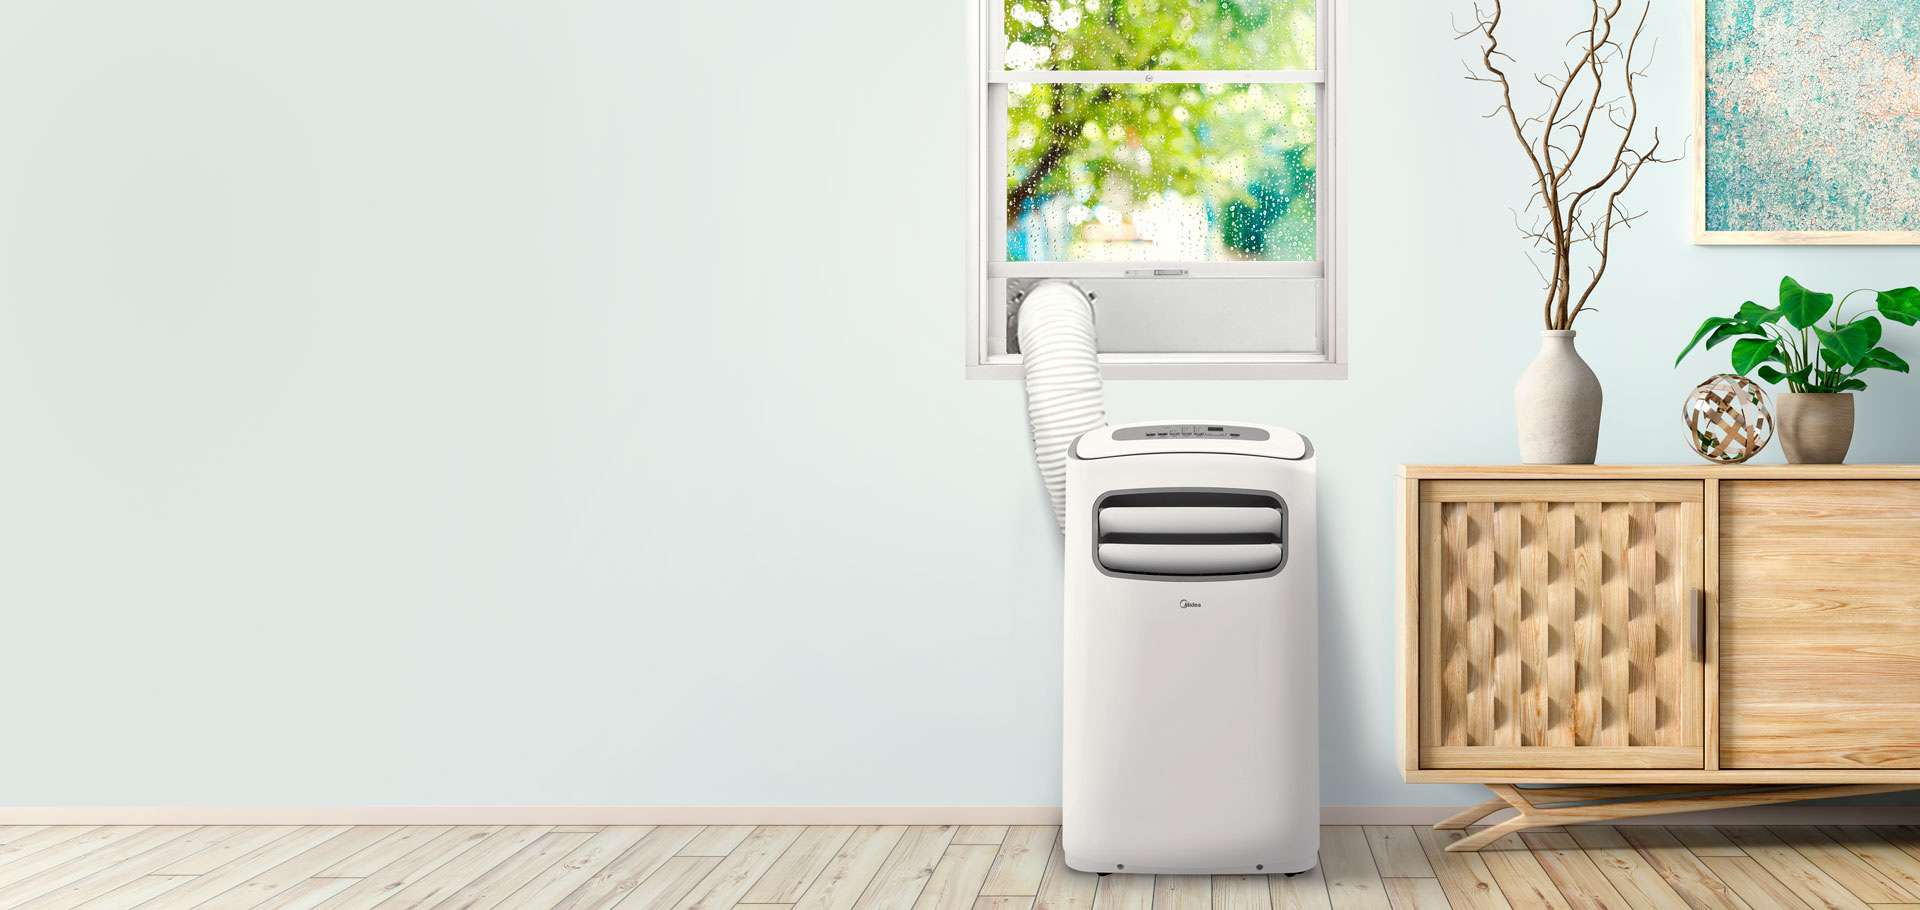
Make sure to properly vent the exhaust hose out of a window or through a wall to ensure efficient cooling. Blocking the exhaust can cause the unit to work harder and decrease its effectiveness.
Setting up the Air Conditioner
Now that your portable air conditioner is connected to a power source, it’s time to set up the unit for optimal cooling. Follow these steps to ensure proper setup:
- Read the User Manual: Familiarize yourself with the manufacturer’s instructions and guidelines provided in the user manual. This will help you understand specific setup requirements and features of your portable air conditioner.
- Adjust the Thermostat: Set the thermostat on your portable air conditioner to the desired temperature. The unit will automatically cycle on and off to maintain the set temperature.
- Select the Fan Speed: Choose the appropriate fan speed for your cooling needs. Most portable air conditioners offer multiple settings, such as low, medium, and high. Adjust the fan speed based on the room size and desired comfort level.
- Set the Mode: Determine the operational mode that best suits your needs. Portable air conditioners typically offer modes such as cool, fan, and dehumidify. Select the cool mode to activate the cooling function.
- Direct the Airflow: Adjust the louvers or vents on your portable air conditioner to direct the airflow in the desired direction. This will help distribute the cool air evenly throughout the room.
- Use Curtains or Shades: Close curtains or shades to block out direct sunlight, as this can increase the temperature in the room. The less heat entering the space, the more efficiently your portable air conditioner will cool it.
- Consider Using a Fan: Consider using a fan in conjunction with your portable air conditioner to circulate the cool air more effectively. This can help distribute the cool air and create a more comfortable environment.
- Maintain Proper Ventilation: Ensure that the area around your portable air conditioner is free from obstructions. Avoid placing furniture or objects that may impede airflow, as proper ventilation is essential for efficient cooling.
It’s important to note that portable air conditioners require regular maintenance to ensure optimal performance. Refer to the user manual for specific maintenance guidelines, such as cleaning or replacing filters, emptying water condensate, and inspecting the unit for any signs of wear or damage.
Now that your portable air conditioner is set up and configured, you can enjoy the cool, refreshing air it provides. However, it’s crucial to be aware of common issues that may arise and how to troubleshoot them.
In the next section, we will explore common troubleshooting techniques for portable air conditioners.
Operating and Maintaining the Unit
Operating and maintaining your portable air conditioner properly is essential for optimal cooling performance and longevity of the unit. Here are some key guidelines to follow:
- Set the Desired Temperature: Choose the temperature at which you want your room to be cooled. Adjust the thermostat on your portable air conditioner to your preferred setting.
- Monitor the Humidity Level: Some portable air conditioners come with a dehumidification mode. If you’re dealing with excessive humidity, activate this mode to help reduce moisture in the air.
- Keep Doors and Windows Closed: To maintain the cooling efficiency of your portable air conditioner, keep doors and windows in the room shut as much as possible. This will prevent warm air from outside entering the space and compromising the cooling effect.
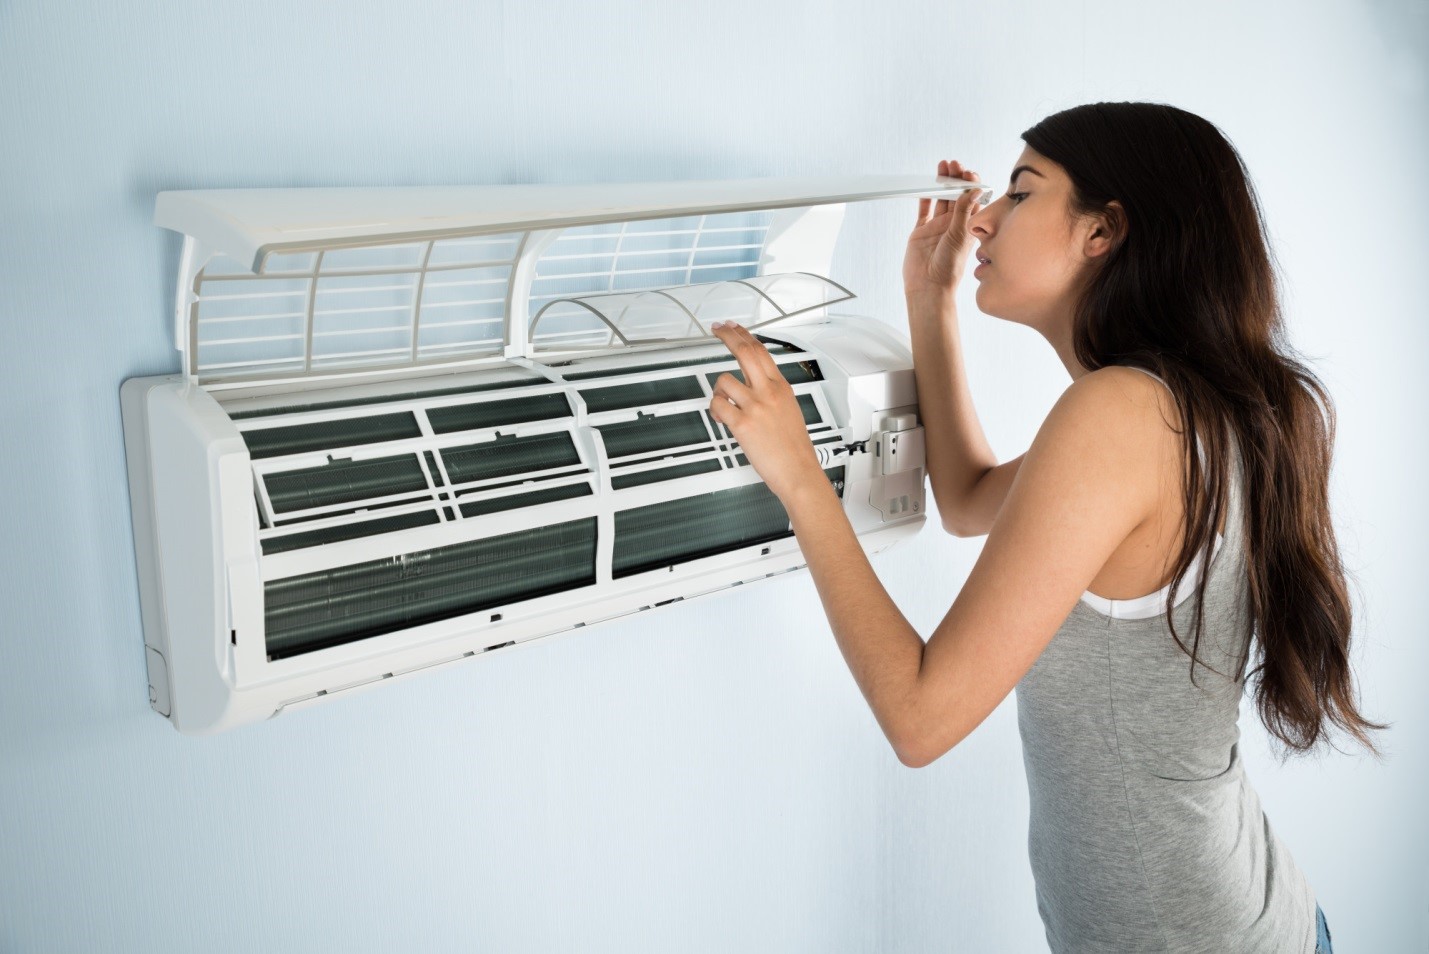
- Clean or Replace Filters regularly: Refer to the manufacturer’s instructions on how often to clean or replace the filters in your portable air conditioner. Clogged filters can restrict airflow and reduce cooling performance.
- Empty the Water Condensate: If your unit has a condensate drain, make sure to check and empty it regularly. Accumulated water can cause the unit to operate inefficiently or even lead to water damage.
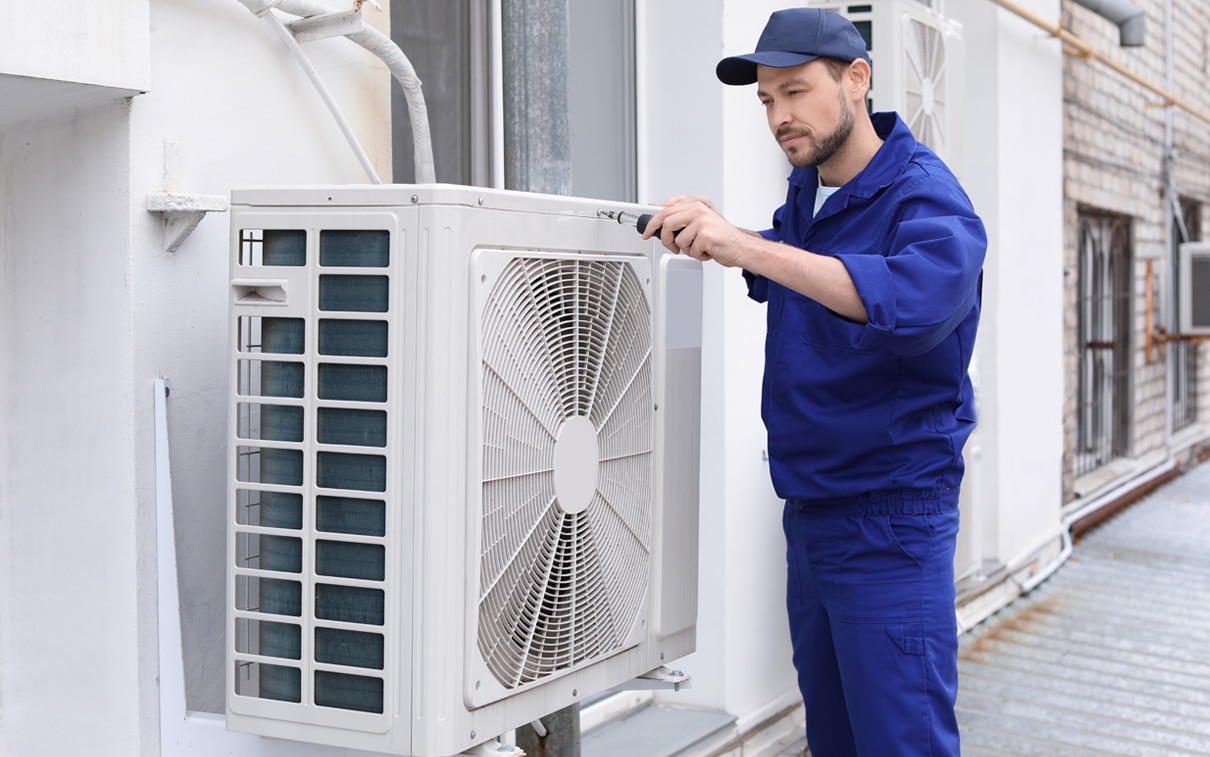
- Inspect for Leakage and Damage: Routinely check the portable air conditioner for any signs of leakage, damage, or wear. If you notice anything unusual, such as water leakage or strange noises, shut off the unit and contact a professional technician for assistance.
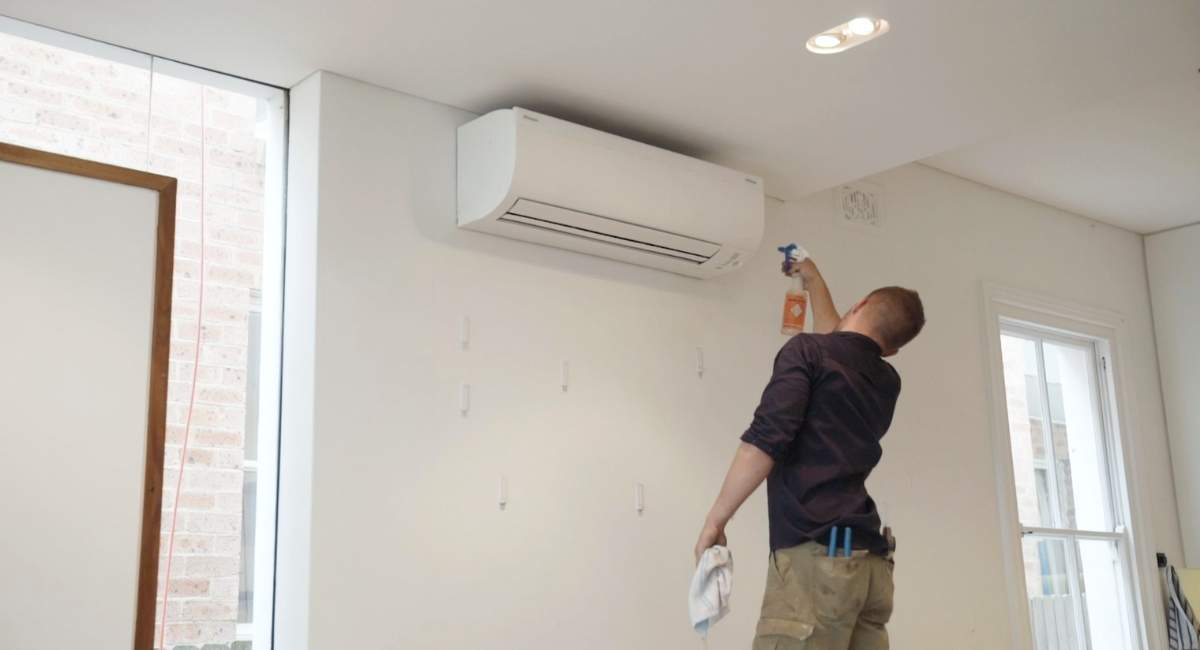
- Keep the Unit Clean: Regularly wipe down the exterior of the portable air conditioner with a damp cloth to remove dust and debris. This helps maintain proper airflow and prevents the buildup of dirt on the unit.
- Store Properly when Not in Use: If you plan to store the portable air conditioner when not in use, ensure that it is clean and dry. Store it in a cool, dry place, and cover it to protect it from dust or other potential damage.
Remember that proper maintenance is crucial for the efficient operation of your portable air conditioner. Neglecting maintenance tasks can reduce cooling performance and even lead to mechanical issues or premature unit failure.
By following these operating and maintenance guidelines, you can enjoy the cool comfort provided by your portable air conditioner for years to come.
In the next section, we’ll address common troubleshooting issues that you may encounter with your portable air conditioner.
Troubleshooting Common Issues
While portable air conditioners are designed to provide efficient cooling, you may occasionally encounter common issues that can affect their performance. Here are some troubleshooting steps to address these problems:
- Inadequate Cooling: If you feel that the portable air conditioner is not cooling the room effectively, check that the unit is properly sized for the room’s square footage and that doors and windows are closed. Clean or replace the filters if they are dirty or clogged, as this can restrict airflow.
- Noisy Operation: Portable air conditioners can generate noise during operation. However, if you notice unusual or excessive noise, make sure the unit is on a flat and stable surface. Check if any components are loose or improperly installed. Contact a professional technician if the noise persists.
- Water Leakage: If you observe water leakage from your portable air conditioner, it may indicate a clogged or dirty condensate drain. Clean the drain and remove any obstructions. Ensure that the unit is level on the ground to prevent condensation buildup.
- Faulty Power Connection: If your portable air conditioner is not turning on, check the power supply, outlet, and cord connection. Ensure that the electrical circuit is not overloaded, and confirm that the power button or switch is in the ON position.
- Excessive Condensation: If you notice excessive condensation on your unit, it may be caused by high humidity levels in the room. Consider using a dehumidifier or activating the dehumidification mode if your portable air conditioner has one.
- Unpleasant Odors: If your portable air conditioner emits unpleasant odors, it could be due to accumulated dirt, mold, or mildew. Clean the unit, including the filters, and consider using an air purifier or adding a deodorizer to the room.
- Remote Control Issues: If you’re experiencing trouble with the remote control, make sure the batteries are properly inserted and not depleted. Check for any obstructions between the remote control and the unit, as this can affect the signal transmission.
If you’ve attempted these troubleshooting steps and are unable to resolve the issue, it may be necessary to contact the manufacturer’s customer support or consult a professional technician for further assistance.
Remember, proper maintenance, regular cleaning, and prompt attention to any issues will help keep your portable air conditioner running smoothly and efficiently throughout the cooling season.
Now that we’ve covered troubleshooting common issues, let’s wrap up our guide on installing and maintaining a portable air conditioner.
Conclusion
Installing and maintaining a portable air conditioner can provide you with comfort and relief during hot summer months. With the flexibility and convenience they offer, these units are a popular choice for cooling specific areas or rooms in your home. By following the steps outlined in this guide, you can ensure a successful installation and proper operation of your portable air conditioner.
Understanding how portable air conditioners work and selecting the right location for installation is crucial for efficient cooling. Assembling the exhaust hose and window kit correctly ensures proper venting and seals out warm air from entering the room. Connecting the unit to a dedicated power source and adjusting the settings to your desired temperature and fan speed allow you to customize your cooling experience.
Operating and maintaining the unit properly is essential for continued performance. Regularly cleaning or replacing filters, emptying water condensate, and inspecting for any leaks or damage ensures optimal functioning and longevity. Troubleshooting common issues, such as inadequate cooling or noisy operation, helps address any challenges that may arise.
Remember to consult the manufacturer’s instructions and guidelines for specific recommendations concerning your portable air conditioner model. Additionally, if you are unsure or encounter persistent issues, do not hesitate to seek the assistance of a professional technician or the manufacturer’s customer support.
By following the steps and best practices outlined in this guide, you can enjoy the benefits of a portable air conditioner and stay cool and comfortable throughout the summer season.
Stay cool!
Frequently Asked Questions about How To Install A Portable Air Conditioner
Was this page helpful?
At Storables.com, we guarantee accurate and reliable information. Our content, validated by Expert Board Contributors, is crafted following stringent Editorial Policies. We're committed to providing you with well-researched, expert-backed insights for all your informational needs.