Home>Home Maintenance>How To Install An LG Portable Air Conditioner
Home Maintenance
How To Install An LG Portable Air Conditioner
Modified: March 7, 2024
Discover how to easily install an LG portable air conditioner in your home with our step-by-step guide. Keep your space cool and comfortable all summer long with our home maintenance tips.
(Many of the links in this article redirect to a specific reviewed product. Your purchase of these products through affiliate links helps to generate commission for Storables.com, at no extra cost. Learn more)
Introduction
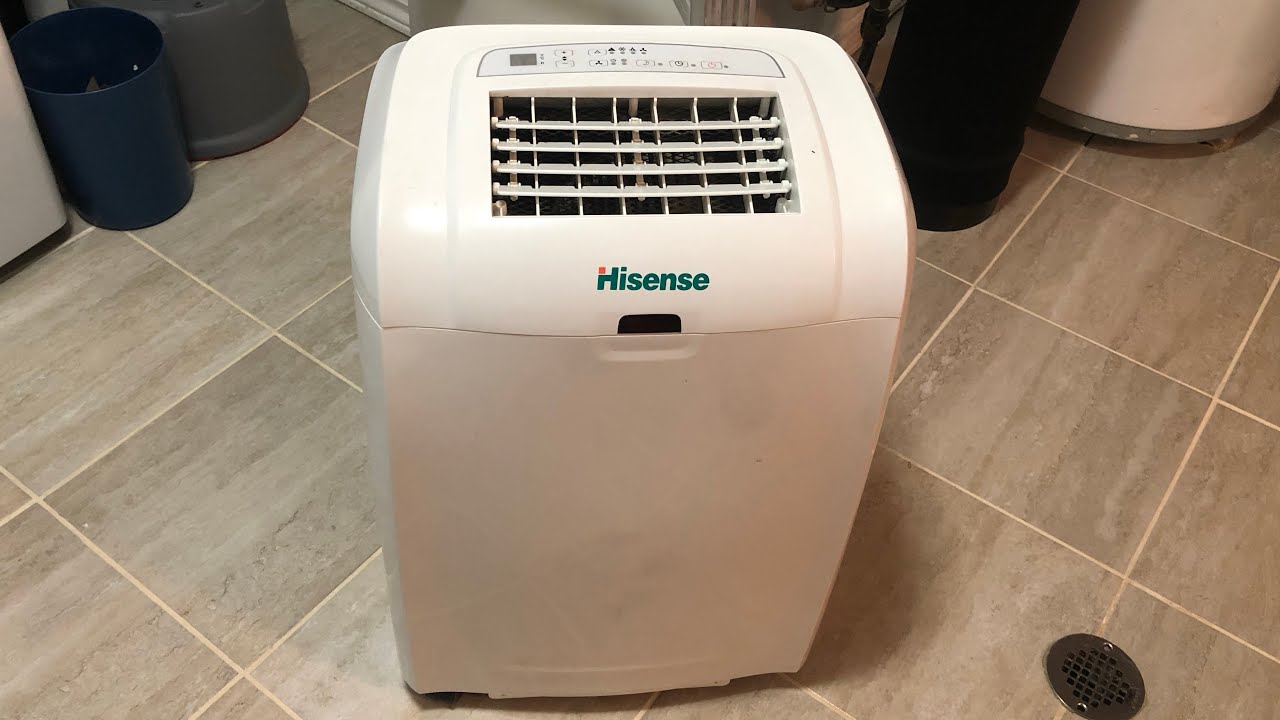
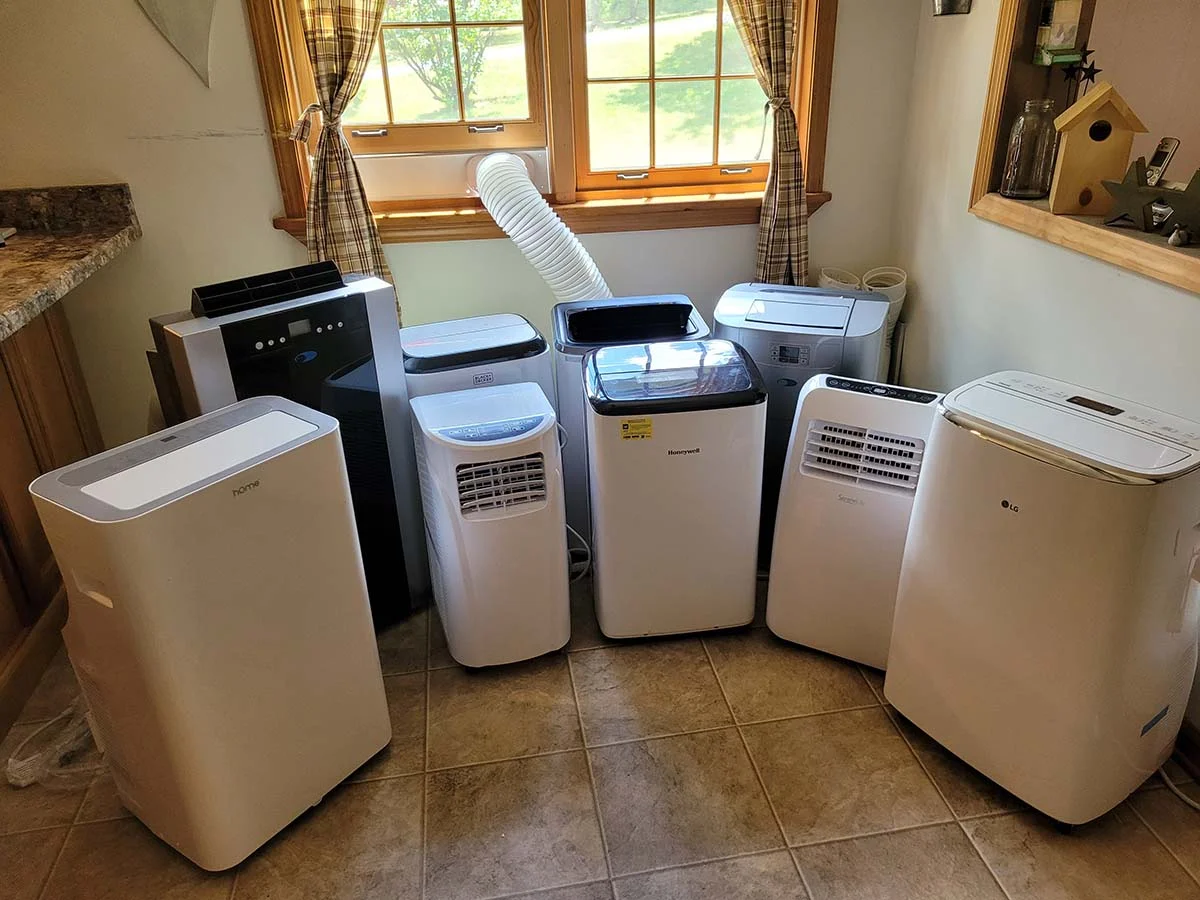
Welcome to the world of portable air conditioners! With warmer temperatures on the rise, it’s essential to keep your home cool and comfortable. If you’re looking for a convenient and efficient cooling solution, an LG portable air conditioner is a great choice. These compact units can easily be moved from room to room, allowing you to enjoy cool air wherever you go.
Installing an LG portable air conditioner is a straightforward process that can be done with just a few simple steps. In this article, we will guide you through the installation process, ensuring that you remain comfortable throughout the journey. But before we dive into the steps, let’s take a moment to highlight the importance of reading the user manual.
Before you begin the installation process, it’s crucial to read the user manual provided by LG. This manual contains vital information about the specific model of your air conditioner, including important safety guidelines, operational instructions, and maintenance tips. Familiarizing yourself with the manual will ensure that you have a clear understanding of the features and capabilities of your LG portable air conditioner.
Now that you’ve familiarized yourself with the user manual, let’s move on to the installation process. The first step is choosing the right location for your air conditioner.
Key Takeaways:
- Before installing your LG portable air conditioner, always read the user manual for safety guidelines, operational instructions, maintenance tips, and warranty information. It’s crucial for a smooth and safe installation process.
- When installing your LG portable air conditioner, choose the right location for proper ventilation, proximity to power outlets, and consider room size and noise level. This ensures optimal cooling performance and a comfortable living space.
Read more: How To Install A Portable Air Conditioner
Step 1: Read the User Manual
Before you begin the installation process of your LG portable air conditioner, it is essential to thoroughly read the user manual provided by the manufacturer. The user manual contains important information that will guide you through the installation process and ensure that you achieve optimal performance from your air conditioner.
Here are a few key reasons why reading the user manual is crucial:
- Safety: The user manual contains important safety guidelines that must be followed to prevent any accidents or damage. It provides information about electrical requirements, proper handling of the unit, and precautions to take during installation.
- Operational Instructions: Each model of LG portable air conditioner may have unique features and operational settings. The user manual will provide detailed instructions on how to operate the various functions of your specific model, such as adjusting temperature, fan speed, and mode options.
- Maintenance Tips: Keeping your air conditioner well-maintained is crucial for its longevity and efficient performance. The user manual will provide maintenance guidelines, including how to clean the filters, troubleshoot common issues, and ensure proper care of the unit.
- Warranty Information: The user manual typically includes warranty details for your LG portable air conditioner. It is important to understand the warranty coverage, duration, and any specific terms or conditions to ensure that you can make use of it if needed.
Take the time to thoroughly read and understand the user manual before you begin the installation process. This will give you a clear understanding of the requirements, operational guidelines, and maintenance procedures specific to your LG portable air conditioner.
By following the instructions laid out in the user manual, you will not only ensure a smooth installation process but also enhance the safety and performance of your air conditioner. So, take a few moments to read the user manual, and let’s move on to the next step – choosing the right location for your LG portable air conditioner.
Step 2: Choose the Right Location
Now that you’ve familiarized yourself with the user manual, it’s time to choose the optimal location for your LG portable air conditioner. Selecting the right spot will ensure efficient cooling and maximum comfort in the room.
Here are some important factors to consider when choosing the location:
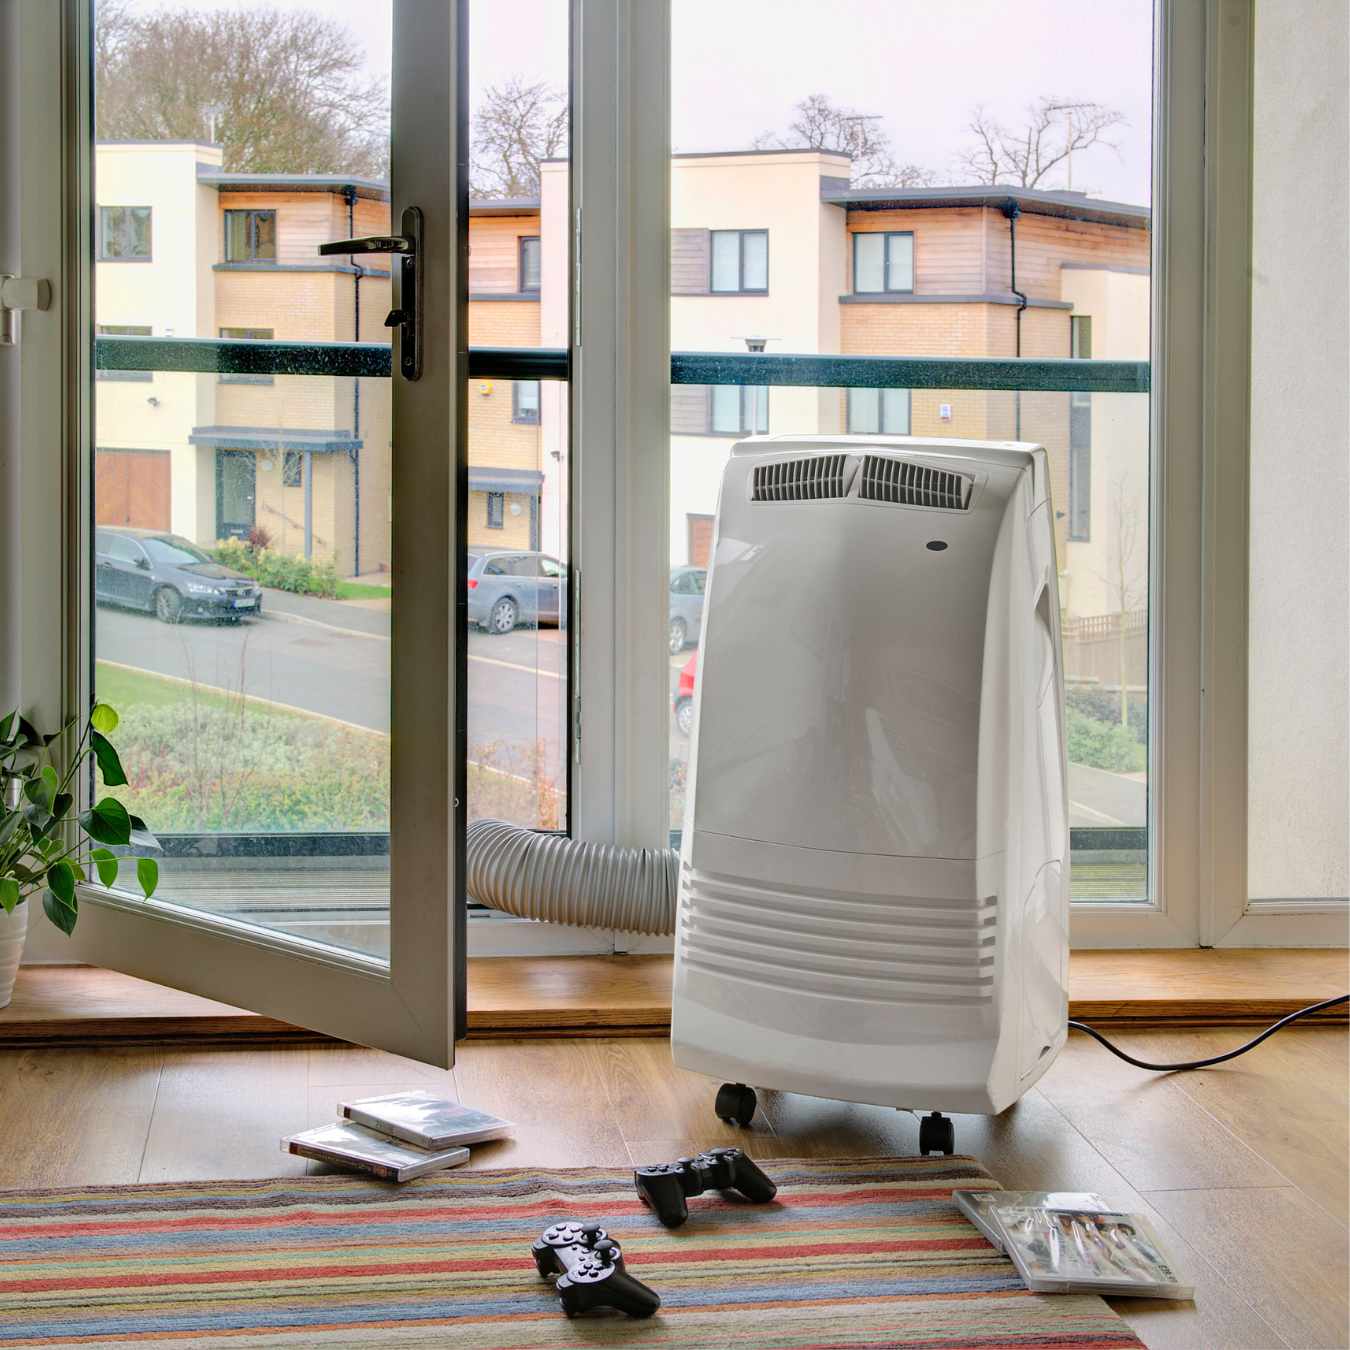
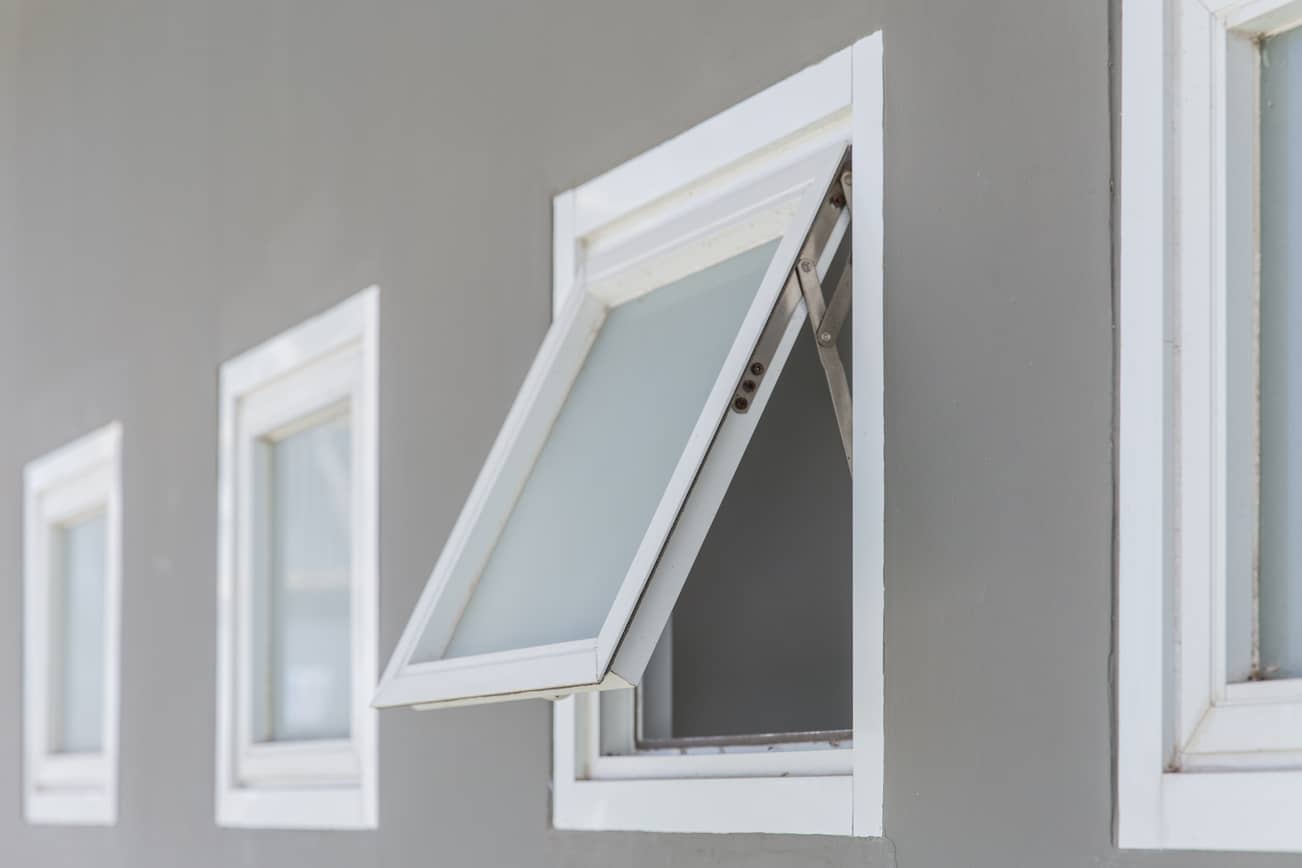
- Ventilation: Portable air conditioners require proper ventilation to expel hot air. Look for a window or an opening where you can install the exhaust hose. Additionally, ensure that the chosen location allows for unobstructed airflow around the unit.
- Proximity to Power Outlet: Make sure that the location you choose is near a power outlet or has access to one. The unit will need to be plugged in to operate.
- Room Size: Consider the size of the room you want to cool. LG portable air conditioners come in different cooling capacities, so choose a unit that matches the size of the room to ensure optimal cooling performance.
- Noise Level: While most portable air conditioners operate quietly, they do produce some noise. Keep this in mind when selecting the location, especially if you plan to use the air conditioner in a bedroom or office space where noise can be a concern.
- Accessibility: Ensure that the chosen location allows for easy access to the air conditioner for maintenance and filter cleaning.
Once you have determined the right location, remove any obstacles or furniture that may hinder the installation process. This will make it easier to position the unit and allow for smooth operation.
Remember, selecting the right location is crucial for the efficiency and performance of your LG portable air conditioner. By considering factors such as ventilation, proximity to power outlets, room size, noise level, and accessibility, you can ensure optimal cooling and enjoy a comfortable living space.
Now that you have chosen the perfect spot, let’s move on to the next step – preparing the window kit.
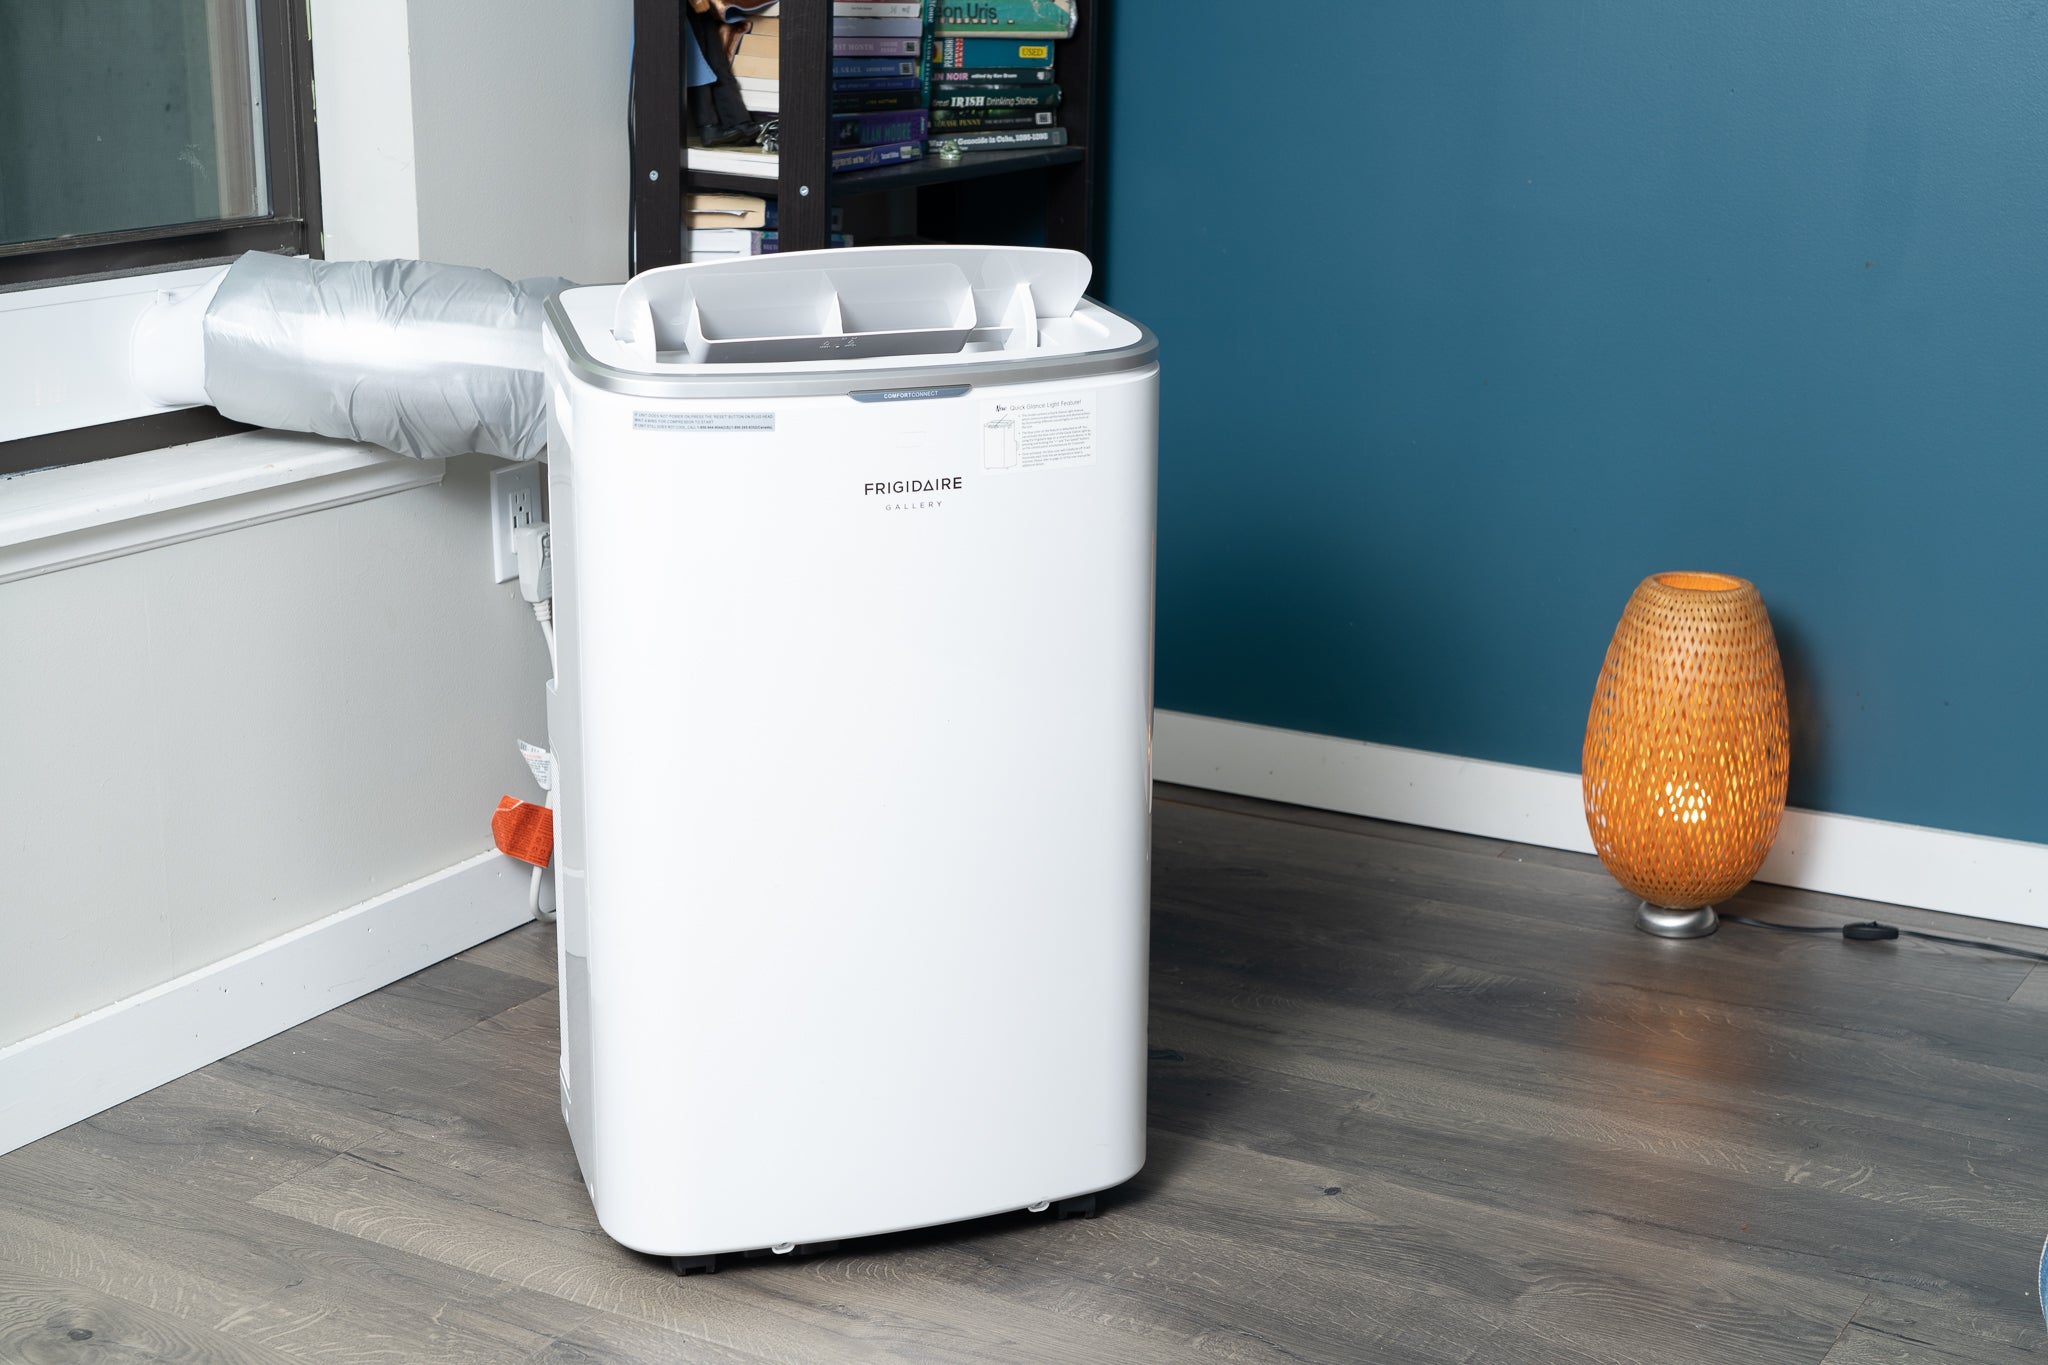
Step 3: Prepare the Window Kit
As you progress through the installation process of your LG portable air conditioner, it’s time to prepare the window kit. The window kit allows you to properly secure the exhaust hose to the window, ensuring efficient removal of hot air from the room. Follow these steps to prepare the window kit:
- Retrieve the Window Kit: Your LG portable air conditioner comes with a window kit that includes a window bracket, adjustable panels, and seals. Locate these components.
- Measure the Window: Take measurements of your window to ensure a proper fit. Measure the width and height of the window and adjust the adjustable panels of the window kit accordingly.
- Attach the Window Bracket: Place the window bracket at the bottom of the adjustable panels. Make sure it aligns with the width of the window. Secure it in place using the provided screws or clips.
- Attach the Seals: Attach the window seals to the top and sides of the adjustable panels. These seals help create a snug fit and prevent any hot air from entering the room.
- Prepare the Window Opening: Open the window and clear any debris or obstructions. If there is a window screen, consider removing it temporarily to facilitate the installation process.
It’s important to note that the window kit design may vary slightly depending on the model of your LG portable air conditioner. Refer to the user manual for specific instructions regarding your window kit.
By properly preparing the window kit, you ensure a secure and efficient installation for your LG portable air conditioner. With the window kit ready, it’s time to move on to the next step – installing the exhaust hose.
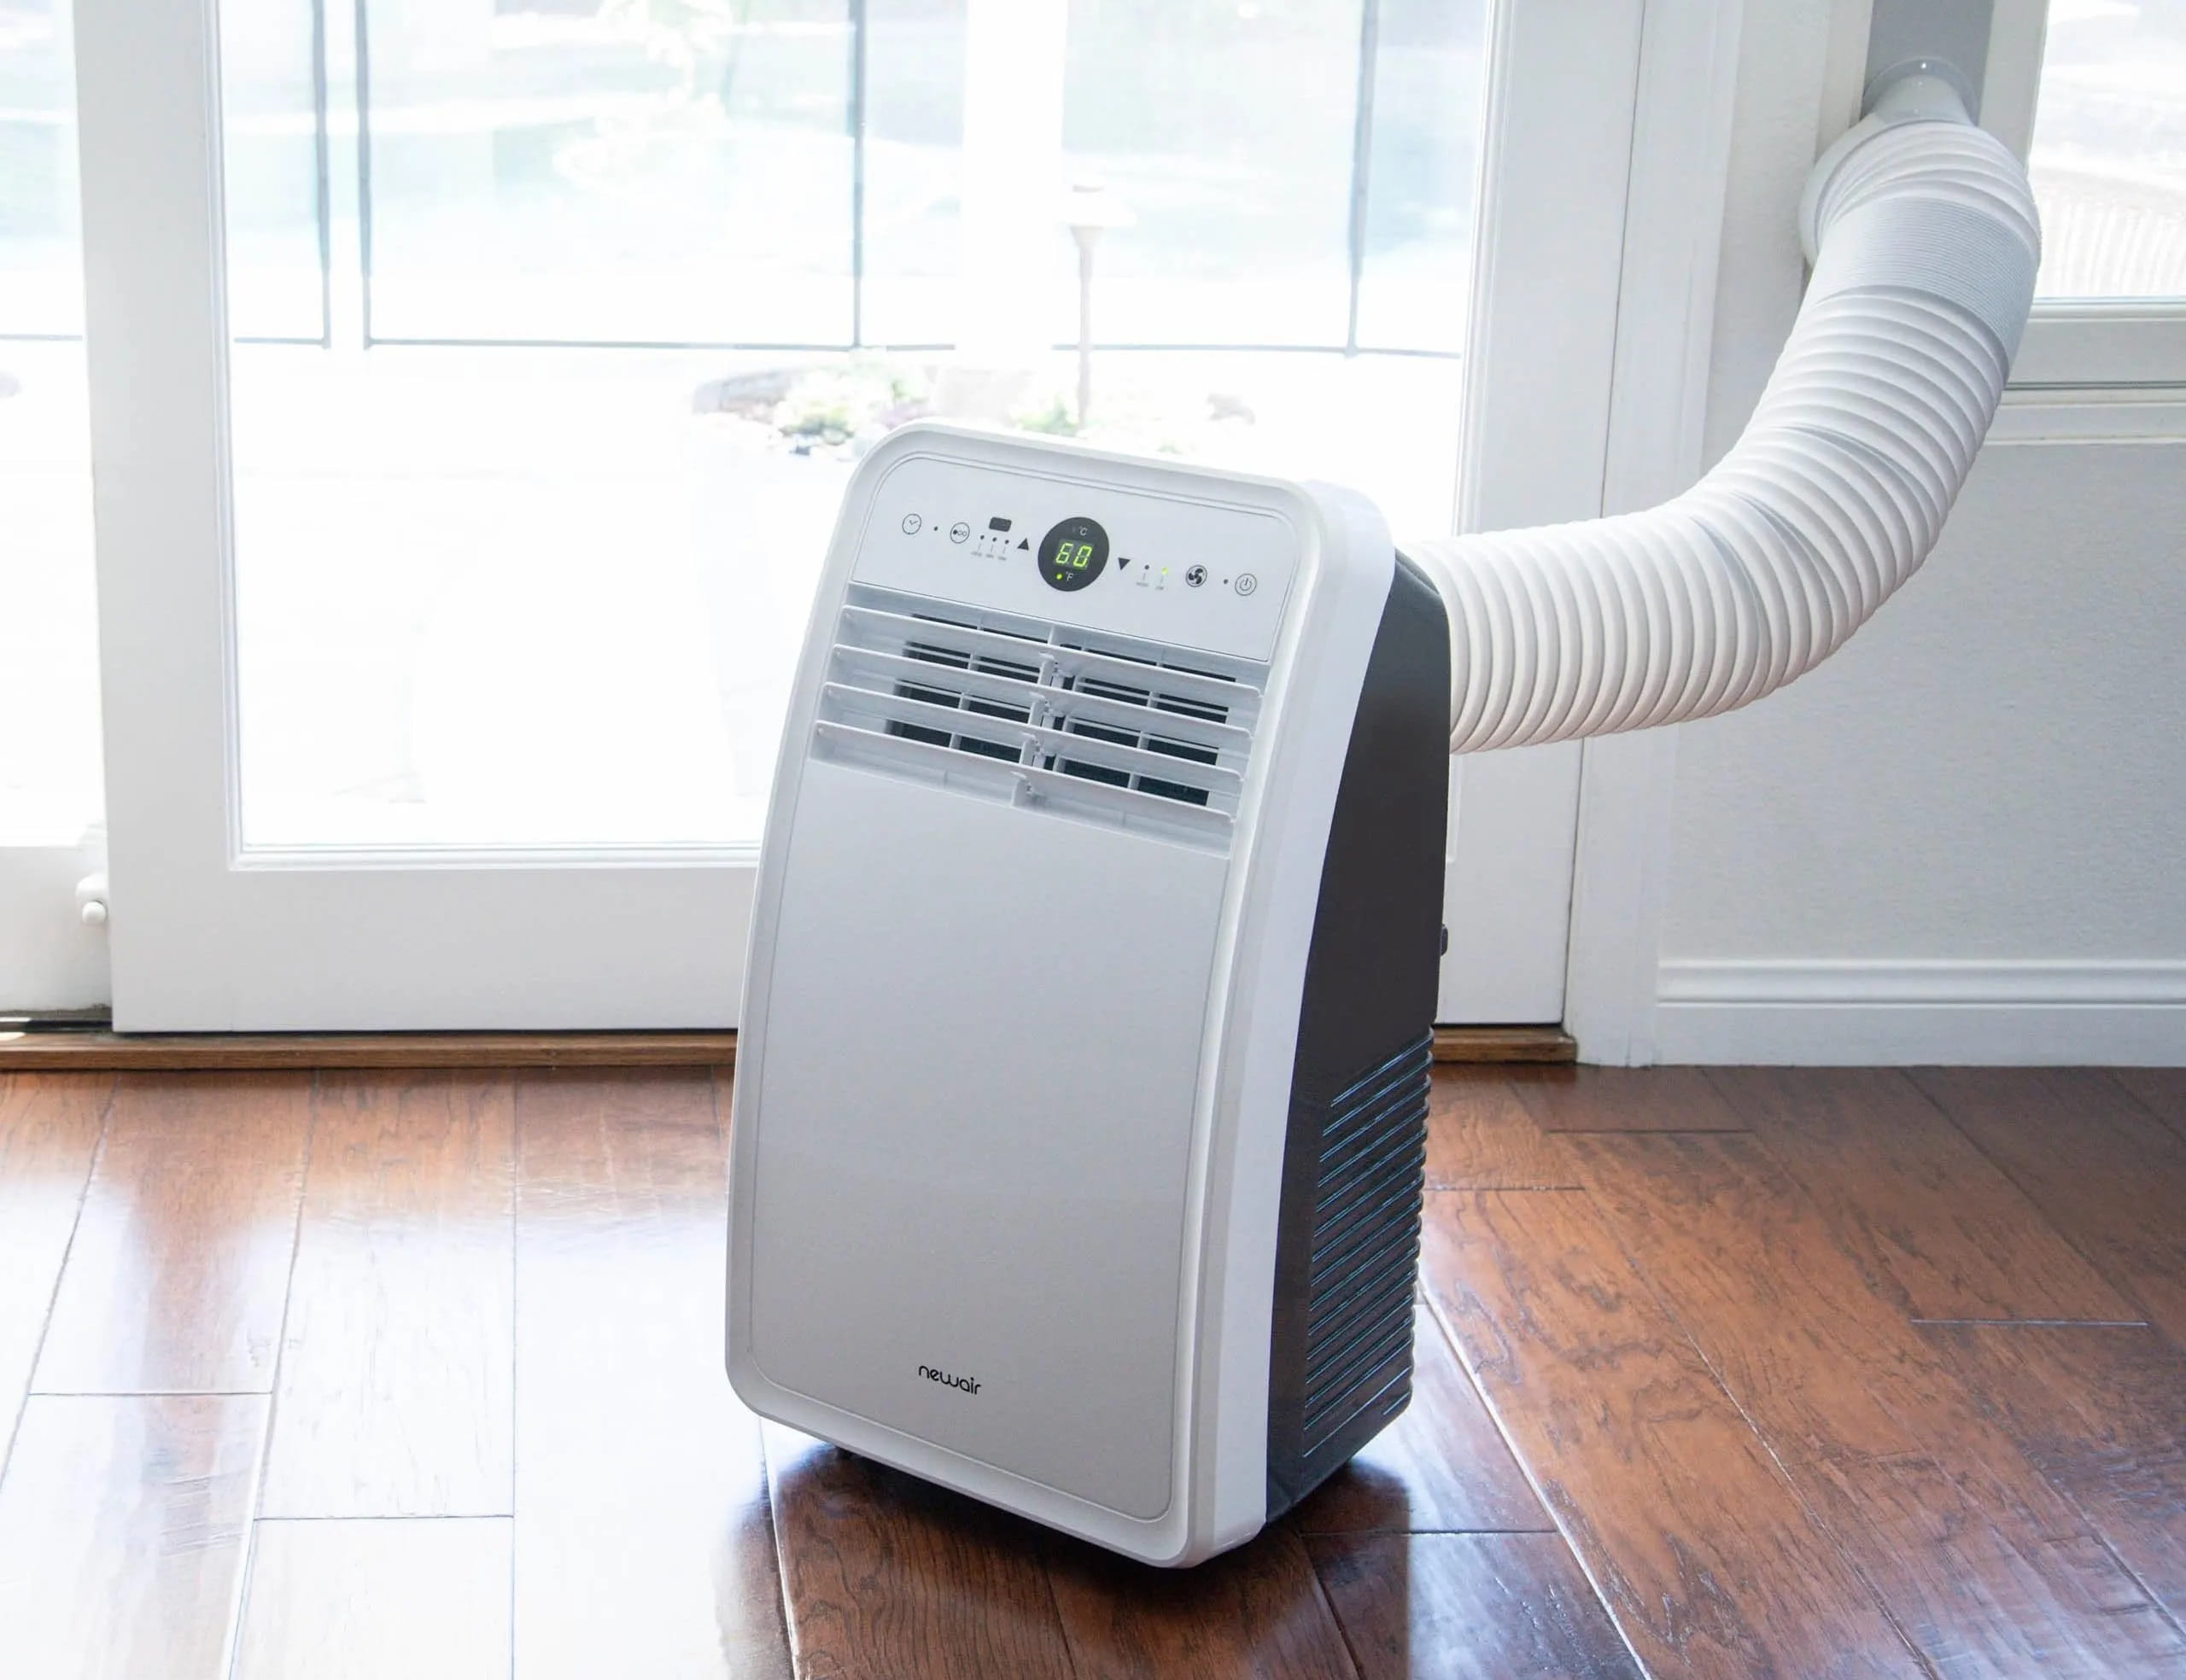
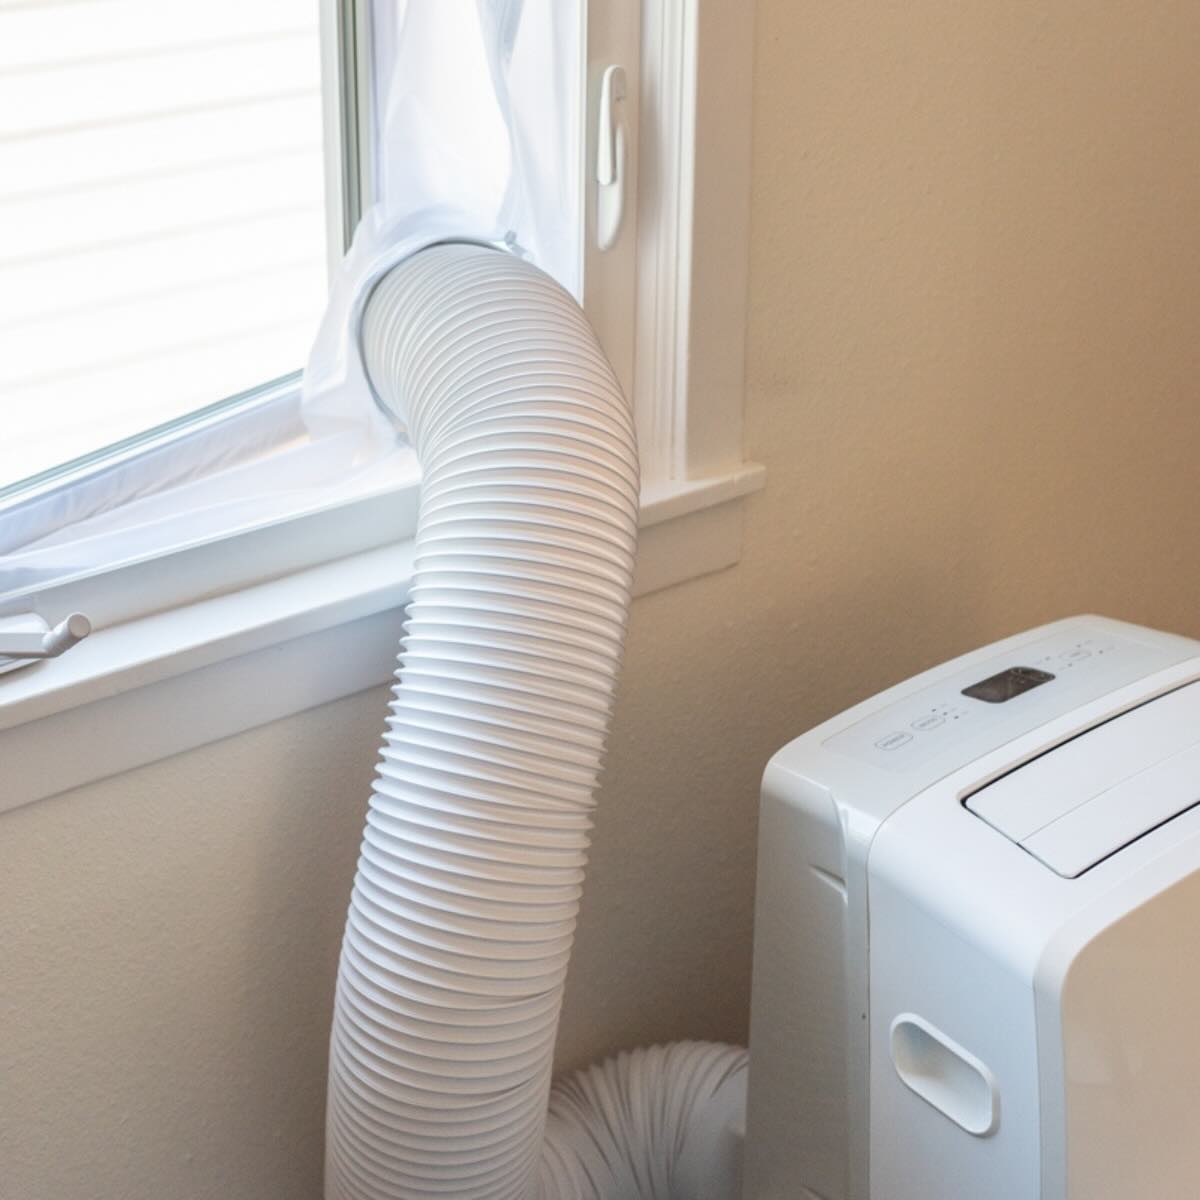
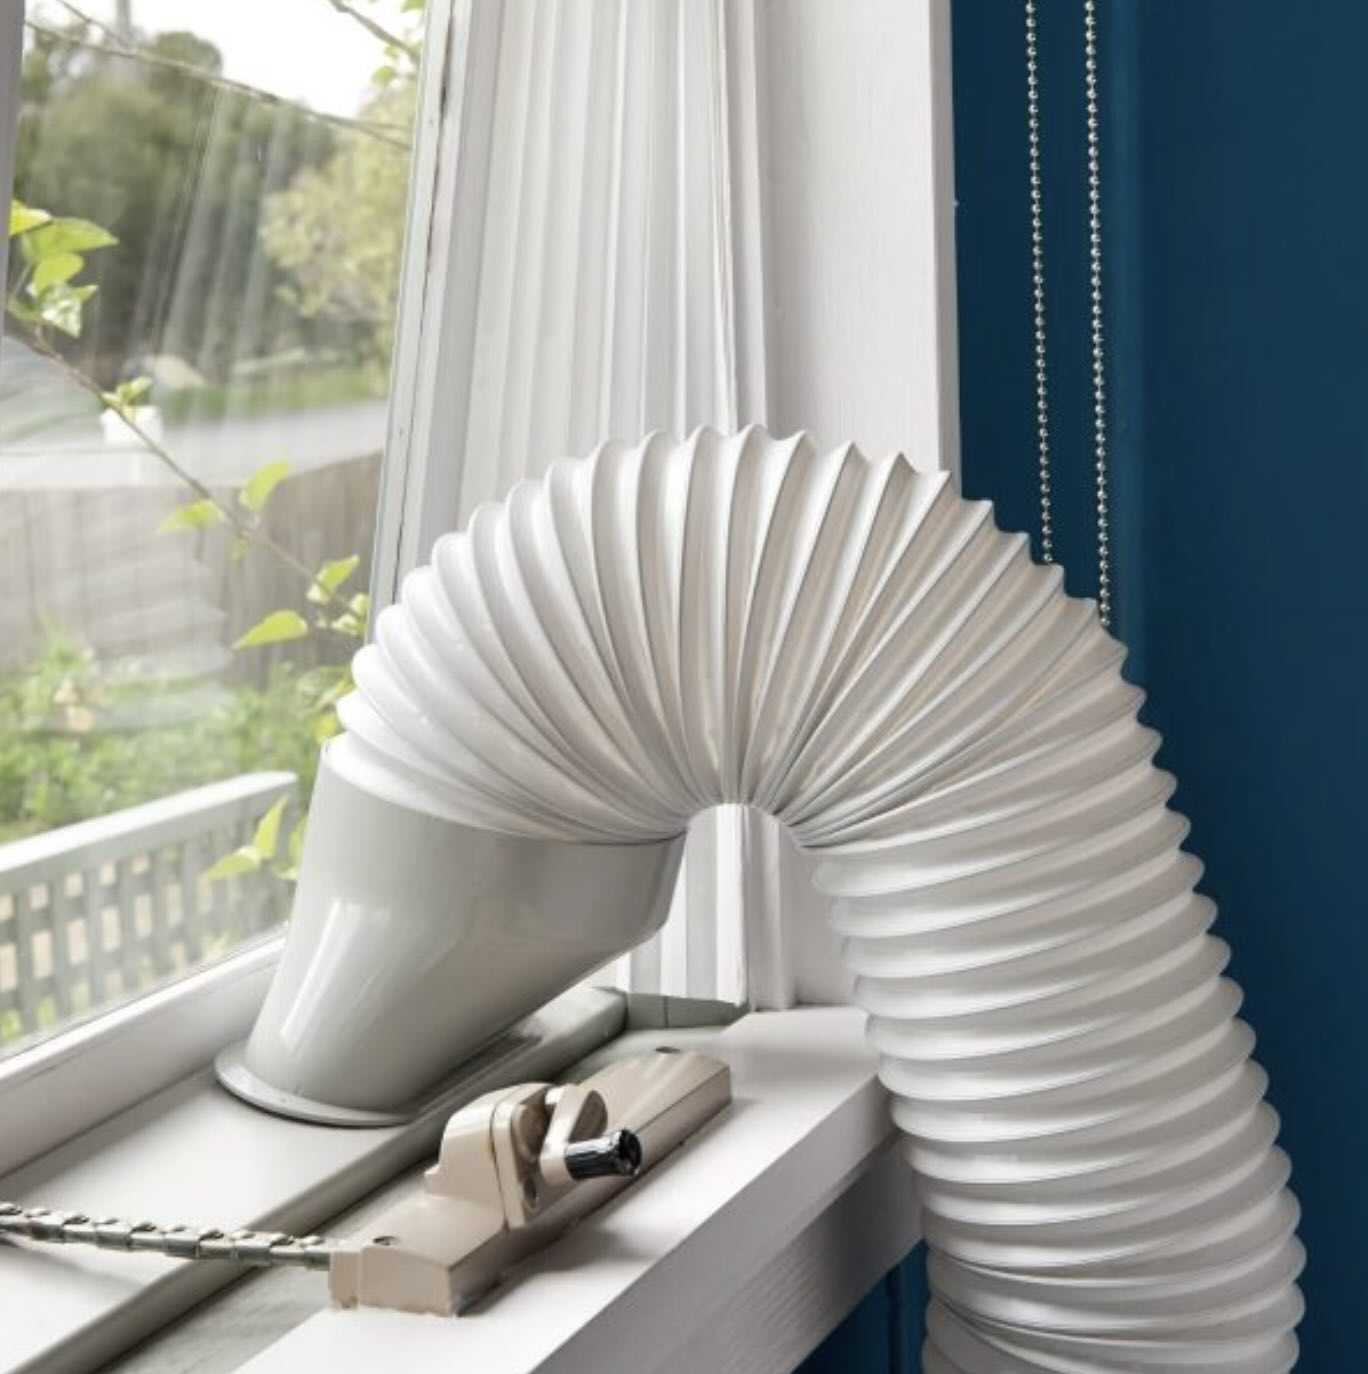
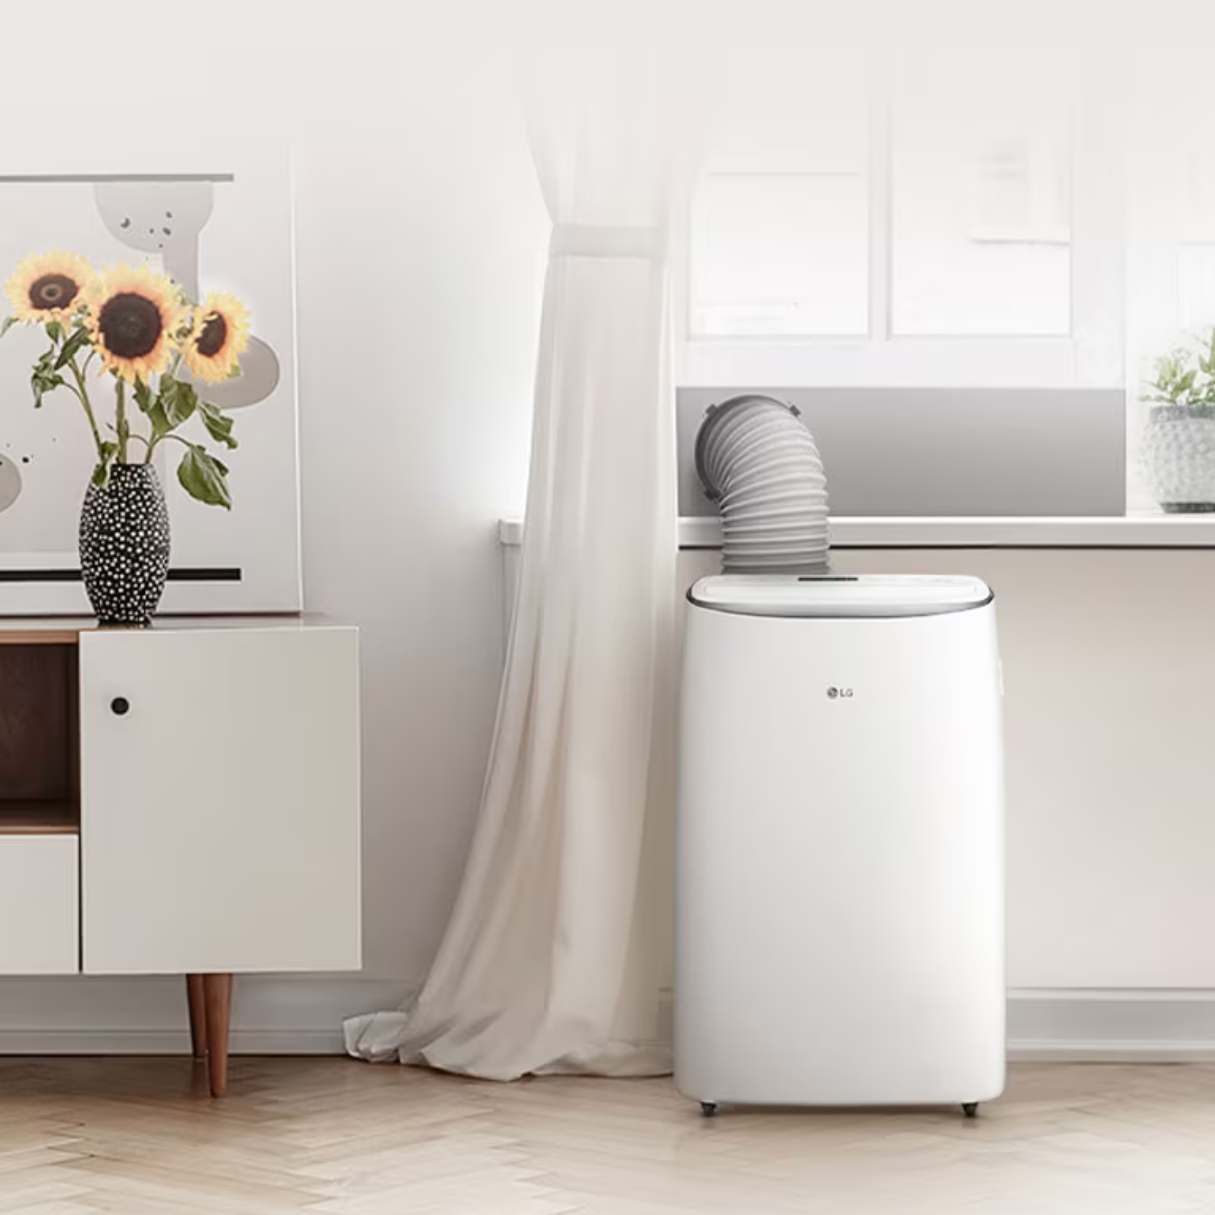
Step 4: Install the Exhaust Hose
Now that you have prepared the window kit, it’s time to install the exhaust hose for your LG portable air conditioner. The exhaust hose is a critical component that allows hot air to be vented out of the room. Follow these steps to install the exhaust hose:
- Locate the Exhaust Outlet: Identify the exhaust outlet on your LG portable air conditioner. It is usually located at the back or side of the unit.
- Extend the Exhaust Hose: Take the exhaust hose provided with your air conditioner and extend it to its full length. Ensure there are no kinks or bends in the hose for optimal airflow.
- Connect the Hose to the Exhaust Outlet: Attach one end of the exhaust hose securely to the exhaust outlet on the air conditioner. Twist it clockwise to ensure a tight connection.
- Position the Other End of the Hose: Place the other end of the exhaust hose through the window opening. Make sure it reaches the window kit and aligns with the designated window bracket.
- Secure the Hose: Attach the hose to the window bracket using any provided fasteners, such as hose clamps or zip ties. This will ensure that the hose remains in place during operation.
It is important to ensure that the exhaust hose is securely connected to both the air conditioner and the window kit. Any gaps or loose connections can result in inefficient cooling and the potential entry of hot air back into the room.
During the installation process, be mindful of bending or crimping the exhaust hose, as this can restrict airflow. It is best to keep the hose as straight and unobstructed as possible to maximize the efficiency of your LG portable air conditioner.
Now that the exhaust hose is properly installed, we can move on to the next step – mounting the window kit.
Make sure to properly vent the exhaust hose out of a window or through a wall to ensure efficient operation of your LG portable air conditioner.
Read more: How To Drain A Portable Air Conditioner
Step 5: Mount the Window Kit
With the exhaust hose securely installed, the next step is to mount the window kit of your LG portable air conditioner. The window kit ensures a proper seal between the unit and the window, preventing the entry of hot air and maintaining the efficiency of the cooling process. Follow these steps to mount the window kit:
- Position the Window Kit: Place the assembled window kit with the adjustable panels against the window. Take care to align it properly, ensuring a snug fit.
- Adjust the Panels: Extend or retract the adjustable panels of the window kit as needed to fit the width of your window. The panels should be securely placed against the sides of the window, creating a tight seal.
- Secure the Window Kit: Use the provided screws or clips to fasten the window kit to the window frame. Ensure that it is firmly attached and does not move or wobble.
- Double-Check the Seal: Inspect the seal between the window kit and the window. Make sure there are no gaps or openings that could allow hot air to enter the room. If necessary, use weatherstripping or adhesive foam tape to create a better seal.
It’s crucial to properly mount the window kit to maintain the efficiency of your LG portable air conditioner. A secure and airtight seal between the unit and the window will prevent the escape of cool air and the entry of hot air, ensuring optimal cooling performance.
Once the window kit is securely mounted, we can move on to the next step – connecting the hose and window kit.
Step 6: Connect the Hose and Window Kit
Now that your window kit is mounted, it’s time to connect the exhaust hose and the window kit of your LG portable air conditioner. This step ensures a proper and secure connection, allowing the hot air to be expelled outside and cool air to be circulated within the room. Follow these steps to connect the hose and window kit:
- Position the Hose: Bring the end of the exhaust hose that is connected to the air conditioner closer to the window kit.
- Insert the Hose: Insert the end of the exhaust hose into the designated opening of the window kit. Ensure that it fits securely and tightly.
- Seal any Gaps: Check for any gaps or openings between the exhaust hose and the window kit. If needed, use duct tape or another sealing material to create a tight seal and prevent any air leakage.
- Secure the Connection: Use any provided fasteners, such as hose clamps or zip ties, to secure the connection between the exhaust hose and the window kit. This will ensure that the connection remains intact during operation.
It’s important to ensure a proper and secure connection between the exhaust hose and the window kit. Any gaps or loose connections can result in air leakage and compromise the cooling efficiency of your LG portable air conditioner.
By following these steps, you can confidently connect the exhaust hose to the window kit, allowing for the proper flow of hot air out of the room and ensuring that cool air is circulated effectively. With the hose and window kit connected, we can move on to the next step – plugging in and testing the air conditioner.
Step 7: Plug in and Test the Air Conditioner
With the exhaust hose and window kit properly connected, it’s time to plug in and test your LG portable air conditioner. This step allows you to ensure that the unit is functioning correctly and that cool air is being delivered to the room. Follow these steps to plug in and test your air conditioner:
- Find a Power Outlet: Locate a nearby power outlet that can accommodate the plug of your LG portable air conditioner.
- Plug In the Unit: Insert the power plug of the air conditioner into the power outlet. Ensure that it is securely inserted.
- Switch On the Air Conditioner: Locate the power switch or button on the unit and turn it on. You may also need to adjust the temperature and fan speed settings as desired.
- Listen for Operation: As the air conditioner starts running, listen for any unusual sounds or noises. It’s normal to hear the fan and compressor working, but any loud or persistent noises may indicate a problem that should be addressed.
- Check for Cool Air: Place your hand near the air outlet of the air conditioner to feel if cool air is being emitted. The air should gradually become cooler as the unit runs. If there is no cool air or inadequate cooling, double-check the hose and window kit connections, and ensure that all settings are properly adjusted.
By following these steps, you can confirm that your LG portable air conditioner is running smoothly and delivering cool air effectively. If you encounter any issues or have concerns during the testing phase, refer to the troubleshooting section in the user manual or contact LG customer support for assistance.
Now that you have verified the functionality of your air conditioner, it’s time to adjust the settings and enjoy the cool air that your LG portable air conditioner provides.
Step 8: Adjust Settings and Enjoy Cool Air
With your LG portable air conditioner successfully installed and tested, it’s time to fine-tune the settings and enjoy the cool and comfortable air in your space. Follow these steps to adjust the settings and optimize your cooling experience:
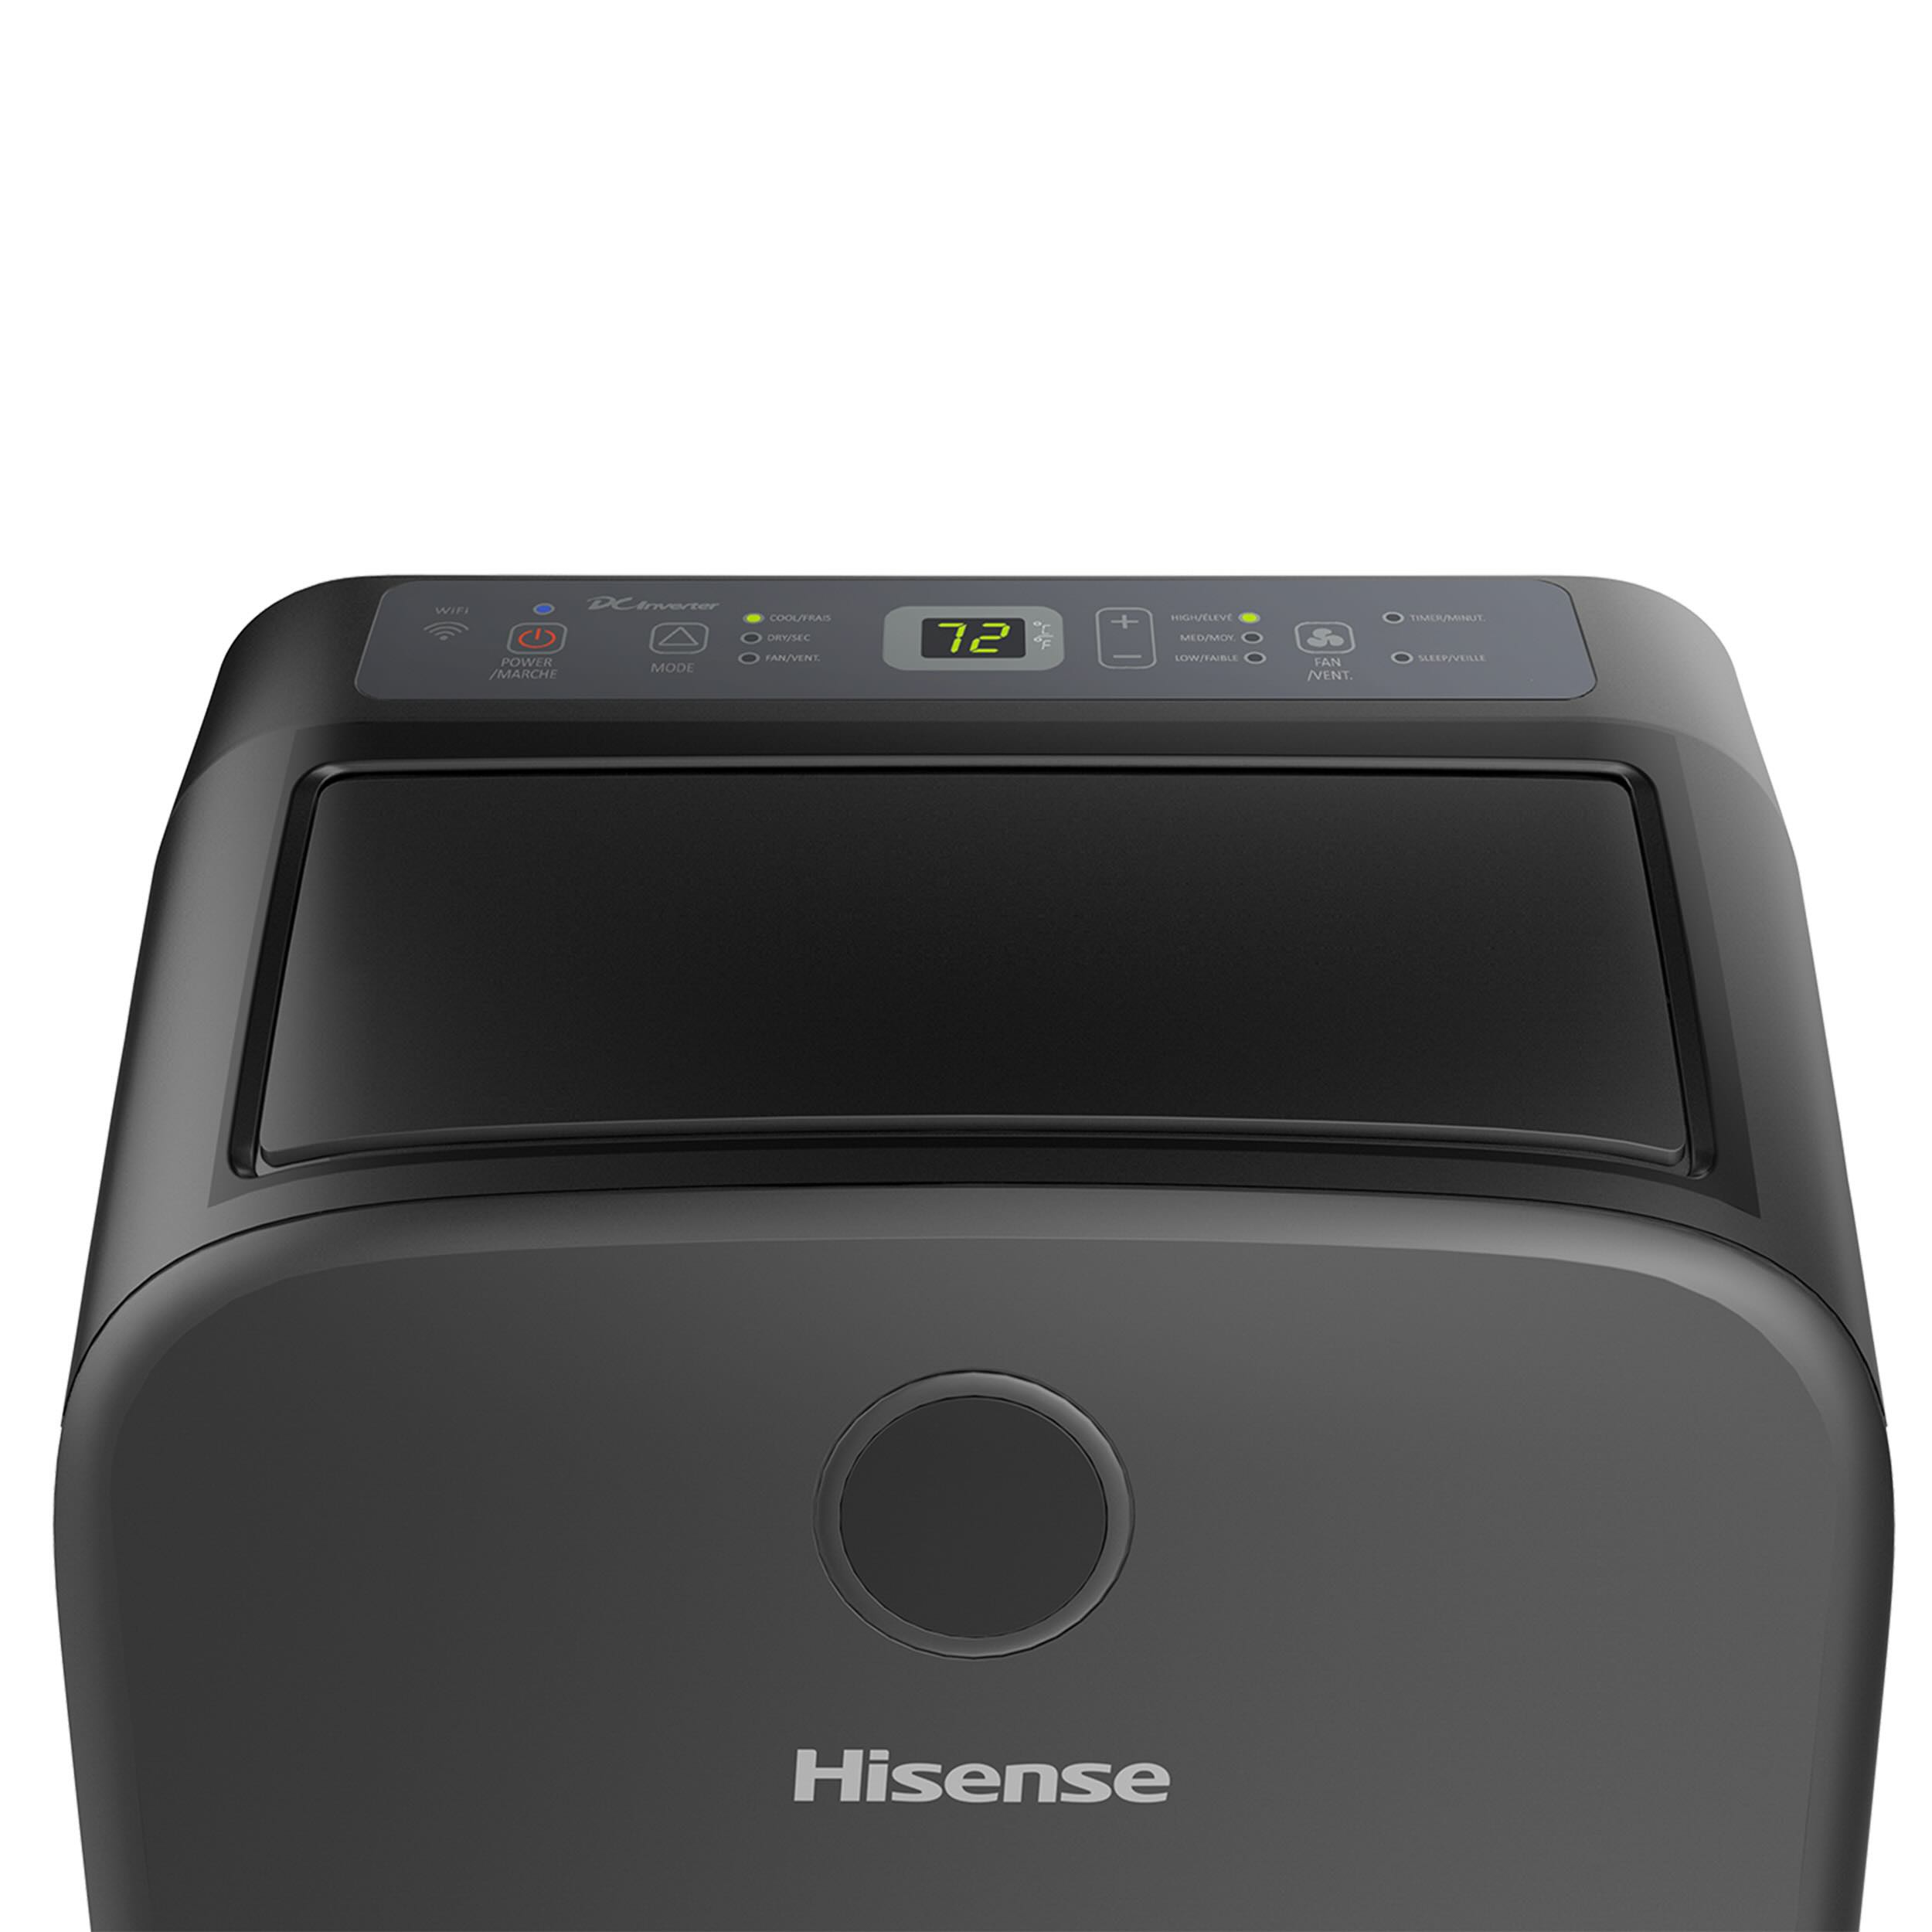
- Temperature: Set your desired temperature using the control panel or remote control. Adjust the temperature based on your comfort level and the temperature of the room.
- Fan Speed: Customize the fan speed to your preference. Higher fan speeds provide faster cooling, while lower speeds create a more gentle and quiet airflow.
- Mode Selection: Explore the different modes available on your LG portable air conditioner. Some common modes include cooling, dehumidification, fan-only, and sleep modes. Choose the mode that best suits your needs.
- Timer: Take advantage of the timer feature to schedule automatic on/off cycles for your air conditioner. This can help conserve energy and ensure that your space is cool and comfortable when you need it.
- Adjust Airflow Direction: Some LG portable air conditioners allow you to adjust the airflow direction. Experiment with different angles to ensure that the cool air is evenly distributed throughout the room.
- Maintain and Clean: Regularly clean and maintain your air conditioner to ensure optimal performance. Follow the maintenance guidelines provided in the user manual, including cleaning or replacing filters, removing any accumulated debris, and checking for any signs of wear or damage.
By adjusting the settings to your preference and maintaining your LG portable air conditioner properly, you can enjoy a consistently cool and comfortable environment in your home or office space.
Remember to periodically check and clean the filters to ensure efficient airflow and optimal cooling performance. This will help prolong the life of your air conditioner and maintain its effectiveness.
Now that you have completed the installation and setup process, sit back, relax, and enjoy the refreshing cool air that your LG portable air conditioner provides.
Please note that the specific features and options available may vary depending on the model of your LG portable air conditioner. Refer to the user manual for detailed instructions and guidance specific to your unit.
With these simple steps, you can enjoy the benefits of your newly installed LG portable air conditioner and beat the heat with ease. Stay cool and comfortable all season long!
Read more: How To Recharge A Portable Air Conditioner
Conclusion
Congratulations! You have successfully installed your LG portable air conditioner and are now ready to enjoy cool and refreshing air in your space. By following the steps outlined in this guide, you’ve ensured a proper and efficient installation process.
Throughout the installation process, we emphasized the importance of reading the user manual, choosing the right location, preparing the window kit, installing the exhaust hose, mounting the window kit, connecting the hose and window kit, and finally, plugging in and testing the air conditioner. Taking the time to carefully complete each step ensures optimal performance and cooling comfort.
Now that your LG portable air conditioner is up and running, remember to adjust the temperature, fan speed, and mode settings to suit your preferences. Experiment with airflow direction and utilize the timer feature to further enhance your comfort and energy efficiency.
In addition to enjoying the cool air, it is essential to regularly maintain and clean your air conditioner. Refer to the user manual for specific guidelines on filter cleaning and overall maintenance routines. Proper maintenance will extend the lifespan of your air conditioner and ensure its continuous effectiveness.
We hope this guide has been helpful in guiding you through the installation process of your LG portable air conditioner. Enjoy the relief from the heat and make the most of the cool and comfortable atmosphere it provides.
Remember, if you have any questions or encounter any issues, consult the user manual or reach out to LG customer support for assistance. Stay cool and enjoy your newly installed LG portable air conditioner!
Frequently Asked Questions about How To Install An LG Portable Air Conditioner
Was this page helpful?
At Storables.com, we guarantee accurate and reliable information. Our content, validated by Expert Board Contributors, is crafted following stringent Editorial Policies. We're committed to providing you with well-researched, expert-backed insights for all your informational needs.