Home>Home Maintenance>How To Install A Toshiba Portable Air Conditioner
Home Maintenance
How To Install A Toshiba Portable Air Conditioner
Modified: October 20, 2024
Learn how to install a Toshiba portable air conditioner for your home maintenance needs. Follow our step-by-step guide for a quick and easy setup.
(Many of the links in this article redirect to a specific reviewed product. Your purchase of these products through affiliate links helps to generate commission for Storables.com, at no extra cost. Learn more)
Introduction
Welcome to our guide on how to install a Toshiba portable air conditioner. With the hot summer months approaching, keeping your home cool and comfortable is essential for your well-being. Portable air conditioners, such as the ones offered by Toshiba, provide a convenient and cost-effective solution to beat the heat, especially in spaces where traditional cooling methods are not feasible.
In this article, we will walk you through the step-by-step process of installing a Toshiba portable air conditioner. Whether you are a seasoned DIY enthusiast or a beginner, this guide will help you successfully set up your air conditioner, ensuring optimal performance and cooling efficiency.
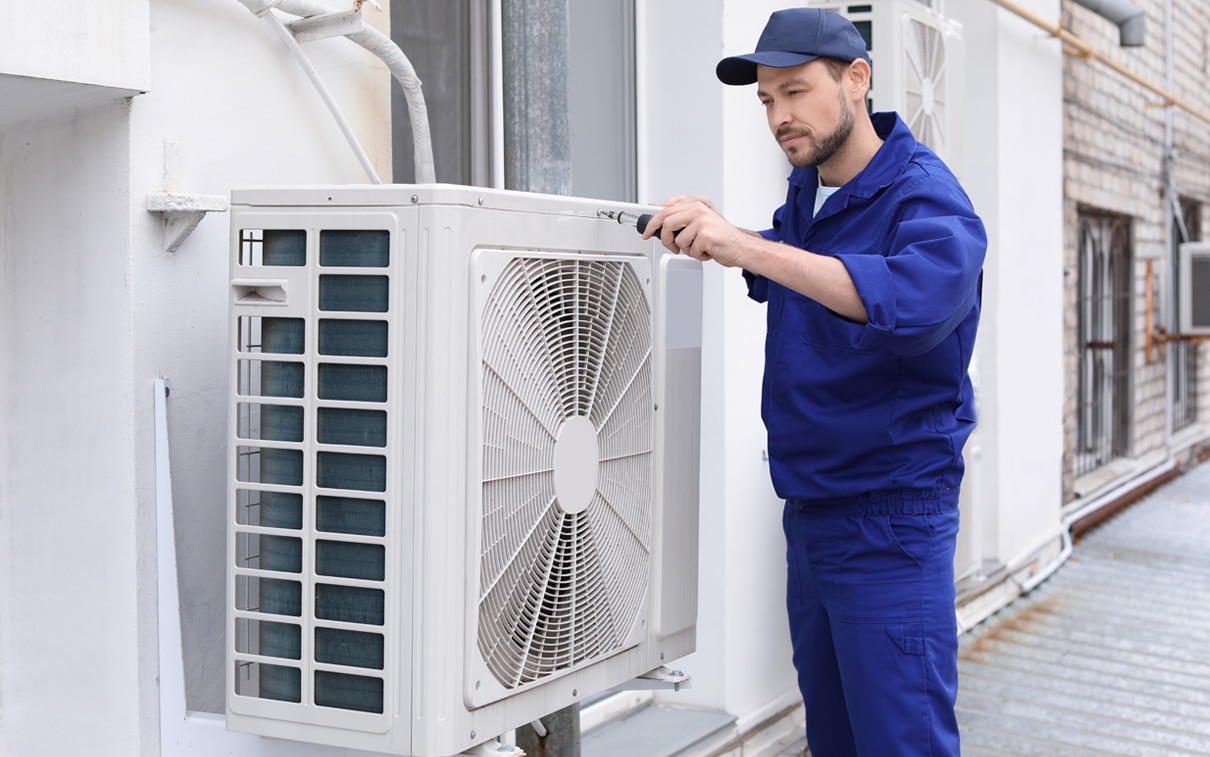
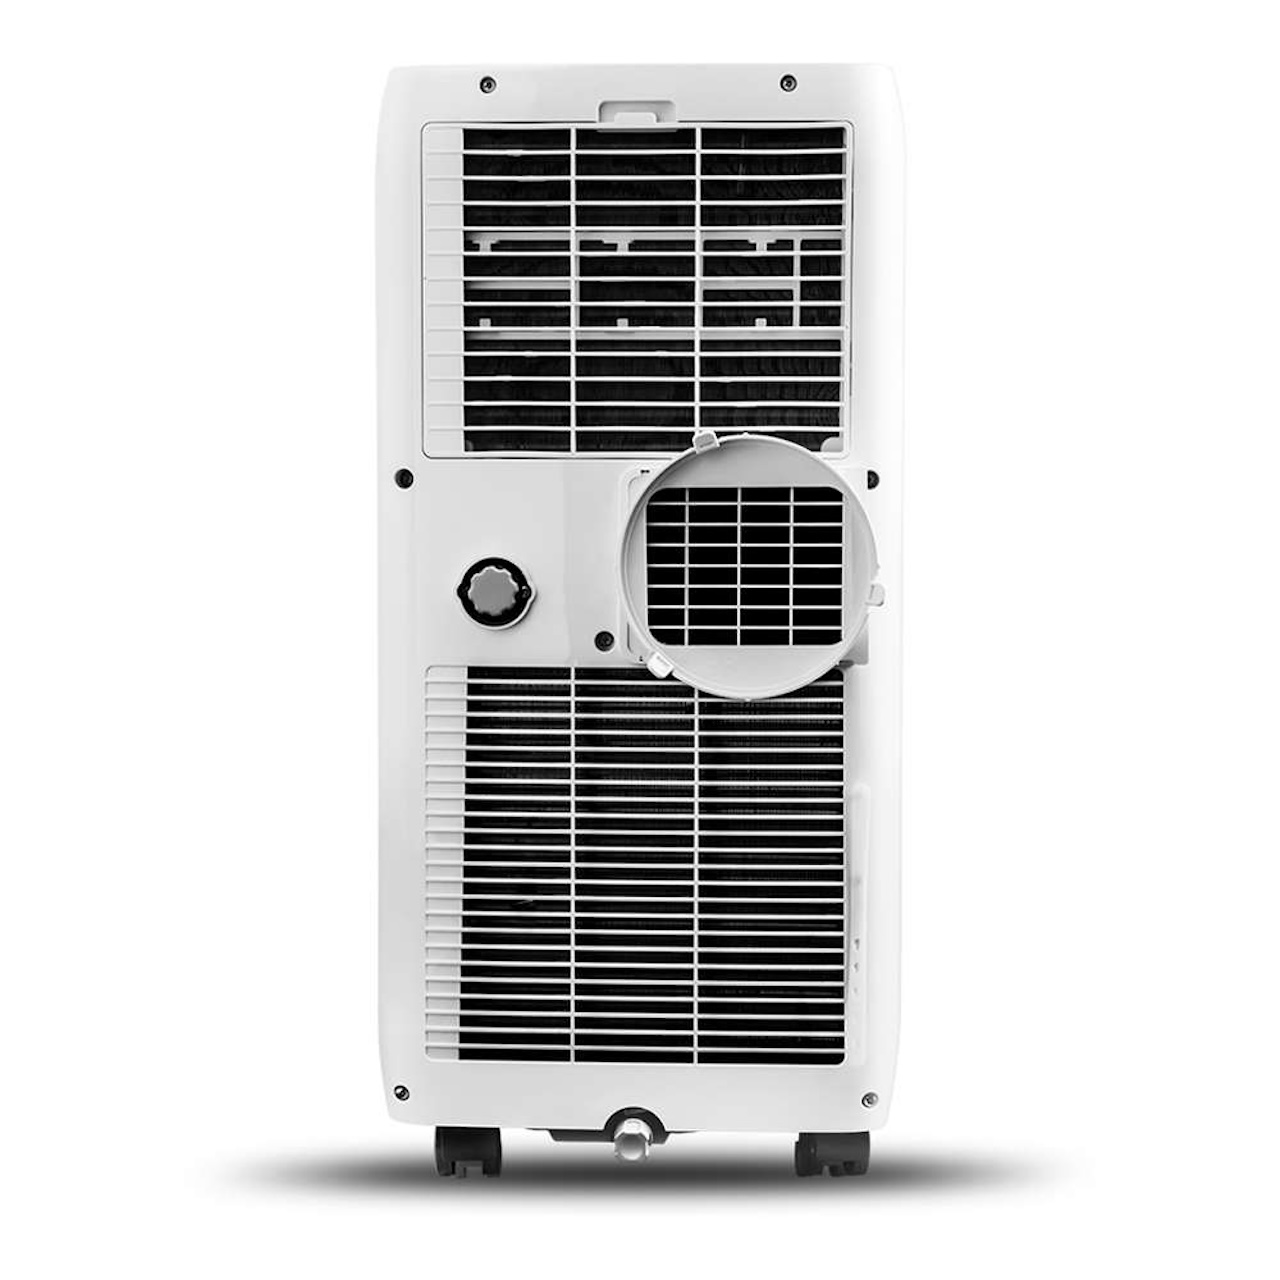
Before we dive into the installation process, let’s take a moment to familiarize ourselves with the key components of a Toshiba portable air conditioner. These units typically consist of an indoor cooling unit, an exhaust hose, a window venting kit, and a control panel. The indoor cooling unit houses the compressor, condenser, and evaporator, which work together to cool and dehumidify the air in your space.
Now, let’s get started on installing your Toshiba portable air conditioner and enjoy a cool and comfortable living environment.
Key Takeaways:
- Installing a Toshiba portable air conditioner involves unboxing, choosing a suitable location, attaching the exhaust hose, setting up the window venting kit, plugging in the power cord, adjusting the control panel settings, and testing the unit for proper functioning.
- Proper installation and testing of your Toshiba portable air conditioner ensure a cool and comfortable living environment. Regular maintenance, such as cleaning or replacing air filters, is essential for optimal performance.
Read more: How To Clean A Toshiba Air Conditioner
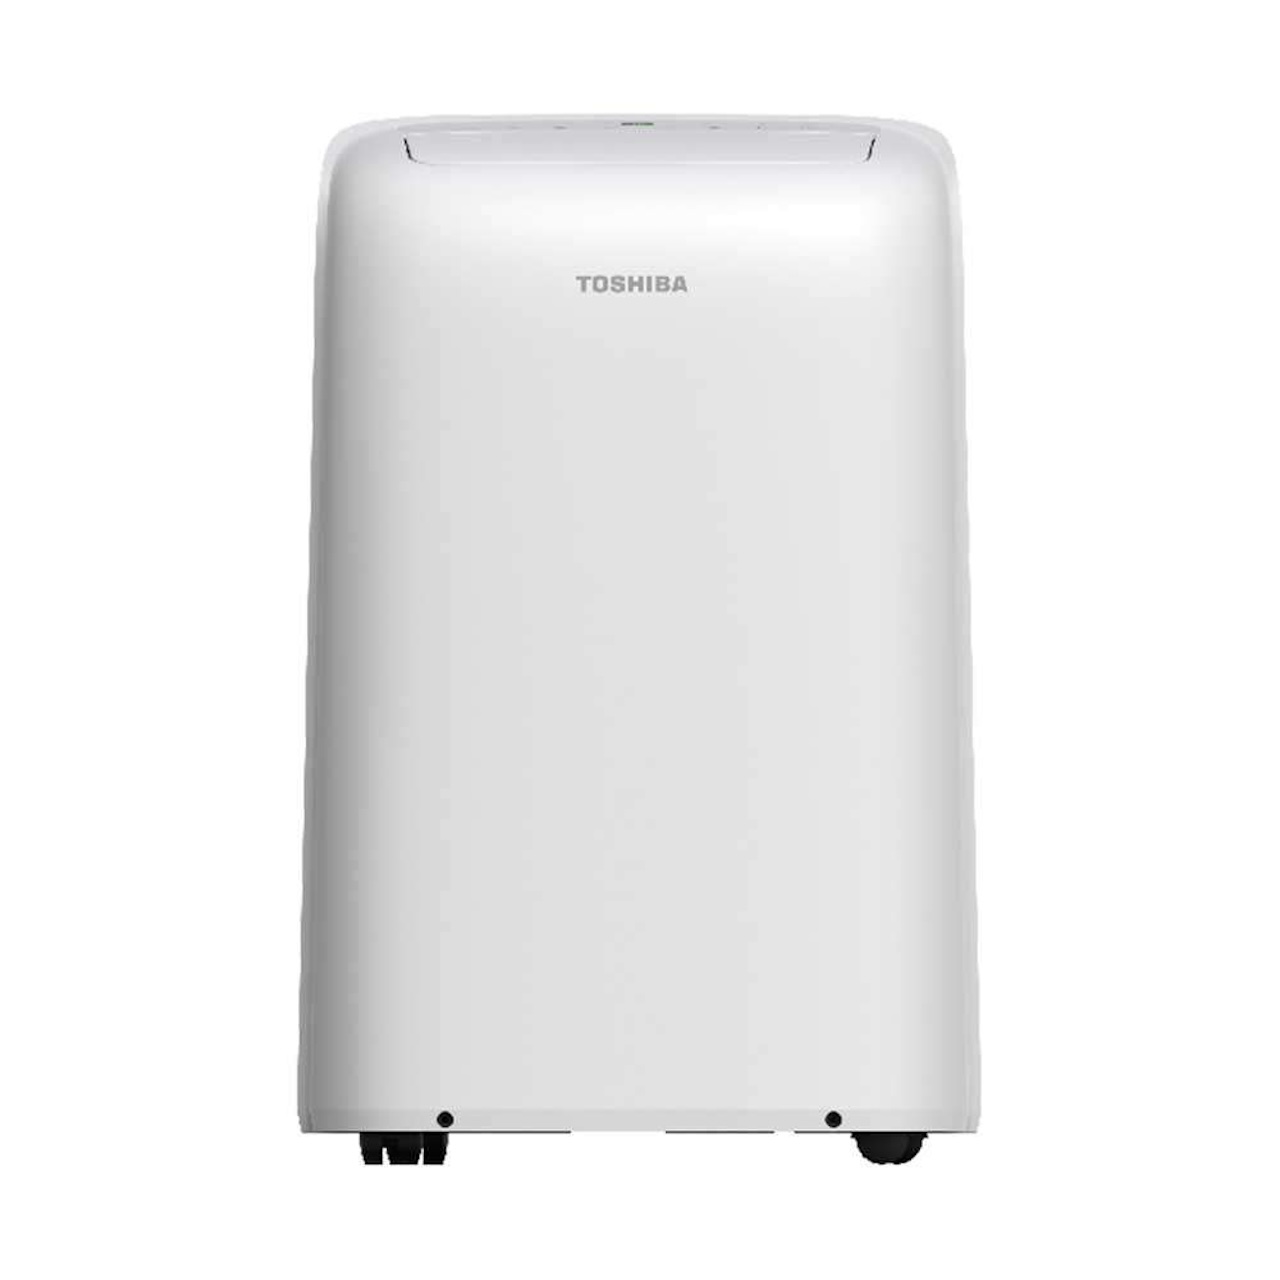
Step 1: Unboxing the Toshiba Portable Air Conditioner
The first step in the installation process of a Toshiba portable air conditioner is unboxing the unit. Carefully remove the packaging materials and ensure that all the necessary components are present. These typically include the indoor cooling unit, the exhaust hose, the window venting kit, and the control panel.
Inspect the unit for any signs of damage during shipping. If you notice any dents, cracks, or other visible damage, contact Toshiba customer support for further assistance.
Once you have confirmed that all the components are intact and undamaged, find a suitable location to set up your portable air conditioner. It should be near a window or a suitable venting area to allow for the proper exhaust of hot air. Make sure there is a power outlet nearby for plugging in the unit.
Keep in mind that portable air conditioners require proper ventilation to function effectively. As such, it is crucial to read the manufacturer’s instructions and guidelines to determine the minimum clearance required around the unit for adequate airflow.
Now that you have unboxed your Toshiba portable air conditioner and identified a suitable location for installation, you are ready to move on to the next step: choosing a suitable location for installation.
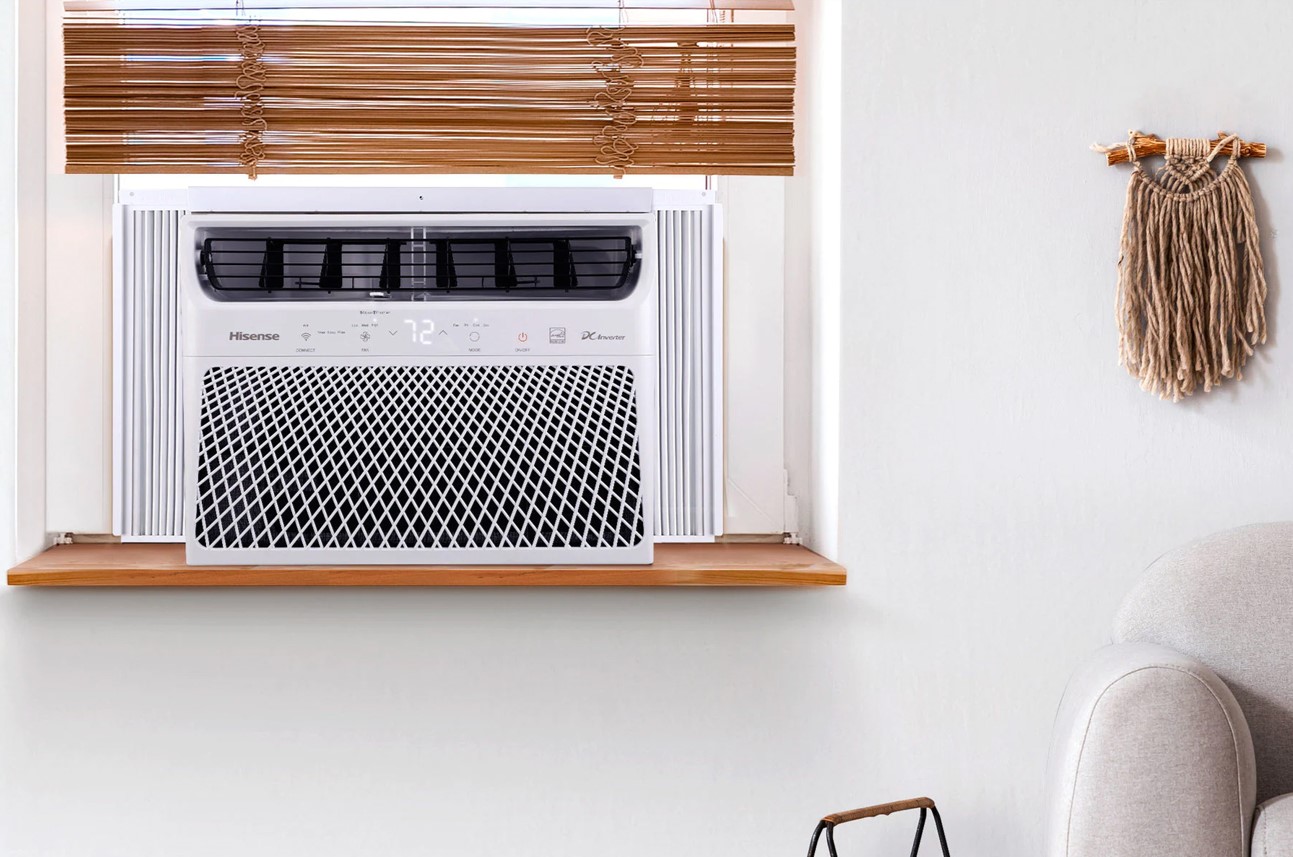
Step 2: Choosing a Suitable Location for Installation
Choosing the right location for your Toshiba portable air conditioner is crucial for optimal performance and efficient cooling. Here are some factors to consider when selecting a suitable spot:
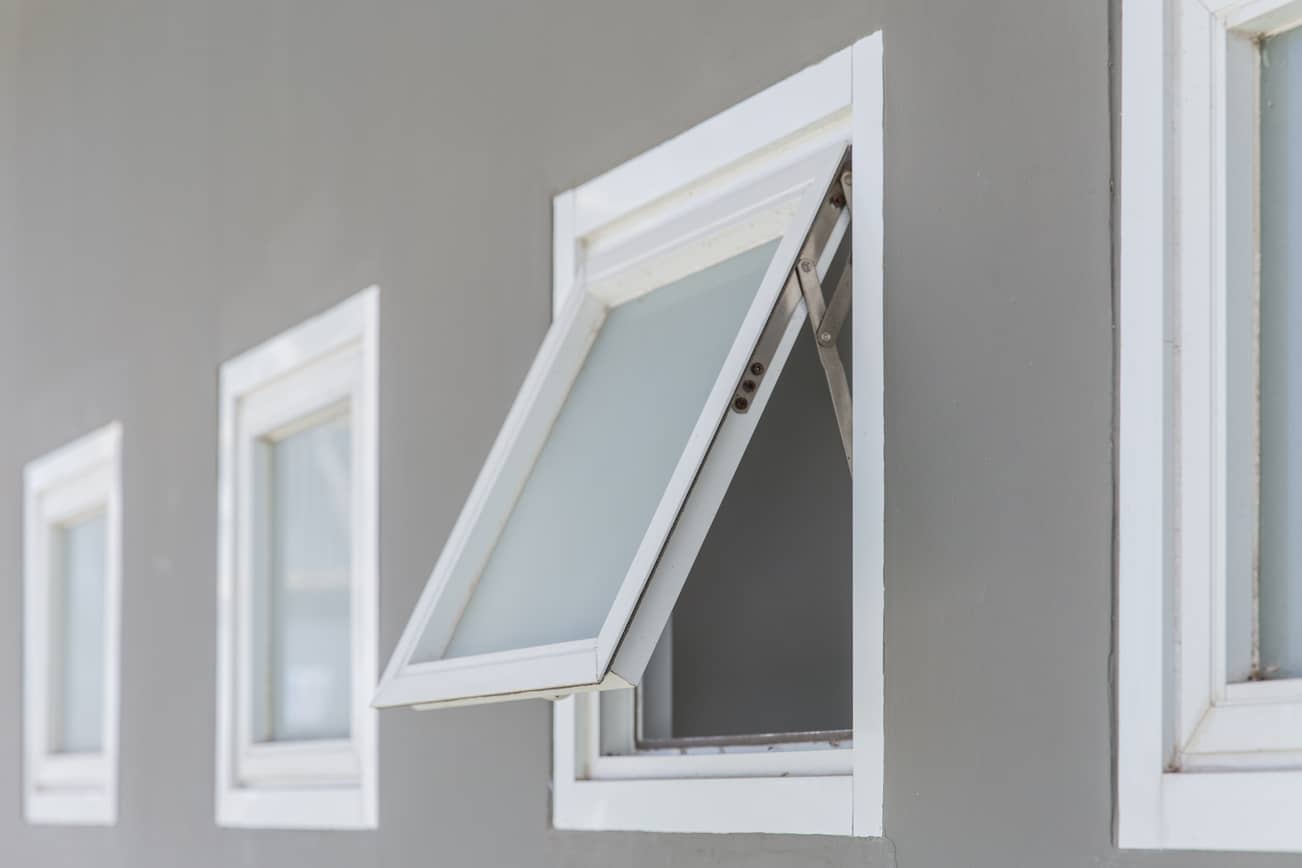
1. Proximity to a Window or Vent: Your portable air conditioner requires a window or vent to expel hot air. Ideally, choose a location close to a window or a venting area such as a sliding door or a vent grill to easily connect the exhaust hose.
2. Accessibility: Ensure that the chosen location allows easy access to the unit for maintenance, cleaning, and adjustments. Avoid placing the unit in cramped spaces or areas where it may be obstructed by furniture or other objects.
3. Avoid Direct Sunlight: Try to avoid placing your air conditioner in direct sunlight. Direct exposure to sunlight can increase the workload on the unit and reduce its cooling efficiency. If possible, choose a location that is shaded or install curtains or blinds to minimize direct sunlight.
4. Level Surface: Place your portable air conditioner on a level surface to ensure stability and prevent any vibrations or noise during operation. Avoid uneven or slanted surfaces that may cause the unit to tilt or slide.
5. Proper Clearance: Allow sufficient space around the unit for proper airflow. Check the manufacturer’s guidelines for the recommended clearance distances on all sides of the air conditioner. Adequate clearance ensures efficient operation and prevents the unit from overheating.
6. No Obstructions: Avoid obstructing the air conditioner’s intake or exhaust vents. Keep the surrounding area clear of any objects, such as curtains, furniture, or plants, that may obstruct the flow of air. This helps maintain optimal performance and prevents overheating.
Once you have identified a suitable location based on the above considerations, you are ready to proceed with the installation process. In the next step, we will guide you through attaching the exhaust hose to your Toshiba portable air conditioner.
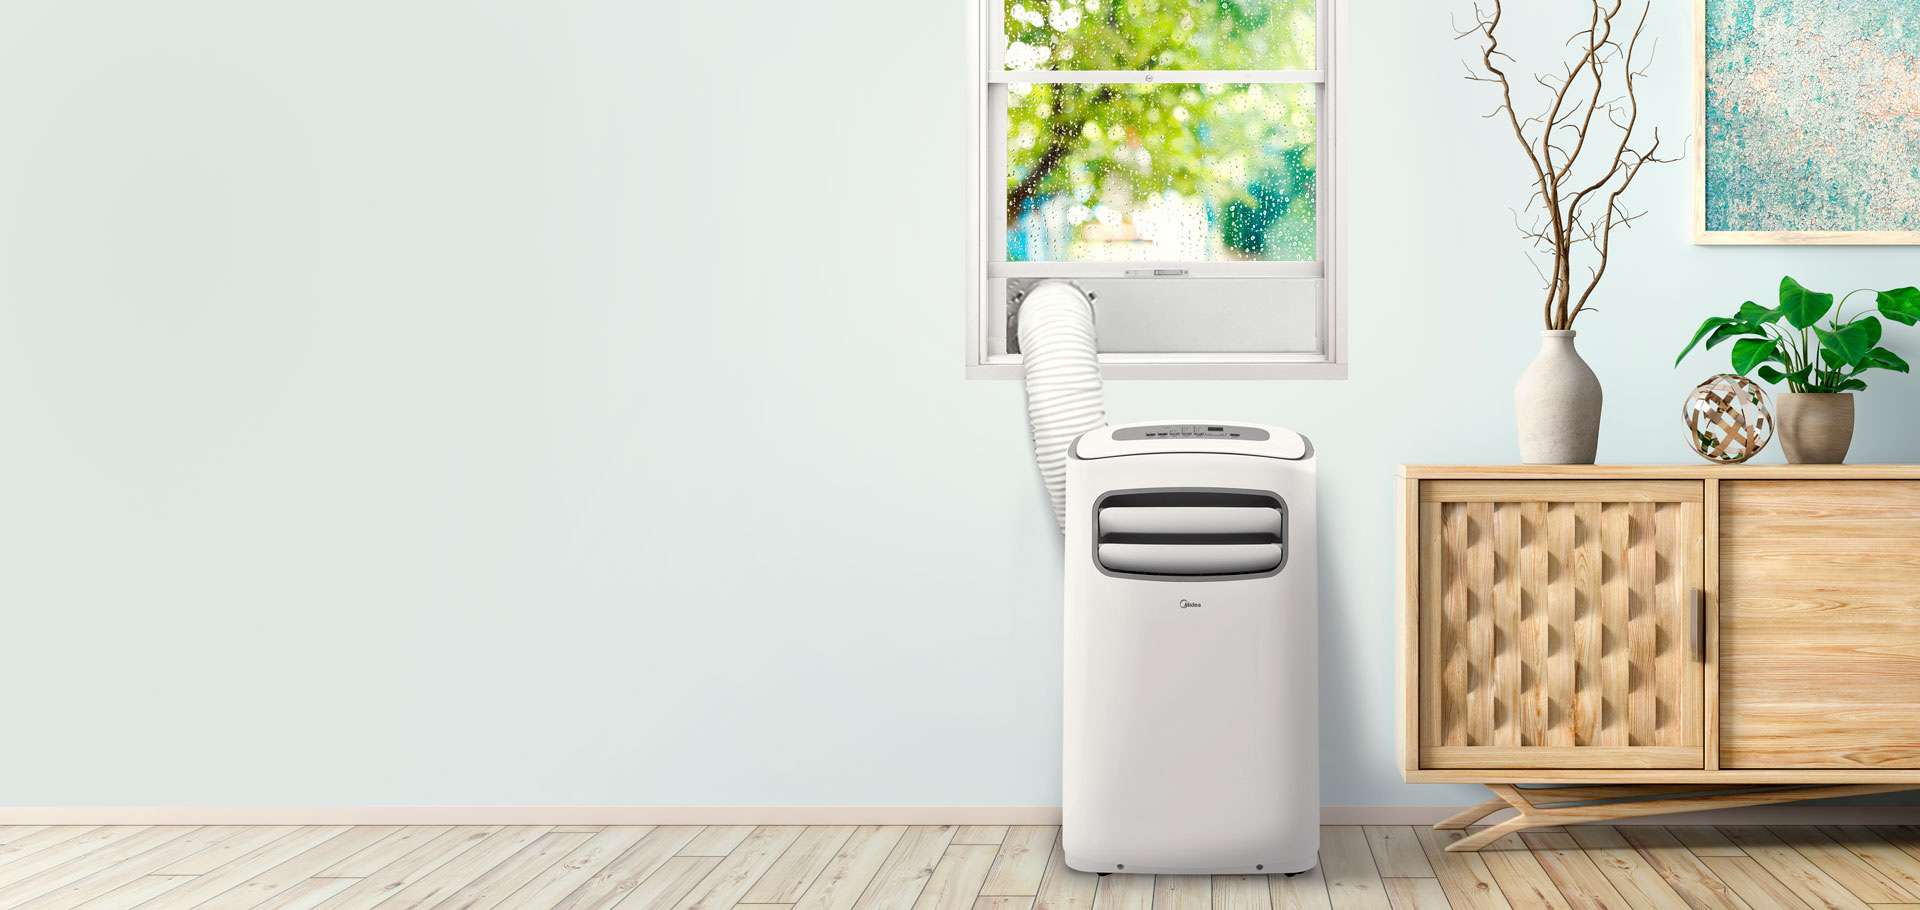
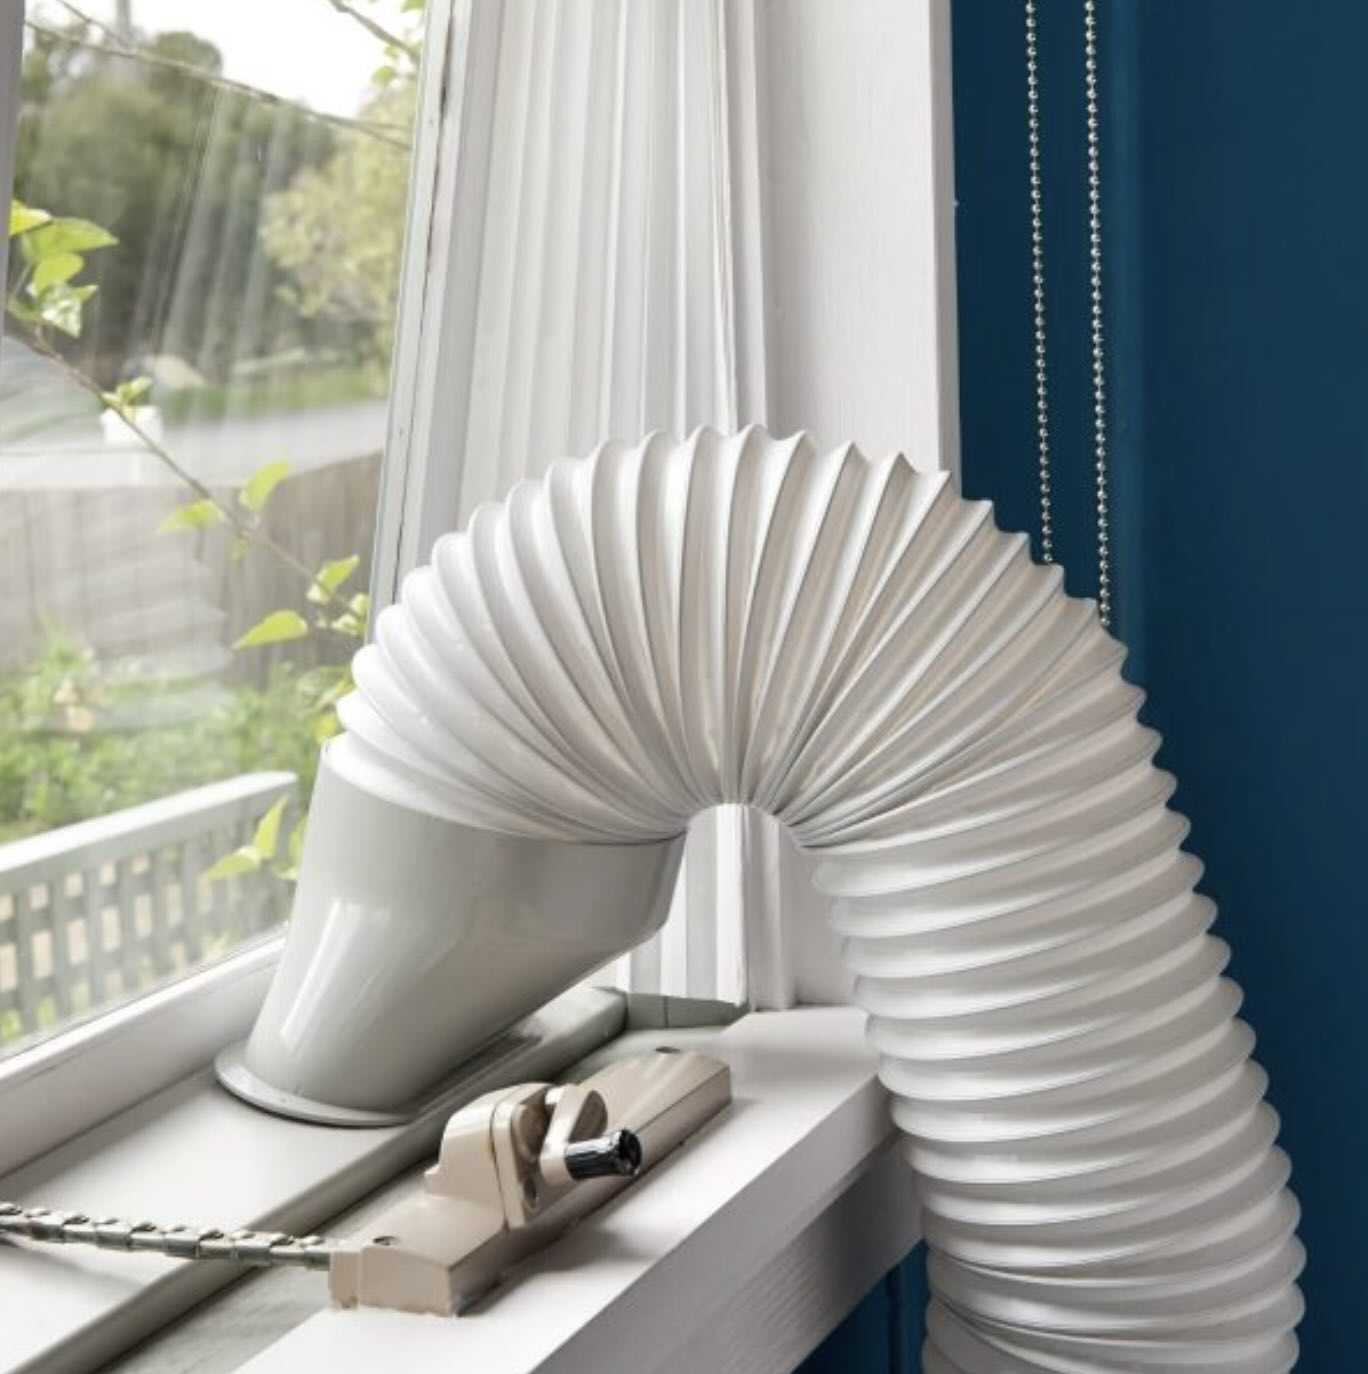
Step 3: Attaching the Exhaust Hose
Attaching the exhaust hose to your Toshiba portable air conditioner is a crucial step in ensuring proper ventilation and effective cooling. Follow these steps to securely connect the hose:
1. Locate the Exhaust Outlet: Identify the exhaust outlet on the back of the indoor cooling unit. It is typically a round or rectangular opening. Remove any protective covers or caps from the outlet.
2. Extend the Exhaust Hose: Extend the exhaust hose to its full length. Be careful not to kink or bend the hose excessively, as this can restrict airflow. Ensure that the hose is free of any obstructions or twists.
3. Align and Connect: Position the exhaust hose against the exhaust outlet, ensuring a proper alignment. The hose should fit snugly without any gaps. Twist the hose clockwise to lock it into place. Make sure it is securely attached to prevent any air leaks.
4. Secure the Hose: Depending on the model, your Toshiba portable air conditioner might come with a hose adapter or clamps. Use these accessories to secure the hose in place. Follow the manufacturer’s instructions to ensure a secure and tight connection.
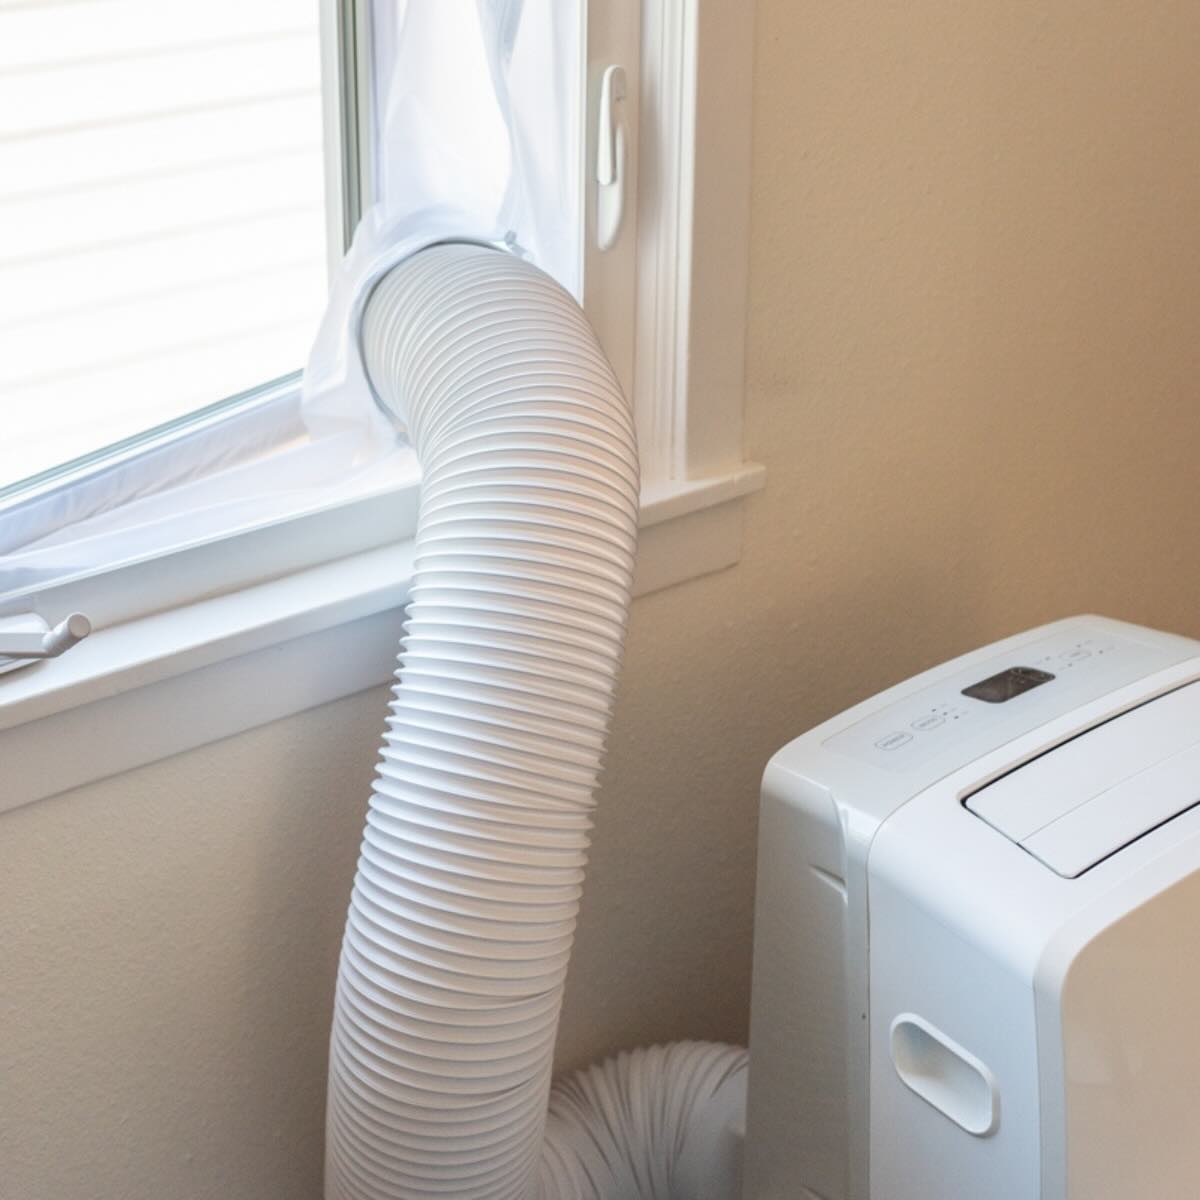
5. Direct the Hose: Direct the other end of the exhaust hose towards a suitable window or venting area. If you are using a window venting kit, align the hose with the opening in the kit.
6. Seal Any Gaps: To prevent hot air from entering the room, ensure that any gaps between the exhaust hose and the window or venting area are sealed. You can use weatherstripping or adhesive foam tape to create a tight seal.
7. Avoid Sharp Bends: Avoid sharp bends or angles in the exhaust hose, as these can hinder airflow and reduce cooling efficiency. If necessary, use a support bracket or clip to keep the hose in a straight or gently curved position.
Once you have successfully attached the exhaust hose, proceed to the next step to set up the window venting kit for proper air circulation.
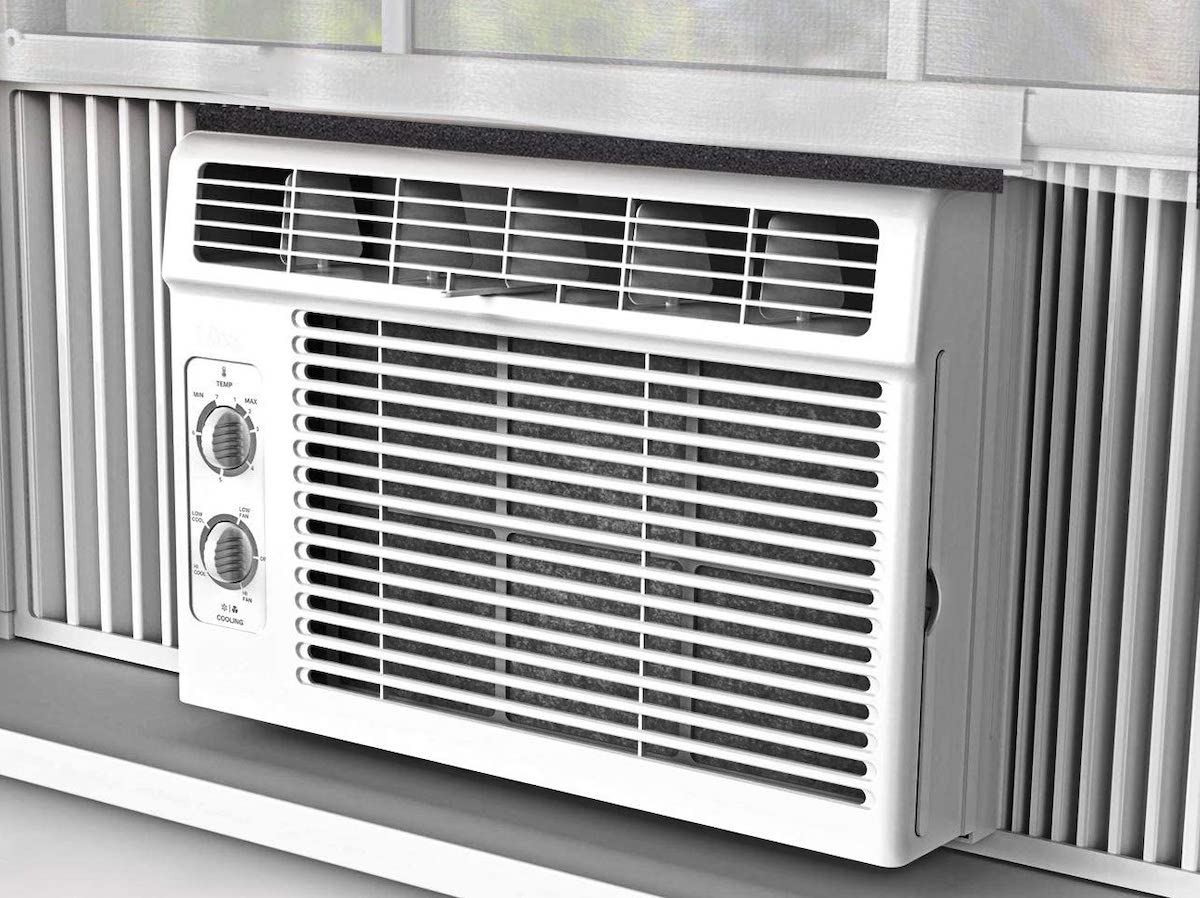
Step 4: Setting Up the Window Venting Kit
Setting up the window venting kit is crucial for proper air circulation and effective cooling of your Toshiba portable air conditioner. The window venting kit allows the hot air from the unit to be expelled outside while bringing in fresh air from the outside. Follow these steps to install the window venting kit:
1. Measure and Cut: Start by measuring the window opening or venting area where you will be installing the kit. Most window venting kits are adjustable and designed to fit standard-sized windows. If needed, use a hacksaw or a similar cutting tool to trim the kit to the appropriate length.
2. Assemble the Kit: Assemble the window venting kit according to the manufacturer’s instructions. It typically consists of adjustable panels that fit together to form a seal. Arrange the panels to match the width and height of the window opening, ensuring a secure and snug fit.
3. Secure the Kit: Once the panels are properly aligned, use the provided screws or clips to lock them in place. Tighten them securely to prevent any movement or gaps. Double-check that the kit is securely installed to avoid any air leakage.
4. Attach the Hose: Position the hose from the exhaust opening of the air conditioner onto the designated opening in the window venting kit. Ensure a tight connection, using any adapters or clamps provided with your Toshiba portable air conditioner. This connection ensures that the hot air is directed outside.
5. Window Sealing: To prevent any air leaks and maintain optimal cooling efficiency, seal any gaps around the window venting kit. You can use adhesive weatherstripping or foam tape to create a tight seal between the kit and the window.
6. Test for Proper Functioning: Turn on the portable air conditioner and verify that the hot air is being vented outside through the window venting kit. Additionally, ensure that there are no air leaks around the kit or window sealing.
By properly setting up the window venting kit, you ensure that the hot air from your Toshiba portable air conditioner is effectively vented outside, while the room receives a fresh supply of cool air. It is now time to move on to the next step: plugging in the power cord.
Make sure to properly vent the exhaust hose to the outside to ensure efficient operation of your Toshiba portable air conditioner. This will help to remove hot air and humidity from the room.
Step 5: Plugging in the Power Cord
Plugging in the power cord is a crucial step in the installation process of your Toshiba portable air conditioner. Follow these steps to safely and effectively connect the power cord:
1. Locate the Power Cord: Identify the power cord attached to your portable air conditioner. It is typically located at the back of the indoor cooling unit. Ensure that the power cord is undamaged and free from any cuts or frays.
2. Locate the Power Outlet: Identify a nearby power outlet that is compatible with the voltage and electrical requirements of your Toshiba portable air conditioner. Ensure that the outlet is in good condition and can handle the power load of the unit.
3. Uncoil the Power Cord: Uncoil the power cord and straighten it if necessary. Avoid twisting or bending the cord excessively, as this can cause damage or affect the flow of electricity.
4. Plug in the Power Cord: Insert the plug of the power cord firmly into the power outlet. Ensure that it is inserted completely and securely. You may hear a click or feel a slight resistance when the plug is properly inserted.
5. Verify the Power Connection: Check the power indicator on the control panel of your Toshiba portable air conditioner. It should light up, indicating that the unit is receiving power. Additionally, check the power outlet to ensure there are no signs of sparking or overheating.
6. Use the Proper Extension Cord (if required): If you need to use an extension cord, choose one that is suitable for the power requirements of your air conditioner. Make sure it is rated for the appropriate amperage and length to avoid overloading the cord or causing a fire hazard. Verify that the extension cord is in good condition and free from any damage.
7. Tuck away Excess Cord: Once the power cord is connected, neatly tuck away any excess cord to avoid tripping hazards. Avoid placing the cord in areas where it may be pinched or exposed to hot surfaces.
Remember, it is important to adhere to electrical safety guidelines when plugging in your Toshiba portable air conditioner. If you have any concerns regarding the electrical setup, consult a qualified electrician to ensure a safe and proper connection.
With the power cord properly connected, proceed to the next step to adjust the settings on the control panel of your portable air conditioner.
Step 6: Adjusting the Settings on the Control Panel
Adjusting the settings on the control panel of your Toshiba portable air conditioner allows you to customize the cooling experience according to your preferences. Follow these steps to effectively control and optimize the performance of your air conditioner:
1. Power On: Ensure that your portable air conditioner is powered on. You should see the power indicator illuminated on the control panel.
2. Select the Mode: Choose the desired mode of operation based on your needs. Most portable air conditioners offer cooling, fan-only, and dehumidification modes. Use the mode button on the control panel to cycle through the different options until you reach the desired mode.
3. Set the Temperature: Adjust the temperature settings to your preferred level. Use the temperature up and down buttons to increase or decrease the temperature as needed. Keep in mind that lower temperatures provide cooler air, while higher temperatures provide a more moderate cooling effect.
4. Adjust Fan Speed: Depending on the model, your Toshiba portable air conditioner may offer multiple fan speed options. Use the fan speed button to choose the desired airflow intensity. Higher fan speeds provide faster cooling but may generate more noise, while lower fan speeds offer a quieter operation.
5. Timer Settings: Utilize the timer function to schedule the operation of your air conditioner. This feature allows you to set specific times for the unit to start or stop automatically, helping you save energy and optimize comfort while you are asleep or away from home.
6. Enable Sleep Mode: Some portable air conditioners have a sleep mode feature that gradually adjusts the temperature and fan speed to provide a more comfortable sleeping environment. Enable this mode through the control panel, and let the air conditioner automatically create a soothing and energy-efficient cooling experience during the night.
7. Utilize Additional Features: Explore any additional features offered by your Toshiba portable air conditioner, such as air purification or ionization functions. These features can help improve air quality by removing impurities, allergens, and odors from your living space.
8. Read the User Manual: Familiarize yourself with the specific functions and options available on the control panel by referring to the user manual provided with your Toshiba portable air conditioner. This will help you fully understand and utilize all the features and settings available.
By adjusting the settings on the control panel, you can customize the cooling experience to suit your preferences and create a comfortable environment in your home. In the final step, we will guide you on how to test your air conditioner to ensure everything is functioning as intended.
Step 7: Testing the Air Conditioner
Testing your Toshiba portable air conditioner is the final step in the installation process. It allows you to ensure that everything is functioning properly and that you are getting the desired cooling effect. Follow these steps to effectively test your air conditioner:
1. Ensure Proper Ventilation: Before testing, make sure that the exhaust hose and window venting kit are properly installed and sealed. This ensures that hot air is being vented outside while fresh air is being drawn in from outside.
2. Double-Check Settings: Verify that the settings on the control panel are correctly adjusted. Ensure that the mode, temperature, fan speed, and any other desired features are properly set.
3. Power On the Air Conditioner: Turn on your Toshiba portable air conditioner by pressing the power button on the control panel. The unit should start running, and you may hear the sound of the compressor activating.
4. Verify Airflow: Stand in front of the air conditioner and feel the airflow. You should feel cool air coming out of the unit. If you don’t feel any airflow or it’s not cool enough, double-check the settings and ensure that the vents are not blocked or obstructed.
5. Monitor Cooling: Allow the air conditioner to run for a sufficient amount of time to evaluate its cooling performance. Observe how quickly the air conditioner is able to lower the temperature in the room and how effectively it maintains a comfortable environment.
6. Check for Unusual Noises: Listen for any unusual or excessive noise coming from the unit. While it is normal to hear the sound of the fan and compressor, excessive rattling, buzzing, or grinding noises could indicate a problem. If you notice any such noises, contact Toshiba customer support for further assistance.
7. Ensure Proper Functioning of Controls: Test all the functions and controls on the control panel to ensure they are working as intended. Adjust the temperature, fan speed, and mode settings to verify that the unit responds accordingly.
8. Inspect for Leaks: Check for any signs of water leakage around the air conditioner. While portable air conditioners dehumidify the air, a small amount of condensation may be normal. However, if you notice excessive water leakage, contact Toshiba customer support for assistance.
9. Read the User Manual: Take the time to thoroughly read the user manual provided with your Toshiba portable air conditioner. It contains valuable information on troubleshooting, maintenance, and additional features that may be available.
By thoroughly testing your air conditioner, you can ensure that it is properly installed and functioning as intended. If you encounter any issues or have concerns about the performance of your air conditioner, do not hesitate to reach out to the manufacturer’s customer support for assistance.
Conclusion
Congratulations! You have successfully installed your Toshiba portable air conditioner. By following the step-by-step guide outlined in this article, you have created a comfortable and cool living environment in your home. Here is a quick recap of the installation process:
1. Unboxed the Toshiba portable air conditioner and ensured that all components are present and undamaged.
2. Chose a suitable location for installation, considering proximity to a window or vent, accessibility, and proper clearance.
3. Attached the exhaust hose securely to the air conditioner and directed it towards a window or venting area.
4. Installed the window venting kit to ensure proper air circulation and seal any gaps between the kit and the window.
5. Plugged in the power cord, making sure it is securely connected to a compatible power outlet.
6. Adjusted the settings on the control panel, including selecting the mode, setting the temperature and fan speed, and utilizing additional features.
7. Tested the air conditioner by verifying proper ventilation, checking the settings, and observing airflow and cooling performance.
8. Conducted a thorough inspection for any unusual noises, leaks, or malfunctions.
Remember, it is essential to refer to the user manual provided by Toshiba for specific instructions on installation, operation, and maintenance of your portable air conditioner.
With your Toshiba portable air conditioner up and running, you can now enjoy the benefits of a cool and comfortable living space. Whether it’s a scorching hot day or a humid evening, your air conditioner will provide the relief and comfort you need.
Don’t forget about regular maintenance to keep your air conditioner in optimum condition. Clean or replace the air filters regularly, remove any debris from the unit, and schedule professional maintenance and servicing as recommended by the manufacturer.
Thank you for choosing Toshiba and for investing your time in properly installing and setting up your portable air conditioner. Stay cool and enjoy the refreshing atmosphere year-round!
Frequently Asked Questions about How To Install A Toshiba Portable Air Conditioner
Was this page helpful?
At Storables.com, we guarantee accurate and reliable information. Our content, validated by Expert Board Contributors, is crafted following stringent Editorial Policies. We're committed to providing you with well-researched, expert-backed insights for all your informational needs.