Home>Home Maintenance>How To Tilt A Window Air Conditioner
Home Maintenance
How To Tilt A Window Air Conditioner
Modified: March 7, 2024
Learn how to properly tilt a window air conditioner for optimal performance and efficiency. Our home maintenance guide provides easy step-by-step instructions to ensure your AC unit works effectively.
(Many of the links in this article redirect to a specific reviewed product. Your purchase of these products through affiliate links helps to generate commission for Storables.com, at no extra cost. Learn more)
Introduction
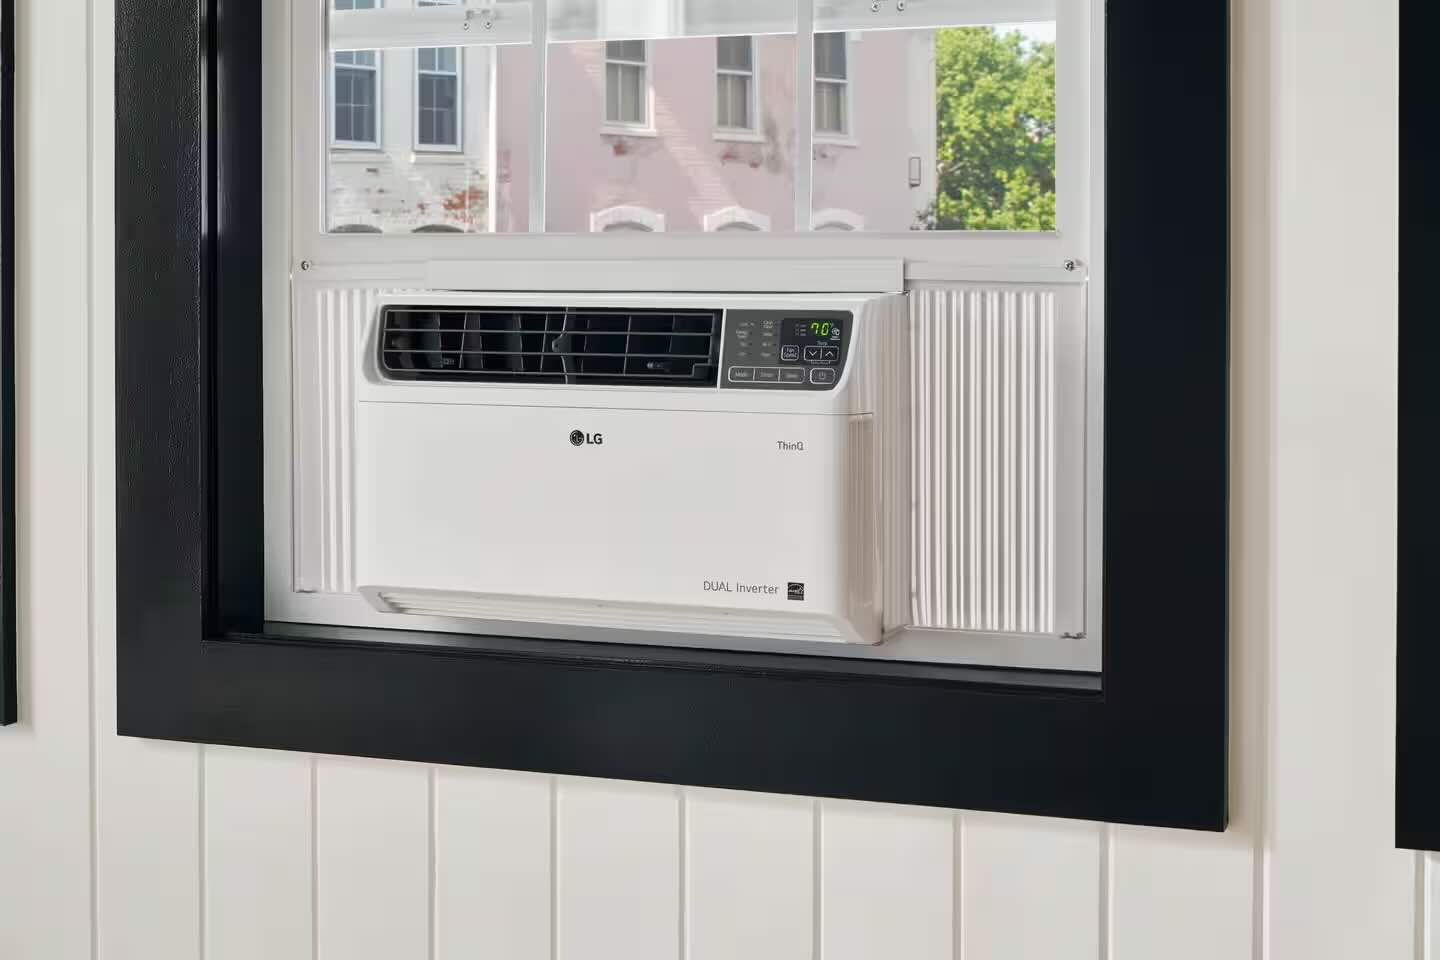
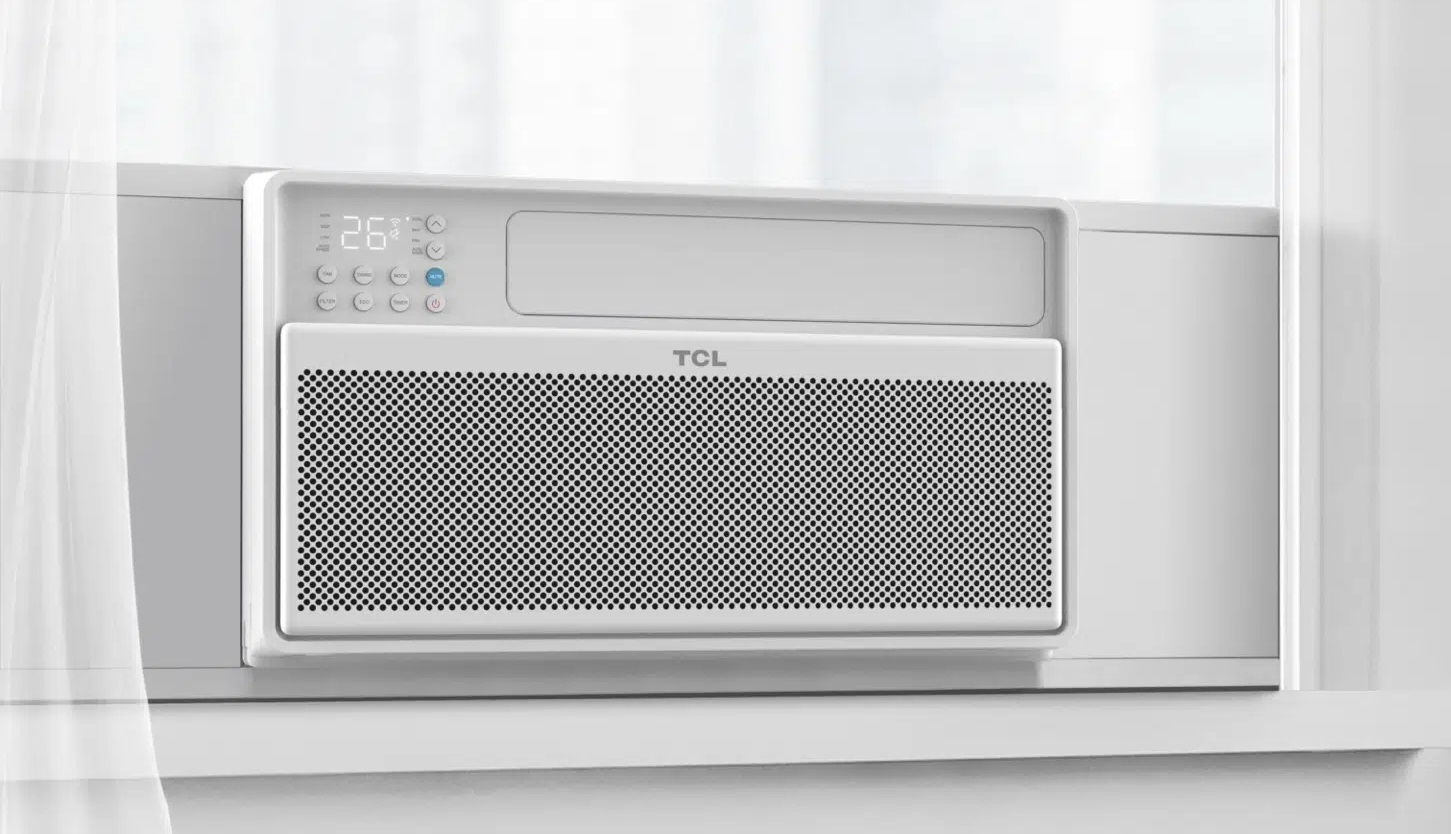
Welcome to our guide on how to tilt a window air conditioner for optimal performance and efficiency! Window air conditioners are a popular choice for cooling small spaces, and ensuring that they are properly installed and tilted can make a significant difference in their cooling abilities. In this article, we will walk you through the step-by-step process of tilting a window air conditioner to help you achieve better airflow and cooling.
Before we dive into the details, let’s understand why tilting the window air conditioner is essential. When an air conditioner is tilted correctly, it allows for proper drainage of condensation that builds up during the cooling process. If the unit is not tilted, the condensation can accumulate and potentially cause water damage to your home. Additionally, tilting the air conditioner can improve the circulation of cool air and prevent hot spots in the room.
Now, let’s jump into the steps involved in tilting a window air conditioner.
Key Takeaways:
- Tilt your window air conditioner to prevent water damage and improve cooling. Follow the steps to assess, install, and adjust the tilt angle for optimal performance.
- Test the tilted window air conditioner for effective cooling, proper drainage, and minimal noise. Enjoy improved airflow and efficient cooling in your space.
Read more: What Is A Window Air Conditioner
Step 1: Assessing the Space
The first step in tilting a window air conditioner is to assess the space where it will be installed. Take a close look at the window and the surrounding area to determine the best location for the unit. Here are a few key factors to consider:
- Window Type: Different window types may require different installation methods. Ensure that your window is compatible with a window air conditioner.
- Size and Weight: Measure the dimensions of the unit and ensure that it will fit comfortably in the window. Also, consider the weight of the air conditioner to ensure that the window can support it.
- Accessibility: Check if the window is easily accessible for installation and maintenance. It should be at a height where you can comfortably reach the unit for adjustments and cleaning.
Once you have assessed the space and determined that it is suitable for a window air conditioner, you can move on to the next step.
Step 2: Gathering Required Tools and Materials
Now that you have assessed the space and confirmed that it is suitable for a window air conditioner, it’s time to gather the necessary tools and materials for the installation. Here is a list of what you will need:
- Window Air Conditioner: Purchase a window air conditioner that is suitable for the size of your space. Consider the cooling capacity and energy efficiency of the unit.
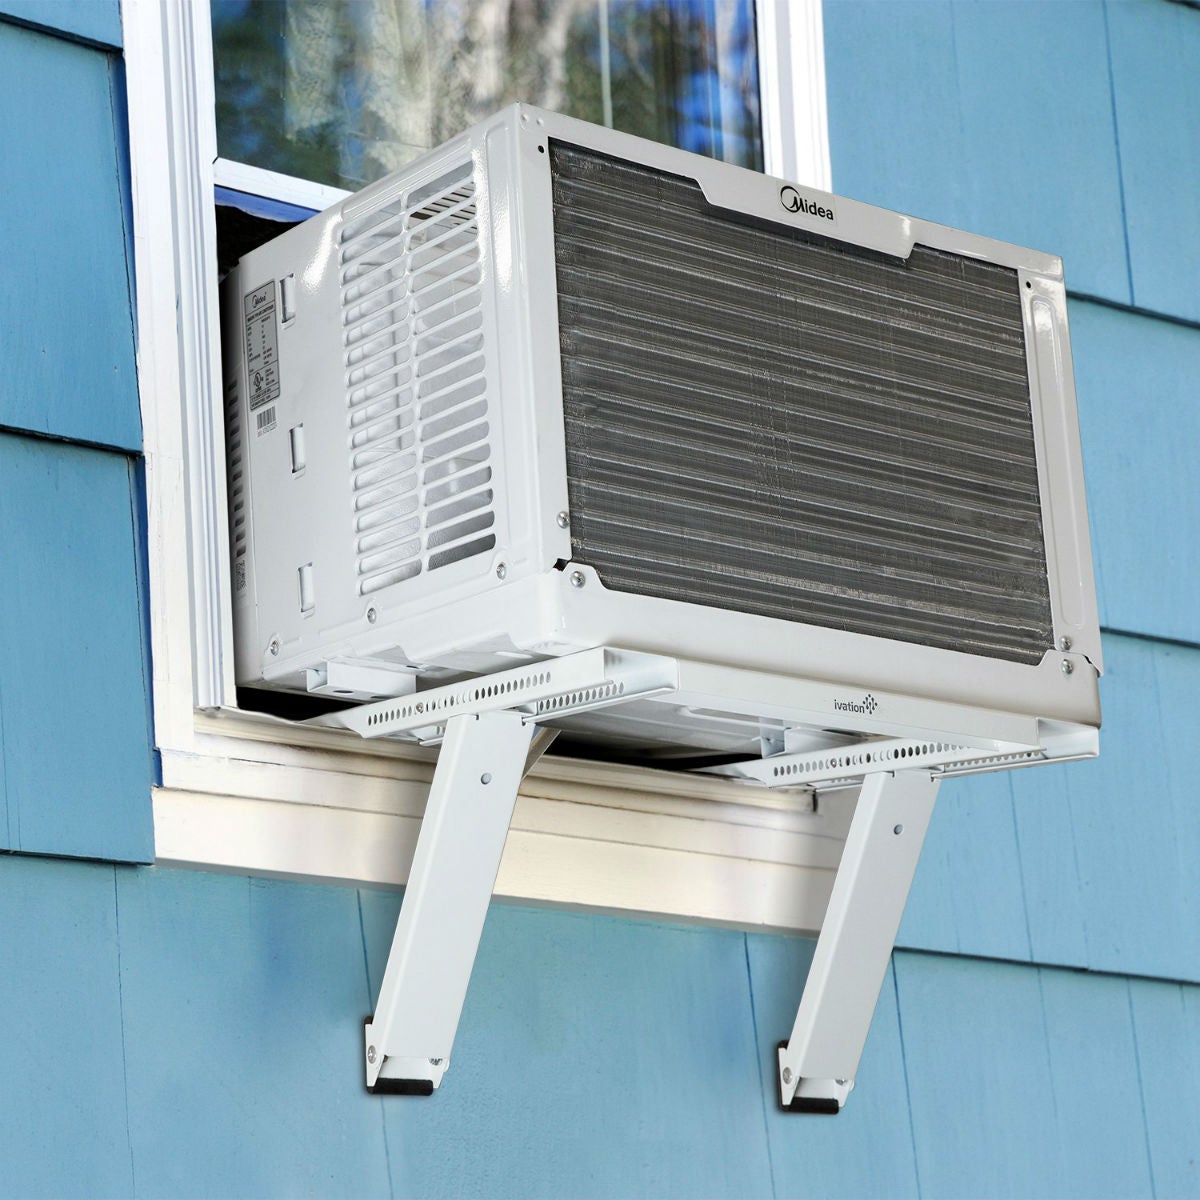
- Tilt Bracket: Look for a tilt bracket specifically designed for window air conditioners. The bracket will help angle the unit for better airflow and drainage.
- Screwdriver: Have a screwdriver on hand to install the tilt bracket securely.
- Level: Use a level to ensure that the air conditioner is properly aligned and angled.
- Supportive Material: Depending on the specific needs of your installation, you may require additional materials such as foam insulation, weatherstripping, or mounting brackets.
Before starting the installation process, double-check that you have all the necessary tools and materials. It’s always better to be prepared in order to avoid any delays or difficulties during the installation.
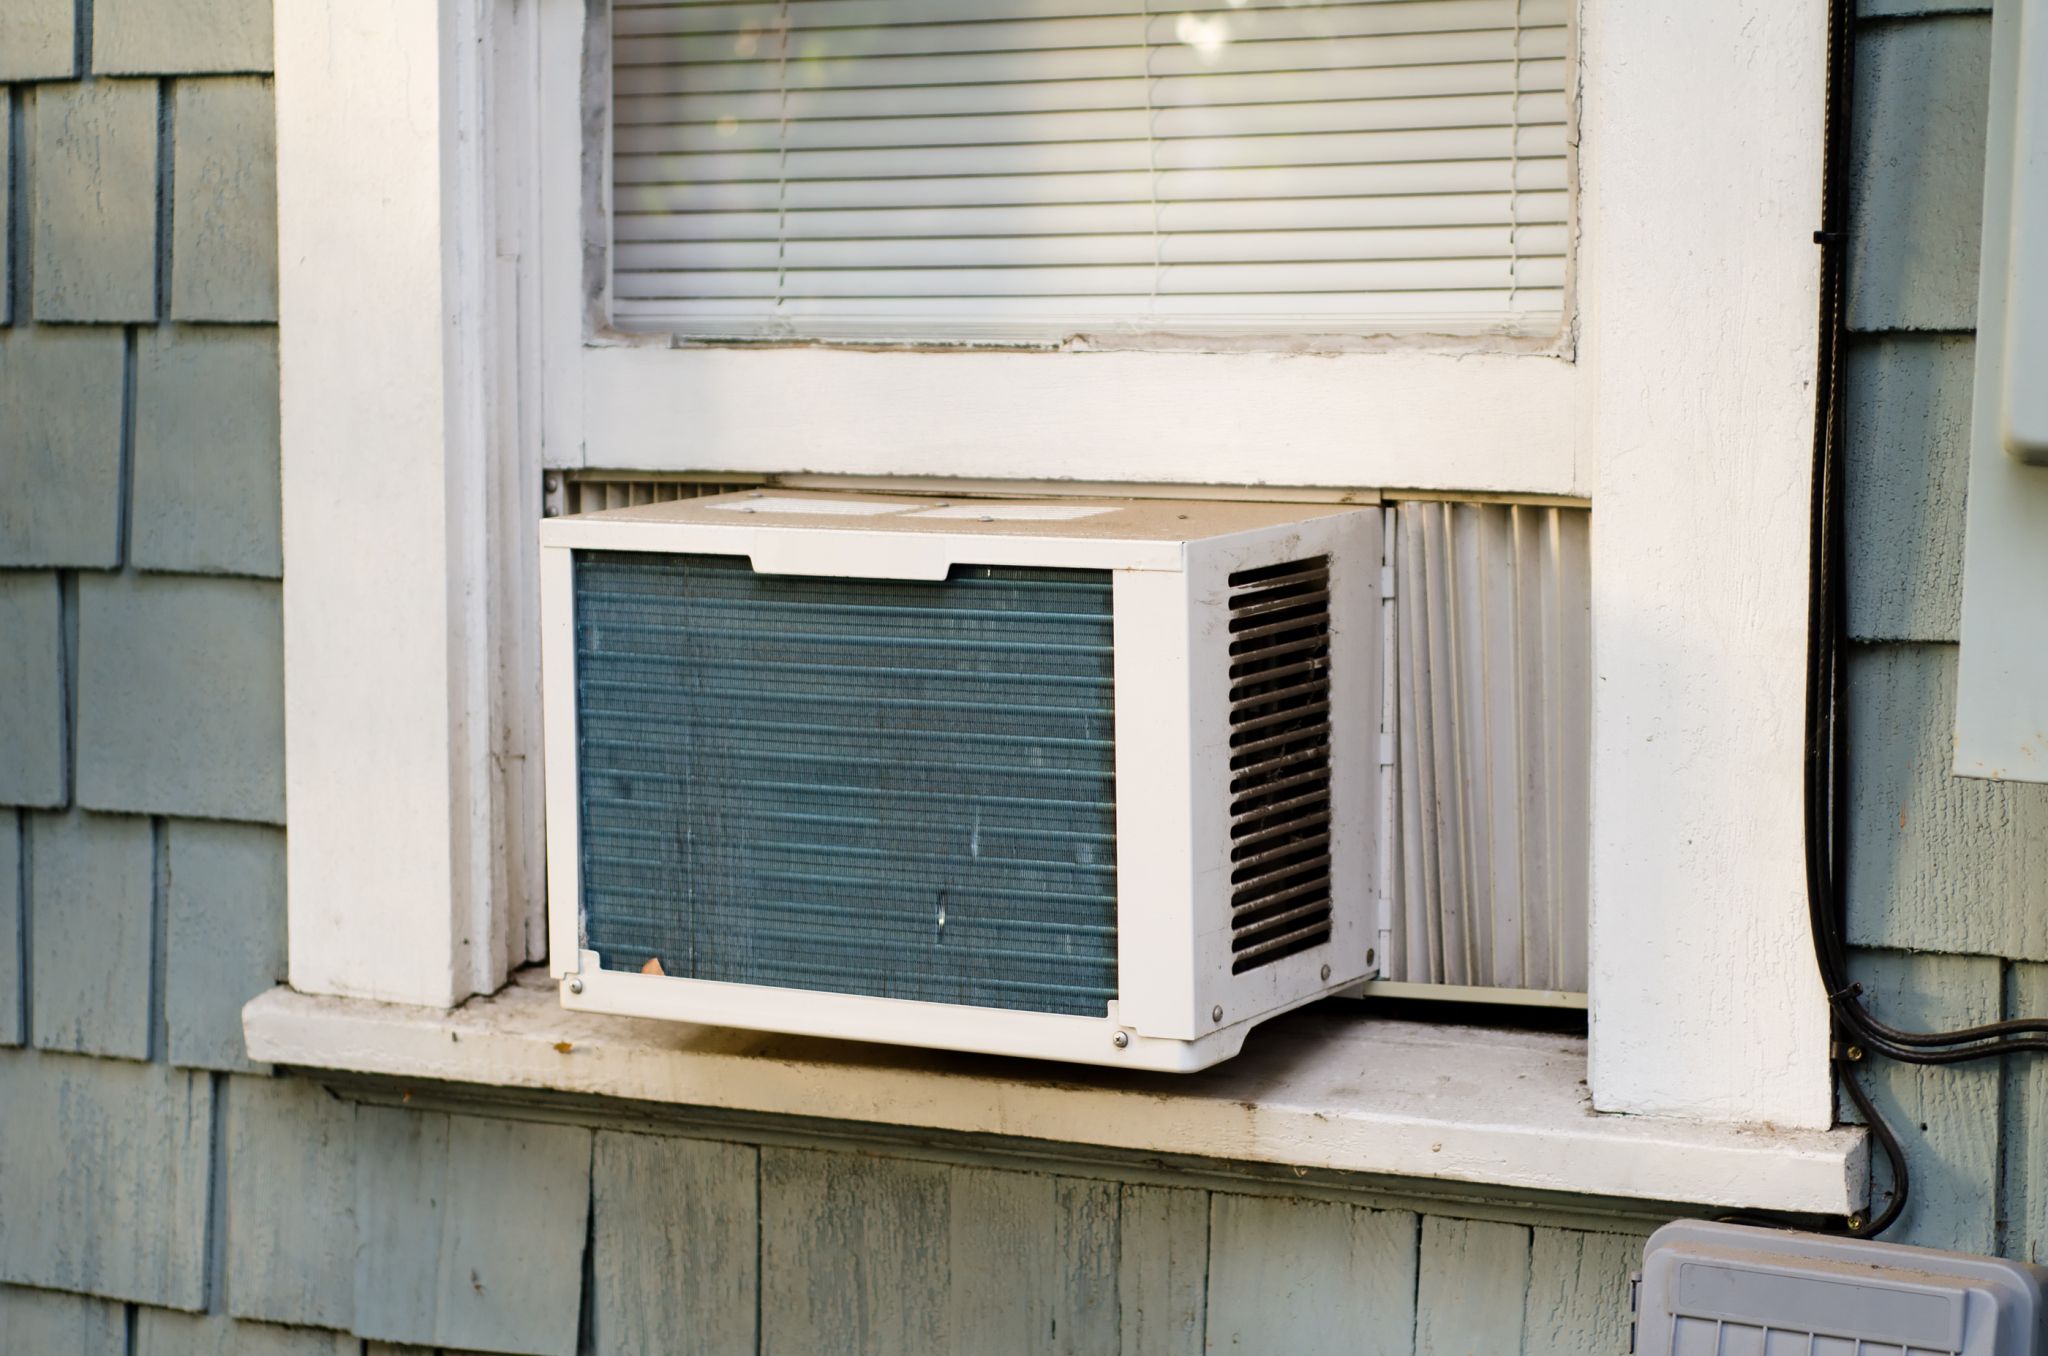
Step 3: Preparing the Window
With the tools and materials gathered, you can now begin preparing the window for the installation of the window air conditioner. The specific steps may vary depending on the type of window and the manufacturer’s instructions, but here is a general guide to help you:
- Remove the Window Screen: If there is a window screen in place, carefully remove it to create an opening for the air conditioner.
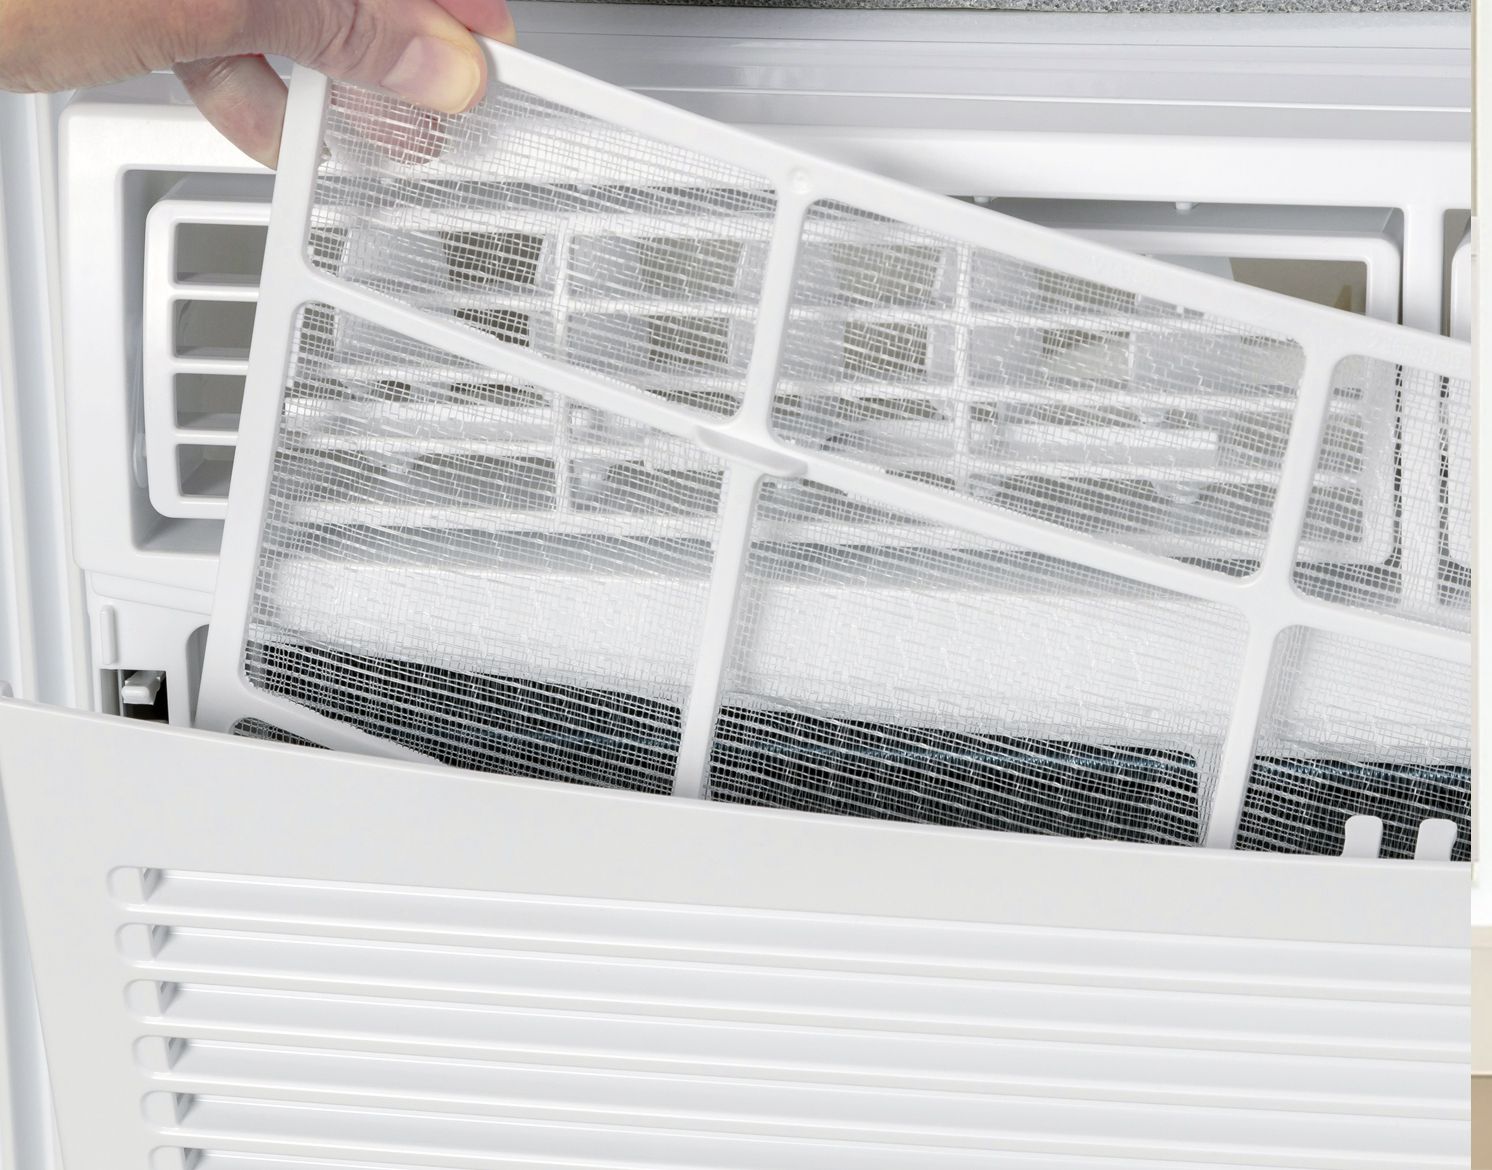
- Clean the Window Sill: Thoroughly clean the window sill and remove any debris or dirt that may hinder the installation process. A clean surface will ensure a secure fit for the air conditioner.
- Apply Weatherstripping: To prevent air leaks and improve energy efficiency, apply weatherstripping along the edges of the window. This will create a seal between the window and the air conditioner.
- Install Foam Insulation: Measure the dimensions of the window opening and cut foam insulation to fit. Place the foam insulation in the gap between the window and the air conditioner. This will help to seal any gaps and improve the efficiency of the unit.
Once you have prepared the window, it is now ready for the installation of the tilt bracket and the window air conditioner itself. In the next steps, we will guide you through the installation process to ensure a secure and properly tilted unit.
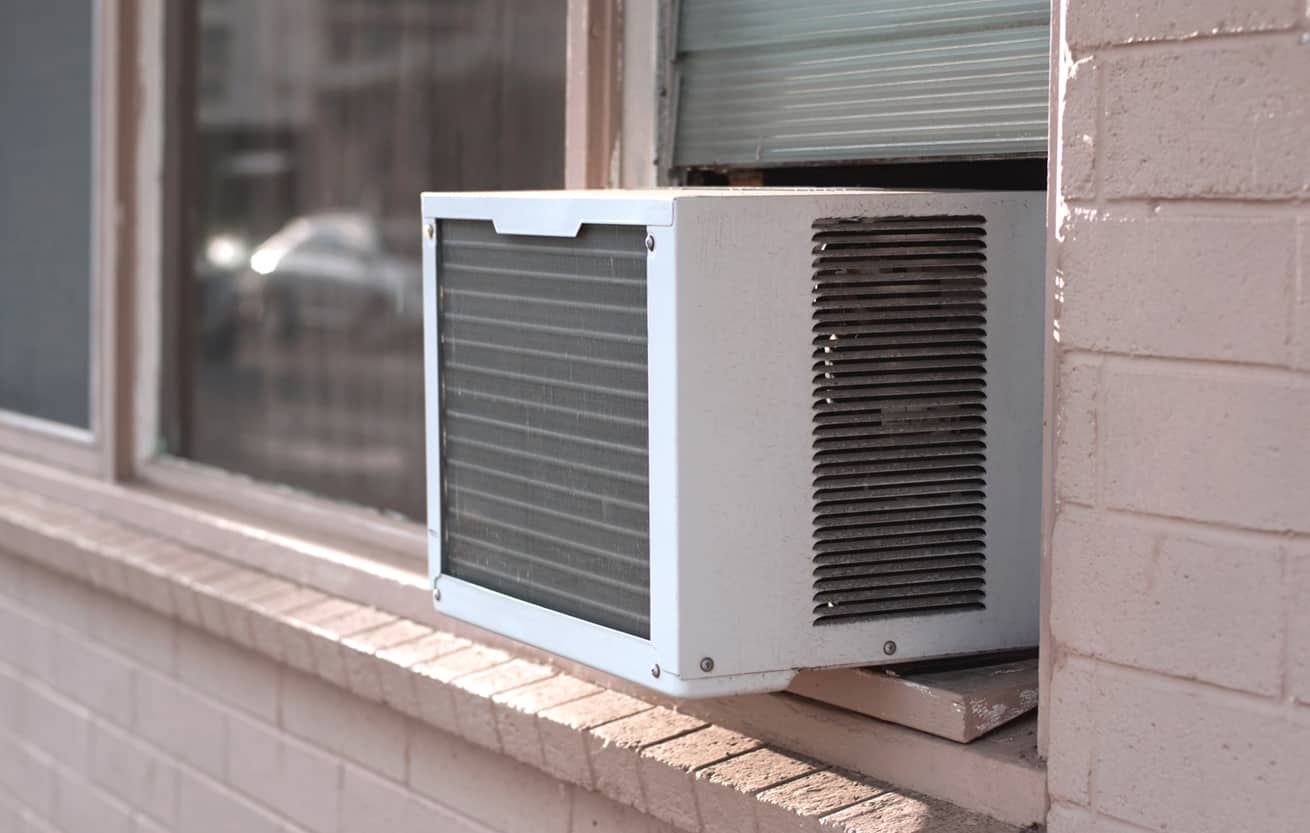
To tilt a window air conditioner, use a level to ensure it’s sloping slightly downward on the outside to allow proper drainage. Adjust the unit’s mounting brackets if needed.
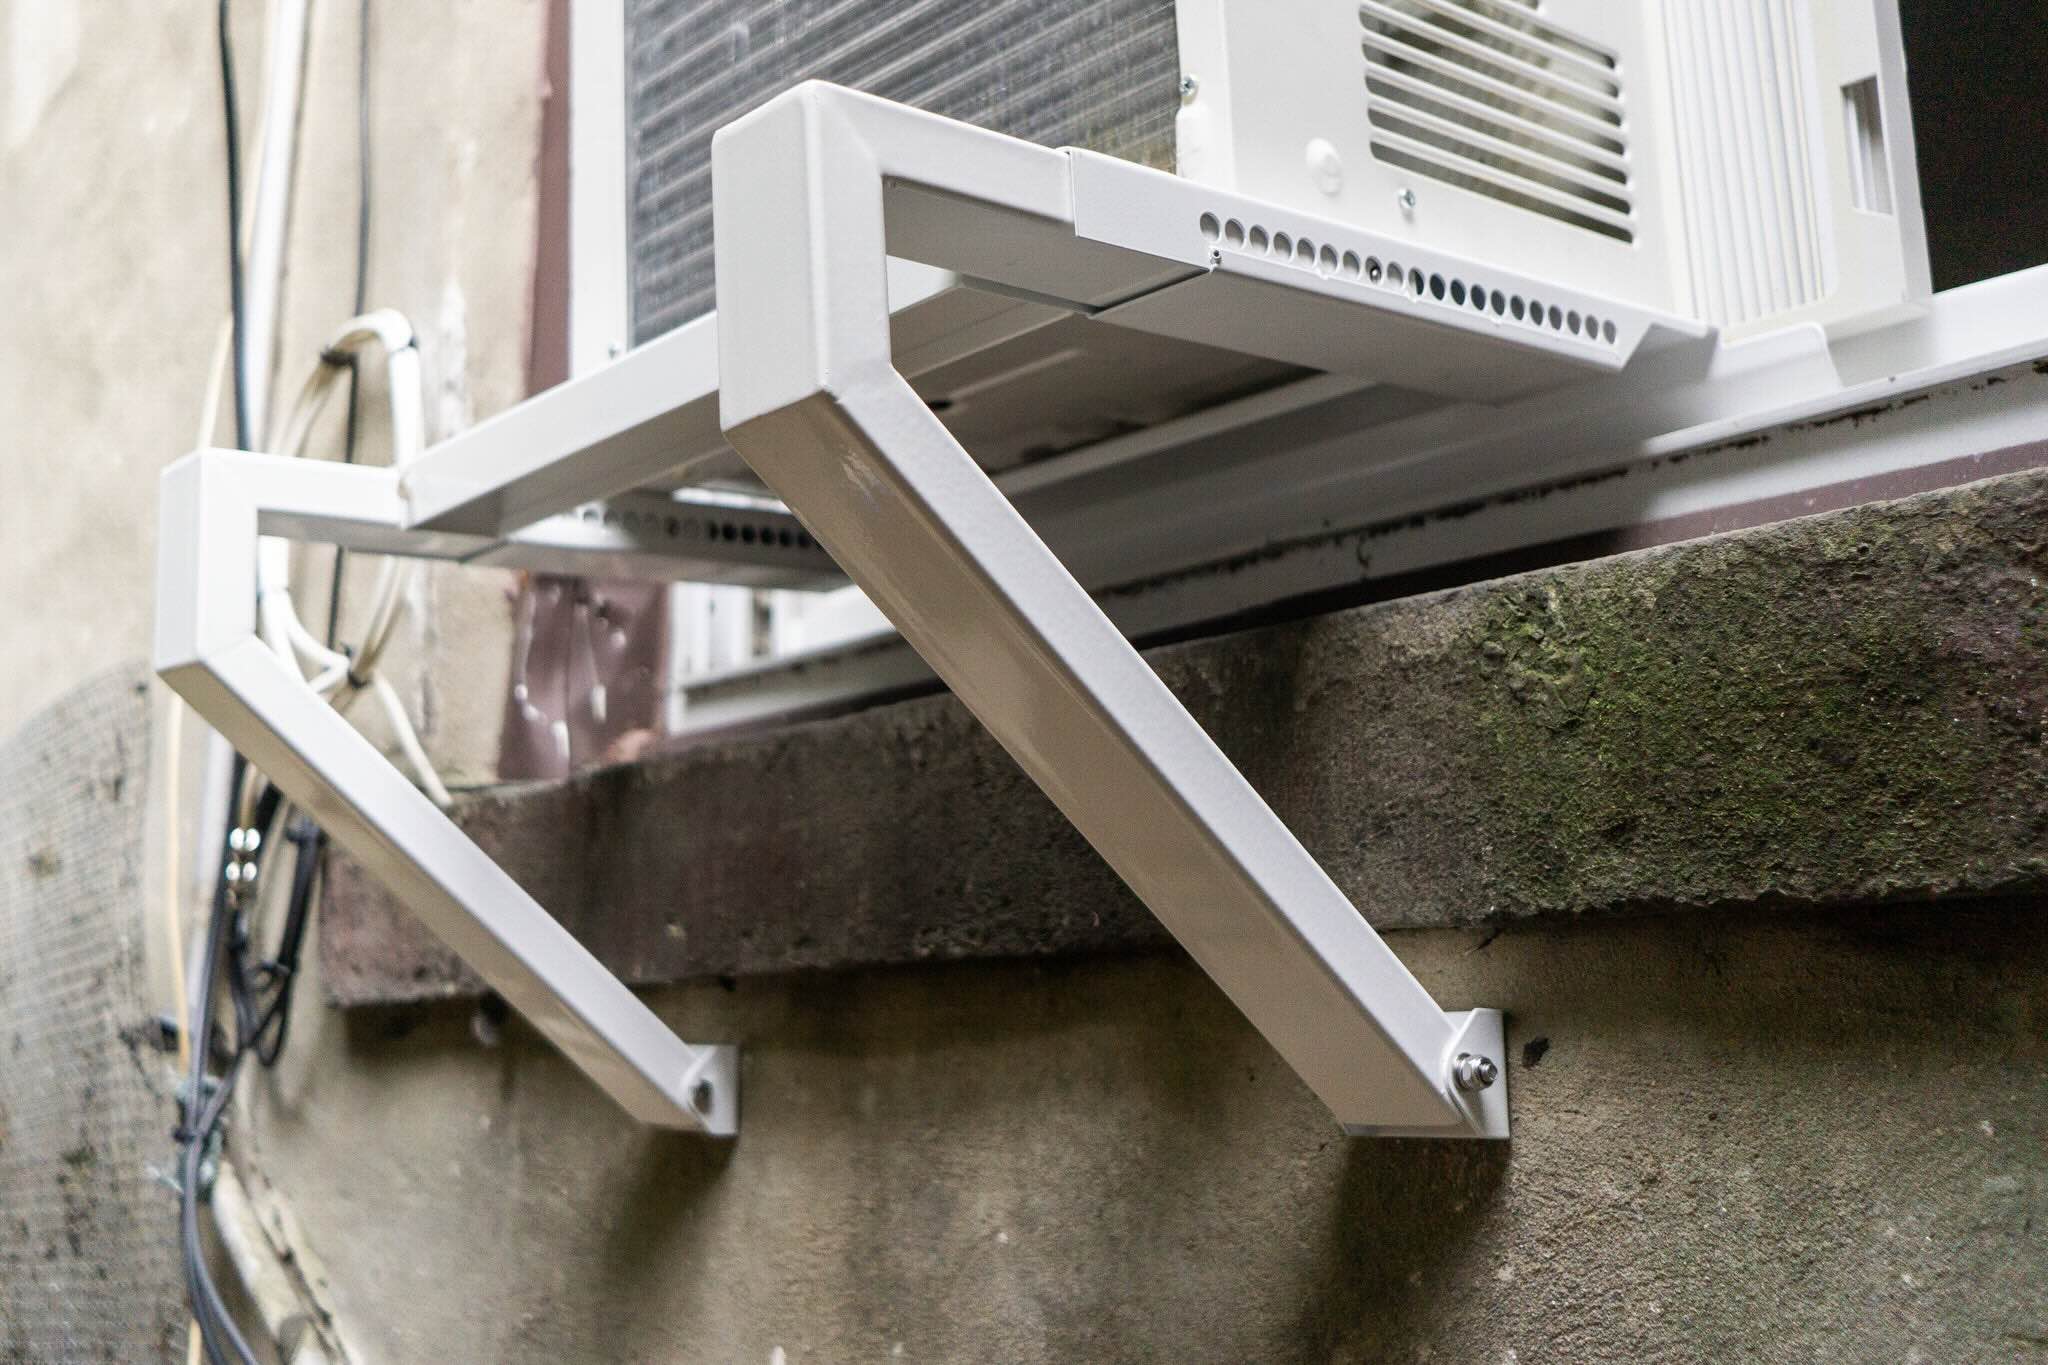
Step 4: Installing the Tilt Bracket
Now that the window is prepared, it’s time to install the tilt bracket. The tilt bracket will help angle the window air conditioner for better airflow and drainage. Here’s how to install it:
- Read the Manufacturer’s Instructions: Before proceeding with the installation, carefully read the manufacturer’s instructions that come with the tilt bracket. Familiarize yourself with the specific steps and any precautions.
- Position the Tilt Bracket: Place the tilt bracket on the window sill, ensuring that it is centered and aligned with the opening. The bracket should be positioned so that it will support the weight of the air conditioner and allow for the desired tilt angle.
- Secure the Tilt Bracket: Using a screwdriver, securely fasten the tilt bracket to the window sill. Follow the manufacturer’s instructions for the recommended number and placement of screws. Ensure that the bracket is firmly attached and can support the weight of the air conditioner.
- Level the Tilt Bracket: Use a level to check that the tilt bracket is leveled horizontally. This will ensure that the air conditioner sits at the correct angle once it is installed.
After successfully installing the tilt bracket, you are ready to move on to the next step: securing the window air conditioner in place. Properly securing the unit will prevent it from shifting or falling out of the window, ensuring both safety and optimal performance.
Read more: How To Insulate A Window Air Conditioner
Step 5: Securing the Window Air Conditioner
Now that you have installed the tilt bracket, it’s time to secure the window air conditioner in place. Securing the unit properly will ensure that it remains stable and doesn’t shift or fall out of the window. Follow these steps to secure the window air conditioner:
- Lift the Air Conditioner: Carefully lift the window air conditioner and place it on the window sill. Make sure it aligns with the tilt bracket and sits securely.
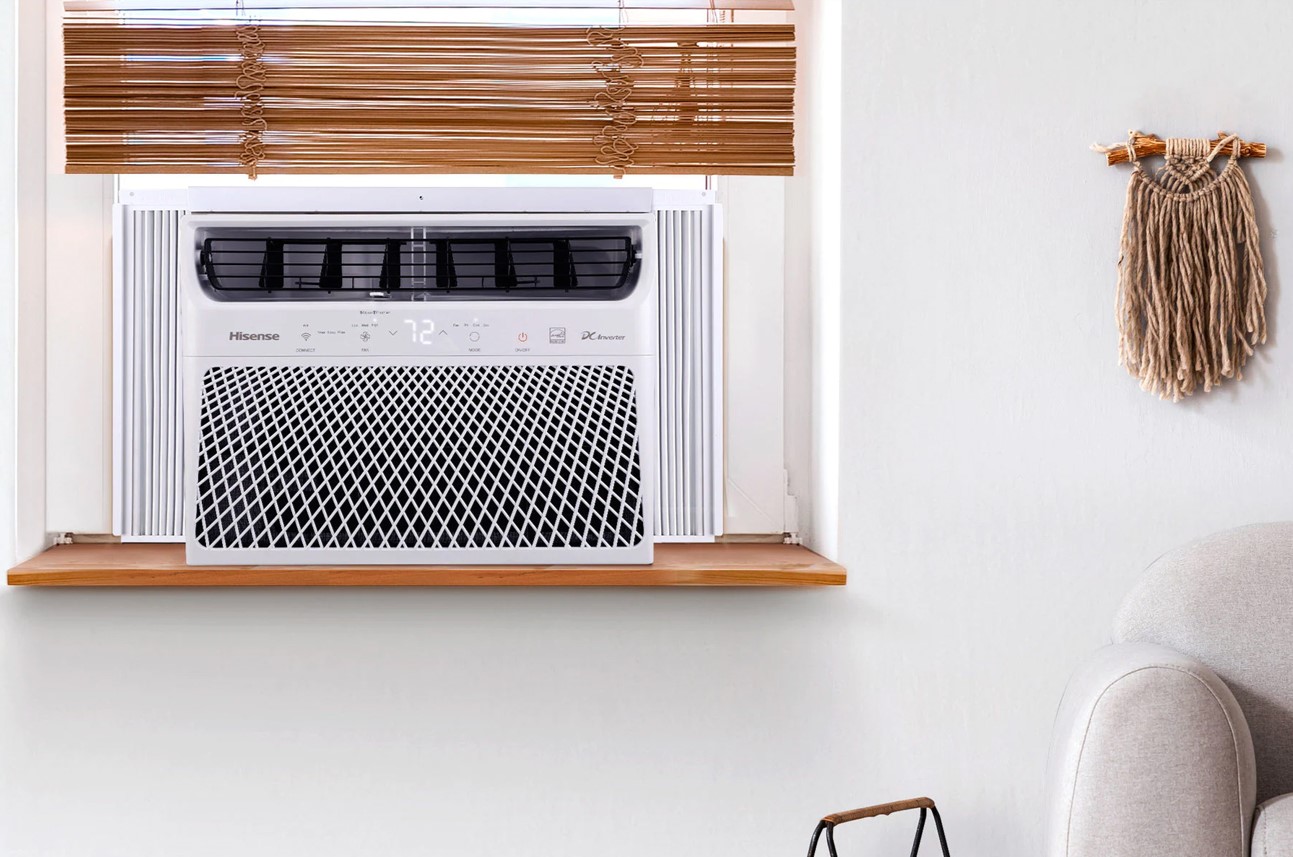
- Extend the Side Panels: Most window air conditioners come with adjustable side panels. Extend these panels to fill any gaps between the air conditioner and the window frame. This will provide a snug fit and help prevent drafts.
- Secure the Side Panels: Once the side panels are extended, use the provided screws or clips to secure them to the window frame. This step will ensure that the air conditioner is tightly sealed in the window and prevents air leakage.
- Check for Stability: Gently shake the air conditioner to check its stability. It should feel secure and not move or wobble excessively. If needed, adjust the position of the air conditioner or tighten the side panel screws to improve stability.
Properly securing the window air conditioner is crucial for its safe and efficient operation. Once you are confident that the unit is securely in place, you can proceed to the next step: adjusting the tilt angle.
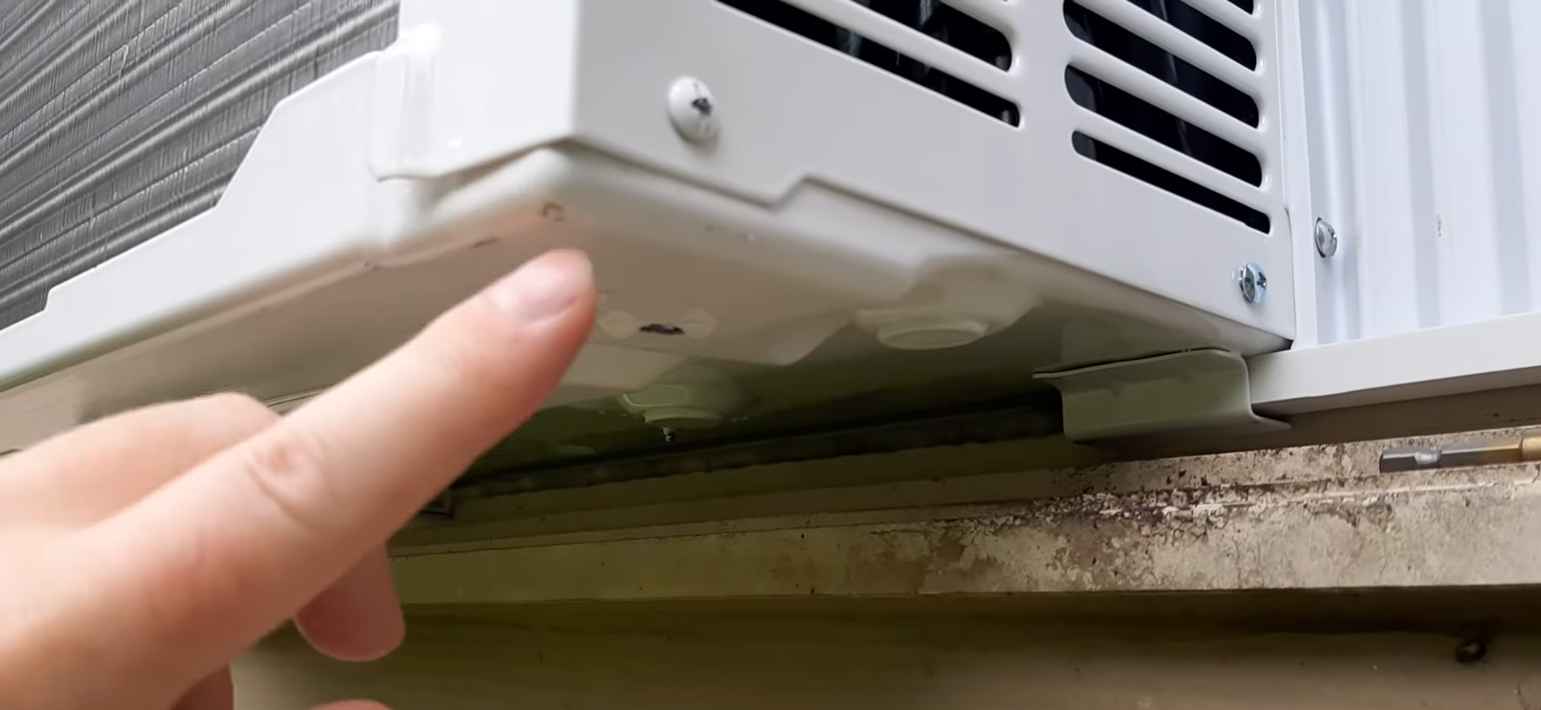
Step 6: Adjusting the Tilt Angle
Now that the window air conditioner is securely installed, it’s time to adjust the tilt angle for optimal airflow and drainage. Adjusting the tilt angle will ensure that condensation drains properly and that cool air circulates efficiently. Here’s how to adjust the tilt angle:
- Refer to the Manufacturer’s Instructions: Check the manufacturer’s instructions to determine the recommended tilt angle for your specific model of window air conditioner. Different units may have different recommendations, so it’s important to follow the guidelines provided.
- Use a Level: Place a level on top of the air conditioner and check the horizontal alignment. The level should indicate whether the unit is tilted correctly.
- Adjust the Tilt Bracket: If the air conditioner needs further tilting, carefully adjust the tilt bracket. Loosen the screws connecting the tilt bracket to the window sill, and then tilt the bracket slightly. Once the desired tilt angle is achieved, tighten the screws to secure the bracket in place.
It’s important to note that the recommended tilt angle is typically a slight downward angle towards the outside. This ensures that condensation properly drains and doesn’t accumulate within the unit. However, be cautious not to tilt the air conditioner too much, as this could affect its stability and overall performance.
Once you have adjusted the tilt angle, use the level once more to confirm that the unit is properly aligned. If necessary, make any further adjustments until the air conditioner sits securely and maintains the desired tilt angle.
With the tilt angle adjusted, you are now ready to move on to the final step: testing the tilted window air conditioner.
Step 7: Testing the Tilted Window Air Conditioner
After successfully adjusting the tilt angle of the window air conditioner, it’s time to test its functionality and ensure that it is providing effective cooling and airflow. Here are the steps to test the tilted window air conditioner:
- Turn on the Air Conditioner: Start by turning on the window air conditioner and setting it to your desired temperature. Allow the unit to run for a few minutes.
- Check Airflow and Cooling: Stand in front of the air conditioner and assess the airflow and cooling performance. Ensure that cool air is being blown into the room and that the temperature is dropping as expected.
- Monitor Condensation Drainage: While the air conditioner is running, pay attention to the condensation drainage. Check that water is properly draining out of the unit and away from the window. If you notice any leaks or excessive water accumulation, adjust the tilt angle or seek professional assistance.
- Listen for Unusual Noises: Throughout the testing process, listen for any unusual or loud noises coming from the air conditioner. Strange noises could indicate a problem with the unit or its installation. If you hear anything concerning, consult the manufacturer’s troubleshooting guide or contact a professional.
By thoroughly testing the tilted window air conditioner, you can ensure that it is working efficiently and providing the desired cooling effect. Take note of any issues or concerns that arise during the testing process, as this information may be helpful for future maintenance or troubleshooting.
Congratulations! You have successfully tilted and tested your window air conditioner. Enjoy the improved airflow, efficient cooling, and peace of mind knowing that you have optimized your air conditioner’s performance.
Frequently Asked Questions about How To Tilt A Window Air Conditioner
Was this page helpful?
At Storables.com, we guarantee accurate and reliable information. Our content, validated by Expert Board Contributors, is crafted following stringent Editorial Policies. We're committed to providing you with well-researched, expert-backed insights for all your informational needs.