Home>Home Maintenance>How To Install A Ductless Air Conditioning Unit
Home Maintenance
How To Install A Ductless Air Conditioning Unit
Modified: March 6, 2024
Learn how to install a ductless air conditioning unit with our step-by-step guide. Improve home-maintenance and beat the summer heat efficiently.
(Many of the links in this article redirect to a specific reviewed product. Your purchase of these products through affiliate links helps to generate commission for Storables.com, at no extra cost. Learn more)
Introduction
Welcome to our comprehensive guide on how to install a ductless air conditioning unit. As temperatures rise, it’s crucial to have a reliable cooling system in place to keep your home comfortable and enjoyable. Ductless air conditioning units offer an efficient and cost-effective solution for homeowners, providing targeted cooling in specific areas of the house without the need for extensive ductwork.
In this article, we will walk you through the entire process of installing a ductless air conditioning unit, from understanding the system to troubleshooting common issues. Whether you’re a seasoned DIY enthusiast or a first-time homeowner, this guide will equip you with the knowledge and skills to successfully install a ductless unit and enjoy its benefits.
Before we dive into the installation process, let’s take a closer look at ductless air conditioning systems and the advantages they offer.
Key Takeaways:
- Installing a ductless air conditioning unit is a cost-effective and energy-efficient way to cool specific areas of your home without the need for extensive ductwork. It offers zoning capability and easy installation, making it a great option for homeowners.
- Proper maintenance, including regular cleaning and professional inspections, is essential for keeping your ductless air conditioning unit running efficiently and extending its lifespan. Following manufacturer’s guidelines and monitoring energy consumption are key to ensuring optimal performance.
Read more: What Is Split Ductless Air Conditioning
Understanding Ductless Air Conditioning Systems
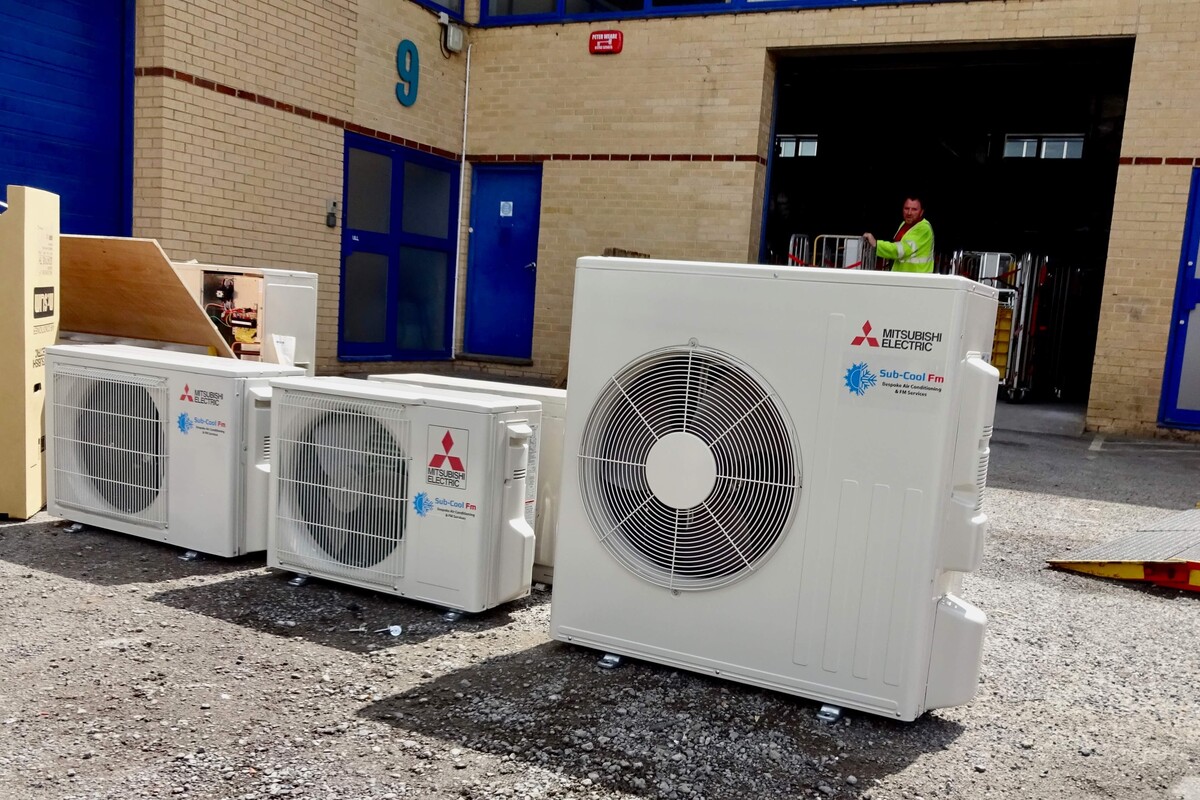
Ductless air conditioning systems, also known as mini-split systems, are a popular alternative to traditional central air conditioning systems. Unlike central AC units that require extensive ductwork, ductless systems consist of two main components: an indoor unit and an outdoor unit. These units are connected by refrigerant lines, eliminating the need for ducts and allowing for more flexibility in installation.
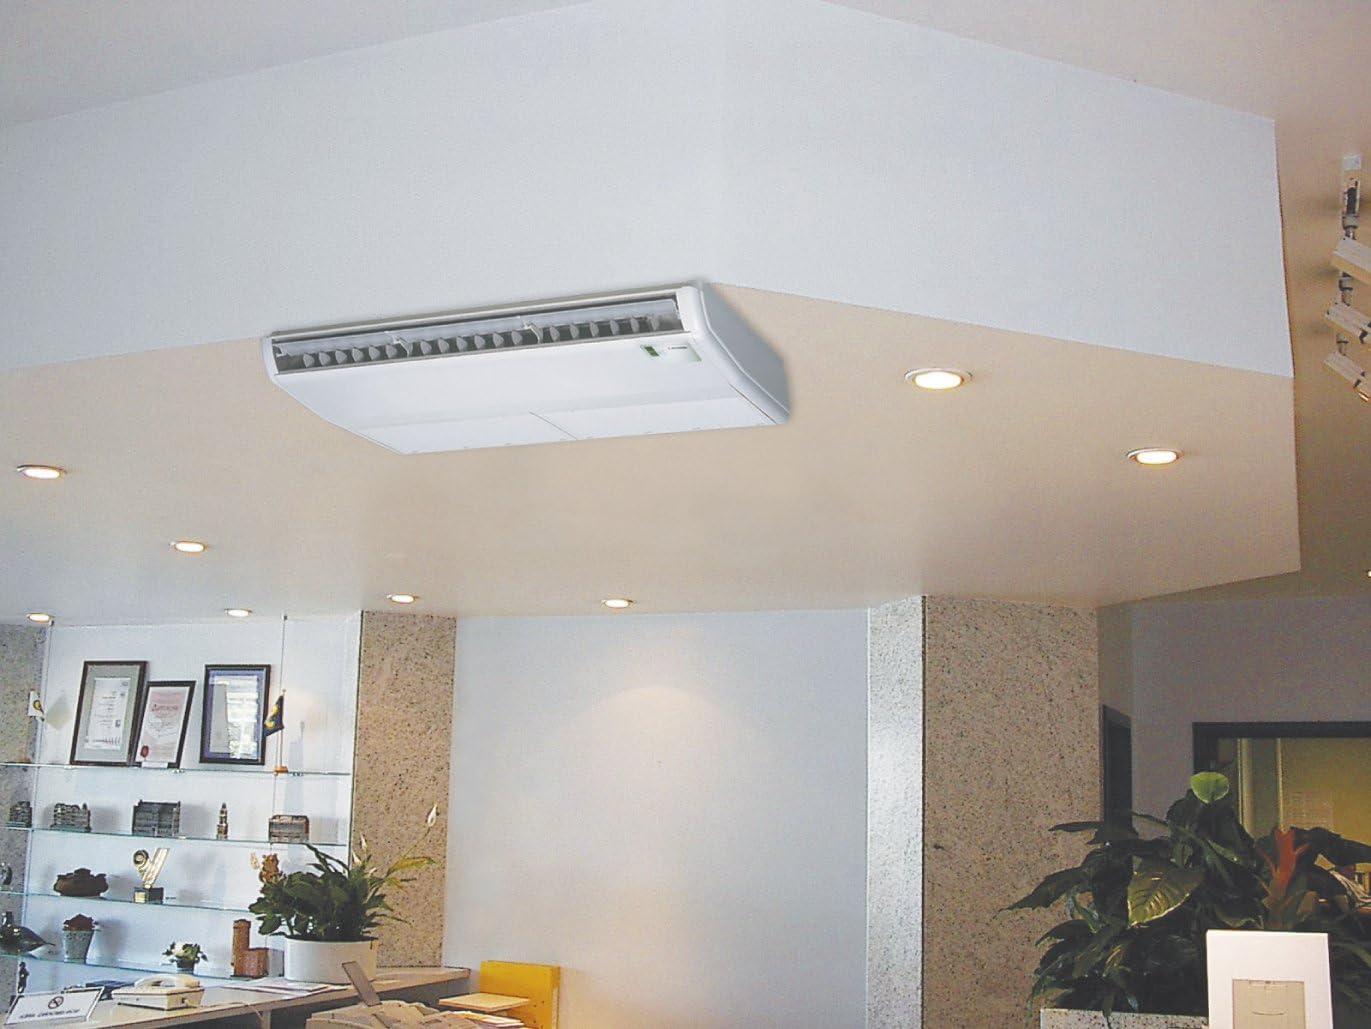
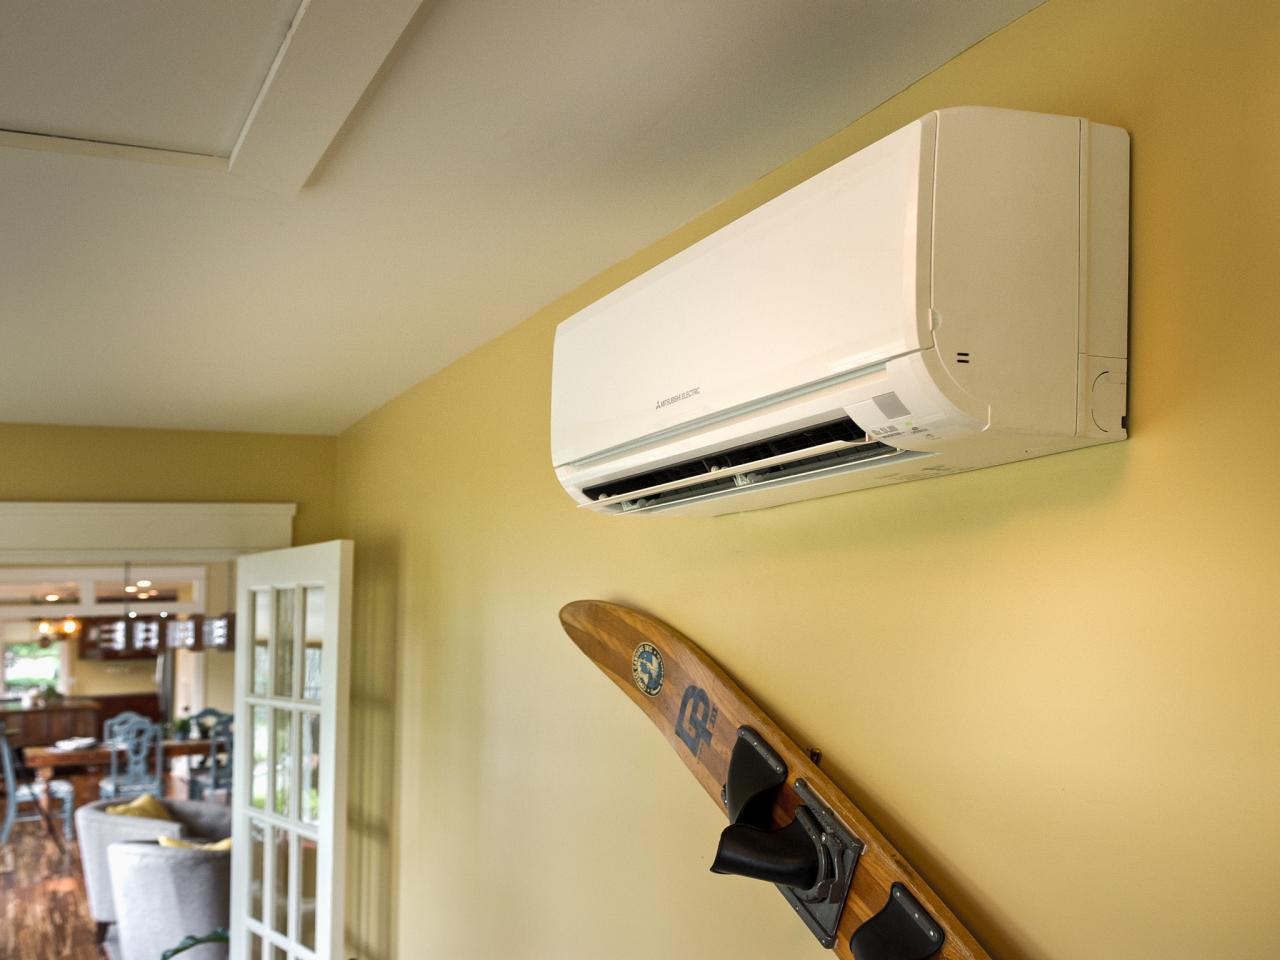
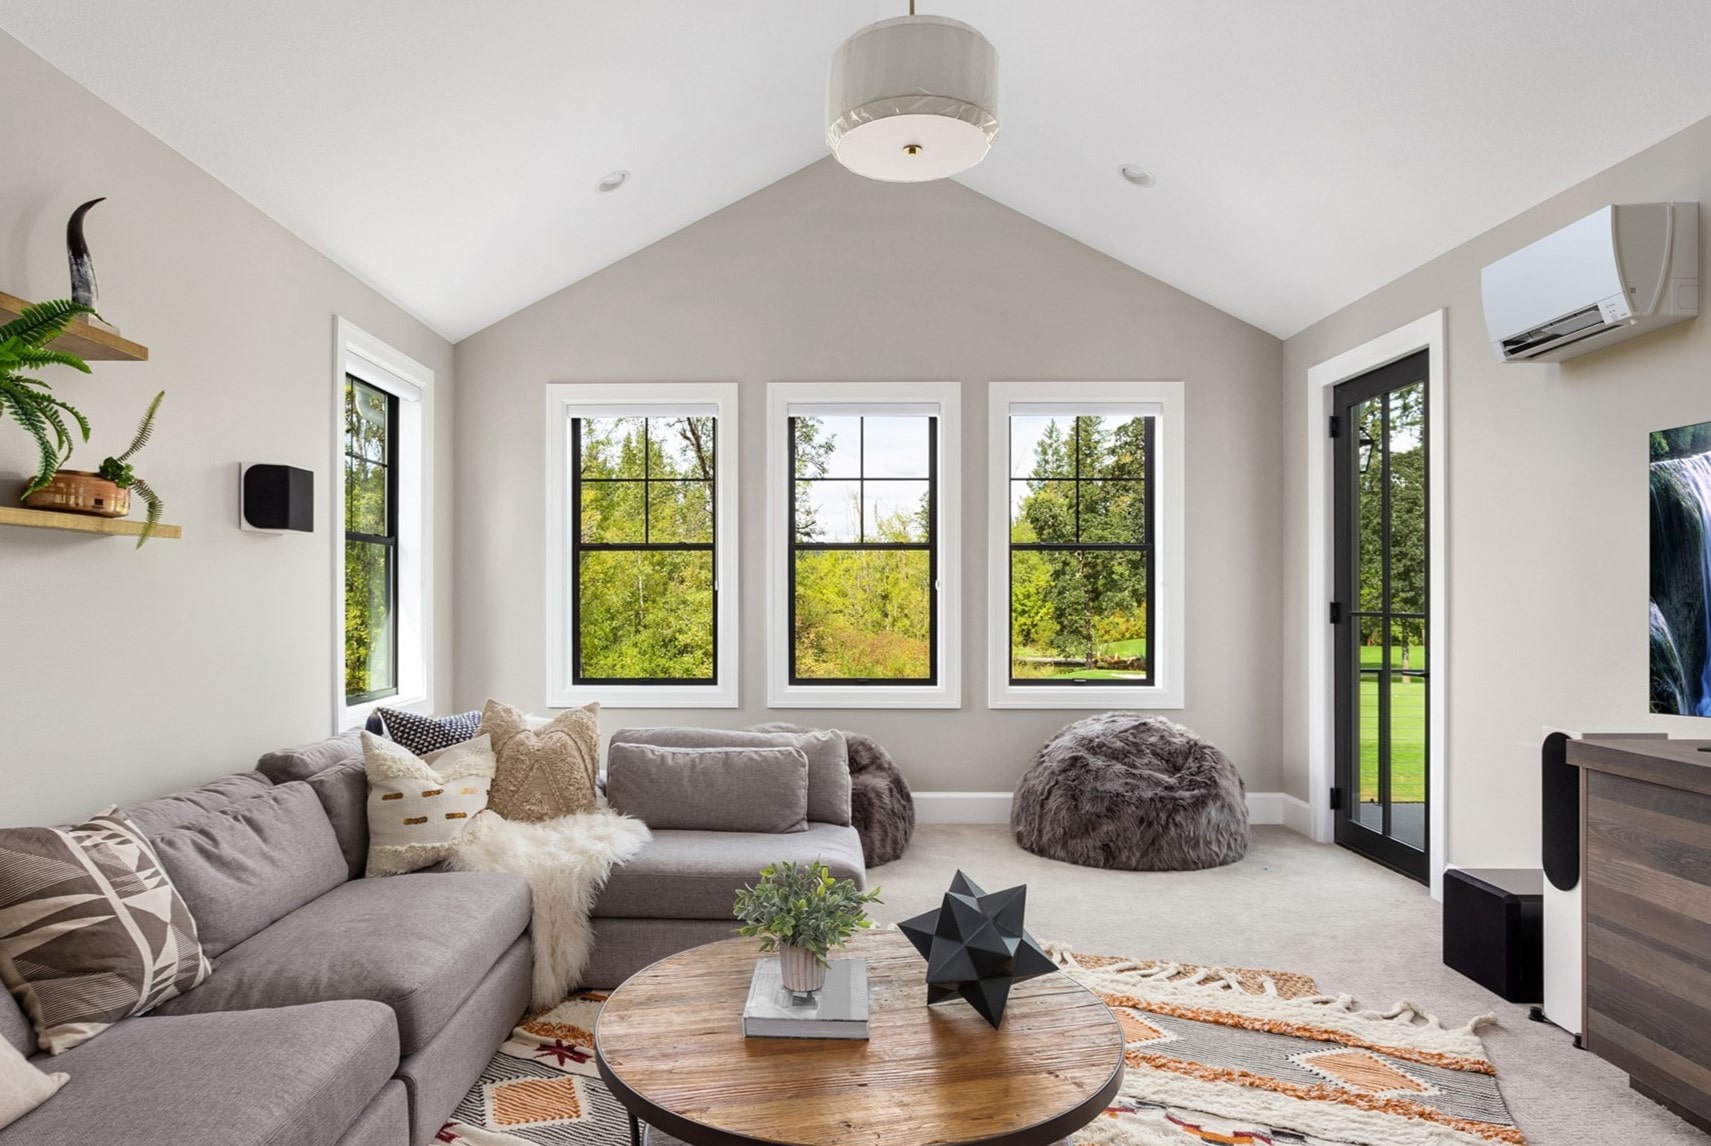
The indoor unit is typically mounted on a wall or ceiling and blows cool air into the room. It contains a fan, evaporator coil, and filters to ensure proper airflow and filtration. The outdoor unit houses the compressor, condenser coil, and expansion valve, which work together to generate cool air.
One of the main advantages of ductless systems is their zoning capability. Each indoor unit can be controlled separately, allowing you to cool specific rooms or areas of the house based on individual preferences. This not only increases comfort but also saves energy by avoiding the need to cool unoccupied spaces. Additionally, ductless systems are generally more energy-efficient than central AC units, as there is no loss of cooled air through duct leakage.
Another benefit of ductless air conditioning systems is their ease of installation. Since there is no ductwork involved, installation is relatively straightforward and can often be completed in a single day. This makes ductless systems a great option for retrofitting older homes or for adding cooling to rooms that are not served by the central AC system.
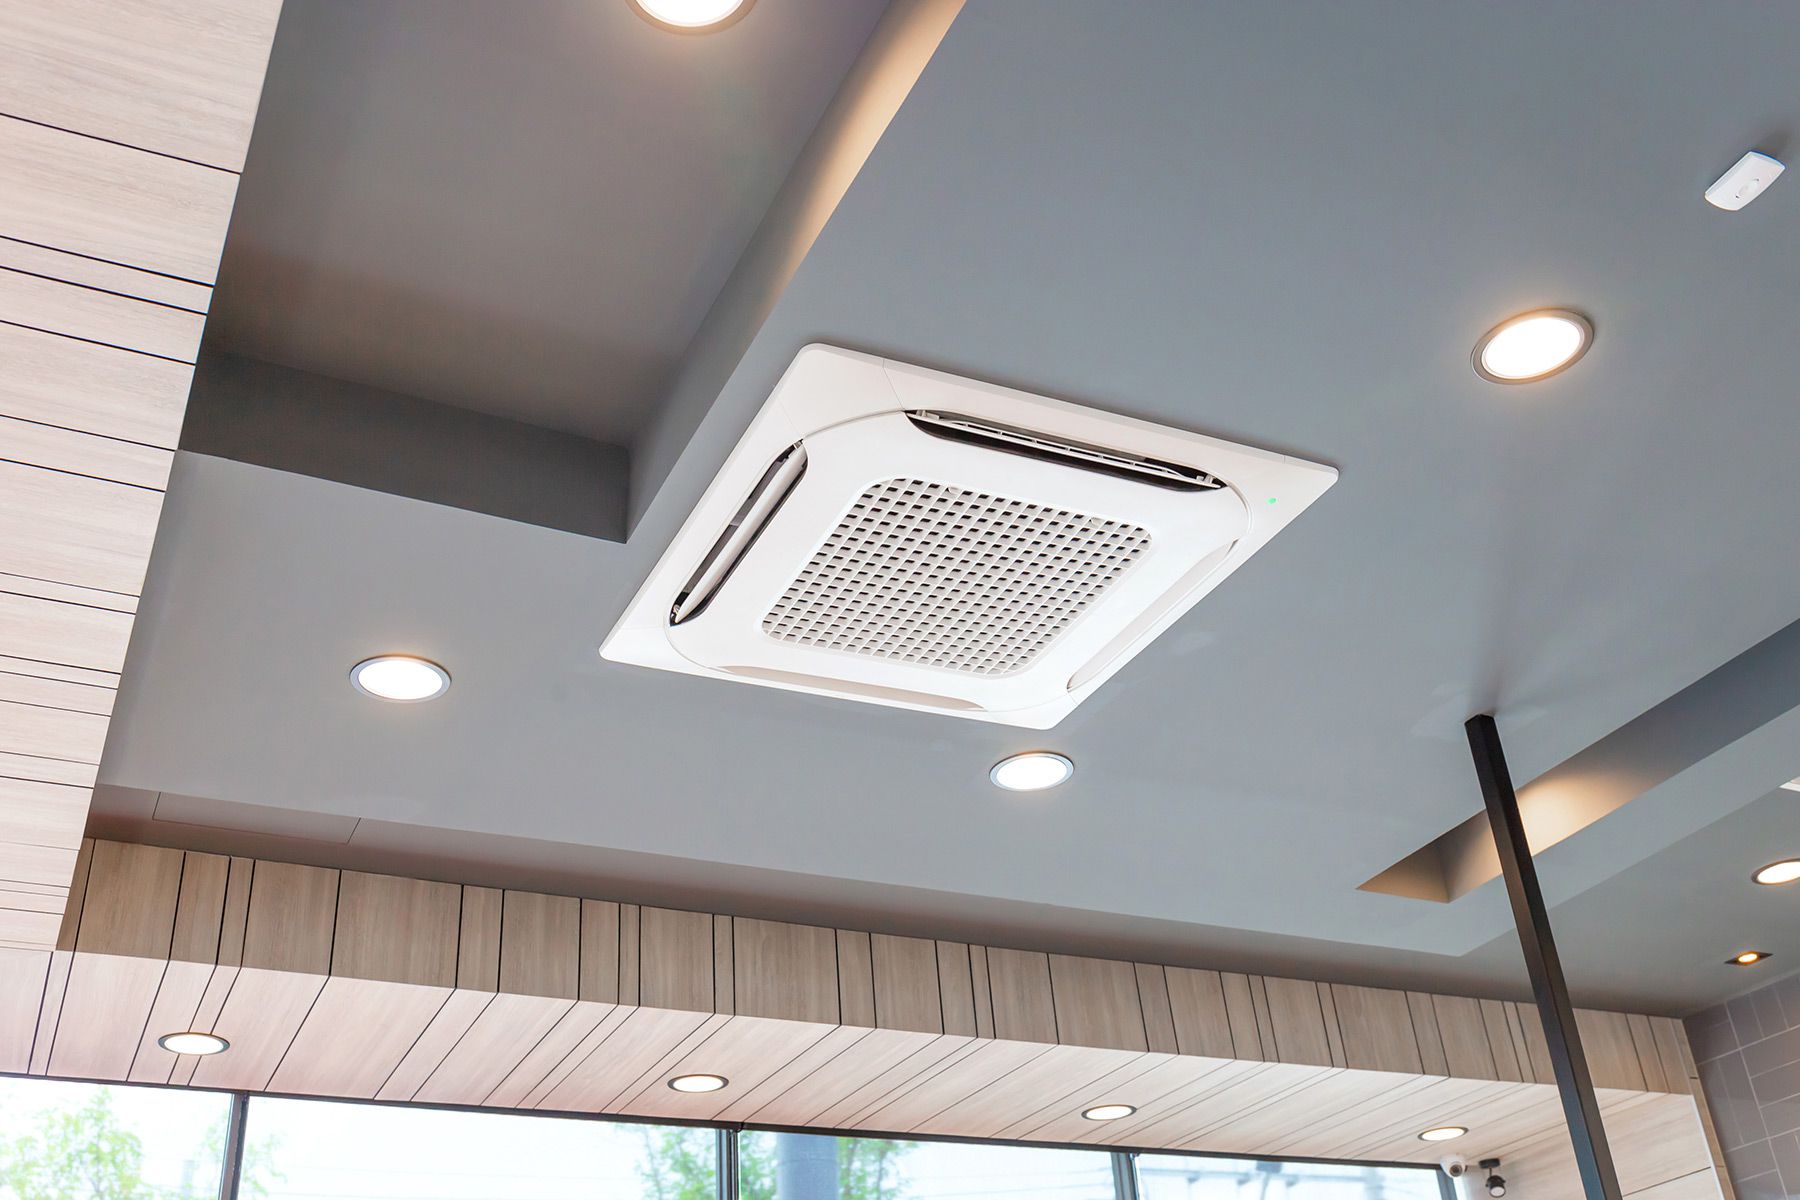
Furthermore, ductless systems offer excellent flexibility in terms of placement. The indoor units can be mounted on walls, suspended from ceilings, or concealed in recessed areas, allowing for optimal airflow and aesthetic integration with your home’s interior. The outdoor units can be placed on the ground or mounted on exterior walls, depending on the available space.
Now that you have a better understanding of ductless air conditioning systems, let’s explore the various benefits they provide.
Benefits of Ductless Air Conditioning Units
Ductless air conditioning units offer several advantages over traditional central AC systems, making them a popular choice for homeowners. Here are some of the key benefits:
- Zoning Capability: Ductless systems allow for individual temperature control in each room or zone of your home. This means you can cool specific areas that are being used while keeping other areas at a different temperature, maximizing comfort and energy efficiency.
- Energy Efficiency: Ductless AC units are highly energy-efficient. Since air is delivered directly into each room, there is no loss of cooled air through duct leakage. Additionally, you can easily turn off units in rooms that are not in use, further reducing energy consumption.
- Cost Savings: By reducing energy usage and allowing for precise temperature control, ductless systems can lead to significant cost savings on your energy bills. Additionally, these units are eligible for energy efficiency rebates and incentives, further lowering the upfront costs.
- Easy Installation: Installing a ductless air conditioning unit is much easier and less disruptive than installing a traditional central AC system. The absence of ductwork eliminates the need for extensive renovations, making it a convenient option for retrofitting older homes.
- Improved Indoor Air Quality: Ductless systems are equipped with advanced filtration systems that help remove dust, allergens, and other airborne particles from the air. This can significantly improve indoor air quality, making it a healthier environment for you and your family.
- Flexibility in Design: With ductless systems, you have the freedom to design your living spaces without the constraints of ductwork. The indoor units can be mounted on walls, ceilings, or recessed into the ceiling, offering flexibility in placement and allowing for a more aesthetically pleasing interior.
- Quiet Operation: Ductless AC units are designed to operate quietly, ensuring a peaceful and comfortable environment in your home. The noise produced by the units is minimal, enabling you to enjoy a good night’s sleep or work without distractions.
These benefits make ductless air conditioning units an attractive option for homeowners seeking efficient and flexible cooling solutions. Now that you understand the advantages of ductless systems, let’s move on to the next step: choosing the right location for installation.
Choosing the Right Location for Installation
When it comes to installing a ductless air conditioning unit, choosing the right location is crucial for optimal performance and comfort. Here are some factors to consider:
- Indoor Unit: The indoor unit should be placed in a central location within the room that requires cooling. It should be positioned at a height of around 7 to 8 feet from the floor for efficient air distribution. Avoid placing the unit near any obstacles or furniture that may obstruct the airflow.
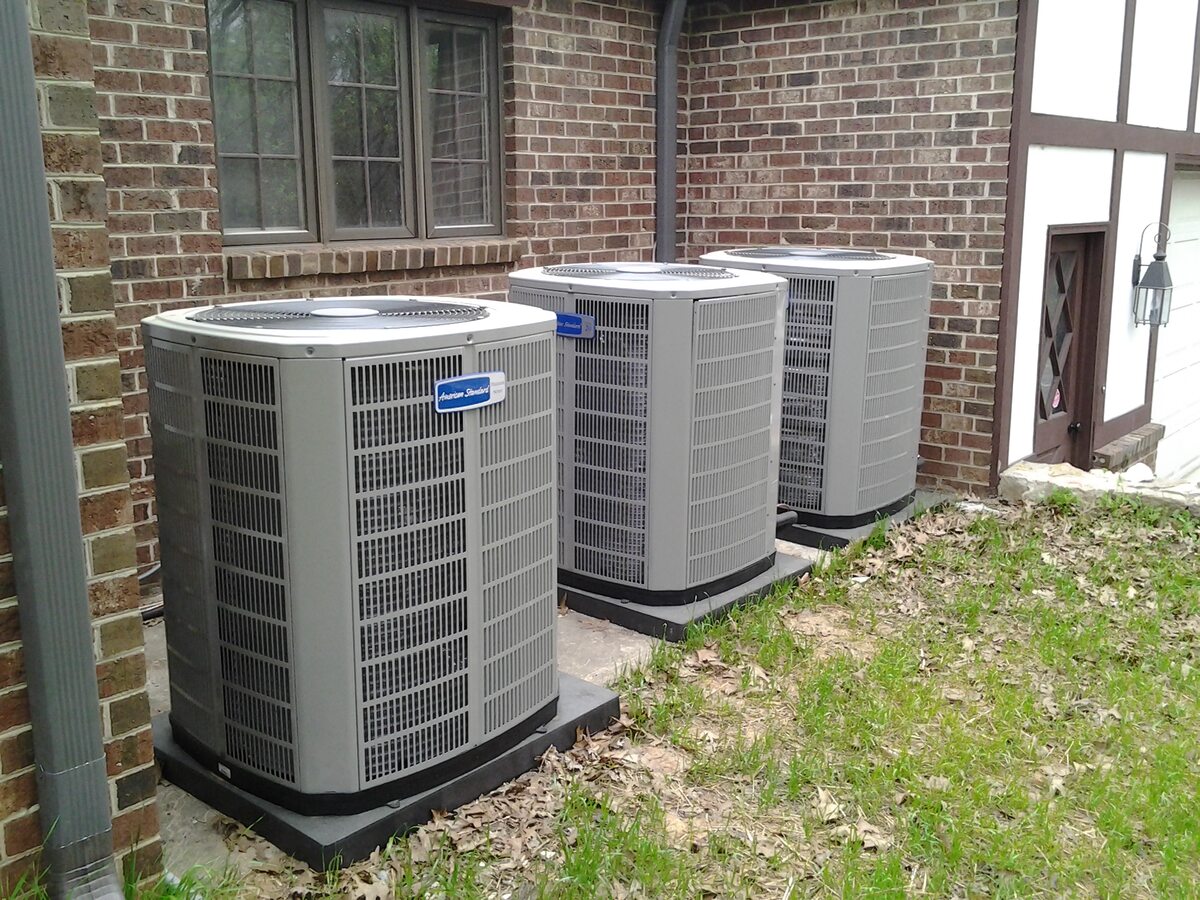
- Outdoor Unit: The outdoor unit should be installed in a well-ventilated area with ample space around it. Choose a location where the unit is protected from direct sunlight or excessive rain to prevent damage. It should be placed on a sturdy surface, such as a concrete pad or metal bracket, to ensure stability.
- Refrigerant Lines: Consider the distance and route of the refrigerant lines that connect the indoor and outdoor units. The length of these lines should be kept within the manufacturer’s specifications to ensure efficient operation. Avoid bending or kinking the lines during installation.
- Noise Considerations: Take into account the noise produced by the indoor and outdoor units. Choose a location for the outdoor unit that is away from areas where excessive noise could be bothersome, such as bedrooms or outdoor living spaces.
- Aesthetics: While functionality is essential, consider the visual impact of the indoor and outdoor units. Opt for locations that allow for the units to blend seamlessly with the surroundings or can be concealed if desired.
It is recommended to consult the manufacturer’s instructions and guidelines for specific location and placement requirements. Keep in mind that the installation of a ductless air conditioning unit may require professional help, especially when it comes to electrical wiring and refrigerant line connections.
Next, let’s move on to the tools and materials needed for the installation process.
Gathering the Necessary Tools and Materials
Before you begin the installation of a ductless air conditioning unit, it’s important to gather all the necessary tools and materials. Having everything on hand will help ensure a smooth and efficient installation process. Here’s a list of the essential tools and materials needed:
- Power Drill: A power drill will be necessary for mounting the indoor unit on the wall or ceiling. Make sure it is charged and equipped with the appropriate drill bits.
- Screwdriver: Both a flathead and a Phillips screwdriver will come in handy for various steps of the installation, such as attaching brackets or securing electrical connections.
- Pipe Cutter: A pipe cutter is essential for cutting the copper refrigerant lines to the proper length. Make sure it is capable of cutting through larger diameter pipes.
- Torch and Solder: If you are connecting or extending the refrigerant lines, you will need a torch and solder for brazing the copper pipes together. Ensure you have the necessary safety equipment for using a torch.
- Level: A level is necessary for ensuring the indoor unit is mounted straight. This will help prevent any issues with water drainage and maintain proper airflow.
- Electrical Testing Equipment: It is important to have a voltage tester or multimeter to check electrical connections and ensure proper power supply. Safety goggles and insulated gloves are also recommended when working with electrical components.
- Piping Insulation: Insulating foam or tape is needed to wrap around the refrigerant lines to prevent condensation and maintain energy efficiency.
- Mounting Brackets and Hardware: You will need appropriate mounting brackets and hardware to securely mount the indoor unit on the wall or ceiling.
- Refrigerant Lines and Connectors: Make sure you have the necessary copper refrigerant lines and connectors suitable for your specific ductless air conditioning system.
- Electrical Wiring: If you are handling the electrical wiring yourself, you will need electrical cables, wire nuts, and electrical tape for making proper connections.
- Protective Covers: Having protective covers or plastic sheets on hand will help protect your floors and furniture from any potential damage during the installation process.
It’s always recommended to consult the manufacturer’s instructions and guidelines to ensure you have the specific tools and materials required for your particular unit. Additionally, taking necessary safety precautions throughout the installation process is essential.
Now that you have everything you need, it’s time to move on to the step-by-step installation guide.
Read more: How Much Does Ductless Air Conditioning Cost
Step-by-Step Installation Guide
Installing a ductless air conditioning unit involves several steps that should be followed carefully to ensure a successful and efficient installation. Here is a step-by-step guide to help you through the process:
- 1. Gather all the necessary tools and materials: Before you begin, make sure you have all the required tools and materials on hand for a smooth installation process.
- 2. Select the location for the indoor unit: Determine the best location for the indoor unit based on factors such as airflow, aesthetics, and accessibility. Mark the spot and ensure it meets the manufacturer’s guidelines for installation.
- 3. Install the mounting bracket: Follow the manufacturer’s instructions to securely install the mounting bracket on the wall or ceiling at the designated location where the indoor unit will be placed.
- 4. Mount the indoor unit: Carefully attach the indoor unit to the mounting bracket, ensuring it is level and securely fastened. Make sure the unit is positioned in a way that provides proper airflow and accessibility for maintenance.
- 5. Determine the location for the outdoor unit: Select an appropriate location for the outdoor unit that provides sufficient airflow and protection from direct sunlight or excessive rain. Ensure it is placed on a stable surface.
- 6. Install the outdoor unit: Carefully place the outdoor unit in the designated location and secure it according to the manufacturer’s instructions. Ensure proper clearance around the unit for maintenance and airflow.
- 7. Connect the refrigerant lines: Measure and cut the copper refrigerant lines to the appropriate length, making sure to account for any bends or turns. Connect the lines to the indoor and outdoor units, following the manufacturer’s specifications.
- 8. Insulate the refrigerant lines: Wrap the refrigerant lines with insulation foam or tape to prevent condensation and maintain energy efficiency. Make sure to cover the entire length of the lines.
- 9. Wire the system: If you are knowledgeable and comfortable with electrical work, carefully connect the electrical wiring following the manufacturer’s guidelines. If not, it is recommended to hire a licensed electrician.
- 10. Test the system: Once all the connections are made, turn on the power and test the system to ensure it is functioning properly. Check for proper airflow, cooling, and any unusual noises or issues.
- 11. Adjust settings and perform final checks: Set the desired temperature and adjust any additional settings on the indoor unit’s control panel. Double-check all connections, tighten any loose screws, and ensure there are no refrigerant leaks.
Remember, these steps provide a general overview of the installation process. It is crucial to consult the specific instructions provided by the manufacturer of your ductless air conditioning unit for detailed guidance.
Now that your ductless air conditioning unit is successfully installed, it’s important to know how to properly maintain and clean it to keep it running efficiently. Let’s explore some maintenance tips in the next section.
Mounting the Indoor Unit
Mounting the indoor unit of your ductless air conditioning system is a crucial step in the installation process. The indoor unit is responsible for distributing cool air throughout the room, so it’s important to ensure it is securely and correctly mounted. Here’s a step-by-step guide to help you with this process:
- 1. Choose the location: Select the ideal location on the wall or ceiling for the indoor unit. Consider factors such as airflow, accessibility, and aesthetics.
- 2. Mark the spot: Use a pencil or marker to mark the exact spot where the unit will be mounted. Ensure the markings are level and aligned properly.
- 3. Prepare the mounting bracket: If the mounting bracket is not pre-installed on the indoor unit, attach it according to the manufacturer’s instructions. Use a level to ensure it is straight and aligned with the marked spot.
- 4. Drill pilot holes: Use a power drill and the appropriate drill bit to drill pilot holes into the wall or ceiling at the marked spot. Make sure the holes are the appropriate size for the mounting hardware.
- 5. Insert anchors: Insert plastic anchors into the pilot holes. This will provide additional stability and support for the mounting screws.
- 6. Secure the mounting bracket: Place the mounting bracket over the pilot holes and insert screws through the bracket into the anchors. Use a screwdriver to tighten the screws, ensuring the bracket is securely attached to the wall or ceiling.
- 7. Attach the indoor unit: Carefully lift the indoor unit and hang it onto the mounting bracket. Align the unit with the bracket and slide it into place. Make sure it is level and secure.
- 8. Check for stability: Gently shake the indoor unit to ensure it is stable and securely mounted. If there is any wobbling or instability, double-check the mounting bracket and screws.
- 9. Make electrical connections: Follow the manufacturer’s instructions to make the necessary electrical connections. This may involve connecting wires from the unit to the power source or the control panel. If you’re not familiar with electrical work, it’s best to hire a licensed electrician.
- 10. Test the unit: Once the indoor unit is securely mounted and the electrical connections are made, turn on the power and test the unit. Ensure that the controls are functioning properly and that cool air is being delivered into the room.
Remember, it is essential to follow the manufacturer’s instructions and guidelines specific to your ductless air conditioning unit during the installation process. If you have any doubts or concerns, it’s always best to consult a professional for assistance.
Next, let’s move on to the installation of the outdoor unit.
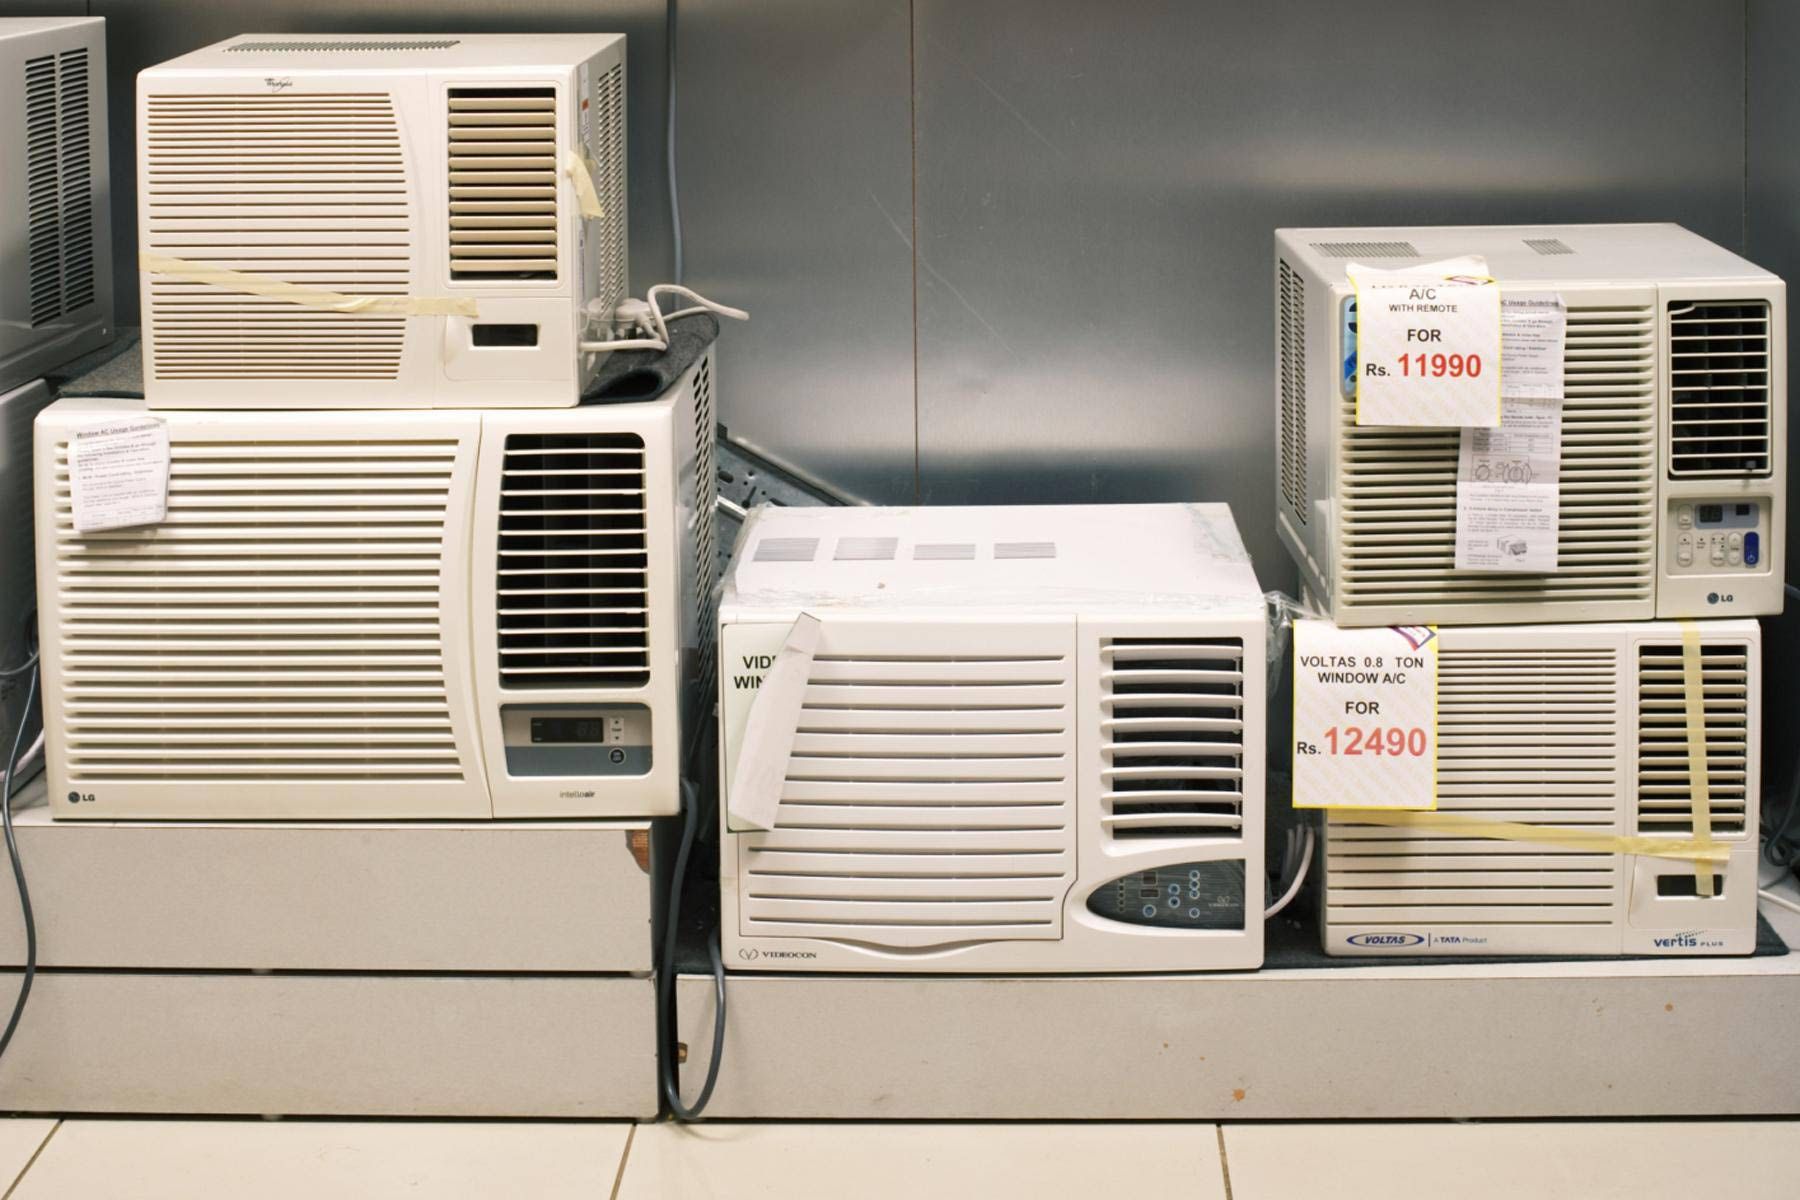
Make sure to properly size the unit for the space you want to cool. An undersized unit won’t cool effectively, while an oversized unit will cycle on and off frequently, wasting energy.
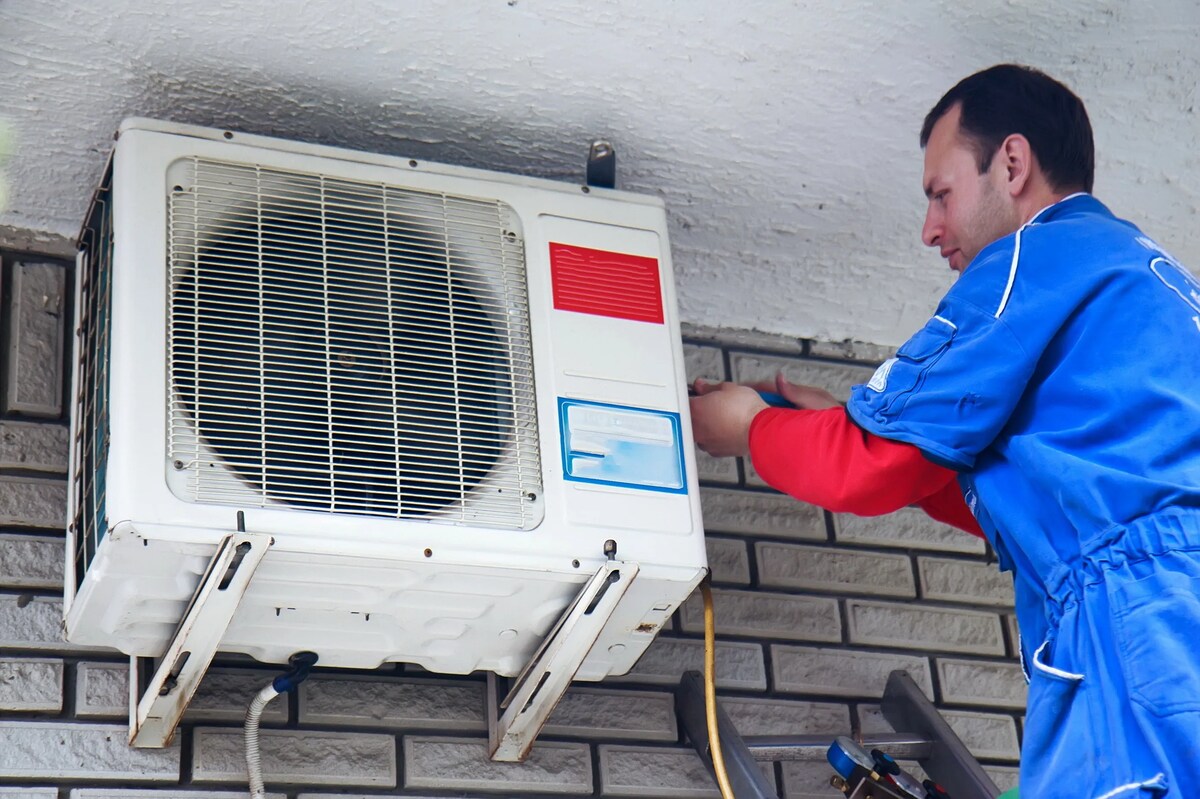
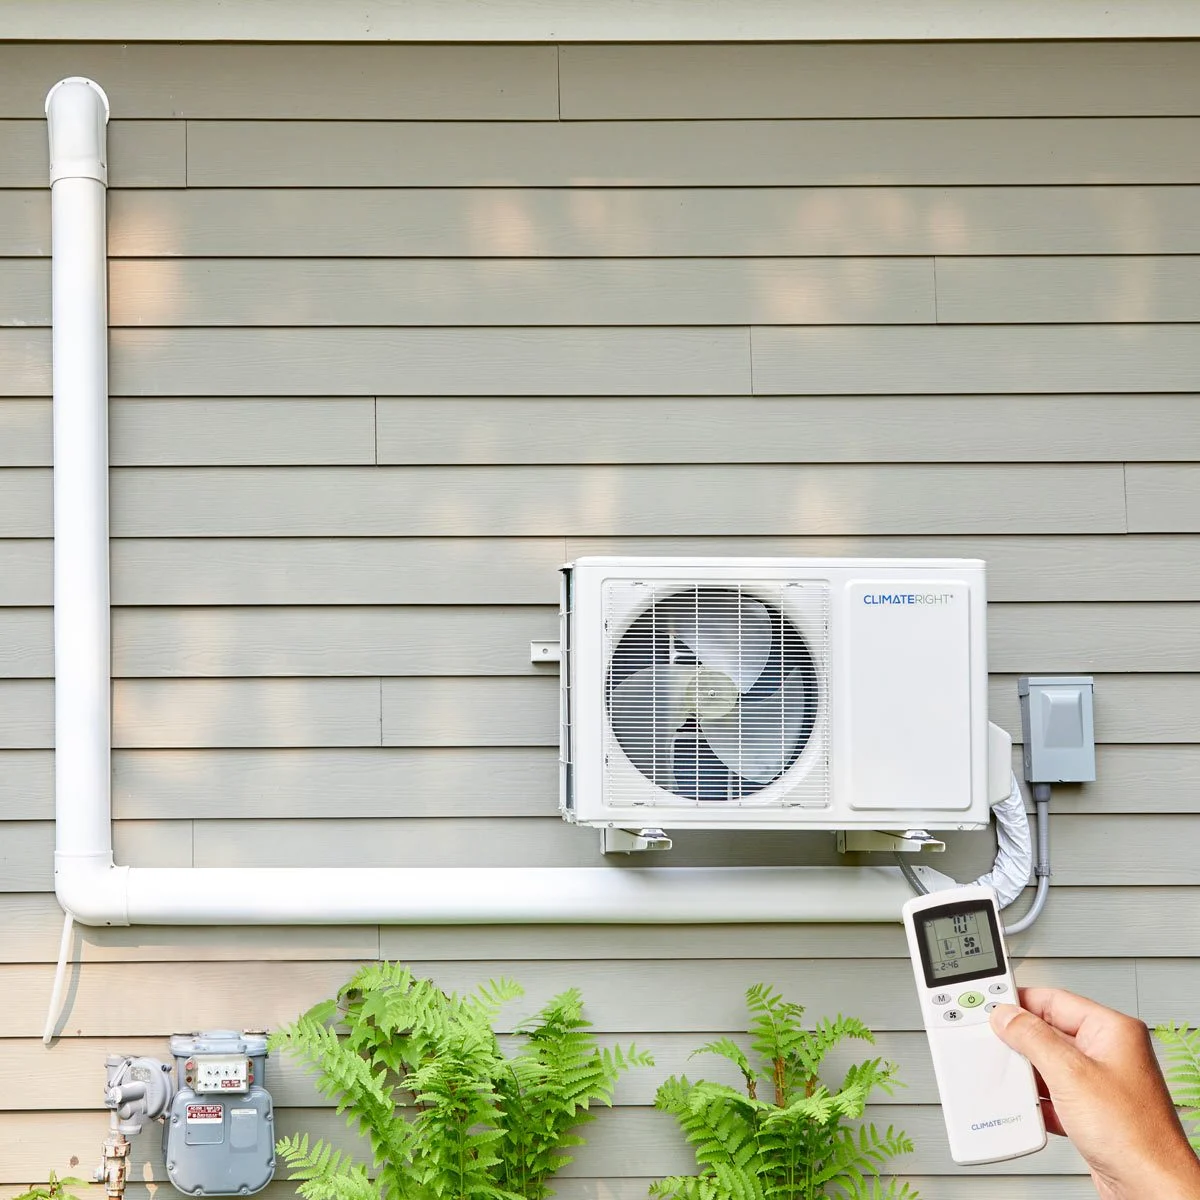
Installing the Outdoor Unit
Installing the outdoor unit of your ductless air conditioning system is a critical step in ensuring proper operation and performance of the unit. It’s essential to follow the manufacturer’s instructions and guidelines throughout the installation process. Here’s a step-by-step guide to help you with installing the outdoor unit:
- 1. Select a suitable location: Choose an appropriate location for the outdoor unit that provides sufficient airflow and protection from direct sunlight or excessive rain. Ensure that the unit is placed on a stable surface.
- 2. Clear the area: Clear any debris, obstructions, or vegetation around the selected location. This will allow for proper airflow and prevent any damage to the unit.
- 3. Prepare the mounting surface: If necessary, install a concrete pad or metal bracket to provide a stable surface for the outdoor unit. Make sure the surface is level and securely fastened.
- 4. Follow the unit dimensions: Ensure that the dimensions of the unit are compatible with the mounting surface and that there is enough space for proper airflow and maintenance access.
- 5. Position the unit: Carefully place the outdoor unit on the mounting surface, ensuring it is aligned properly and centered. Use a level to confirm that the unit is level and adjust if necessary.
- 6. Secure the unit: Following the manufacturer’s instructions, secure the outdoor unit to the mounting surface using appropriate mounting hardware. Tighten the screws or bolts to ensure a secure and stable installation.
- 7. Connect the refrigerant lines: Connect the appropriate refrigerant lines from the outdoor unit to the corresponding connections on the indoor unit. Follow the manufacturer’s guidelines for proper connections and refrigerant line routing.
- 8. Insulate the refrigerant lines: Wrap the refrigerant lines with insulation foam or tape to prevent condensation and maintain energy efficiency. Make sure to cover the entire length of the lines and secure the insulation in place.
- 9. Check the connections: Double-check all the connections to ensure they are tight and secure. Inspect for any signs of refrigerant leakage and address any issues immediately.
- 10. Test the unit: Once all the connections are made and secured, turn on the power and test the unit. Confirm that it is operating correctly and that the outdoor unit is functioning as expected.
It’s important to note that the installation of the outdoor unit may require the assistance of a licensed HVAC professional due to the electrical and refrigerant line connections. They will ensure that the installation complies with local building codes and regulations.
Now that the outdoor unit is installed, the refrigerant lines need to be properly connected. Let’s move on to the next step in the installation process.
Connecting the Refrigerant Lines
Connecting the refrigerant lines is a vital step in the installation of a ductless air conditioning system. These lines carry the refrigerant between the indoor and outdoor units, allowing for the transfer of heat and cooling. It’s important to follow the manufacturer’s instructions and guidelines to ensure a proper and secure connection. Here’s a step-by-step guide to help you with connecting the refrigerant lines:
- 1. Measure and cut the refrigerant lines: Use a pipe cutter to measure and cut the copper refrigerant lines to the appropriate length. Take into consideration any bends or turns that may be required during the installation.
- 2. Ensure clean cuts: After cutting the refrigerant lines, ensure that the cut ends are smooth and free from burrs or rough edges. This will ensure a proper seal and prevent any refrigerant leaks.
- 3. Connect the lines to the outdoor unit: Depending on the manufacturer’s instructions, connect the larger refrigerant line to the appropriate connection on the outdoor unit. This line is typically referred to as the suction line. Tighten the connection using properly sized wrenches or flare nut wrenches.
- 4. Connect the lines to the indoor unit: Connect the smaller refrigerant line, known as the liquid line, to the corresponding connection on the indoor unit. Ensure a secure and tight connection using the appropriate tools.
- 5. Insulate the refrigerant lines: After connecting the refrigerant lines, wrap both the suction line and liquid line with insulation foam or tape. This will help prevent condensation and maintain optimal energy efficiency. Ensure that the insulation covers the entire length of the lines.
- 6. Secure the insulation: Once the refrigerant lines are insulated, secure the insulation in place using zip ties or tape. This will prevent the insulation from slipping or coming loose during the operation of the system.
- 7. Check for proper alignment: Double-check that the refrigerant lines are properly aligned and free from any kinks or obstructions. Ensure that they are not under tension or stress that could cause leaks or damage.
- 8. Perform a pressure test: It is recommended to perform a pressure test to ensure there are no refrigerant leaks. This can be done using a pressure gauge and monitoring the pressure for any drops over a specified period of time.
- 9. Address any leaks or issues: If there are any signs of refrigerant leakage or any other issues, address them immediately. Consult a licensed HVAC professional for assistance if needed.
- 10. Follow manufacturer’s guidelines: Always refer to the manufacturer’s instructions and guidelines for specific instructions on connecting the refrigerant lines. Each system may have its own requirements and specifications.
Properly connecting and insulating the refrigerant lines is crucial for the efficient and effective operation of your ductless air conditioning system. If you’re not confident in your abilities or have any doubts, it’s best to consult a licensed HVAC professional for assistance.
Next, let’s move on to wiring the system to ensure proper electrical connections.
Wiring the System
Wiring the system of your ductless air conditioning unit is an essential step to ensure proper electrical connections and functionality. It’s important to follow the manufacturer’s instructions and guidelines to ensure a safe and effective wiring process. Here’s a step-by-step guide to help you with wiring the system:
- 1. Turn off the power: Before starting any wiring work, turn off the power supply to the indoor and outdoor units at the main electrical panel. This will prevent any risk of electric shock while working on the wiring connections.
- 2. Read the manufacturer’s instructions: Familiarize yourself with the manufacturer’s wiring diagram and instructions specific to your ductless air conditioning unit. This will provide you with the necessary information about the electrical connections and proper wire sizing.
- 3. Prepare the wires: Cut the electrical wires to the appropriate lengths, allowing for proper connections between the indoor and outdoor units. Use wire strippers to remove insulation from the ends of the wires.
- 4. Make electrical connections: Follow the wiring diagram and guidelines provided by the manufacturer to connect the wires. Typically, wire color-coding is used to ensure proper connections. Connect the corresponding wires from the indoor unit to the outdoor unit.
- 5. Use wire connectors: Securely connect the wires using wire connectors, such as wire nuts or terminal blocks. Make sure each connection is tight and properly insulated to prevent any loose or exposed wires.
- 6. Ground the units: Connect the grounding wire provided by the manufacturer to the appropriate grounding point on both the indoor and outdoor units. Proper grounding is essential for safety and protecting against electrical faults.
- 7. Insulate the connections: After making the electrical connections, use electrical tape or heat shrink tubing to insulate and protect the connections. This helps prevent any accidental contact with exposed wires and ensures electrical safety.
- 8. Perform a final check: Double-check all the connections to ensure they are secure and properly insulated. Make sure there are no loose wires or exposed parts that could pose a safety risk.
- 9. Turn on the power: Once you’ve completed the wiring connections and performed a final check, turn on the power supply to the indoor and outdoor units. Monitor the system to ensure that it powers up correctly, and there are no issues with the electrical connections.
- 10. Consult a licensed electrician if needed: If you’re unsure about any aspect of the wiring process or don’t have experience working with electrical systems, it’s best to consult a licensed electrician for professional assistance.
It’s important to prioritize safety when working with electrical connections. If you’re not confident in your abilities or have any doubts, it’s always best to seek professional help from a licensed electrician.
Now that the system is wired and ready, the next step is to test and troubleshoot any potential issues.
Testing and Troubleshooting
After installing a ductless air conditioning unit, it’s crucial to thoroughly test the system to ensure it is functioning properly. Testing allows you to identify any potential issues and troubleshoot them accordingly. Here’s a step-by-step guide to help you with testing and troubleshooting your system:
- 1. Power on the system: Turn on the power supply to the indoor and outdoor units at the main electrical panel. Ensure that the thermostat or control panel is set to the desired temperature.
- 2. Verify airflow: Check for proper airflow from the indoor unit. Feel the air coming out and ensure it is cool and circulating evenly throughout the room. A weak or uneven airflow may indicate a clogged filter or other issues.
- 3. Check for cooling: Monitor the temperature in the room to ensure that the unit is effectively cooling the space. You should notice a gradual drop in temperature as the unit operates. If the room doesn’t cool down or the temperature remains high, there may be an issue with refrigerant levels or compressor operation.
- 4. Listen for unusual noises: Pay attention to any unusual noises coming from the indoor or outdoor unit. Clanking, buzzing, or rattling sounds may indicate loose components or mechanical problems that require further investigation.
- 5. Inspect for leaks: Check for any signs of refrigerant leakage around the refrigerant lines or connections. Oil stains or residue can indicate a leak. If you suspect a refrigerant leak, contact a licensed HVAC professional to address the issue immediately.
- 6. Test the control panel: Ensure that the control panel or thermostat is functioning properly. Test all the settings, modes, and fan speed options to verify that they are working as intended.
- 7. Check for error codes: Many ductless air conditioning units are equipped with error code systems to identify specific issues. Consult the manufacturer’s manual to decipher any error codes displayed on the control panel. This can help determine the root cause of any malfunctions.
- 8. Adjust settings if needed: If you encounter any issues or notice that the system isn’t performing as expected, refer to the manufacturer’s guidelines to make appropriate adjustments. This may involve recalibrating the control panel or adjusting fan speed and airflow settings.
- 9. Consult a professional if necessary: If you encounter persistent issues or are unsure how to troubleshoot certain problems, it’s recommended to contact a licensed HVAC professional. They have the expertise to diagnose and resolve complex issues with your ductless air conditioning system.
- 10. Regular maintenance and inspections: To ensure the continued performance of your ductless air conditioning system, schedule regular maintenance and inspections. This includes cleaning or replacing air filters, inspecting and cleaning the outdoor unit, and checking refrigerant levels. Regular maintenance helps prevent potential issues and extends the lifespan of your unit.
By following these testing and troubleshooting steps, you can identify and address any issues with your ductless air conditioning system. Remember, safety should always be a priority when performing any maintenance or troubleshooting tasks. If unsure or uncomfortable, seek professional assistance.
In the next section, we will provide some essential tips for maintenance and cleaning to keep your ductless air conditioning unit in optimal condition.
Maintenance and Cleaning Tips
Maintaining and cleaning your ductless air conditioning unit is essential to ensure its optimal performance, energy efficiency, and longevity. By following these maintenance and cleaning tips, you can keep your system running smoothly and prevent common issues:
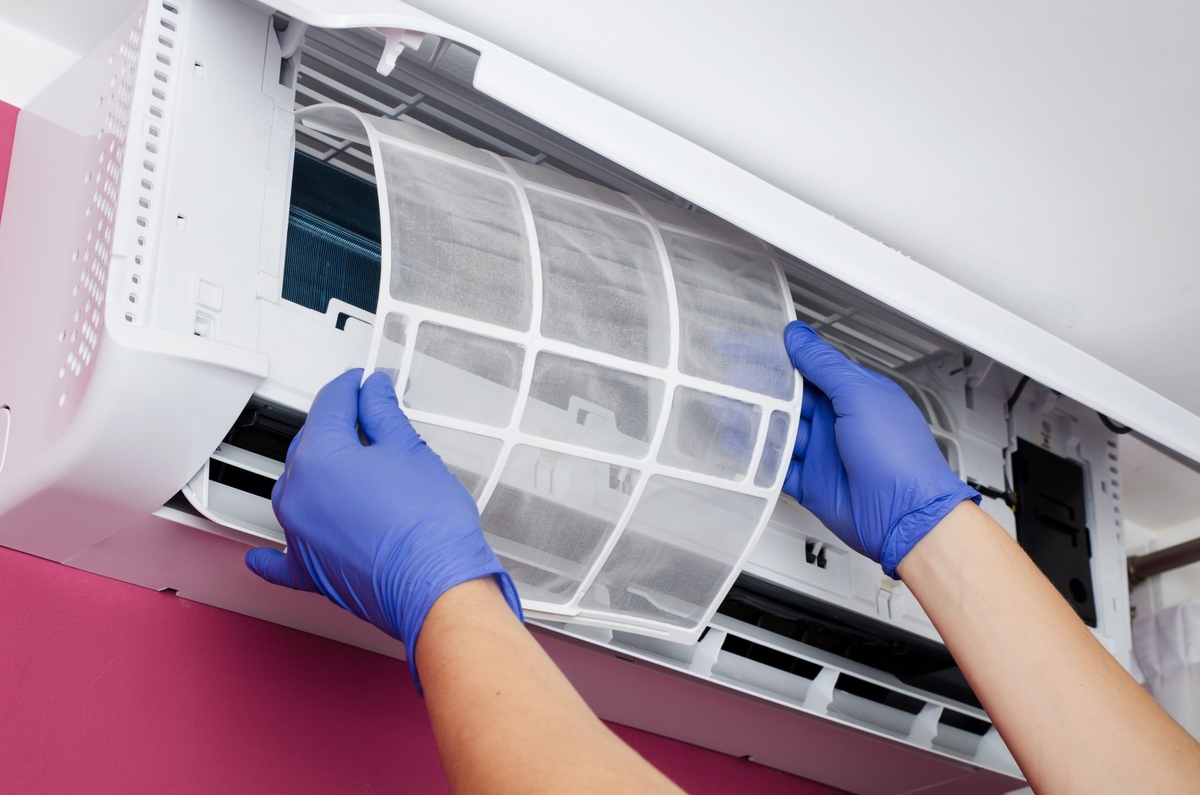
- Regularly clean or replace air filters: Air filters accumulate dust, dirt, and debris over time, compromising airflow and reducing efficiency. Clean or replace the filters according to the manufacturer’s recommendations, typically every 1-3 months.
- Clean the indoor unit: Gently remove any dust or debris from the indoor unit using a soft brush or cloth. Be careful not to damage any delicate components. Regular cleaning helps maintain proper airflow and prevents the buildup of dirt or allergens.
- Clean the outdoor unit: Inspect the outdoor unit regularly for any debris or obstructions. Clear away leaves, dirt, grass, or other debris that may accumulate on or around the unit. Use a hose to gently rinse off the exterior to remove dirt and grime.
- Inspect refrigerant lines: Periodically check the refrigerant lines for any signs of damage, such as leaks or wear. Address any issues promptly to prevent further damage and ensure proper refrigerant flow.
- Monitor drainage: Ensure proper drainage by checking the condensate drain line for any clogs or blockages. Clear any debris or buildup to prevent water leakage or damage to the unit.
- Trim vegetation near the outdoor unit: Trim any nearby bushes, branches, or debris that may obstruct airflow or impede access to the outdoor unit. Maintaining proper clearance promotes optimal performance and prevents damage.
- Schedule professional maintenance: Consider scheduling professional maintenance at least once a year. An HVAC technician can inspect and tune up your ductless system, checking for any underlying issues and ensuring optimal performance.
- Keep the surrounding area clean: Maintain a clean and dust-free environment around the indoor unit. Regularly dust and vacuum the area to prevent dust accumulation and maintain indoor air quality.
- Monitor energy consumption: Keep an eye on your energy consumption. If you notice a sudden increase in energy usage or a decline in cooling efficiency, it may indicate an issue with your system. Contact a professional to investigate and address the problem.
- Follow manufacturer’s guidelines: Always refer to the manufacturer’s guidelines for specific maintenance instructions and recommended intervals. Each ductless air conditioning unit may have unique requirements.
By following these maintenance and cleaning tips, you can ensure the longevity and efficiency of your ductless air conditioning system. Regular maintenance and cleanliness not only improve performance but also contribute to a healthier and more comfortable indoor environment.
Now that you’re equipped with these maintenance tips, you can enjoy the benefits of your ductless air conditioning unit for years to come.
Would you like any further assistance or information?
Conclusion
Installing a ductless air conditioning unit can provide you with efficient and targeted cooling without the need for extensive ductwork. With the help of this comprehensive guide, you now have the knowledge and understanding to successfully install and maintain a ductless AC system in your home.
We began by exploring the fundamental concepts of ductless air conditioning systems, highlighting their benefits such as zoning capability, energy efficiency, and cost savings. We then delved into selecting the right location for installation, gathering the necessary tools and materials, and provided a step-by-step installation guide including mounting the indoor and outdoor units, connecting the refrigerant lines, and wiring the system.
Testing and troubleshooting the system is crucial to ensure proper functionality, and we discussed how to test for airflow, cooling efficiency, and address any potential issues or leaks. Additionally, we provided maintenance and cleaning tips to help you keep your ductless air conditioning unit in optimal condition, including regular filter cleaning or replacement, cleaning the indoor and outdoor units, and monitoring drainage.
Remember to always follow the manufacturer’s instructions and guidelines throughout the installation and maintenance processes. If you’re unsure or uncomfortable with any aspect of the installation or maintenance, it’s best to consult a licensed professional to ensure the safety and proper operation of your system.
With proper installation, regular maintenance, and appropriate care, your ductless air conditioning unit will provide you with years of comfort and efficiency. Stay cool and enjoy the benefits of your ductless AC system!
If you have any further questions or need additional assistance, feel free to reach out. Happy cooling!
Frequently Asked Questions about How To Install A Ductless Air Conditioning Unit
Was this page helpful?
At Storables.com, we guarantee accurate and reliable information. Our content, validated by Expert Board Contributors, is crafted following stringent Editorial Policies. We're committed to providing you with well-researched, expert-backed insights for all your informational needs.