Articles
How To Install A Ductless Range Hood?
Modified: October 26, 2024
Learn how to install a ductless range hood with our informative articles. Follow our step-by-step guide for a hassle-free installation process.
(Many of the links in this article redirect to a specific reviewed product. Your purchase of these products through affiliate links helps to generate commission for Storables.com, at no extra cost. Learn more)
Introduction
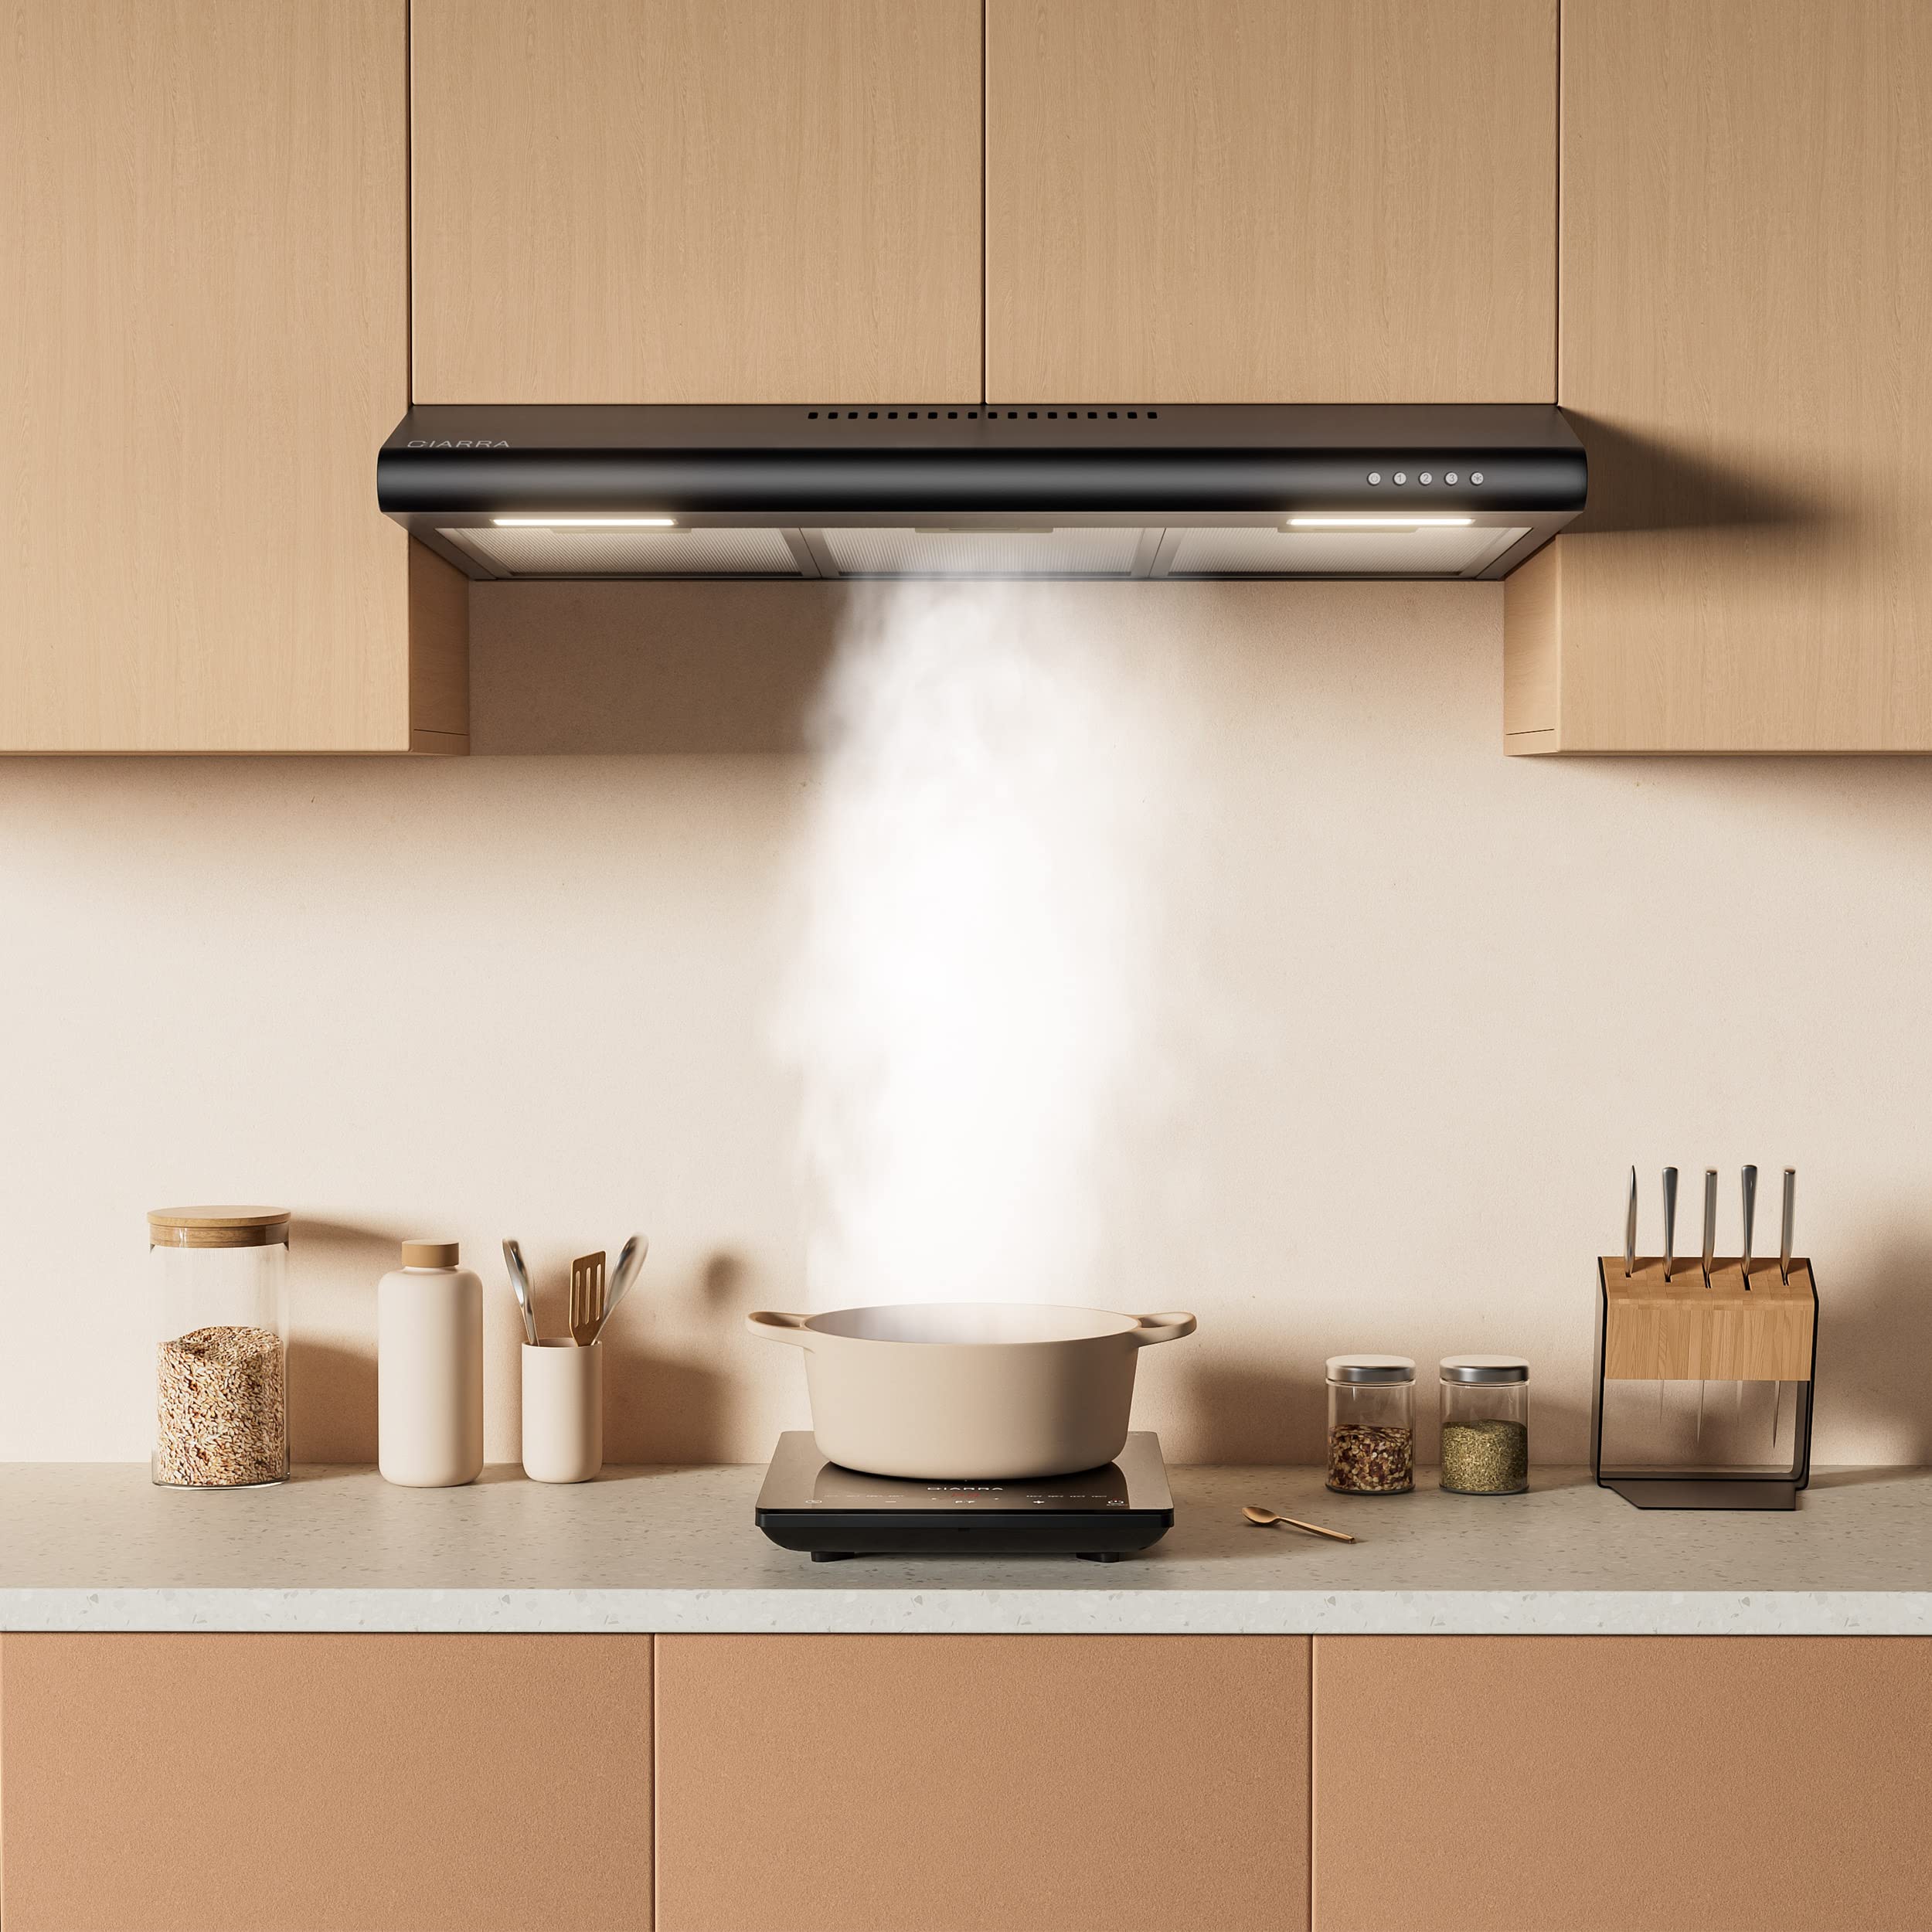
Welcome to this step-by-step guide on how to install a ductless range hood. Whether you’re remodeling your kitchen or simply upgrading your cooking appliances, a range hood is an essential addition to keep your kitchen clean and free from grease, smoke, and odors. A ductless range hood offers the convenience of installation without the need for an external duct system, making it a popular choice for many homeowners.
This guide will provide you with comprehensive instructions on how to install a ductless range hood, from choosing the right location to securing the hood in place. By following these steps, you can ensure a successful installation and enjoy the benefits of a functional and efficient range hood in your kitchen.
Before we dive into the installation process, it’s important to get familiar with the components and tools you’ll need. A ductless range hood typically consists of a hood or canopy, grease filters, fan or blower, and electrical wiring. In terms of tools, you may need a drill, screwdriver, measuring tape, and electrical tools such as wire cutters and strippers. Make sure you have all the necessary tools and materials ready before beginning the installation.
Now that we have an overview of what to expect, let’s move on to the first step: choosing the right location for your ductless range hood. Stay tuned!
Key Takeaways:
- Choosing the right location and preparing the installation area are crucial for a successful ductless range hood installation. Consider factors like cooking area, clearance, and electrical wiring to ensure optimal functionality.
- Properly securing the range hood, testing its functionality, and adjusting fan speeds are essential steps to enjoy a clean and efficient kitchen environment. Regular maintenance will prolong its effectiveness.
Read more: How Does A Ductless Range Hood Work?
Step 1: Choose the Right Location
Choosing the right location for your ductless range hood is crucial for its proper functionality and effectiveness. Here are a few factors to consider when deciding on the placement:
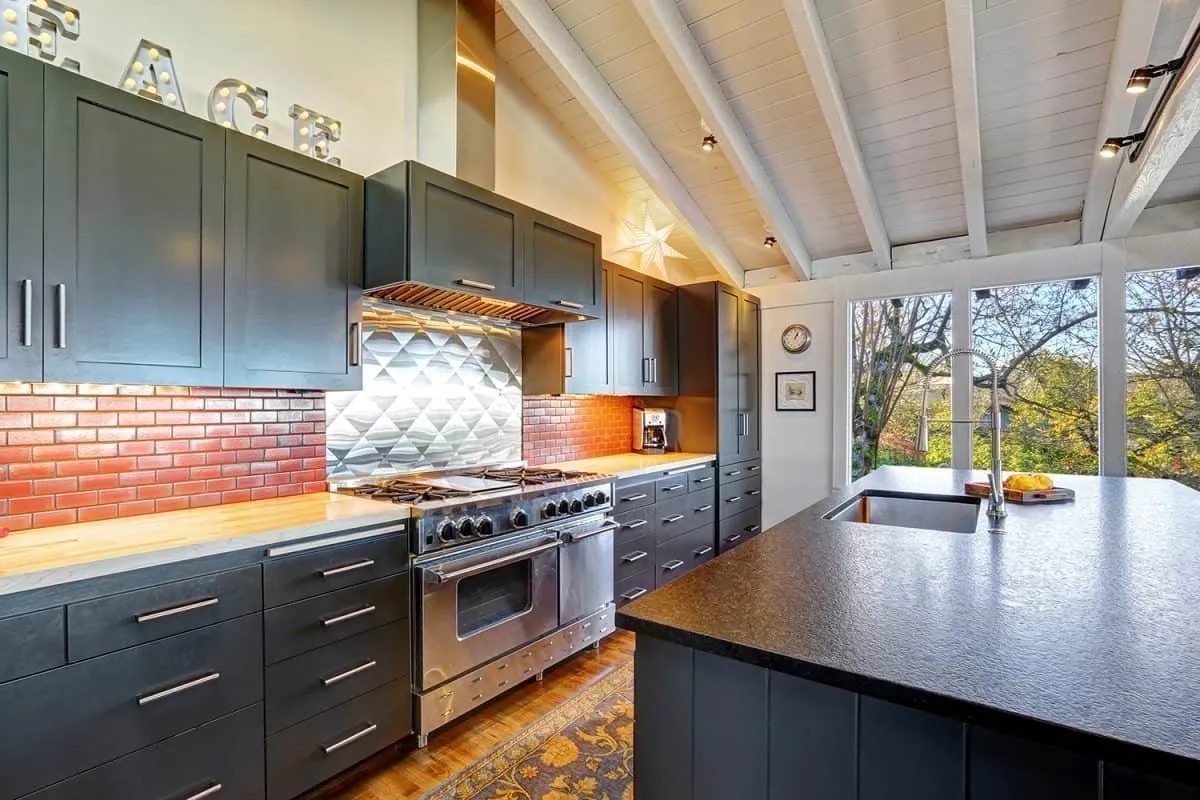
- Cooking Area: Identify the area of your kitchen where you do most of your cooking. This is usually above your stovetop or cooking range. The range hood should be positioned directly above this area to capture and remove smoke, grease, and odors effectively.
- Clearance: Ensure that there is sufficient clearance between the range hood and the cooking surface. Most manufacturers recommend a minimum distance of 24 to 30 inches, but it’s always best to refer to the specific guidelines provided with your range hood.
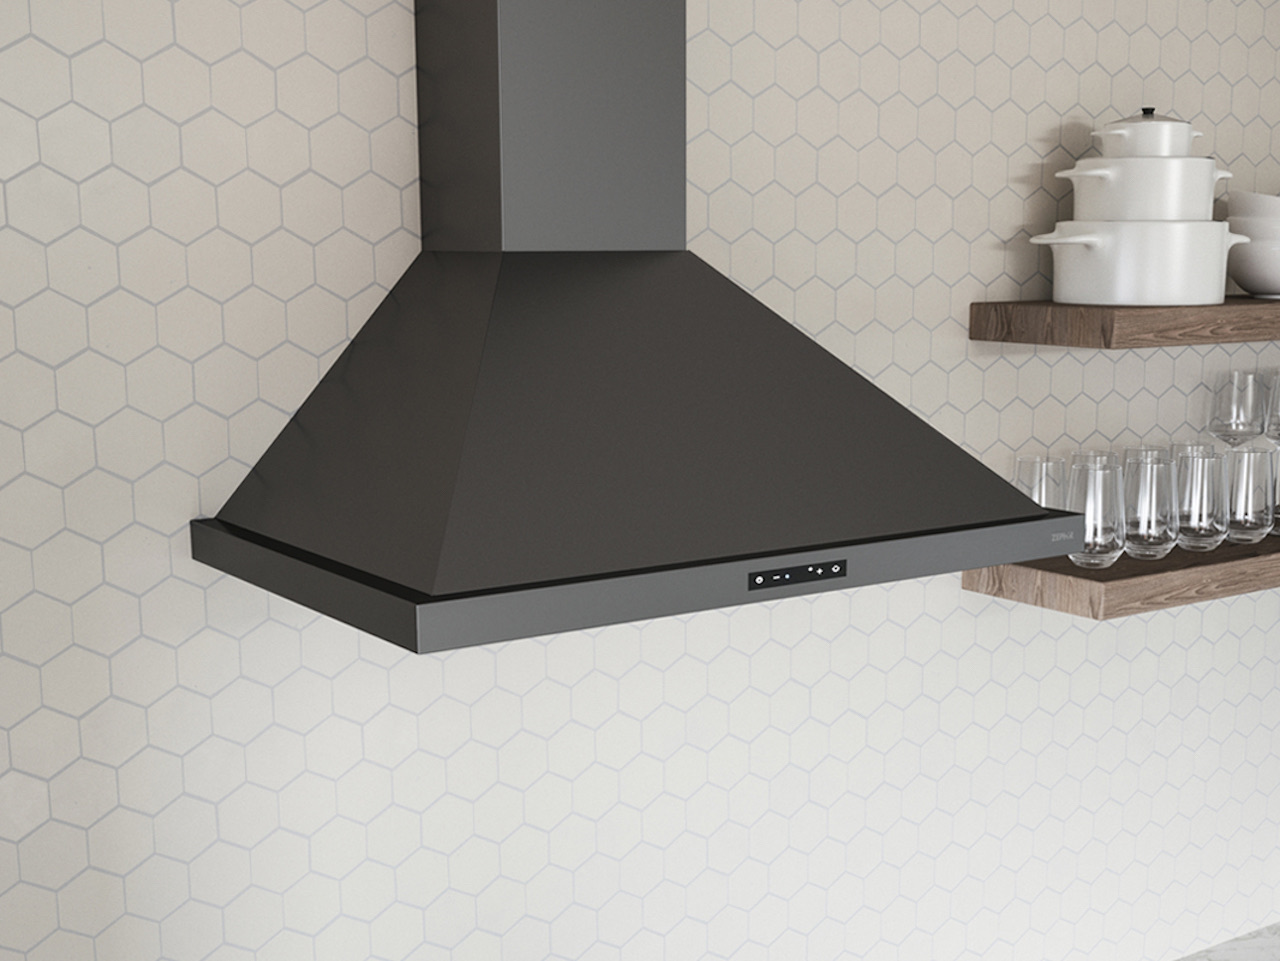
- Wall or Island: Determine whether your range hood will be installed against a wall or over an island. Wall-mounted range hoods attach directly to the wall, while island range hoods are suspended from the ceiling. This will influence the installation process and the type of mounting hardware required.
- Existing Ductwork: If you are replacing an old range hood, consider the location of the existing ductwork. While a ductless range hood doesn’t require external ducts, it may be more convenient to install the new hood in a similar location to avoid extensive renovations and additional electrical work.
- Power Source: Ensure that there is a nearby electrical outlet to power your range hood. If there isn’t one, you may need to consult an electrician to install a new outlet in a suitable location. It’s important to have a dedicated circuit for your range hood to prevent overloading and potential electrical hazards.
Once you’ve taken these factors into account, mark the desired location on the wall or ceiling using a pencil. Make sure the location provides optimal coverage of the cooking area and meets all the necessary requirements. With the location determined, you’re one step closer to installing your ductless range hood!
Step 2: Gather the Necessary Tools and Materials
Before you begin installing your ductless range hood, it’s important to gather all the necessary tools and materials. Having everything at hand will make the installation process smoother and more efficient. Here’s a list of the essential items you’ll need:
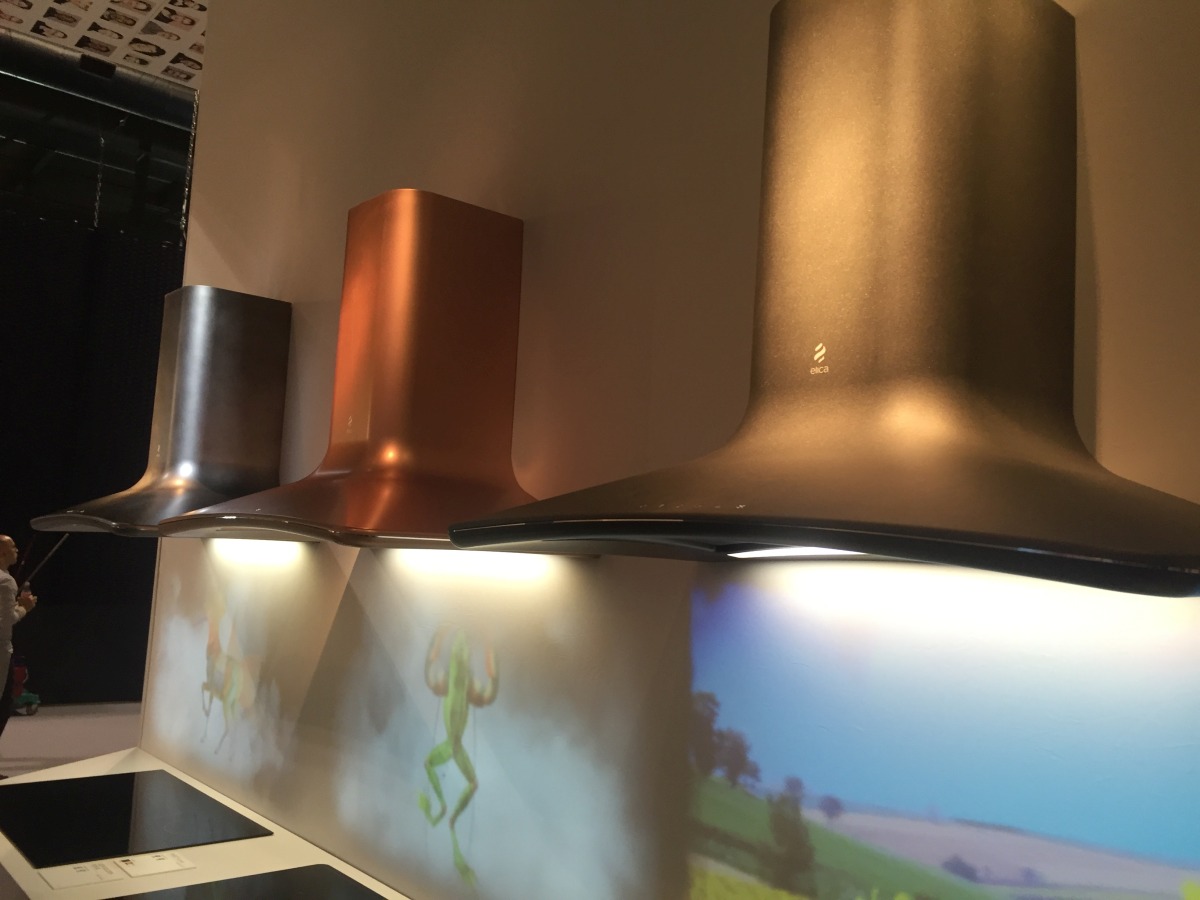
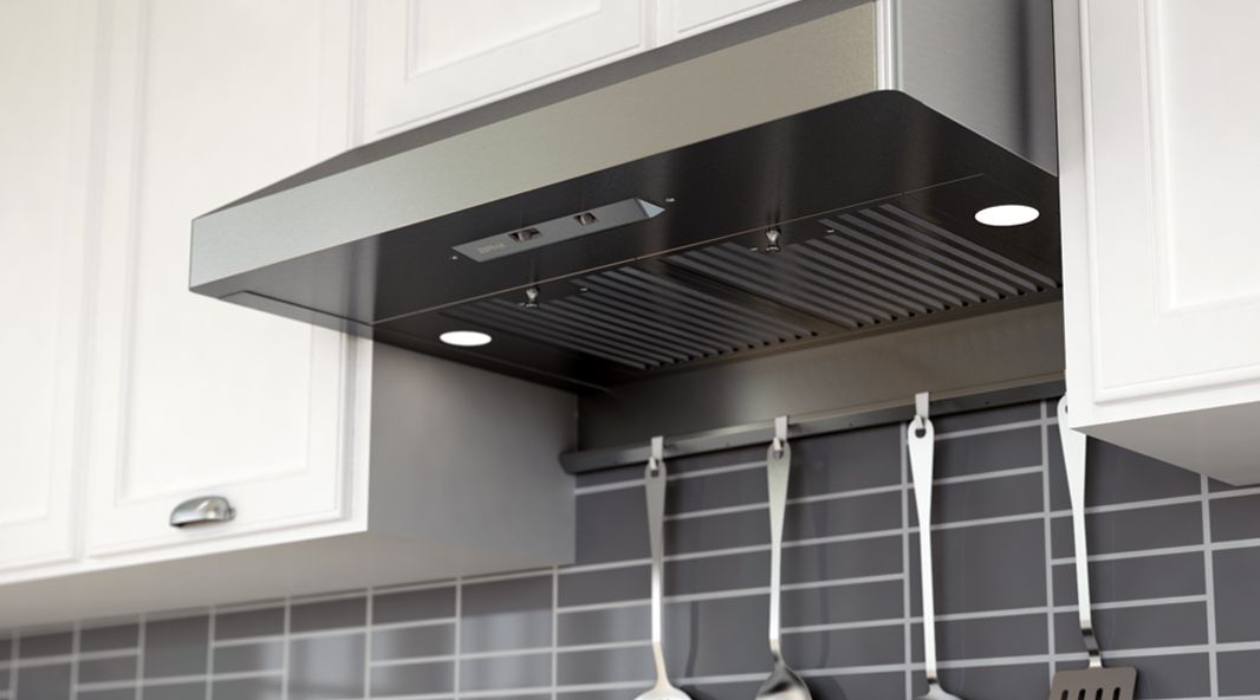
- Range hood: Purchase a ductless range hood that suits your kitchen’s style and requirements. Ensure that it comes with all the necessary components, including the hood or canopy, grease filters, fan or blower, and mounting hardware.
- Mounting hardware: Check if the range hood includes mounting brackets and screws. If not, you may need to purchase these separately. The mounting hardware will be essential for attaching the range hood to the wall or ceiling securely.
- Drill: A power drill with the appropriate drill bits will be necessary for creating holes in the wall or ceiling to mount the range hood. Make sure you have a fully charged or plugged-in drill before you begin.
- Screwdriver: You’ll need both a flathead and a Phillips-head screwdriver for tightening screws and attaching the range hood’s components.
- Measuring tape: Accurate measurements are critical for aligning the range hood properly. A measuring tape will help you determine the precise location and spacing for mounting the hood.
- Electrical tools: Depending on your range hood’s requirements, you may need wire cutters, wire strippers, and electrical tape for connecting the electrical wiring. Ensure that you have these tools on hand and take necessary safety precautions while working with electricity.
- Ladder or step stool (if required): If your ductless range hood is being mounted on the ceiling or if you need additional height to reach the desired location on the wall, a sturdy ladder or step stool will be necessary for safe and easy access.
By gathering all these tools and materials before you start the installation process, you can save time and avoid interruptions. It’s always a good idea to double-check that you have everything you need, ensuring a smooth and efficient installation of your ductless range hood.
Step 3: Prepare the Installation Area
Now that you have gathered all the necessary tools and materials, it’s time to prepare the installation area for your ductless range hood. Proper preparation will ensure a smooth and efficient installation process. Here are the steps to follow:
- Clear the area: Remove any objects or items that may obstruct the installation area. This includes pots, pans, utensils, and decorations. Clearing the space will provide you with a clean and unobstructed work area, making the installation process easier.
- Protect your countertops and floors: Lay down a drop cloth or protective covering over your countertops and floors. This will prevent any accidental damage from tools, screws, or debris that may fall during the installation process.
- Turn off the power: Ensure that the power to your kitchen’s electrical circuits is turned off. This will prevent any potential electrical accidents while working with the wiring of the range hood. Locate the appropriate circuit breaker in your electrical panel and switch it off.
- Identify the studs or ceiling joists: Use a stud finder to locate the studs in the wall or the ceiling joists if you are installing a ceiling-mounted range hood. Mark the locations of the studs or joists with a pencil. This will ensure that the range hood is securely anchored to a solid structure.
- Measure and mark the installation area: Use a measuring tape to determine the ideal height for your range hood installation. Mark the desired location on the wall or ceiling with a pencil, ensuring that it aligns with the cooking surface below and meets the manufacturer’s guidelines on clearance.
- Plan for the ductless venting: Determine the path for the ductless venting system. This will typically involve creating a hole in the wall or ceiling for the vent pipe to pass through. Ensure that the path for the venting system is clear and free from any obstructions.
By following these steps to prepare the installation area, you can ensure that the process goes smoothly and that you have a clean and organized workspace. With the area ready, you’re now ready to move on to mounting the range hood bracket. Stay tuned!
Step 4: Mount the Range Hood Bracket
With the installation area prepared, it’s time to mount the range hood bracket. The bracket will serve as the anchor point for attaching the range hood securely to the wall or ceiling. Here’s how to mount the bracket:
- Position the bracket: Hold the range hood bracket against the wall or ceiling, aligning it with the marked installation area. Ensure that it is level and centered with the cooking surface below.
- Mark the mounting holes: Use a pencil to mark the location of the mounting holes on the wall or ceiling through the holes in the bracket. This will guide you during the drilling process.
- Drill pilot holes: Using a drill and the appropriate drill bit, drill pilot holes at the marked locations. The size of the drill bit will depend on the size of the screws provided with the bracket. Make sure the pilot holes are deep enough to securely anchor the screws.
- Attach the bracket: Align the bracket with the pilot holes and secure it to the wall or ceiling using screws and a screwdriver. Ensure that the bracket is firmly attached and level. Double-check the alignment to ensure a proper fit for the range hood.
- Check the stability: Give the bracket a gentle tug to ensure that it is securely mounted and capable of supporting the weight of the range hood. If it feels loose or unstable, remove the screws and reposition the bracket, making sure to drill new pilot holes.
- Confirm the spacing: Measure the distance between the mounting holes on the range hood and make sure they align with the bracket. Adjust the position of the bracket if necessary.
Once you have successfully mounted the range hood bracket, you have completed a critical step in the installation process. The bracket provides a sturdy foundation for attaching the range hood and ensures its stability. In the next step, we will move on to installing the ductwork for your ductless range hood. Stay tuned!
When installing a ductless range hood, make sure to measure the distance from the cooktop to the bottom of the hood to ensure proper ventilation. Also, consider the power source and make sure it is easily accessible for installation.
Read also: 10 Best Range Hood Ductless For 2025
Step 5: Install the Ductwork
Now that you have mounted the range hood bracket, it’s time to install the ductwork for your ductless range hood. Although a ductless range hood does not require external ducts, it still requires a venting system to expel the smoke, grease, and odors from your kitchen. Here’s how to install the ductwork:
- Measure and cut the vent pipe: Measure the distance between the range hood outlet and the exterior wall or ceiling. Using a measuring tape, mark the length on the vent pipe. Use tin snips or a pipe cutter to cut the vent pipe to the appropriate size.
- Attach the vent pipe to the hood outlet: Slide one end of the vent pipe over the hood outlet and secure it with a clamp or metal tape. Ensure that the connection is airtight to prevent any leaks. The vent pipe should be angled downwards to allow for efficient airflow.
- Create an opening in the wall or ceiling: Determine the path for the vent pipe to pass through the wall or ceiling. Use a hole saw or a reciprocating saw to create a hole of the appropriate size. Be sure to follow any local building codes and guidelines regarding venting systems.
- Insert the vent pipe into the opening: Insert the other end of the vent pipe into the opening in the wall or ceiling. Ensure that it fits snugly and securely. Use caulk or a sealing material to create an airtight seal around the vent pipe where it enters the wall or ceiling.
- Secure the vent pipe: Use brackets, metal tape, or screws to secure the vent pipe in place along its path. This will ensure that it remains stable and properly aligned. Avoid any sharp bends or kinks in the vent pipe, as this can hinder airflow.
- Inspect the ductwork: Once you have installed the vent pipe, visually inspect the entire path of the ductwork. Ensure that there are no obstructions, gaps, or loose connections. Make any necessary adjustments or repairs before proceeding.
Installing the ductwork for your ductless range hood is an essential step to ensure proper ventilation in your kitchen. It allows for the removal of pollutants and maintains a clean and healthy cooking environment. Once you have completed this step, you’re ready to move on to connecting the wiring. Stay tuned for the next step!
Step 6: Connect the Wiring
With the ductwork in place, it’s time to connect the wiring for your ductless range hood. Proper wiring ensures that the range hood receives power and functions correctly. Follow these steps to connect the wiring:
- Turn off the power: Before working with electrical wiring, always ensure that the power to the kitchen circuits is turned off. Locate the appropriate circuit breaker in the electrical panel and switch it off.
- Review the manufacturer’s instructions: Read the manufacturer’s instructions carefully to determine the specific wiring requirements for your ductless range hood. Different models may have different wiring configurations, so it’s important to follow the instructions provided.
- Prepare the wires: Strip the insulation from the end of the electrical wires coming from the range hood. Take note of the color coding on the wires (typically black, white, and green). If necessary, use wire nuts to connect the corresponding wires together. Make sure all connections are secure.
- Connect the wiring: Connect the black wire from the range hood to the black (hot) wire in the electrical box. Connect the white wire from the range hood to the white (neutral) wire in the box. Connect the green wire (ground) from the range hood to the grounding wire or metal conduit in the box. Follow any additional instructions provided by the manufacturer.
- Secure the connections: Once the wiring is connected, use wire nuts or electrical tape to secure the connections. Make sure there are no exposed wires and that all connections are properly insulated.
- Double-check the wiring: Before proceeding, double-check all connections to ensure they are secure and properly aligned. Carefully tuck the wires back into the electrical box, making sure they are not pinched or damaged in the process.
- Turn on the power: After completing the wiring connections, turn the power back on by switching on the circuit breaker. Test the range hood to ensure that it is receiving power and functioning correctly.
Connecting the wiring for your ductless range hood requires caution and precision. If you are unsure about any part of the process, it’s recommended to consult a licensed electrician for assistance. Once the wiring is successfully connected, you can proceed to the next step—securing the range hood in place. Stay tuned!
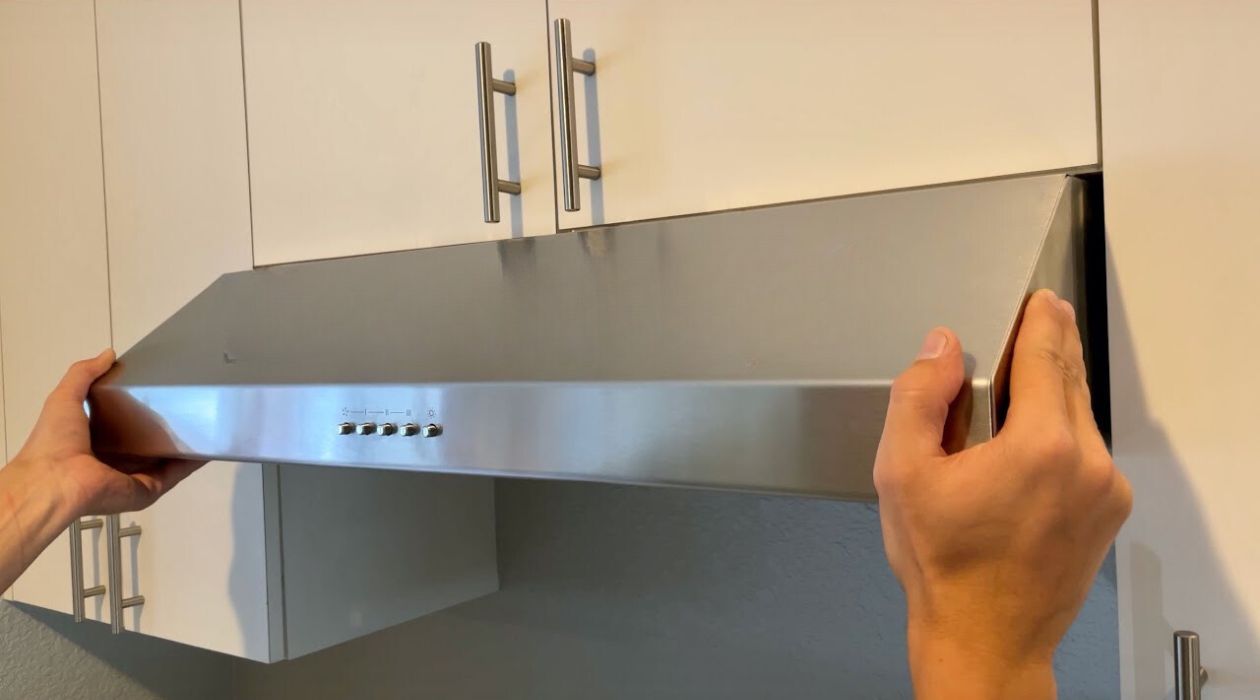
Step 7: Secure the Range Hood
Now that the wiring is connected and the electrical power is restored, it’s time to securely mount the range hood in place. Properly securing the range hood ensures its stability and effectiveness. Follow these steps to securely mount your ductless range hood:
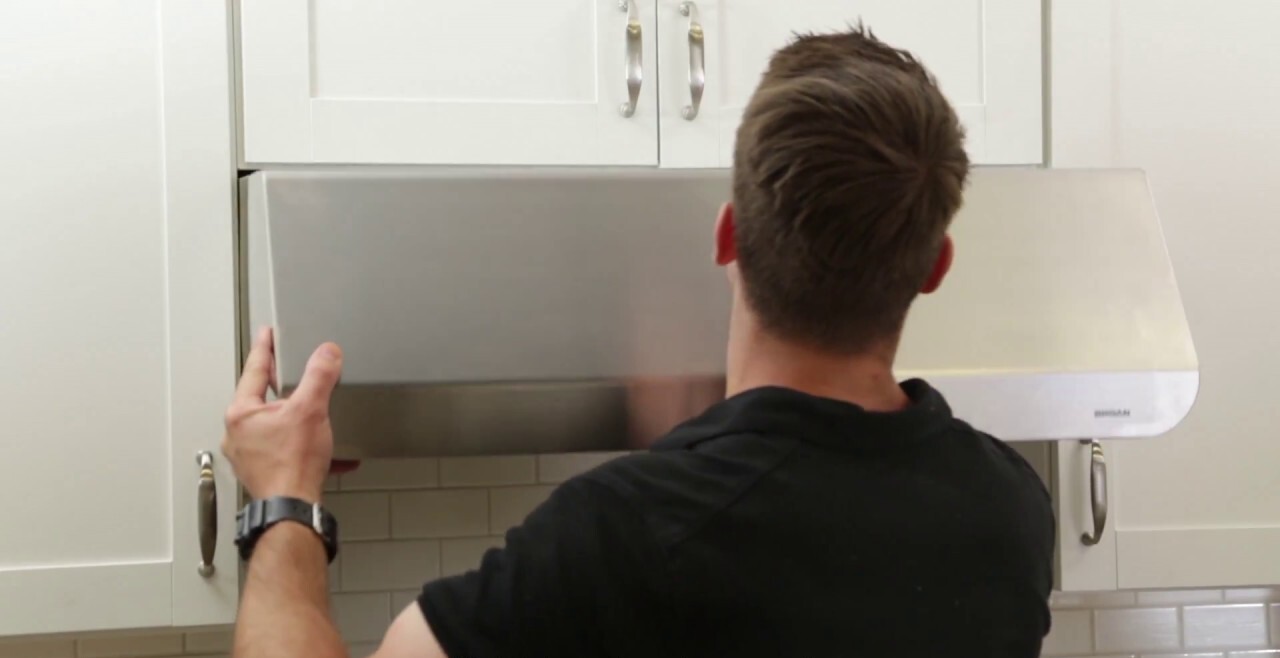
- Position the range hood: Lift the range hood and position it onto the mounted bracket. Align it with the mounting holes on the bracket.
- Attach the range hood: Using the provided screws and a screwdriver, secure the range hood to the mounting bracket. Start by inserting and hand-tightening the screws into the top holes. Then, insert and tighten the screws in the lower holes. Ensure that the range hood is level and securely attached to the bracket.
- Check for stability: Once the range hood is attached, give it a gentle shake to check for any wobbling or instability. If it feels loose, double-check the screws and tighten them further if necessary.
- Test the range hood: Turn on the range hood and test its functionality. Ensure that the fan operates smoothly and that the different speed settings work properly. Verify that the lights, if applicable, illuminate as intended.
- Adjustments if needed: If the range hood is not properly aligned or leveled, use a screwdriver to make any necessary adjustments. Loosen the screws slightly, reposition the hood, and then retighten the screws.
- Clean and remove protective film: Use a soft cloth and mild soapy water to clean any smudges or dirt on the range hood surface. Remove any protective films or stickers from the hood and accessories.
- Inspect the installation: Step back and visually inspect the installed range hood. Ensure that it is securely mounted, level, and aligned with the cooking surface below. Look for any visible gaps or loose connections and make any necessary adjustments or corrections.
Once the range hood is securely mounted and functioning correctly, you have successfully completed the installation process. Congratulations! Your ductless range hood is now ready to effectively remove smoke, grease, and odors from your kitchen while adding a stylish and functional element to the space.
Remember to regularly clean and maintain your ductless range hood to ensure its optimal performance. Refer to the manufacturer’s instructions for specific cleaning and maintenance recommendations.
With the installation complete, you can now enjoy the benefits of a clean and fresh-smelling kitchen. Happy cooking!
Step 8: Test and Adjust the Range Hood
After securely mounting the range hood, it’s essential to perform a thorough test to ensure proper functionality and make any necessary adjustments. Testing and adjusting the range hood will help optimize its performance and ensure a clean and efficient kitchen environment. Here’s what you need to do:
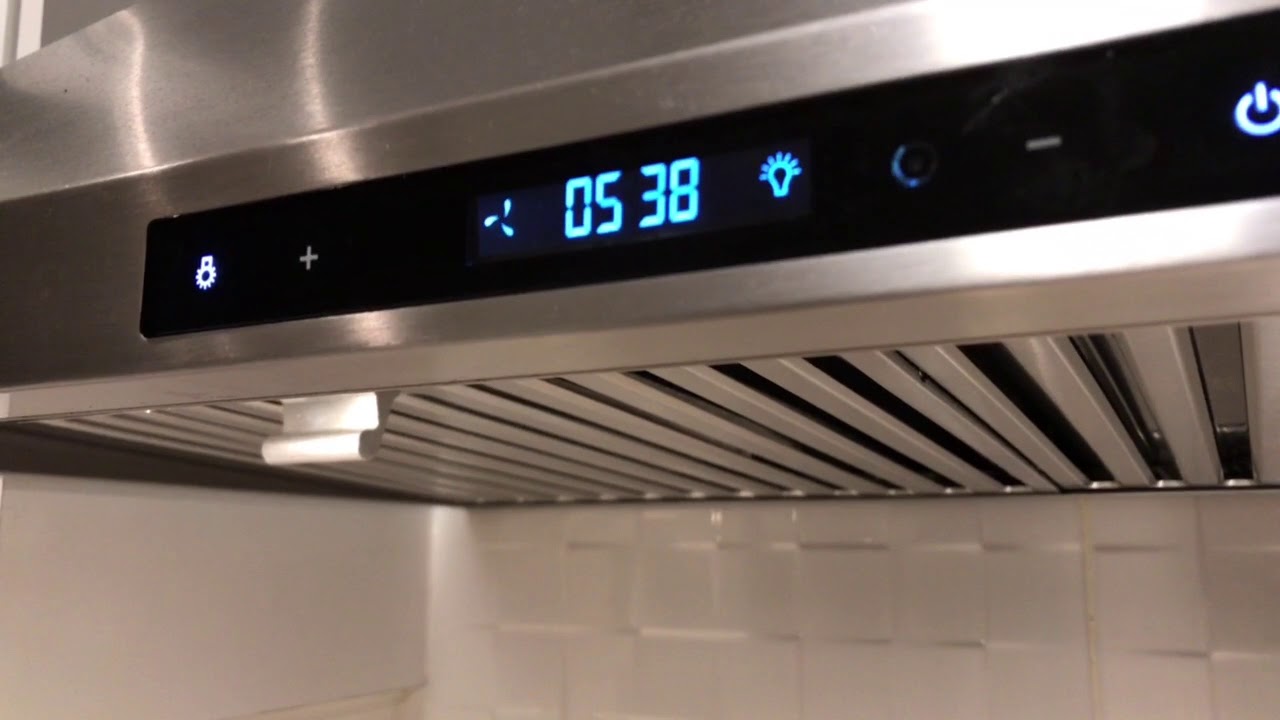
- Turn on the range hood: Switch on the range hood and test each fan speed setting to confirm that they are working correctly. Listen for any unusual noises or vibrations that could indicate a problem.
- Check the airflow: Hold a tissue or lightweight piece of paper near the vent to verify that air is properly flowing out. Observe whether the hood effectively captures and expels steam, smoke, and cooking odors away from the cooking surface.
- Adjust the fan speed: If necessary, adjust the fan speed to your desired settings. Some range hoods have variable speed controls that allow you to customize the airflow depending on your cooking needs.
- Verify lighting functionality: If your range hood includes lighting, ensure that the lights are working properly. Check for adequate brightness and adjust the lighting settings if needed.
- Test the grease filters: Remove the grease filters and clean or replace them as recommended by the manufacturer. This helps maintain optimal airflow and prevents grease buildup, which can reduce the performance of the range hood.
- Perform a final inspection: Examine the range hood and surrounding area for any signs of damage, loose connections, or misalignment. Make any necessary adjustments or corrections to ensure the range hood is securely mounted and functioning correctly.
- Review the user manual: Familiarize yourself with the operating instructions and maintenance recommendations provided by the manufacturer. This will help you properly care for and maintain your range hood.
By thoroughly testing and adjusting your range hood, you can address any issues or concerns and optimize its performance. This will ensure that your kitchen remains clean, free from airborne contaminants, and comfortable to cook in.
Remember to clean and maintain your range hood regularly according to the manufacturer’s instructions. This will help prolong its lifespan and ensure its continued effectiveness.
Now that you have completed the installation, testing, and adjustment process, you can enjoy the benefits of a well-functioning and efficient ductless range hood in your kitchen. Happy cooking!
Read more: How To Install ZLINE Range Hood
Conclusion
Congratulations! You have successfully completed the installation of your ductless range hood. By following the step-by-step guide, you have ensured a clean and efficient cooking environment in your kitchen. Let’s recap the key points:
We started by choosing the right location for your range hood, considering factors such as the cooking area, clearance, and existing ductwork. Then, we gathered the necessary tools and materials, including the range hood, mounting hardware, drill, screwdriver, and more.
Next, we prepared the installation area by clearing the space, protecting countertops and floors, turning off the power, and identifying studs or ceiling joists. We then marked the installation area and planned for the ductless venting system.
In Step 4, we mounted the range hood bracket securely to the wall or ceiling, ensuring it was level and centered. Step 5 involved the installation of the ductwork, which included measuring and cutting the vent pipe, creating an opening in the wall or ceiling, and securing the vent pipe in place.
Step 6 focused on connecting the wiring, following the manufacturer’s instructions to ensure proper electrical connections. In Step 7, we secured the range hood to the mounting bracket, checked for stability, and tested its functionality.
Lastly, in Step 8, we tested and adjusted the range hood by turning it on, checking the airflow, adjusting fan speed, verifying lighting functionality, and reviewing the user manual for maintenance recommendations.
With your ductless range hood properly installed and tested, you can now enjoy a cleaner and more comfortable cooking experience. Remember to regularly clean and maintain your range hood to ensure its optimal performance in the long run.
Thank you for following this comprehensive guide, and we hope your new ductless range hood brings you many years of happy cooking!
Frequently Asked Questions about How To Install A Ductless Range Hood?
Was this page helpful?
At Storables.com, we guarantee accurate and reliable information. Our content, validated by Expert Board Contributors, is crafted following stringent Editorial Policies. We're committed to providing you with well-researched, expert-backed insights for all your informational needs.


0 thoughts on “How To Install A Ductless Range Hood?”